
Would you like to save this?
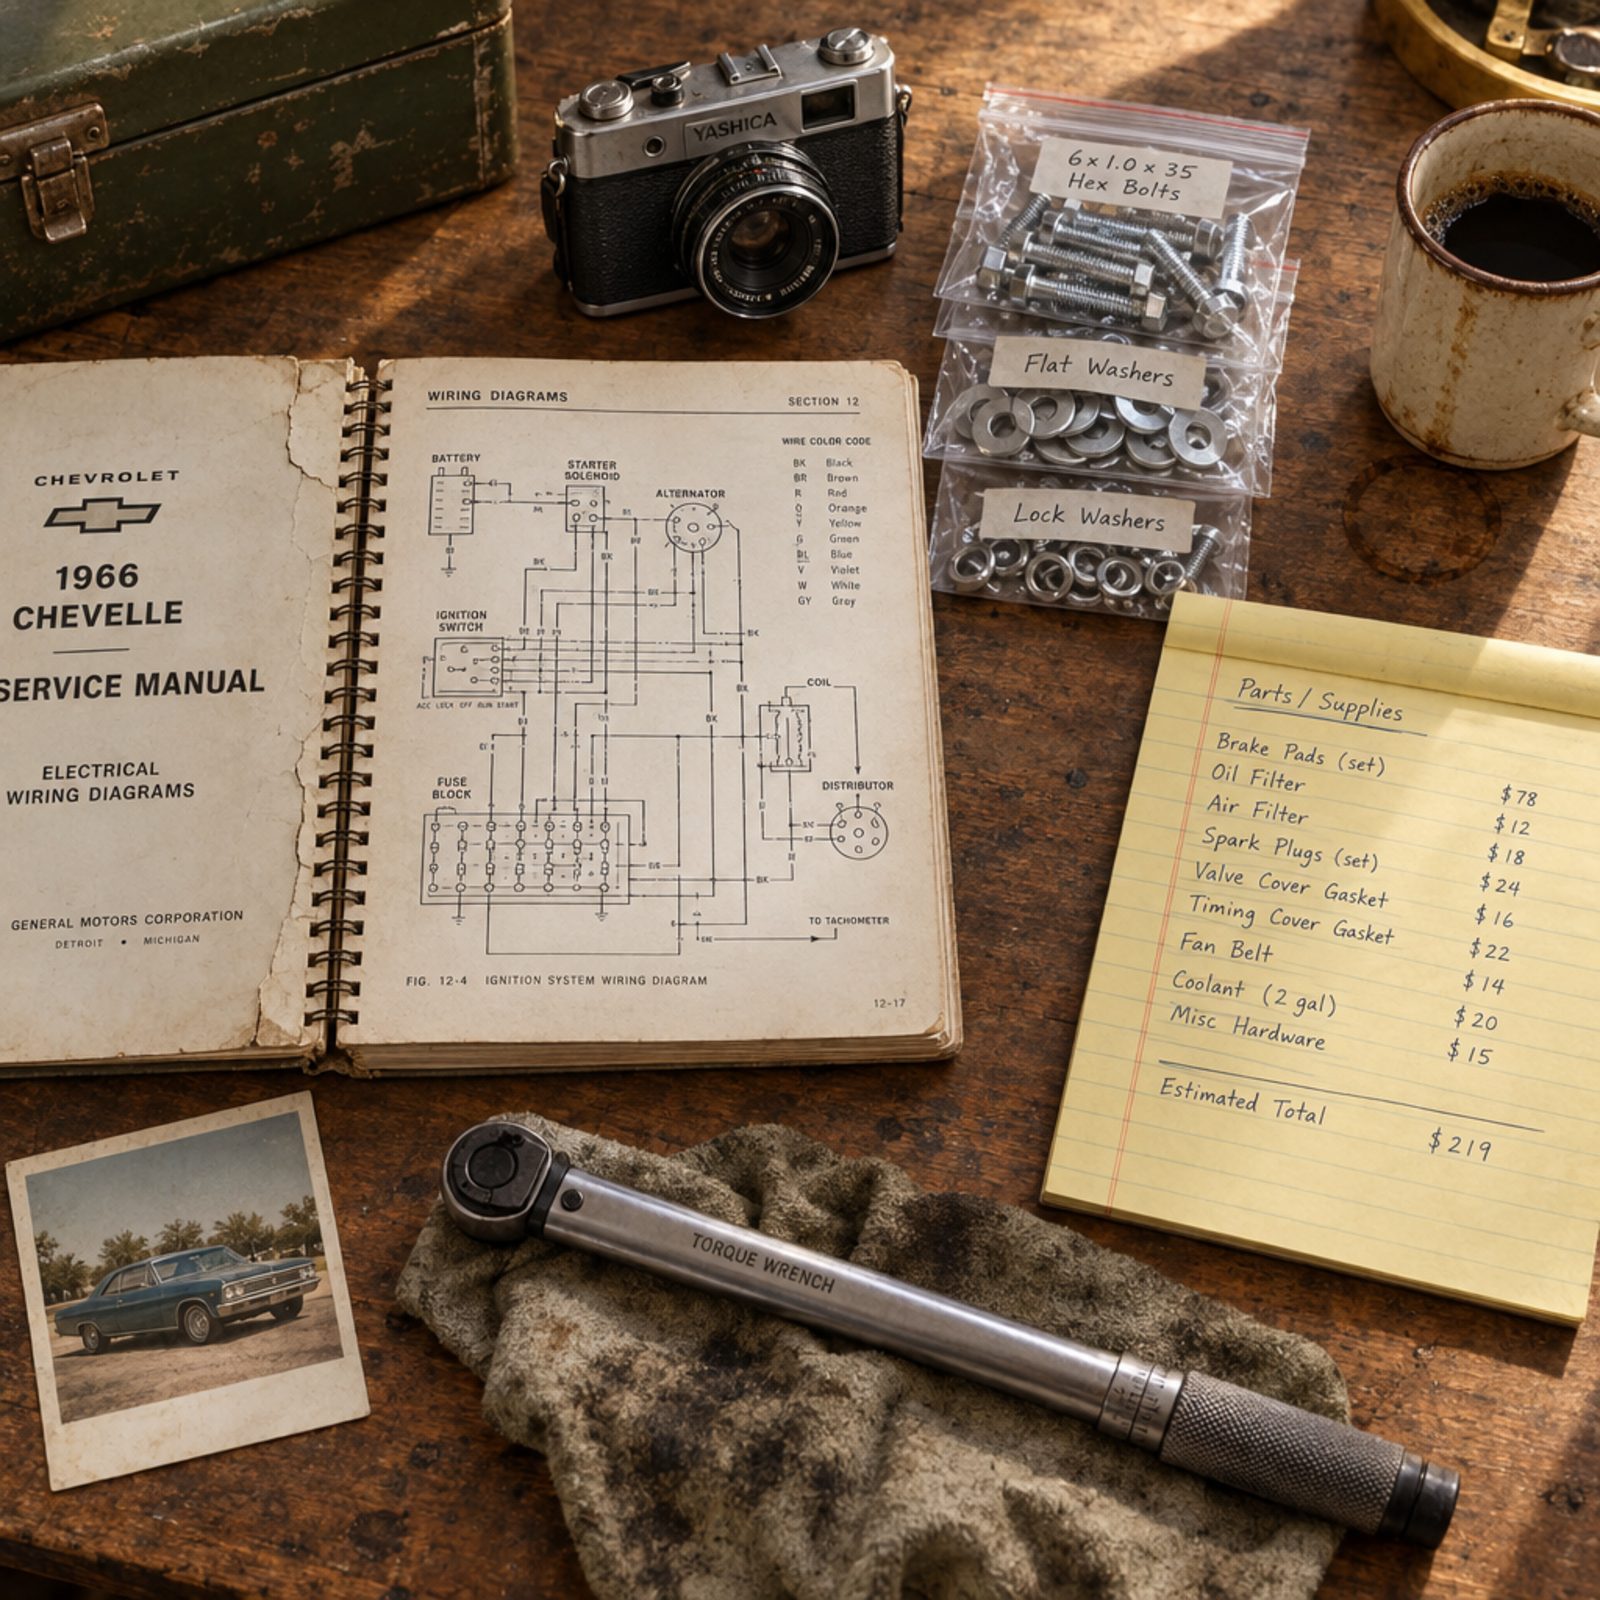
Most stalled restorations didn’t die on the engine stand. They died at the kitchen table, months before the first bolt ever came loose. A bad starting car, a fuzzy title, a budget with no slack, and suddenly the project you promised yourself for thirty years is a sheet-covered shape in the garage. Here’s the thing though — almost every one of these mistakes costs nothing to avoid and a fortune to fix after the fact. So let’s walk through where first-timers go wrong, and what to do instead.
38. Buying the Cheapest Project Car Instead of the Best Starting Point
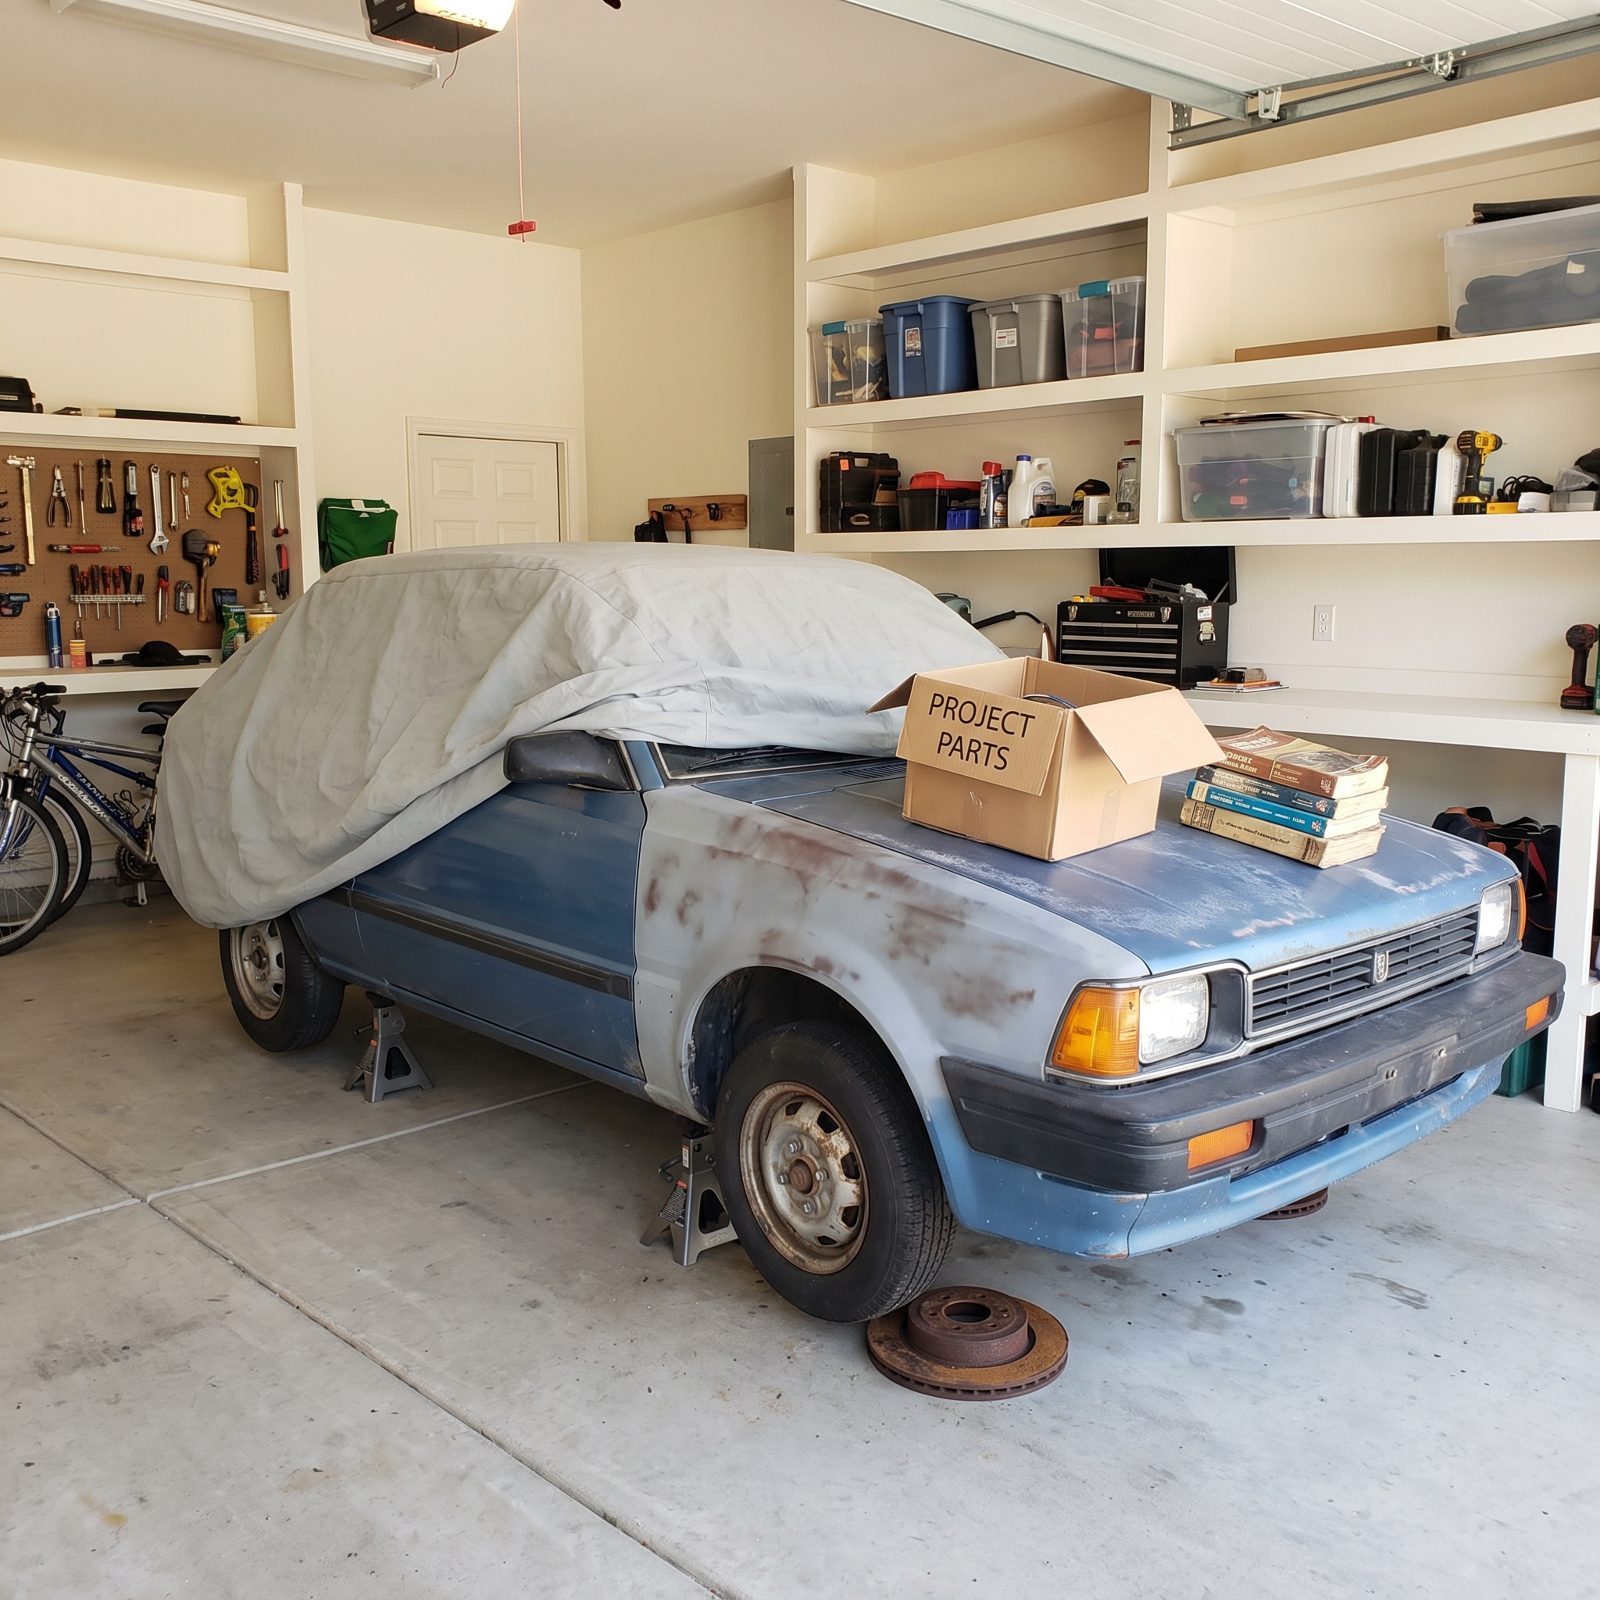
The cheapest car in the ad is almost never the cheapest car to finish. That $2,500 bargain with the sagging doors and quarter panels full of filler looks like a steal until you’re thousands into metalwork a solid car wouldn’t have needed.
Rust is the killer. Surface scale wipes off, sure, but perforated frame rails, rotten floor pans, and cancer hiding under the vinyl top mean cutting, welding, and fabricating — and body labor is exactly where budgets go to die. It’s also the one area a first-timer can’t easily learn on the fly.
So buy the straightest, most complete, least-rusted car you can afford. Even if it costs double the junker. Pull the carpet, poke the floors, check the trunk drops and the cowl. A running, solid, honest car wins every single time.
37. Skipping a Professional Pre-Purchase Inspection
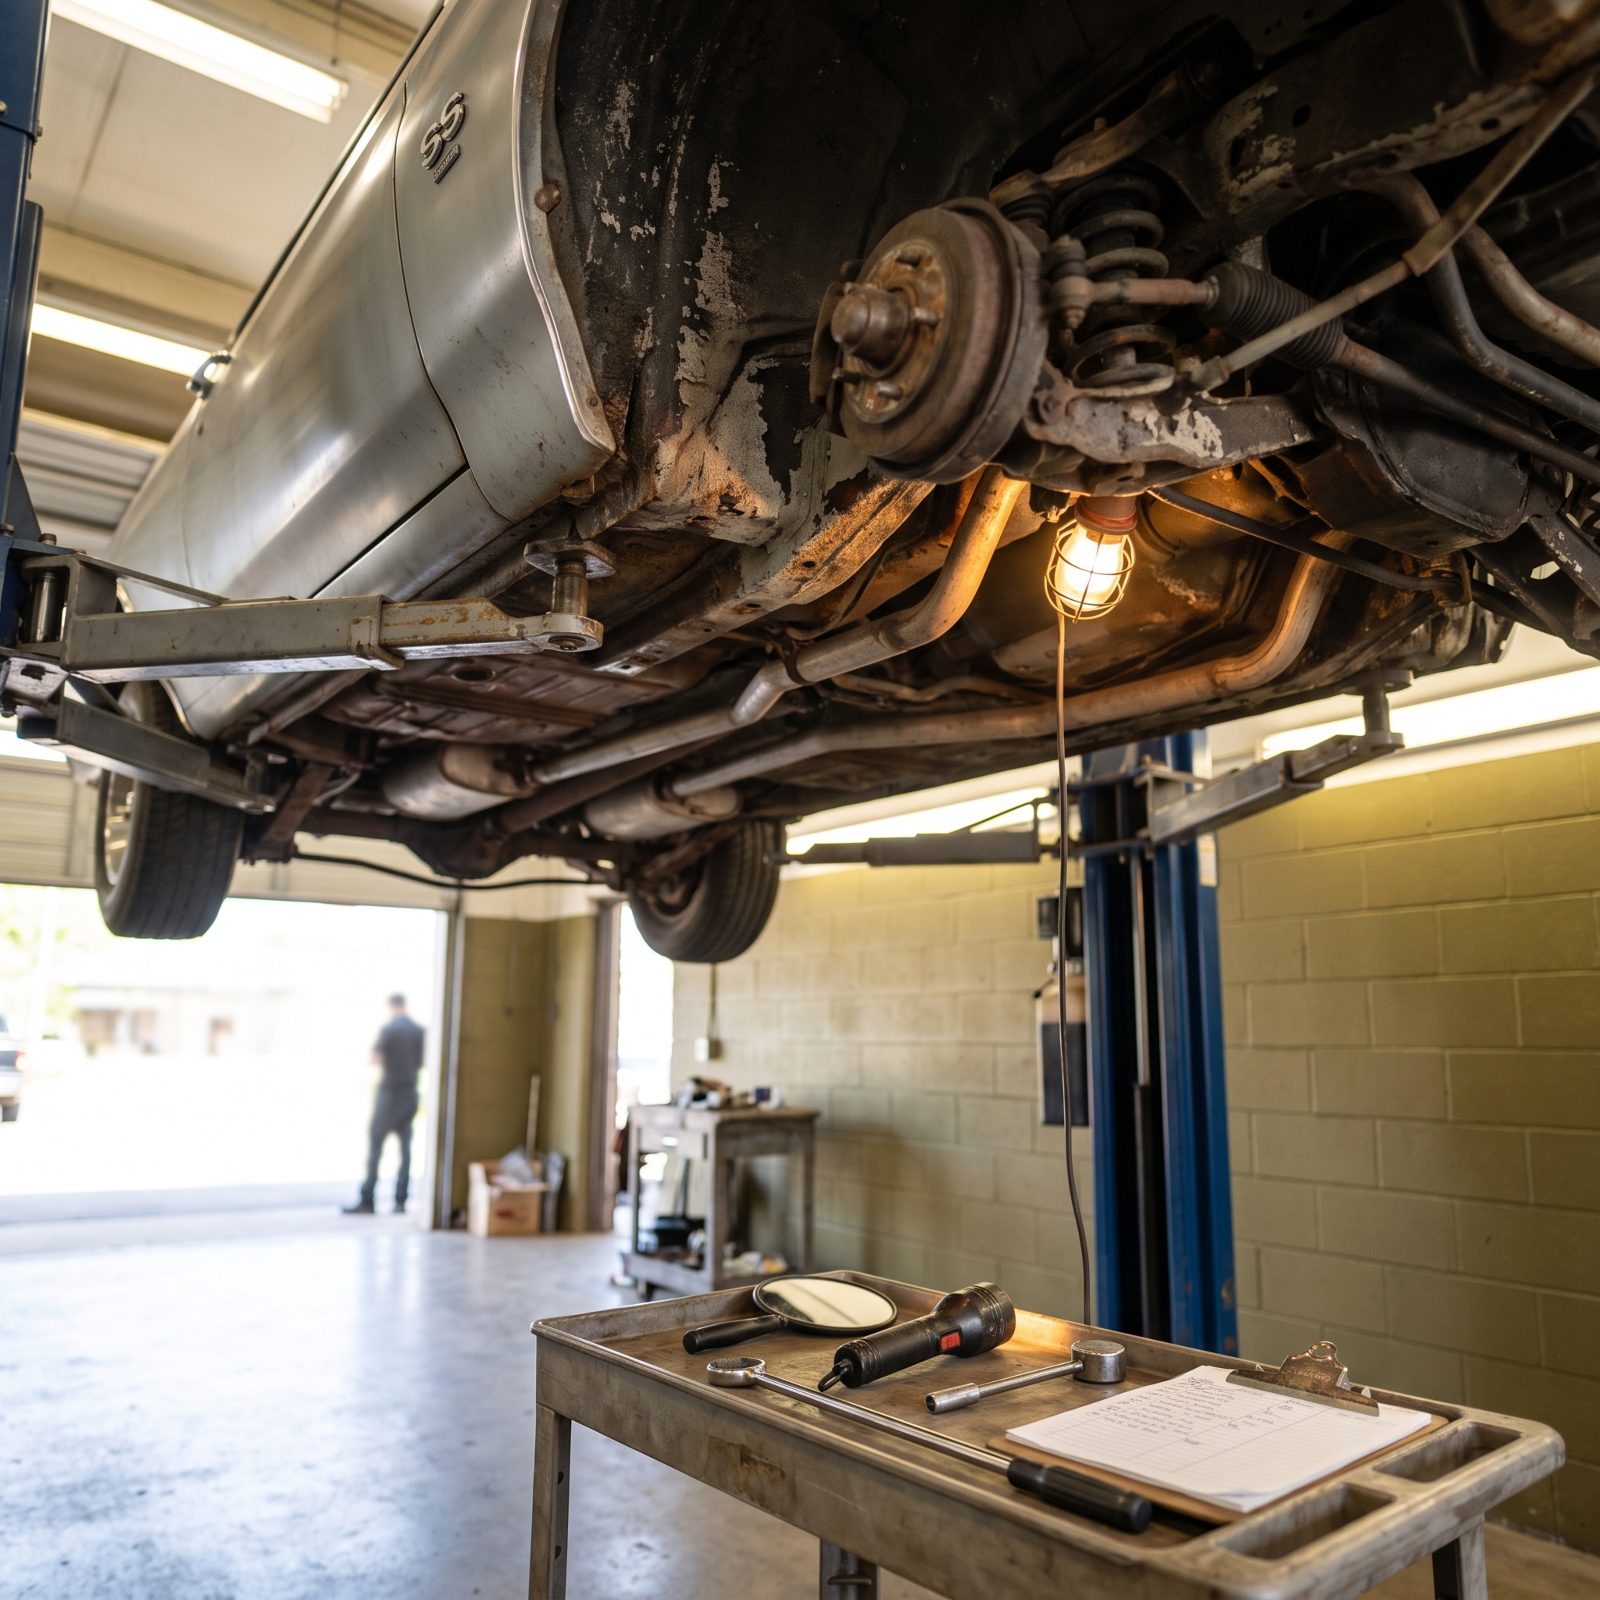
You wouldn’t buy a house without someone crawling the foundation. People skip the same step on a car worth just as much.
A seller’s enthusiasm isn’t a diagnosis. The things that sink a project live where a driveway test drive can’t reach them — a cracked frame, a floor that’s been cut and re-welded, a swapped VIN, a block that isn’t the one stamped on the fender tag. Find all that out after the sale and it’s your problem forever.
Pay a marque-specific shop or an experienced independent to put it on a lift before money changes hands. A couple hundred dollars buys a compression test, a frame check, and a VIN verification, and it’s the best insurance in this hobby. If the seller won’t allow it? That’s your answer.
36. Starting Work Before Confirming the Car Has a Clear Title
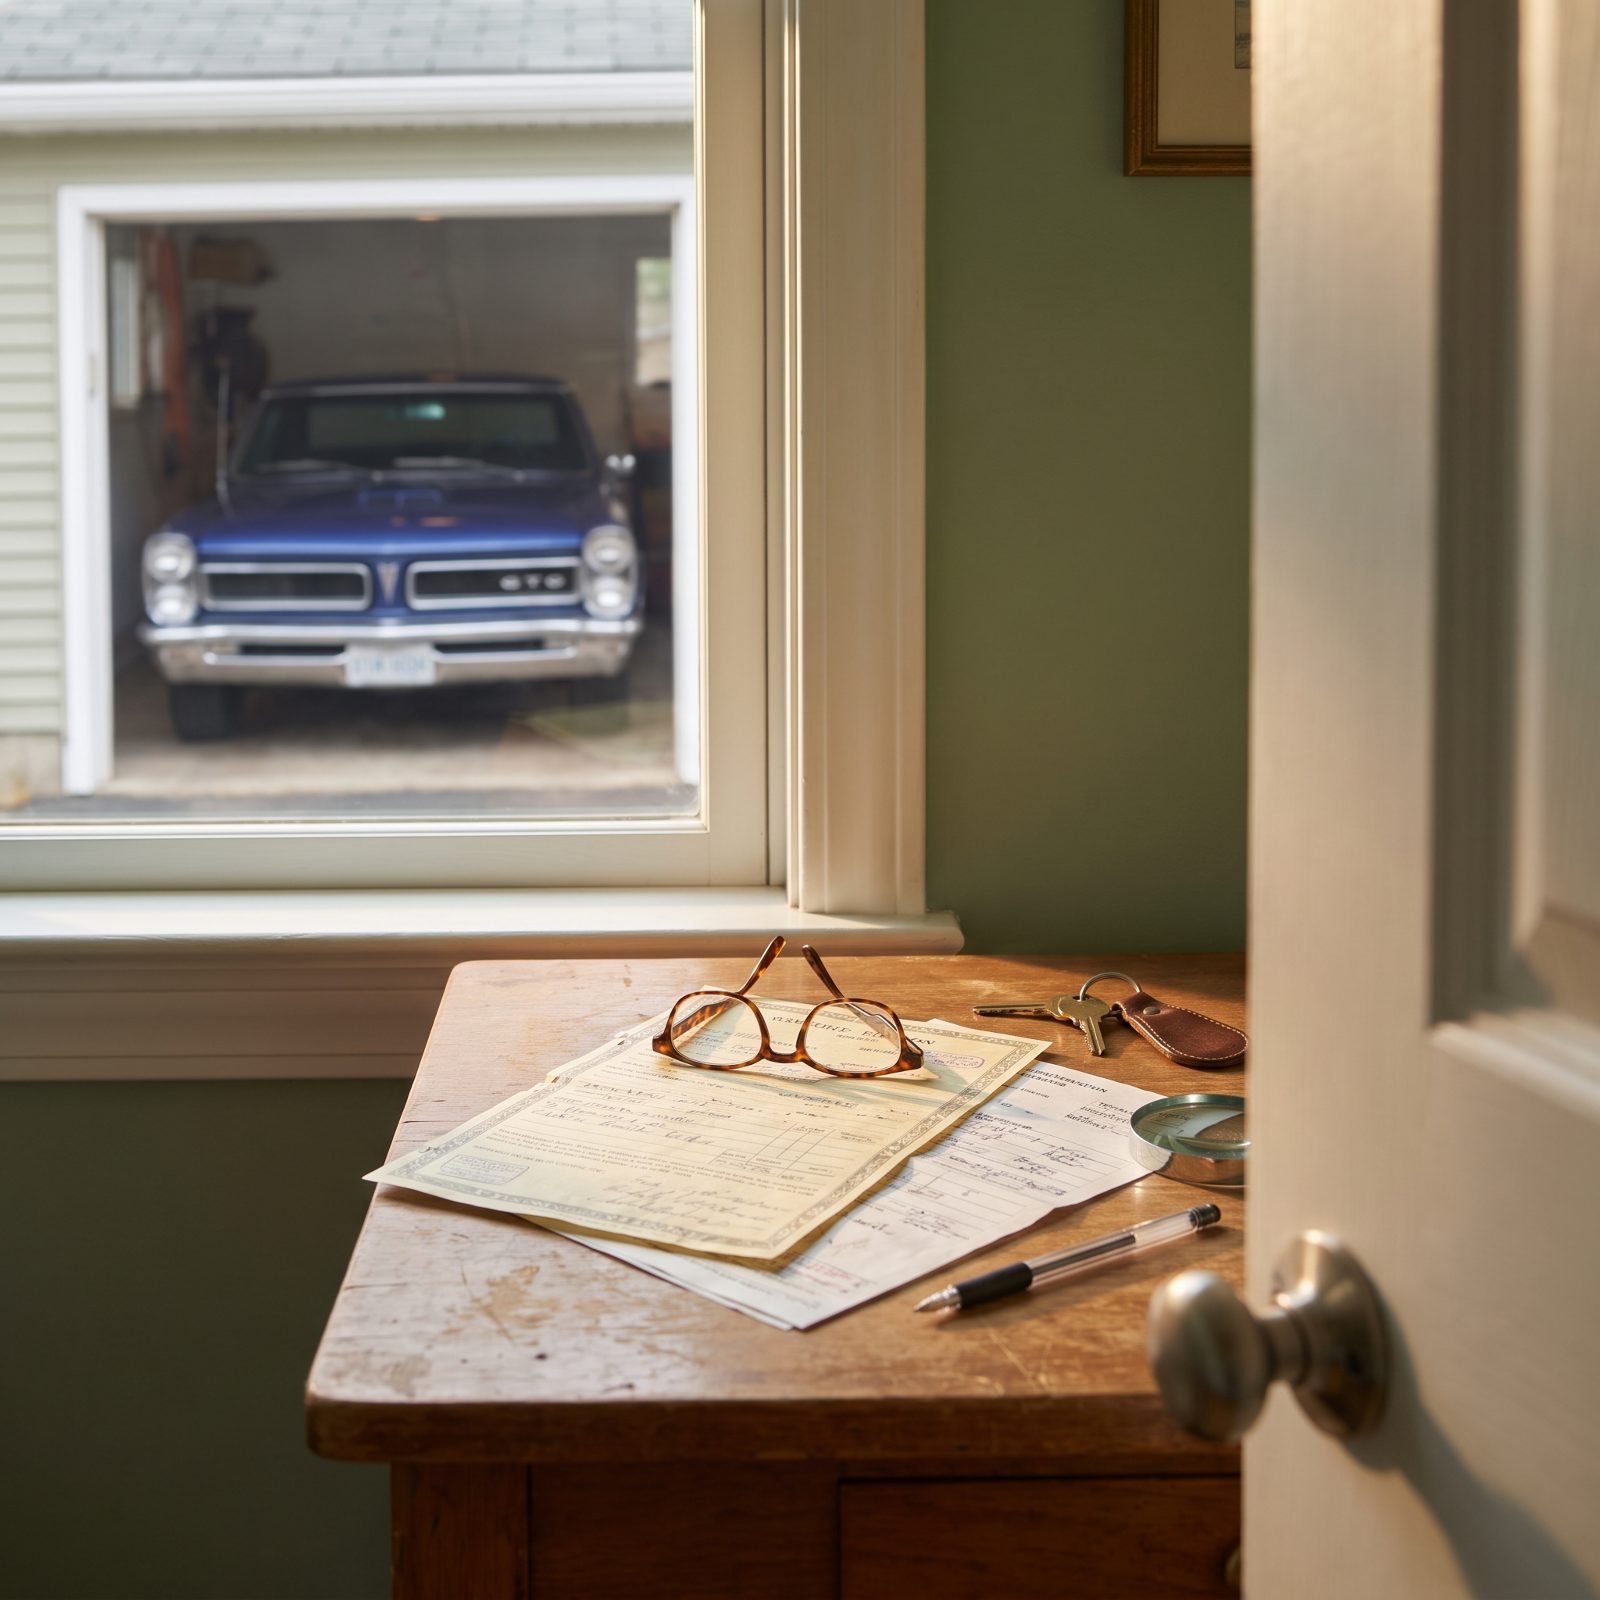
Nothing sinks the heart like finishing a two-year build and learning the state won’t title it.
A missing title, a bonded title, a mismatched VIN, an old lien that never cleared — any one leaves you with a car you legally can’t register, sell, or insure. Some first-timers wrench for a year on a verbal promise that the paperwork is “coming.” It rarely comes.
Before you touch a wrench, verify three things: the title is in the seller’s name, the VIN on the paper matches the dash and the body, and there are no liens. Run it through your DMV or a title service. And if it’s a no-title car, know your state’s bonded-title process going in and price the headache into the deal.
35. Beginning Without Choosing Between a Driver, Restomod, and Concours Restoration
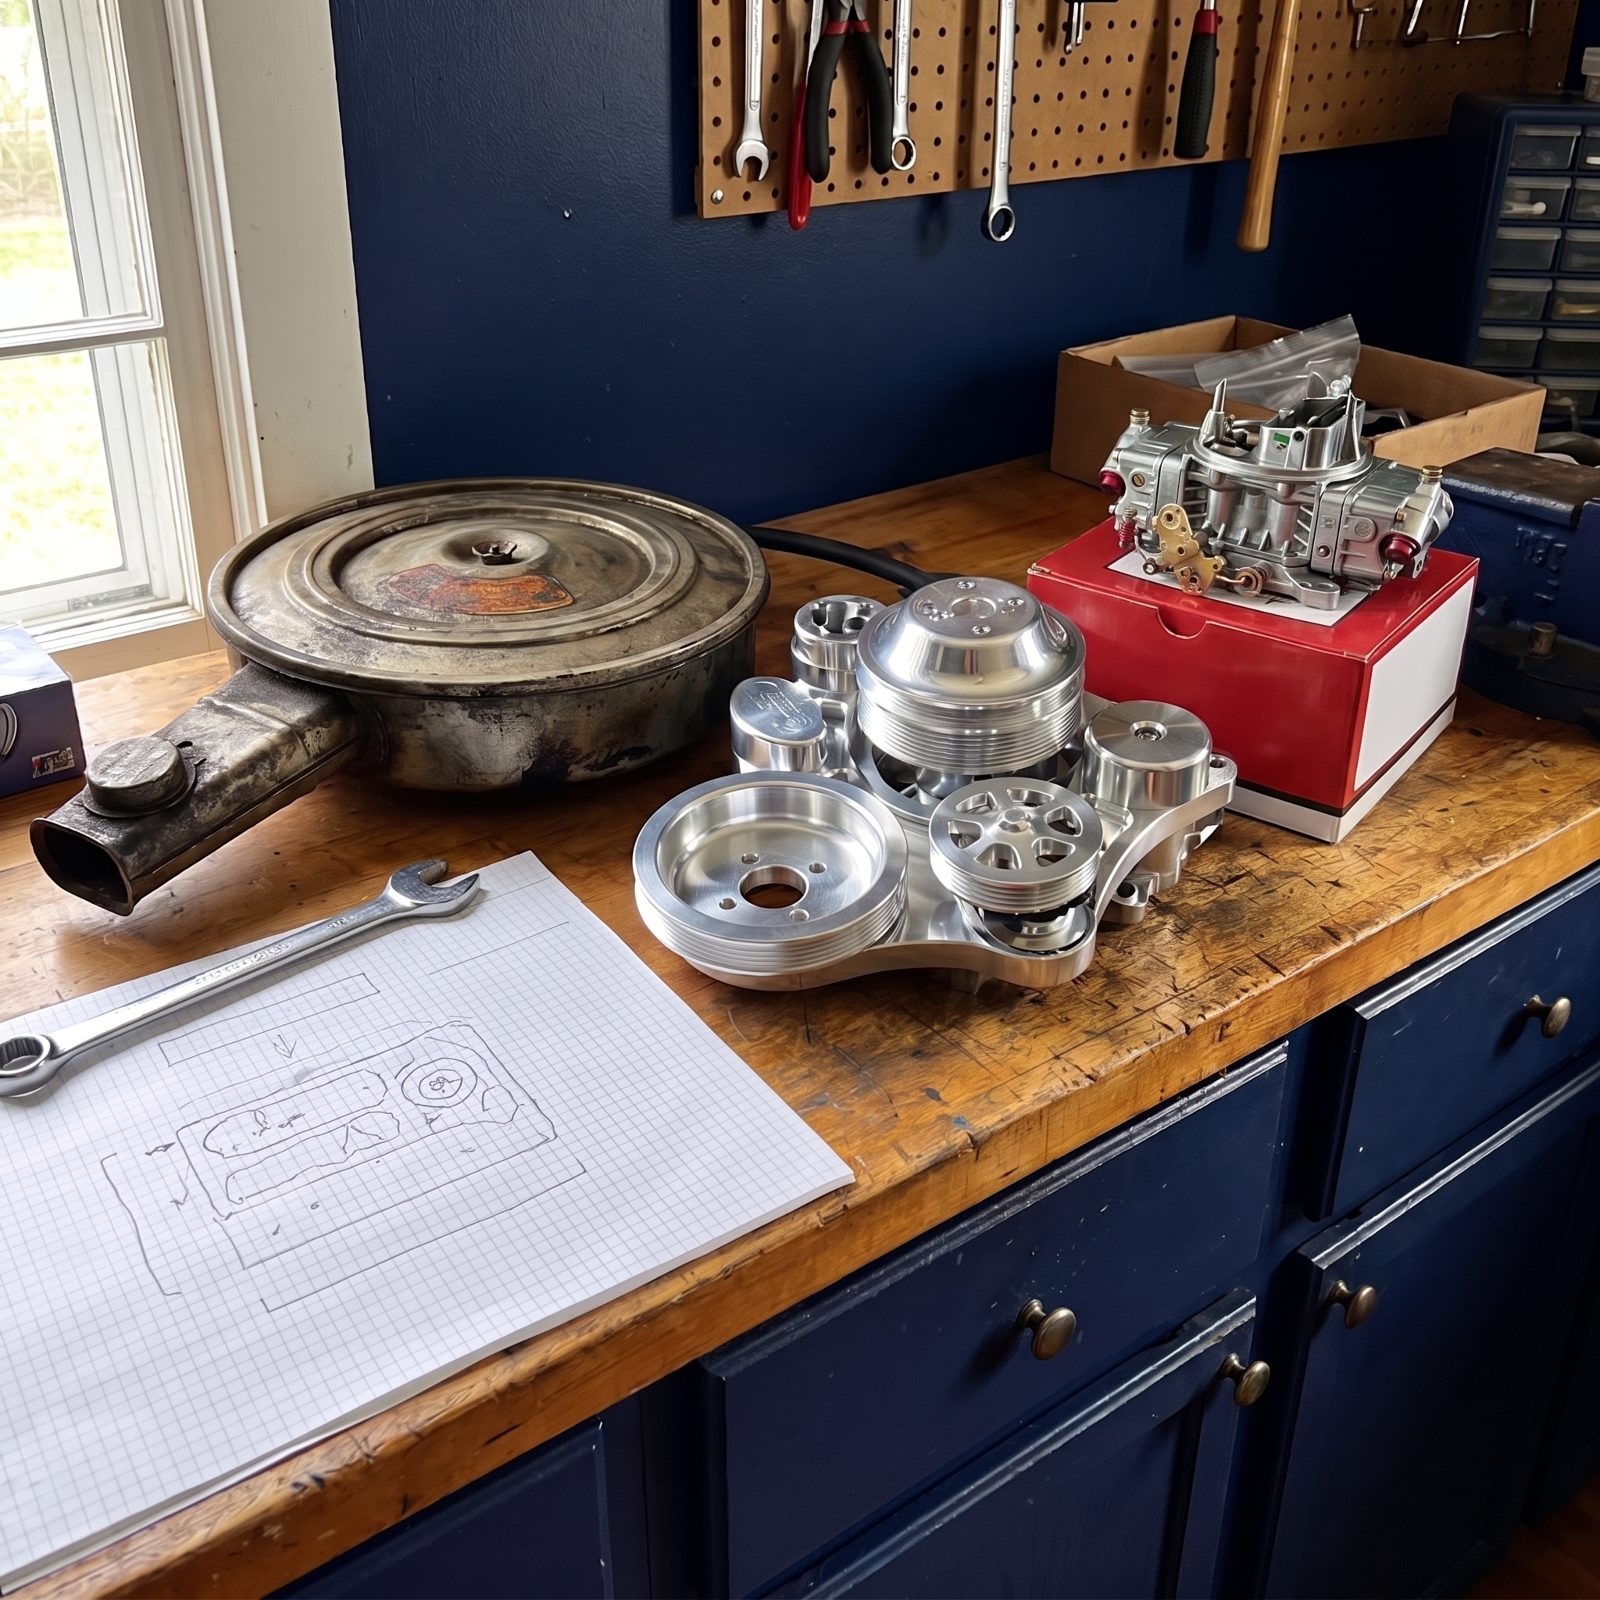
Three different cars hide inside the same project, and they cost wildly different money.
A driver you’ll actually enjoy on Saturday mornings. A restomod with modern brakes, EFI, and overdrive. A concours car that scores points but can’t be driven in the rain. Pick none of these up front and you’ll waste money pulling in three directions at once — chroming a bolt on a car you’re going to run in the dirt, or cheaping out on something you’ll later wish was factory-correct.
Decide before disassembly. Write it down. Every parts decision, every finish, every dollar flows from that one choice, and most first-timers end up happiest with a solid driver anyway. No shame in that.
34. Budgeting for Parts While Forgetting Outside Labor and a Contingency Fund
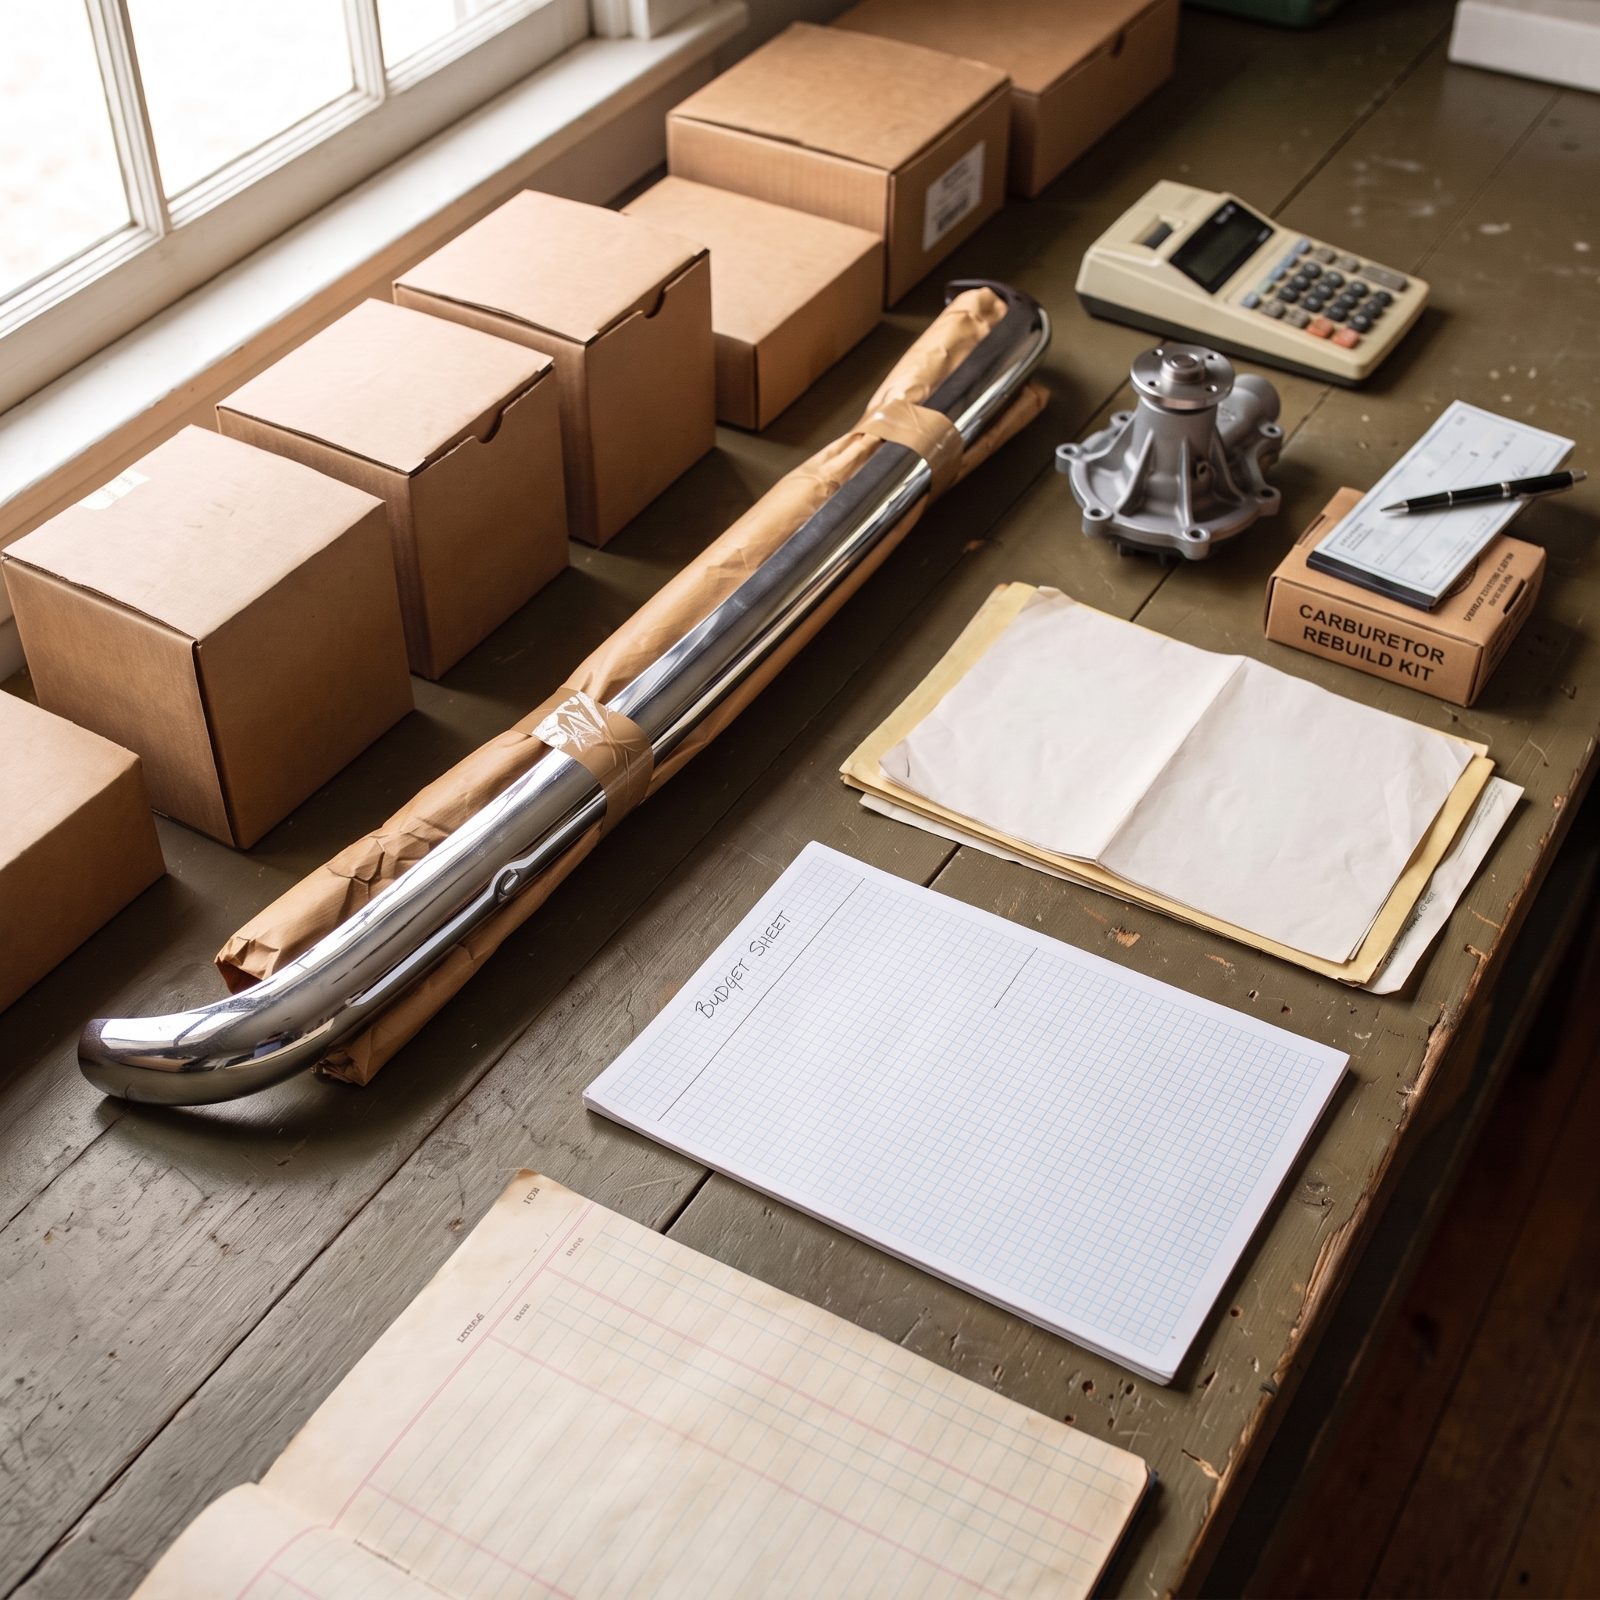
First-timers price out a catalog full of shiny reproduction parts and call that the budget. Parts are the easy number. Labor is the one that eats you alive.
Machine shop work, paint and body, upholstery, chrome plating, driveshaft balancing — the jobs you can’t do at home add up fast. And then there’s the surprise waiting in teardown: the frame that needs sectioning, the melted wiring harness, the cracked head you didn’t know about until the engine was apart on the bench.
So build a real budget with three columns: parts, outside labor, and a contingency fund that’s a healthy chunk of the total. The honest rule of thumb? Most first builds run double the napkin estimate. Plan for that and you’ll finish. Pretend it won’t happen and you’ll stall out with the body at the painter and no money to get it home.
33. Starting Without a Dry, Secure, Well-Lit Workspace
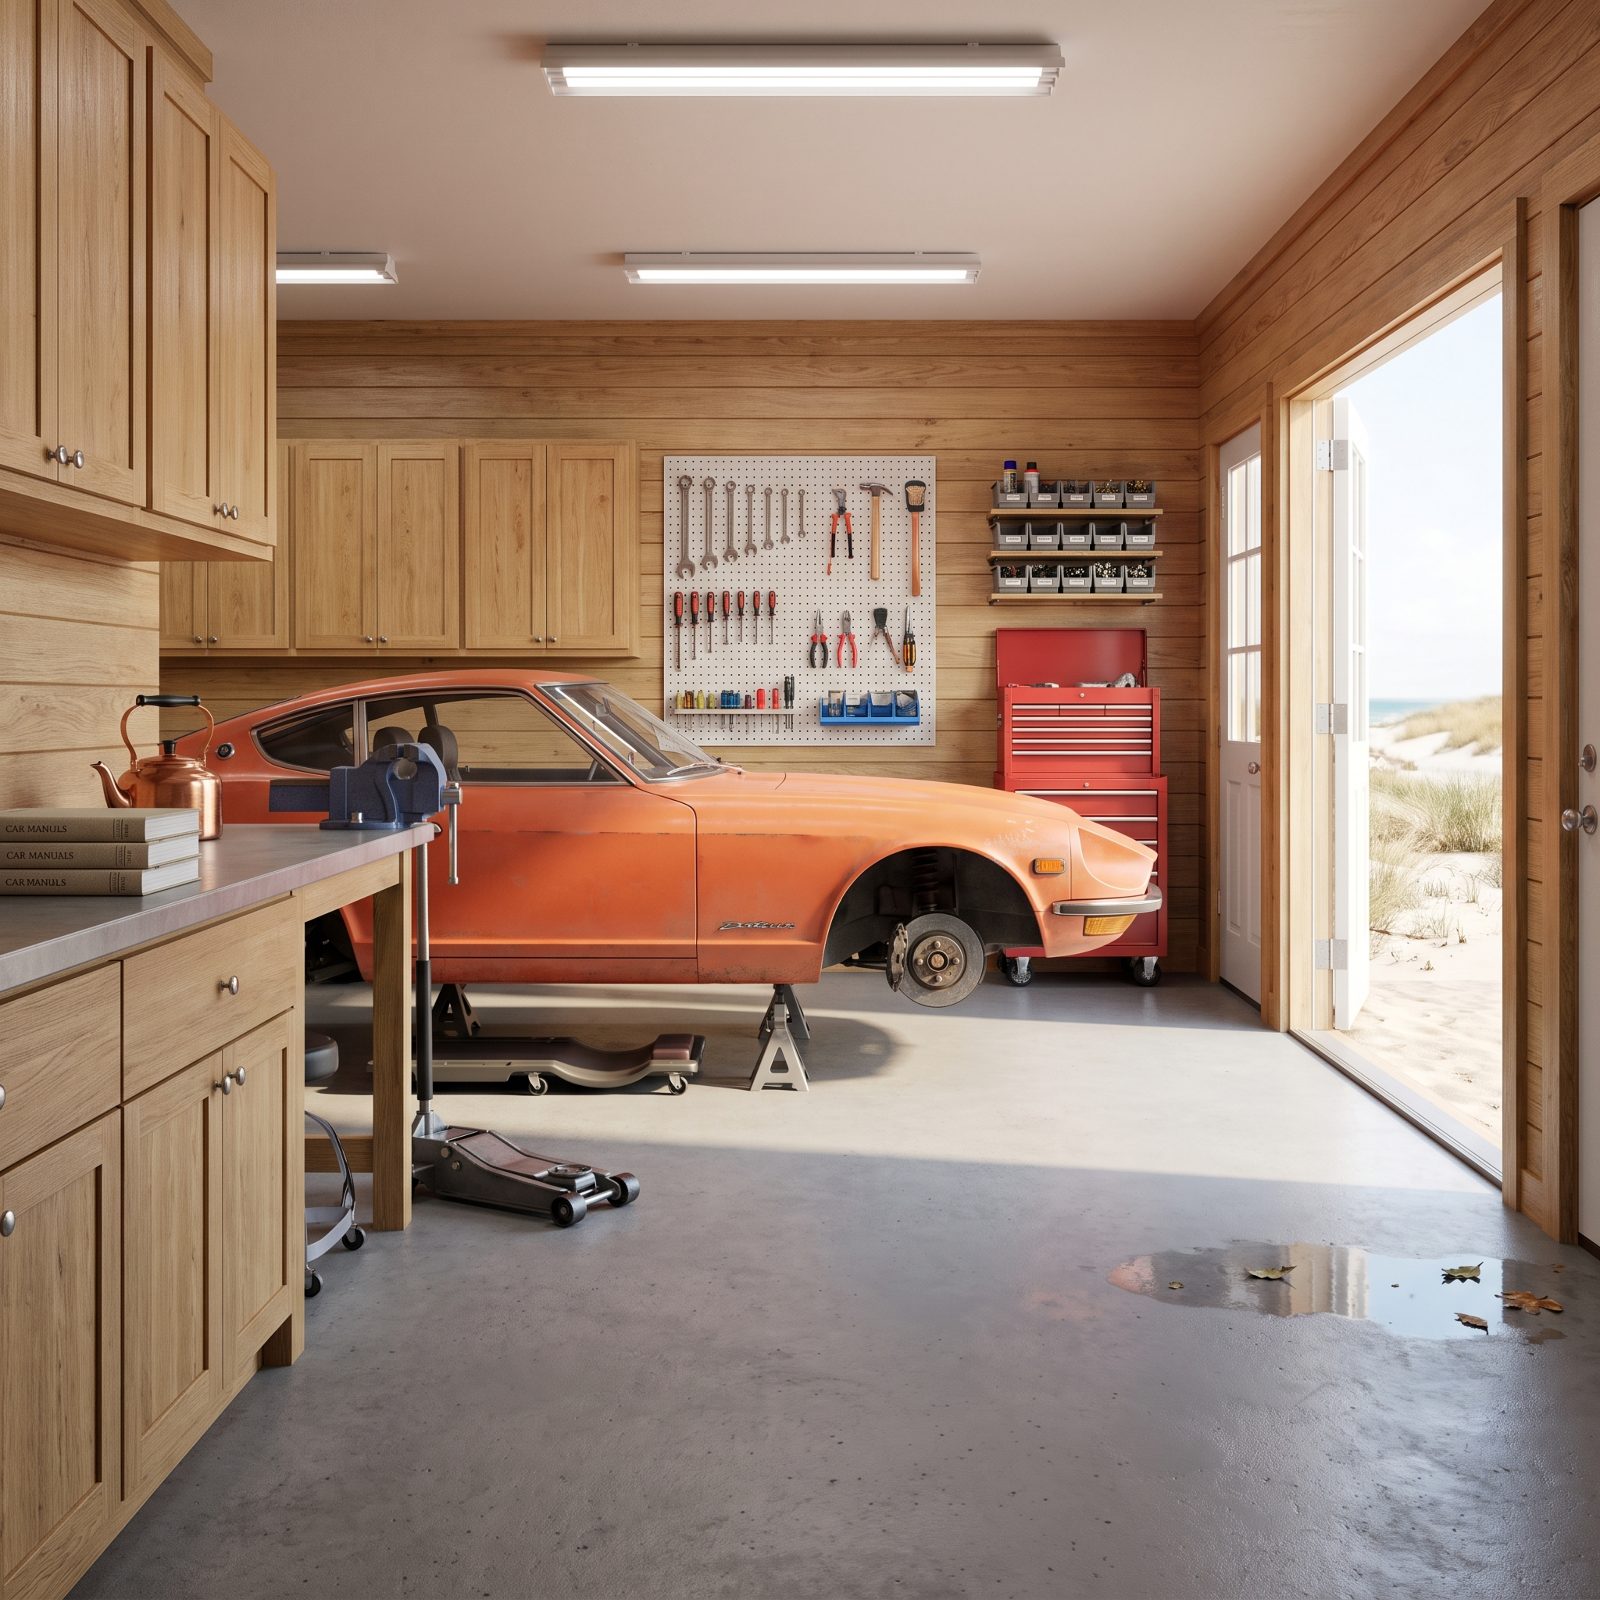
The project car that lives under a tarp in the side yard is already losing.
Damp invites fresh rust into metal you just cleaned. Poor light hides the hairline crack and the stripped thread. No security turns a half-built car into a target, and no floor space means you’re on your knees in the cold — which is precisely how enthusiasm dies.
You don’t need a palace. You need dry, lit, lockable, and enough room to open both doors and walk around the car. Add bright LED fixtures, a solid floor jack, a set of rated jack stands, a workbench, and some shelving before you pull the first panel. A workspace you actually enjoy being in is the single biggest predictor of a finished car.
32. Working Without the Factory Service and Assembly Manuals
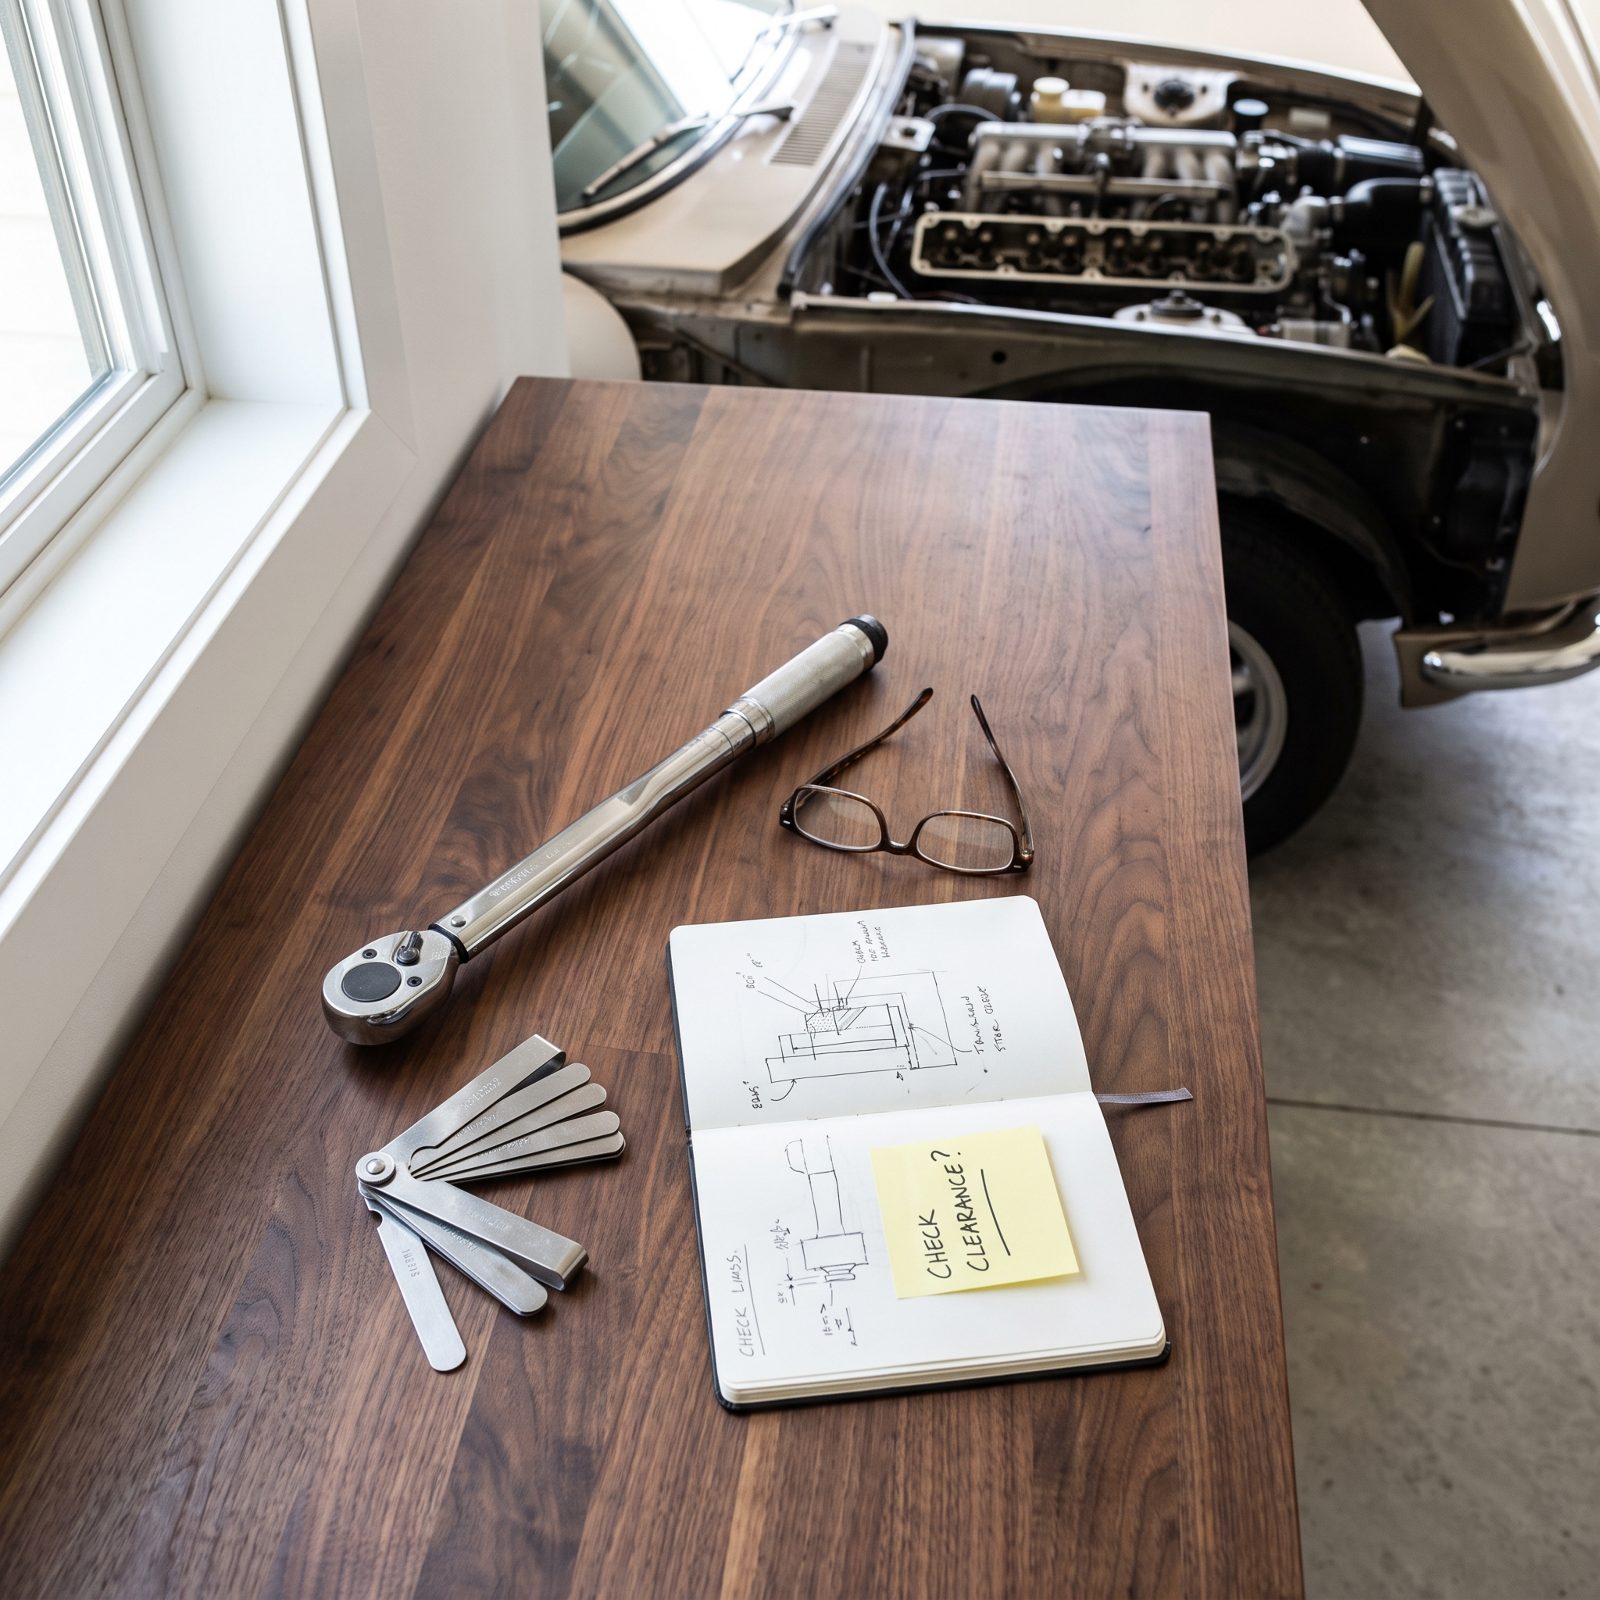
Memory and YouTube will get you most of the way. The last stretch is where you strip a thread or forget which way the thrust washer faces.
Factory service and assembly manuals give you the torque specs, the fastener sizes, the order parts go back together, and all those little clips and shims that are impossible to figure out backward. Guess wrong on a cylinder head sequence or a suspension torque and you’re doing the job twice — or worse, chasing a failure three towns from home.
Buy the real factory shop manual and the assembly manual for your exact year and model before teardown. Reprints are cheap. A marque forum and a local club round out the rest of your library. Read ahead of the wrench, not behind it.
31. Taking the Entire Car Apart on the First Weekend
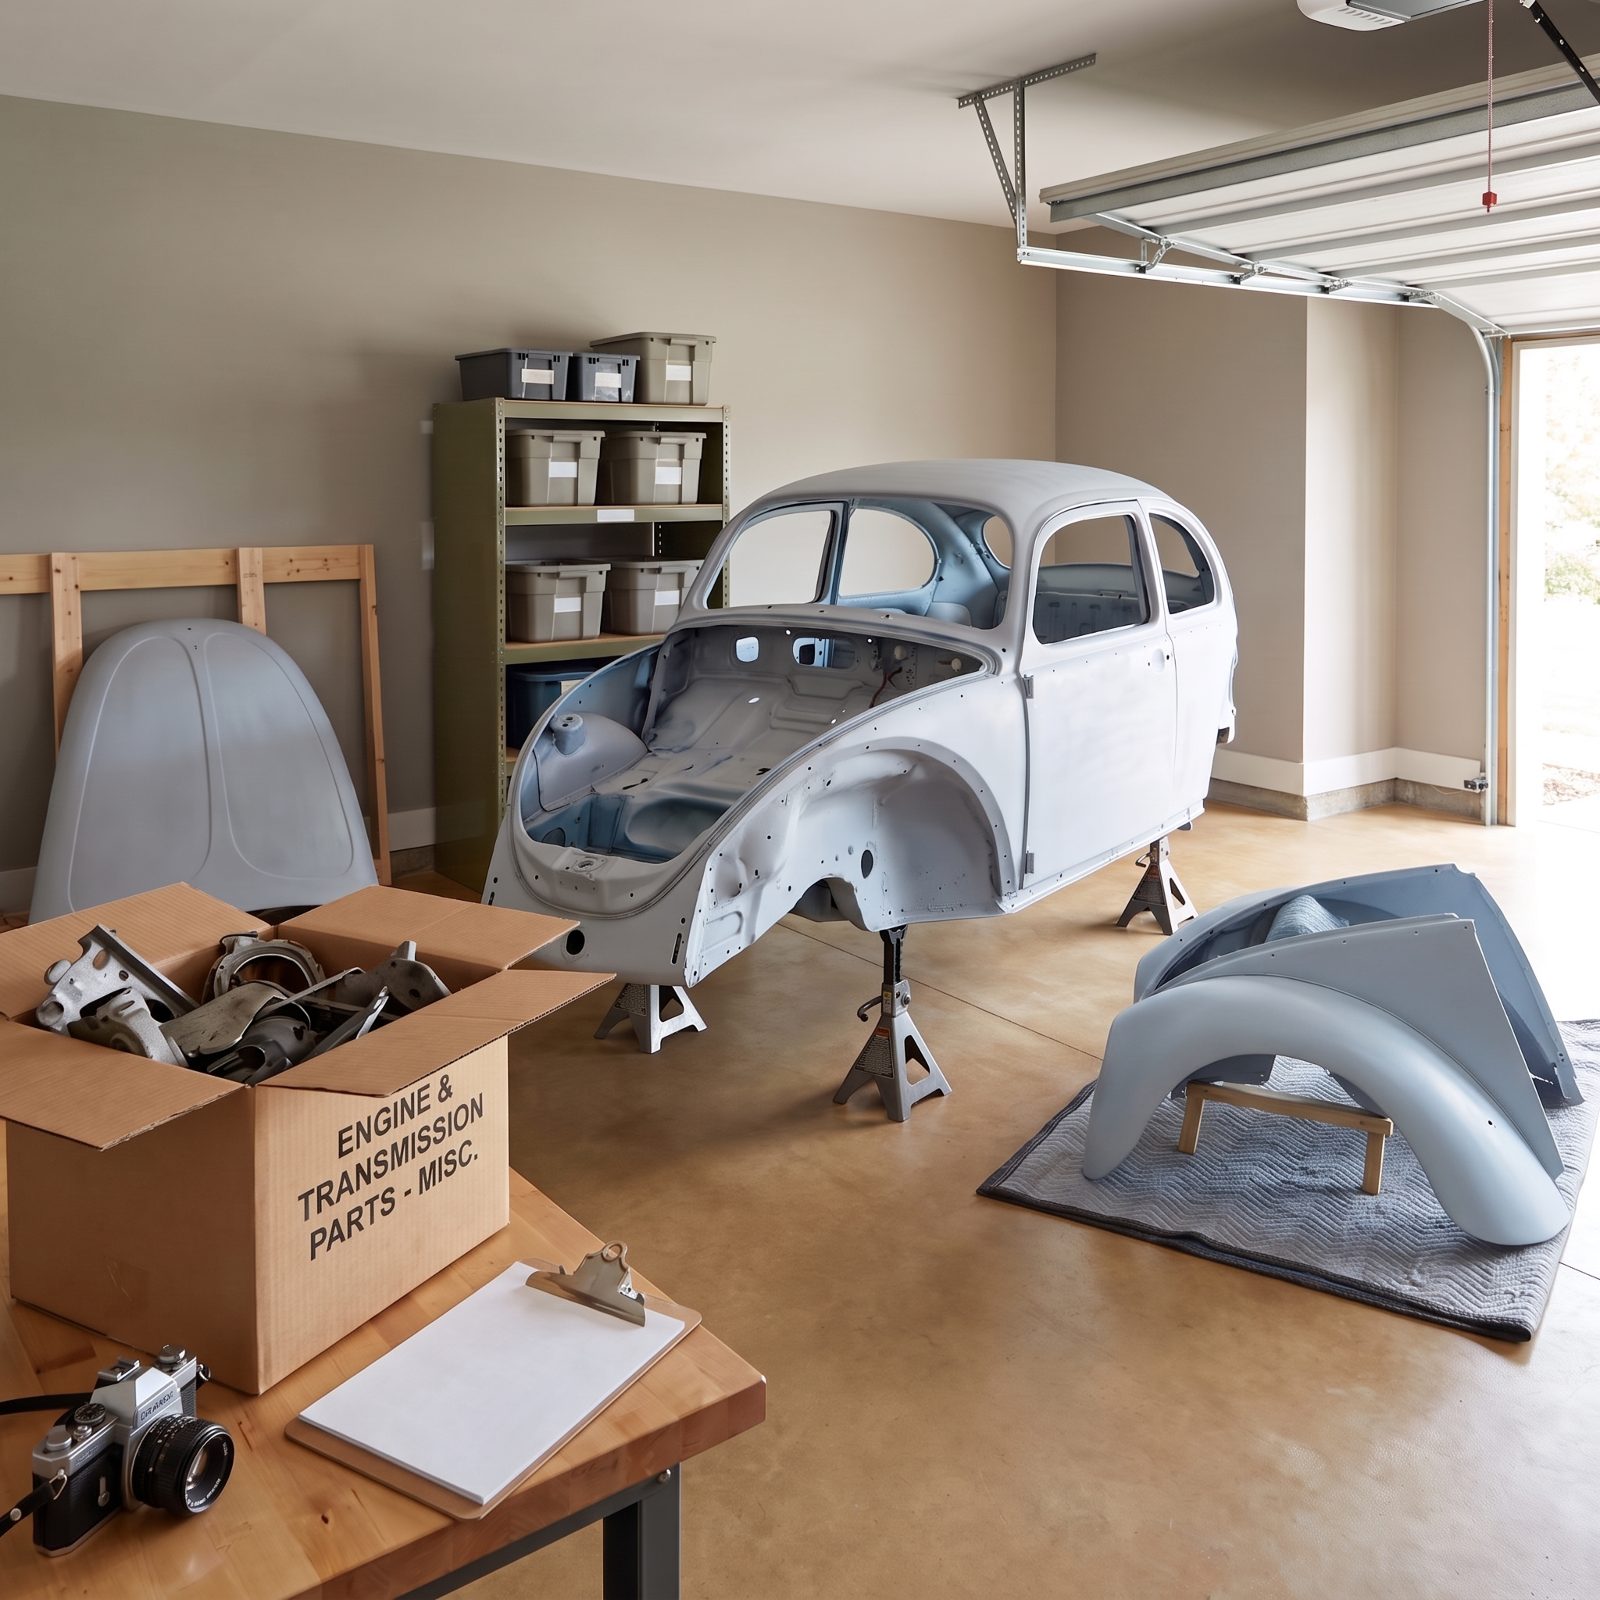
The adrenaline of a fresh project is a liar. That first weekend you want to see bolts fly and the car stripped to a shell. Don’t.
A car torn fully to pieces with no plan, no labels, and no money to reassemble it is how projects become “basket cases” that sell for scrap on marketplace. Loose parts wander off, rubber and seals vanish, and the sheer size of the pile crushes your morale. A box of unidentifiable brackets eighteen months later tells you nothing at all.
Work in subsystems instead. Disassemble, document, clean, repair, and reassemble one section before you move to the next — or at the very least, tear down in organized stages you can actually track. The goal was never the fastest teardown. It’s the ability to put it all back exactly where it came from.
30. Failing to Photograph the Car Before and During Disassembly

Would you like to save this?
Six months from now, you will not remember how that vacuum hose routed or which clip held the wiring over the valve cover. Nobody does.
Without a photo record, reassembly becomes pure guesswork — and the small original details are exactly what separate a right-looking car from an almost-right one. The correct hose routing. The decal placement. The way the trim overlaps. On a show car, that’s the gap between points and no points.
Shoot everything before you touch it and at every stage of teardown. Wide shots, tight shots. Wiring, vacuum lines, bracket orientation, factory markings, hardware sitting right where it belongs. Dump them into dated folders by subsystem. Your phone is the cheapest, most useful restoration tool you own, so lean on it constantly.
29. Removing Parts Without Labeling, Bagging, and Organizing Their Hardware
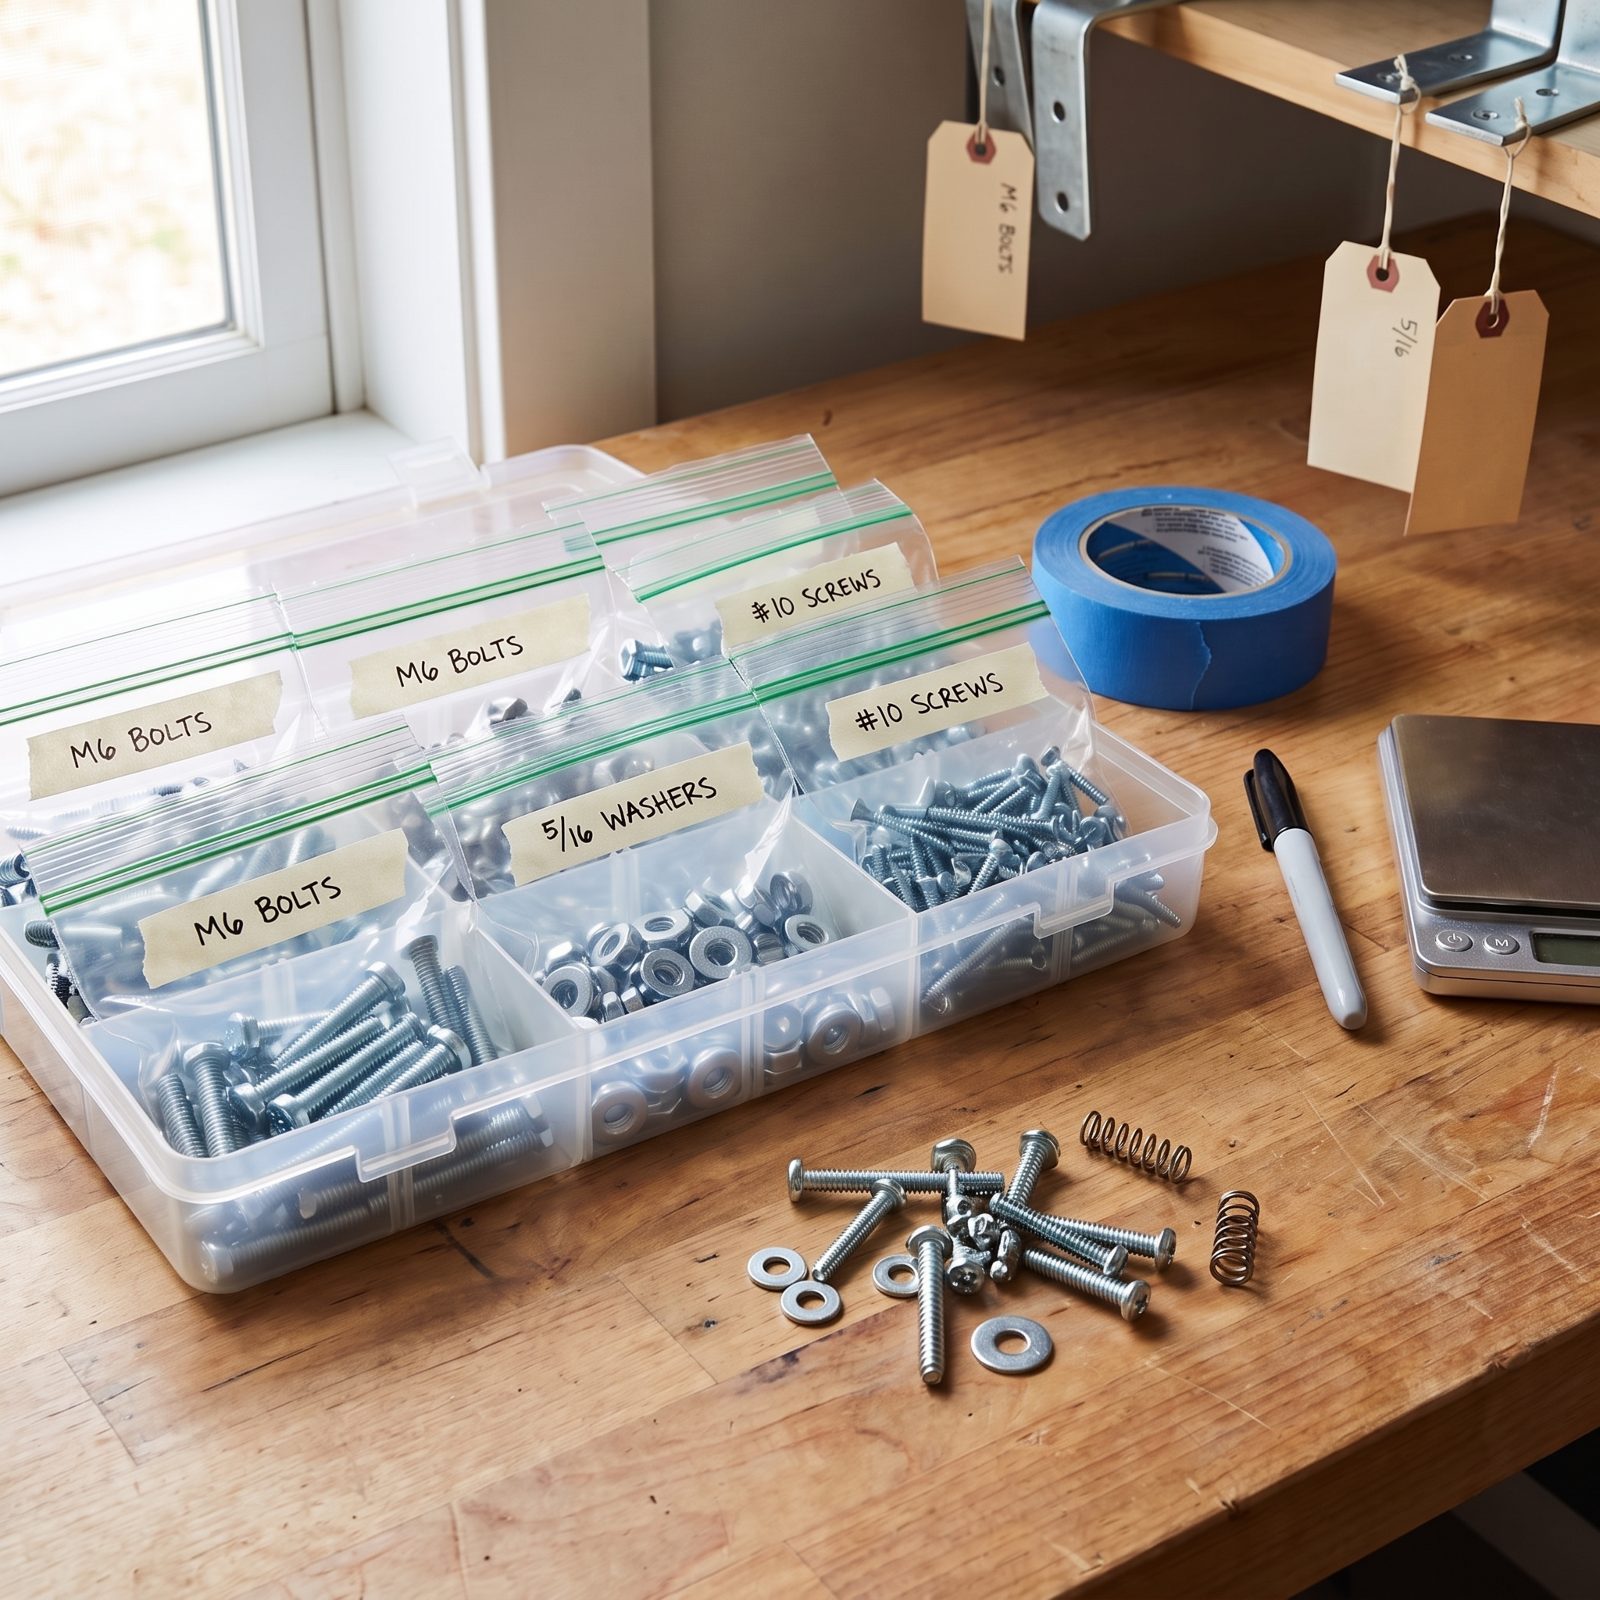
The coffee can full of mixed bolts is the universal symbol of a restoration gone sideways. Every first-timer swears they’ll remember. None of them do.
Original fasteners aren’t interchangeable. A metric and an SAE bolt can thread far enough to feel right, then strip. Finishes differ, lengths differ, and some fasteners belong to exactly one bracket and go unobtanium the moment you lose them. Dump it all in a bucket and you’ll burn hours and real money re-sourcing hardware you already owned.
Bag the hardware with the part it came off. Label each bag with masking tape and a marker — what it is, where it goes, which way it faced. Use a divided organizer or labeled boxes sorted by subsystem. Yeah, it feels slow during teardown. It’ll save you tenfold during the part you actually care about: putting the car back together.
28. Discarding Original Components Before Replacements Are Proven to Fit
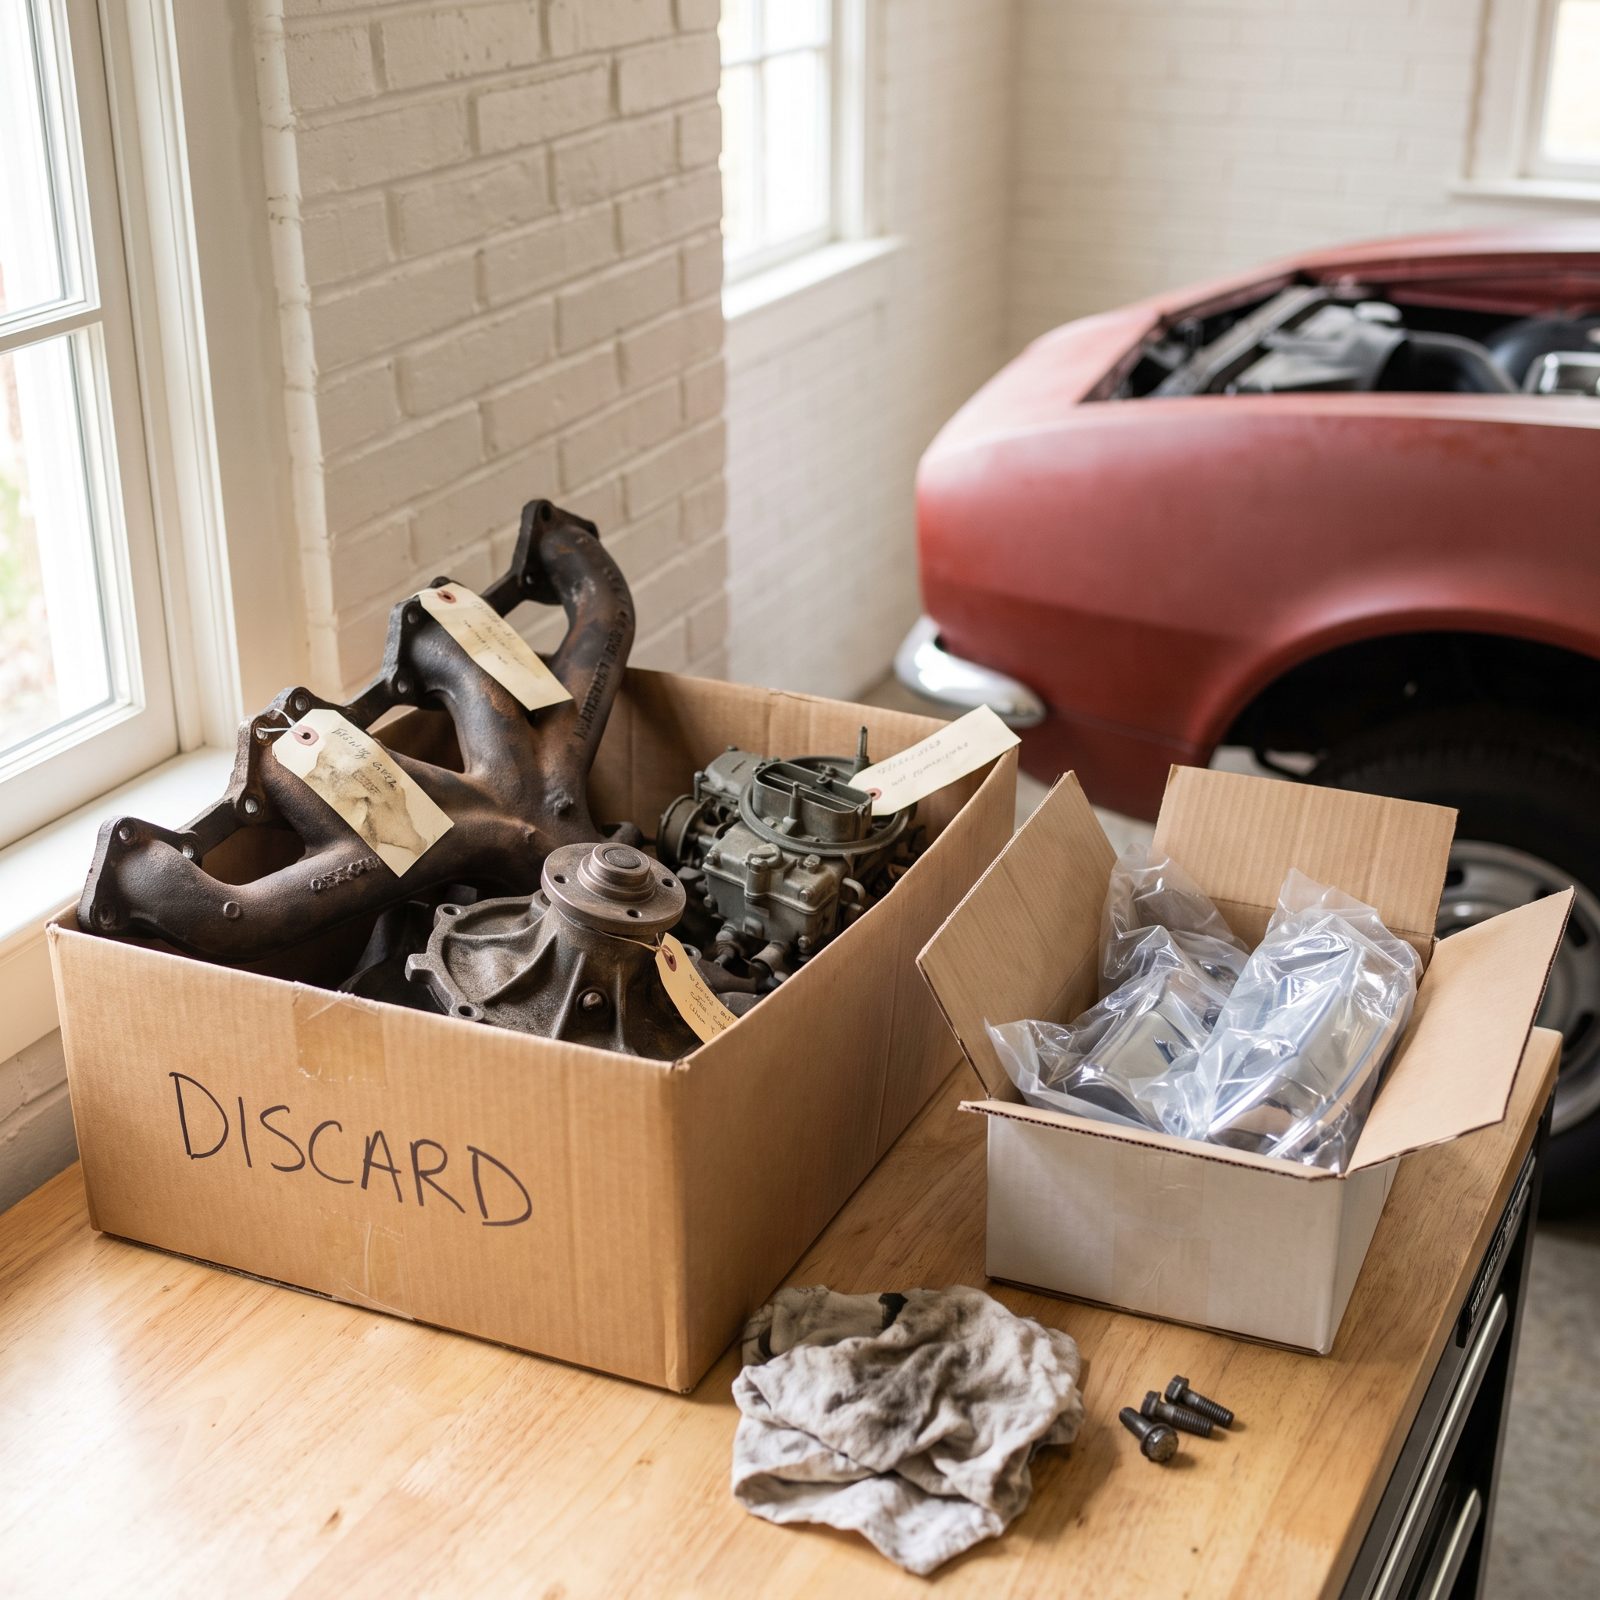
That original carburetor in the dumpster seemed like dead weight. Then the reproduction unit showed up with the throttle linkage in the wrong spot and a base gasket that doesn’t match any flange you own.
Repro parts are a gamble. Castings vary, bolt patterns drift, and the box that says “fits 1967-1969” was written by somebody who never once laid hands on your actual car. Toss the factory piece and you’ve thrown away your only reference and your only backup at the same time, which means paying twice and waiting weeks for a second try. The core charge alone makes those old parts worth real money.
Keep every original until the new part is bolted on and working. Bag it, tag it with blue painter’s tape and a Sharpie, and shelve it. We’ve rebuilt more “junk” originals than we’d care to admit, and most ran better than the shiny replacement ever did.
27. Ignoring Parts Availability for Rare Models and Trim Levels
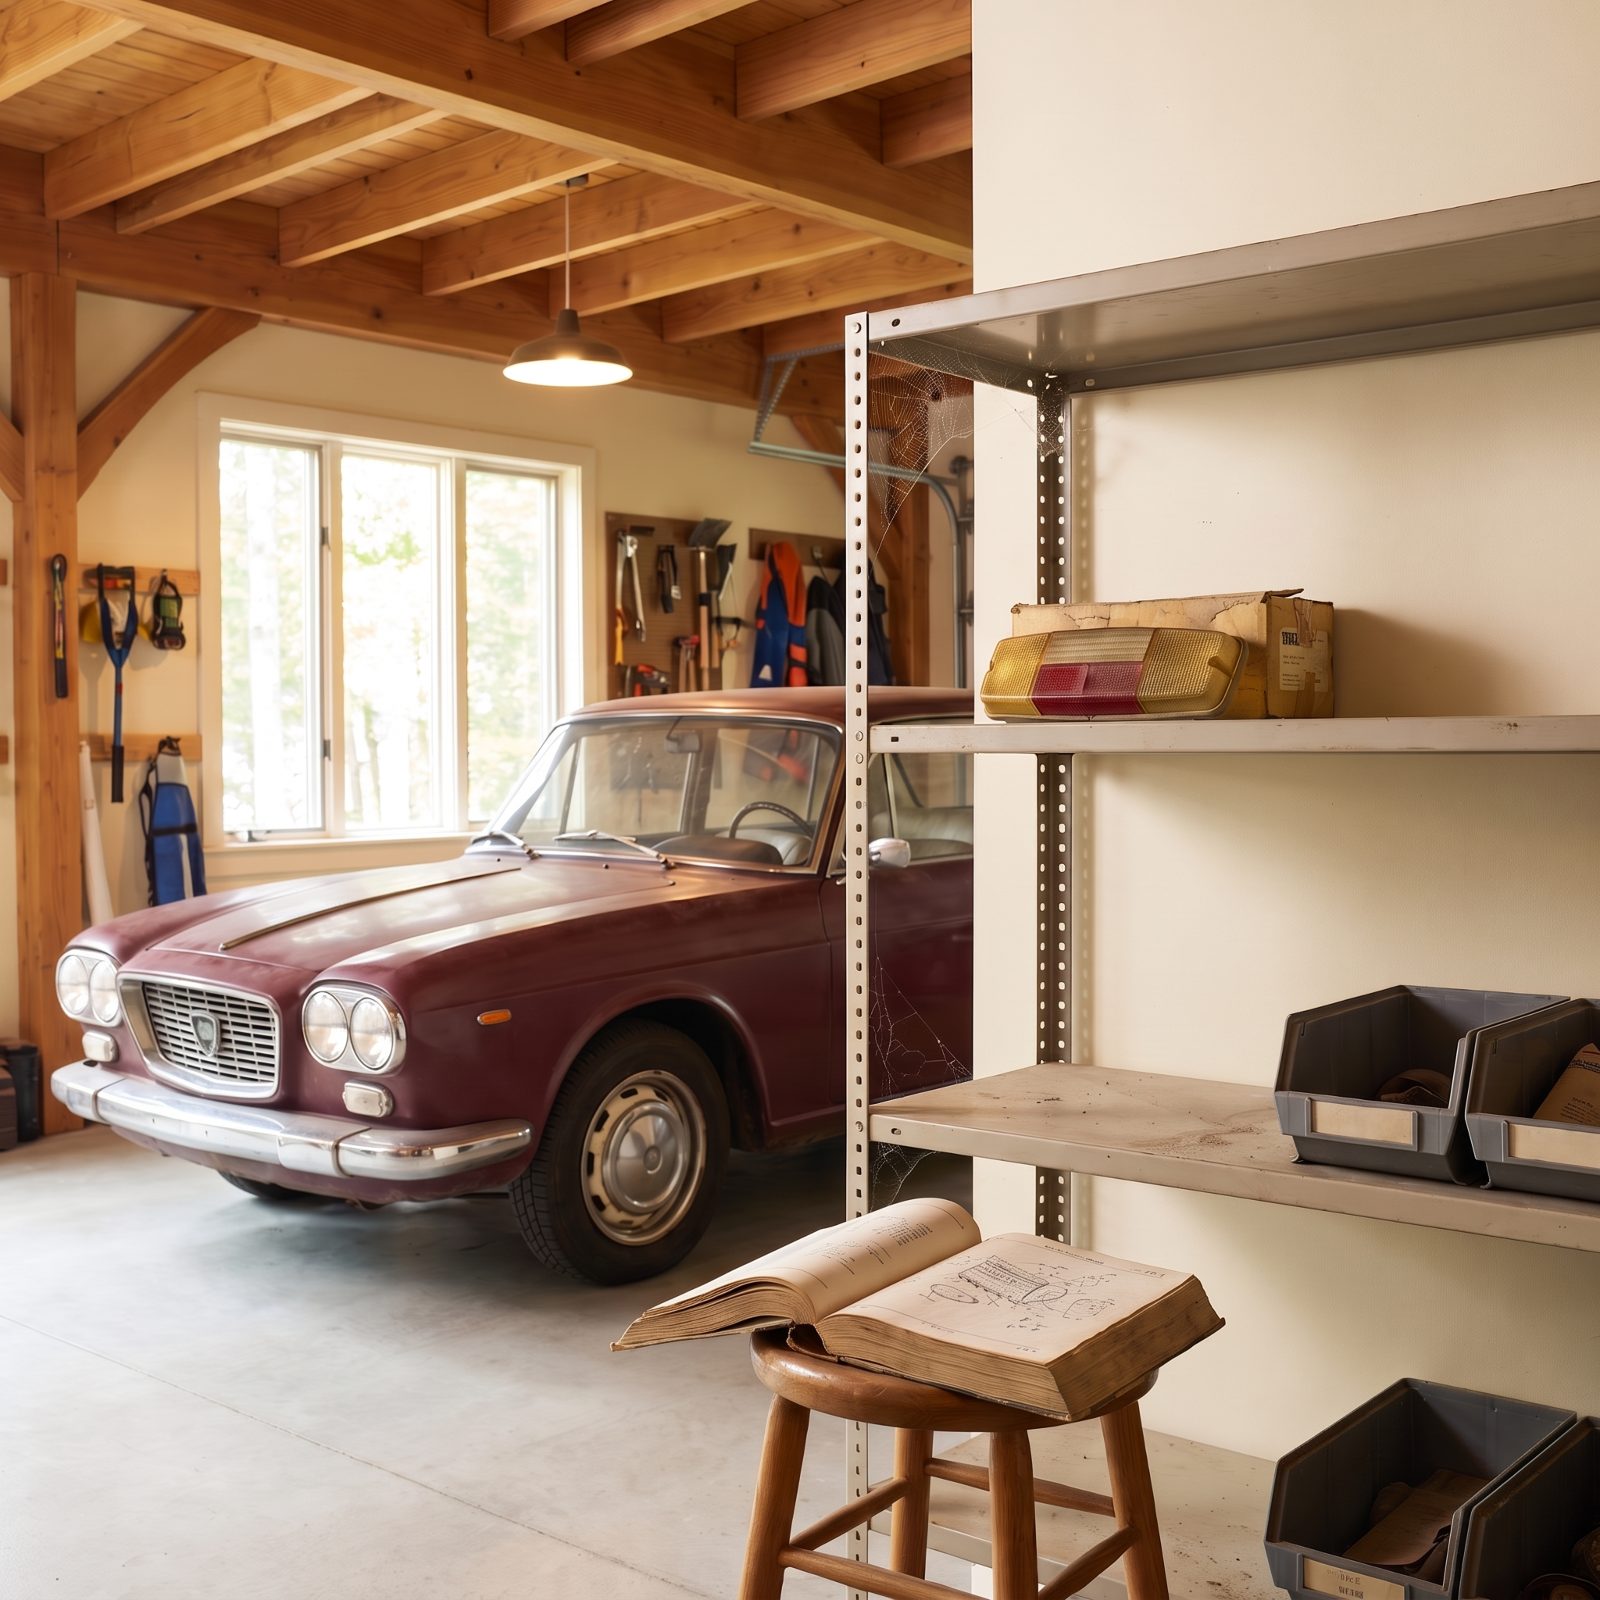
Buying the rare one feels like a win until the day you need a windshield.
A base Mustang coupe has a parts catalog thicker than a phone book. A specific Shelby or a one-year-only trim level has a handful of specialists and a waiting list measured in seasons, and that rust-free Pininfarina body panel might not exist anywhere on earth at any price. So the car sits parked in the garage for three years because one clip is unobtanium.
Spend a week pricing the hard parts before any money changes hands. Glass, chrome, interior-specific trim, badges. Call two suppliers and a marque club. If the answer is “nobody makes that,” you’re signing up to fabricate it yourself or live without it.
26. Removing the Body From the Frame Without Bracing the Shell
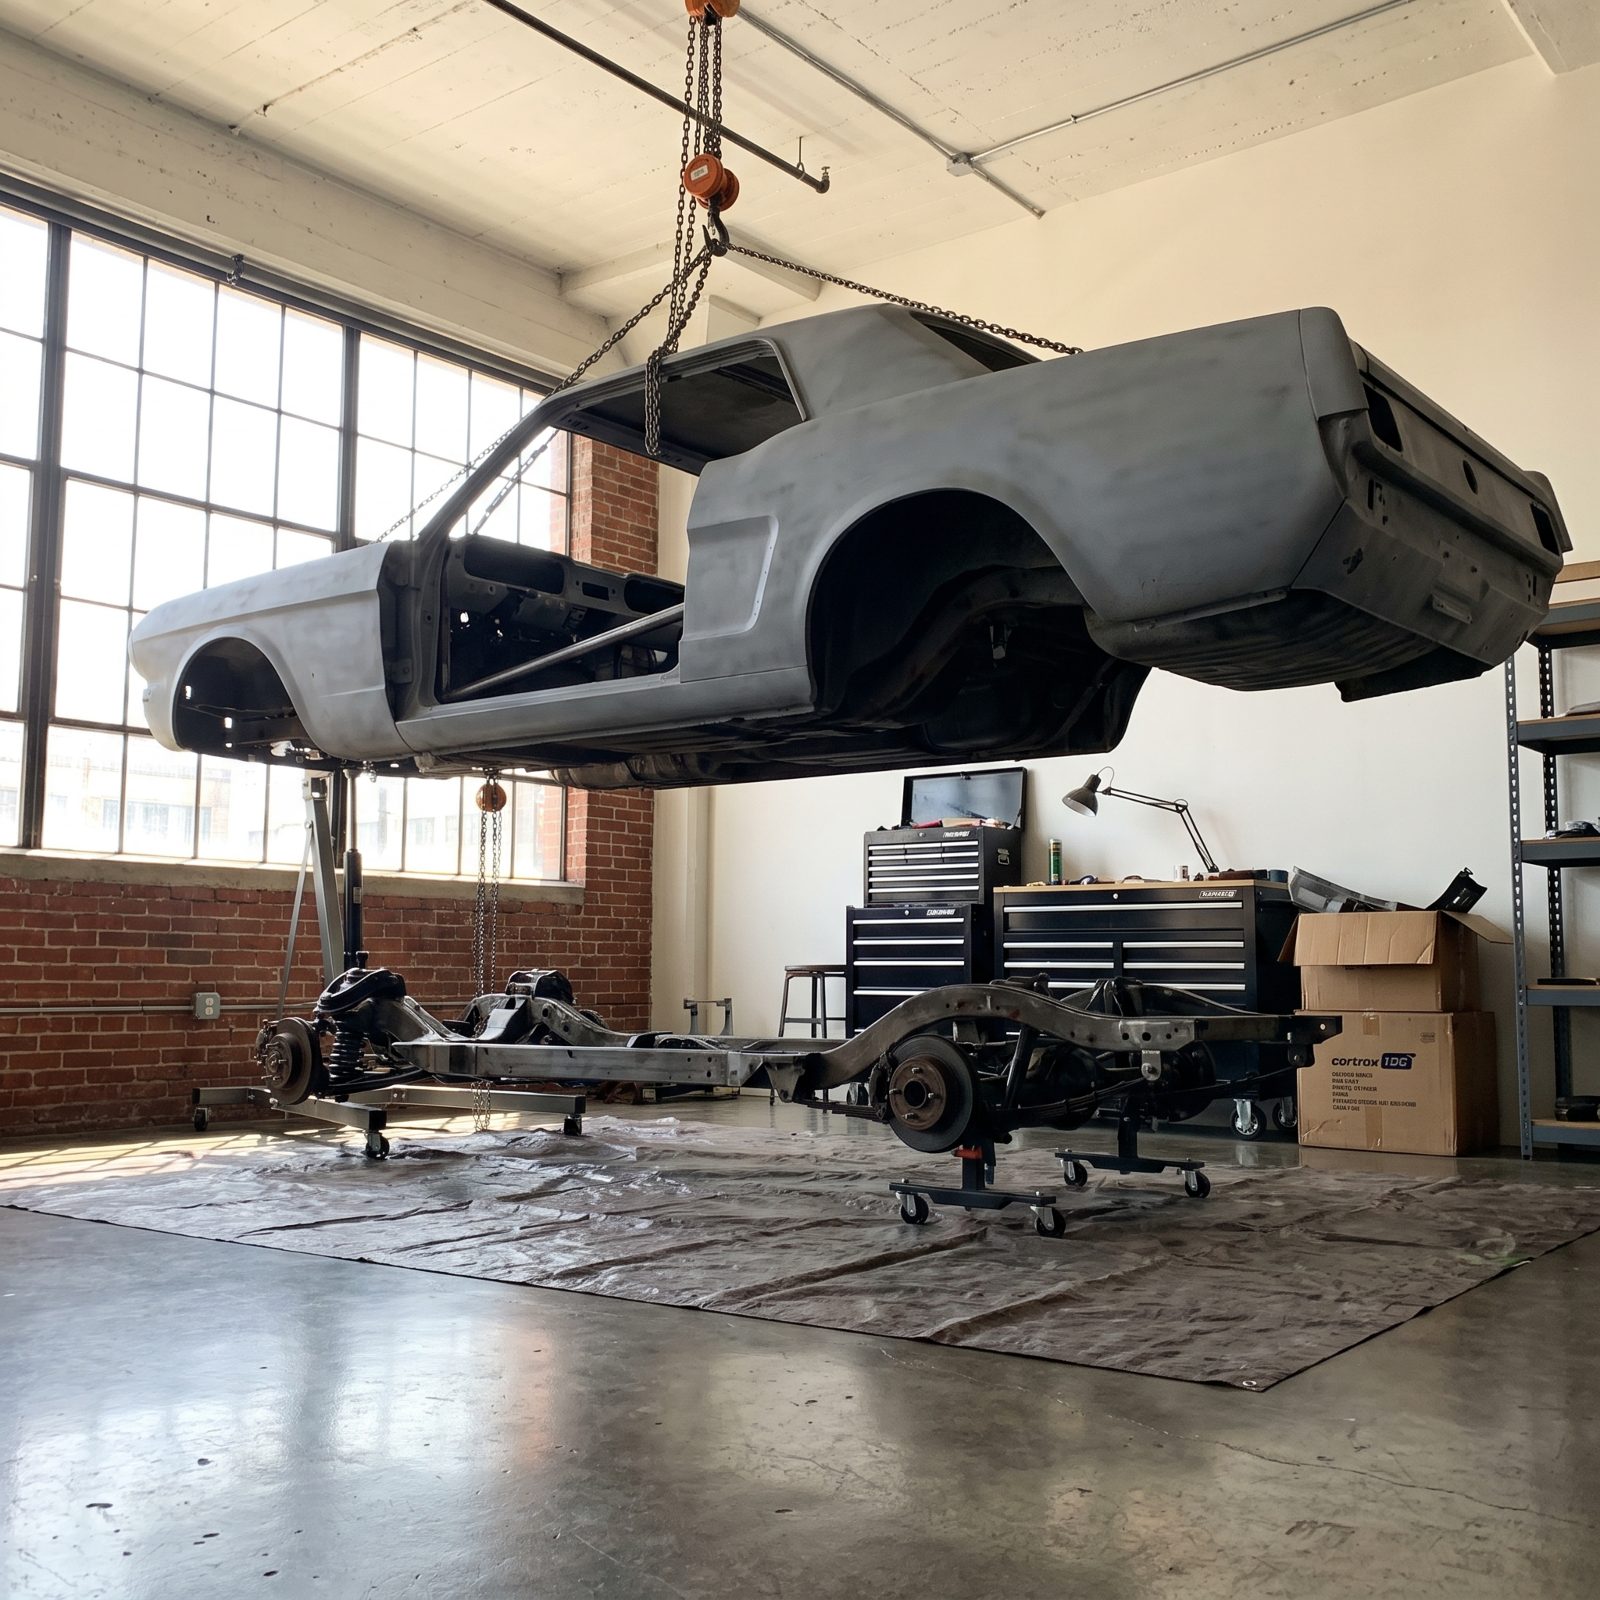
A unibody shell with the doors and glass out is about as rigid as a cardboard box with the flaps open.
Pull it off the subframe or hang it on a rotisserie with no bracing and the thing sags under its own weight. Door gaps close up, the roof twists, and the whole body takes a set you’ll never fully chase back out. Panels that lined up perfectly on day one won’t line up again, and you won’t know why.
Weld in door bars and a firewall-to-floor brace before you separate anything. Square tube, tacked across every major opening. Measure the gaps first and write the numbers down so you’ve got a target to aim for. One afternoon of work that saves a year of swearing at a door that won’t shut.
25. Lifting the Car From Rust-Weakened Jacking Points
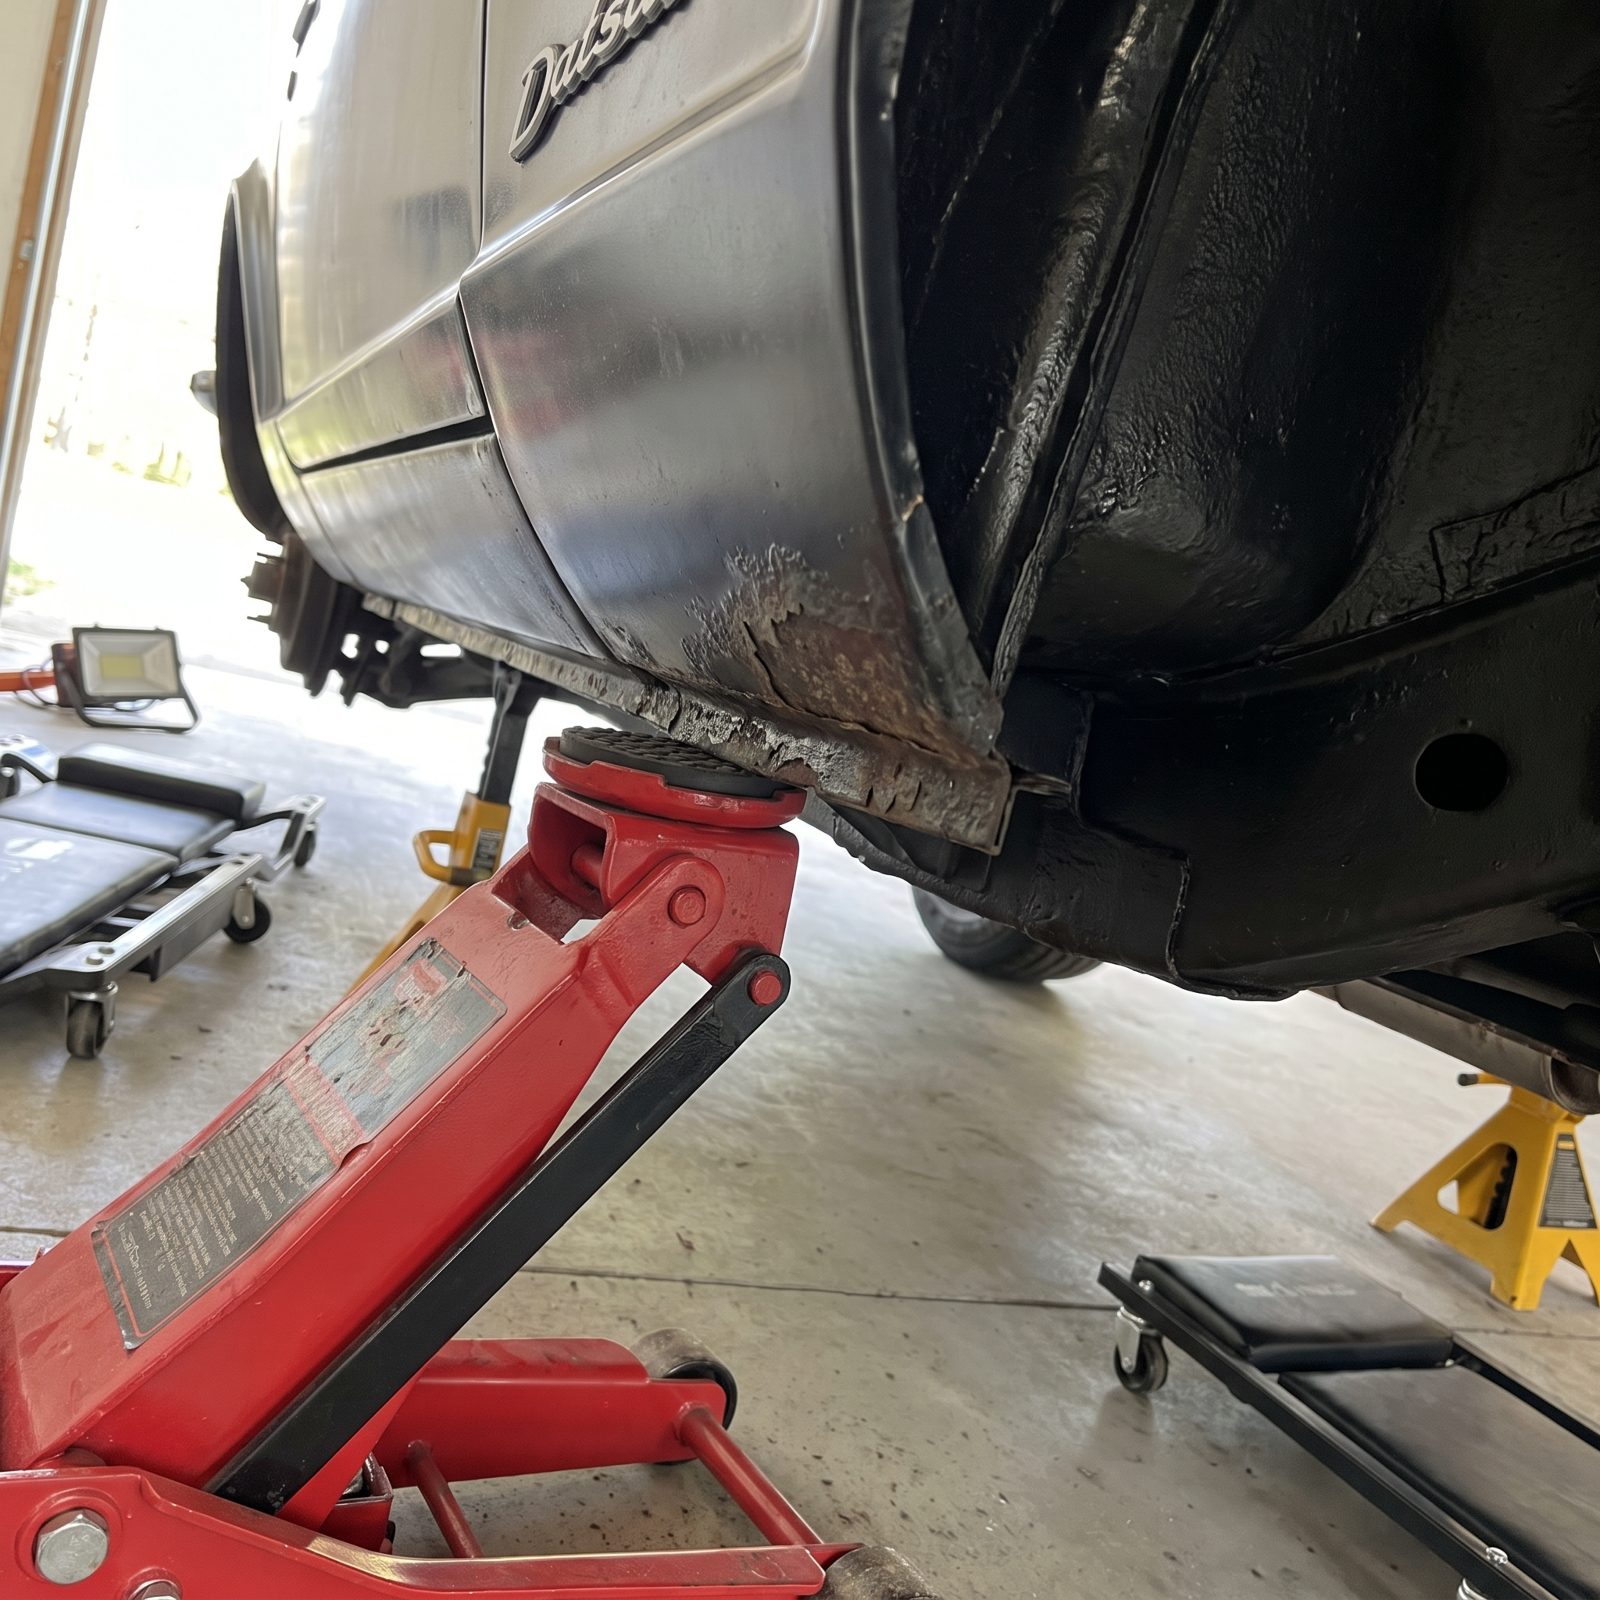
You slide the jack under the factory pinch weld like you’ve done a hundred times. From three feet away the metal looks perfectly fine.
Up close, though, decades of trapped moisture have turned that seam into a potato chip of layered scale. Load it and it folds, the car drops an inch, and now you’ve got a bent rocker, a cracked weld, or a very bad afternoon. On old iron, the original jacking points are the first place rust hides and the last place you want to trust under two tons.
Probe every lift point with a screwdriver before it takes weight. If it crunches, walk away from it. Lift from the subframe, the differential housing, or a known-solid reinforced area, and get jack stands under solid structure right away. A hockey puck or a hardwood block spreads the load. Never work under a car held by a jack alone. Ever.
24. Media-Blasting Thin Body Panels Until They Warp
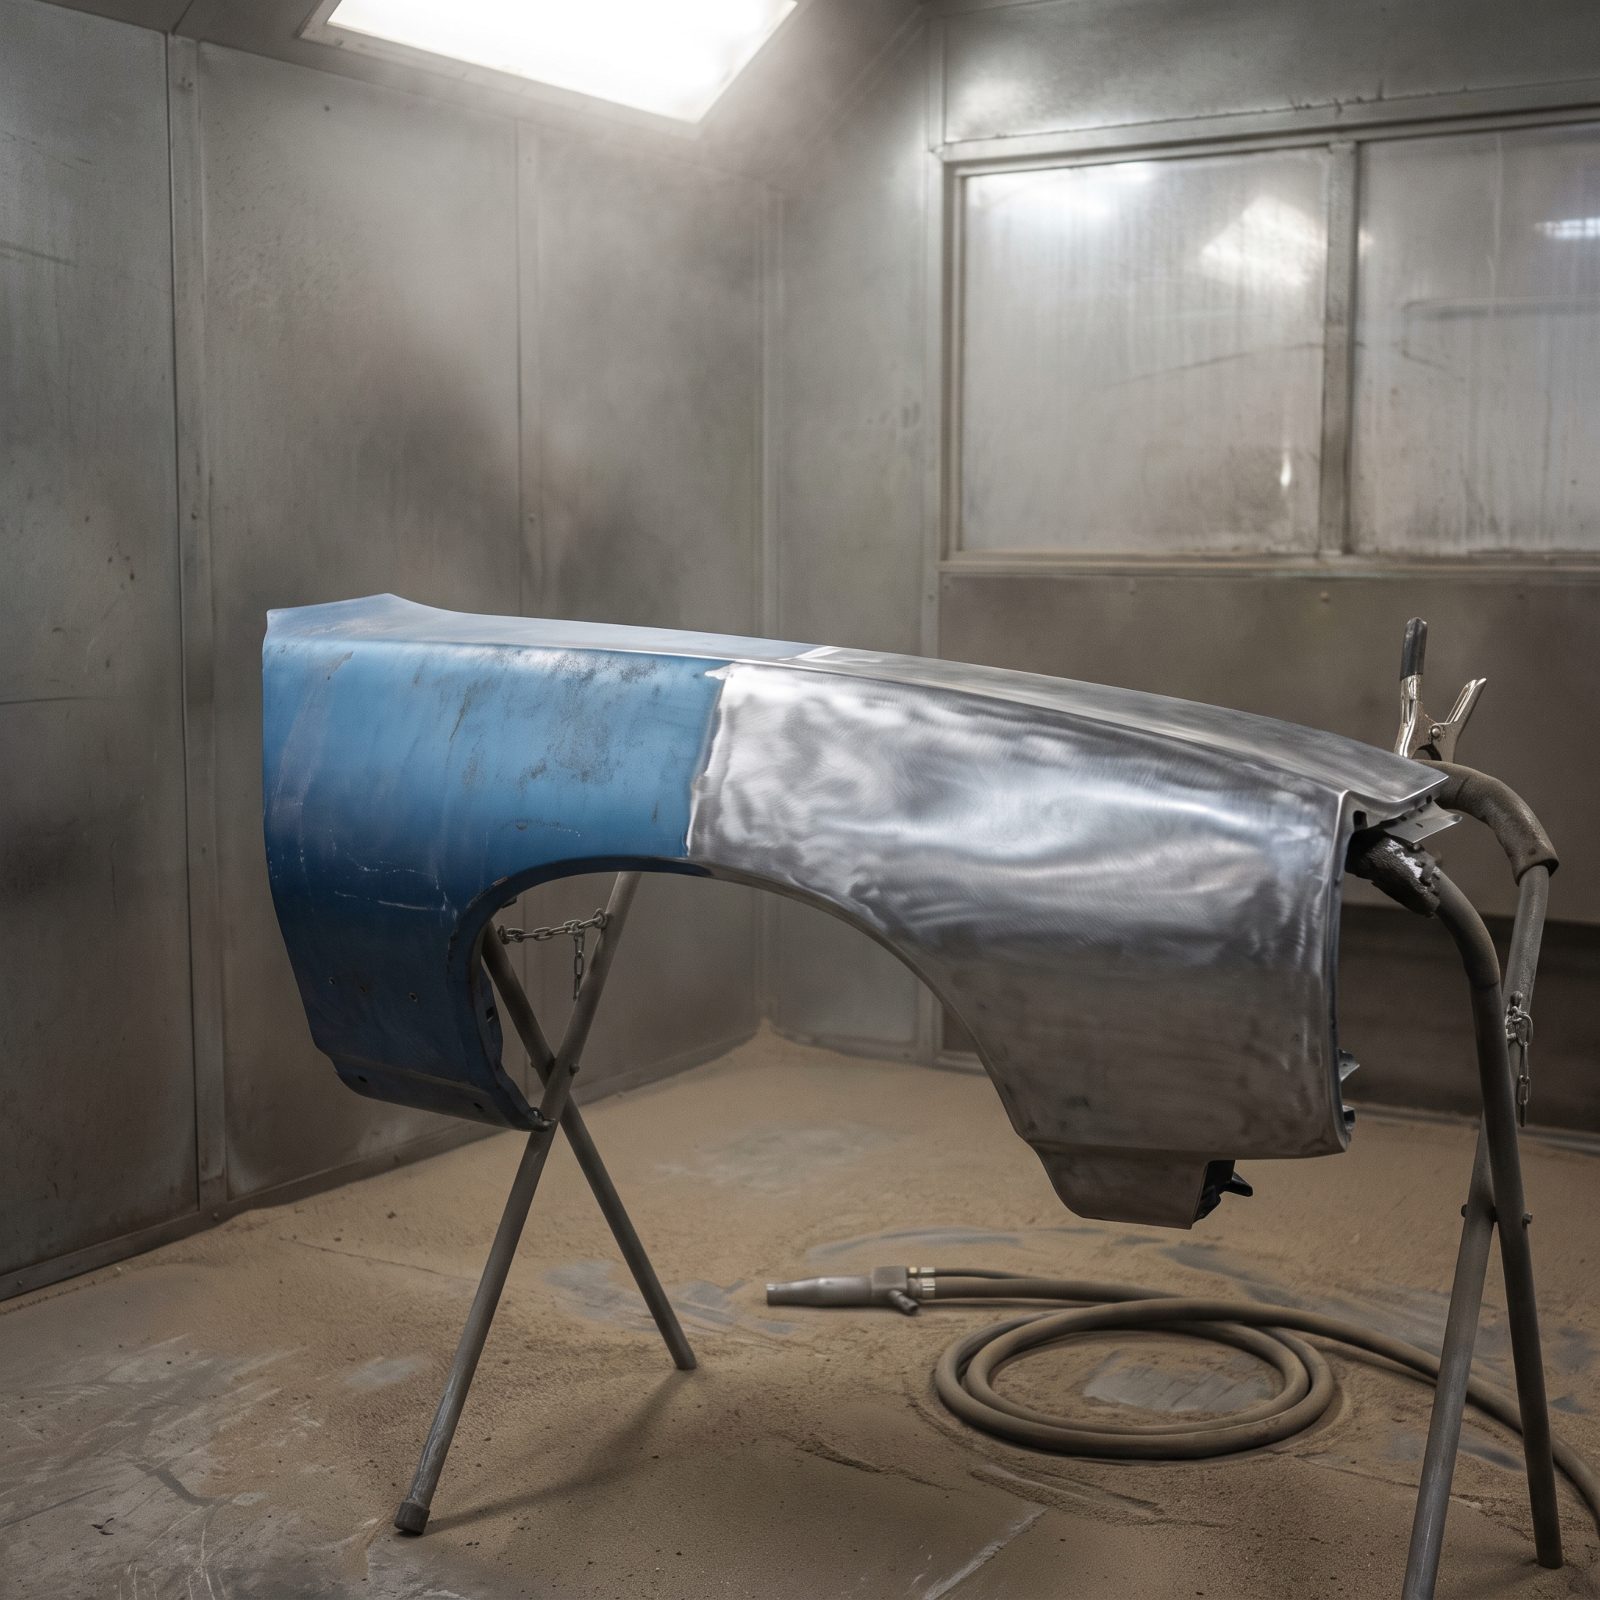
Sandblasting a whole door skin feels fast and thorough. It’s also a great way to turn a flat panel into a washboard.
Aggressive media at high pressure heats and stretches thin sheet metal. The steel oil-cans, ripples set in, and no amount of filler truly flattens a panel that’s been stretched. Trade an hour of stripping for a lifetime of wavy reflections in the afternoon sun.
Save blasting for heavy castings, frames, and brackets. For large flat panels, drop to a lower-pressure soda blast, plastic media, or go old-school with a chemical stripper and a plastic scraper. On small spots, a DA sander with 80-grit does the job without the heat. Keep the nozzle moving, and never let it dwell in one place.
23. Repairing Visible Rust While Ignoring Hidden Cavities
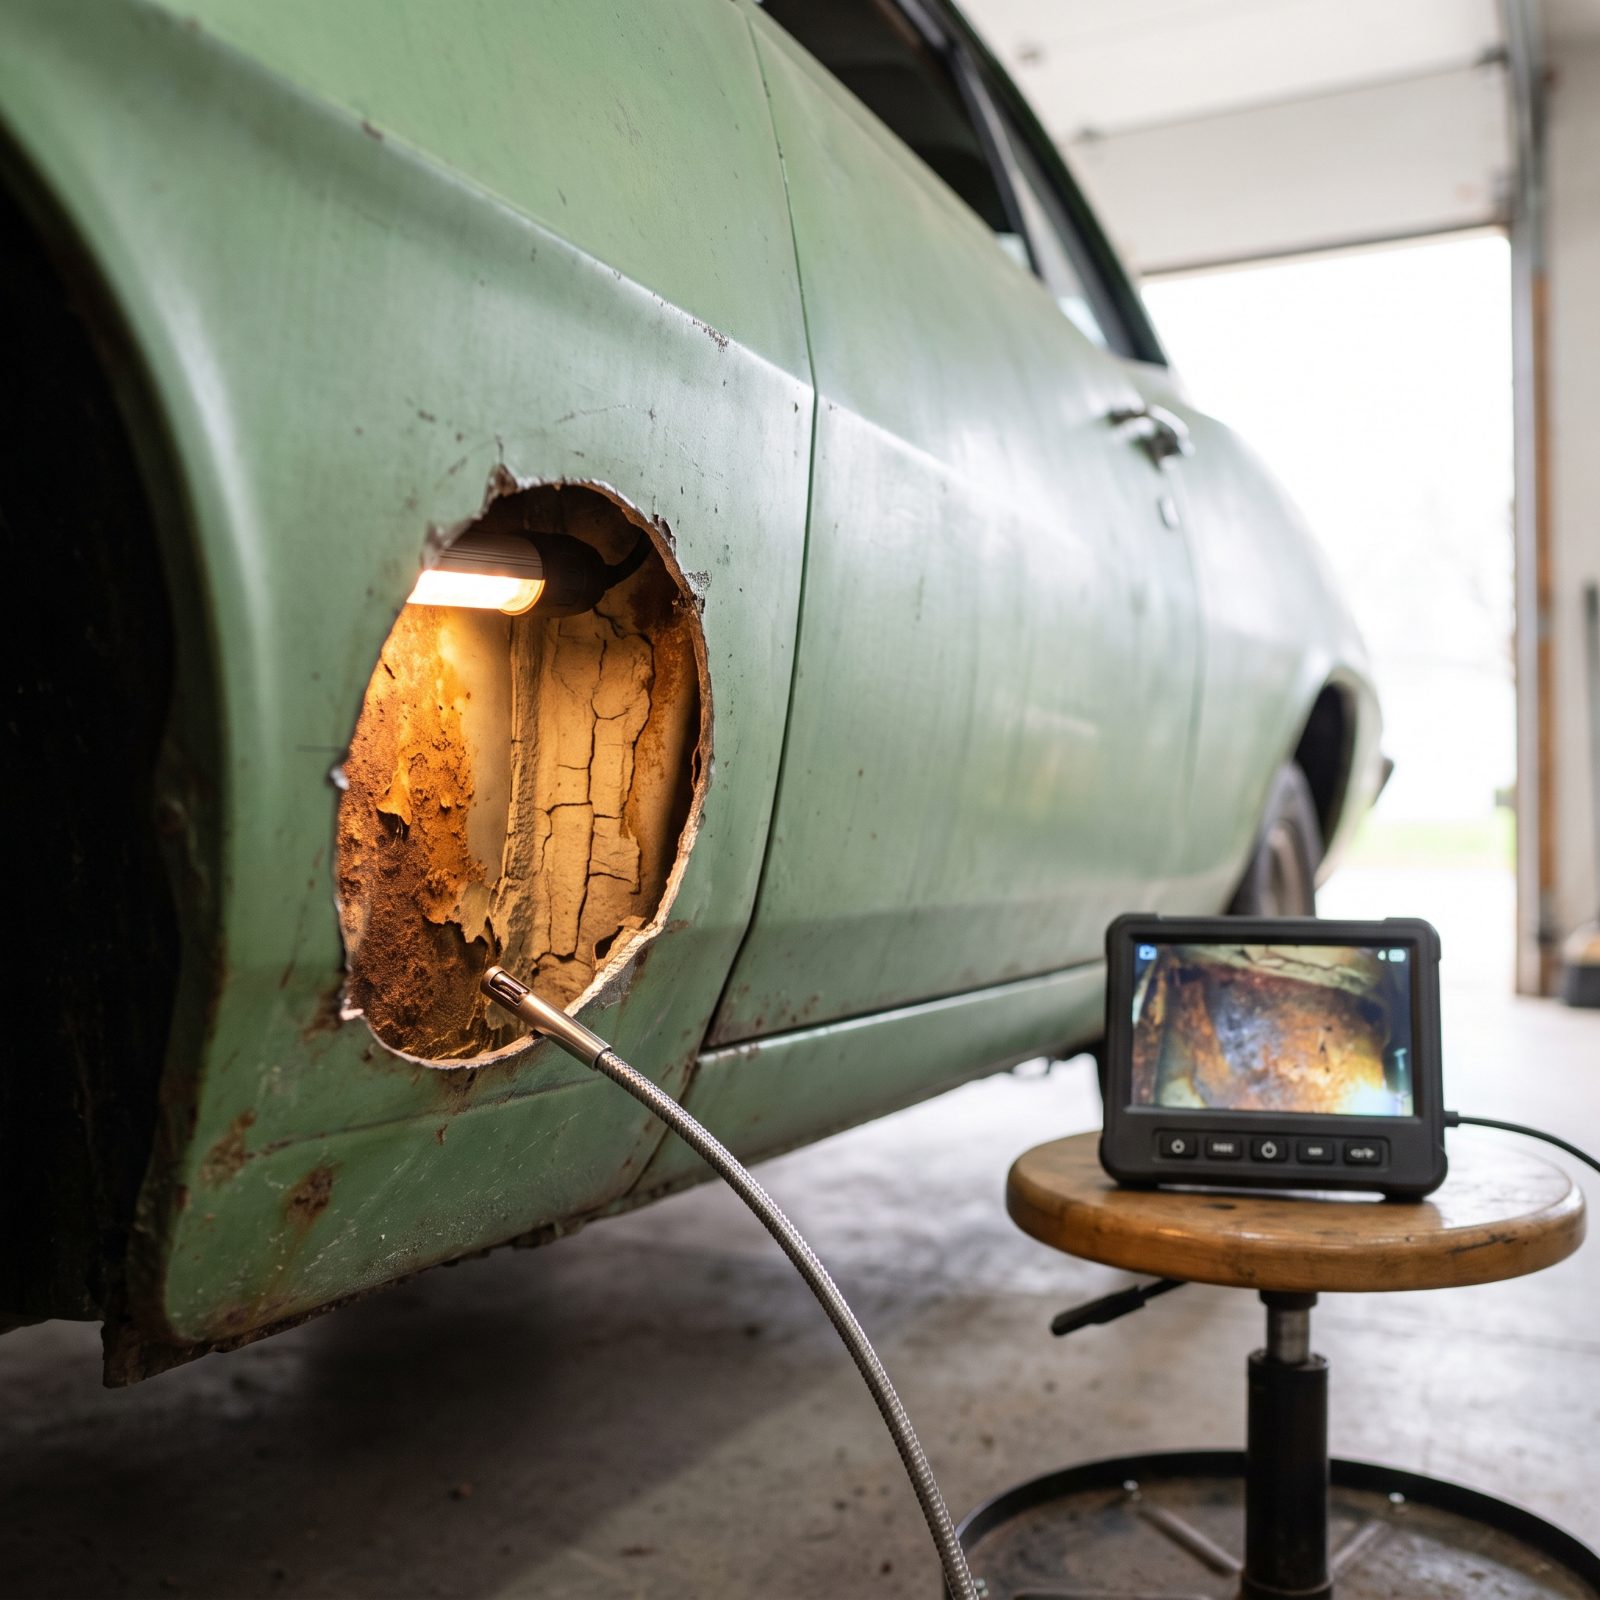
The rust hole in the fender behind the front wheel looks like the whole problem. It’s usually the tip of the iceberg.
Rust works from the inside out, so by the time it shows on the surface, the cavity behind it is often further gone than the paint ever let on. The inner rocker, the trunk drop-offs, the frame rail boxes. Grind and fill the visible spot and you’ve made it pretty while it keeps eating from behind, and two years later it blooms right back through your fresh paint.
Pull the trim, drop the interior, and get a borescope into every box section and drain channel. Where water sits, rust lives. Treat the cavity rather than the symptom, then fog the inside with cavity wax or a product like Fluid Film once the metal is sound.
22. Welding New Metal Over Rusty or Contaminated Steel
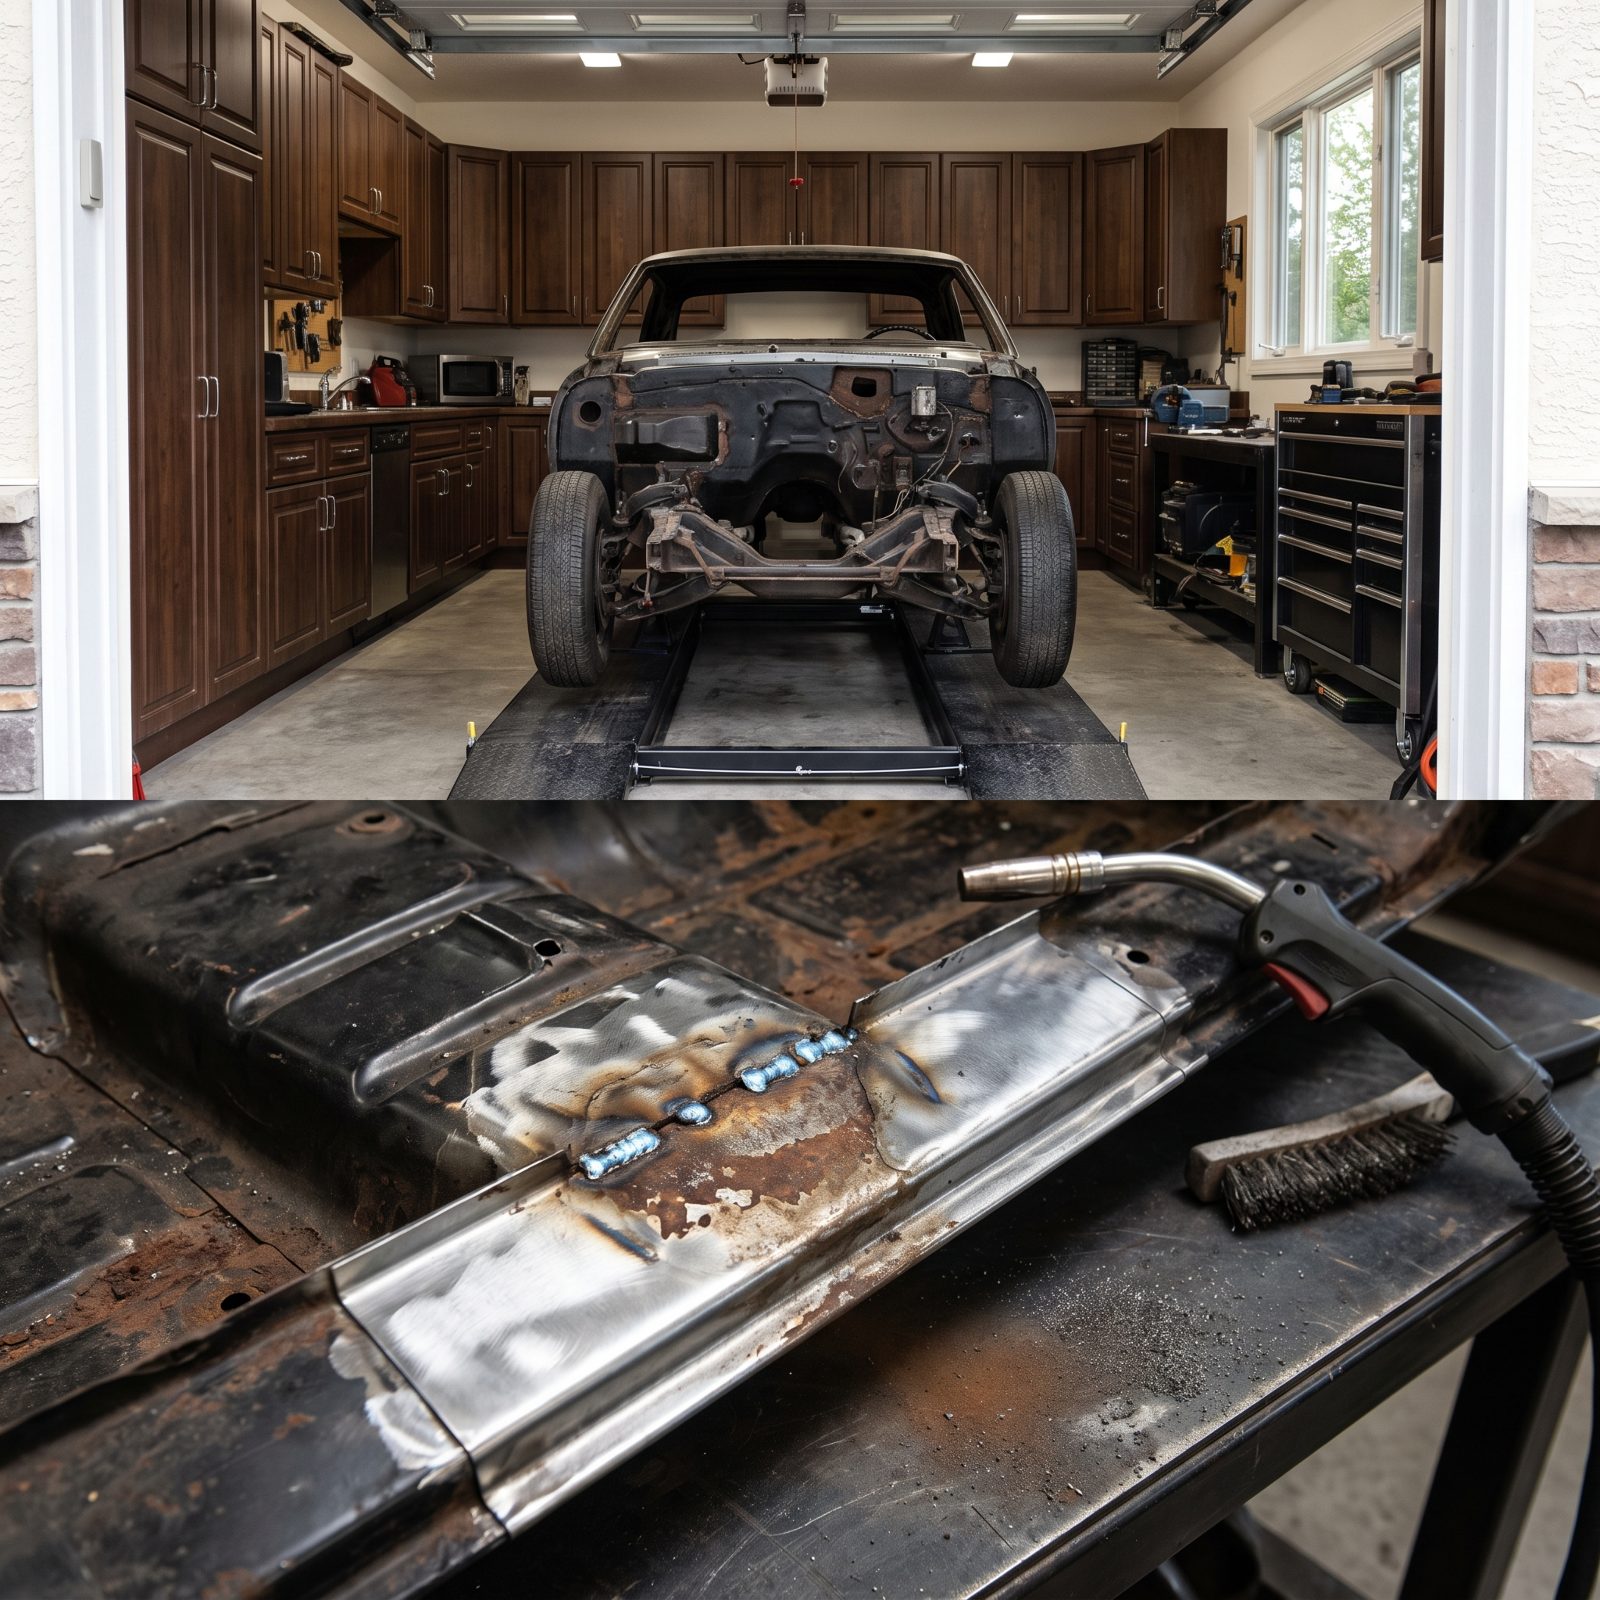
Laying a bead over paint, rust, or seam sealer is the restoration equivalent of building a house on mud.
MIG and TIG both need clean, bright steel to fuse properly. Weld over contamination and you get porosity, cold joints, and spatter full of pinholes. The seam looks done, then cracks or weeps rust within a couple of winters because the fusion was never real in the first place. You also breathe nasty fumes burning off old coatings.
Grind both sides of every joint back to shiny bare metal, at least an inch past the weld line. Wipe it with a wax-and-grease remover. Weld-through primer goes on the backside only where you can’t reach later. Tack, cool, tack, cool, so the heat doesn’t warp the panel. Then dress the seam and seal both faces.
21. Painting the Car Before Setting Panel Gaps
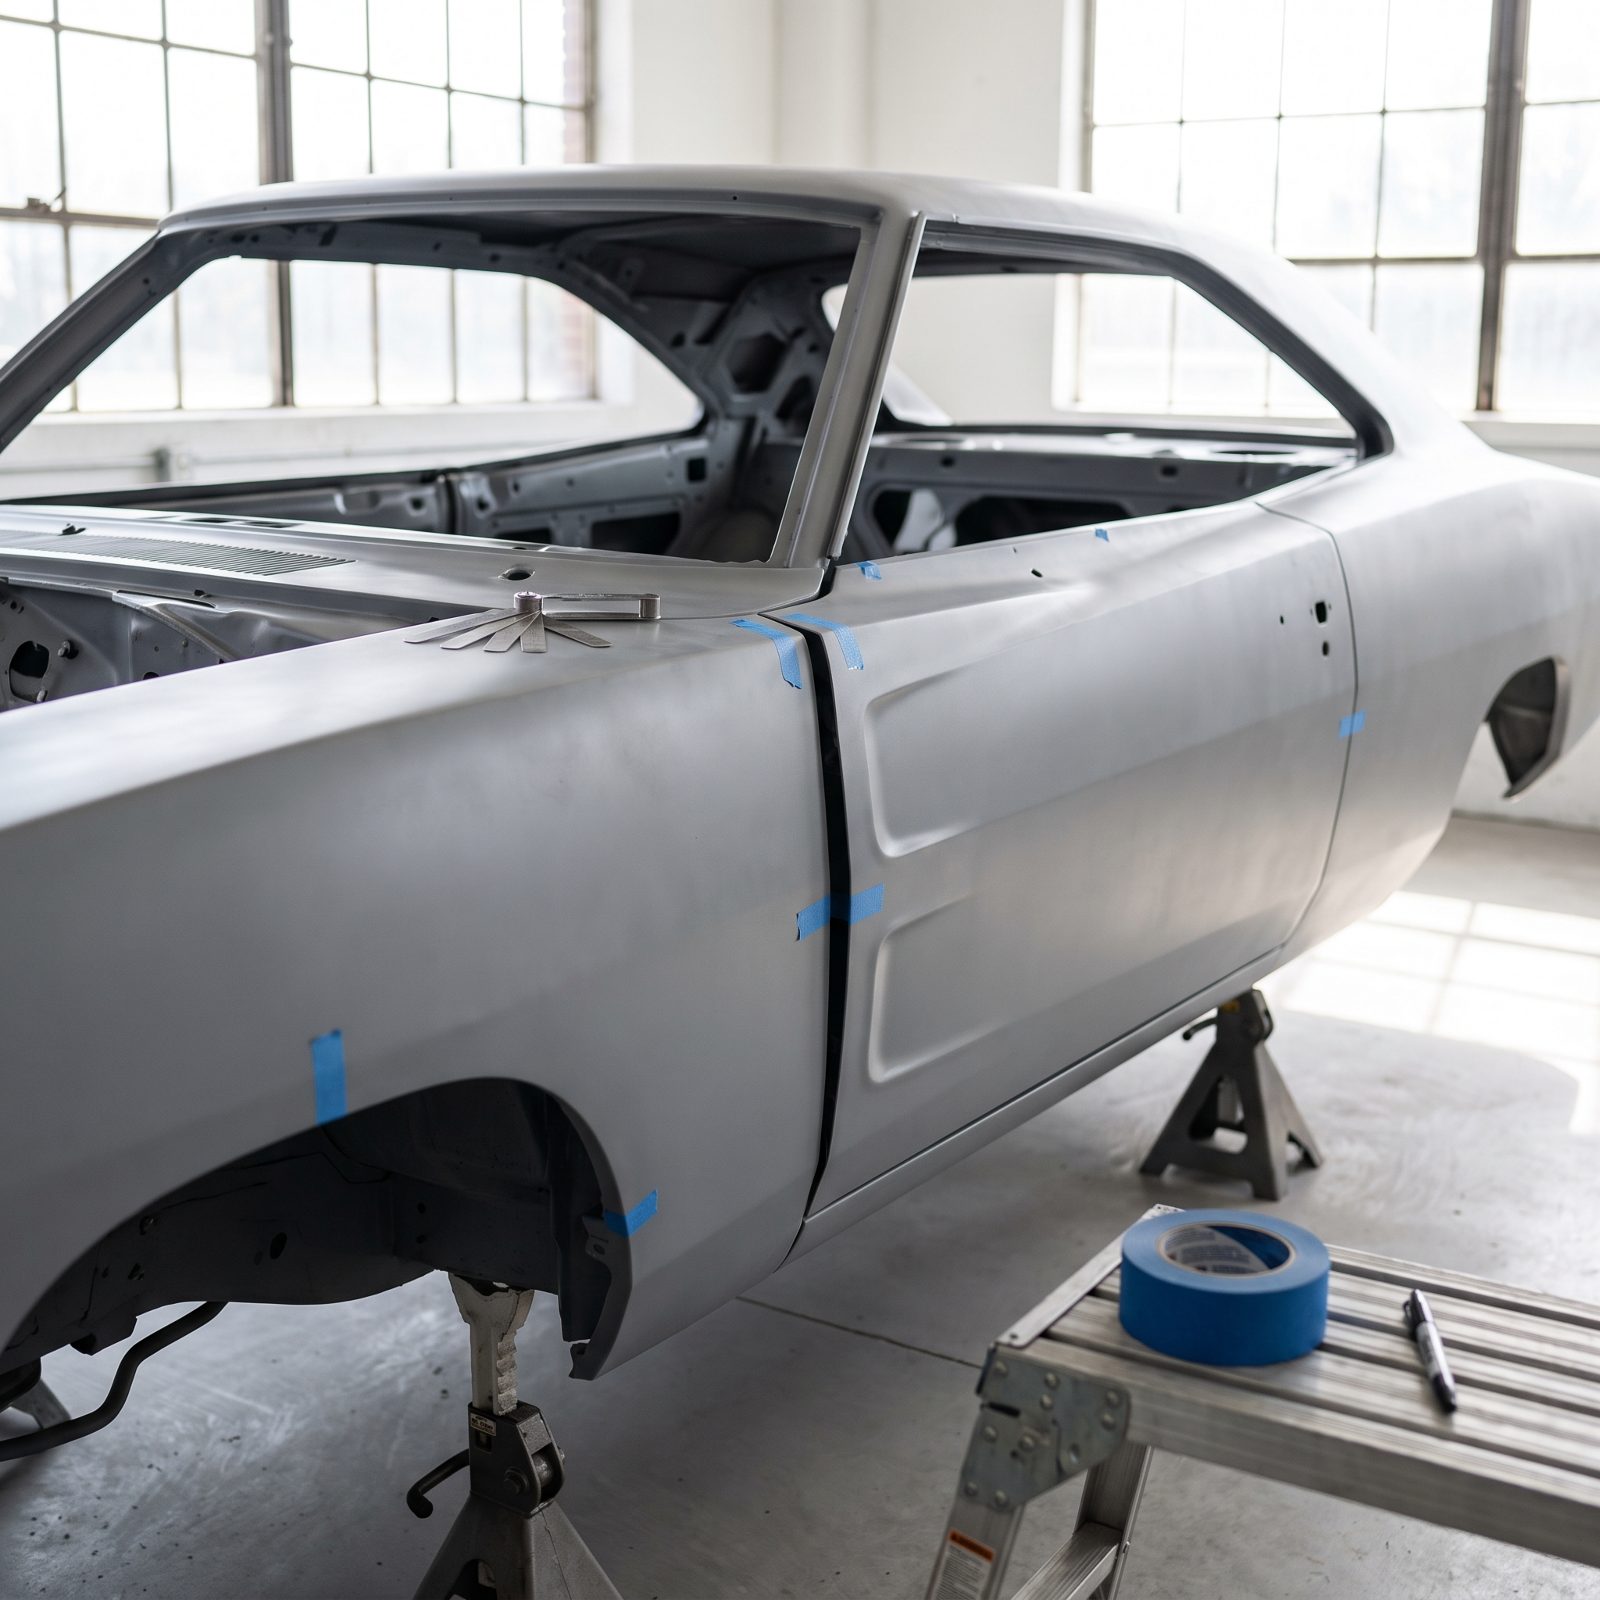
Shooting the color first feels like the reward after all that bodywork. Then you bolt the doors on and the gaps wander like a back-country road.
Panel gaps get set with the hardware, the hinges, latches, and shims all mounted and adjusted together. Do that after paint and you’re torquing bolts against fresh clearcoat, chipping edges, discovering the fender needs to move a quarter inch into a door that’s already glossy. Now you’re masking, re-spraying edges, and praying the blend matches.
Hang every panel in primer first. Set the gaps, get the door and hood flush, mark your shim stacks, then take it all apart again for final paint. A consistent three-to-four-millimeter gap all the way around is the line between a show car and a driveway repaint. And the factory gaps weren’t perfect either, so match the original character instead of fighting it.
20. Spraying New Paint Over an Unknown Layer of Old Material

Would you like to save this?
You don’t know what’s under there. That’s the whole problem.
A fifty-year-old car might wear lacquer, then enamel, then a cheap single-stage somebody rattle-canned in 1988, with a skim of filler nobody ever mentioned. Spray a modern urethane basecoat over an incompatible old layer and the solvents can lift it, wrinkle it, or crack it months down the line. The reaction doesn’t always show up in the booth. It shows up in July in a parking lot.
Run a solvent test in a hidden spot first. If the old finish wrinkles or softens, strip to bare metal and start clean. When in doubt, take it all off. More work, sure, but it’s the only way to know what you’re building on, and it’s a lot cheaper than repainting the whole car twice.
19. Leaving Bare Metal Unprotected Instead of Applying Epoxy Primer
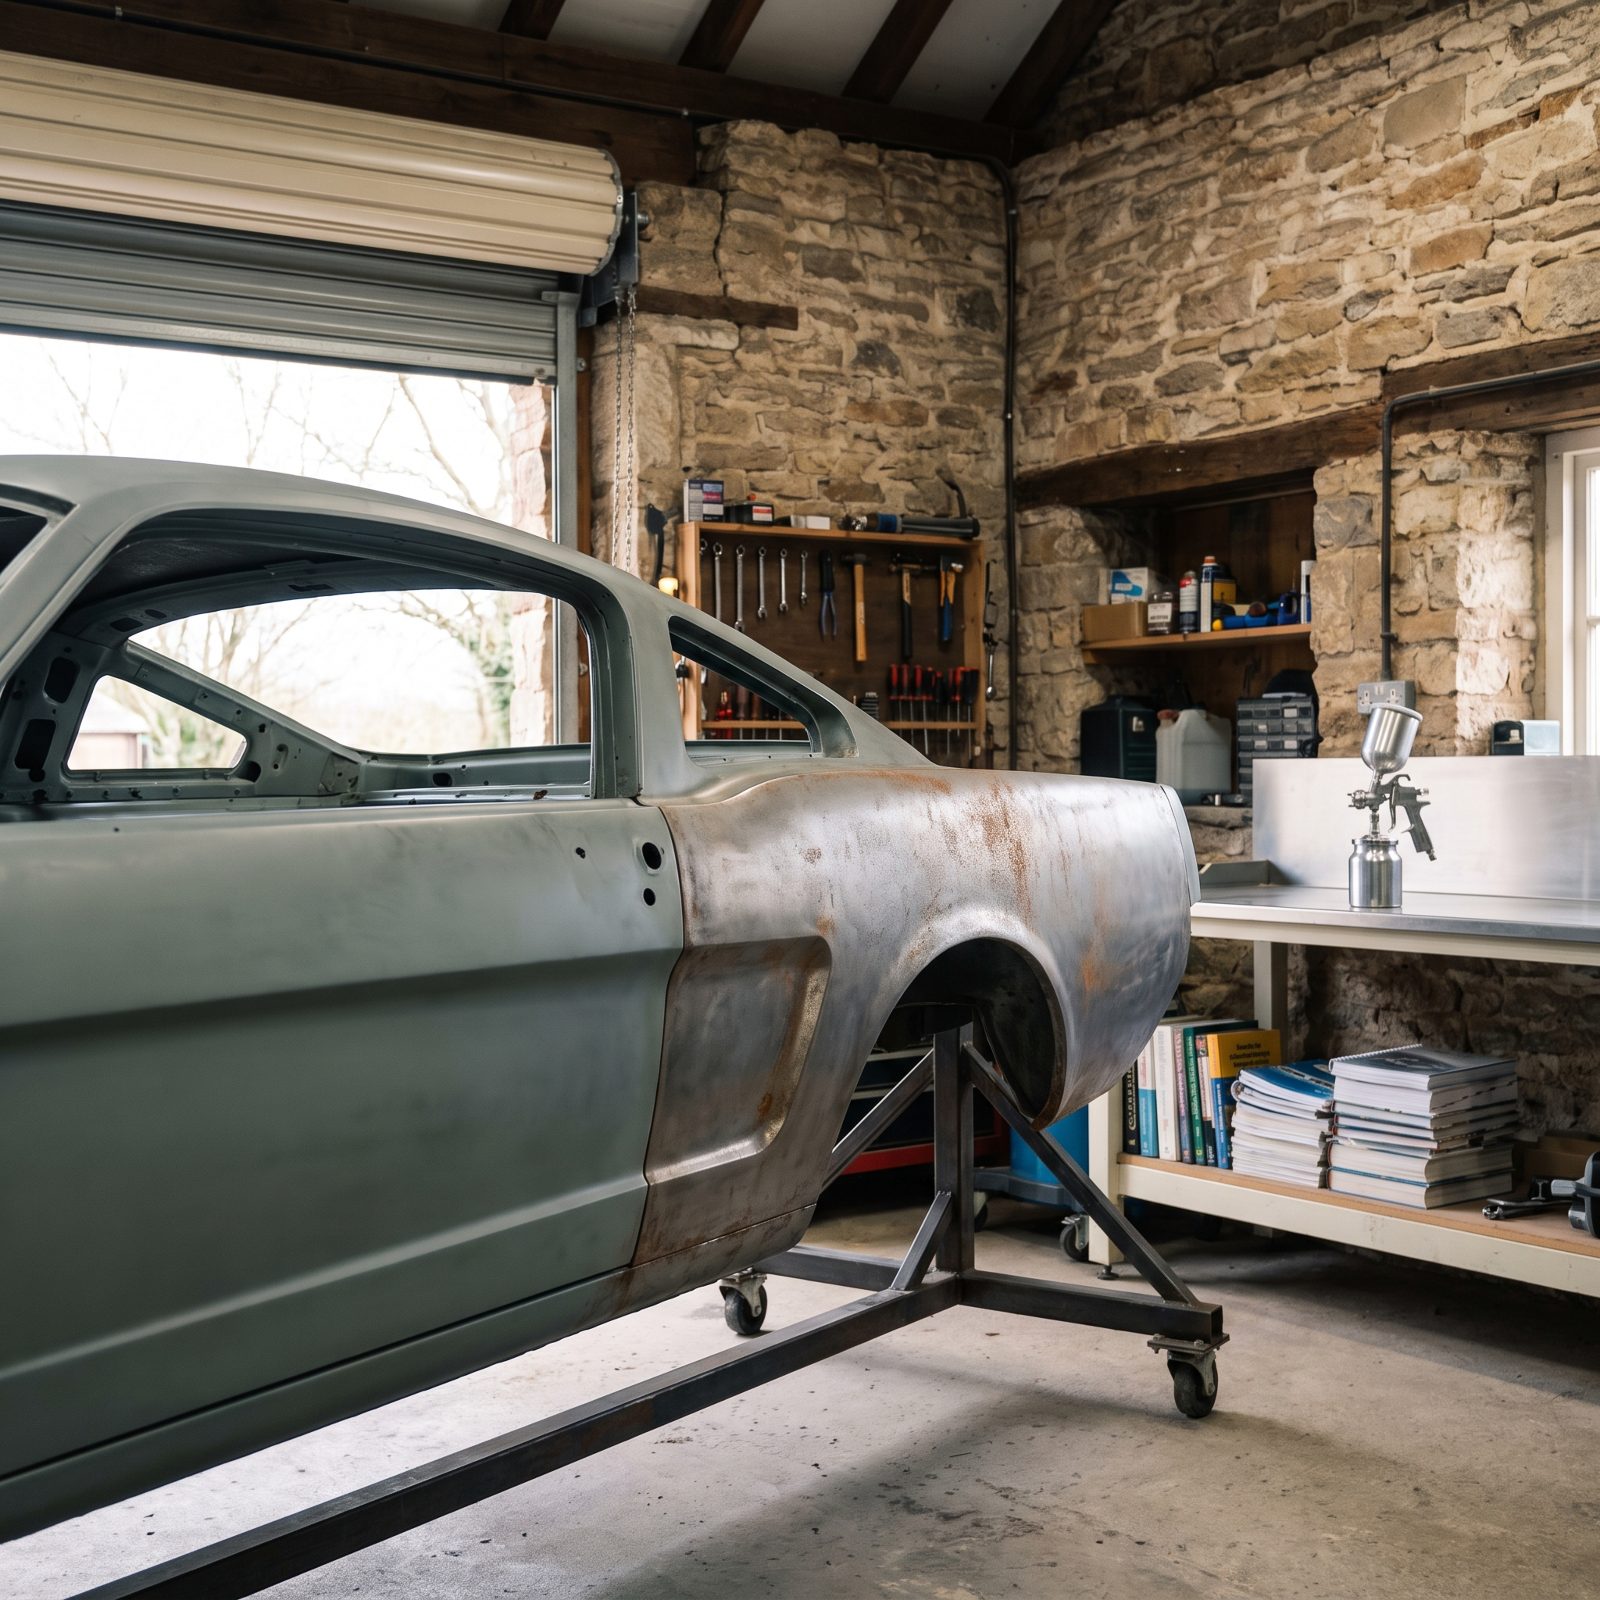
Bare steel starts rusting the moment you stop sanding. Not next week. That same afternoon, in the humidity, while you go grab lunch.
That light orange haze on fresh metal is flash rust, and it’s the enemy of adhesion. Leave the shell bare over a weekend and you’ve undone your own blasting. Prime it late and you’re sealing microscopic rust under your beautiful finish, which is exactly where failure starts.
Shoot a coat of two-part epoxy primer the same day you reach bare metal. Not self-etch, not filler primer. Epoxy. It seals the steel airtight and gives everything on top something to grip. The one coating that buys you time and locks out moisture while you work the next panel.
The best anti-rust product ever invented is the coat of epoxy you put on before you walked away for the day.
18. Assuming the Frame Is Straight Because the Car Looks Level
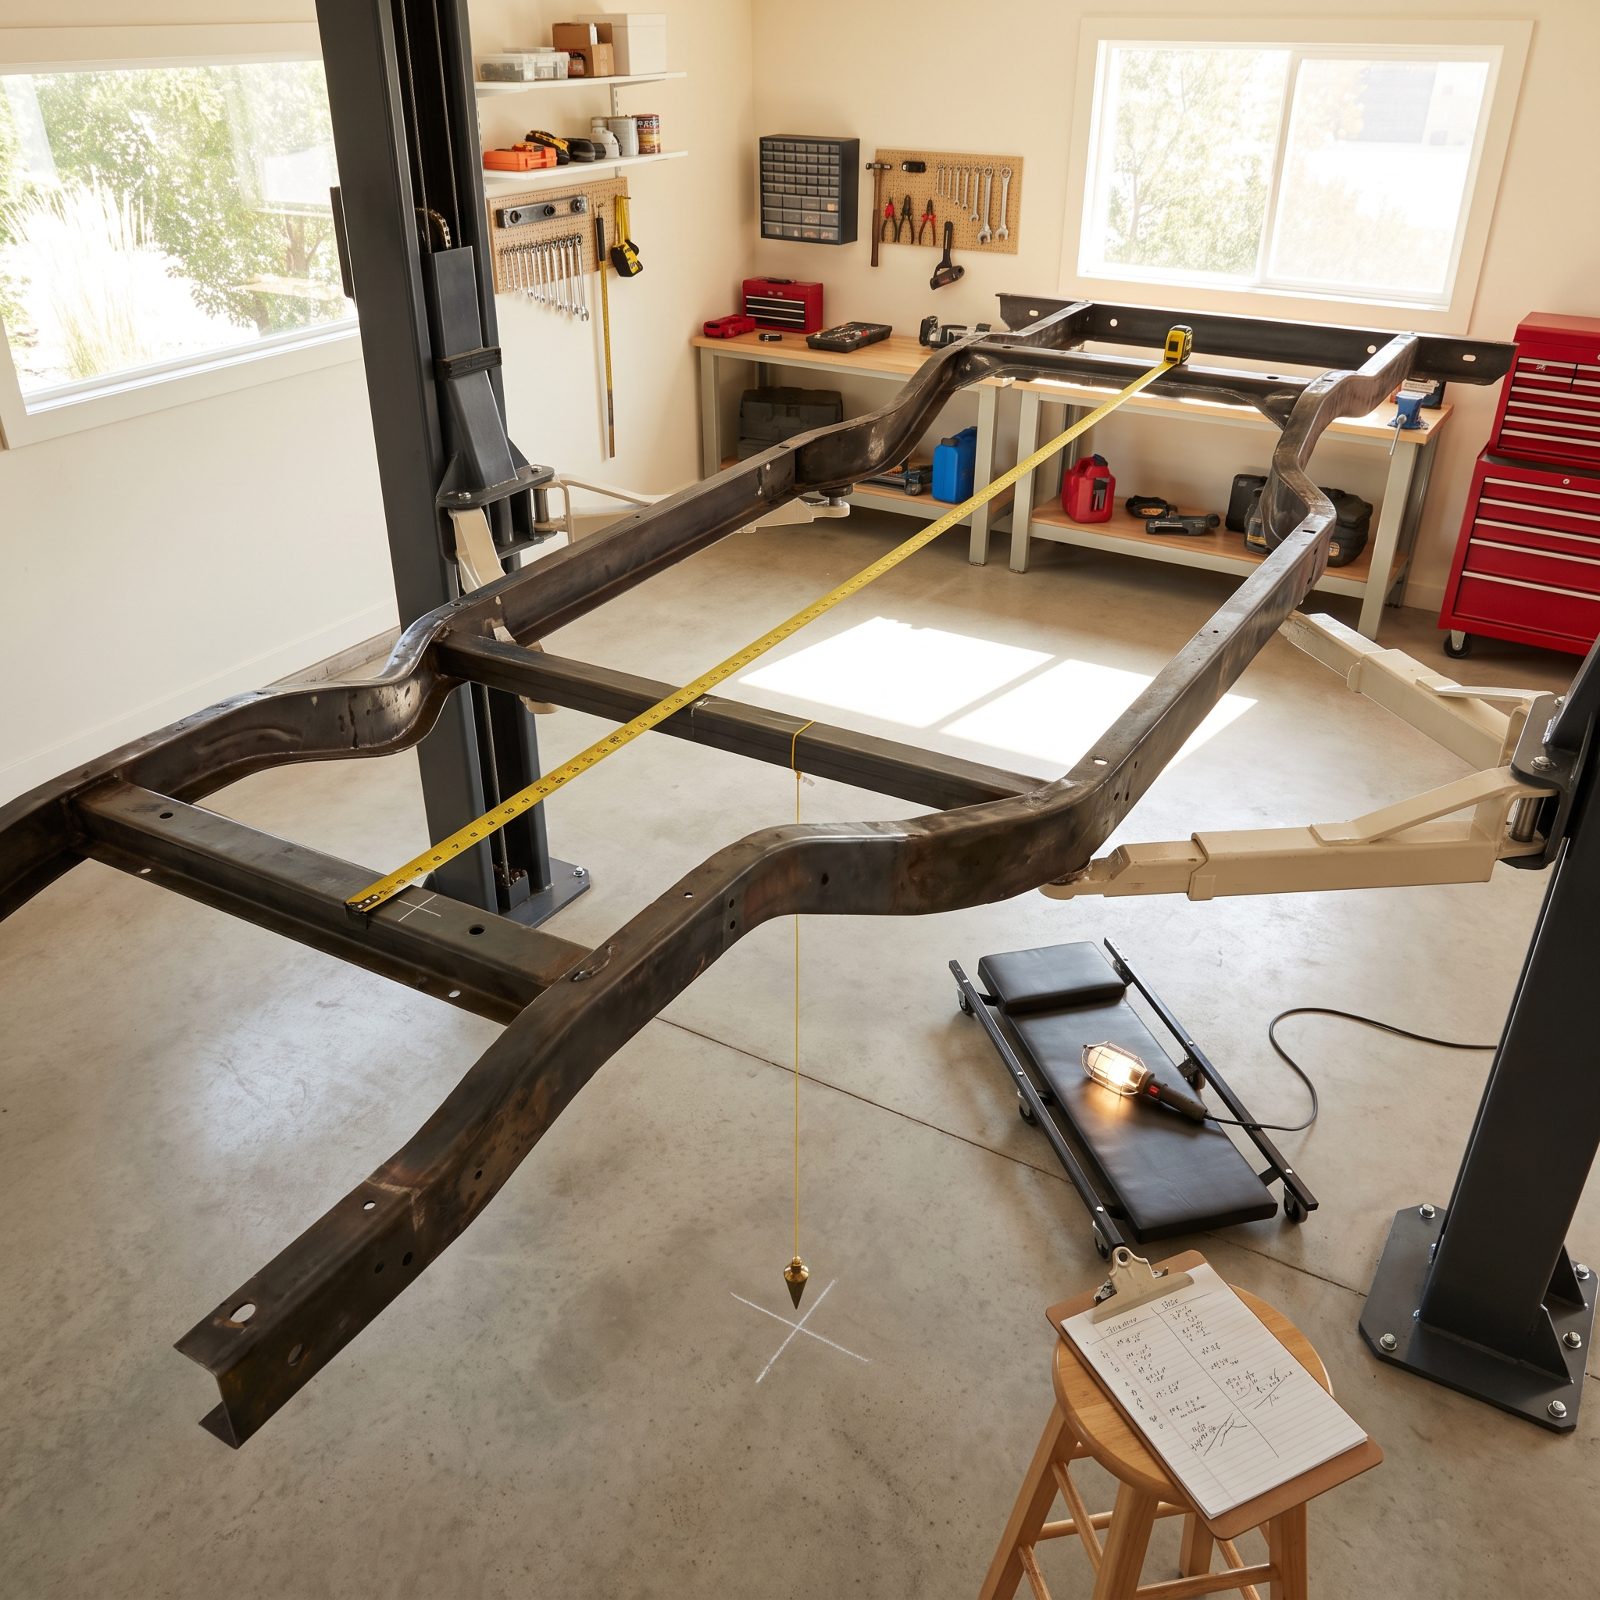
A car can sit dead level in the driveway and still carry a frame that got tweaked in some fender-bender nobody admitted to in 1974. Doors that close fine and a stance that looks right tell you nothing about diagonal measurements. Metal remembers.
And it bites you later. You pour months into bodywork and paint, bolt everything back together, and then the car dog-tracks down the road or eats the inside edge of a front tire in four thousand miles. Now the fix means unbolting all the pretty stuff you just finished.
So measure before you commit. Pull the factory frame dimensions from a service manual and check the diagonals corner to corner with a tape and a plumb bob. Numbers off by more than an eighth of an inch? Get it on a frame rack before one more panel goes on.
17. Making the Brakes Look New Without Rebuilding Their Working Components
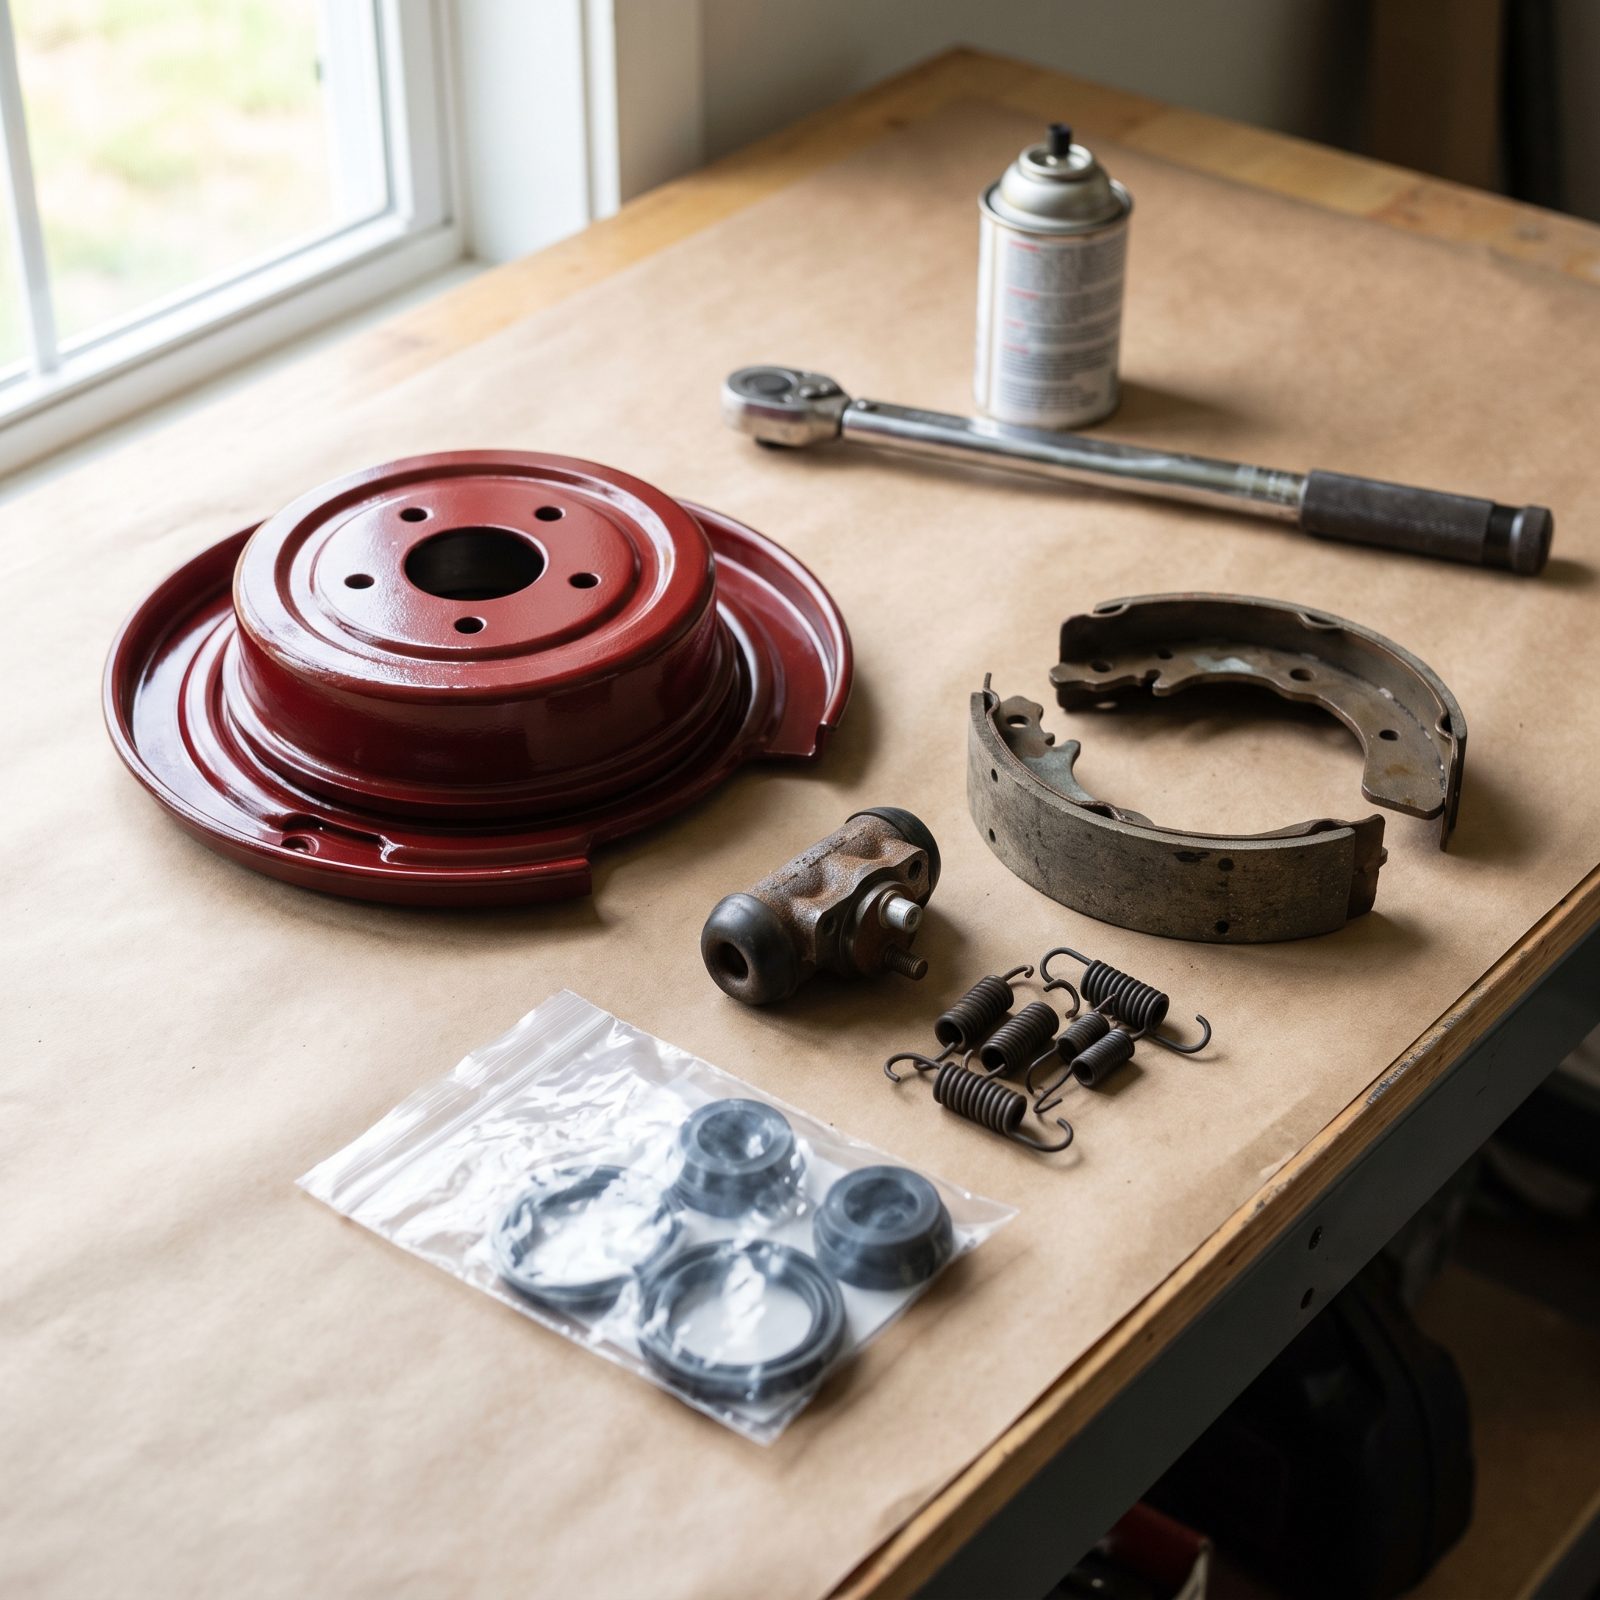
Fresh paint on a brake drum photographs beautifully. It also hides the wheel cylinder behind it, still wearing the original rubber cups from the Johnson administration, hardened and ready to leak the first hot afternoon you drive the thing.
Appearance is not function. A caliper or wheel cylinder with old seals can seize, drag, or dump fluid onto a shoe, and brakes are the one system where a surprise ends badly. We’ve watched more than one show-quality car limp home on three working corners.
Rebuild or replace the hydraulics while everything’s apart — fresh wheel cylinders or caliper kits, new soft lines, new hardware springs, a bench-bled master cylinder. Then make it pretty. Paint goes on last. It doesn’t stand in for the work.
16. Reusing Old Steel Brake Lines Because They Are Not Leaking Yet
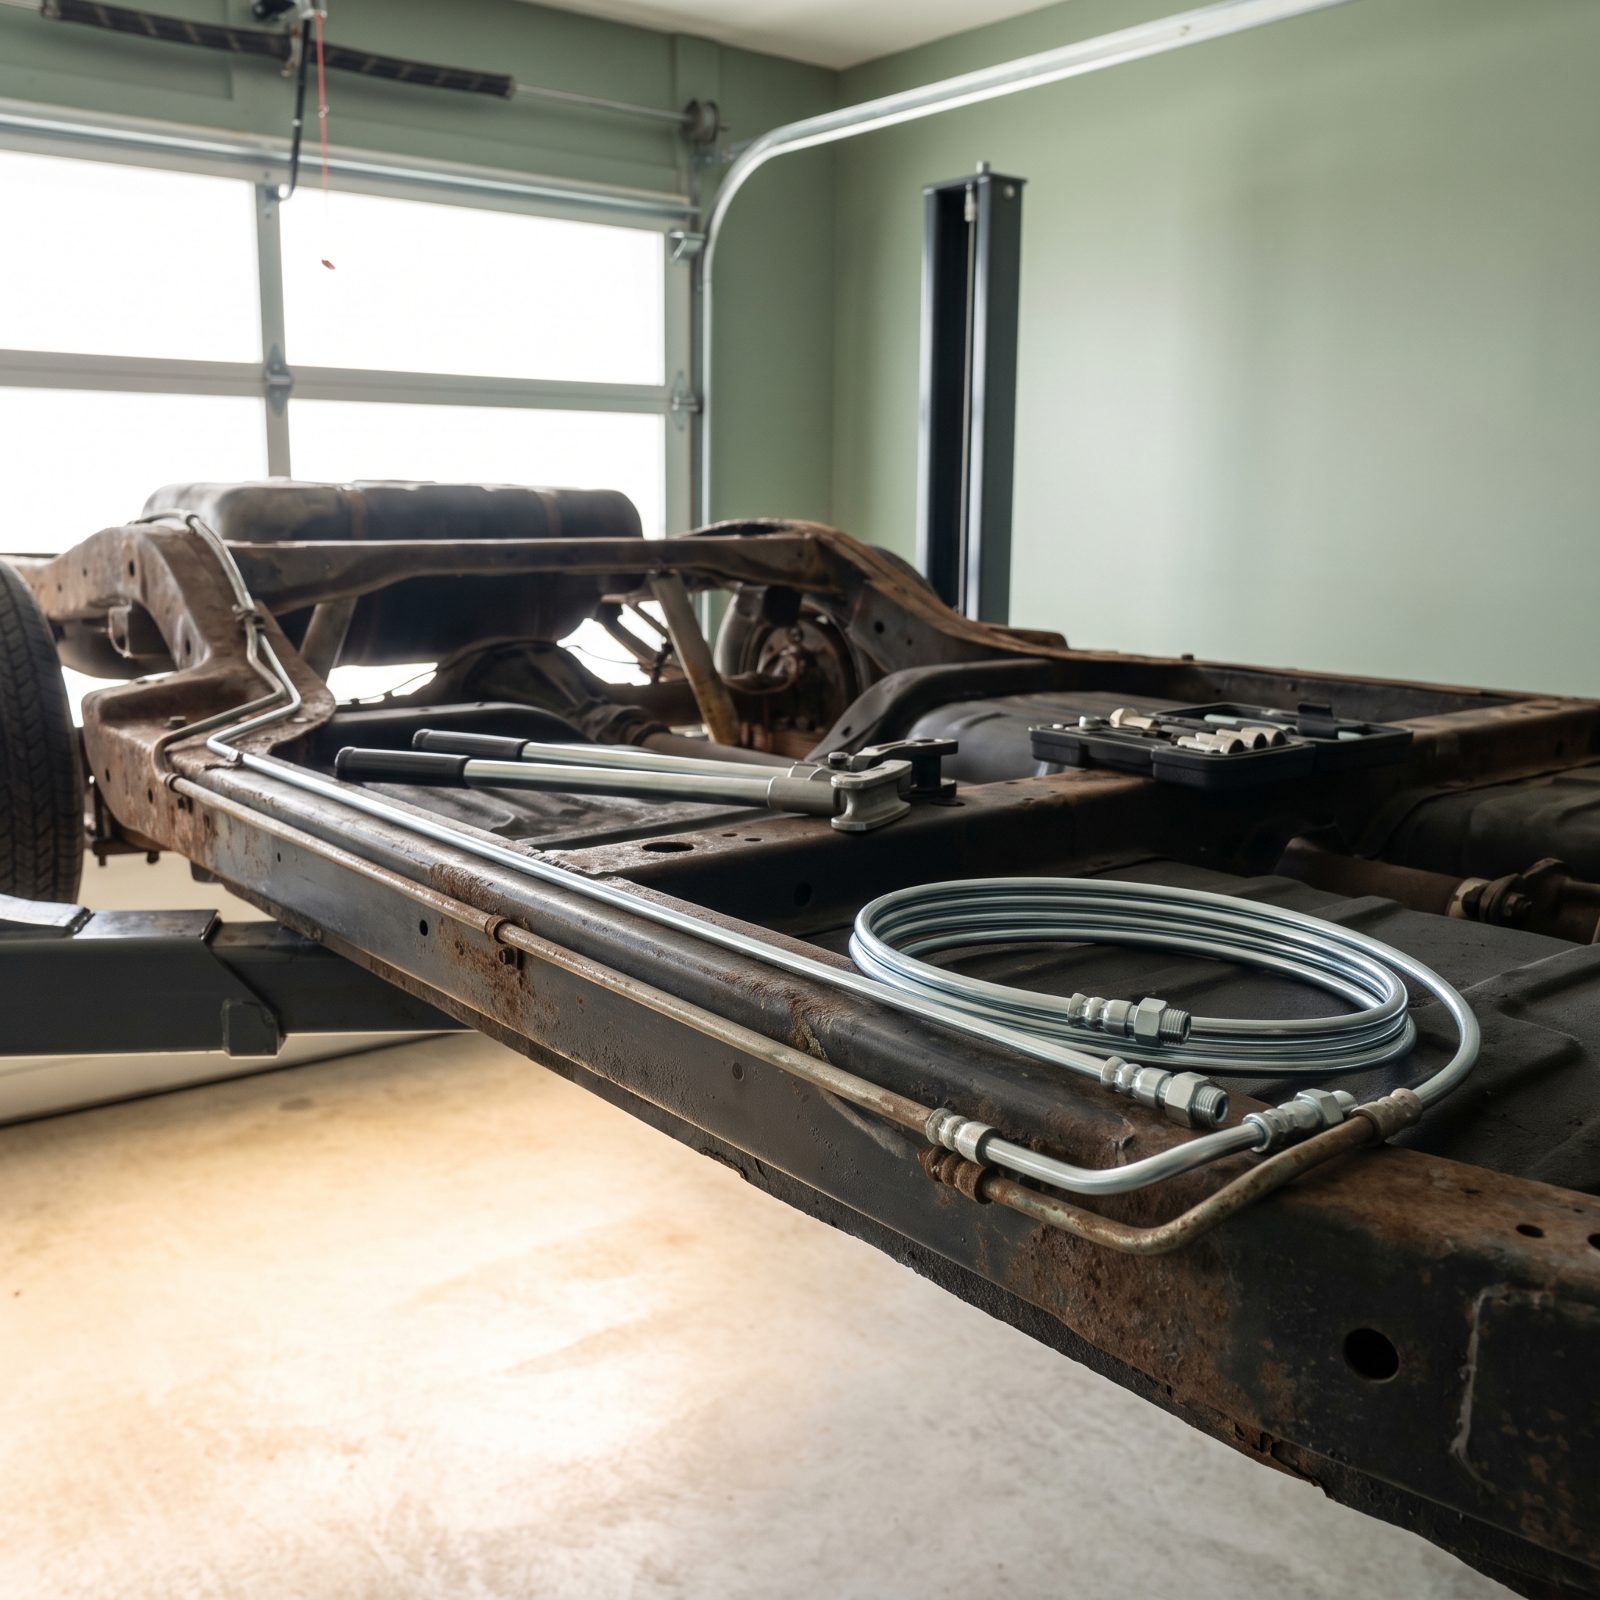
An old steel brake line that isn’t leaking today is just a line that hasn’t picked its moment yet. Decades of road salt and condensation pit these from the inside out, where you can’t see a thing, and your first clue is often a pedal that drops to the floor.
The failure mode is the scary part. These lines don’t weep a warning drip — they hold full pressure right up until a pinhole lets go under hard braking, and then you’ve got nothing. Not a maintenance item. A surprise.
While the car’s apart and the lines are right there in front of you, replace the whole run. Pre-bent kits exist for most popular models, or bend your own from a twenty-five-foot roll of steel-armored tubing with a proper double-flaring tool. Clip them neatly, torque the fittings, bleed the system fresh.
15. Judging Old Tires by Tread Depth Instead of Date Codes
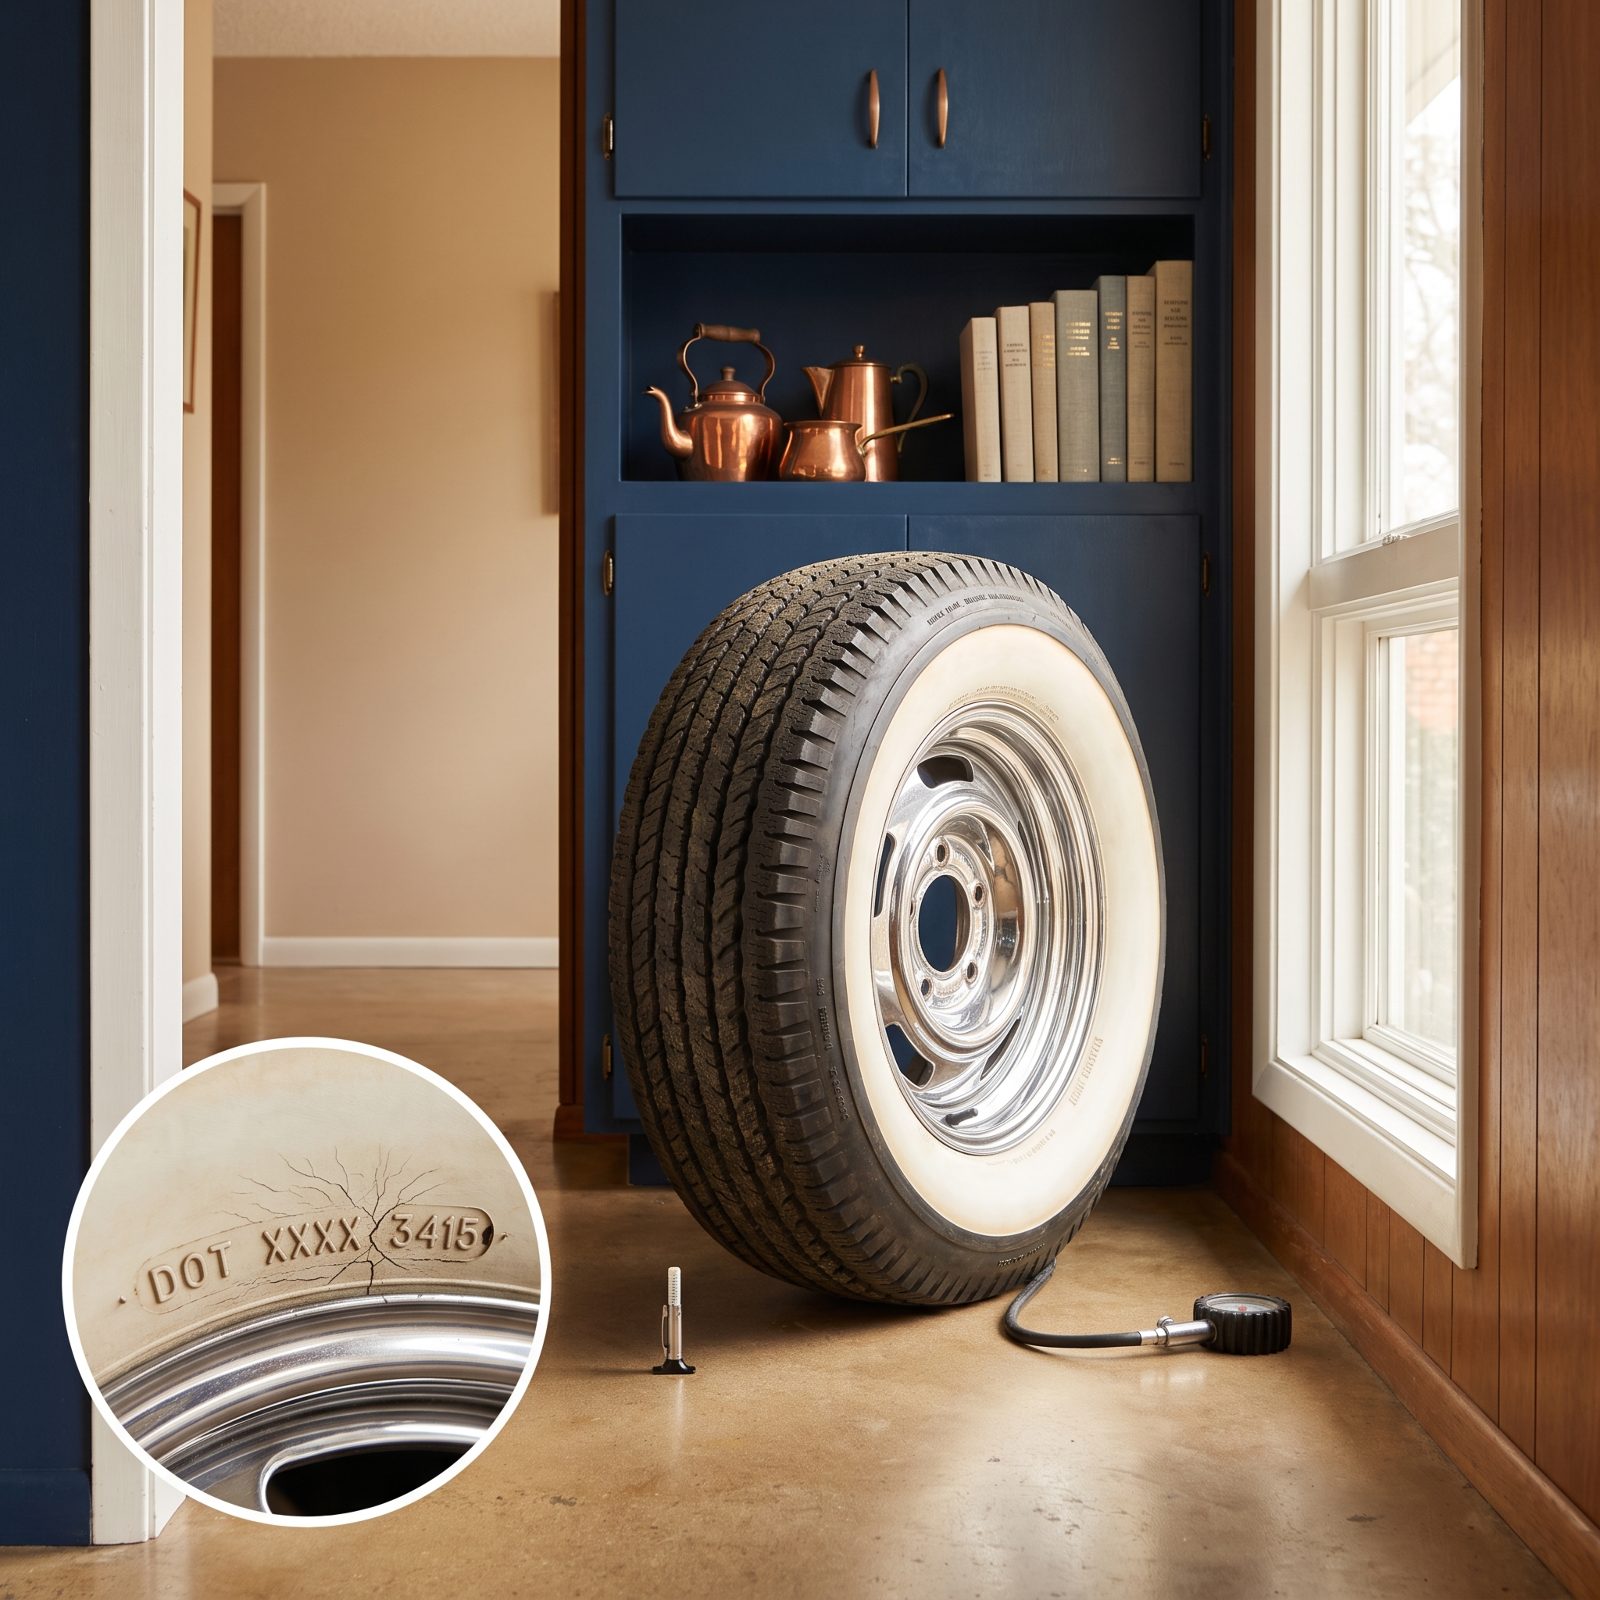
Deep tread on a tire that’s been sitting since the Clinton years feels like a win. It isn’t. Rubber ages whether it rolls or not, and a tire with ninety percent tread and a dozen years on it has a sidewall that’s quietly gone brittle on you.
Old rubber cracks, loses flexibility, and in the worst case throws a tread cap at highway speed on a hot day. Tread depth measures wear. It tells you nothing about the chemistry of the rubber underneath.
Read the DOT date code on the sidewall — the last four digits give you the week and year of manufacture. Past six or seven years deserves a hard look no matter how it looks, and anything past ten gets replaced, period. Fresh rubber under a restored car is not a place to pinch pennies.
14. Buying Wheels Before Measuring Backspacing and Clearance
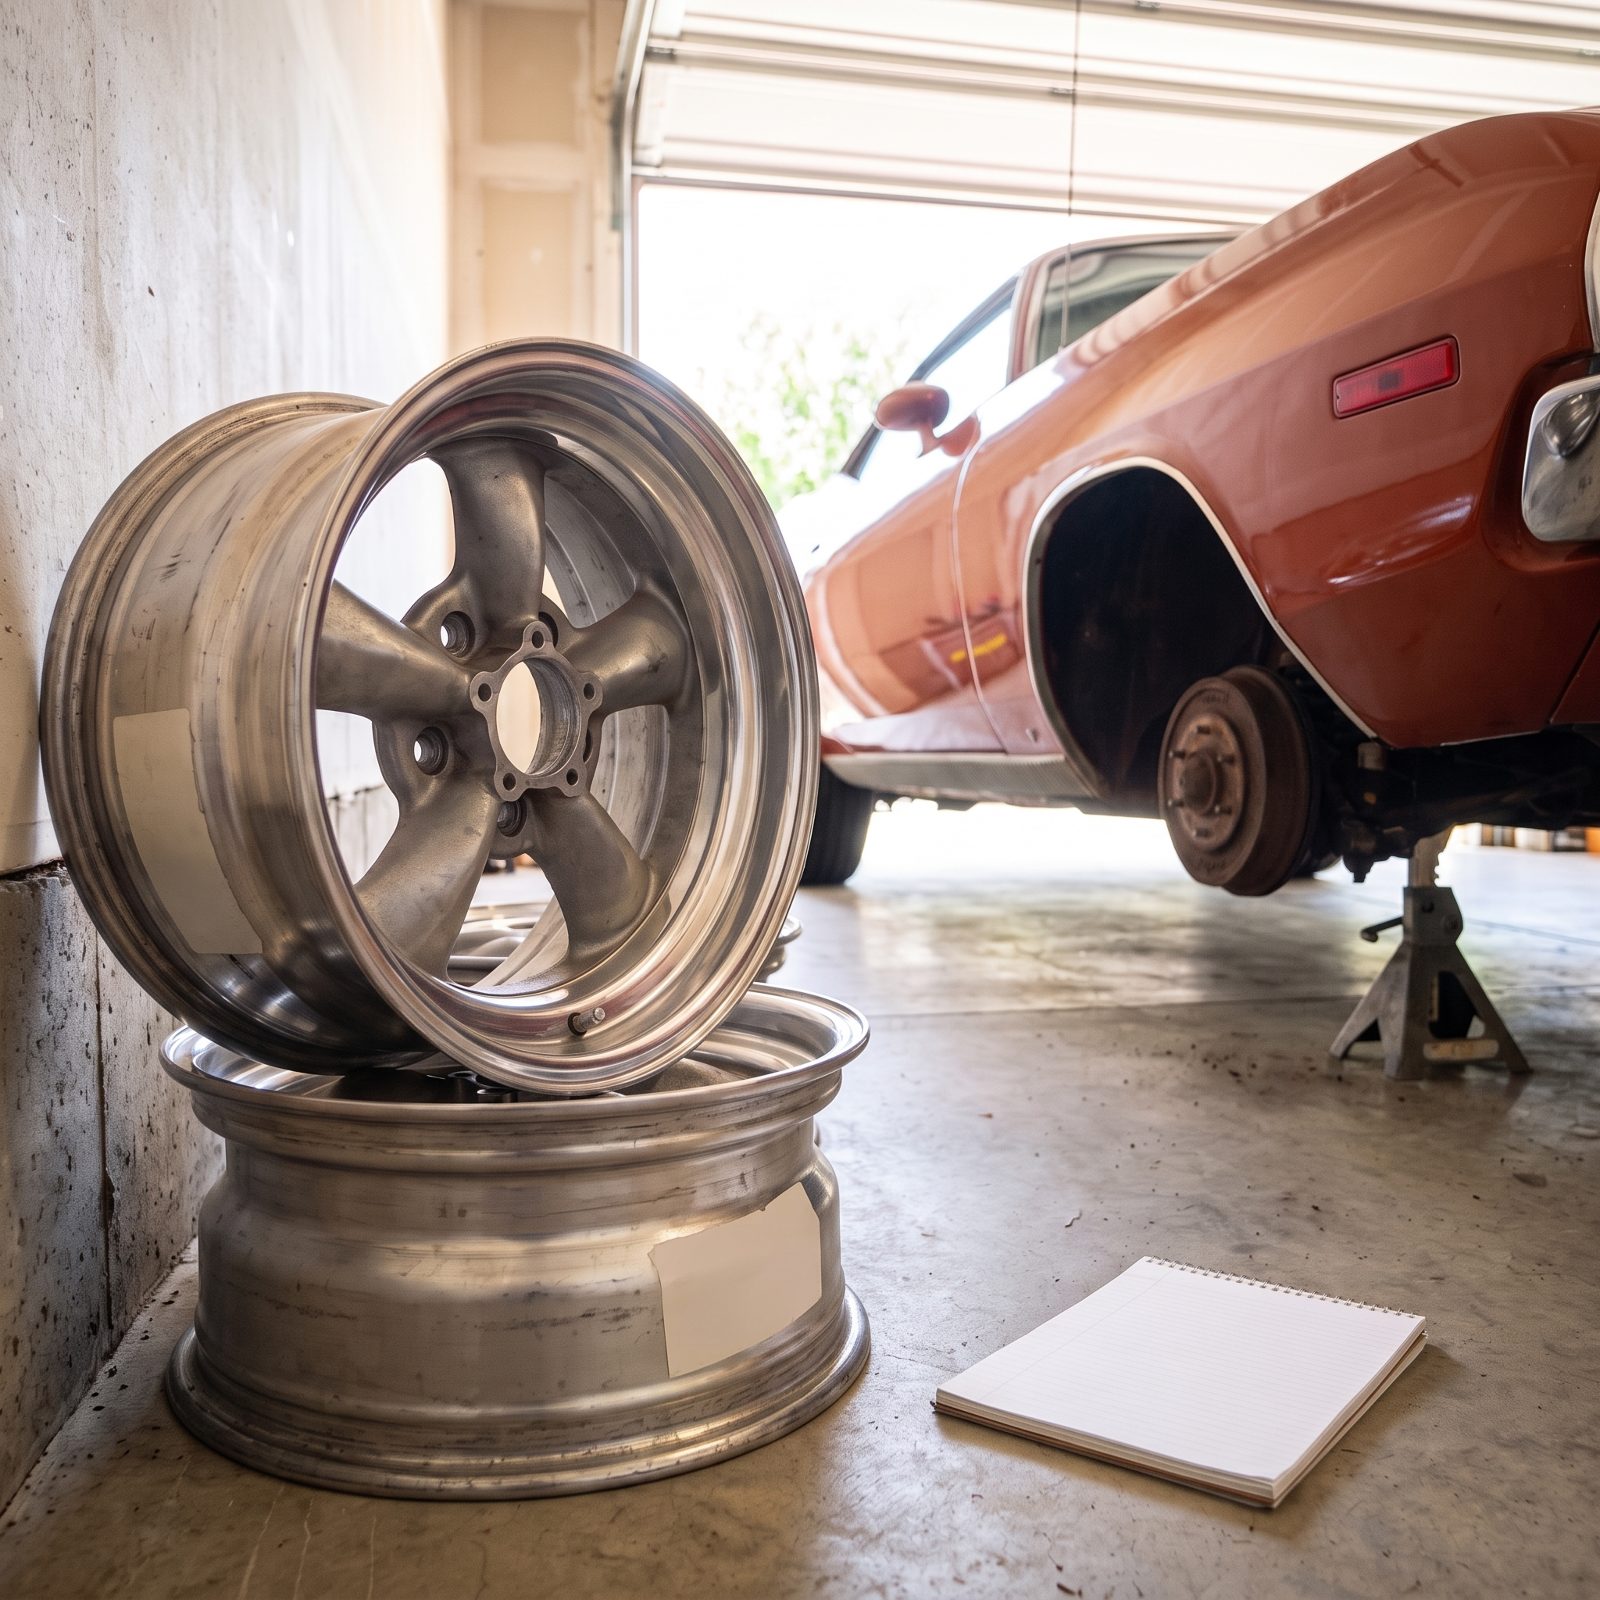
You find the wheels. Right diameter, right bolt pattern, exactly the look you’ve pictured for two years. You buy them. Then they rub the fender lip on every bump or won’t clear the caliper, and now you own four very expensive paperweights.
Bolt pattern and diameter are only part of the fit. Backspacing and offset decide where the tire actually sits in the wheel well, and a half-inch wrong in either direction means rubbing, interference, or a stance that just looks off.
Measure first. Lay a straightedge across the back of a wheel and measure to the mounting pad for backspacing, then mock up a wheel and tire and check clearance at full lock and full compression. Know your numbers before money changes hands.
13. Trying to Start a Seized or Long-Dormant Engine Immediately
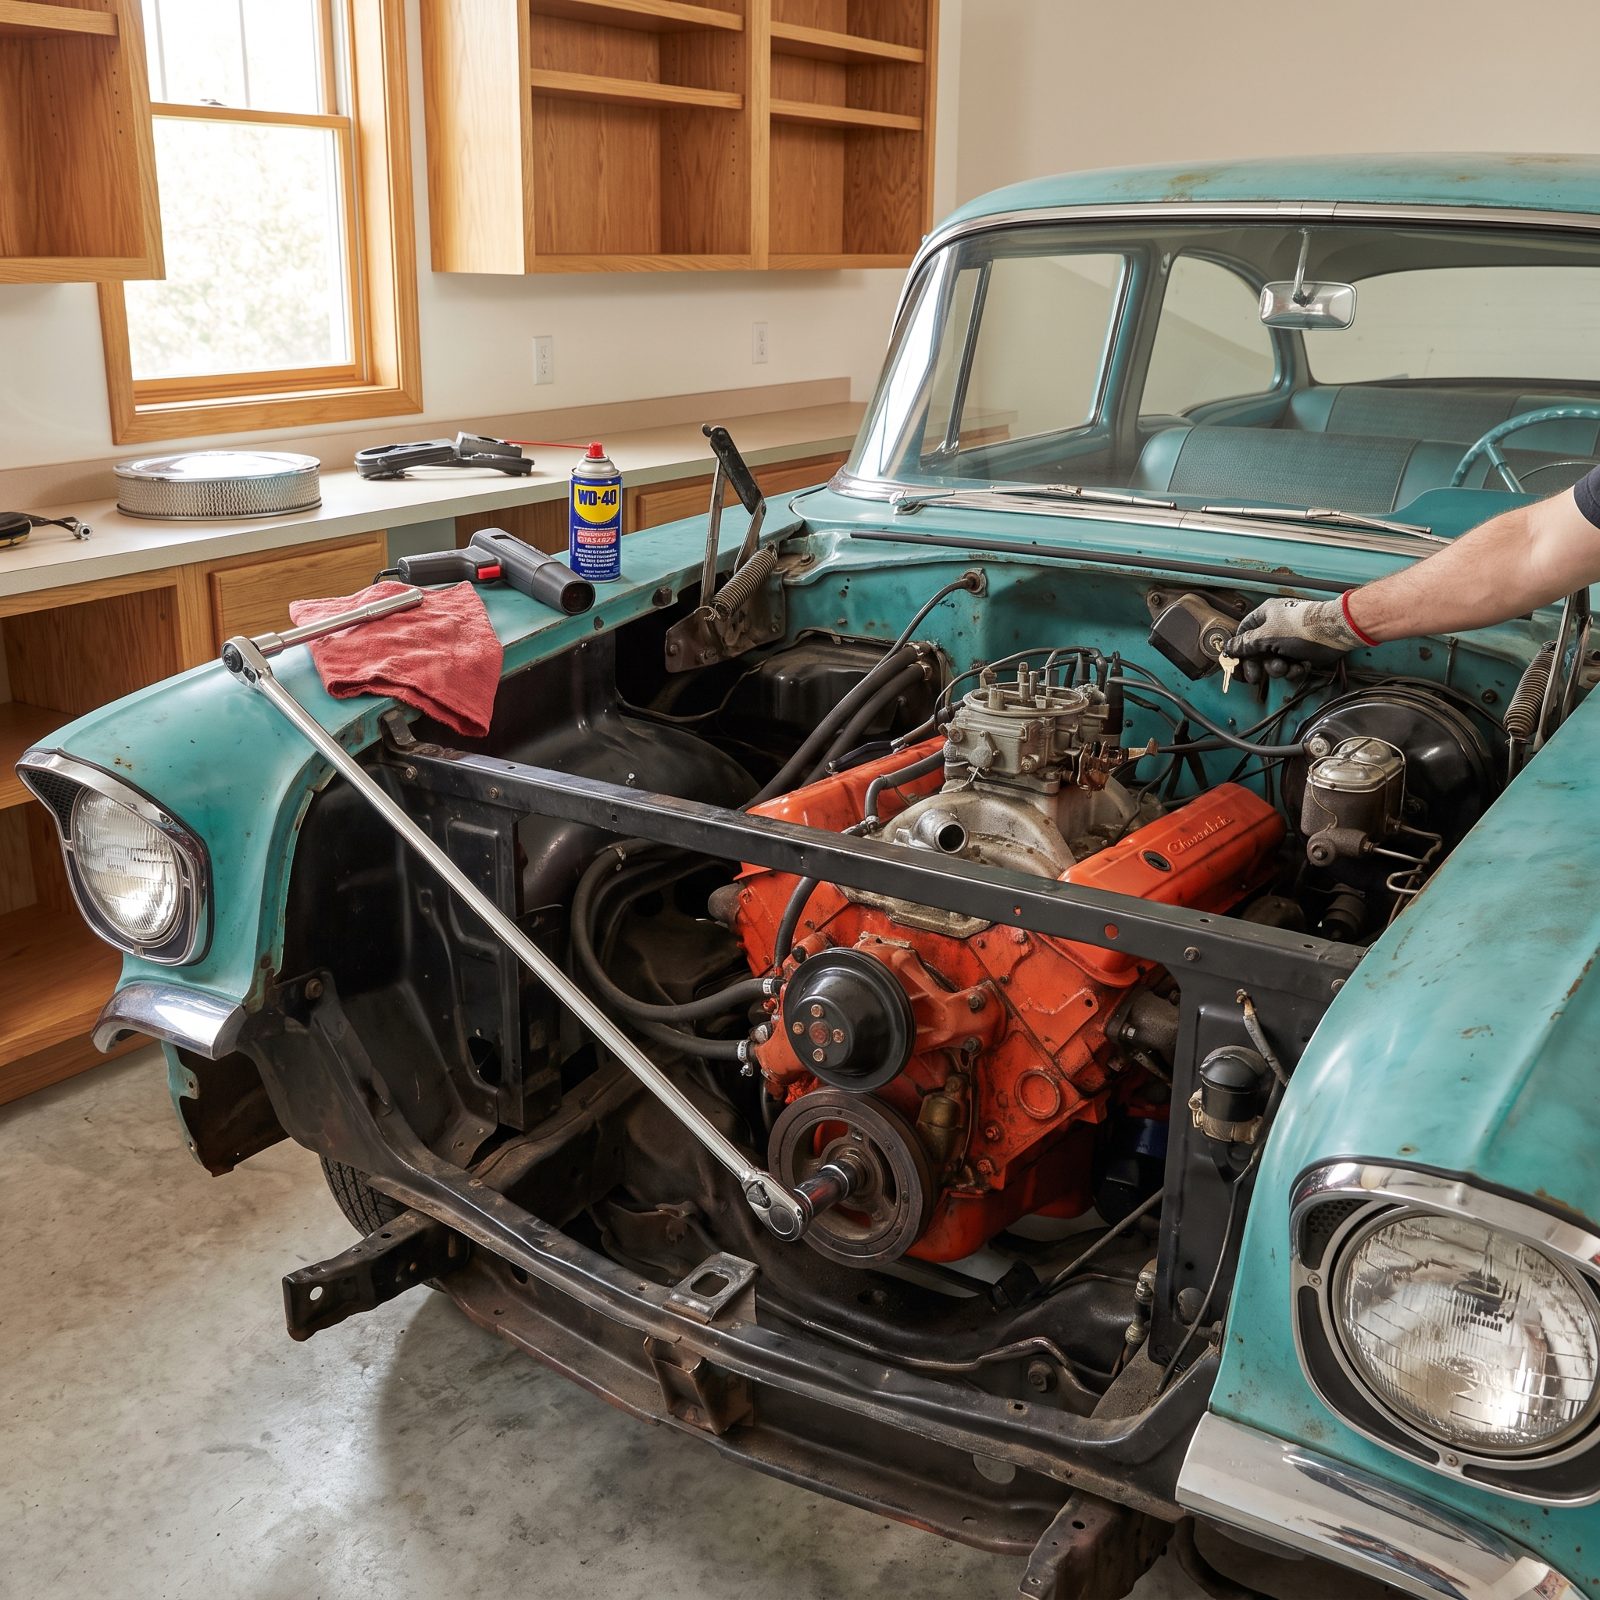
The urge to turn the key the day you get it home is powerful. Fight it. An engine that’s sat for years has dry cylinder walls, settled gunk, and maybe rust on the bores, and cranking it cold can score a cylinder or snap a stuck ring clean in half.
Spinning a dry or seized engine turns a weekend of prep into a full rebuild. Metal on metal with no oil film — that’s exactly how you make the expensive noises.
Go slow. Pull the plugs, squirt a little penetrating oil or Marvel Mystery Oil into each cylinder, and let it soak a few days. Then turn the crank by hand with a breaker bar on the damper bolt. Moves freely? You’ve earned the right to start thinking about fuel and spark. Won’t budge? Keep soaking.
12. Running a Fresh Engine Without Verifying Oil Pressure First
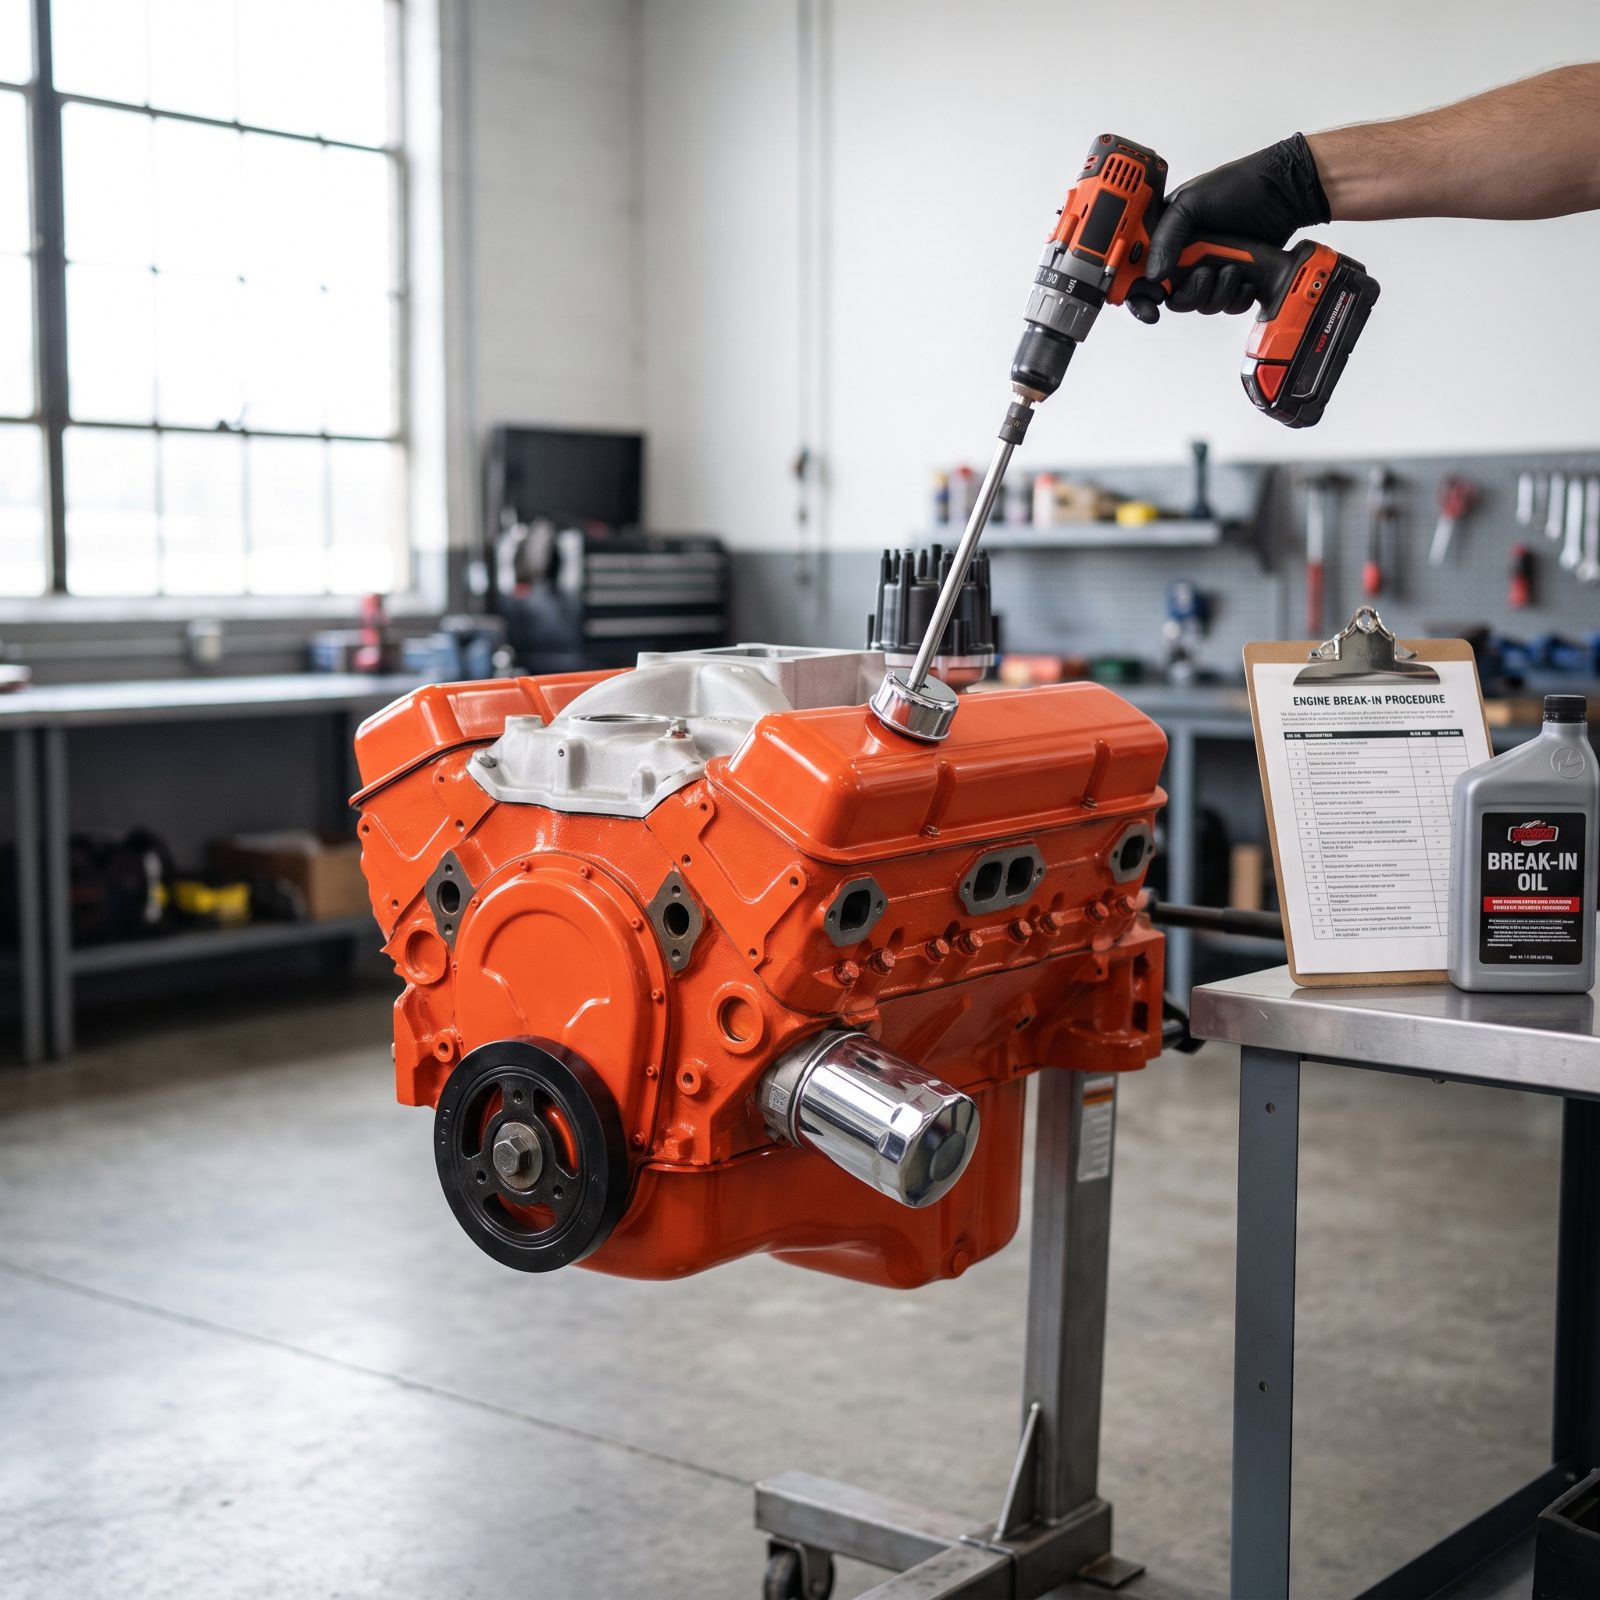
You spent four figures on a rebuild. Don’t let the first thirty seconds undo it. Firing a fresh engine before you’ve confirmed oil is reaching the top end is how you wipe a cam lobe or spin a bearing on a motor that never saw a single mile.
Fresh assembly means tight clearances and bare bearing surfaces that have never had oil forced through them. Crank it dry and you’re grinding new parts the instant it catches.
Prime it first. On most V8s you pull the distributor and spin the oil pump with a drill and a priming shaft until a mechanical gauge shows solid pressure and oil appears up at the rockers. Only then do you button it up, bring the revs up to break in the cam, and keep one eye glued to that needle the whole time.
11. Replacing Cooling-System Parts One at a Time Instead of Treating the System as a Whole
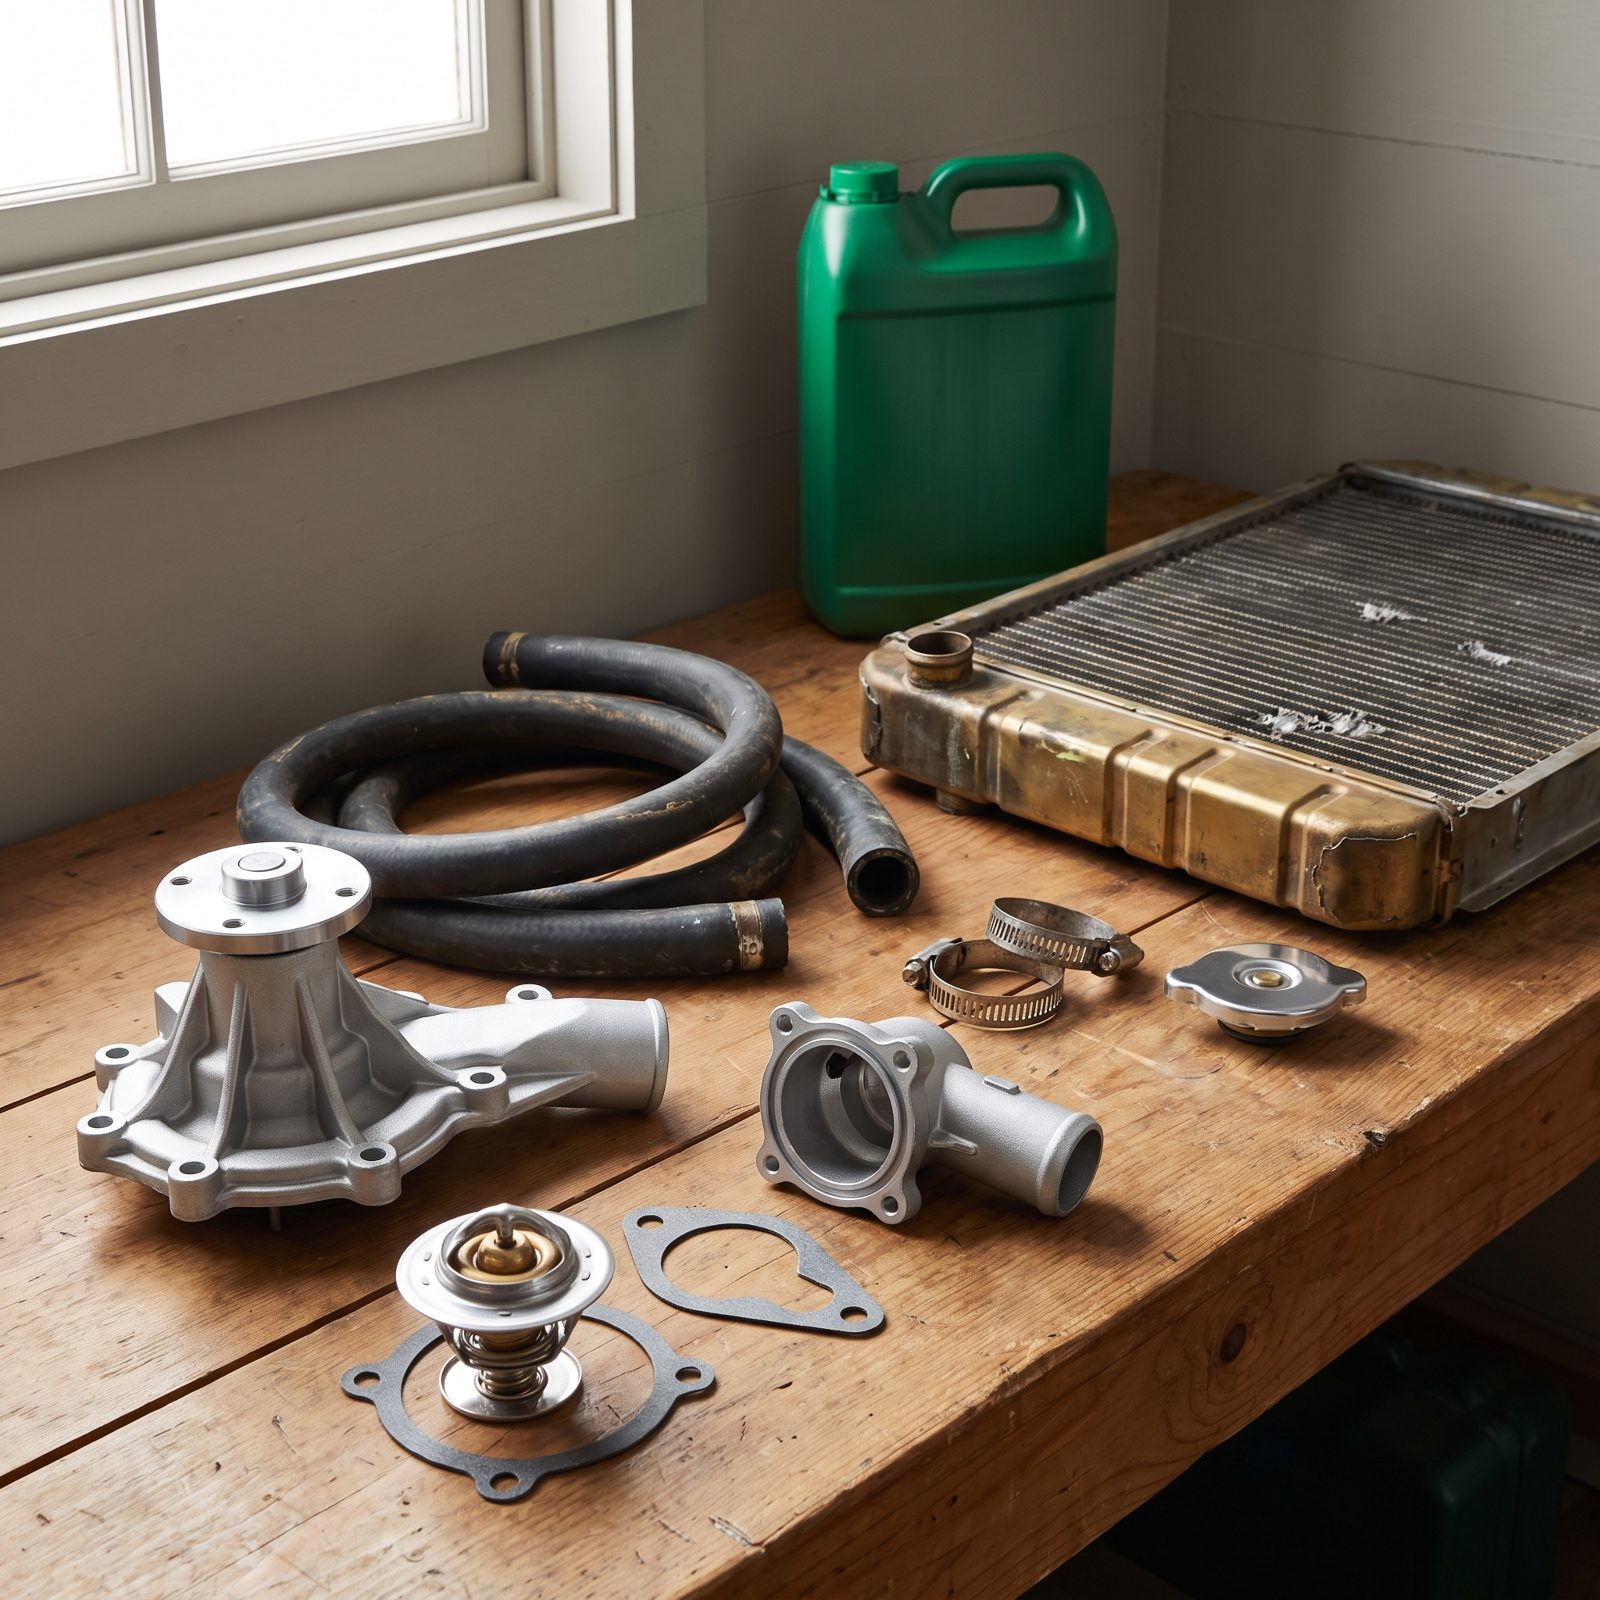
The classic sequence goes like this. Car overheats, so you swap the thermostat. Still hot, so next month the water pump. Still hot, so eventually the radiator. Three trips, three gaskets, three bleeds, and the real problem was something you hadn’t gotten to yet.
A cooling system is a team, not a lineup of individuals. One tired component drags the others down, and chasing them one at a time means you never really know which fix mattered.
Do it all together while the engine’s fresh. Recored or new radiator, water pump, thermostat, every hose, every clamp, a correct-pressure cap, then fill with a proper coolant mix and burp the air out. One weekend, one clean baseline, and an engine that runs at temperature instead of hovering near it.
10. Feeding a Rebuilt Engine From a Rusty, Uncleaned Fuel Tank
Would you like to save this?
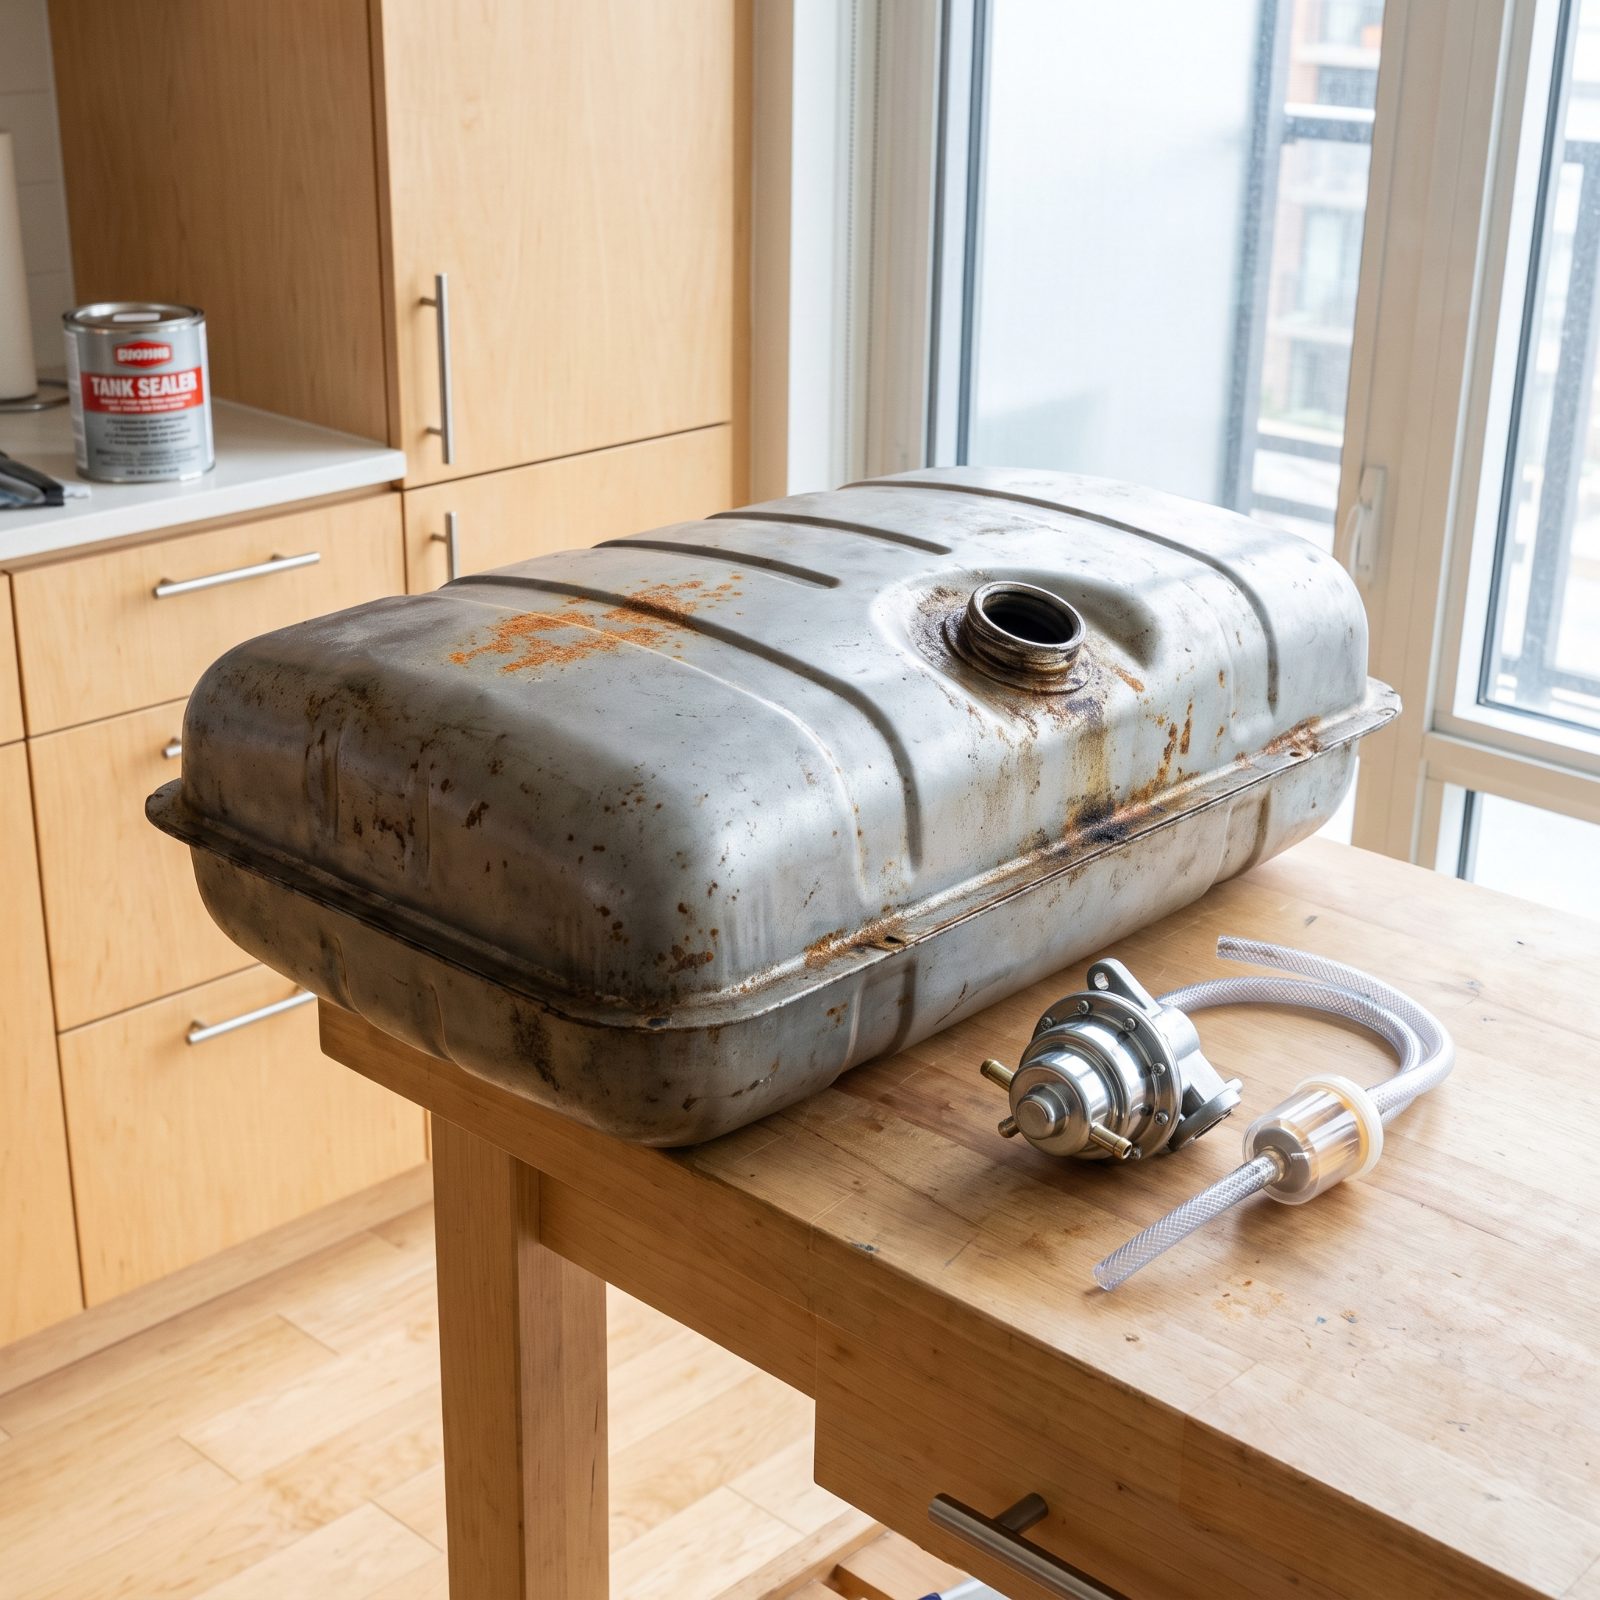
You just spent real money on a rebuilt engine, and the first thing you hand it to breathe is fuel pulled from a tank that’s been quietly shedding rust flakes since before you owned the car. Those flakes travel. Straight into your new carburetor.
Rust and old varnish clog jets, stick needle valves, score the fuel pump, and gum up everything downstream. A fresh engine starved or flooded by dirty fuel runs like garbage, and you’ll chase the symptom for weeks before you ever think to look at the tank.
Deal with the tank first. Have it boiled out and sealed, or replace it outright if it’s pitted through, then add a fresh pickup sock, a new fuel pump, and a clear inline filter you can actually watch work. Clean fuel is the cheapest insurance your carburetor will ever get.
9. Installing Fuel Hoses and Seals That Cannot Handle Modern Ethanol Blends
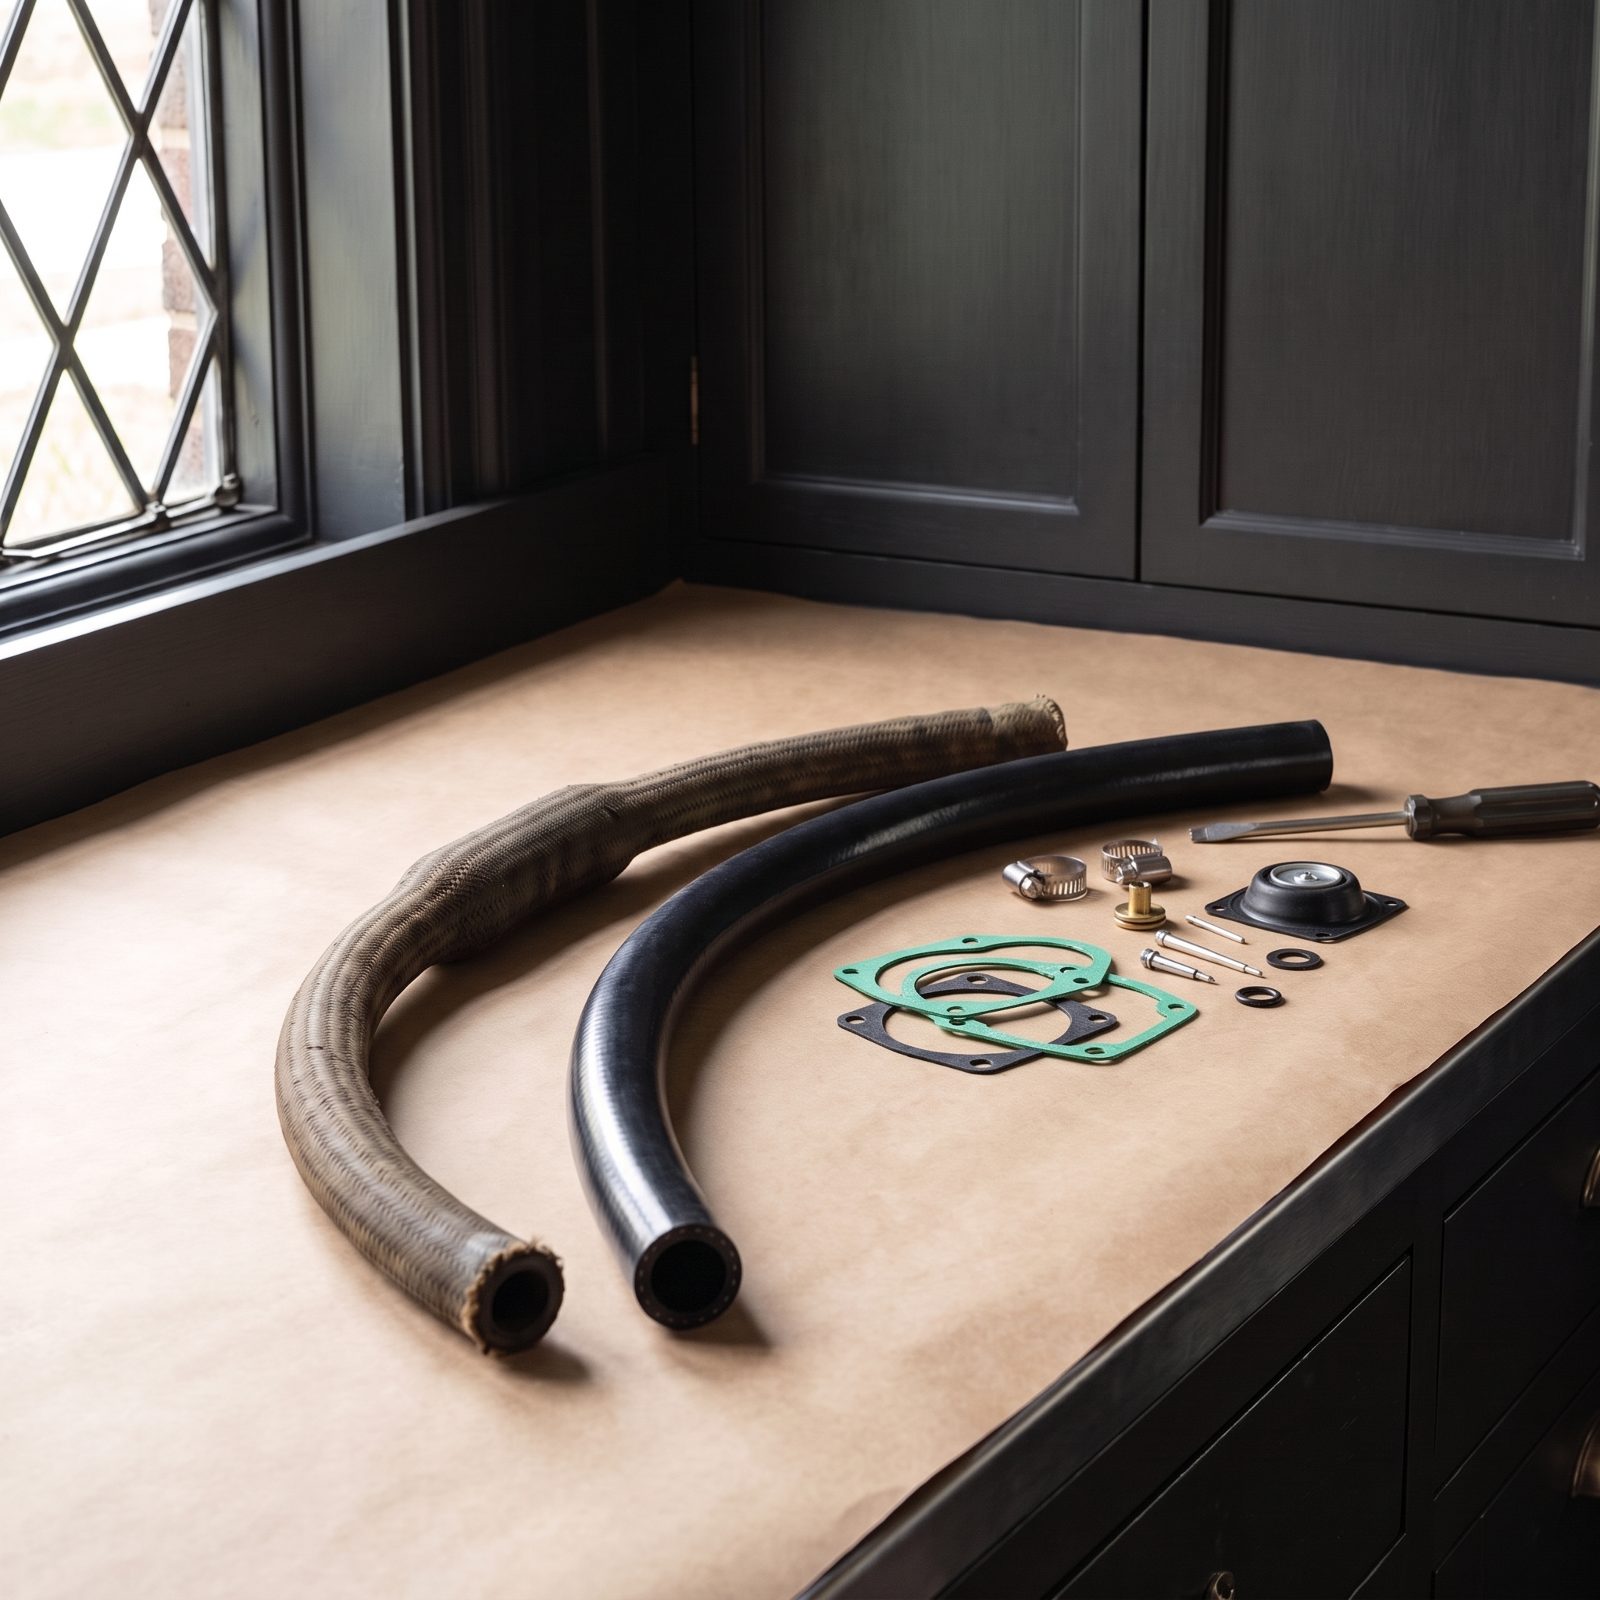
The hose on the shelf at the parts counter looks like fuel hose. It might even carry the same part number as original. But plenty of old-spec rubber and NOS carburetor gaskets were never built for the ethanol in today’s pump gas, and ethanol eats them alive.
It swells, cracks, and dissolves non-compatible rubber from the inside, and the debris lands in your carburetor — or worse, the fuel soaks a split hose onto a hot manifold. A garage fire waiting for a reason.
So spec everything for ethanol. Hose marked for E10 or better, carburetor kits with ethanol-compatible needle-and-seat and pump diaphragm, fresh clamps on every joint. Costs you a few dollars more, and it’s the whole difference between a fuel system you trust and one you keep sniffing for gas.
8. Fabricating the Exhaust Before the Drivetrain Is in Its Final Position
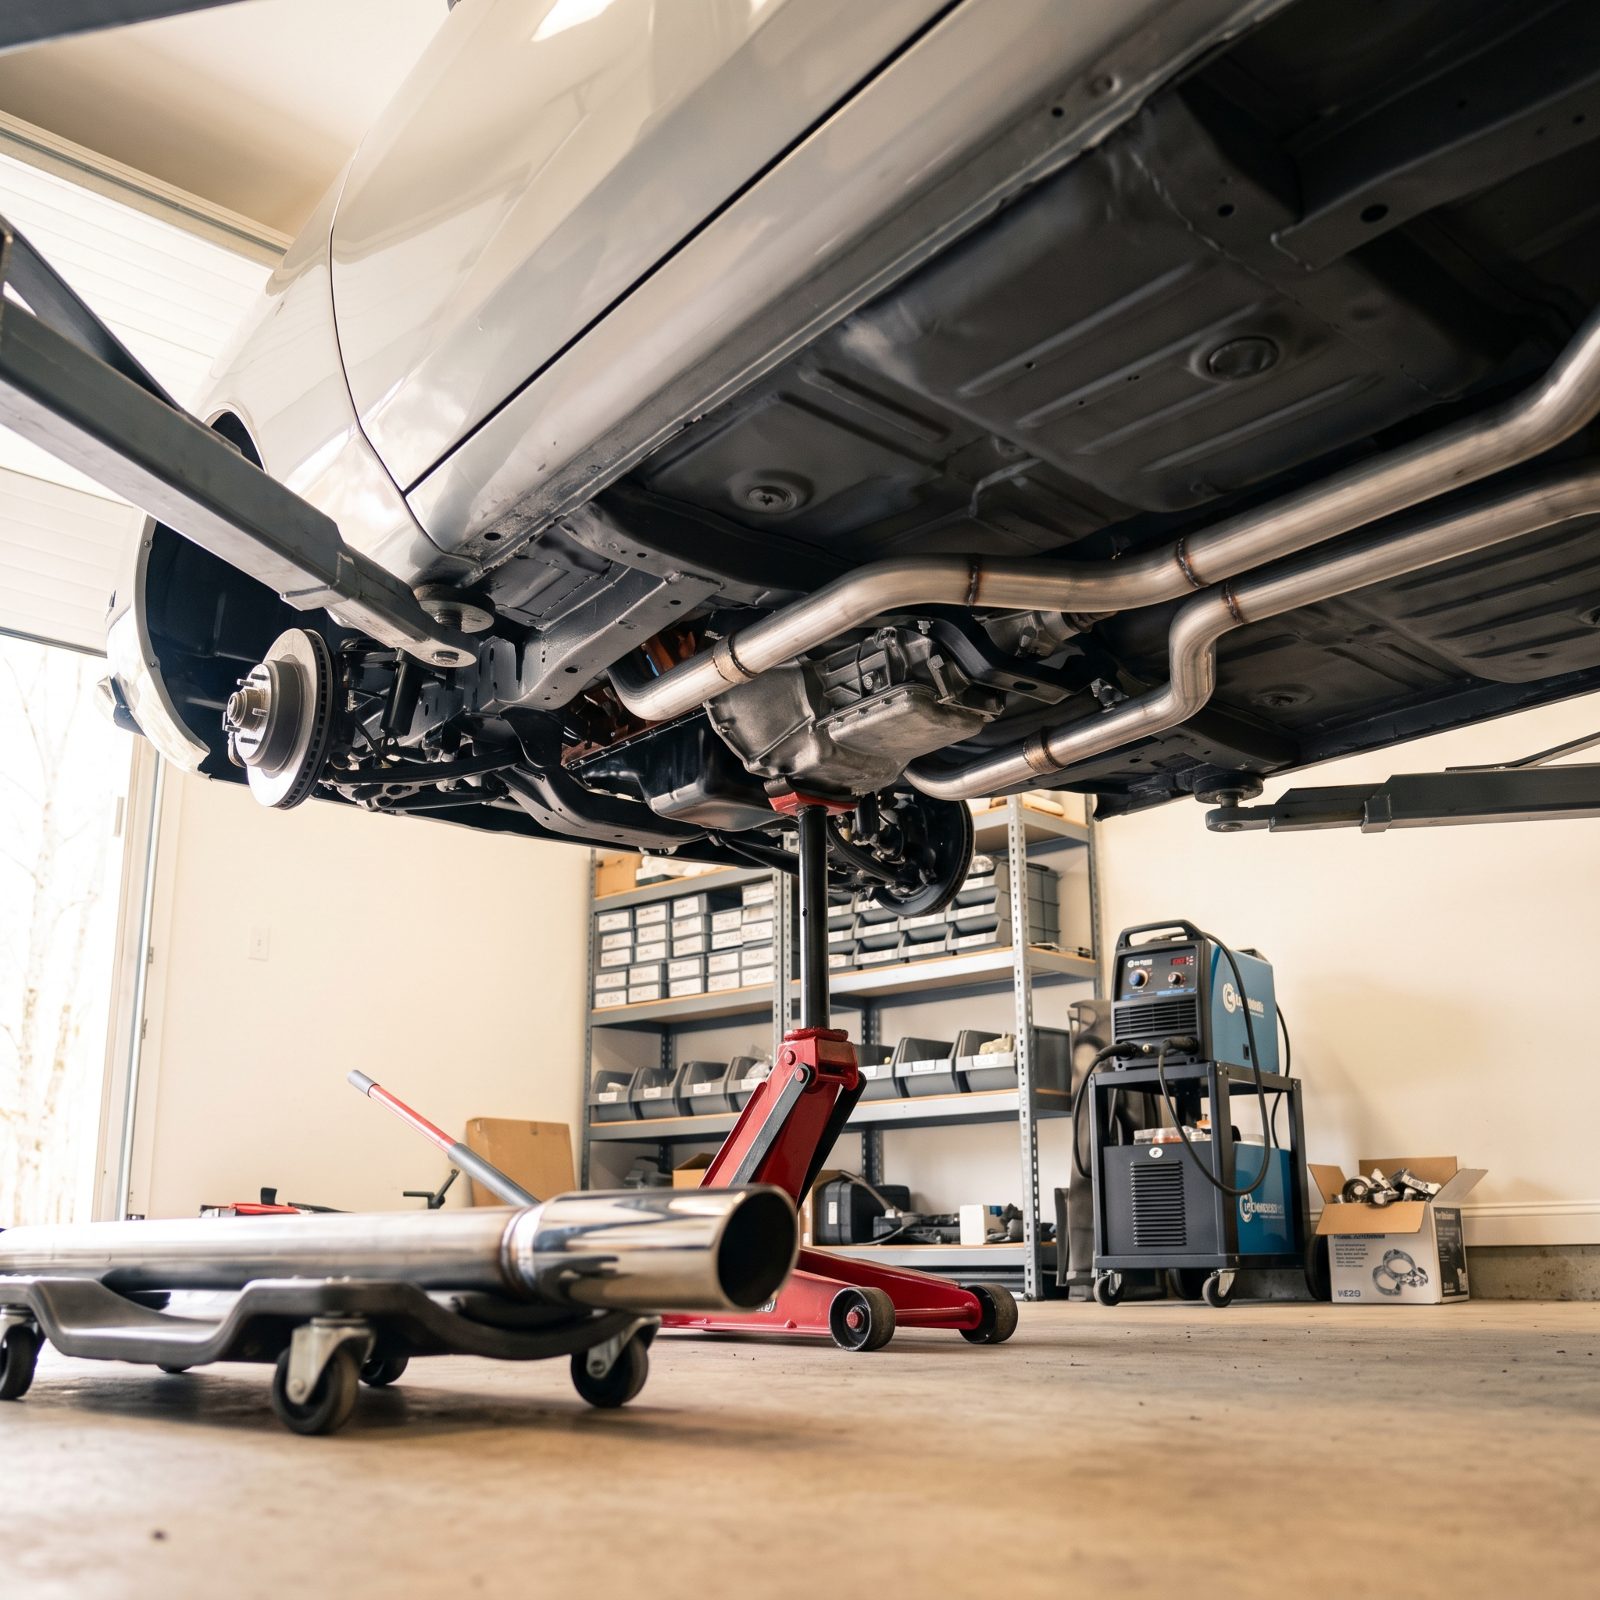
You bolt the headers on with the body up on the lift and the engine roughed in, and the exhaust shop is itching to run pipe, so you let them. Everything looks perfect. Then the car comes off the jack, the motor mounts take the weight, the trans settles onto its crossmember, and the whole drivetrain drops and twists a good half inch.
Now your beautiful mandrel bends are kissing the floor pan and your header collectors sit cocked. The pipes you paid real money for become scrap, and the rubber hangers hang at angles that chew themselves to death inside a season.
Fuel the car. Fill the cooling system. Let it sit on its own suspension with the drivetrain torqued to spec, and only then fabricate. The weight settles the mounts, and the exhaust gets built around where things actually live instead of where they floated during mockup.
7. Ignoring Driveshaft Angles After Changing Ride Height
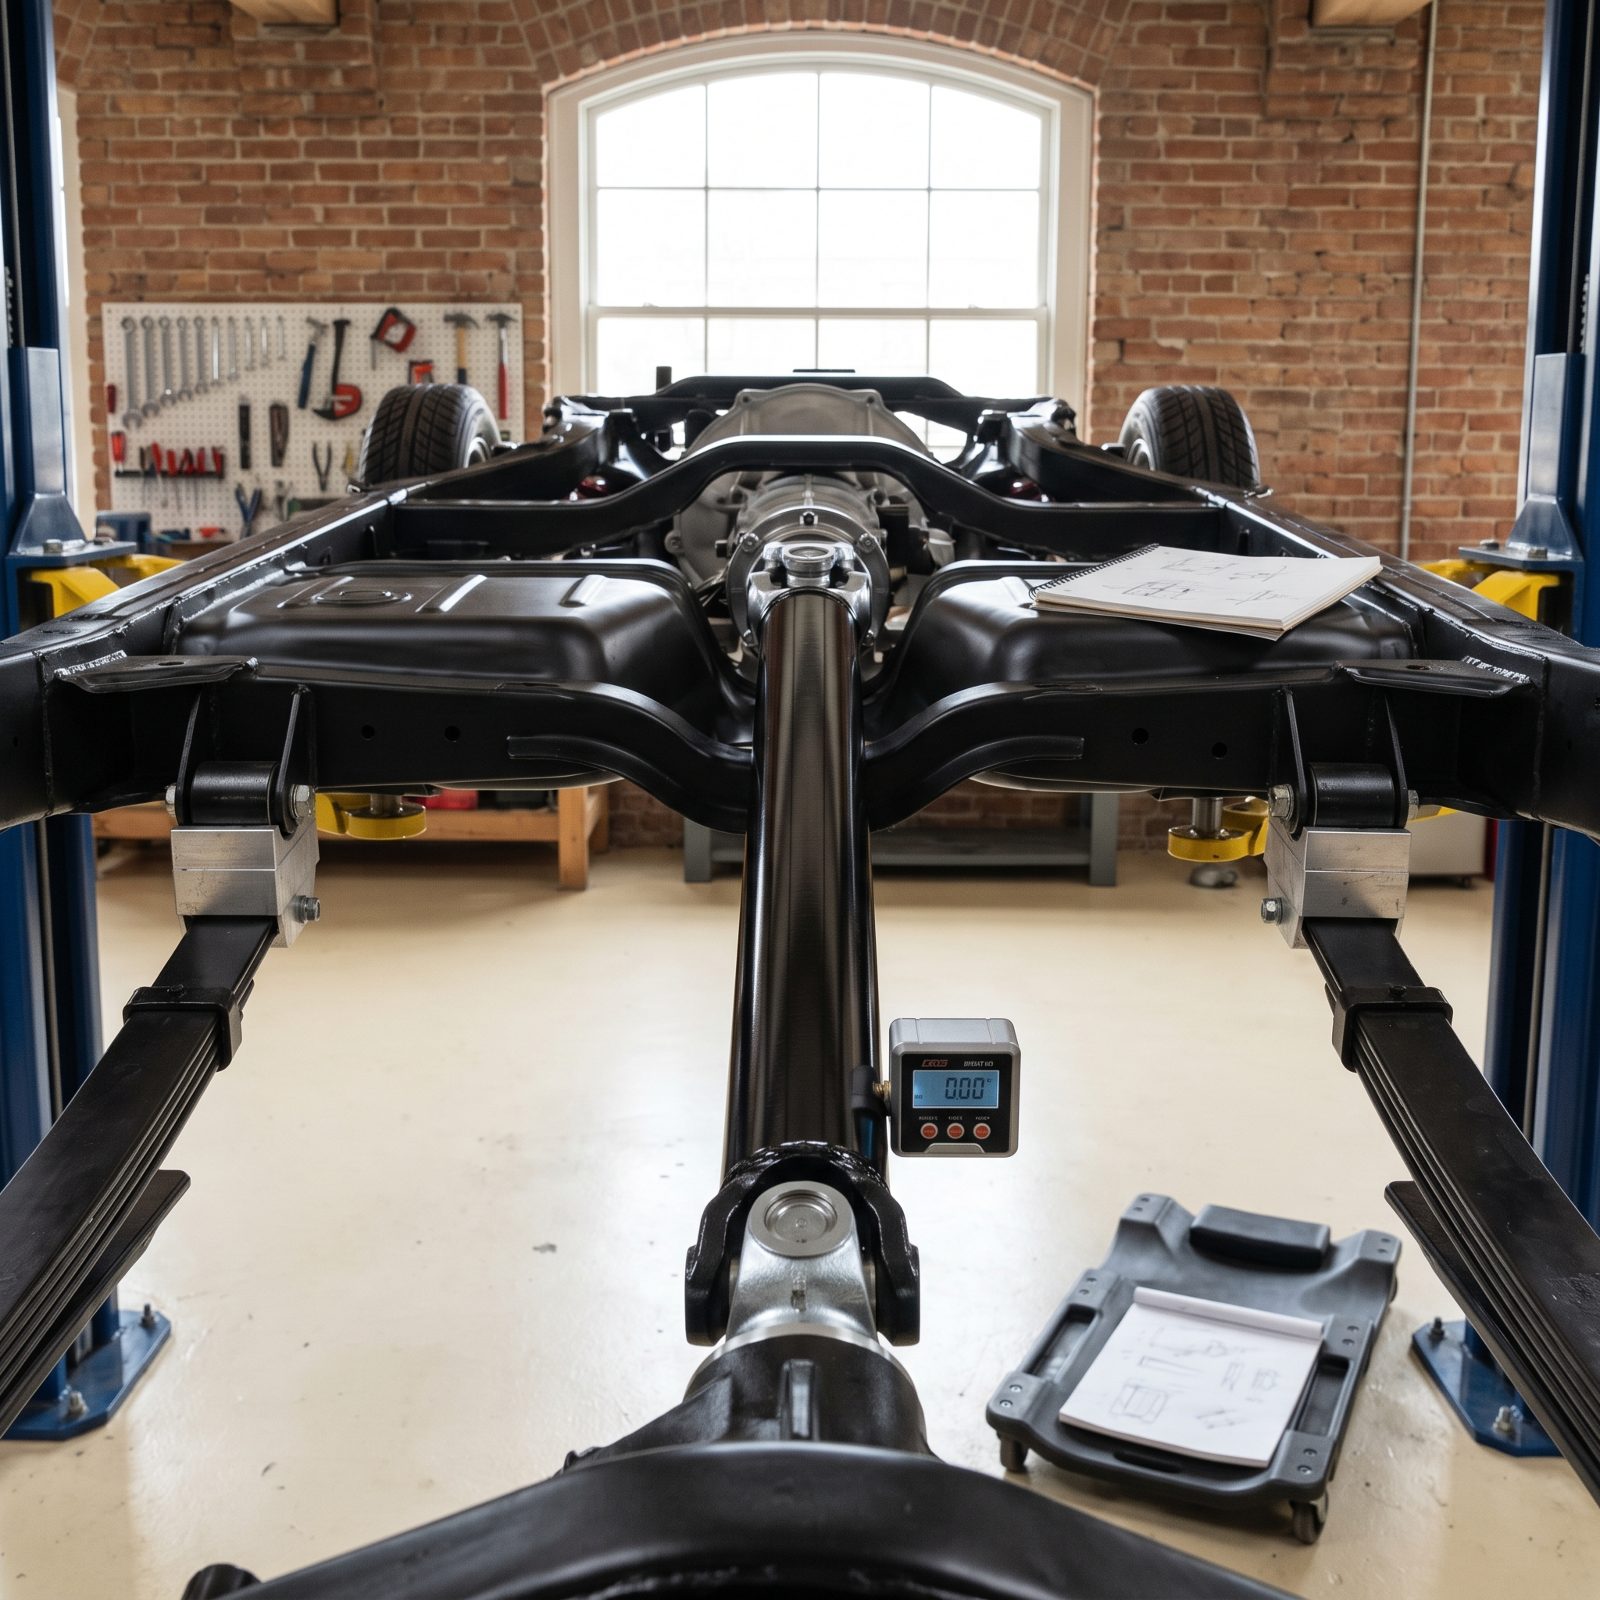
Dropping a classic looks right, and it feels right rolling into the diner lot. What it does underneath is quietly ruin your U-joints. Lower the rear with drop blocks or shorter springs and you rotate the pinion, which breaks the working angle the factory set between the transmission output and the rear axle.
Get it wrong and the joints run at an angle they were never meant to hold. You feel it first as a vibration that builds with speed, then it shows up as premature wear, a howling carrier bearing, and in bad cases a cracked yoke.
Put an angle finder on the transmission tailshaft, the driveshaft, and the pinion. You want the two operating angles roughly equal and opposite, under about three degrees each. Shim the pinion with wedges or adjustable control arms until the numbers agree. It’s an afternoon with a magnetic inclinometer and a notepad. Skip it and you’ll be back under there every spring with a fresh set of joints.
6. Relying on Painted Body Panels to Provide Electrical Grounds
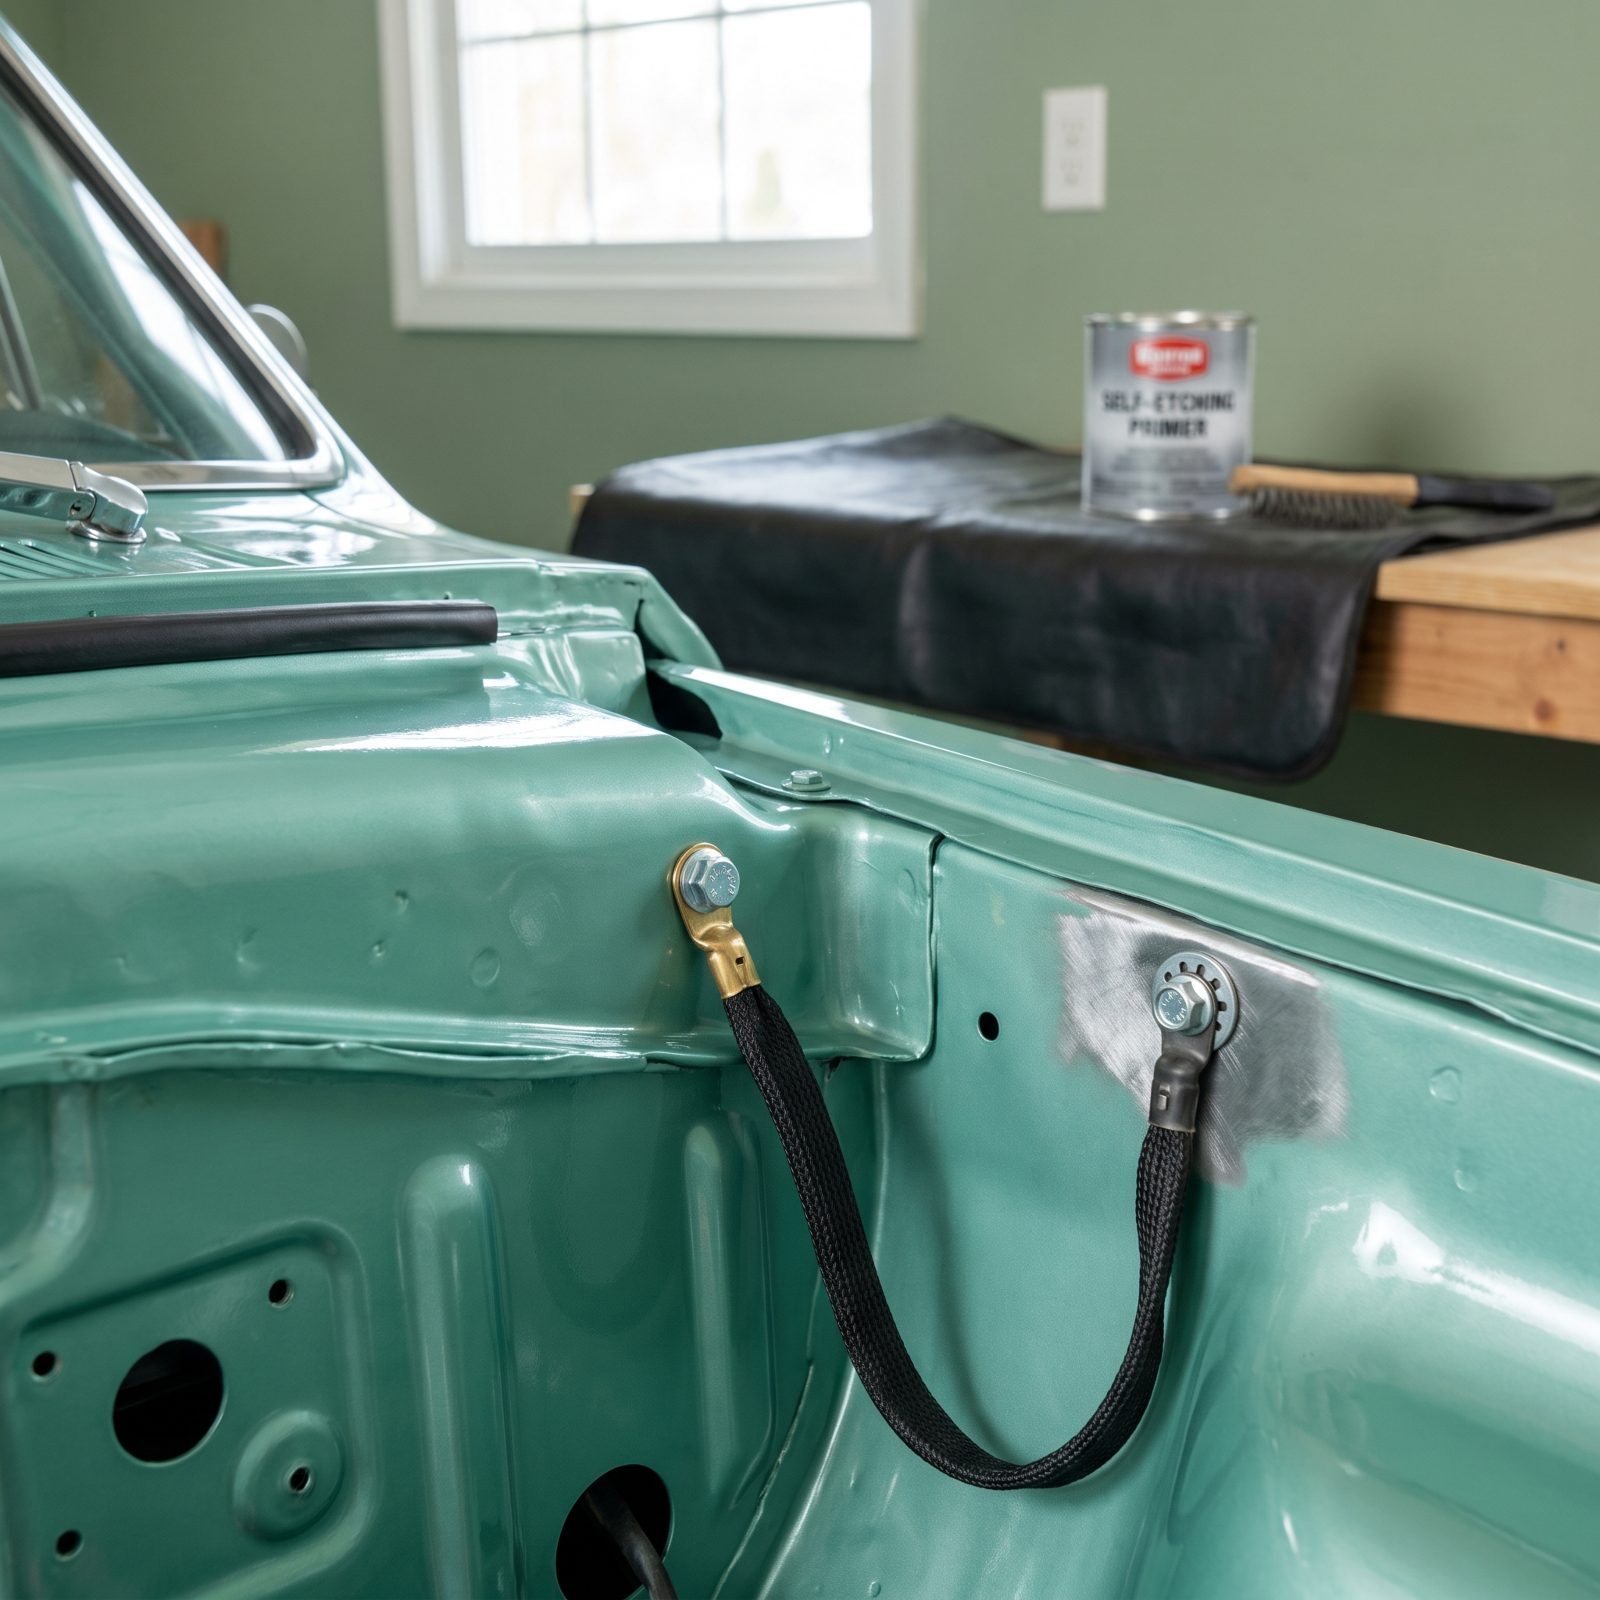
Fresh paint is an insulator. You spent months getting that firewall and the inner fenders smooth and coated, and now every ground you bolt to a painted surface is fighting through a layer of primer and color that electricity hates.
The symptoms are maddening because they wander. Dim headlights. A starter that clicks but won’t spin, gauges that read nonsense, a radio that cuts out over every bump. You’ll chase a dozen circuits before it dawns on you that the real fault is a ground making contact through nothing but paint film.
Every ground point needs bare, shiny metal under the terminal. Sand or wire-wheel the paint down to clean steel, bolt the ground with a star washer so it bites, then hit the exposed ring with a dab of dielectric grease to stop corrosion. Run a heavy strap from the engine block to the frame, and another from frame to body. A good ground system is invisible when it works and pure misery when it doesn’t.
5. Reusing a Brittle Original Wiring Harness
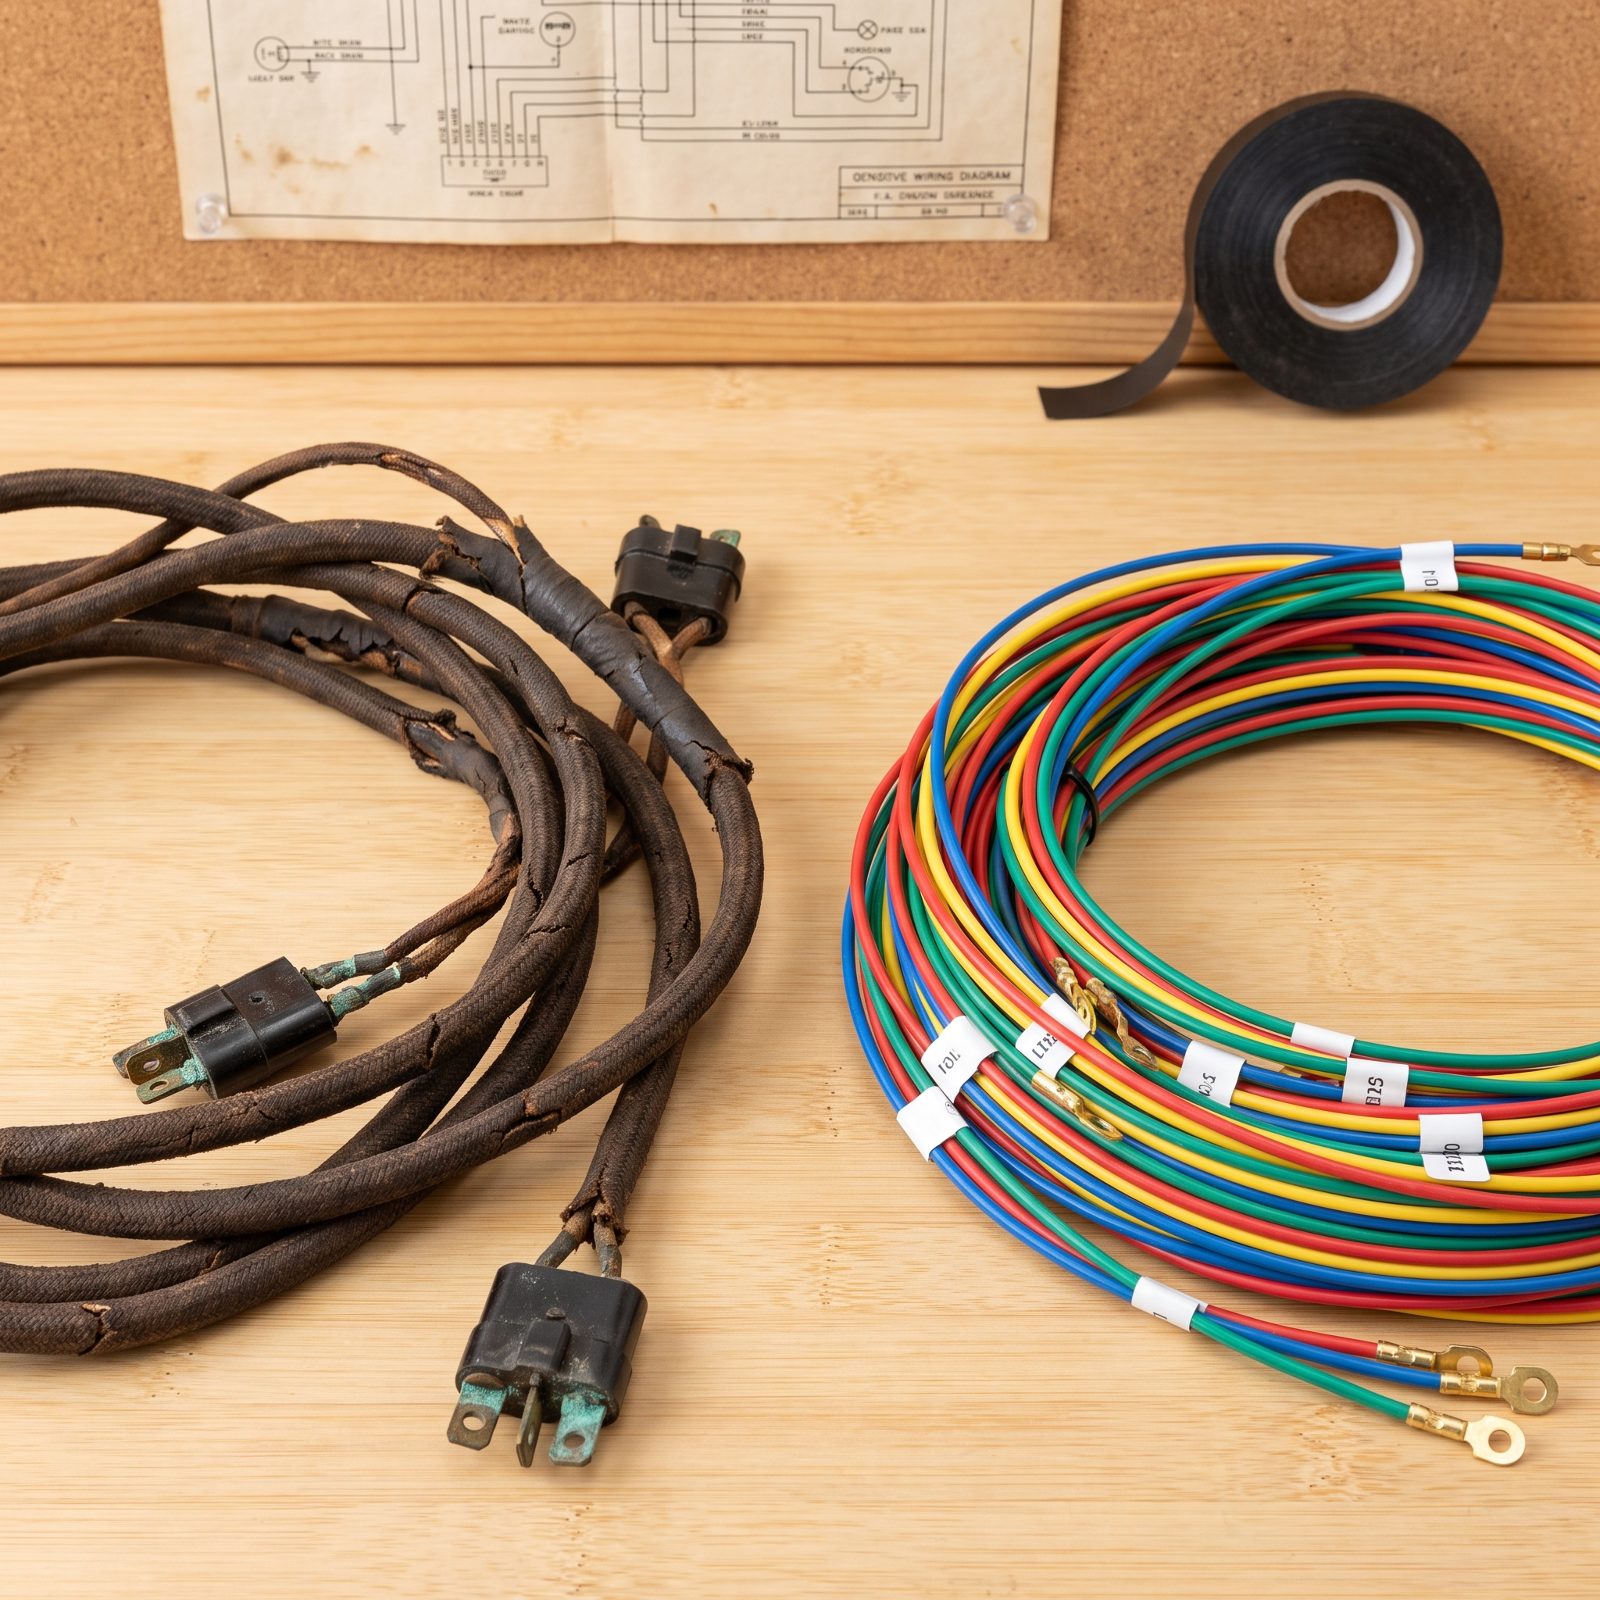
The old harness is still in the car, the colors still sort of match the diagram, and pulling it feels like a week you don’t have. So you clean it up, wrap the rough spots in tape, and call it good. We’ve watched that decision burn down a two-year restoration in about ninety seconds.
Decades of engine heat turn the insulation brittle. It cracks, it flakes, and eventually two bare wires touch somewhere you can’t see. Now you’ve got an unfused short behind a painted dash, and old cloth and wood don’t take kindly to that kind of heat.
Drop in a new reproduction harness from a maker like American Autowire or Painless. They come color-matched to the factory diagram with modern insulation and, better still, a proper fuse block the original never had. Figure a weekend of patient labeling and routing. Cheap insurance against the one failure you can’t walk away from.
4. Finishing the Interior Before Finding and Fixing Water Leaks
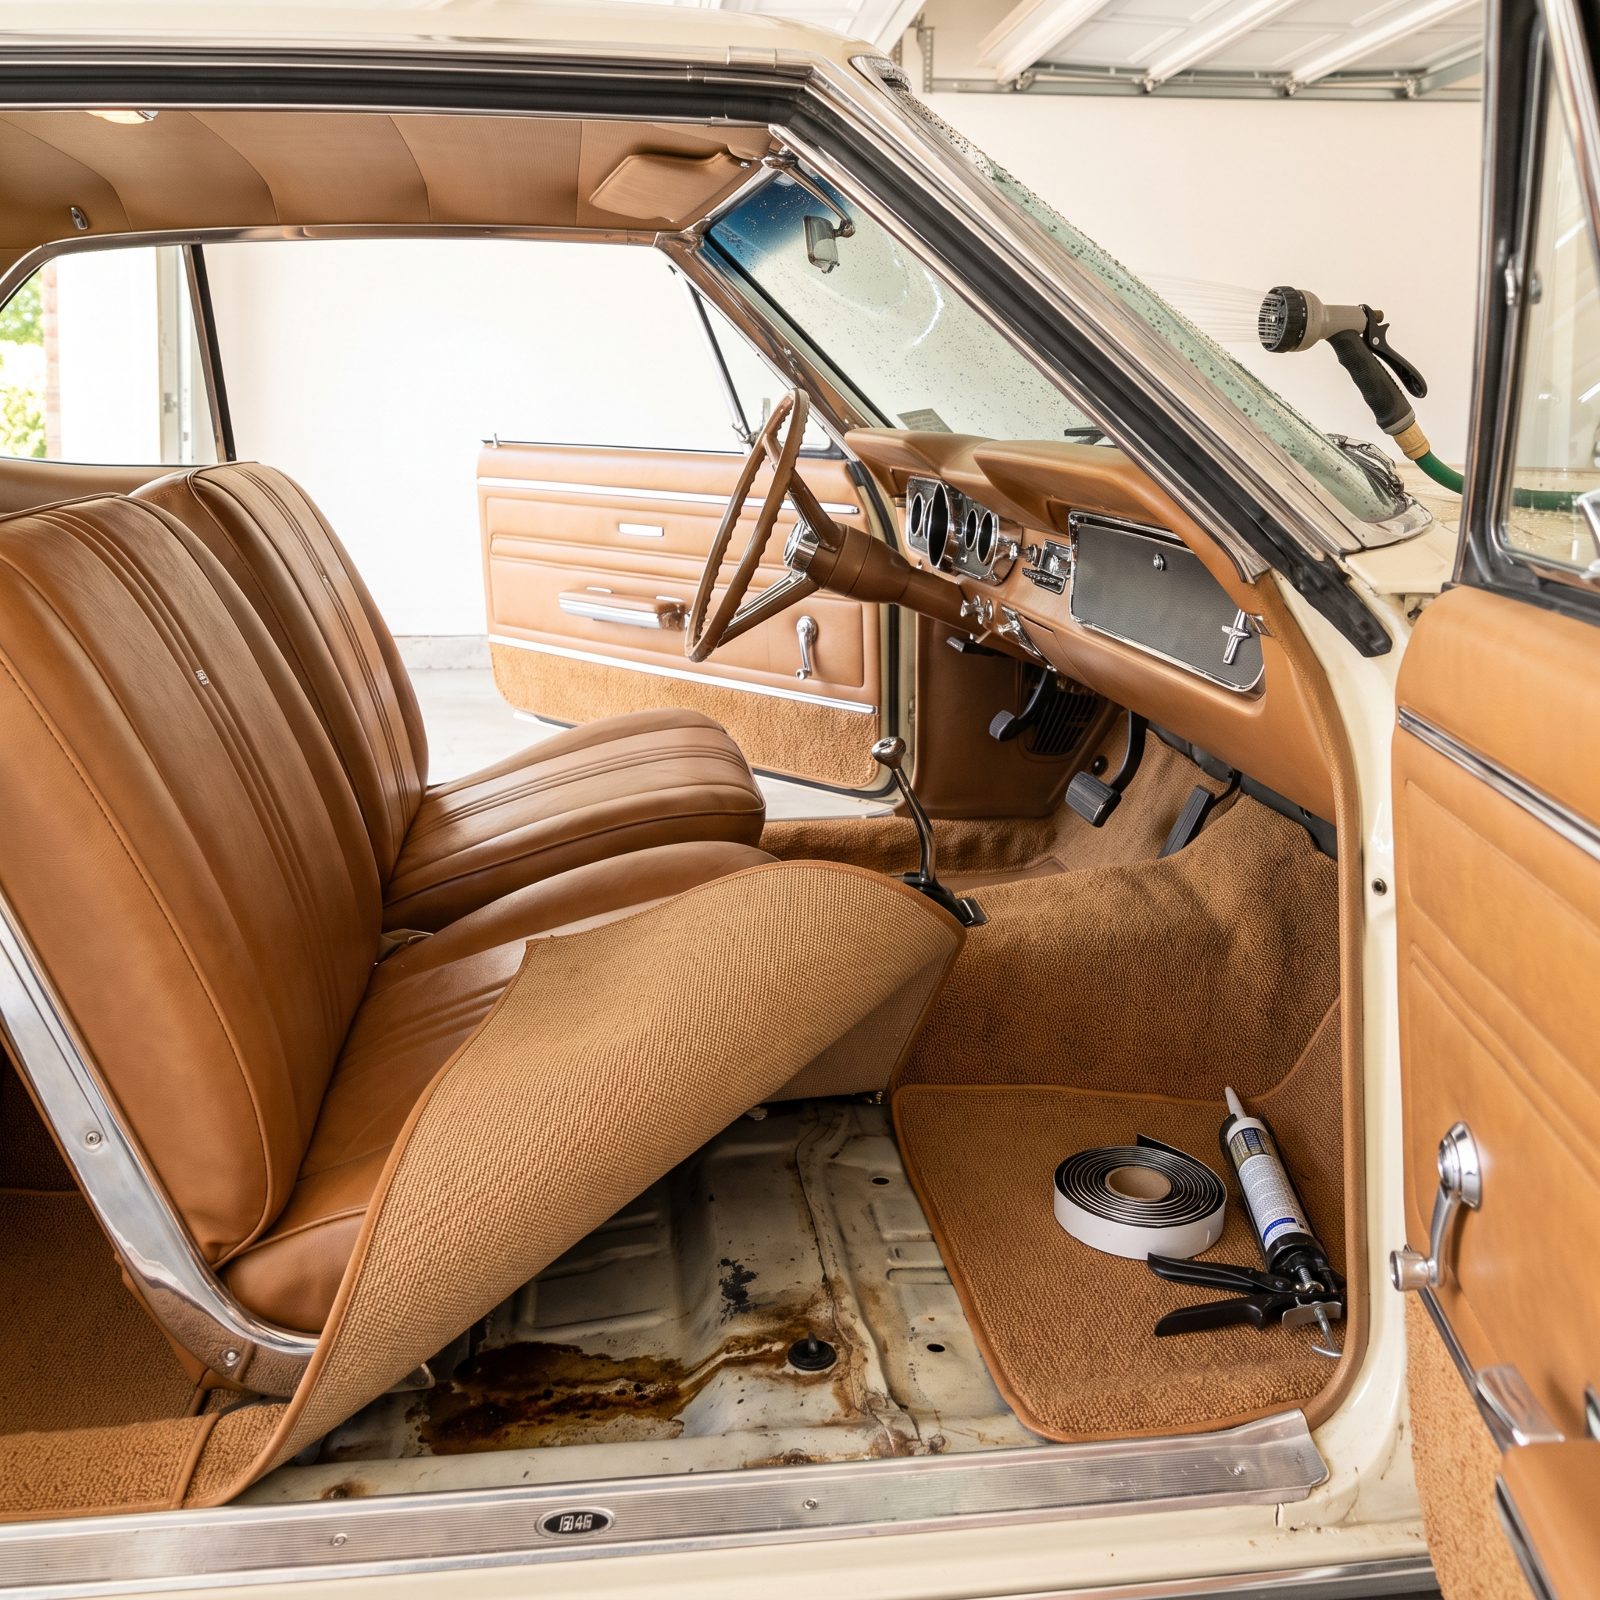
New carpet. New headliner. Seats recovered in correct-grain vinyl that cost more than your first car. Then it rains, or the car sees a wash, and water finds its way onto that fresh carpet through a seam nobody sealed.
Trapped moisture under carpet and padding is how you grow rust in a floor pan you just spent a fortune replacing. It wicks up into seat foam and headliner backing, and the smell never fully leaves. You’ll be pulling the interior back out, which is the whole job again.
Before a single piece of trim goes in, do a hose test. Have someone run water slowly over the cowl, the windshield and backglass gaskets, the door seals, and the trunk while you sit inside with a flashlight watching for drips. Seal every body plug, replace cracked window gaskets, re-seam the cowl if it’s weeping. Only then do you lay carpet.
3. Mounting Seat Belts to Weak Sheet Metal
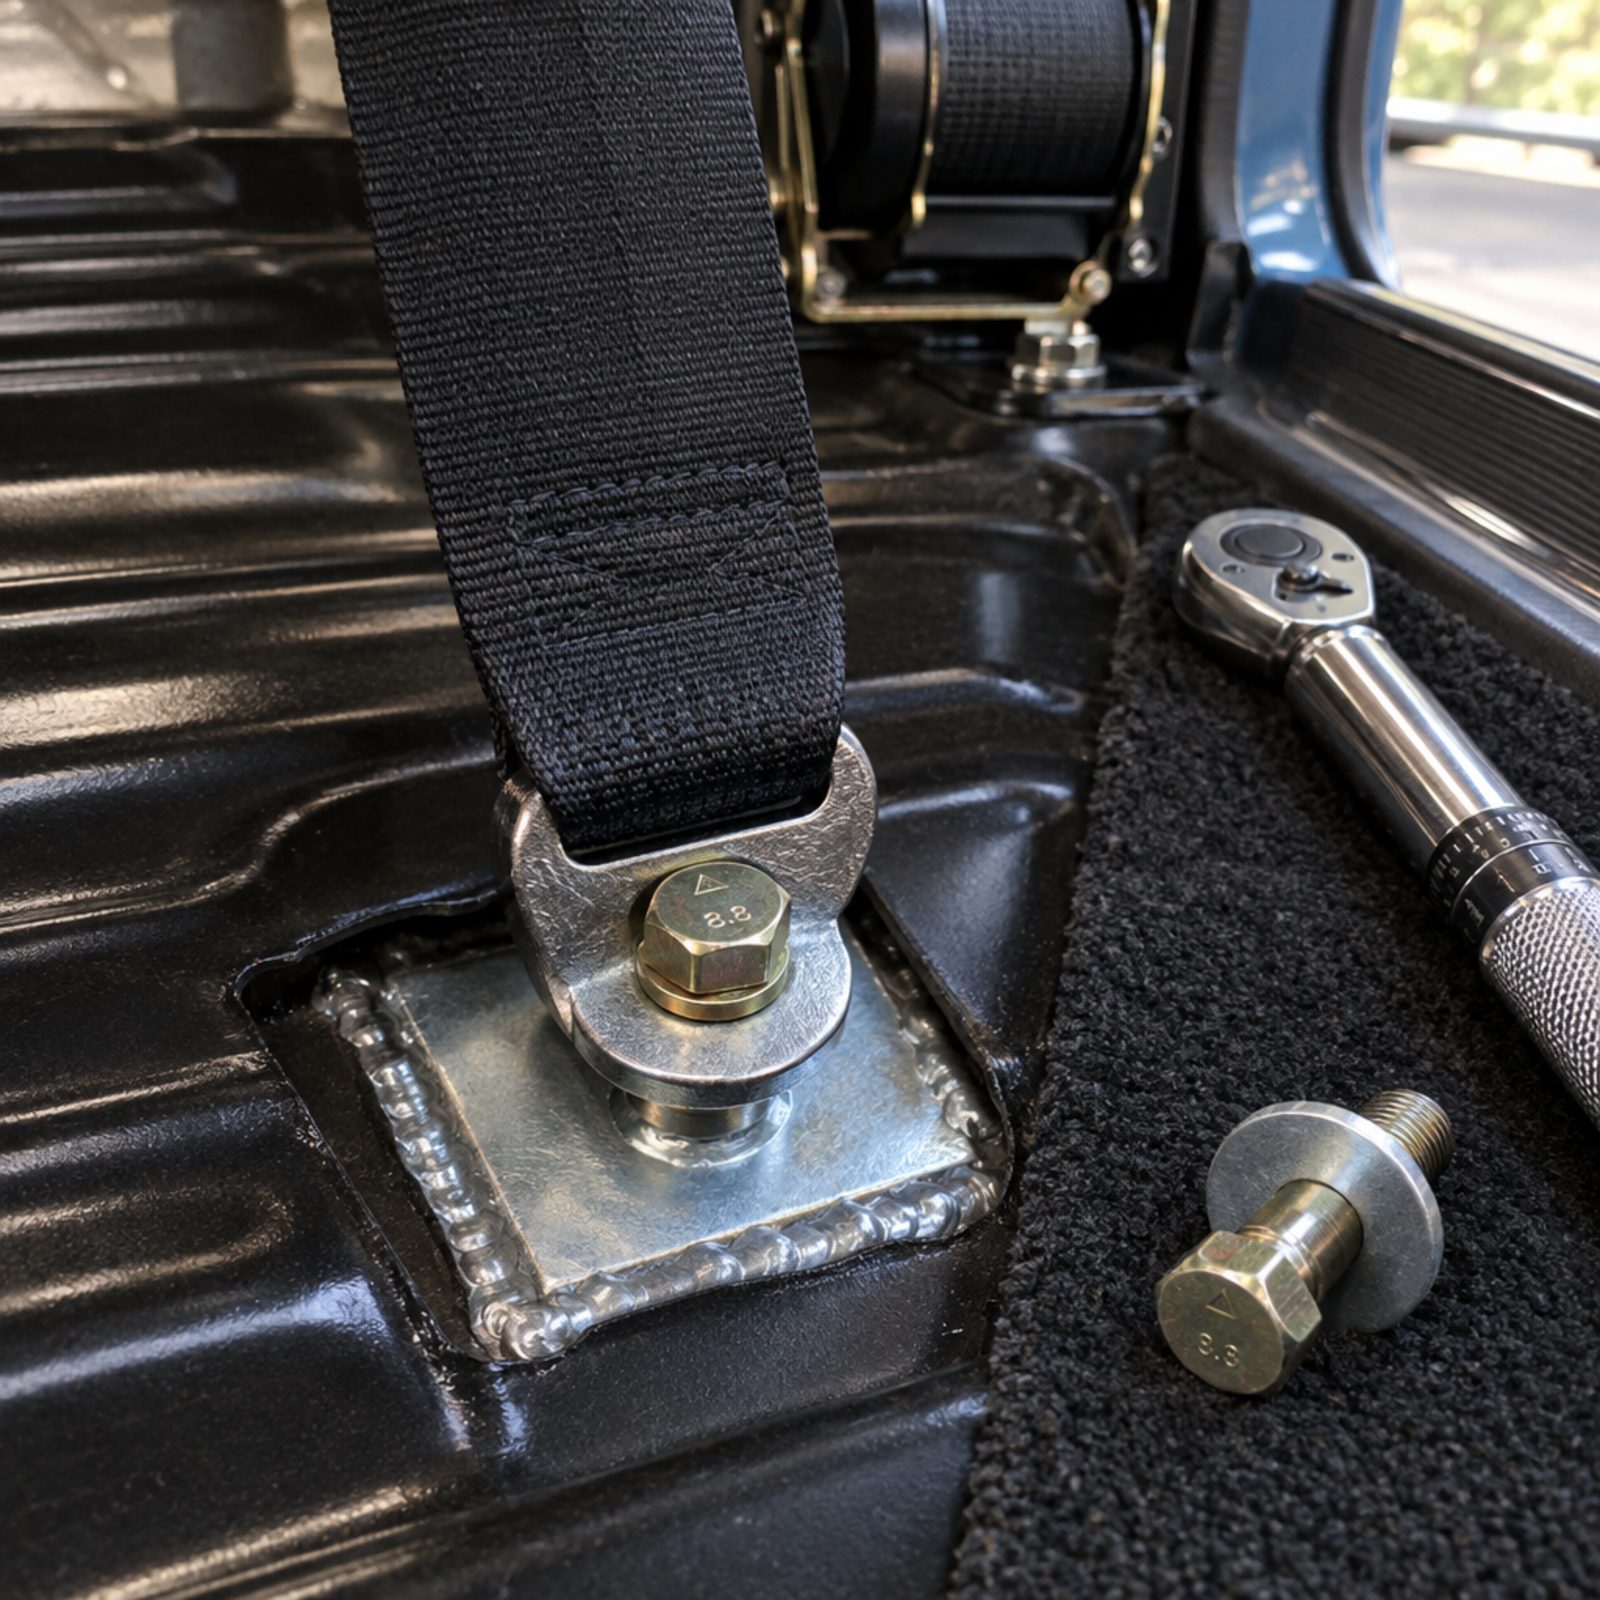
This is the one mistake on the list that can get somebody killed. Bolting a seat belt or a new three-point harness straight through a single layer of thin floor pan feels secure when you crank the wrench. It isn’t. Sheet metal folds like foil under crash load.
In a hard stop the anchor point sees thousands of pounds of force. A bolt through unsupported sheet metal pulls right through the panel, and the belt that was supposed to hold you does nothing at all.
Weld a large steel backing plate behind every anchor point to spread the load, at least an eighth of an inch thick and several inches square. Use grade-8 bolts, 7/16-20 being the common factory thread, with the correct washers, and torque them to spec. Fitting modern three-point or harness belts? Follow the manufacturer’s anchor geometry exactly. This is no place to improvise or save an hour.
2. Replacing Structural Automotive Fasteners With Generic Hardware-Store Bolts
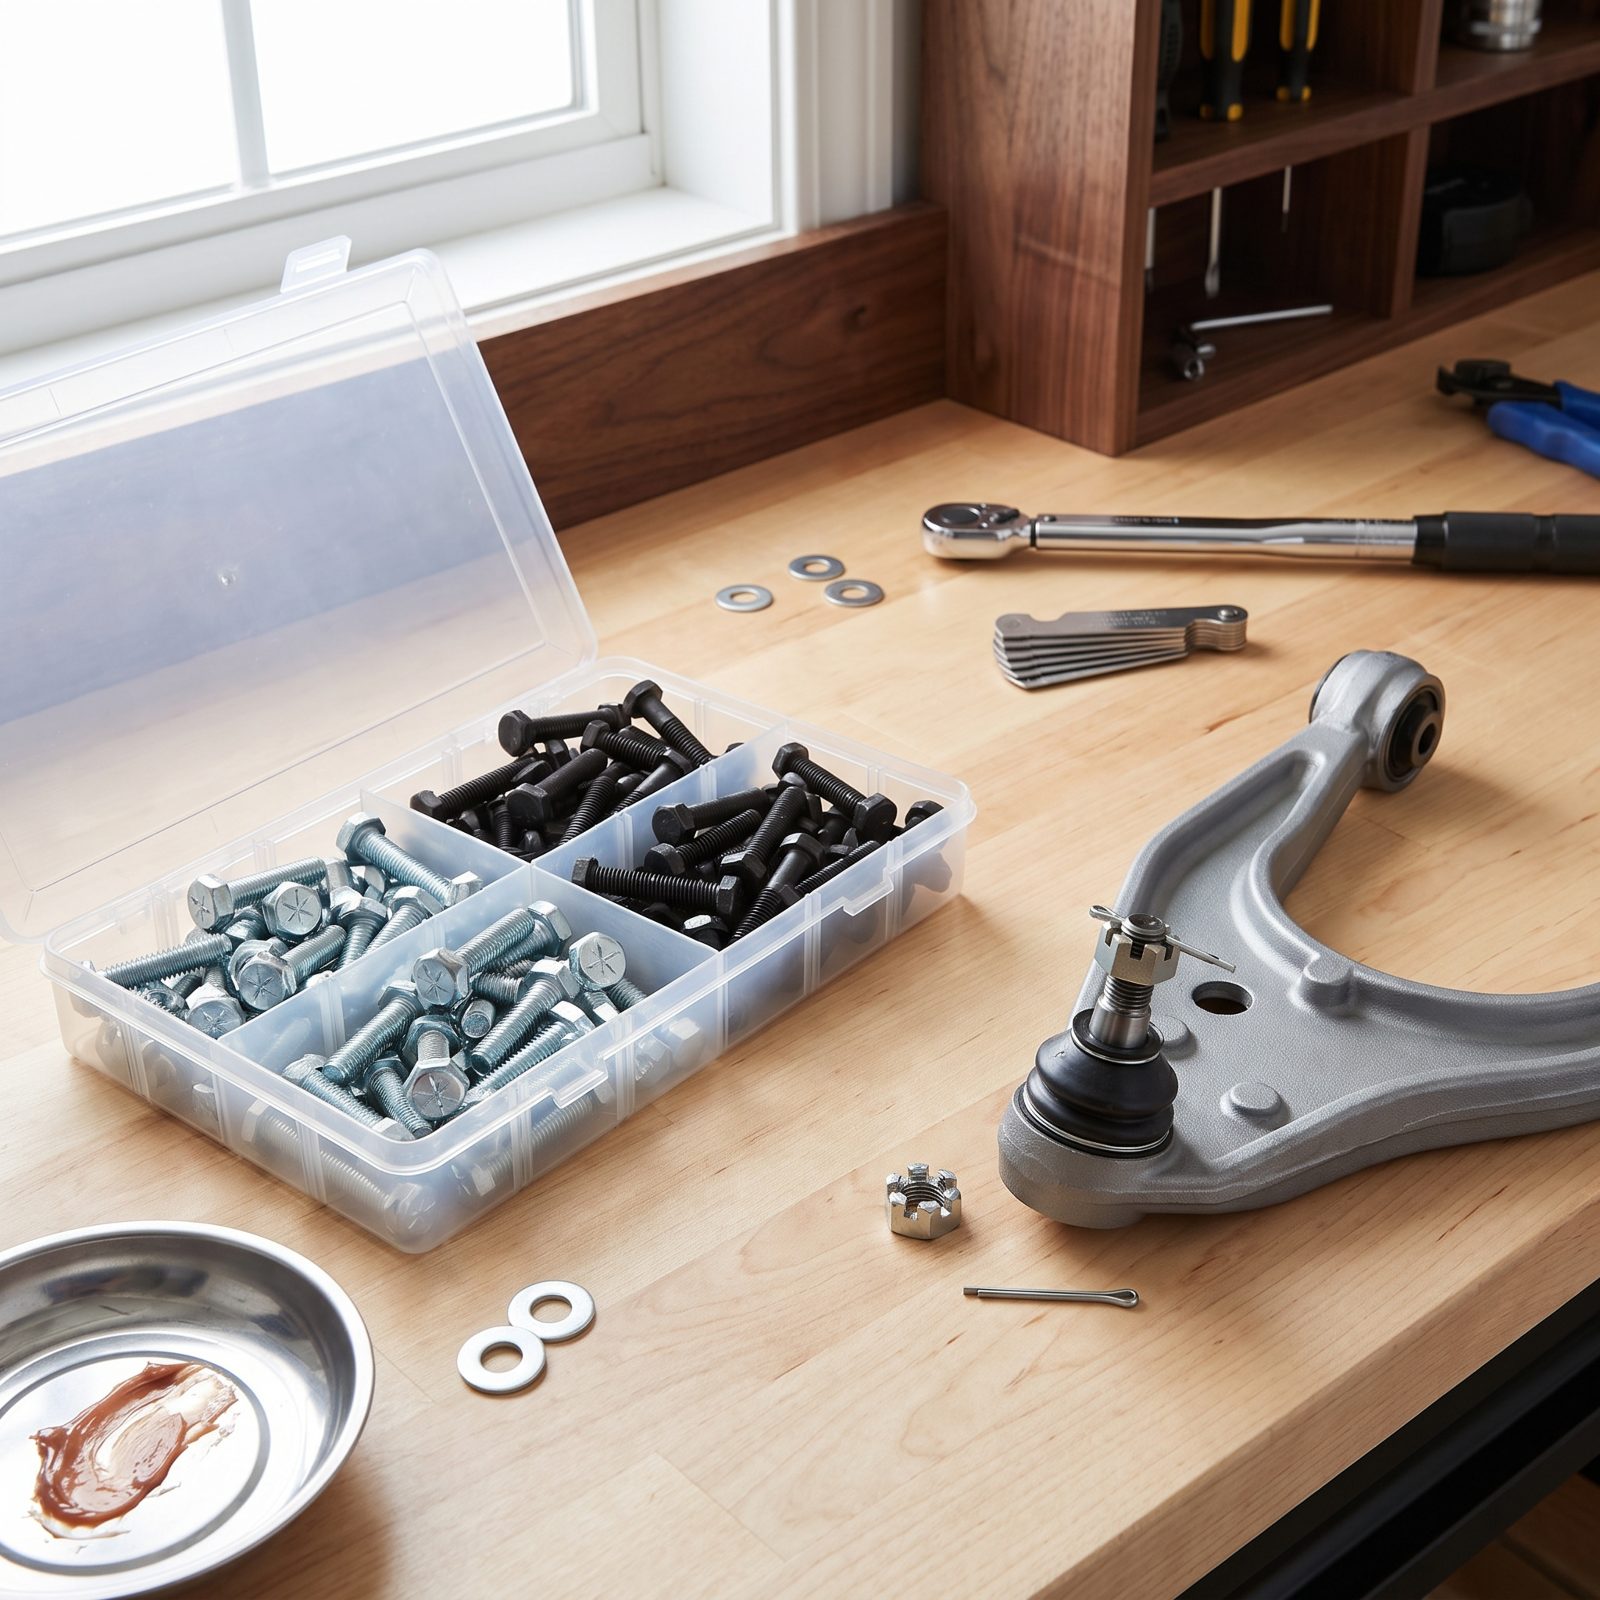
You’re mid-assembly on a Sunday, one suspension bolt short, and the parts store is closed. The hardware store down the road has a bolt that threads right in. Tempting. Don’t do it, because that shiny bin bolt is almost certainly grade 2 or grade 5, and your suspension, steering, and brake brackets want grade 8.
Generic bolts carry lower tensile and shear strength. In a steering or suspension joint that cycles millions of times, a weak fastener fatigues and fails, and when it goes it goes all at once, usually at the worst possible moment.
Match the original fastener grade, thread pitch, and length. Grade 8 shows six radial lines on the head. Use the correct hardened washers and self-locking or castle nuts with fresh cotter pins where the factory used them. Buy from a proper fastener supplier like Bolt Depot or a restoration vendor who stocks correct plating. Torque to spec. Don’t eyeball it.
1. Taking the First Road Test Before Completing a Staged Safety Inspection
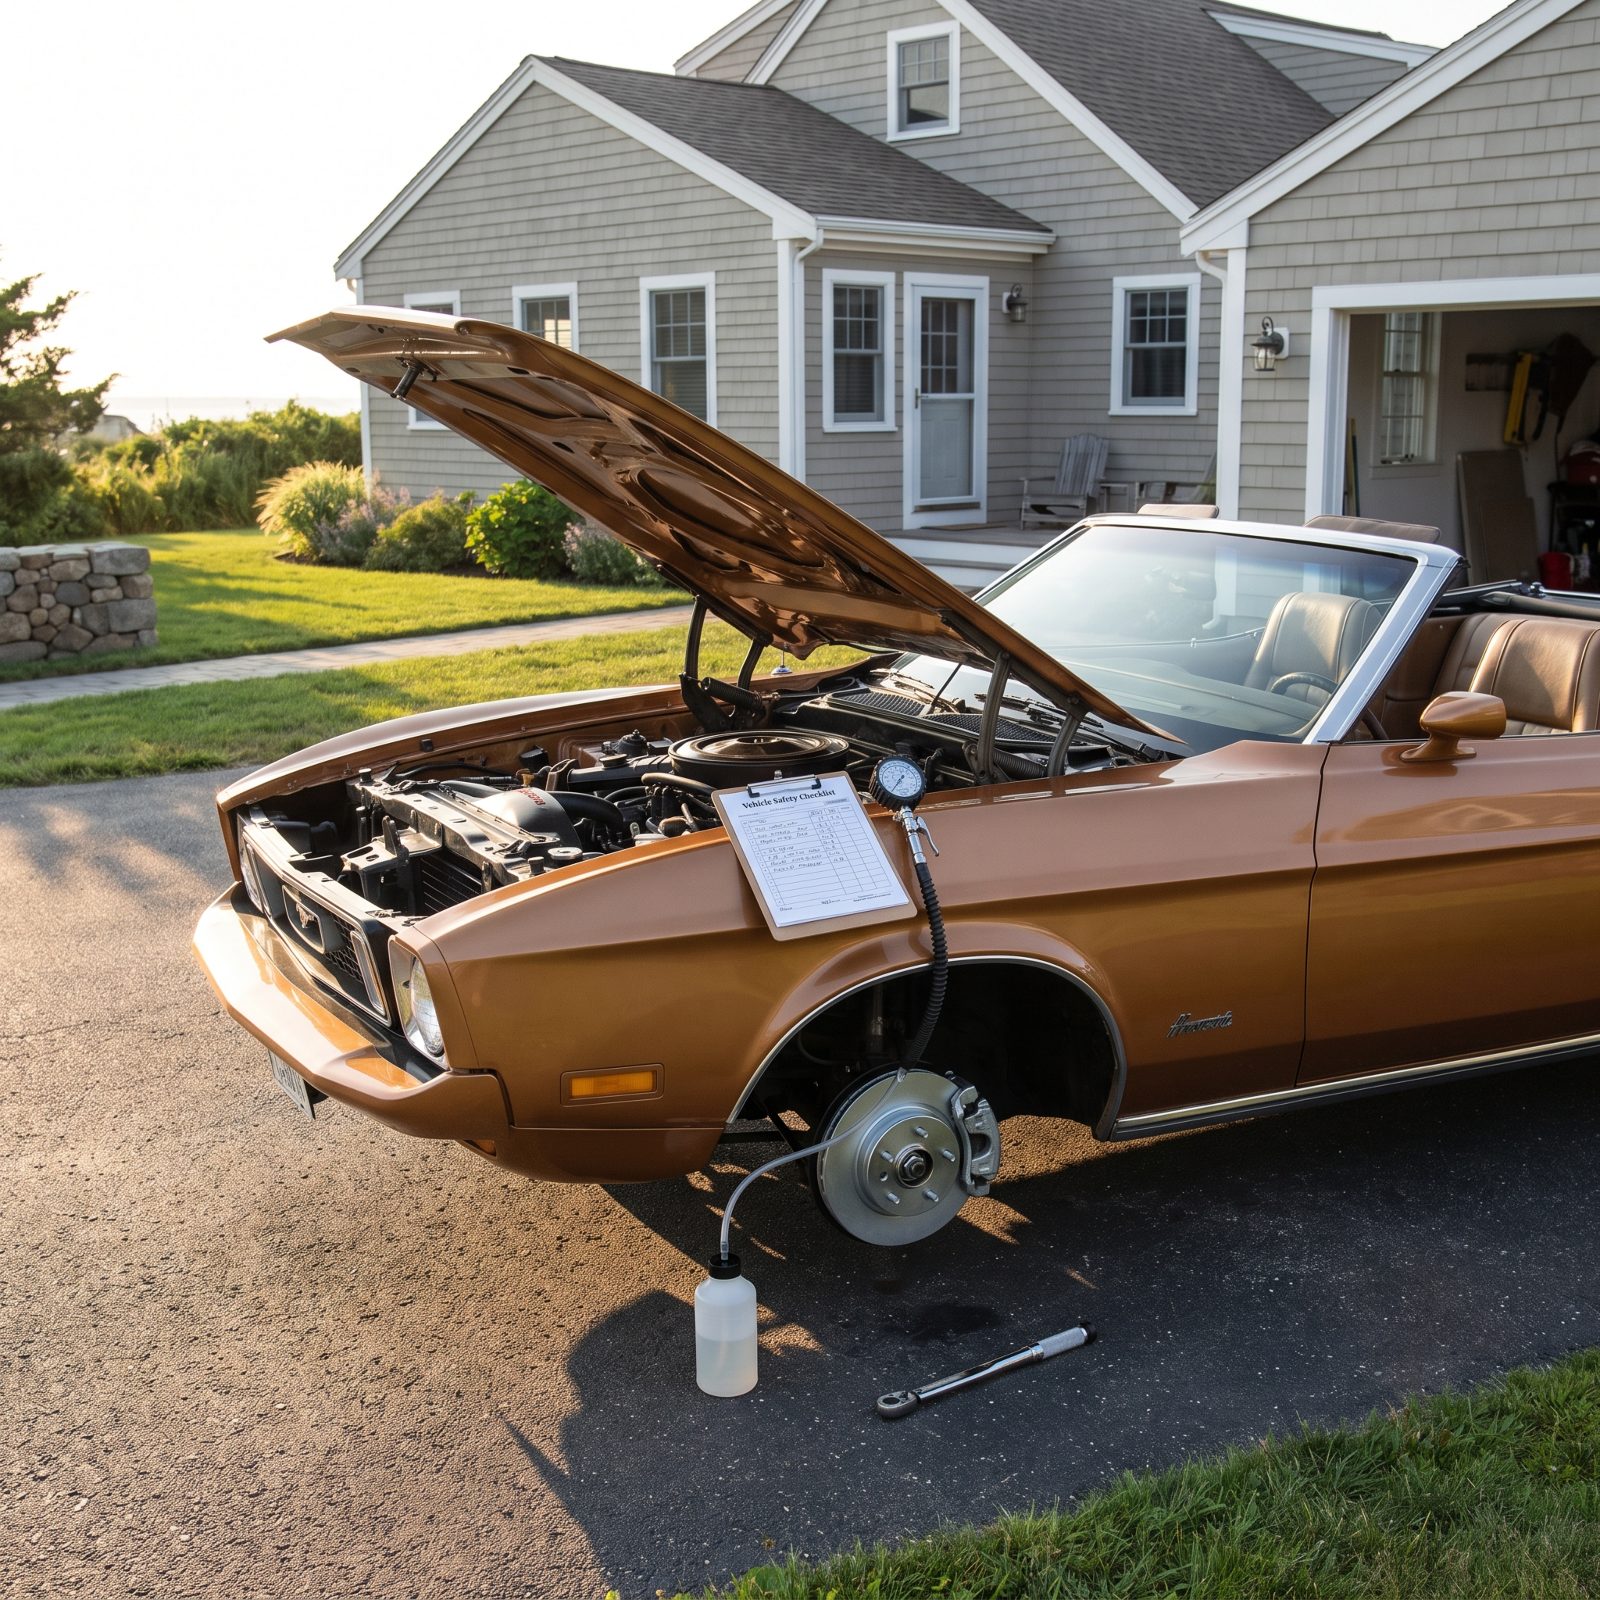
The car runs. After all those nights, that first idle in the driveway is a drug, and the urge to just take it around the block is enormous. Here’s where patience earns its keep. A fresh build has a hundred things torqued once and never verified under load.
Drive it before you’ve checked, and you find out about the brake line that’s weeping or the steering bolt that’s loose at thirty miles an hour, with no shoulder in sight.
Work the checklist before the key turns
- Brakes: firm pedal, no leaks at any fitting, proper bleed, parking brake holds on a hill.
- Steering and suspension: every ball joint, tie rod, and control arm bolt torqued and pinned; no play at the wheel.
- Fluids and fuel: no drips under the car after a long idle; fuel lines dry; coolant holding; oil pressure reading.
- Lights and signals: all working, because the first drive always runs later than planned.
Then do a walking-speed shakedown in a parking lot, not the highway. Stop, re-check, then stretch the leash.