
Would you like to save this?
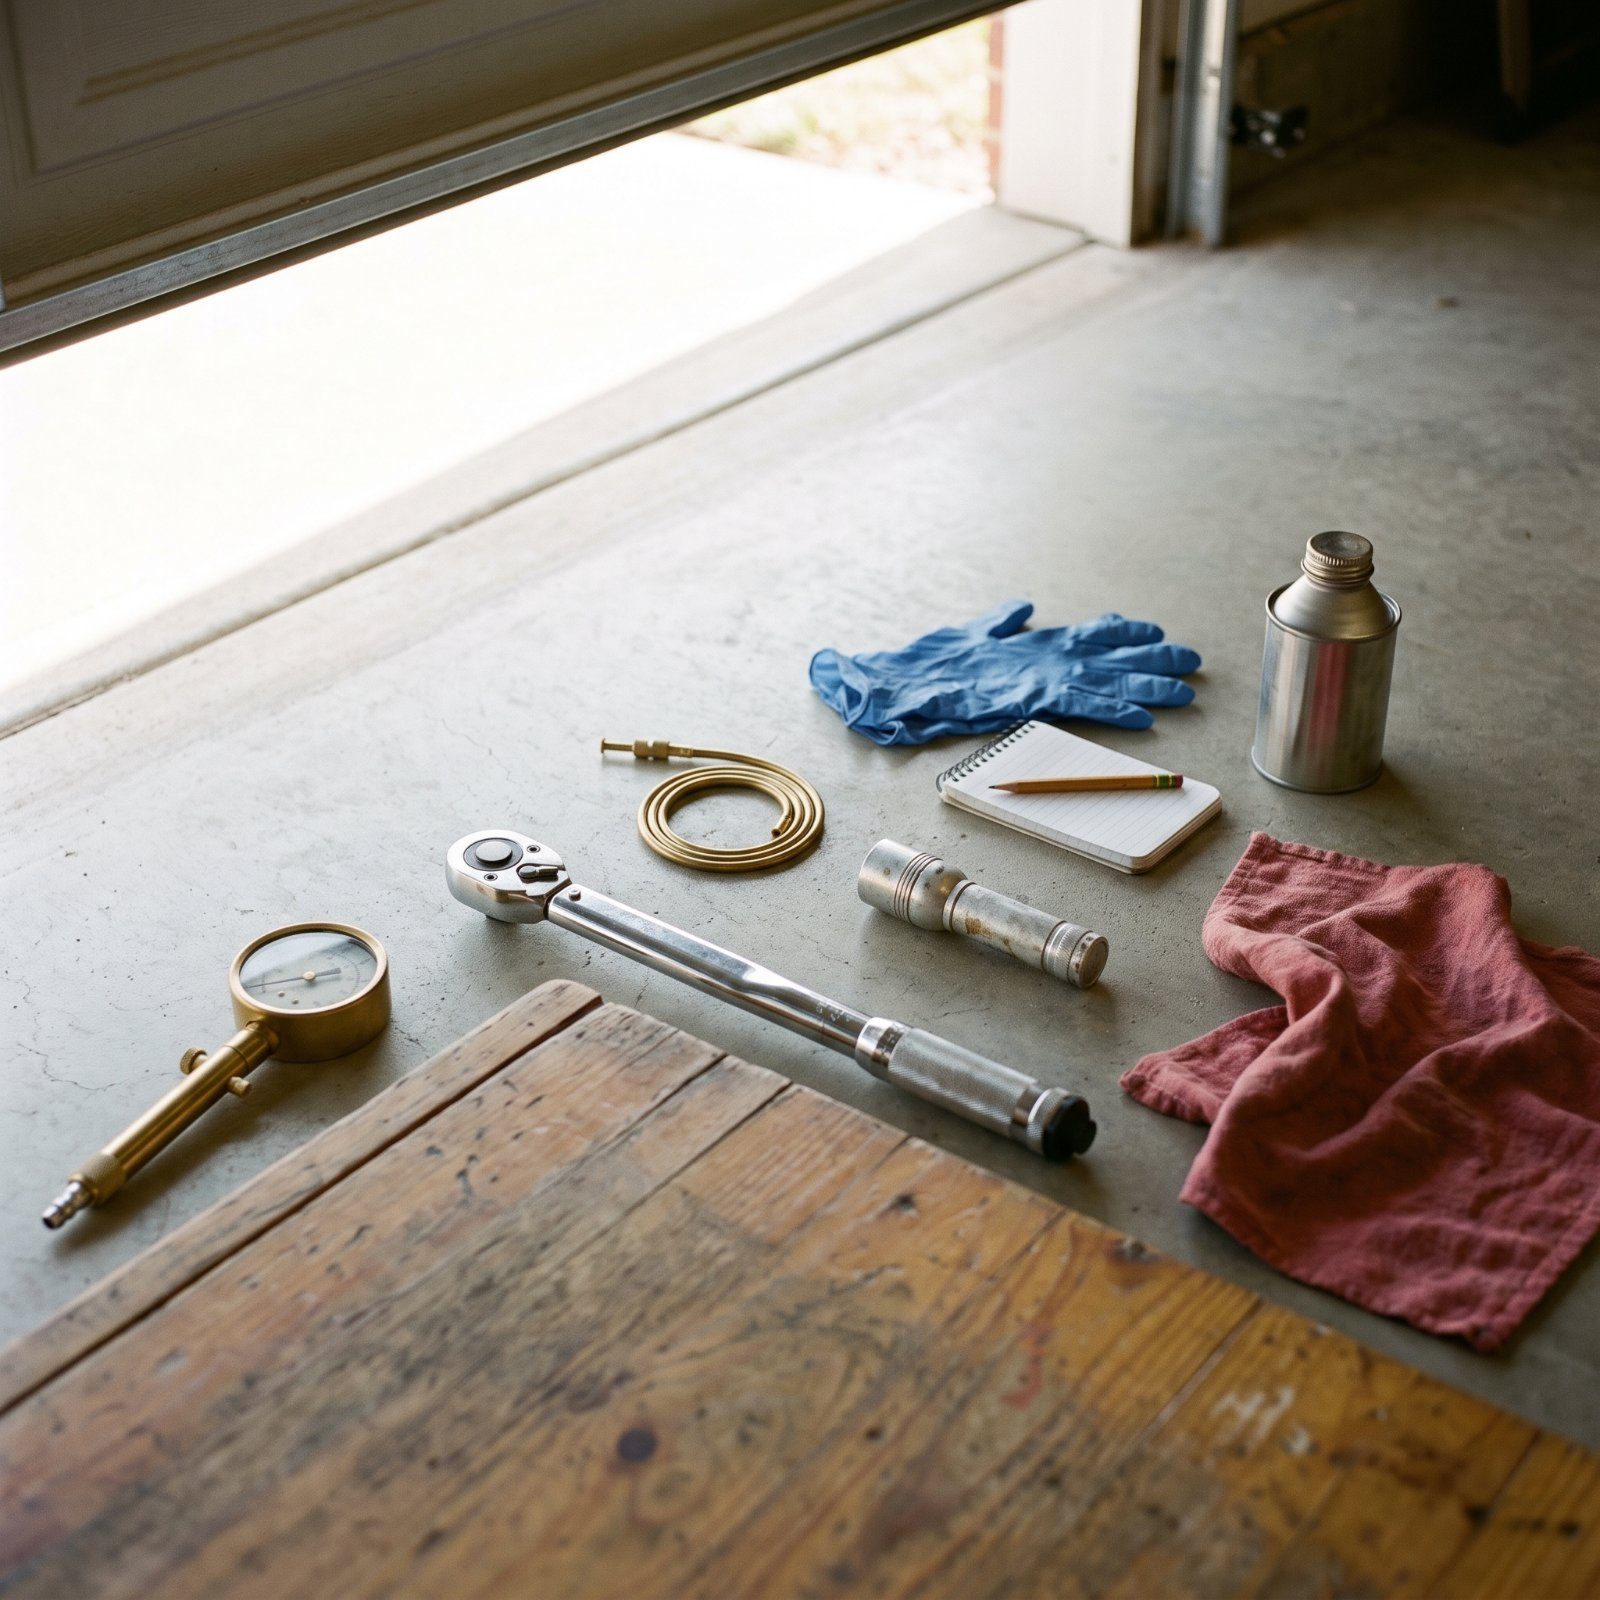
The breakdown never happens in the driveway. It happens at mile 340, on a shoulder with no shade, an hour from the nearest town with a parts counter. And nine times out of ten, the thing that stranded you would have shown itself the Saturday before, if anyone had bothered to look. A good pre-trip inspection isn’t paranoia. It’s an afternoon with a tire gauge, a flashlight, and a torque wrench. Here’s what forty years under cars has taught us to check before the wheels ever turn.
44. Set Every Tire to the Correct Cold Pressure
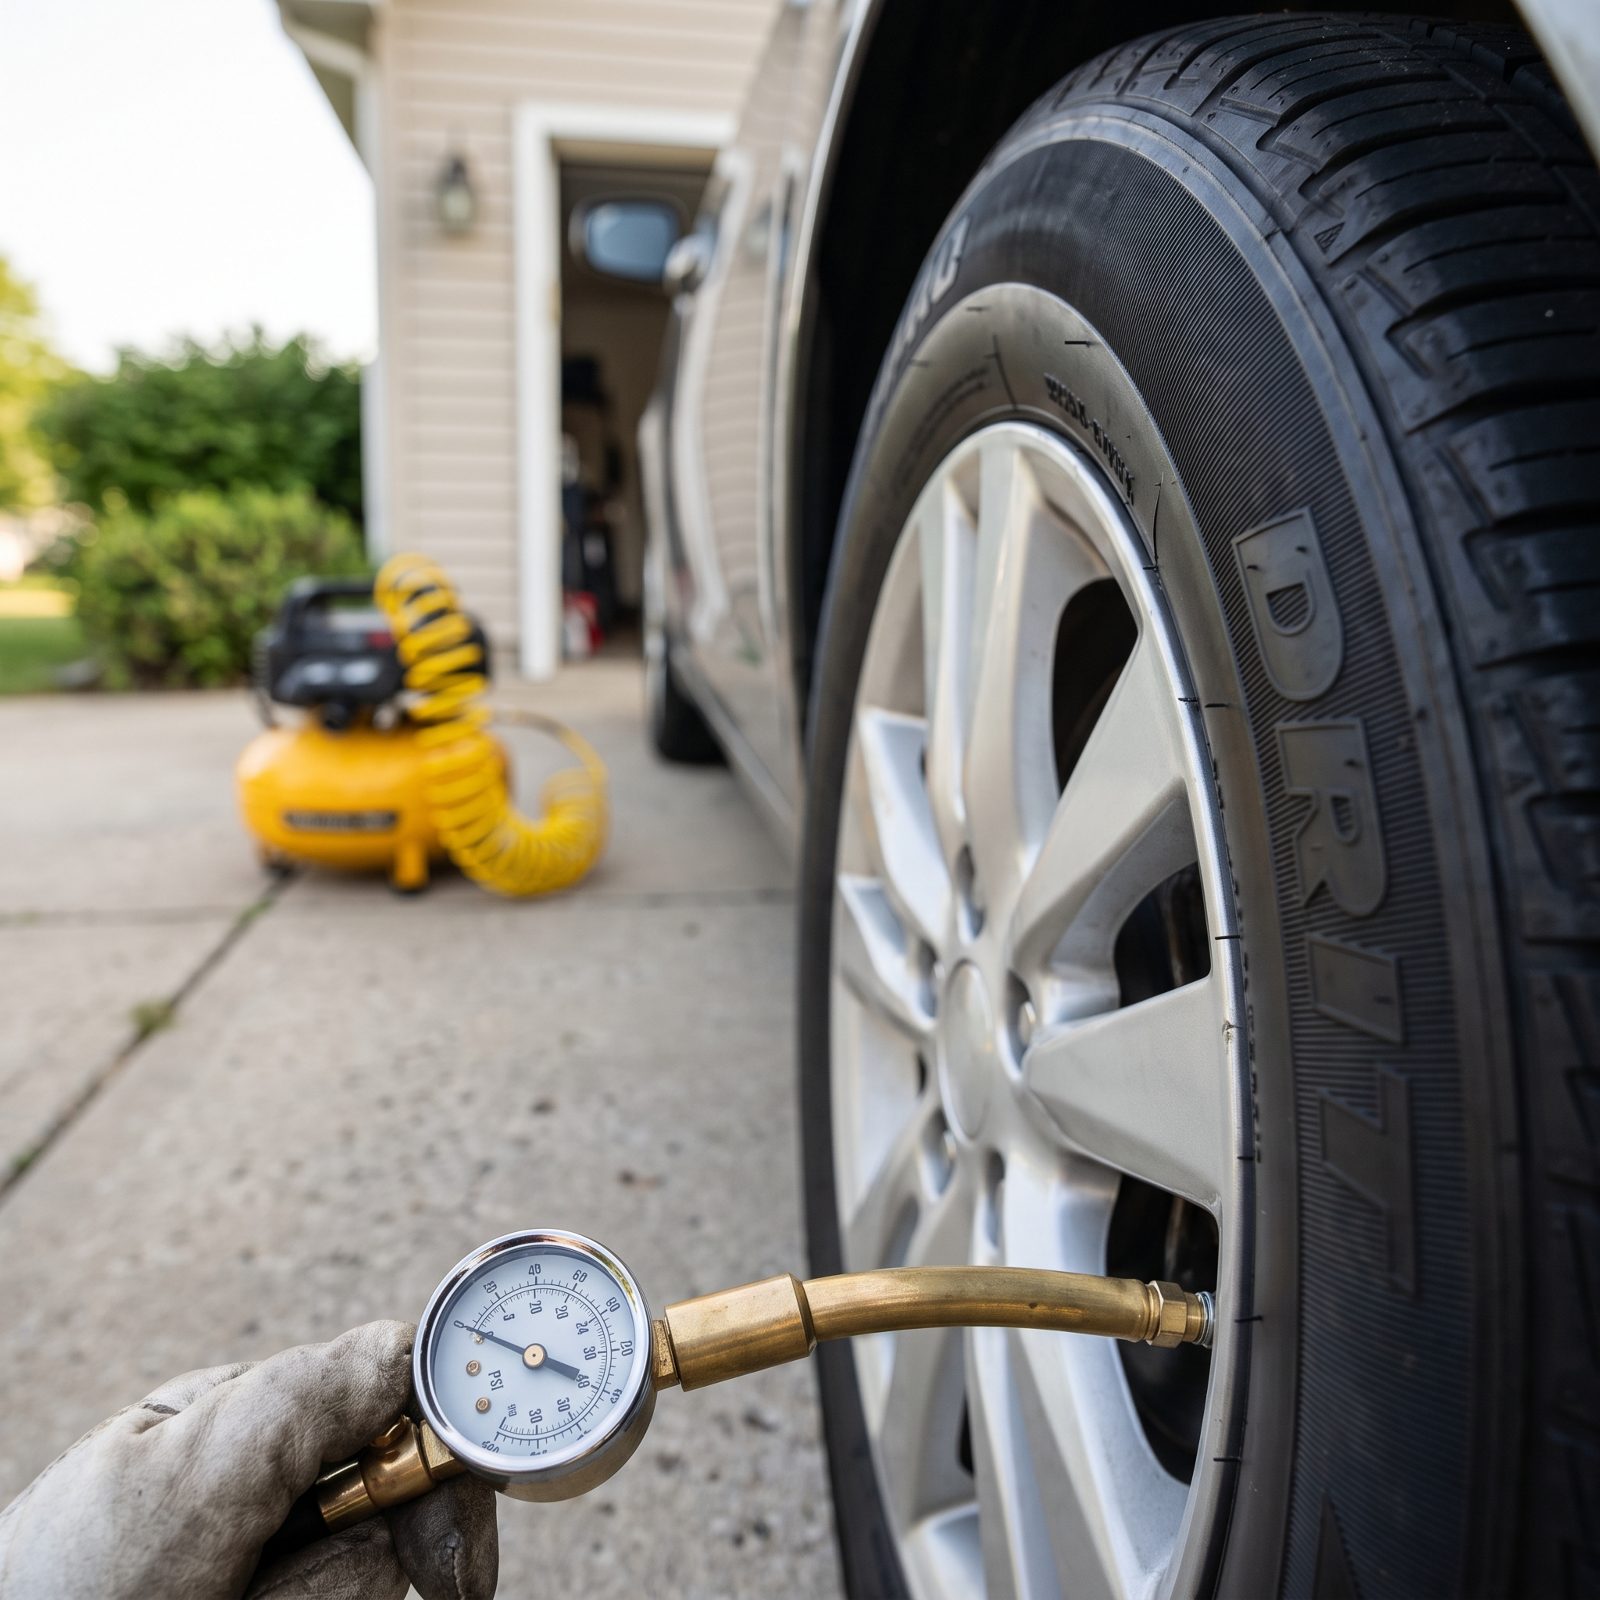
Everyone eyeballs their tires. Almost nobody measures them cold. And that’s the whole game, because tires heat up and gain a few pounds of pressure after a short drive, so the gauge reading at the gas station down the road is lying to you.
Underinflated tires run hot, wear the outer edges, and can come apart at highway speed on a loaded car in July. Overinflated ones ride hard and wear the center. Neither is where you want to be at 75 with the family aboard.
Check them first thing in the morning, before the car has moved. The number you want is on the sticker inside the driver’s door jamb, not the max pressure molded into the sidewall. Set all four to spec, then add a couple pounds if you’re running the car fully loaded with luggage and passengers.
43. Measure Tread Across Each Tire and Investigate Uneven Wear
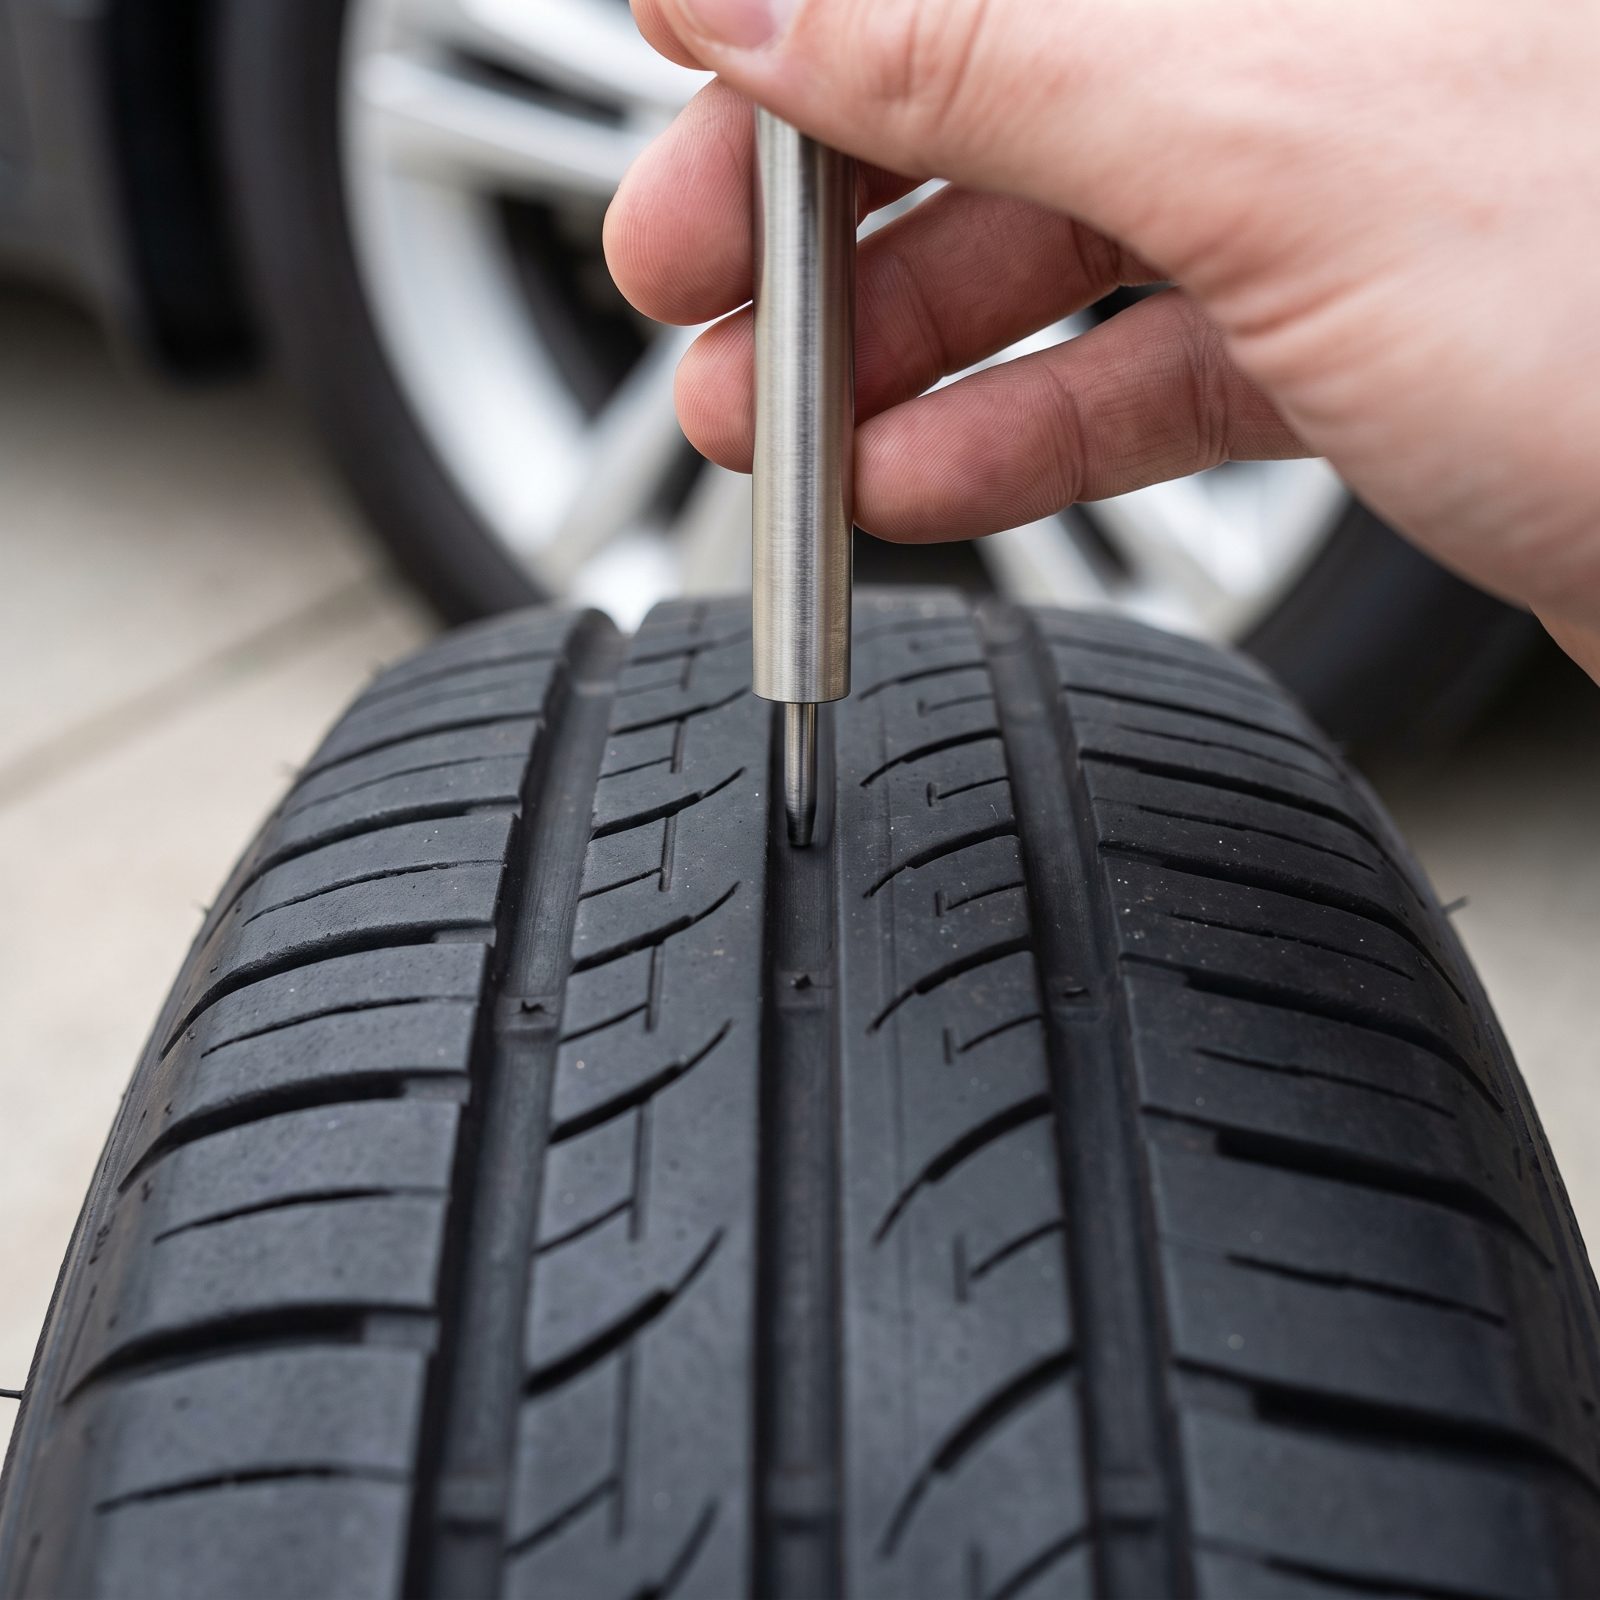
The penny trick tells you one thing: whether a tire is legally dead. It tells you nothing about the slow story the tread is writing.
Run a real depth gauge across the tire in three spots, inner, center, and outer. Worn shoulders with a fat middle? You’ve been running soft. Fat shoulders and a bald center means too much air. And when one edge is feathered down while the other stays deep, that points at alignment or a tired suspension part.
Uneven wear is the car telling you something is crooked underneath. Ignore it and you’ll buy tires twice as often and chase a wandering steering wheel the whole trip.
42. Inspect Tire Sidewalls for Cracks, Bulges, and Cuts
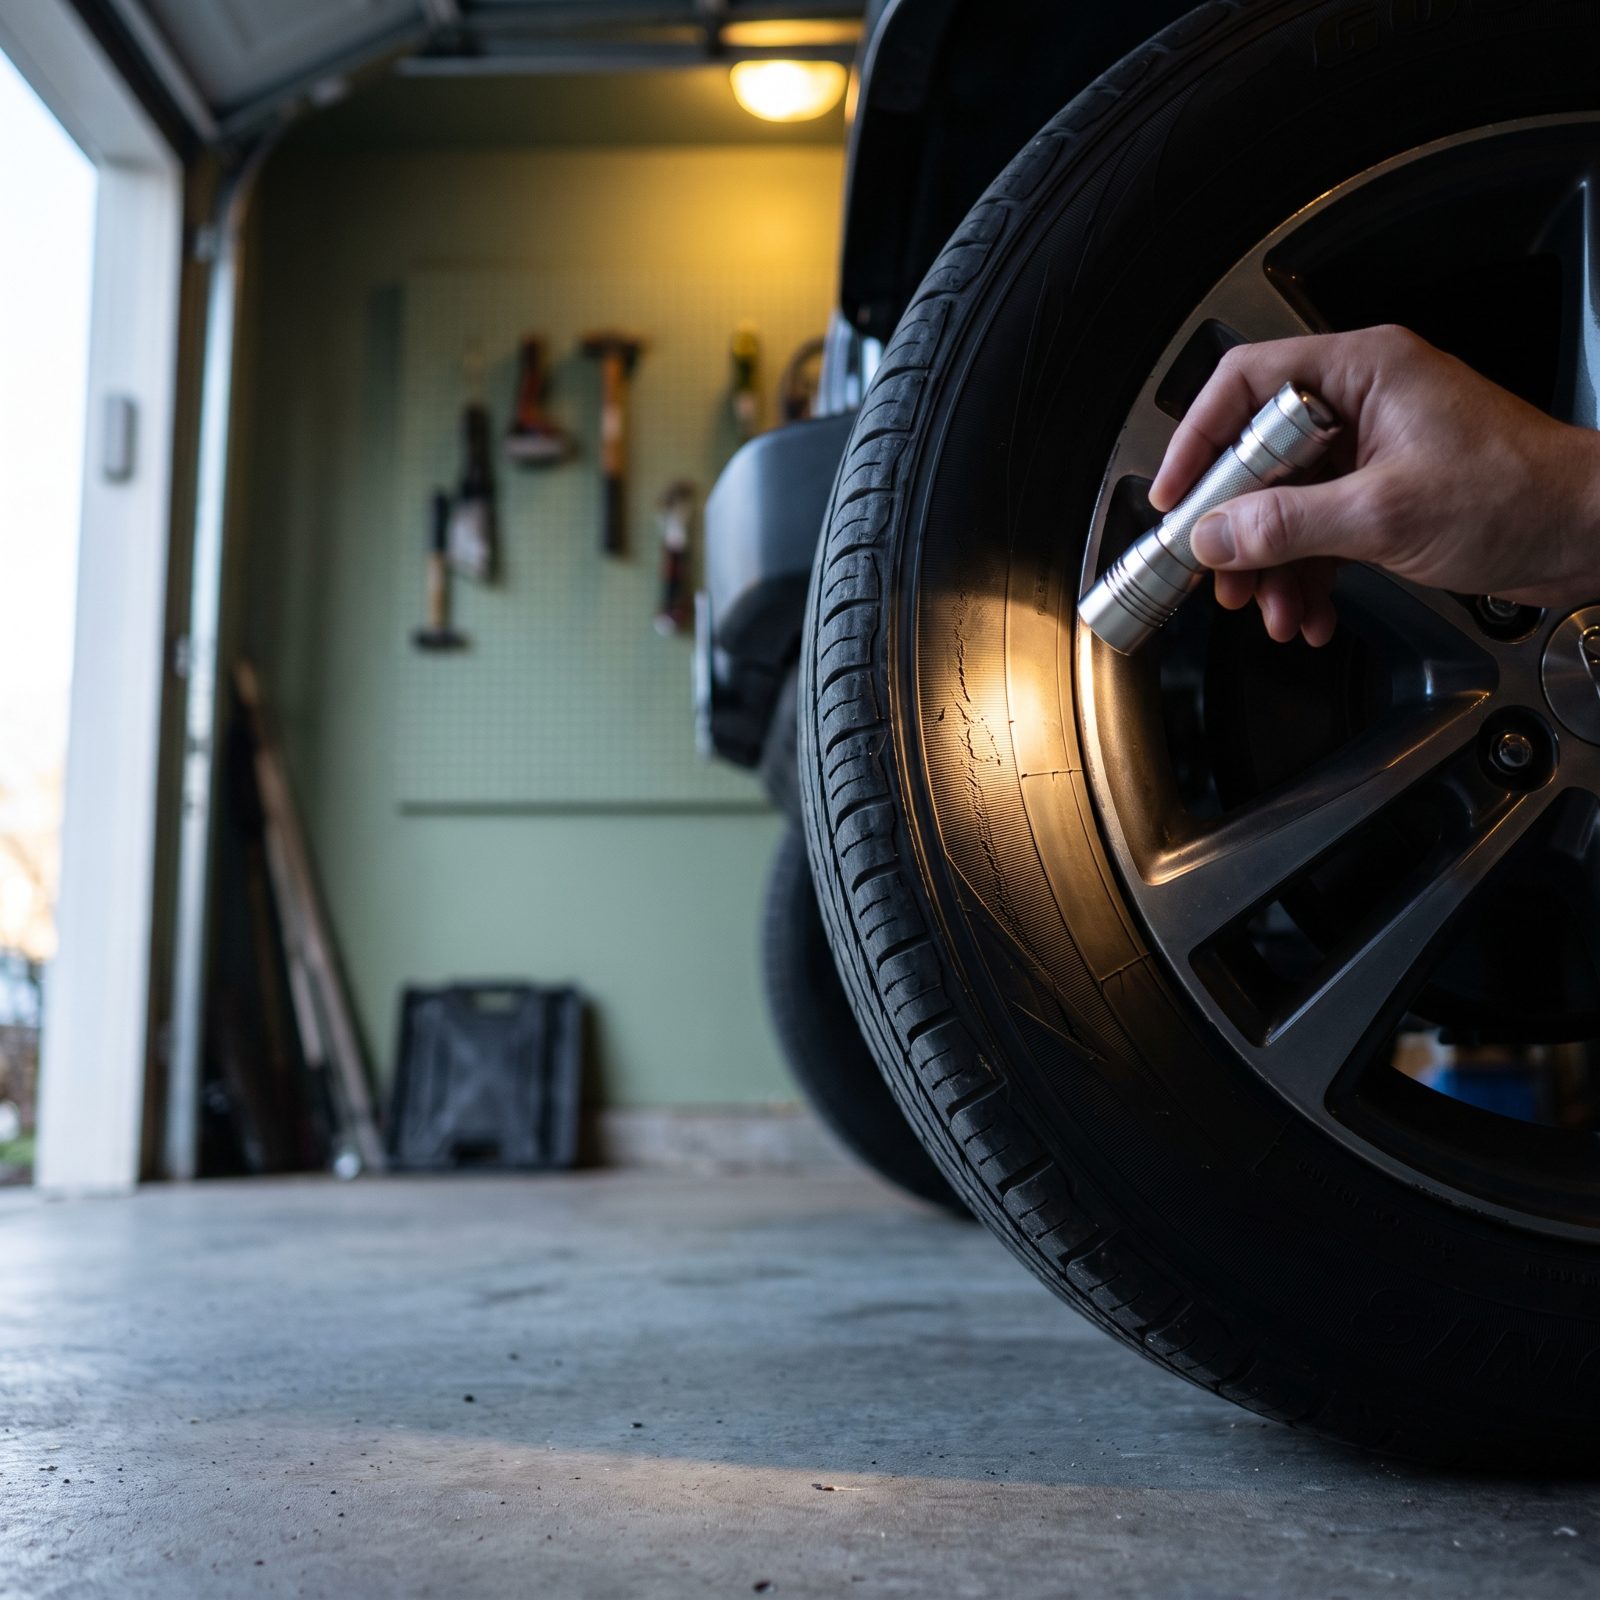
A bulge in a sidewall is a time bomb with no clock you can read. It means the internal cords have snapped, usually from a pothole or a curb strike, and the only thing holding that spot together is a thin skin of rubber and air pressure.
Get down with a flashlight and walk the full circumference of each tire, inside and out. You’re looking for cracks running along the flex point, chunks missing, deep cuts, and any spot that domes outward. Dry rot shows up as fine spiderweb cracking, and it gets worse the moment you load the car and heat it up on the interstate.
A bulge or a deep cut means that tire does not make the trip. No patch fixes a sidewall. Replace it before you leave, not on the shoulder with the hazards blinking.
41. Read the Tire Date Codes to Catch Age-Hardened Rubber
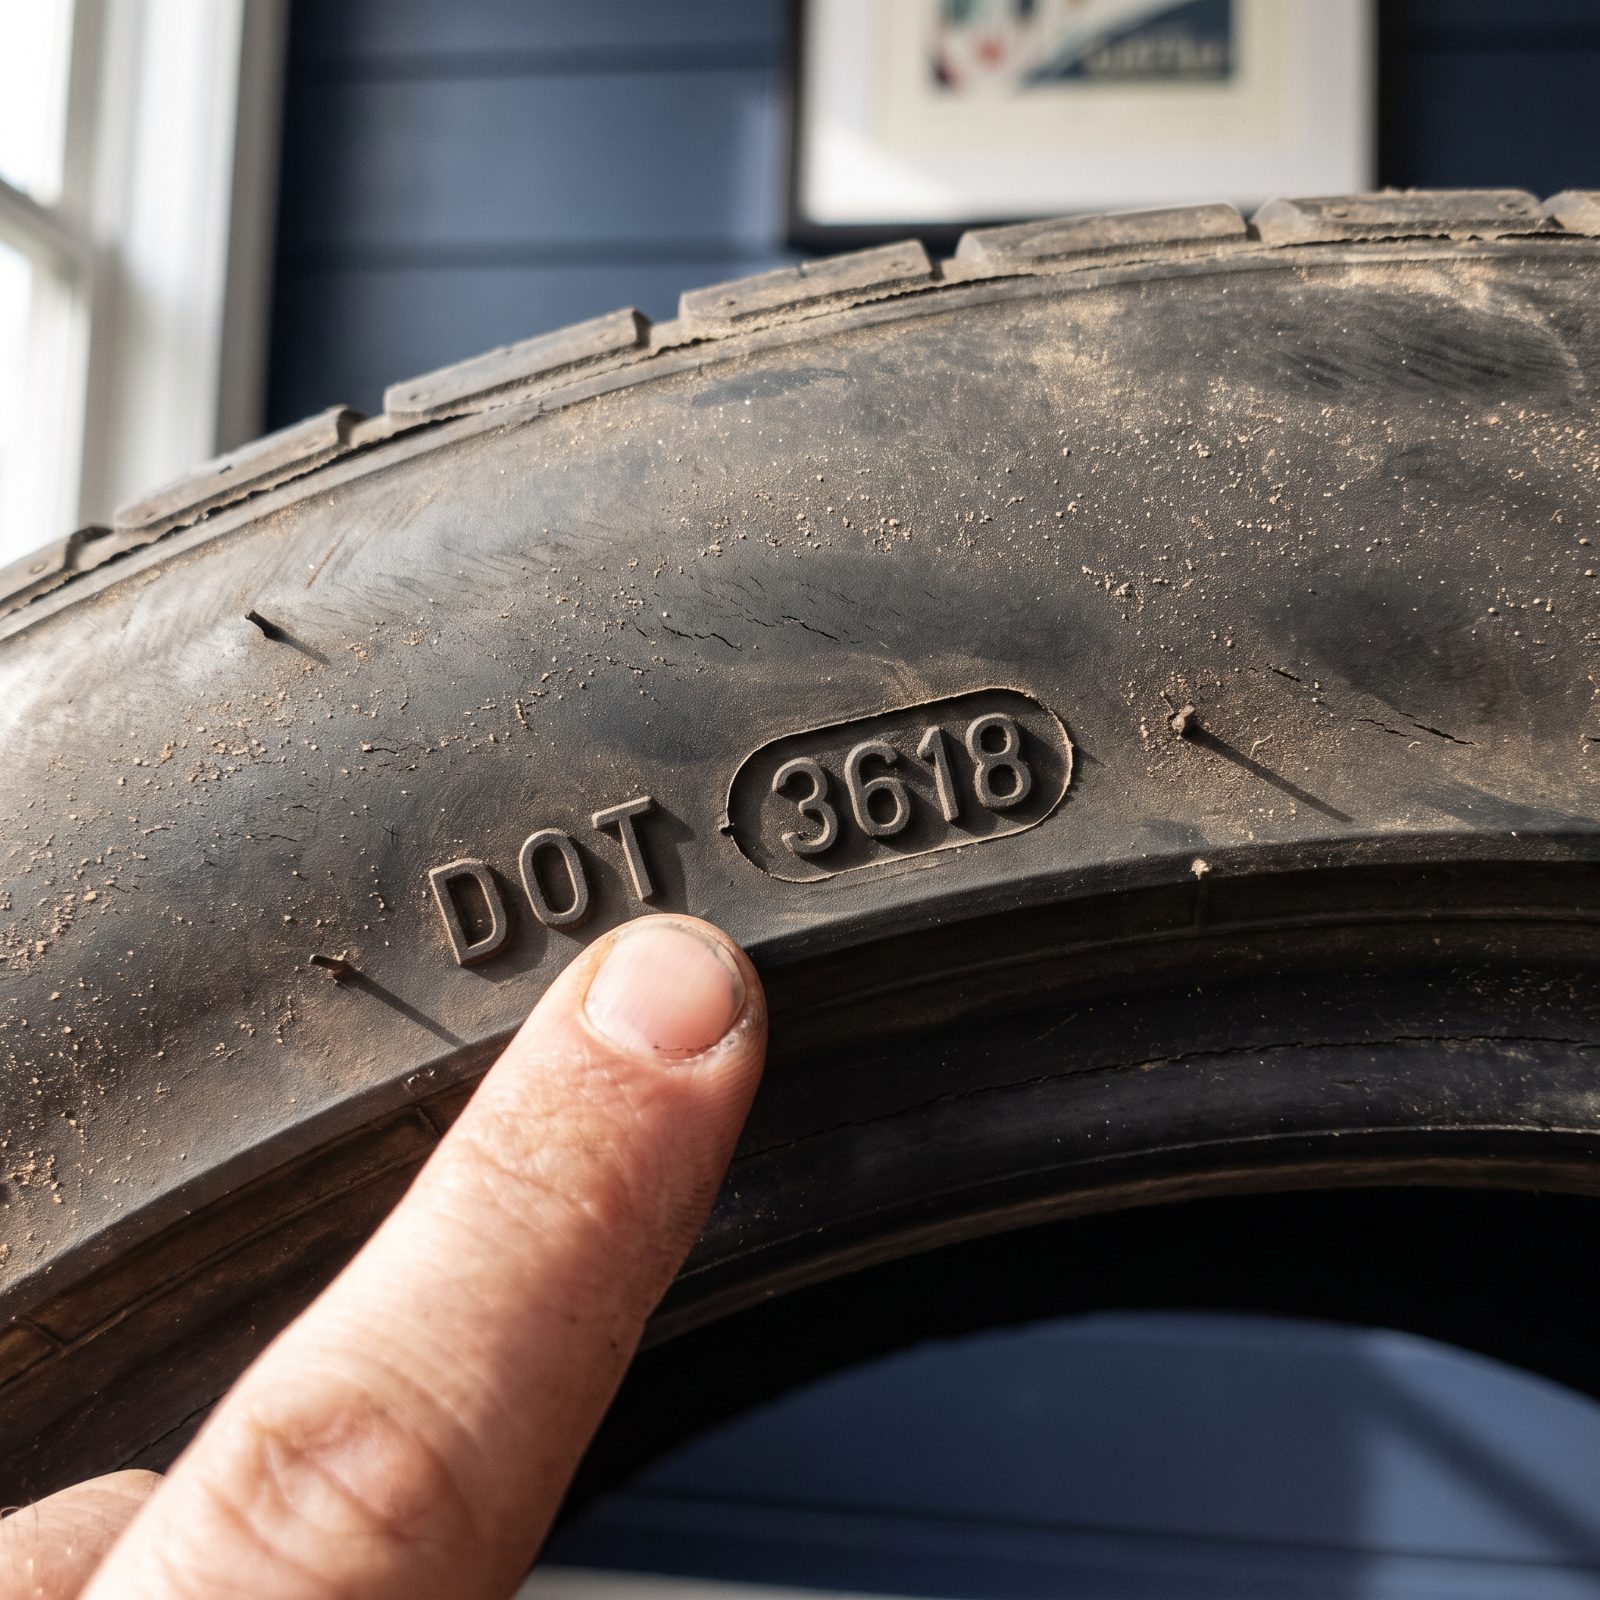
Tread can look brand new on a tire that’s secretly ten years old. Rubber doesn’t care how many miles you’ve driven. It hardens and cracks on a calendar, not an odometer.
Find the DOT code molded into the sidewall. The last four digits are the week and year of manufacture, so a code ending in 0819 means the eighth week of 2019. Anything older than about six years deserves a hard look, and once it crosses a decade it comes off the car no matter how good it looks.
This one bites people who buy a cherry old car that’s been sitting, or who keep a spare for years on end. The rubber is glazed and brittle, and it lets go at speed with no warning.
40. Look for Embedded Nails and Other Sources of Slow Leaks
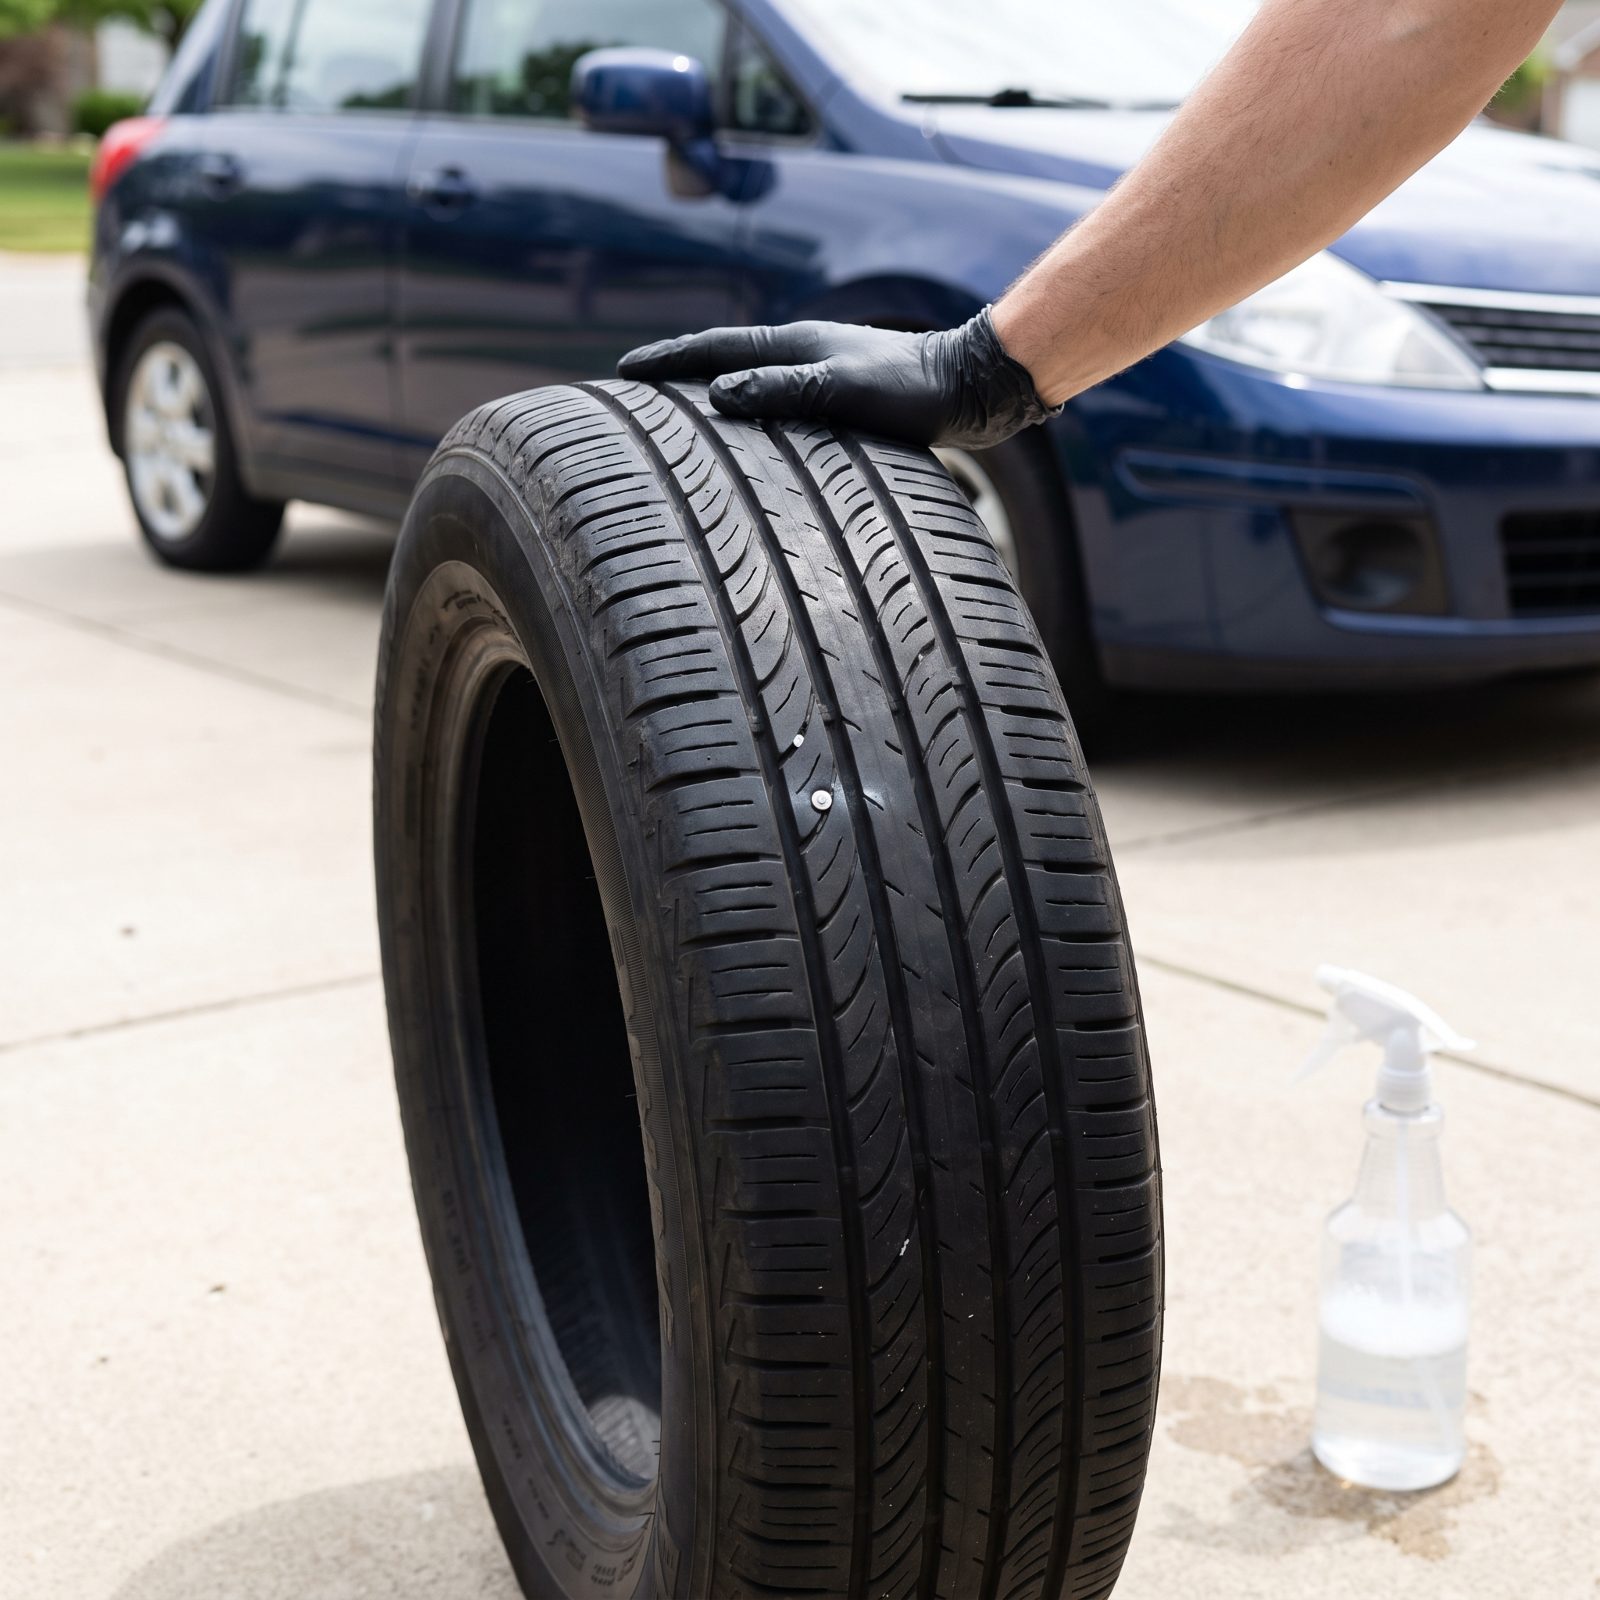
You know the drill. Tire’s a little low every couple of weeks, so you just top it off and forget it. That’s a slow leak, and a slow leak on a road trip becomes a fast one the first time you hit a seam in the pavement at 80.
Spin each tire slowly and look for a nail or screw head, a staple, a shard of metal buried in the tread. Then mix a little dish soap with water in a spray bottle and mist the tread, the sidewall, and around the valve stem. Watch for bubbles growing. That’s your leak.
A nail in the center tread is a cheap plug-and-patch at any shop. A leak at the sidewall or shoulder is a new tire. Find out which one you’ve got before you’re a hundred miles from help.
39. Inflate and Inspect the Spare Tire
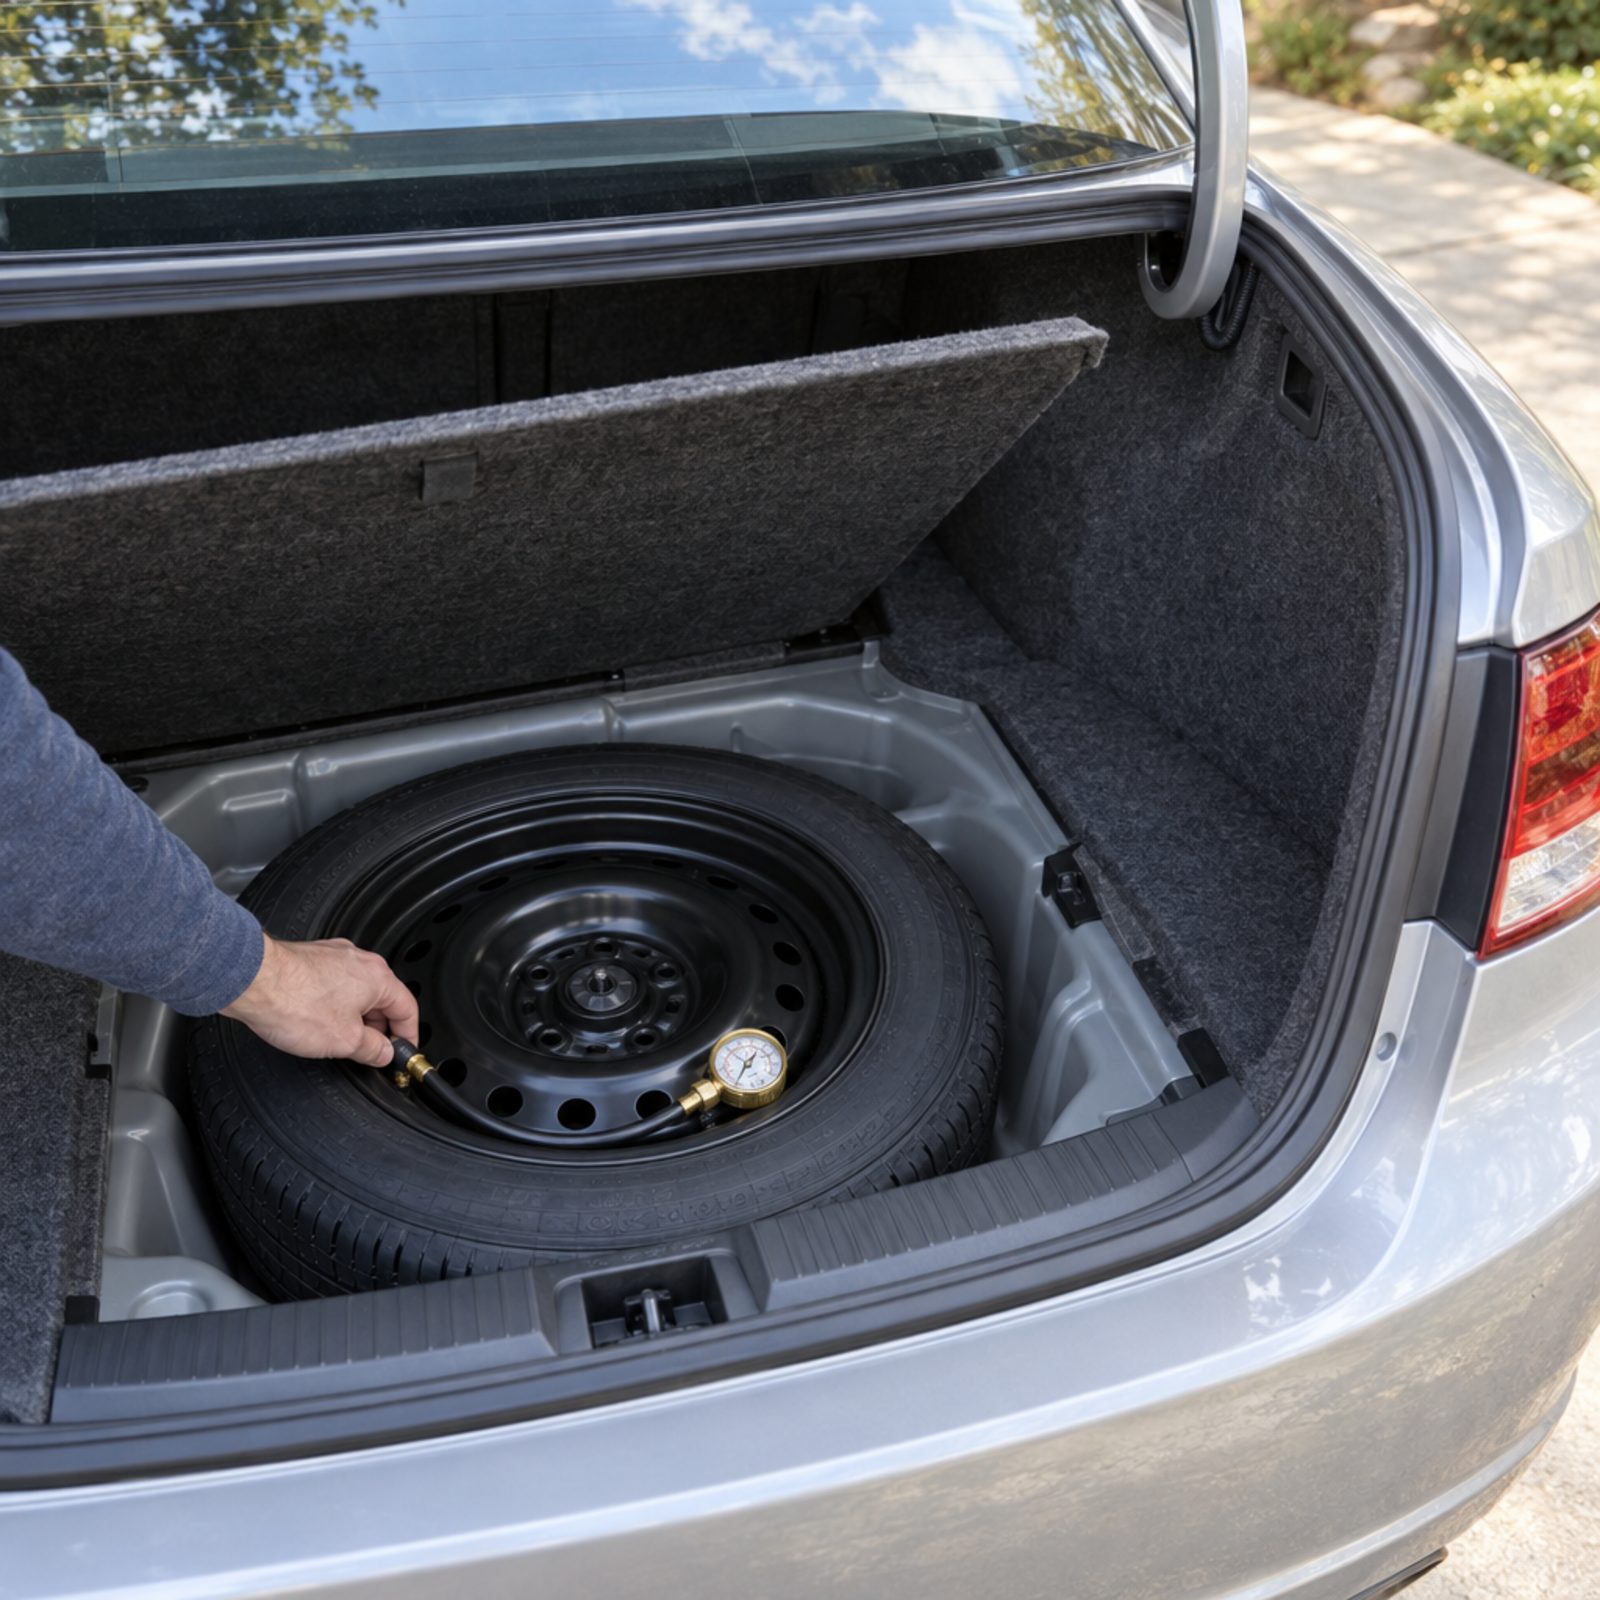
Here’s a cruel joke the road loves to play. You finally get a flat, you dig out the spare, and it’s flat too. Dead tire, dead backup, same shoulder, worse mood.
Pull the spare out and check its pressure. Donut spares usually want around 60 psi, which is far higher than your road tires, and the number is right there on the little sticker. Check its date code too, because that spare has been sitting in the dark for years and the rubber ages just the same.
While you’ve got the trunk open, make sure the jack is all there and the lug wrench actually fits your wheels. Nothing teaches you a lesson like finding the wrong wrench after the tire’s already off.
38. Verify Wheel-Lug Torque With a Torque Wrench
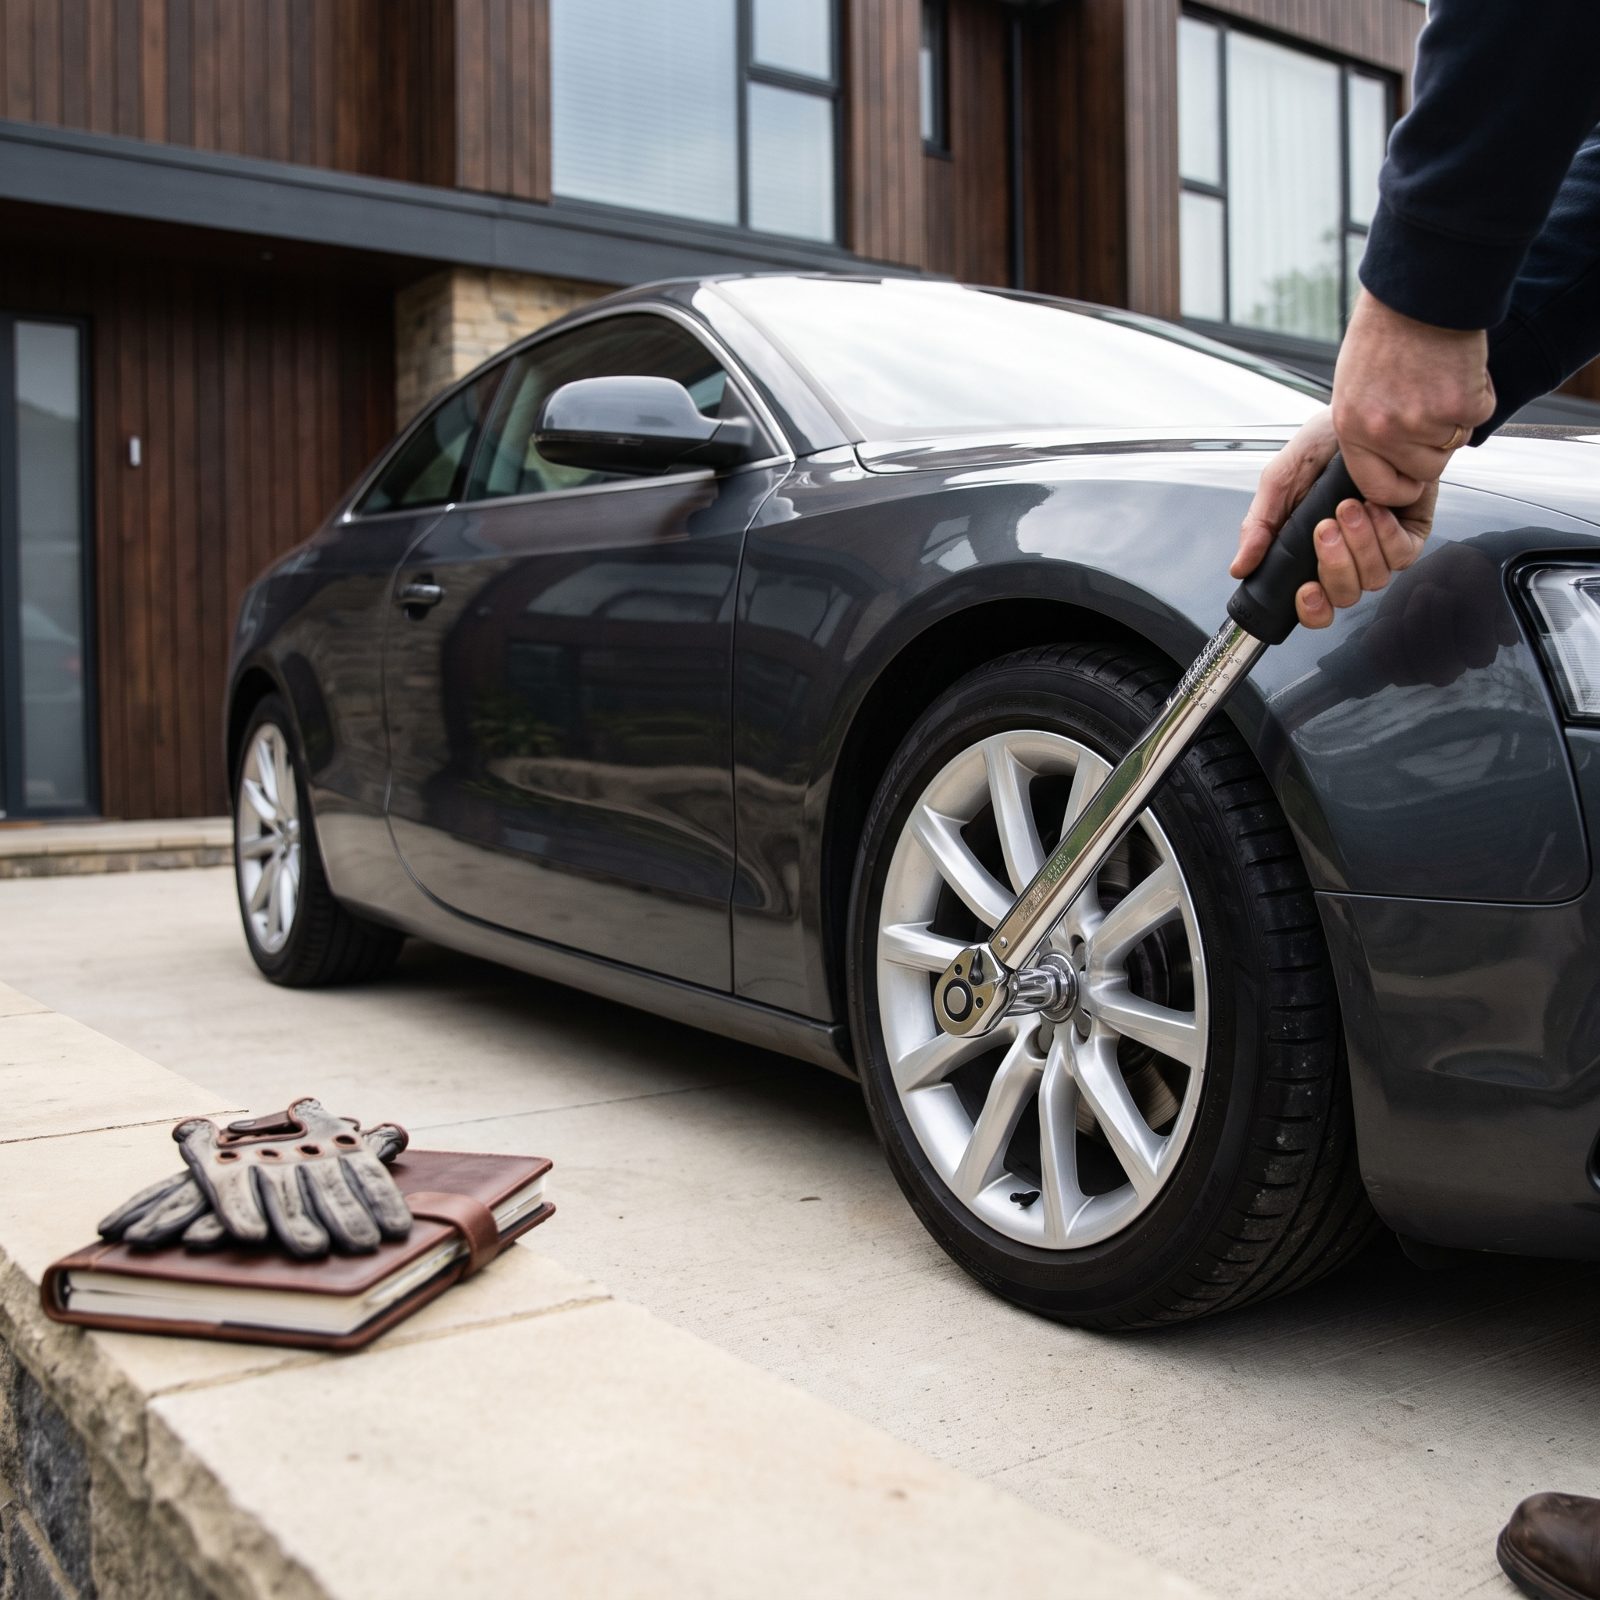
The tire-shop air gun is fast, and fast is how lug nuts end up cranked way past spec. Over-torqued lugs warp brake rotors and can crack the threads. Under-torqued ones back off and leave you watching a wheel pass you on the highway — which happens more than anyone wants to admit.
Pull out a click-type torque wrench and set it to your car’s spec, usually somewhere between 80 and 120 foot-pounds, listed in the manual. Snug each lug in a star pattern, never around the circle, so the wheel seats flat against the hub.
Do this especially if you’ve had tires rotated or mounted recently. The shop did its best with an impact gun. You do it right with a torque wrench.
37. Check Each Wheel Bearing for Play or Growling
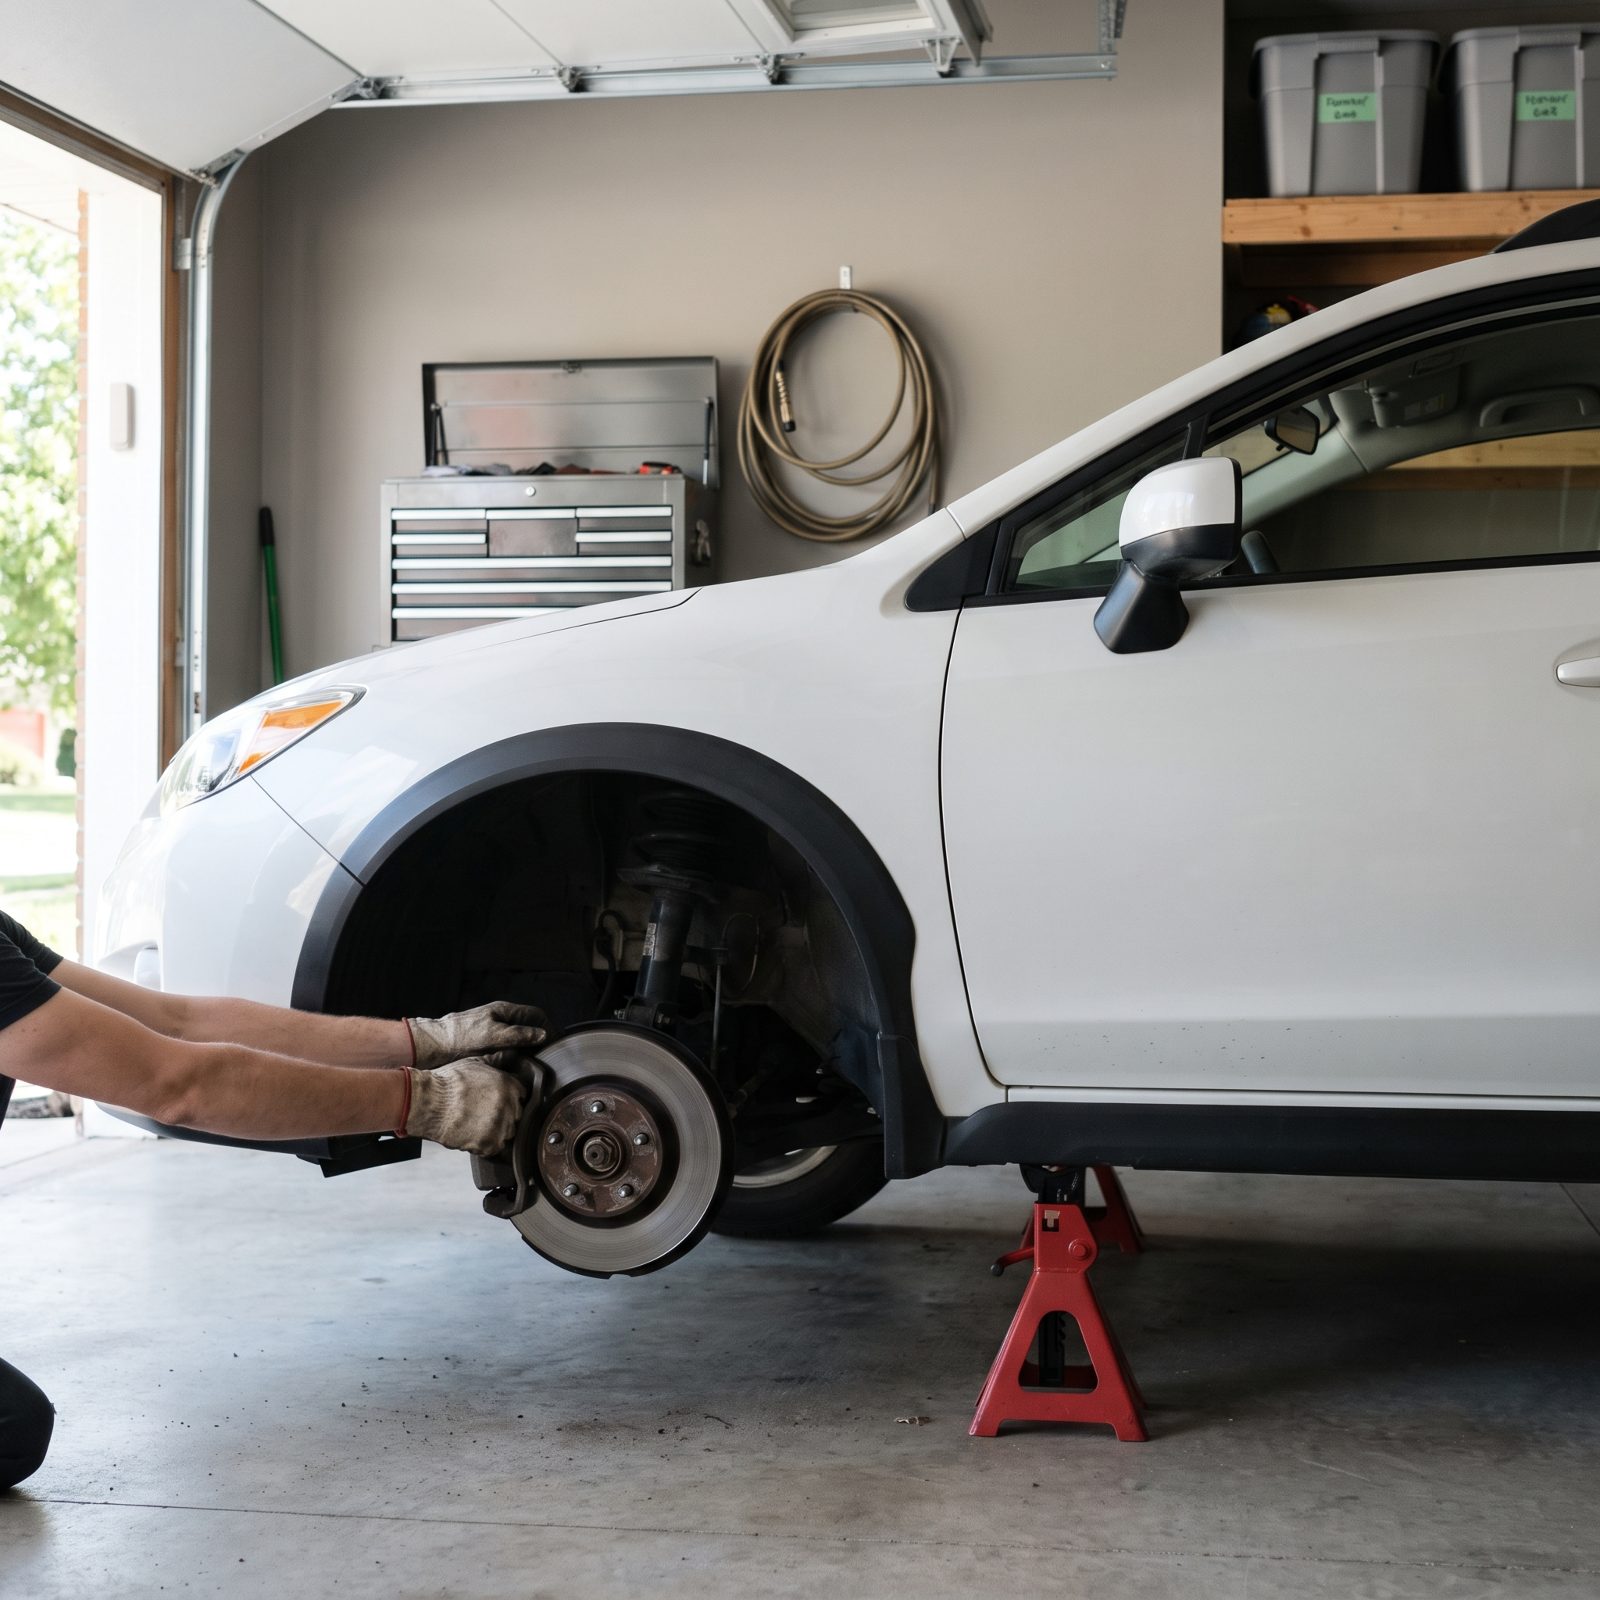
A worn wheel bearing announces itself with a low growl or hum that rises and falls with speed, and it’s easy to blame on the tires. Left alone it gets louder, then hotter, then it seizes — and a seized bearing at 70 is not a problem you solve calmly.
With the car safely on a jack stand and the wheel off the ground, grab the tire at ten and two and rock it in and out. Any clunk or play means the bearing or a front-end part is worn. Then spin the wheel by hand and listen. A smooth spin is good. Grinding, roughness, or a growl means it’s on its way out.
Catch it in the driveway and it’s a scheduled repair. Catch it at the lake house and it’s a tow and a ruined weekend.
36. Measure Brake-Pad Material and Inspect the Rotors
Would you like to save this?
Brakes don’t usually fail all at once. They fade, they squeal, they get spongy, and people get used to all three until the day the pedal goes soft on a mountain grade with a loaded trailer behind.
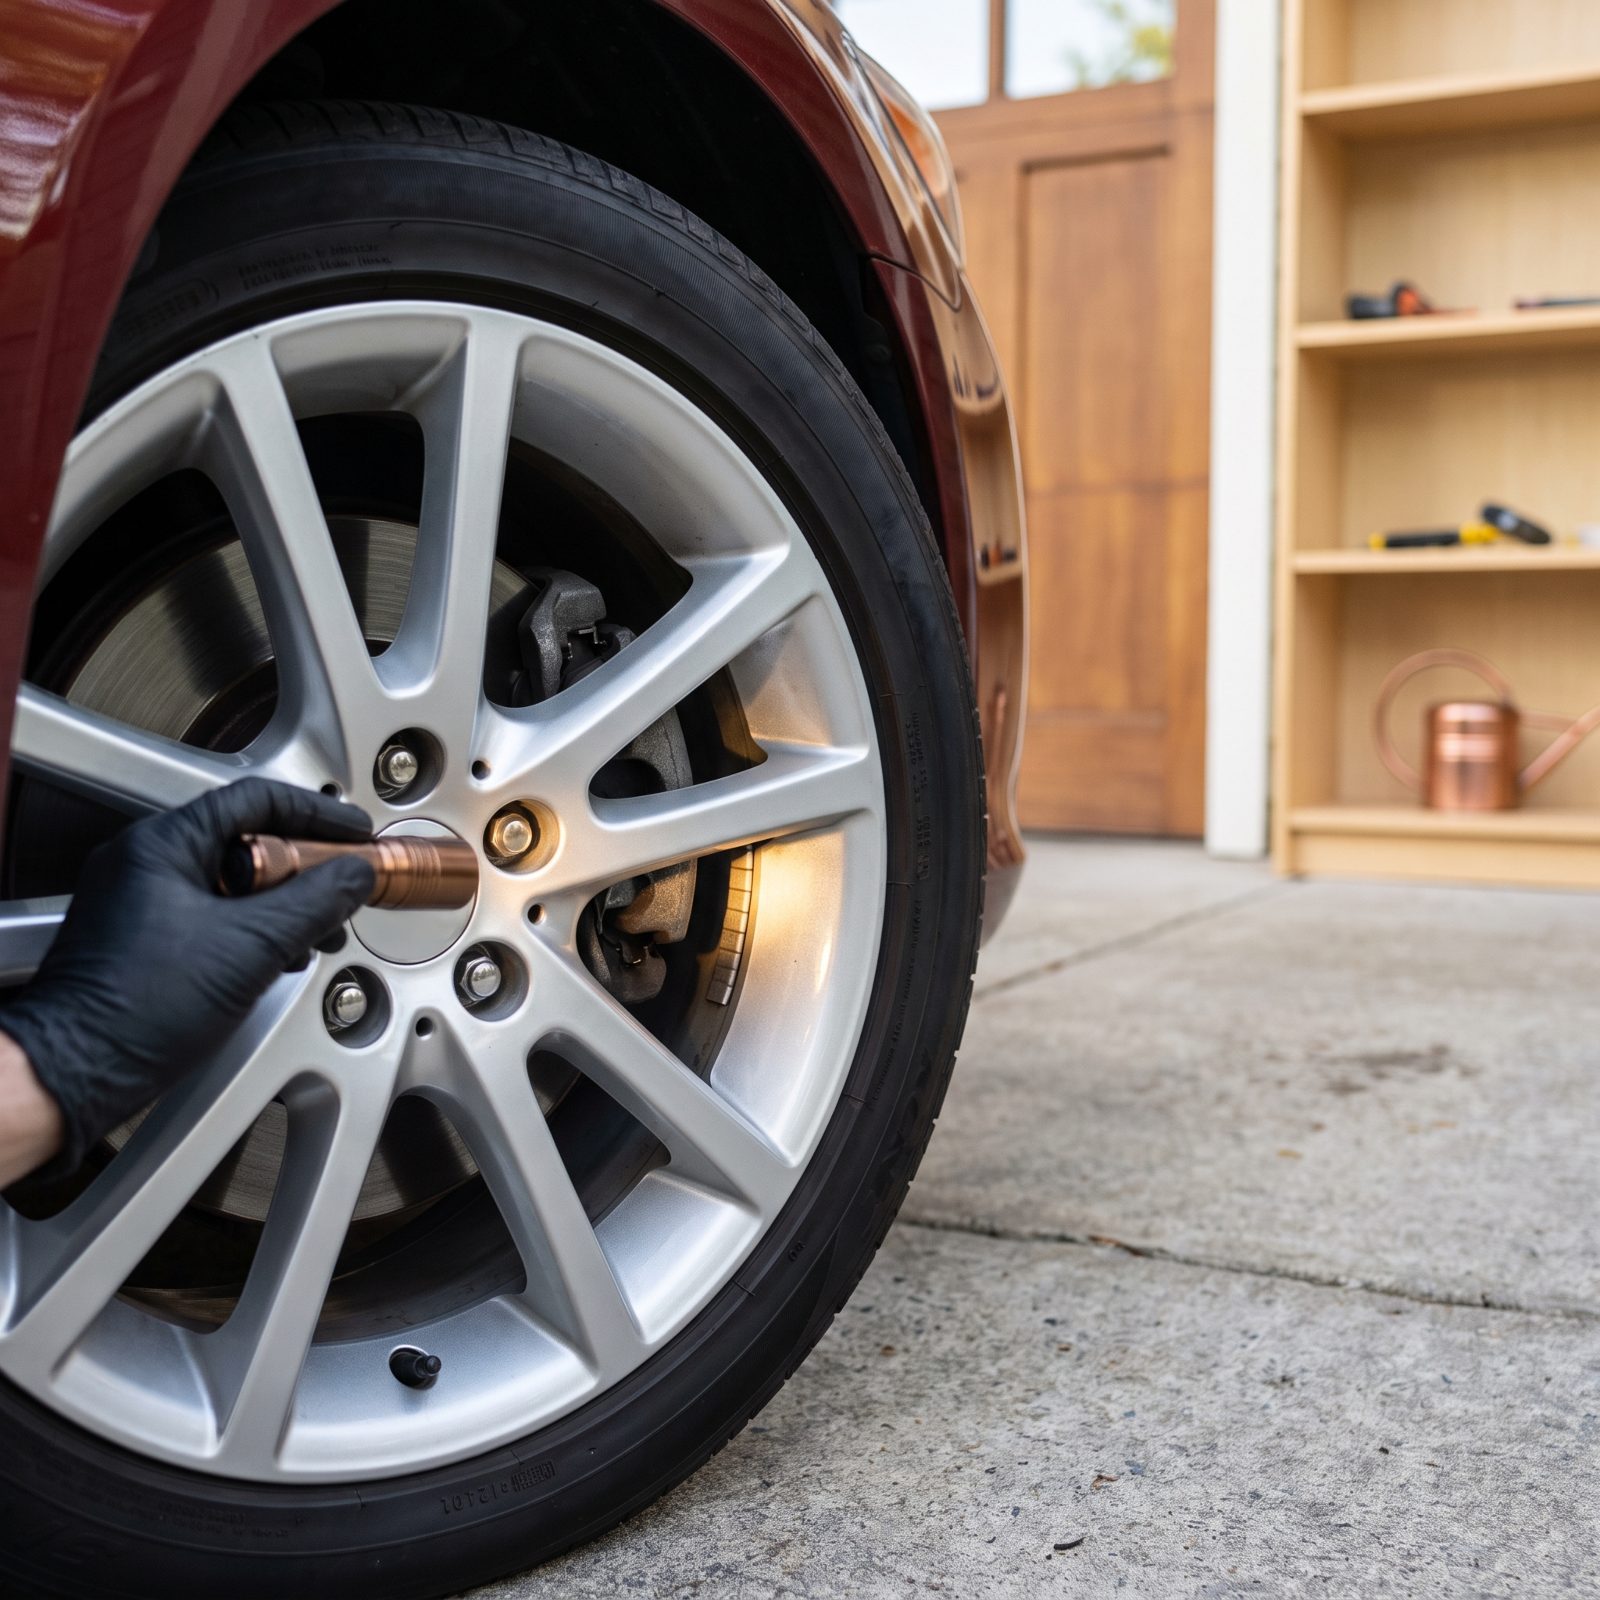
You can see a lot of brake through the wheel spokes with a flashlight. The pad is the material pressed against the rotor. New, it’s about a half inch thick. At a quarter inch it’s time to plan, and down near an eighth inch it’s past due. Hear metal grinding? The pad is gone and you’re cutting into the rotor.
Look at the rotor face too. A smooth, even surface is what you want. Deep grooves, a blue heat tint, or a lip you can catch with a fingernail at the edge all mean service before the trip.
35. Check Brake Fluid and Search the Hydraulic System for Leaks
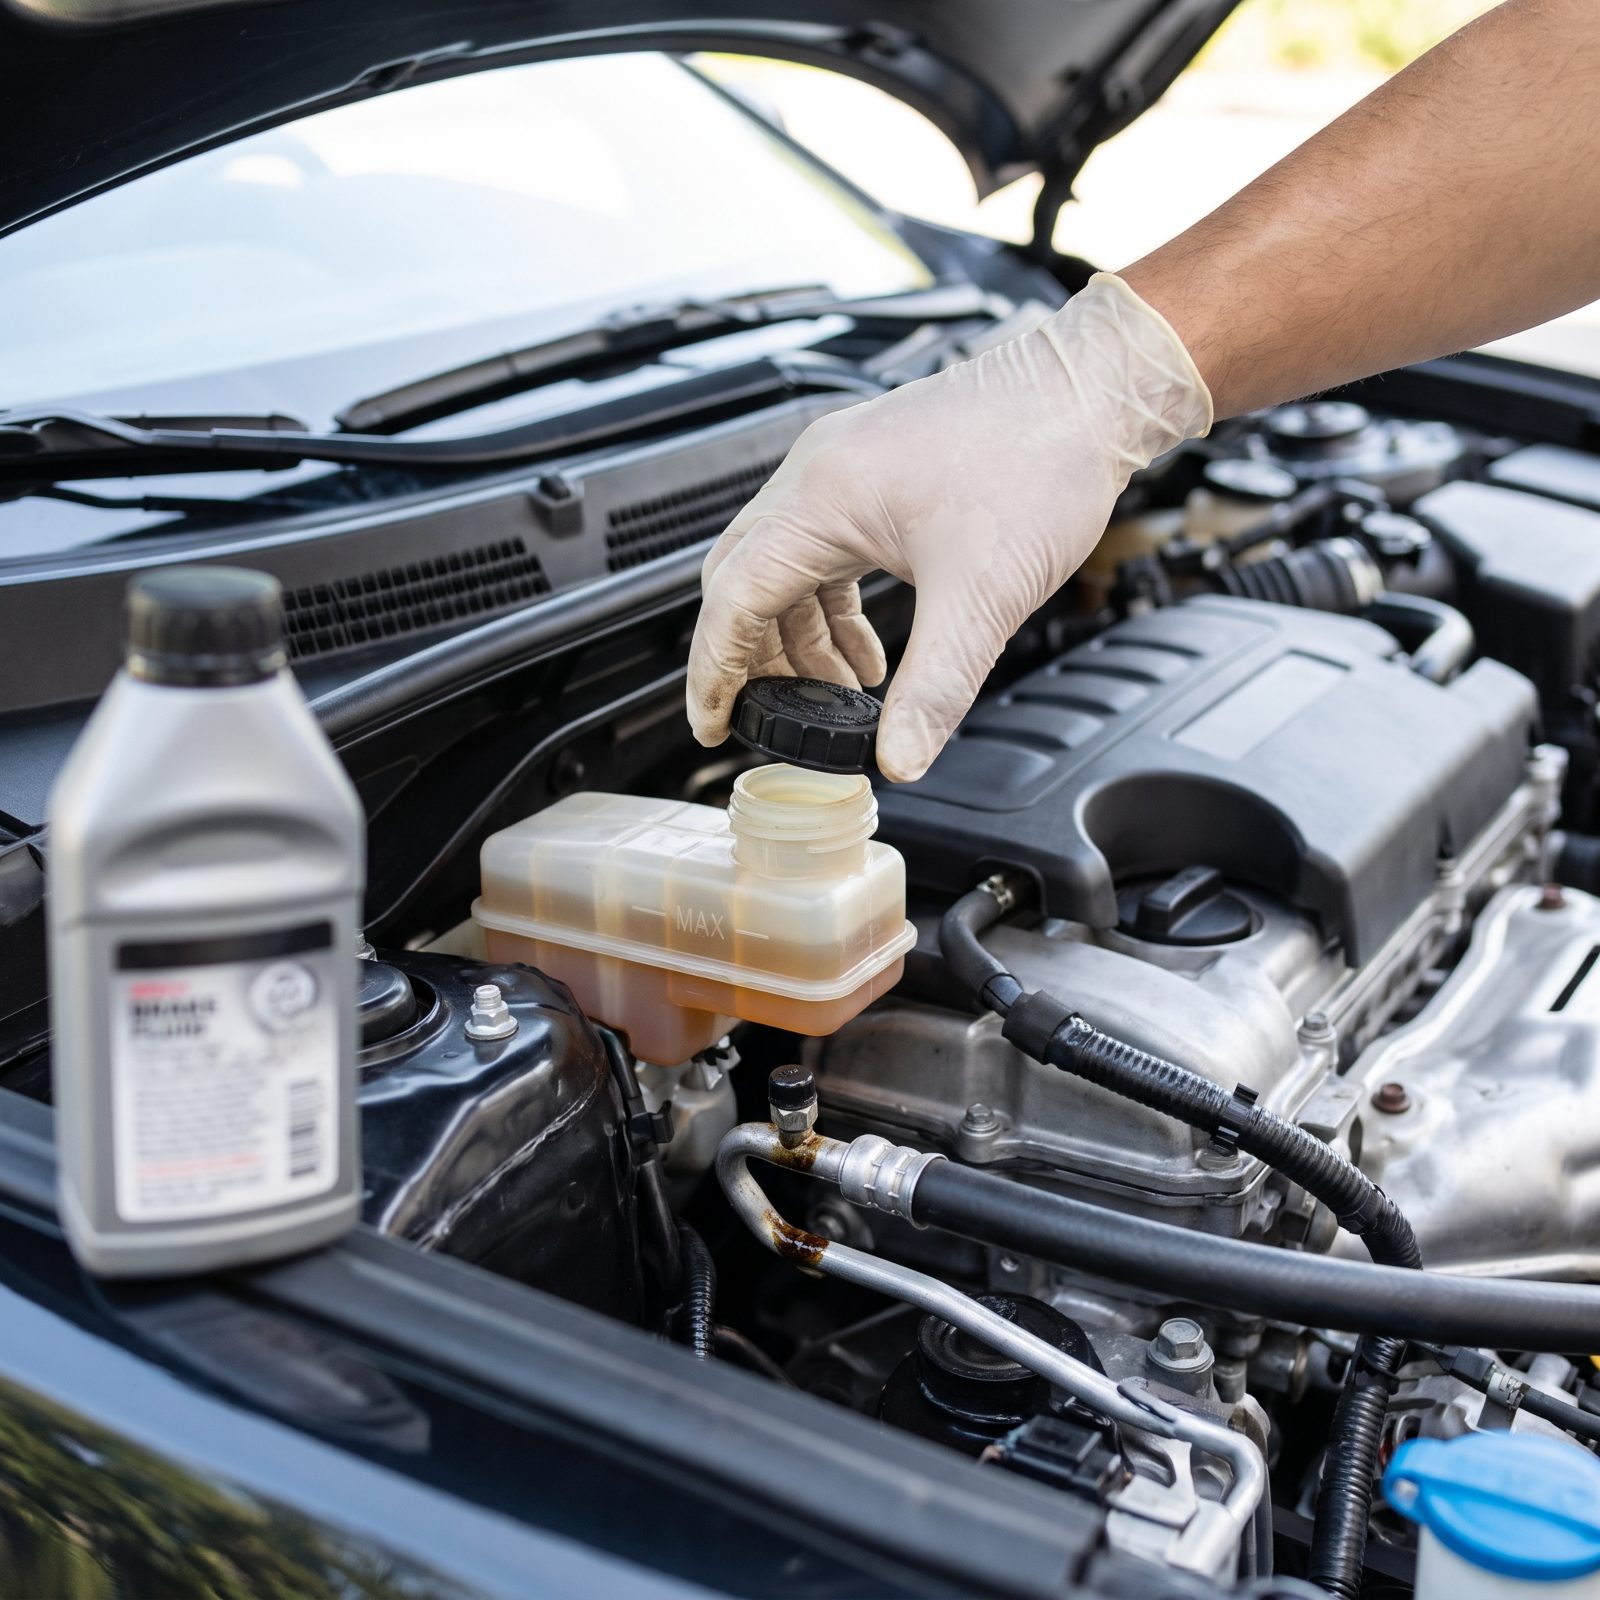
Brake fluid is the one fluid a lot of people never open the hood for, and it’s the one that stops the car.
Pop the reservoir cap and look. The level should sit between the min and max marks. If it’s low, the pads are worn, there’s a leak, or both. Clear amber fluid is healthy. Dark, muddy fluid means it’s absorbed water over the years, which lowers its boiling point and turns to steam under hard braking. That’s the spongy pedal nobody can explain.
Then follow the system. Check behind each wheel for wet, shiny spots on the backing plate or the inside of the tire. Look along the hard lines and at the master cylinder for seepage. A single damp fitting is a warning. Fix it at home, where the parts store is five minutes away and the only thing at risk is your Saturday.
34. Check the Engine Oil Level on Flat Ground, Not in the Driveway Slope
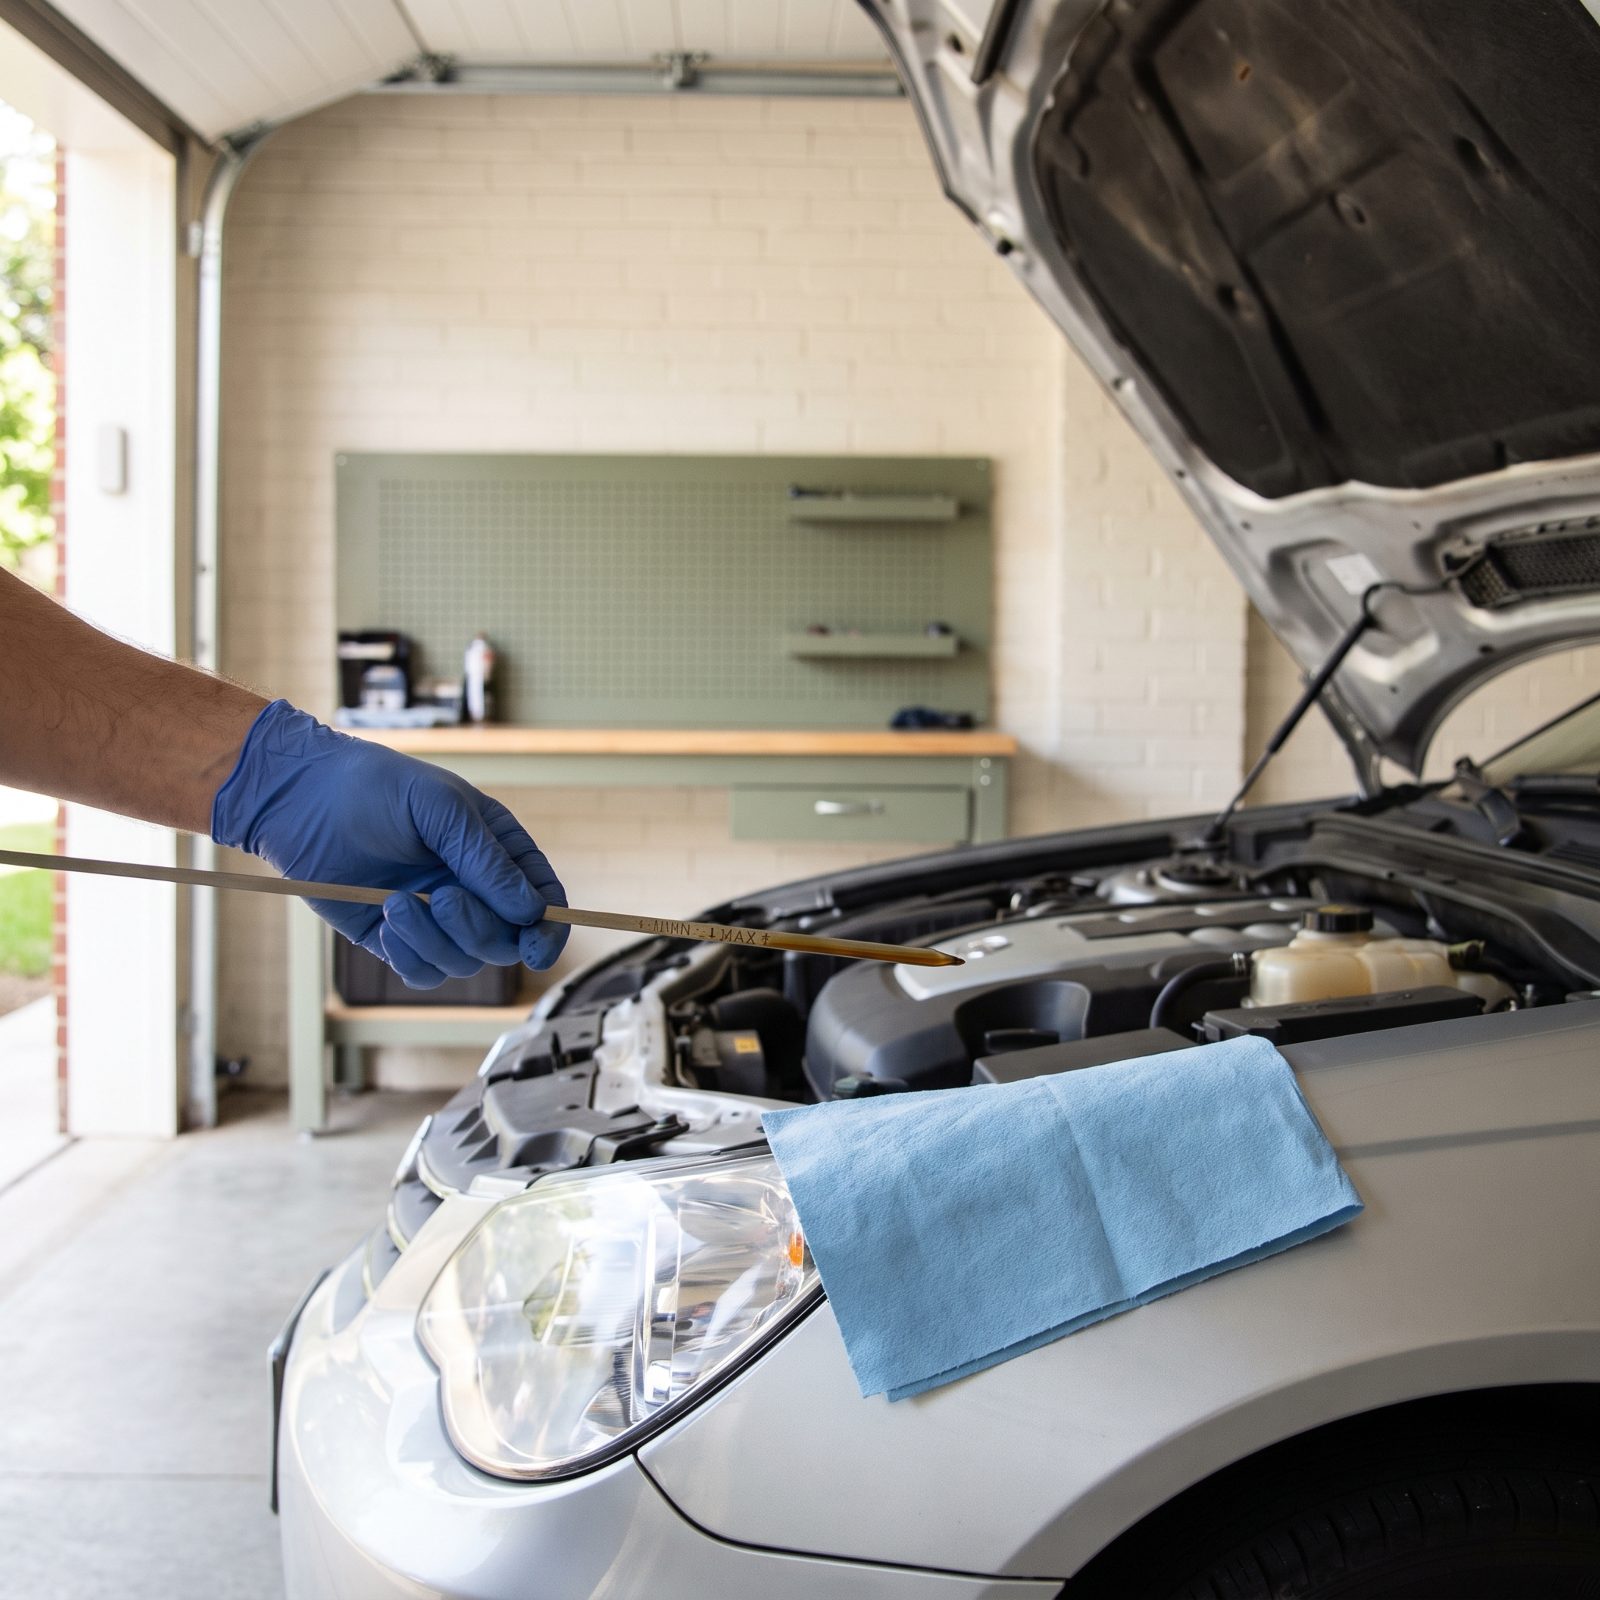
Checking oil on a sloped driveway is how you get a lie. Park nose-down and the dipstick reads low, nose-up and it reads fat. So you top off a quart you didn’t need, or you ignore a quart you did, and then you’re doing 75 through the high desert with the level wrong.
Oil sitting low on a long pull means hot bearings and a tired pump working air. Overfilled is worse in its own way — foaming the oil, pushing seals.
Get the car dead level. Let it sit, ideally overnight, so all the oil drains back into the pan, then pull the stick, wipe it, reinsert fully, pull again, and read both sides. You want the film sitting at the top hatch mark, not loafing in the middle.
33. Test the Coolant Level and Its Freeze-Boil Protection Before You Trust It
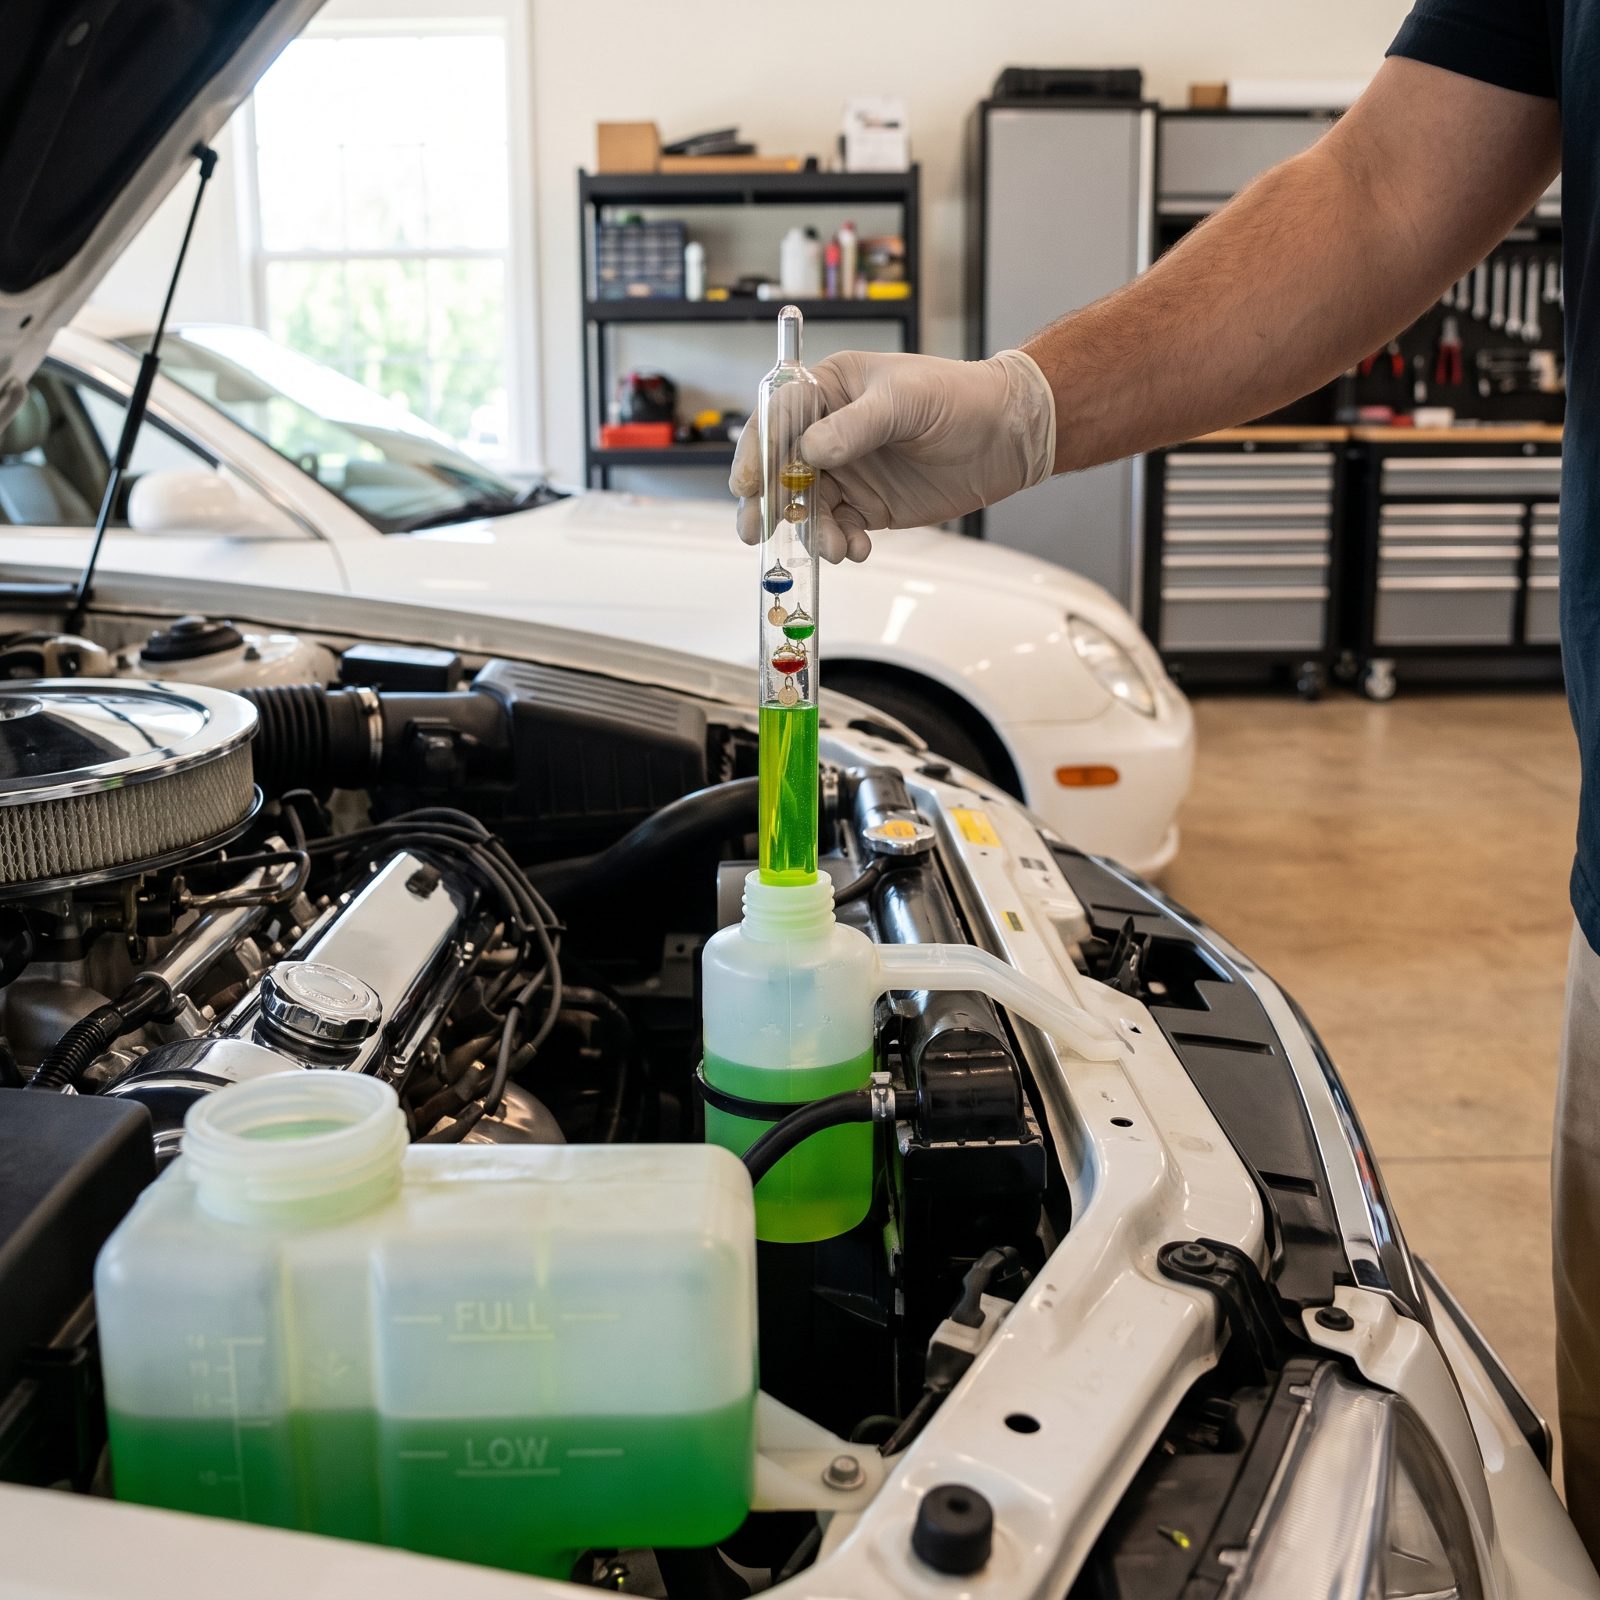
You’ve popped a reservoir cap, seen green liquid, and figured you were covered. Color isn’t protection. Old coolant loses its additive package long before it loses its tint.
Weak mix boils over on a mountain grade and freezes solid in a motel parking lot come January. Either one strands you. And the acids in spent coolant quietly eat the water pump seal and the heater core from the inside out while you’re not looking.
Use a cheap float-style tester or a refractometer and confirm protection down to around the standard 50/50 mix range. Check the level cold at the reservoir seam marks. If it’s been more than five years or six figures of miles, flush it and refill with the correct spec — not whatever universal jug happens to be on sale.
32. Inspect the Radiator and Pressure-Cap Seal for That Crusty Green Weep
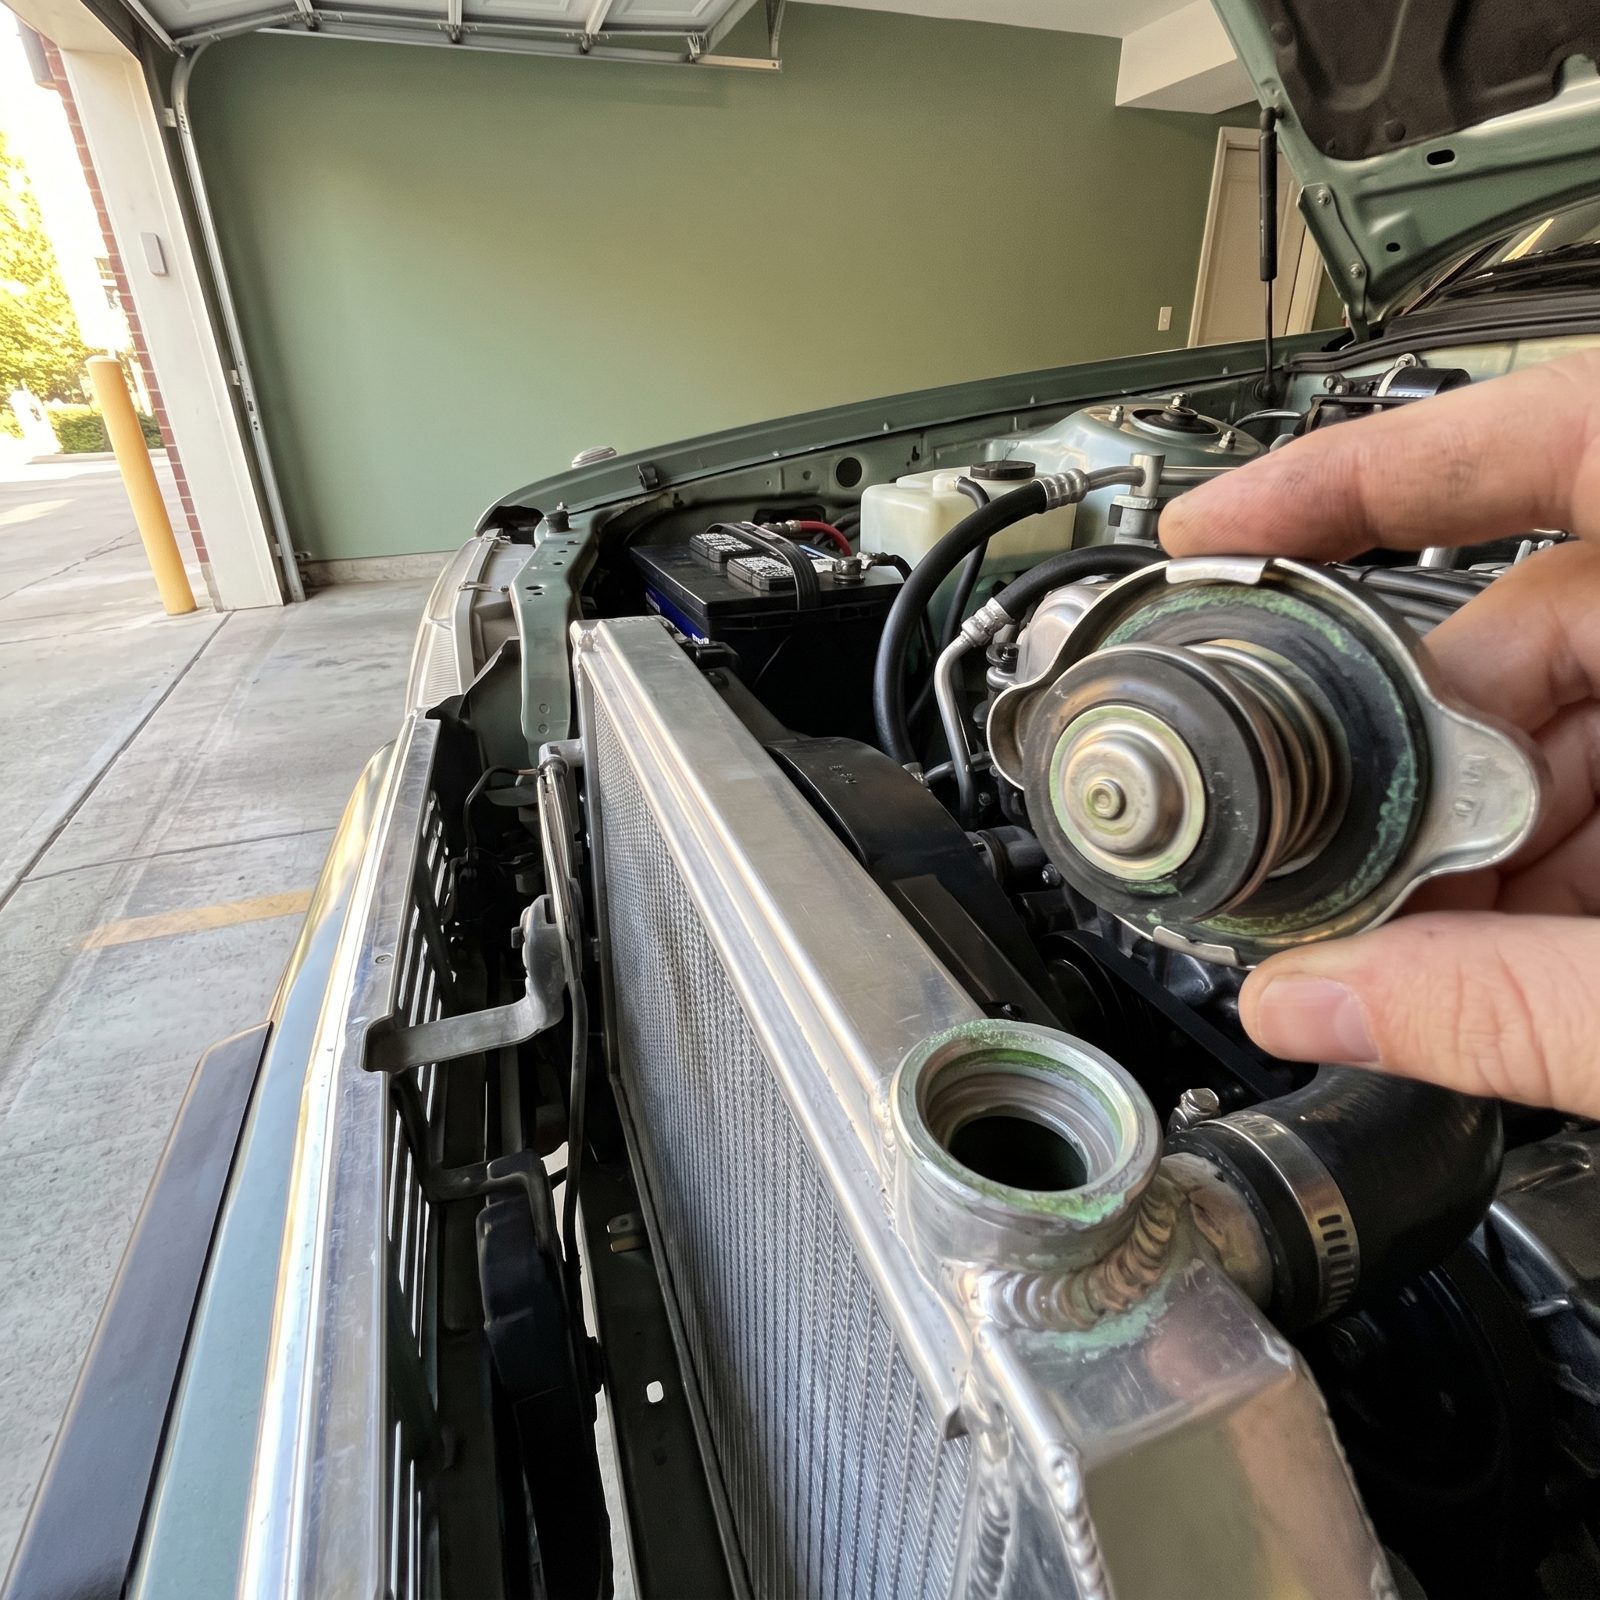
The radiator cap is a two-dollar part that holds your whole cooling system hostage. Pull it off (cold, always cold) and look at the rubber seal. Cracked, hard, or ringed with chalky green and white crust? Then it isn’t holding the pressure your system needs to raise the boiling point.
A weak cap lets coolant boil early, which feels exactly like a bad thermostat or a dying water pump. Folks chase ghosts for weeks over a bad cap.
While you’re in there, run a finger along the radiator seams and the tank-to-core joints. Dried green or orange staining means a slow weep that becomes a geyser at highway temp. Replace a suspect cap with the correct pressure rating, and if the core is weeping, get it recored or replaced before the trip — not during it.
31. Squeeze Every Coolant Hose Cold to Find Soft Spots and Swelling
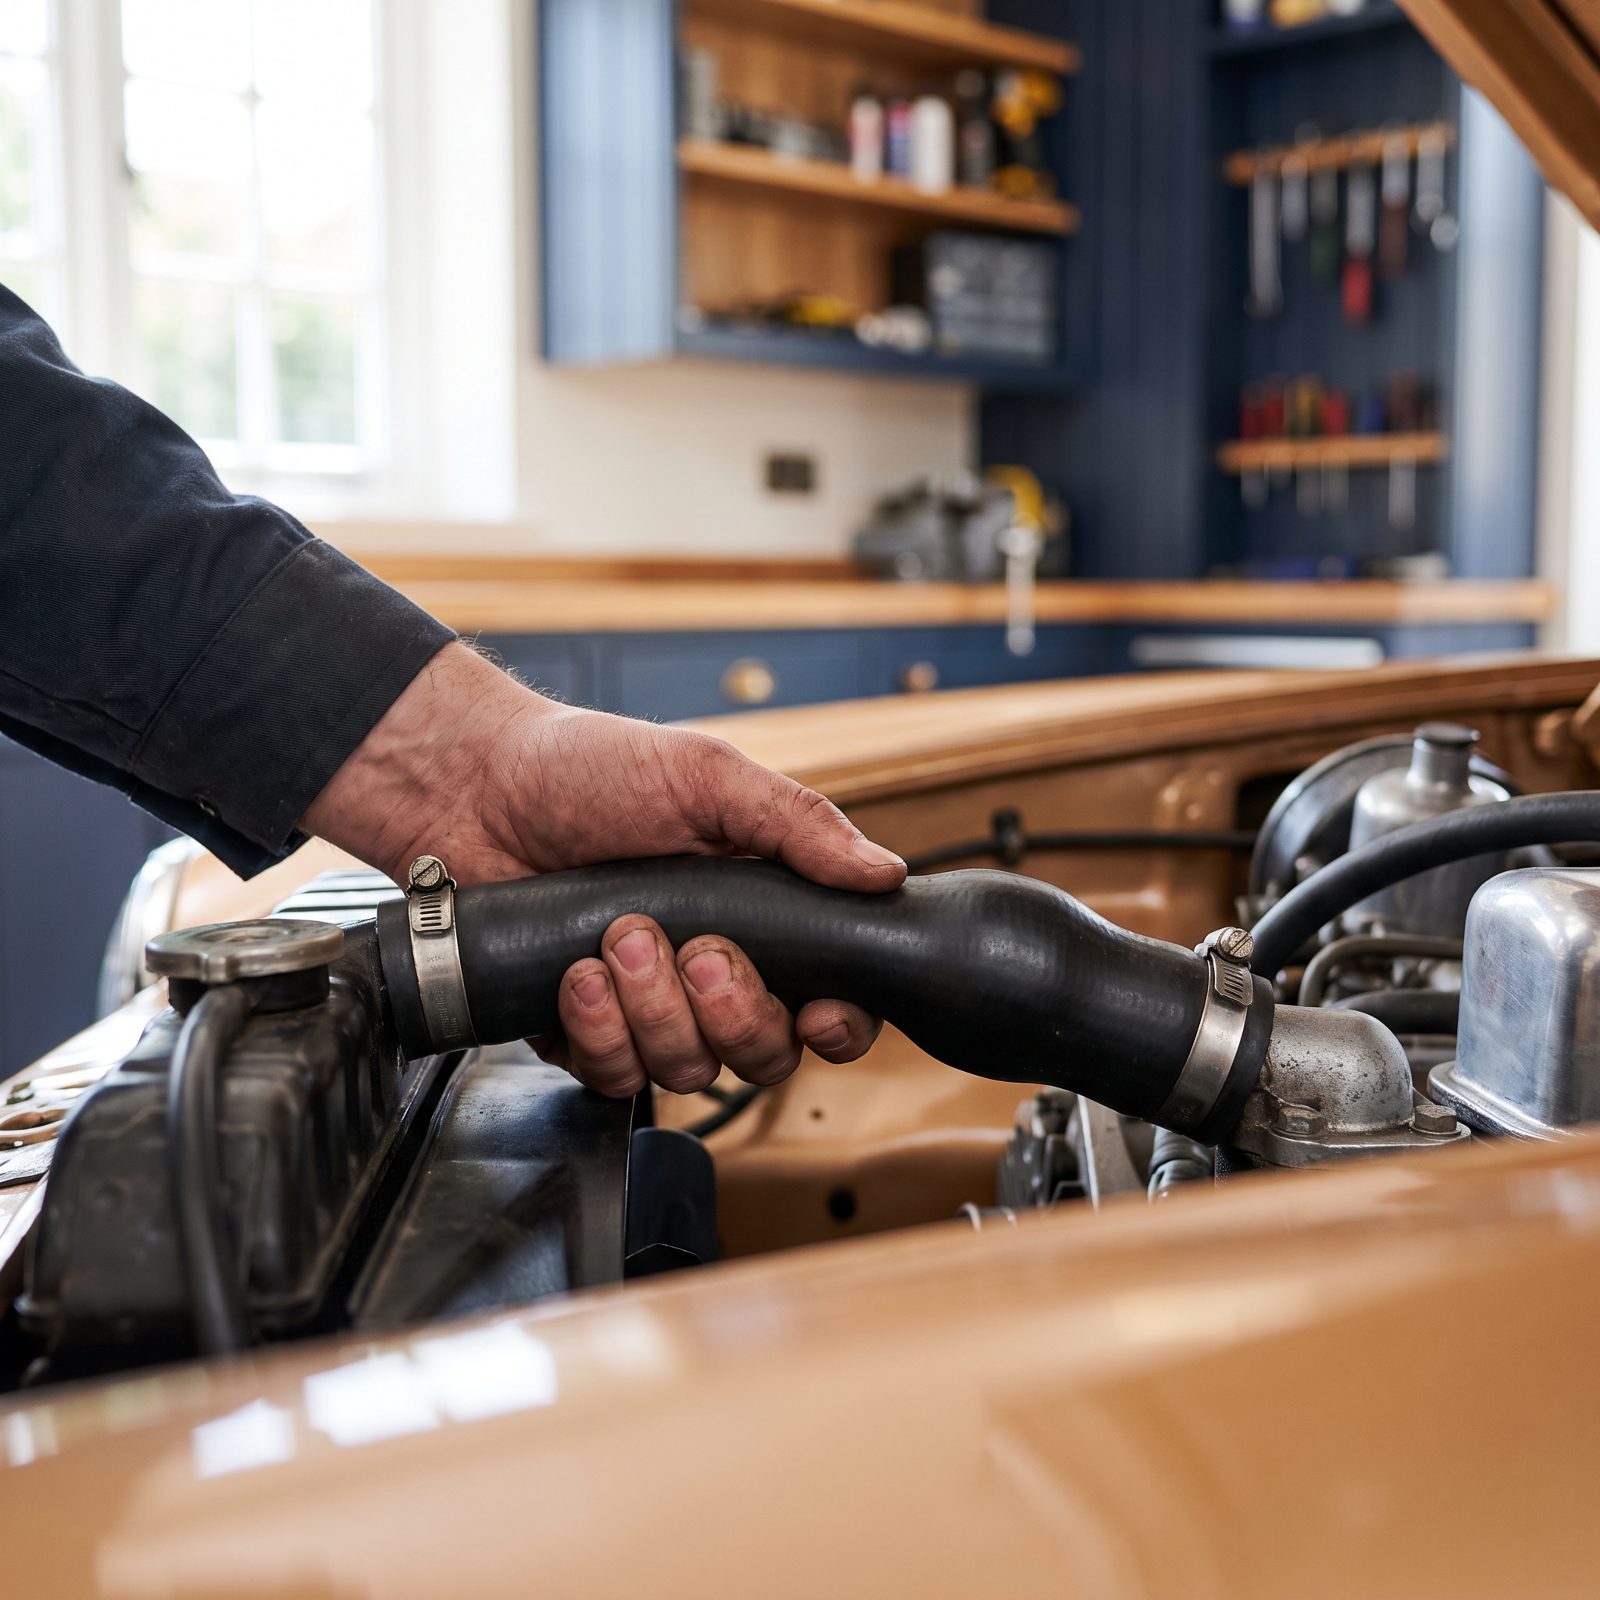
A hose doesn’t announce it’s about to blow. It just gives up somewhere outside a town you’ve never heard of, usually at the worst possible grade.
Squeeze each hose along its length with the engine cold. A good hose feels firm and springs back. A bad one feels mushy, or it’s gone hard and brittle like a licorice stick left out in the sun. Spongy spots mean the inner layer is breaking down, and swelling near the clamps means the rubber is saturated and weak.
Pay attention to the bends and the ends near the clamps, where heat and pressure pile up. Any hose that feels wrong gets replaced. Molded OEM-style hoses beat universal flex hose for fit. New clamps too — the old ones have taken a set and won’t seal a fresh hose properly.
30. Confirm Every Electric Cooling Fan Actually Kicks On
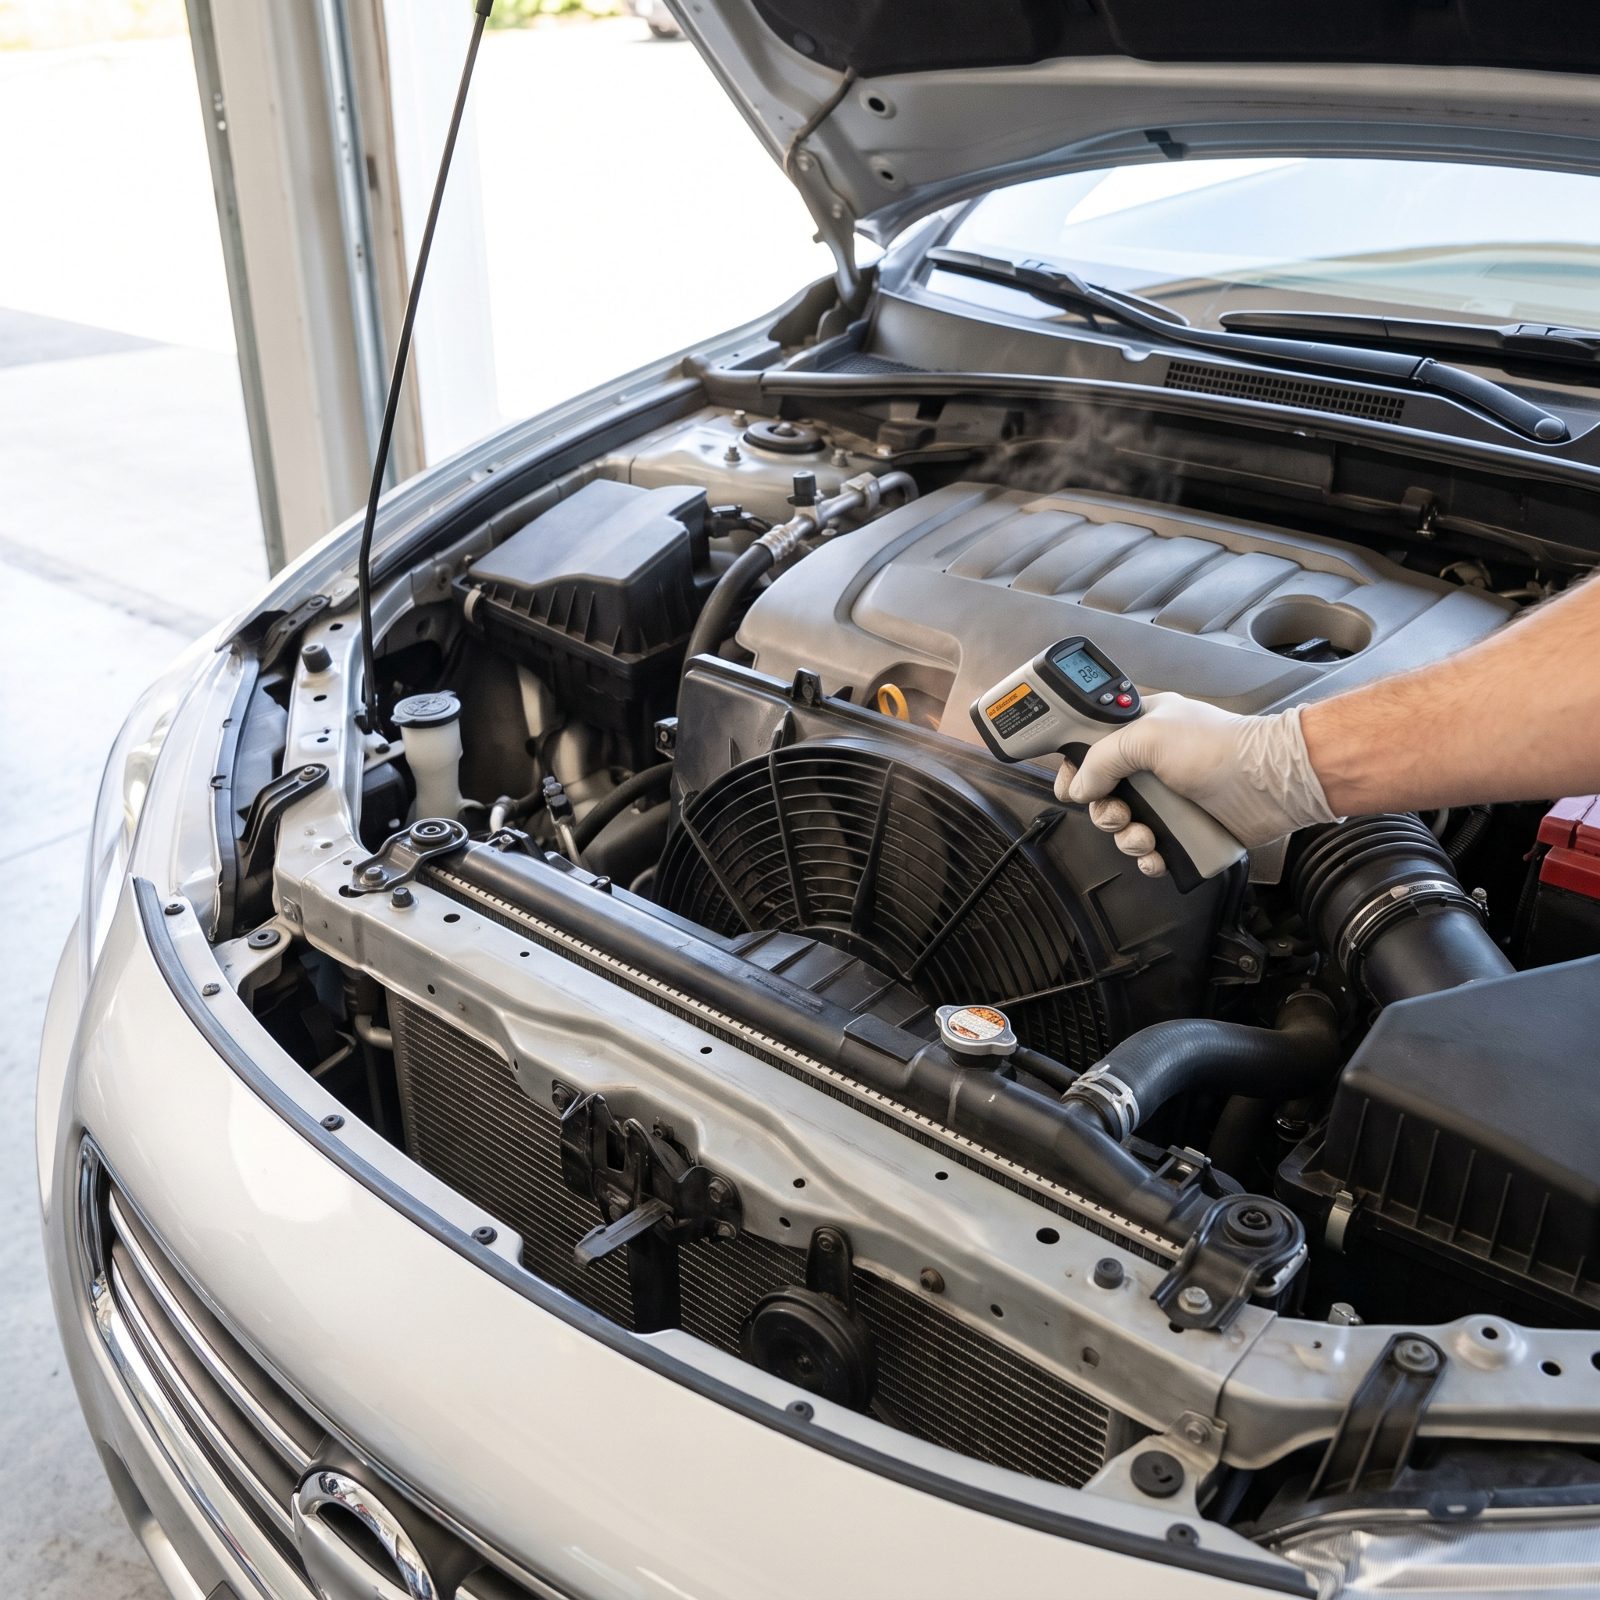
Stop-and-go traffic on a July interstate is where cooling fans earn their keep, and where a dead one cooks an engine in minutes. At speed, airflow through the grille does the work. Crawling in a construction zone, the fan is all you’ve got.
Let the car idle up to operating temperature and watch. The fan should cycle on well before the gauge climbs toward hot, and on dual-fan setups, both need to run. Turn on the air conditioning — the fans ought to spin immediately, temperature be damned.
If a fan stays silent, blame the temperature switch, a relay, the fan motor, or a corroded connector, roughly in that order. Fix it in the garage. Finding out it’s dead while merging into Atlanta rush hour is a hard lesson nobody needs.
29. Check the Water Pump for Seepage, Shaft Wobble, or Bearing Growl
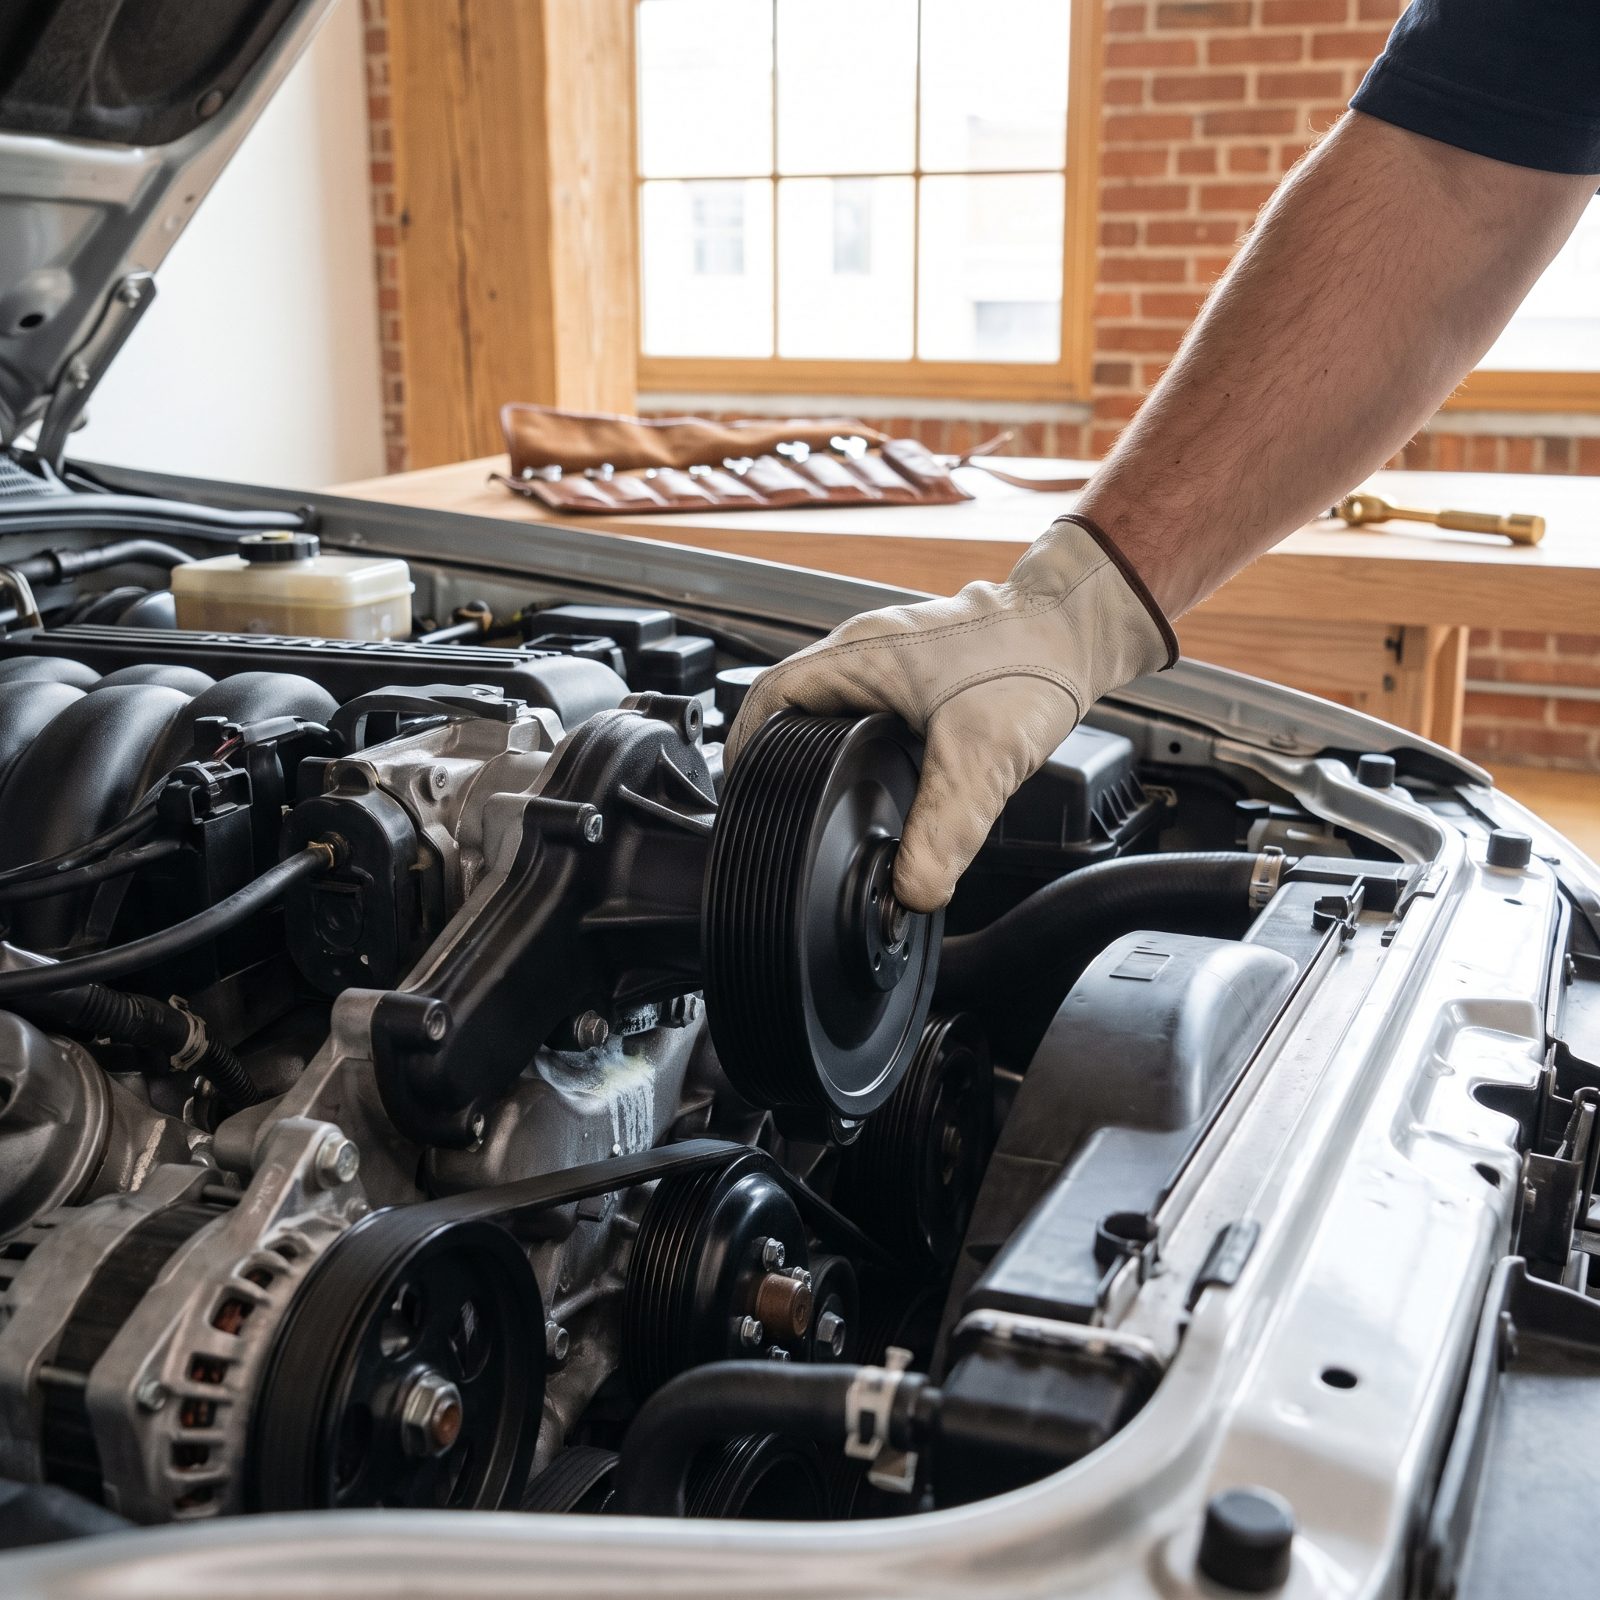
Water pumps tell you they’re dying if you know where to look. There’s a small weep hole on the underside of the housing, and a trail of dried coolant crust under it means the internal seal is leaking. That’s your first and clearest warning.
With the engine off and cool, grab the pump pulley and rock it. Any play or wobble means the bearing is shot and the shaft is loose. Then start the engine and listen near the pump. A growl, grind, or chirp that rises with RPM is a failing bearing counting down its last miles.
A pump that fails mid-trip takes out your belt, your temperature, and often your head gasket, all in one miserable afternoon. If yours shows any of these signs, replace it now — and do the thermostat and coolant at the same time, since you’re draining the system anyway.
28. Inspect the Serpentine Belt, Tensioner, and Idler Pulleys as One System
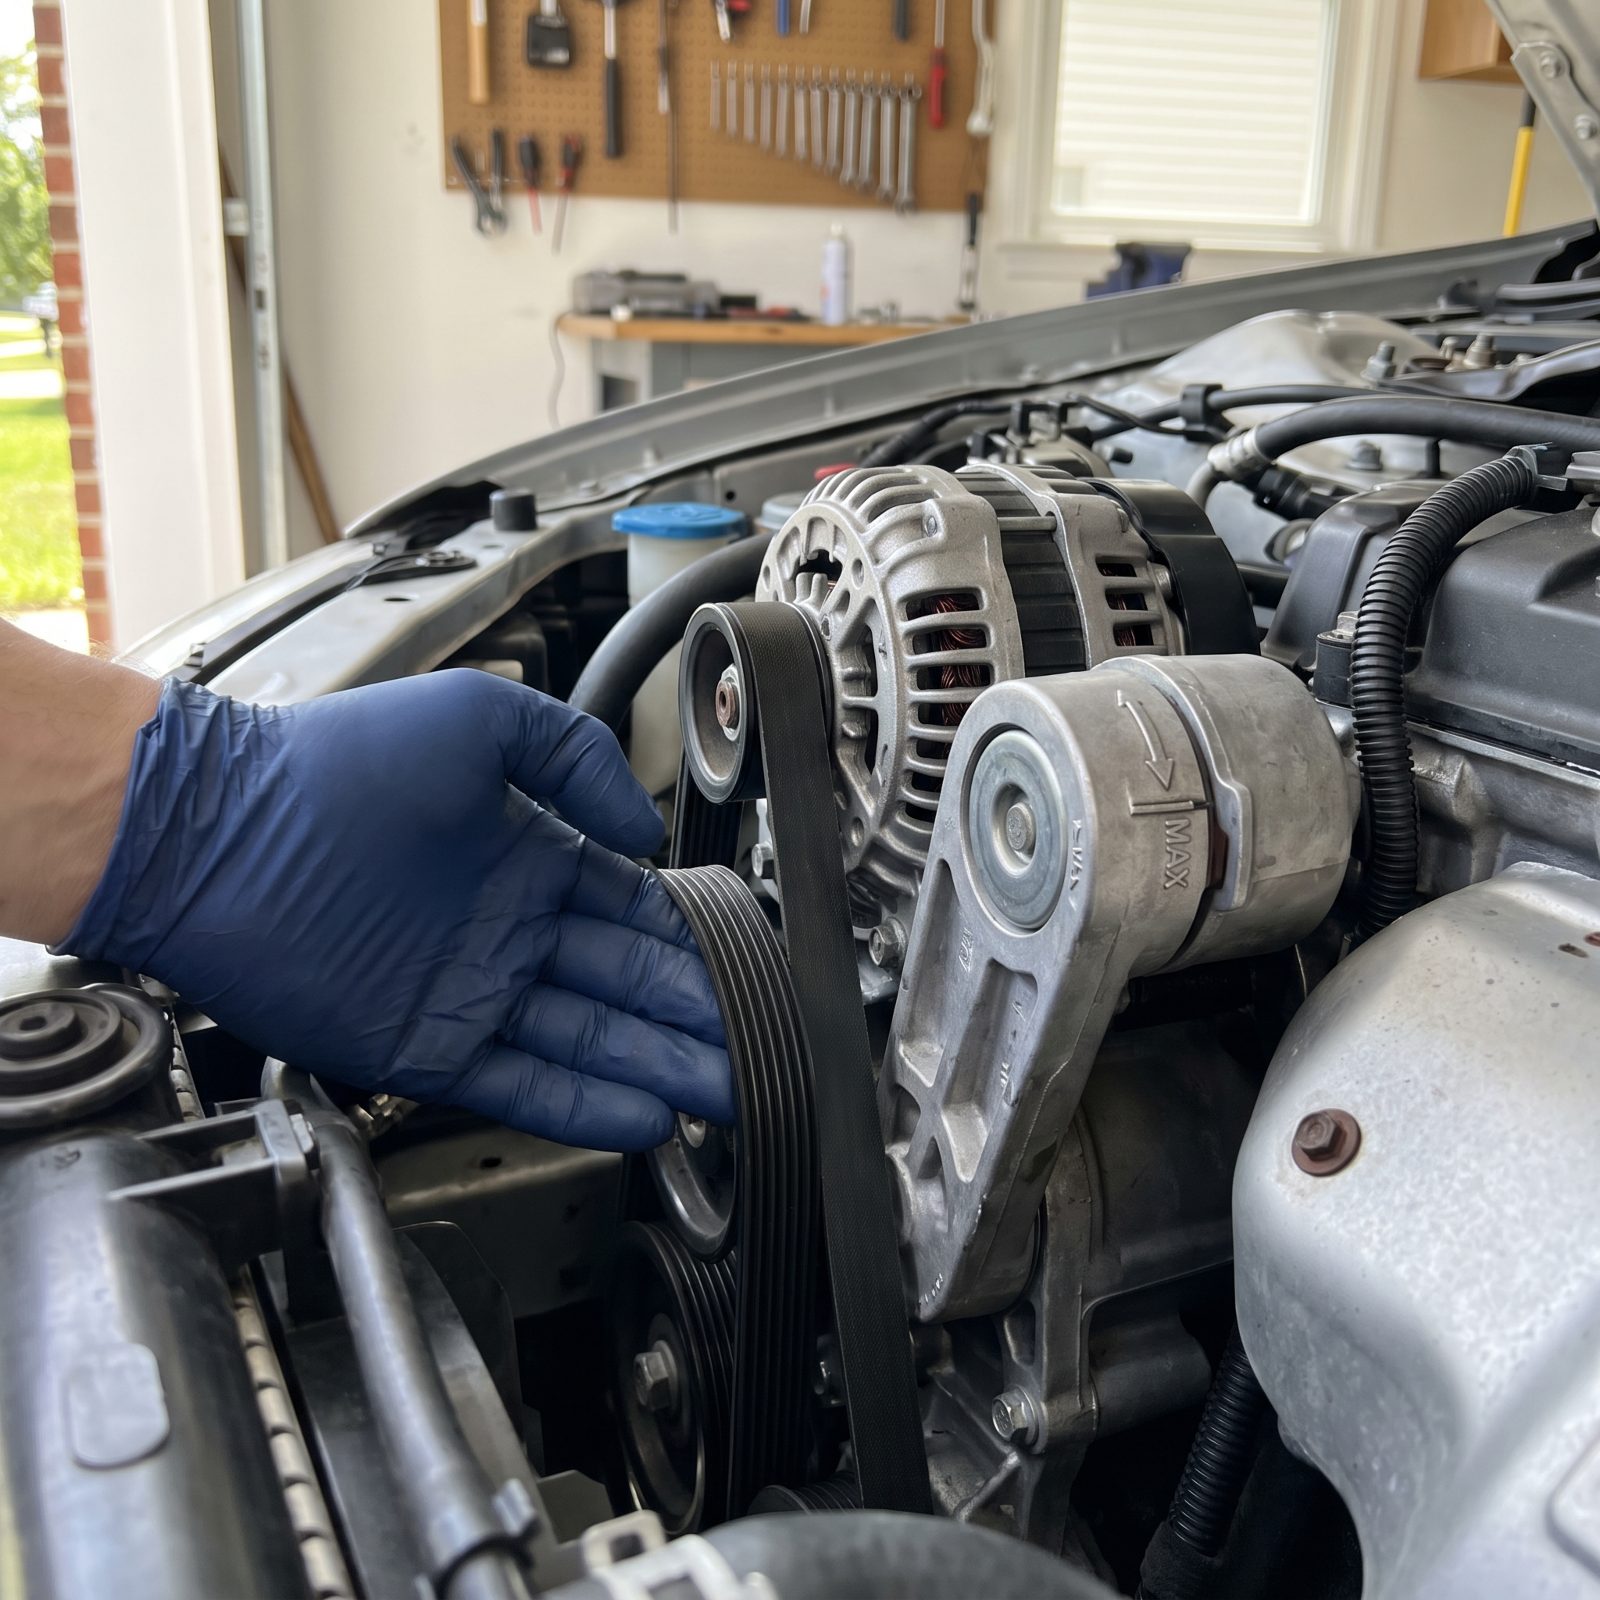
People inspect the belt and skip the pulleys. That’s half a job. The belt, the tensioner, and every idler work together, and the weakest link decides your fate on the shoulder.
Look at the belt’s ribbed side for cracks, glazing, missing chunks, or shiny slick spots. Modern EPDM belts don’t crack the way old ones did, so check for rib wear with a gauge or feel for a smooth, worn groove. A belt that’s quietly shed its ribs still looks fine at a glance — sneaky stuff.
Then spin each idler and tensioner pulley by hand with the belt off, or feel the tensioner’s spring action. Roughness, wobble, or a dry-bearing growl means a pulley that’ll seize and shred the belt. The tensioner should hold firm without bouncing. On an older car, replace the belt, tensioner, and idlers together. They wear as a set.
27. Verify the Timing-Belt Replacement Interval Before It Verifies It for You
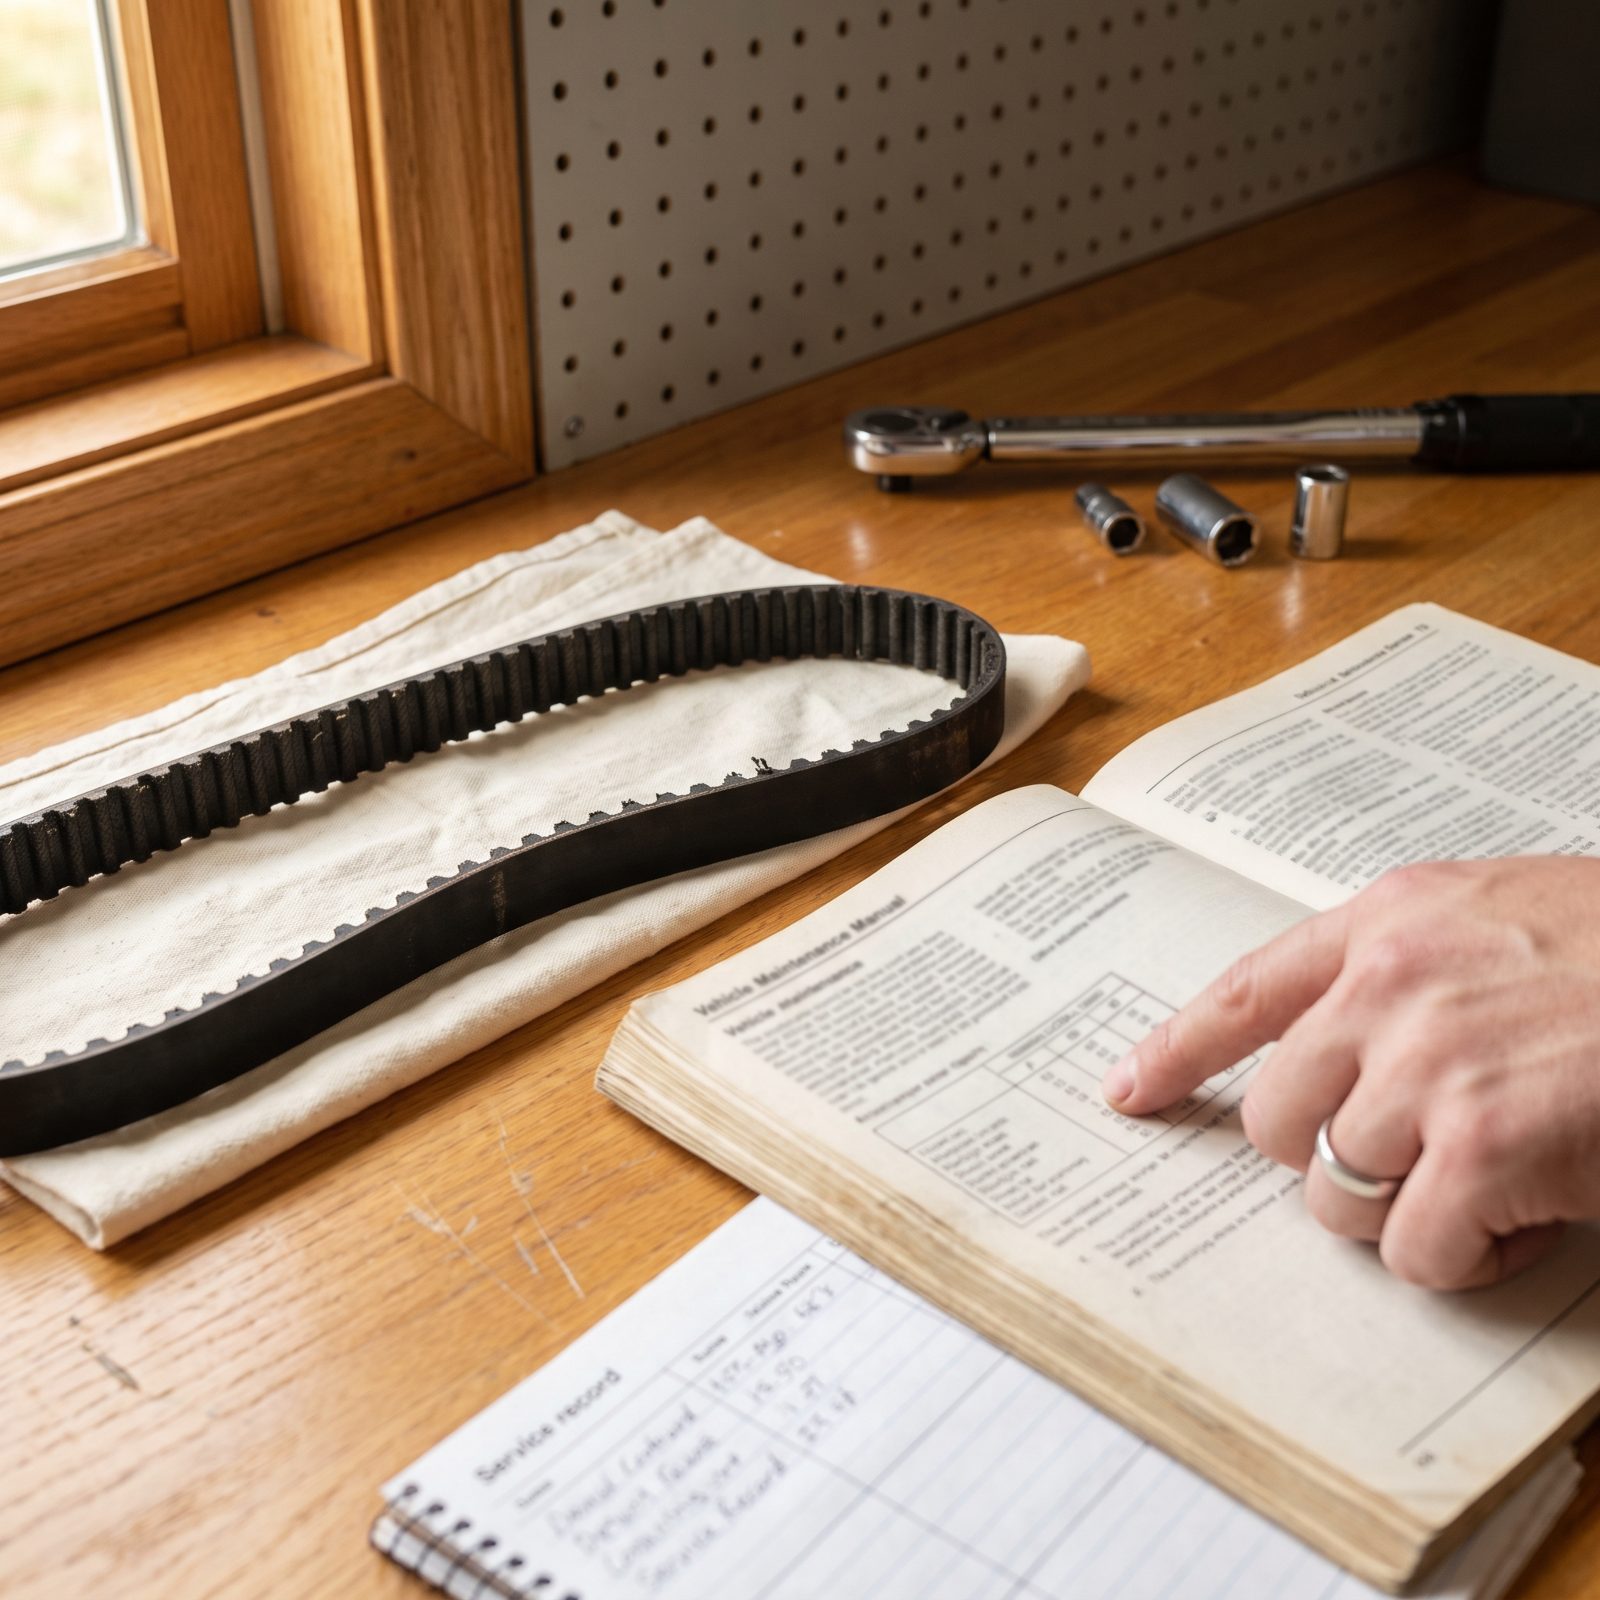
On an interference engine, a snapped timing belt doesn’t just leave you stranded. It leaves you with bent valves and a four-figure repair. The pistons and valves share the same space at different moments, and when the belt goes, that careful dance ends in a collision.
Most timing belts live somewhere north of 60,000 miles, but here’s the part people miss: they also age out on time, usually inside a decade, mileage be damned. The low-mileage car that sat in a garage is exactly the one that eats itself.
Dig out the service records. No documented belt change inside the interval, or no paperwork at all? Replace it before a long trip. Do the water pump, tensioner, and seals in the same job, since the timing cover’s already off. Chain-driven engines get a pass — but first confirm which one you’ve actually got.
26. Check the Transmission or Transaxle Fluid the Factory-Approved Way
Would you like to save this?
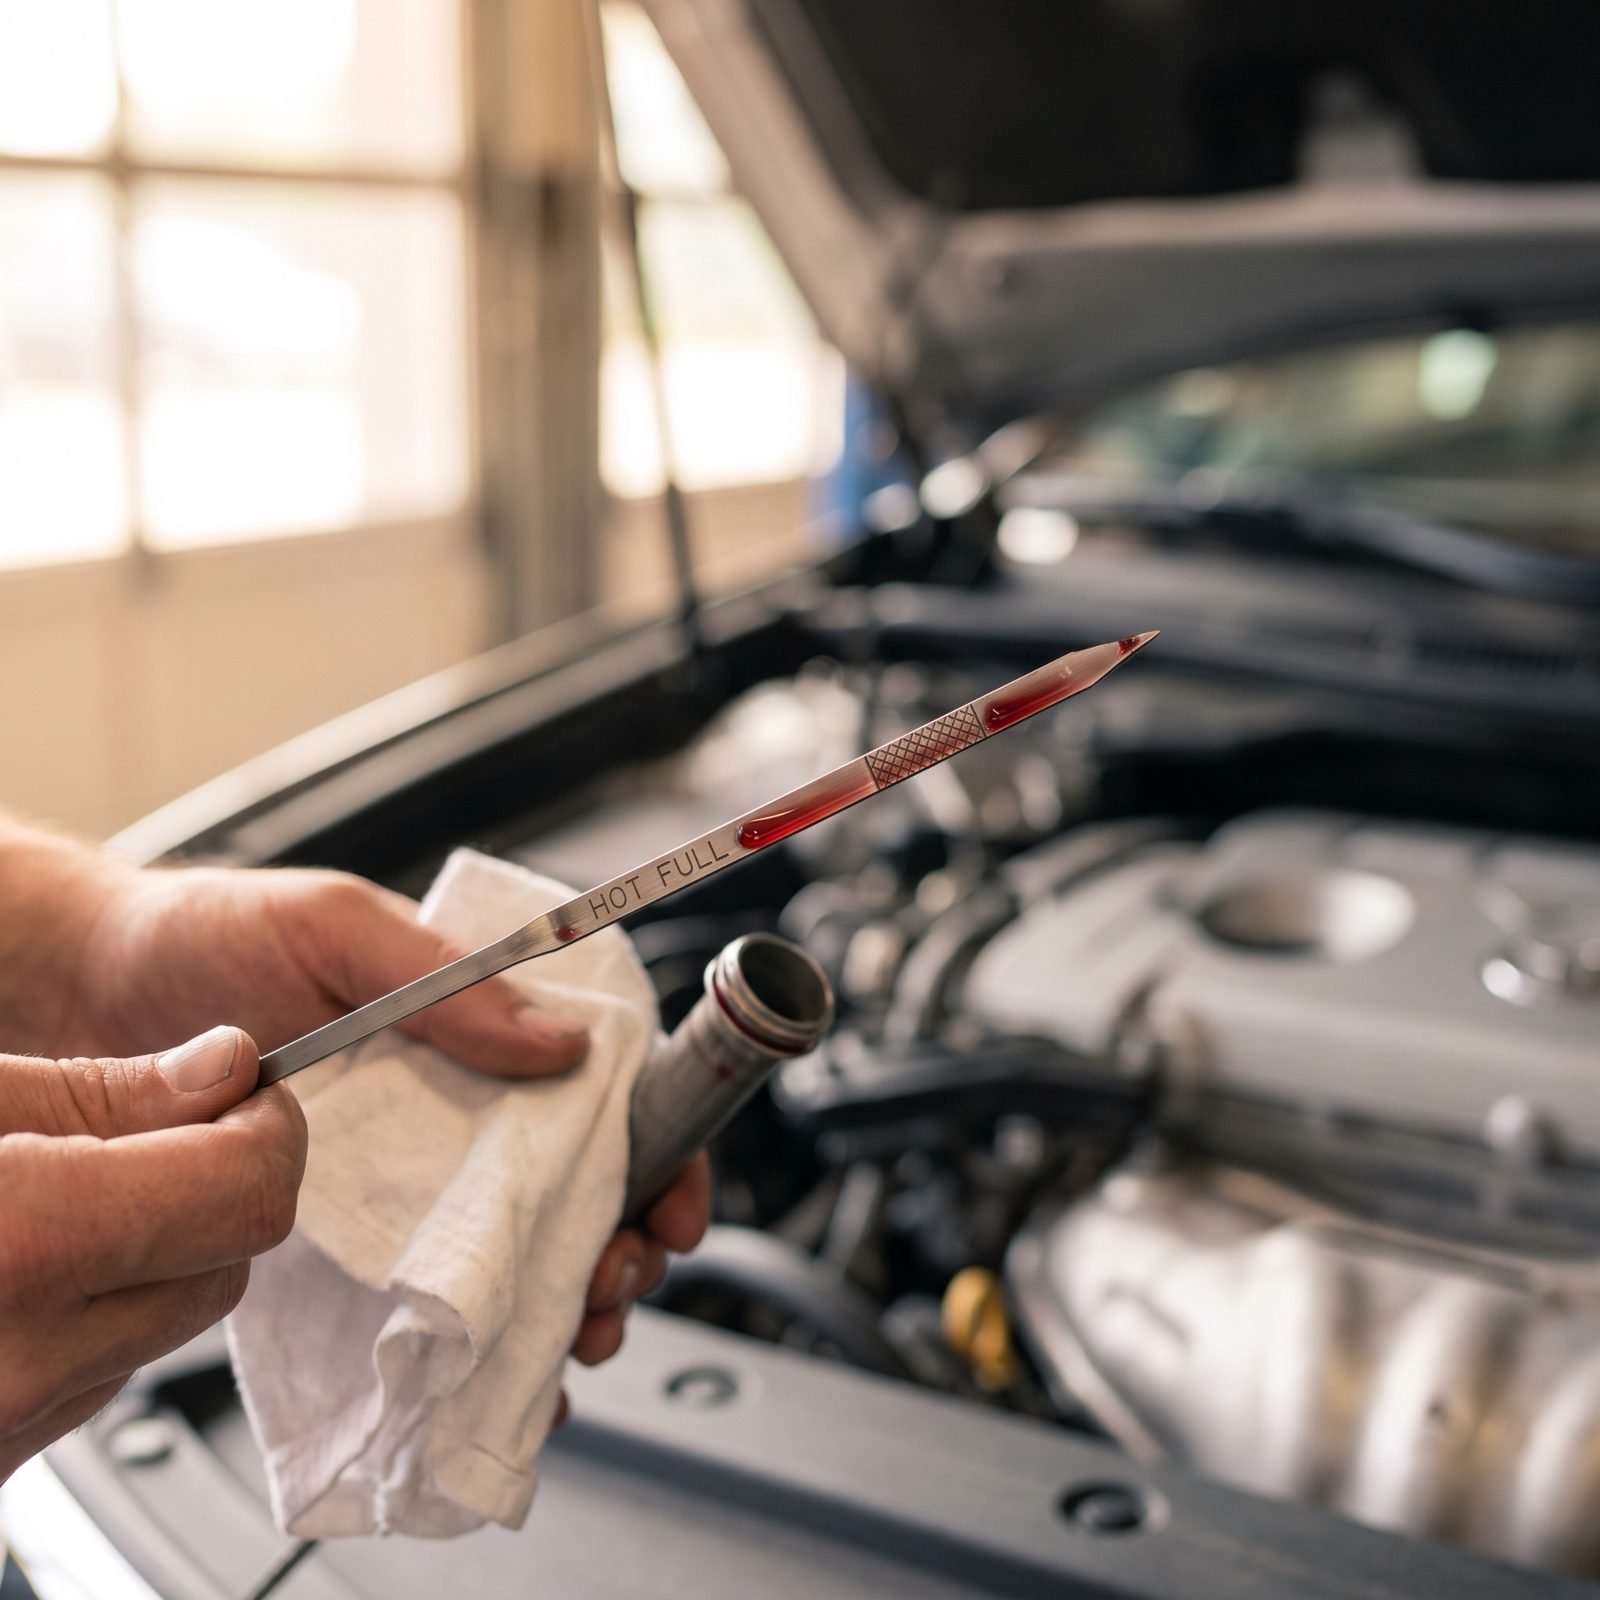
Here’s where folks make it up as they go. Automatic transmission fluid gets checked a very specific way, and doing it wrong tells you nothing useful.
Most automatics want to be checked warm, engine running, in park or neutral, on level ground, after cycling through the gears. Some modern units have no dipstick at all and need a scan tool and a fill plug at an exact temperature. Pull a dipstick-style check wrong and the level reads false every single time.
Look at the fluid, not just the level. Healthy fluid is clear cherry red and smells faintly sweet. Brown fluid that smells burnt means the clutches are cooking, and a mountain pass with a trailer behind you will finish the job. Top off with the exact fluid spec in your manual. The wrong friction modifier makes a good transmission shudder and shift hard — a maddening thing to chase down later.
25. Check the Differential and Transfer-Case Oil Levels Nobody Ever Looks At
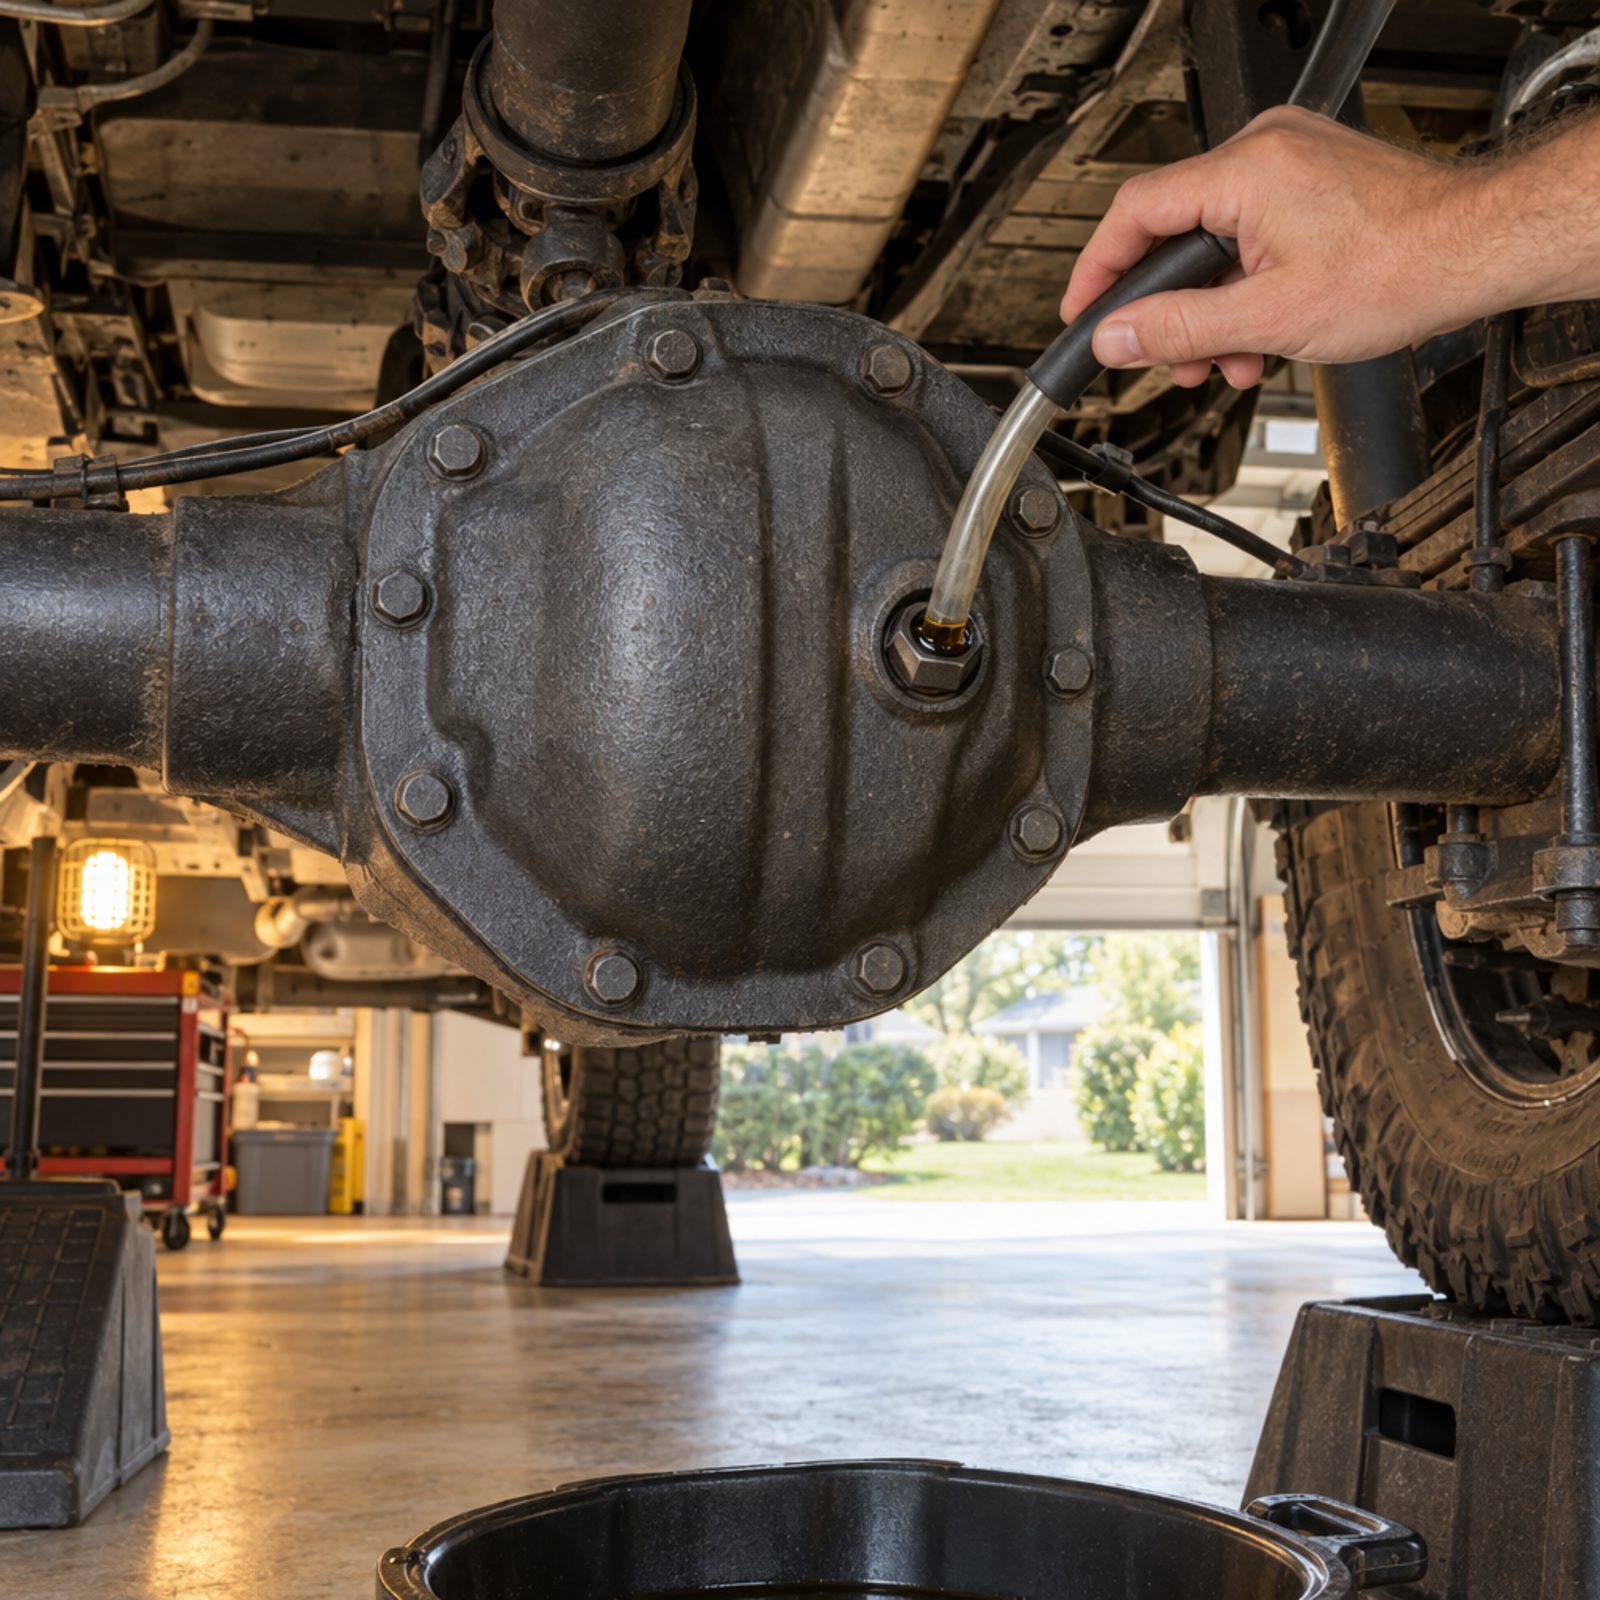
The differential is the orphan of the drivetrain. People change oil religiously and never once touch the gear oil keeping the ring and pinion from grinding themselves to filings. On a rear-drive car, a four-wheel-drive truck, or anything hauling a trailer, that oil matters more than almost anything else under the car.
The check is simple and old-fashioned. On level ground, pull the fill plug on the side of the housing. Oil should sit right at the bottom of the plug hole, close enough to touch with a fingertip. Low, or coming out dark and gritty and scorched-smelling? The gears are running hot and hungry.
Transfer cases on four-wheel-drive rigs get the same treatment and the same neglect. A long haul with a trailer heats this stuff past its limit, and a dry diff on the interstate makes a howl you’ll remember for years. Top off with the correct weight gear oil, and if it’s a limited-slip unit, add the friction modifier it calls for.
24. Check the Power-Steering Fluid and Hydraulic Lines
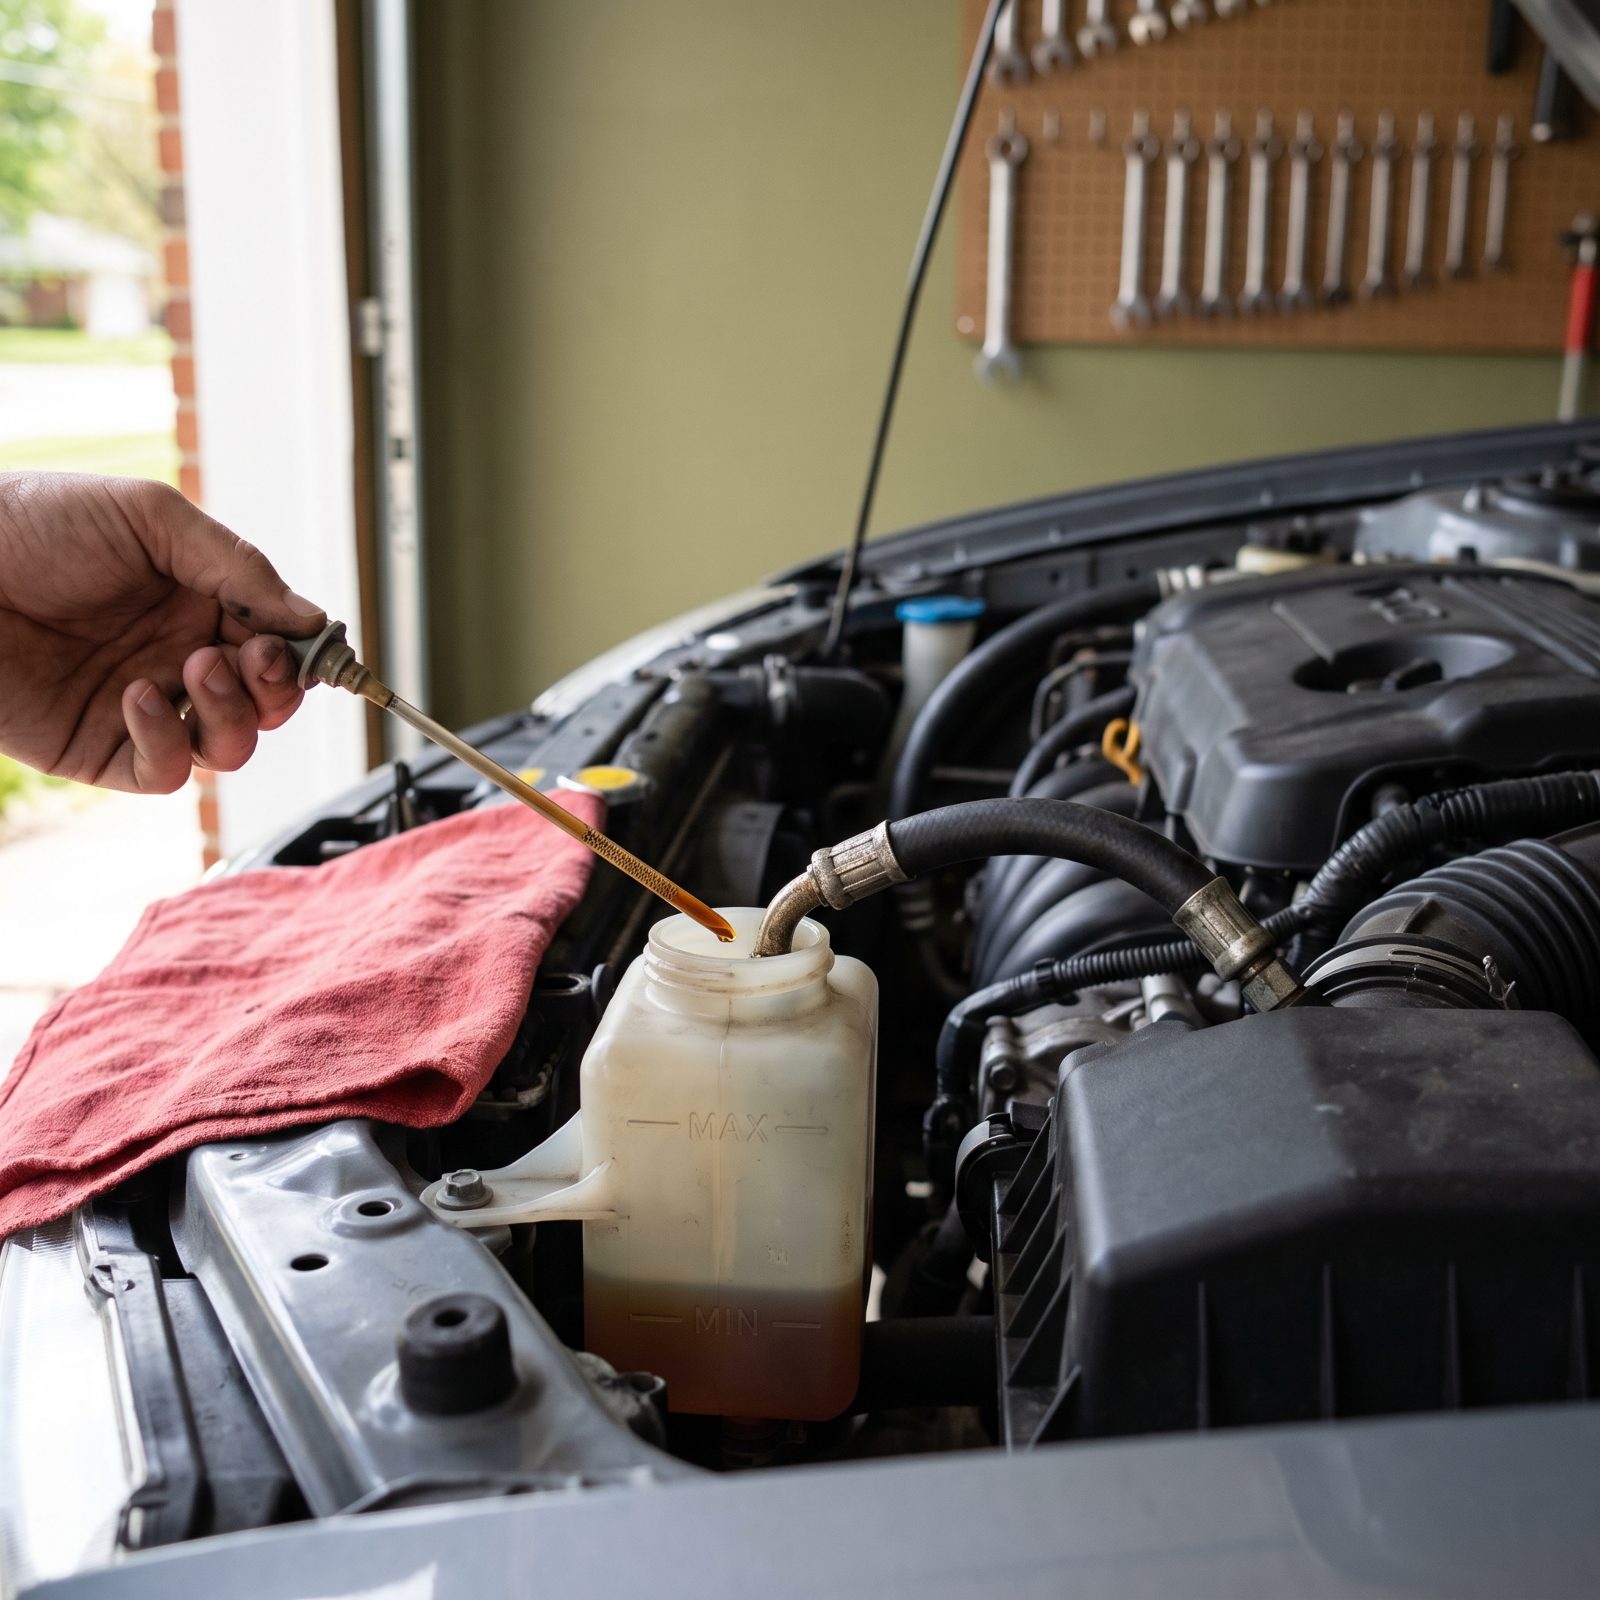
Pop the hood on a car that’s about to do nine hundred miles and the power steering is the thing nobody thinks about — until it starts moaning in a parking lot three states from home. A reservoir that’s low, or full of dark, burnt-smelling fluid, is trying to tell you something. Usually it’s a slow leak at a hose crimp or the pump shaft seal.
Low fluid aerates the pump, and an aerated pump whines, then wears, then dies. Drive it dry long enough and the bill just keeps climbing.
Pull the dipstick cold, wipe it, check it against the MAX mark. The fluid should look clean, not like old coffee. Run your fingers along every hose from the pump to the rack. Come back wet, or find weeping at a fitting? Fix it now. Top off with the exact spec your manual calls for — usually ATF or a dedicated PS fluid — and never a guess.
23. Inspect Every CV-Joint Boot for Splits or Grease Spray
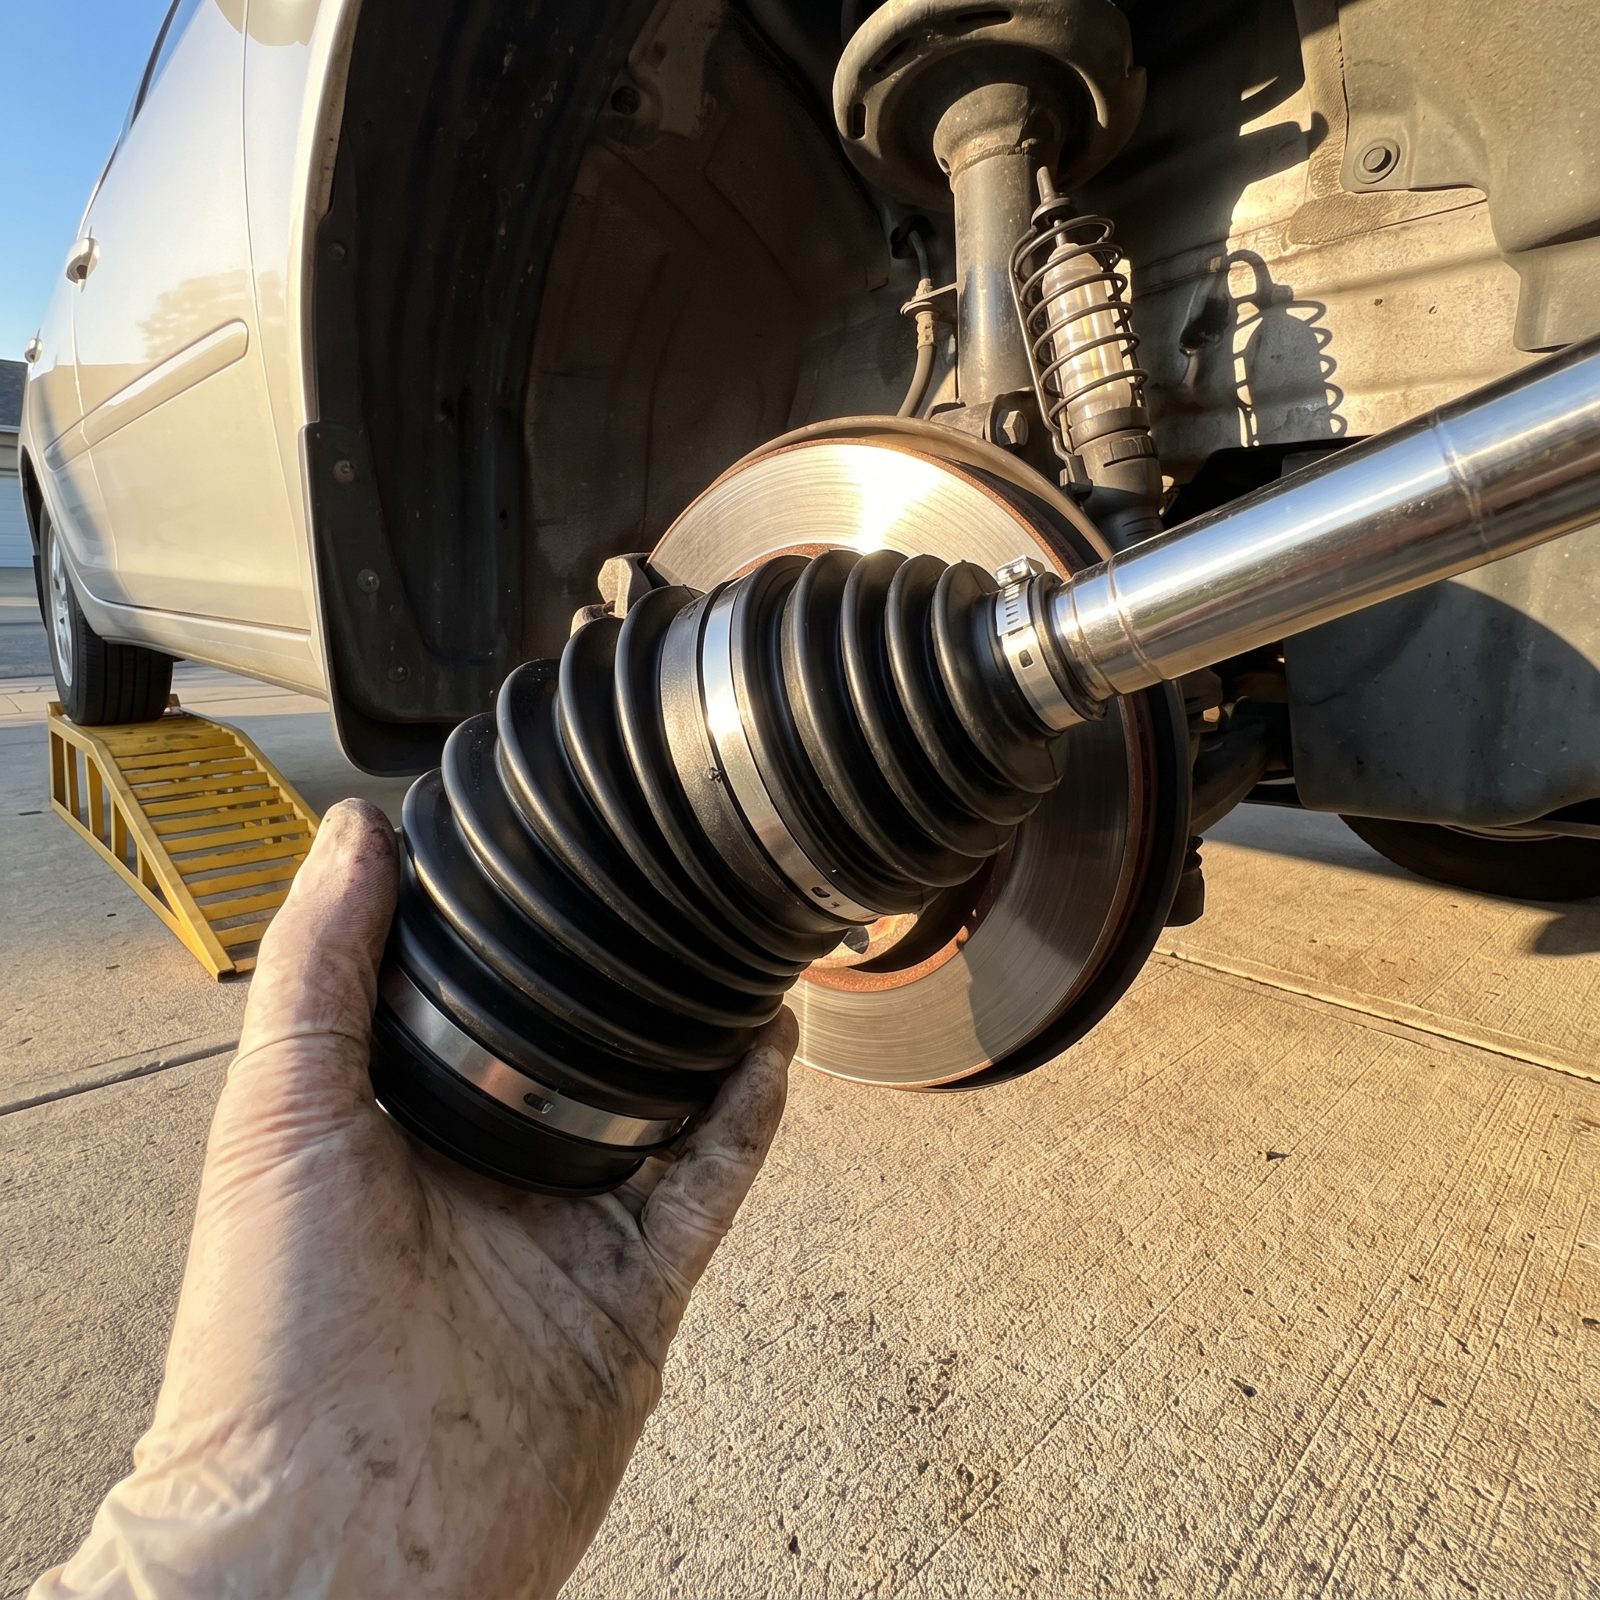
A CV boot is a rubber accordion the size of a soda can, and when it splits, it flings grease in a neat halo across the inside of your wheel. Spot that stripe of dark grease on the inner fender and you’ve caught the problem early, before it turns into a real one.
Once the boot tears, dirt and water get in, the grease gets out, and the joint starts clicking on turns. Then it fails — and on a long trip, it fails somewhere with no parts store for sixty miles.
Turn the wheels to full lock and look. Run a finger into the pleats. A $15 boot and an hour now beats a $200 axle and a tow later.
22. Check Driveshaft U-Joints for Play and Axle Seals for Leaks
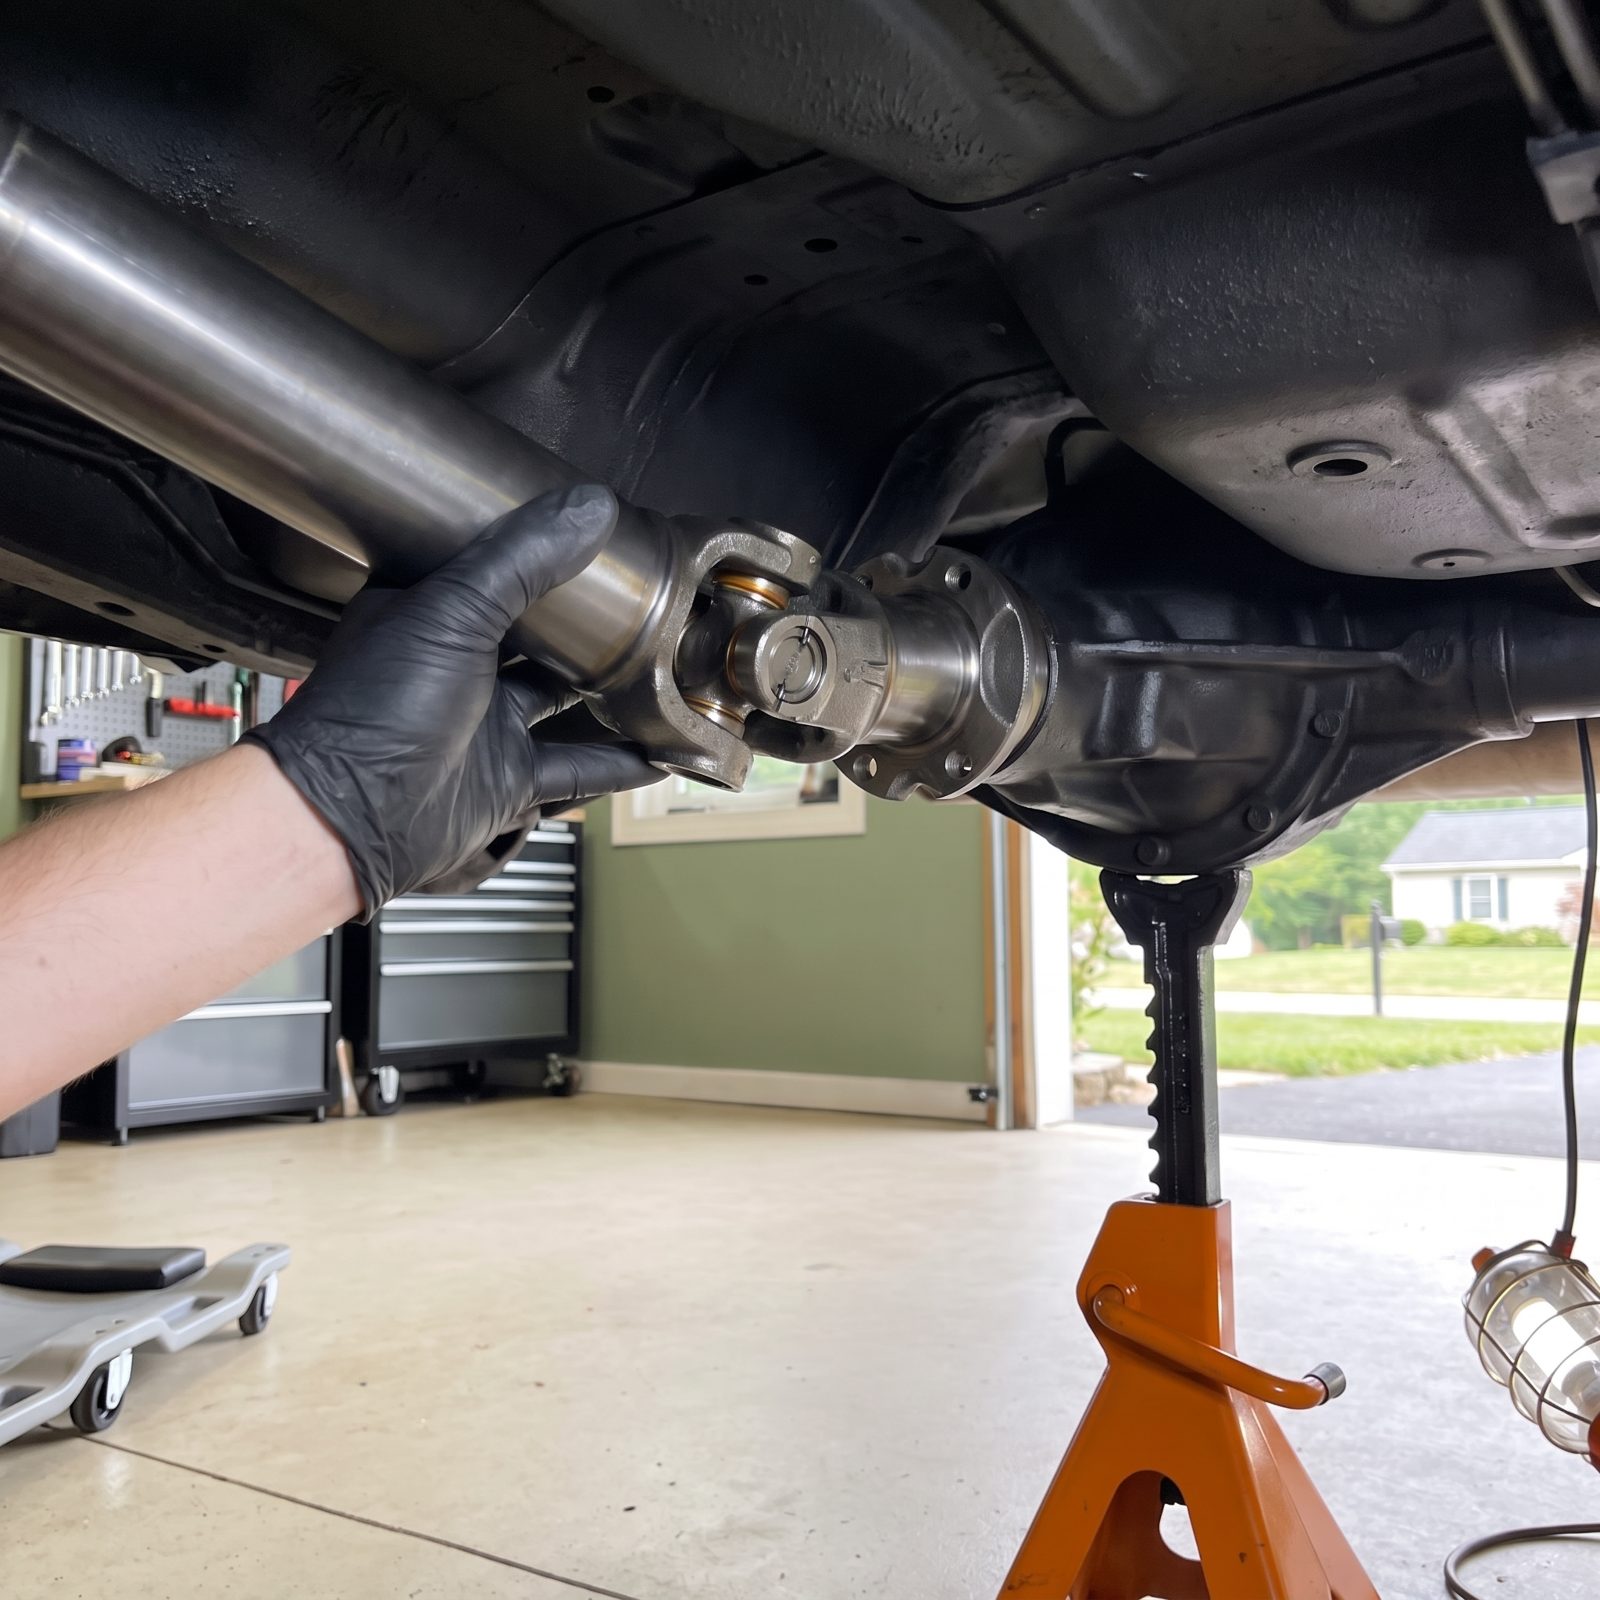
Grab the driveshaft and twist. There should be almost no rotational play before the pinion engages. A worn U-joint lets the shaft wiggle, and that little wiggle becomes a vibration at 55, then a clunk on throttle, then a cap that lets go and drops the shaft on the highway.
While you’re under there, run your eyes along the pinion seal and the axle tubes. Gear oil weeping from a seal means the differential is slowly going dry — and a dry diff on a long haul howls, then seizes.
If the U-joint feels notchy or you see rust-colored dust around the caps, replace it before you load the trunk. Clean seals, tight joints, no drips. Done.
21. Measure Battery Voltage and Perform a Proper Load Test
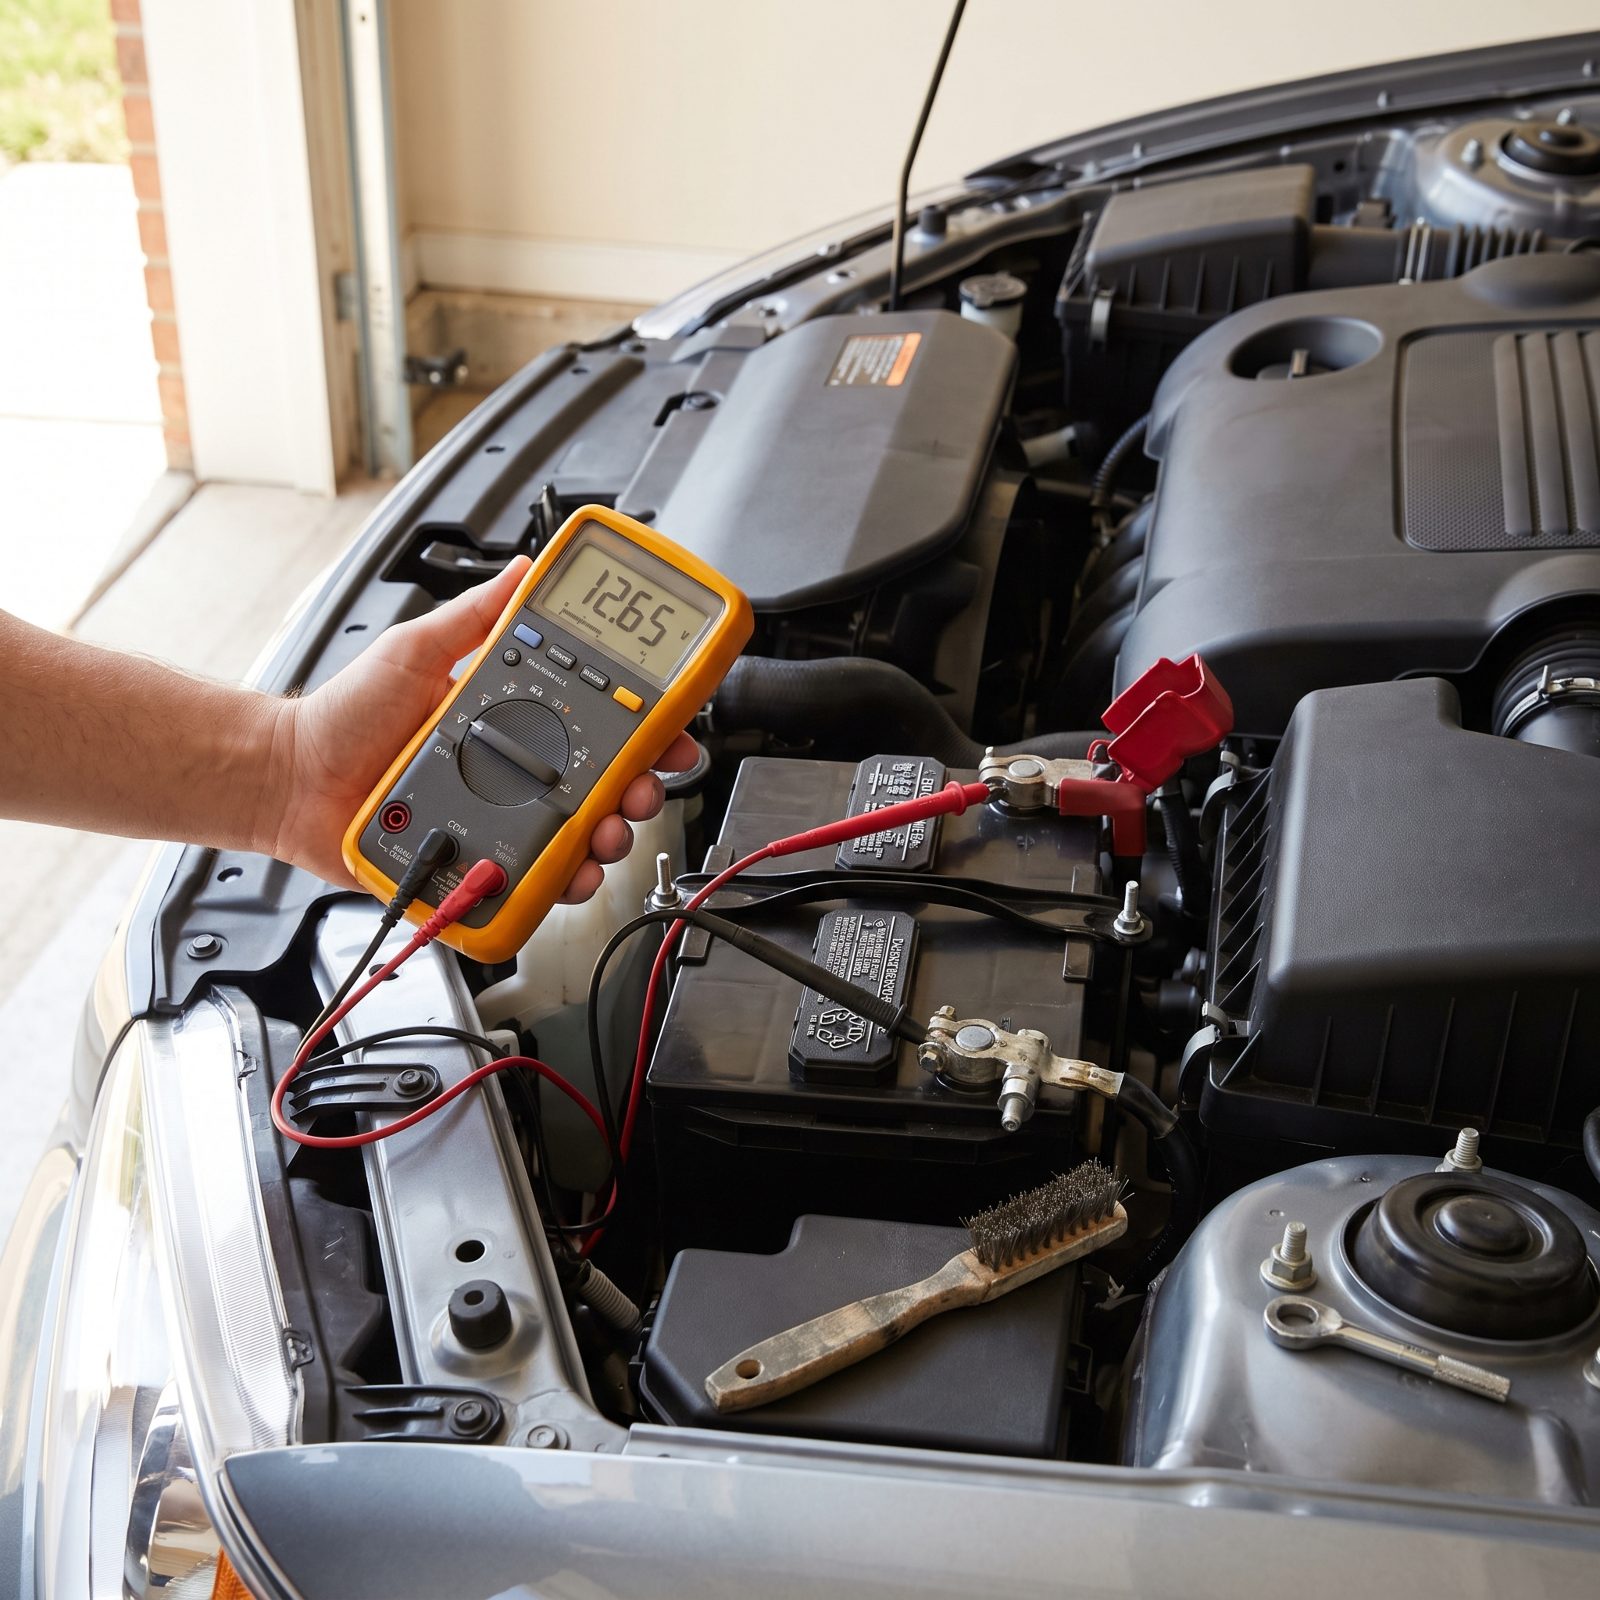
A battery can read 12.6 volts sitting there looking perfectly healthy and still collapse the second you ask it for real current. Surface voltage is a liar. It tells you the charge, not the capacity — and capacity is what actually cranks your car in a cold motel parking lot at six in the morning.
Here’s the honest version: most batteries die without warning because nobody loads them. A proper load test pulls amps and watches whether the voltage holds. Sag below about 9.6 volts under load and the battery’s done, no matter what the resting reading said.
Check resting voltage first — 12.6 or better is good. Then load-test it, either at home with an inexpensive carbon-pile tester or free at any parts counter. A battery past four years old that limps through the test should be replaced before you leave, not after it strands you.
20. Clean and Tighten the Battery Terminals, Hold-Down, and Grounds
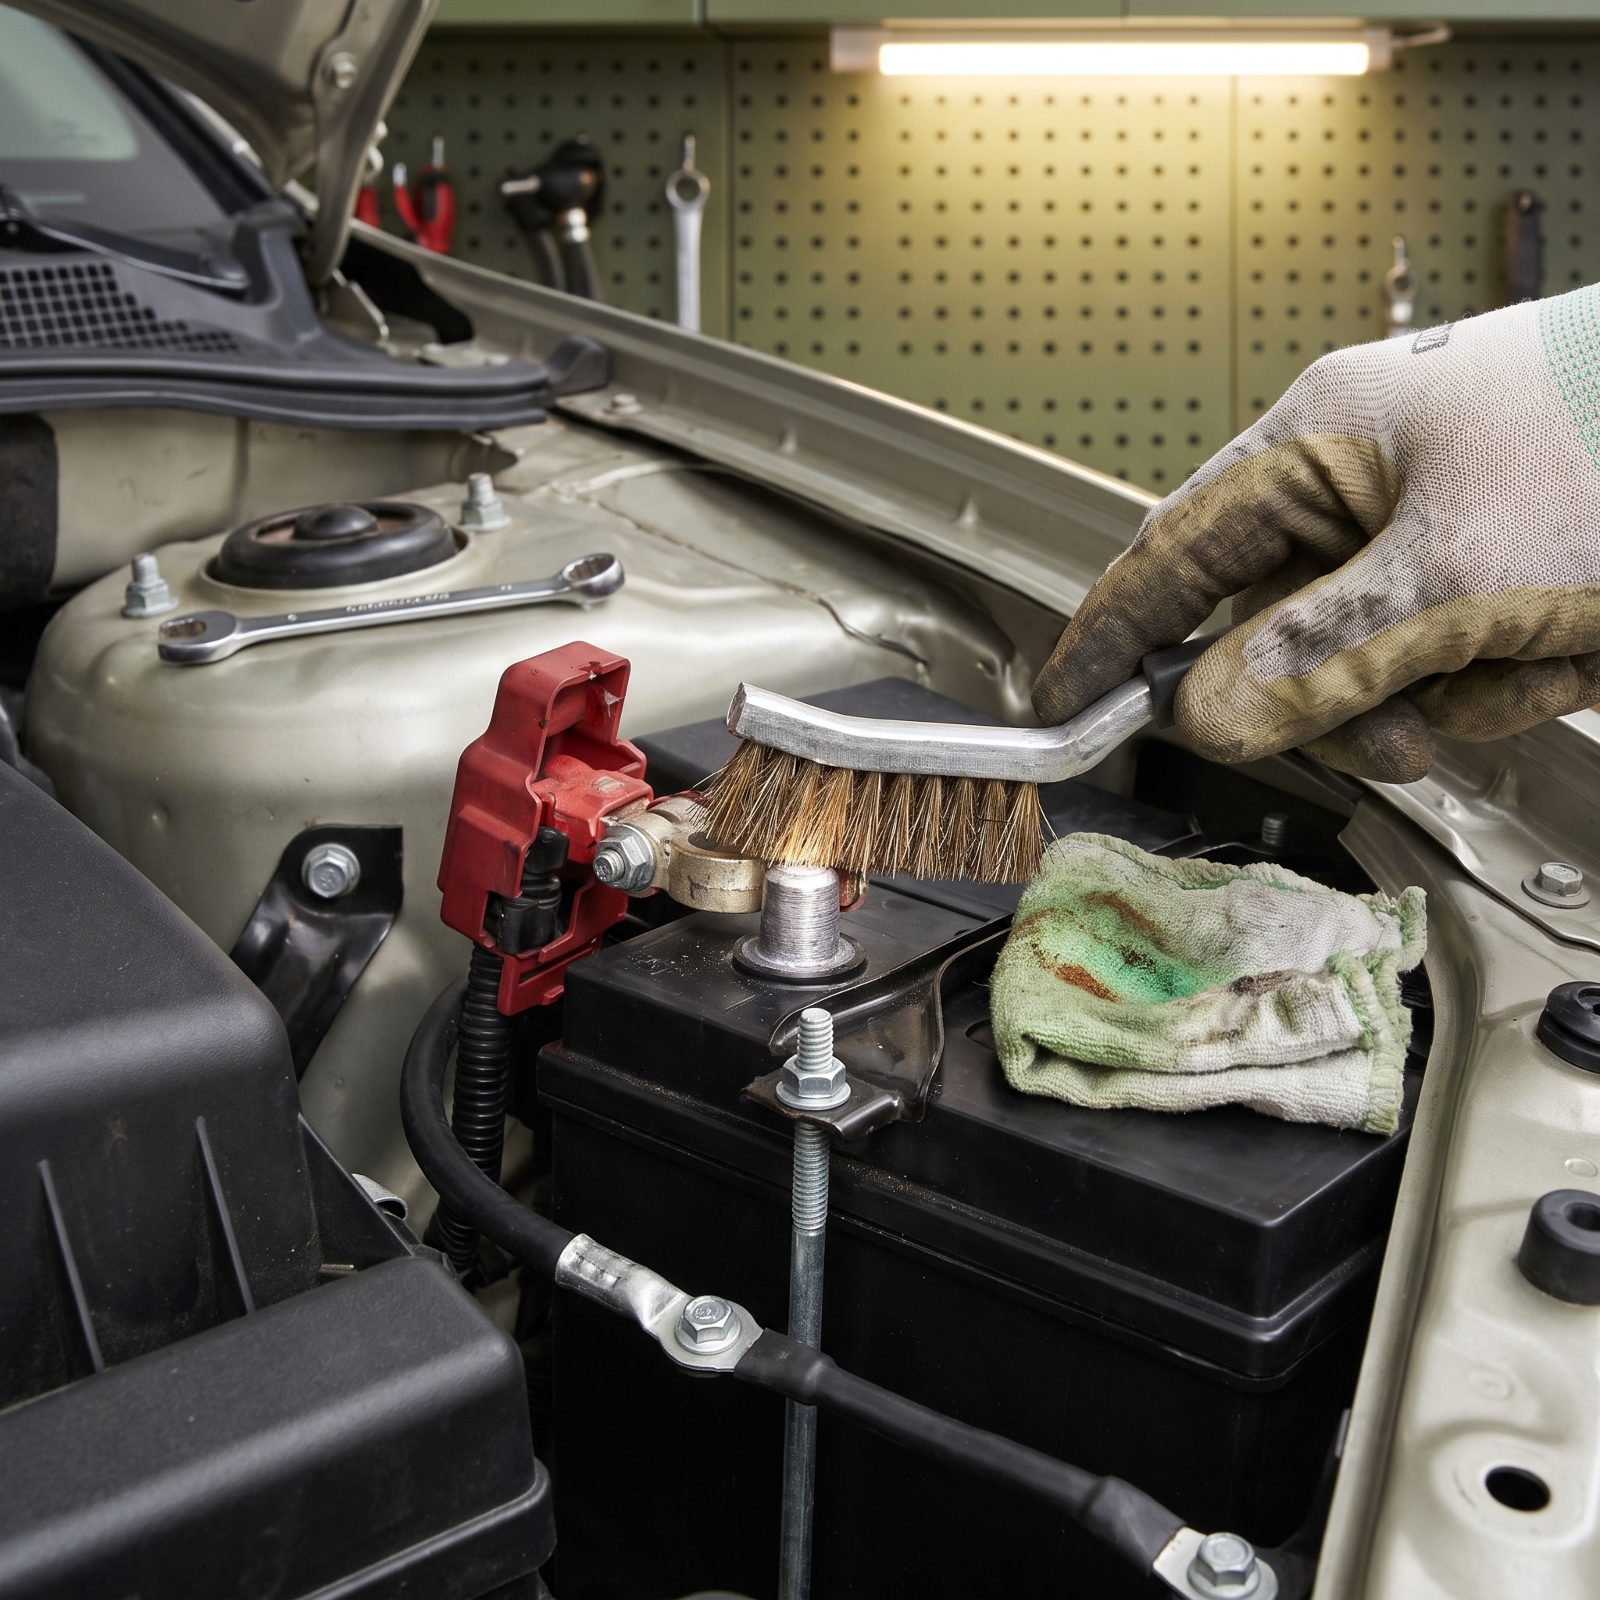
That white and green crust on a battery post isn’t just ugly. It’s resistance, and resistance means your starter gets a weak handshake instead of a firm grip. Loose or crusty terminals cause no-starts, dim lights, and charging faults that chase their own tail for days.
Equally sneaky: a loose battery hold-down. A battery that bounces around cracks its own case and chafes its cables. And a corroded ground strap? That’ll throw gremlins into everything from your gauges to your fuel pump.
Pull the clamps, brush the posts and the clamp interiors bright, then snug everything down. Check the main engine and chassis grounds too — they loosen over the years. A smear of dielectric grease keeps the corrosion from coming back before you hit the on-ramp.
19. Test Alternator Output With Electrical Accessories Running
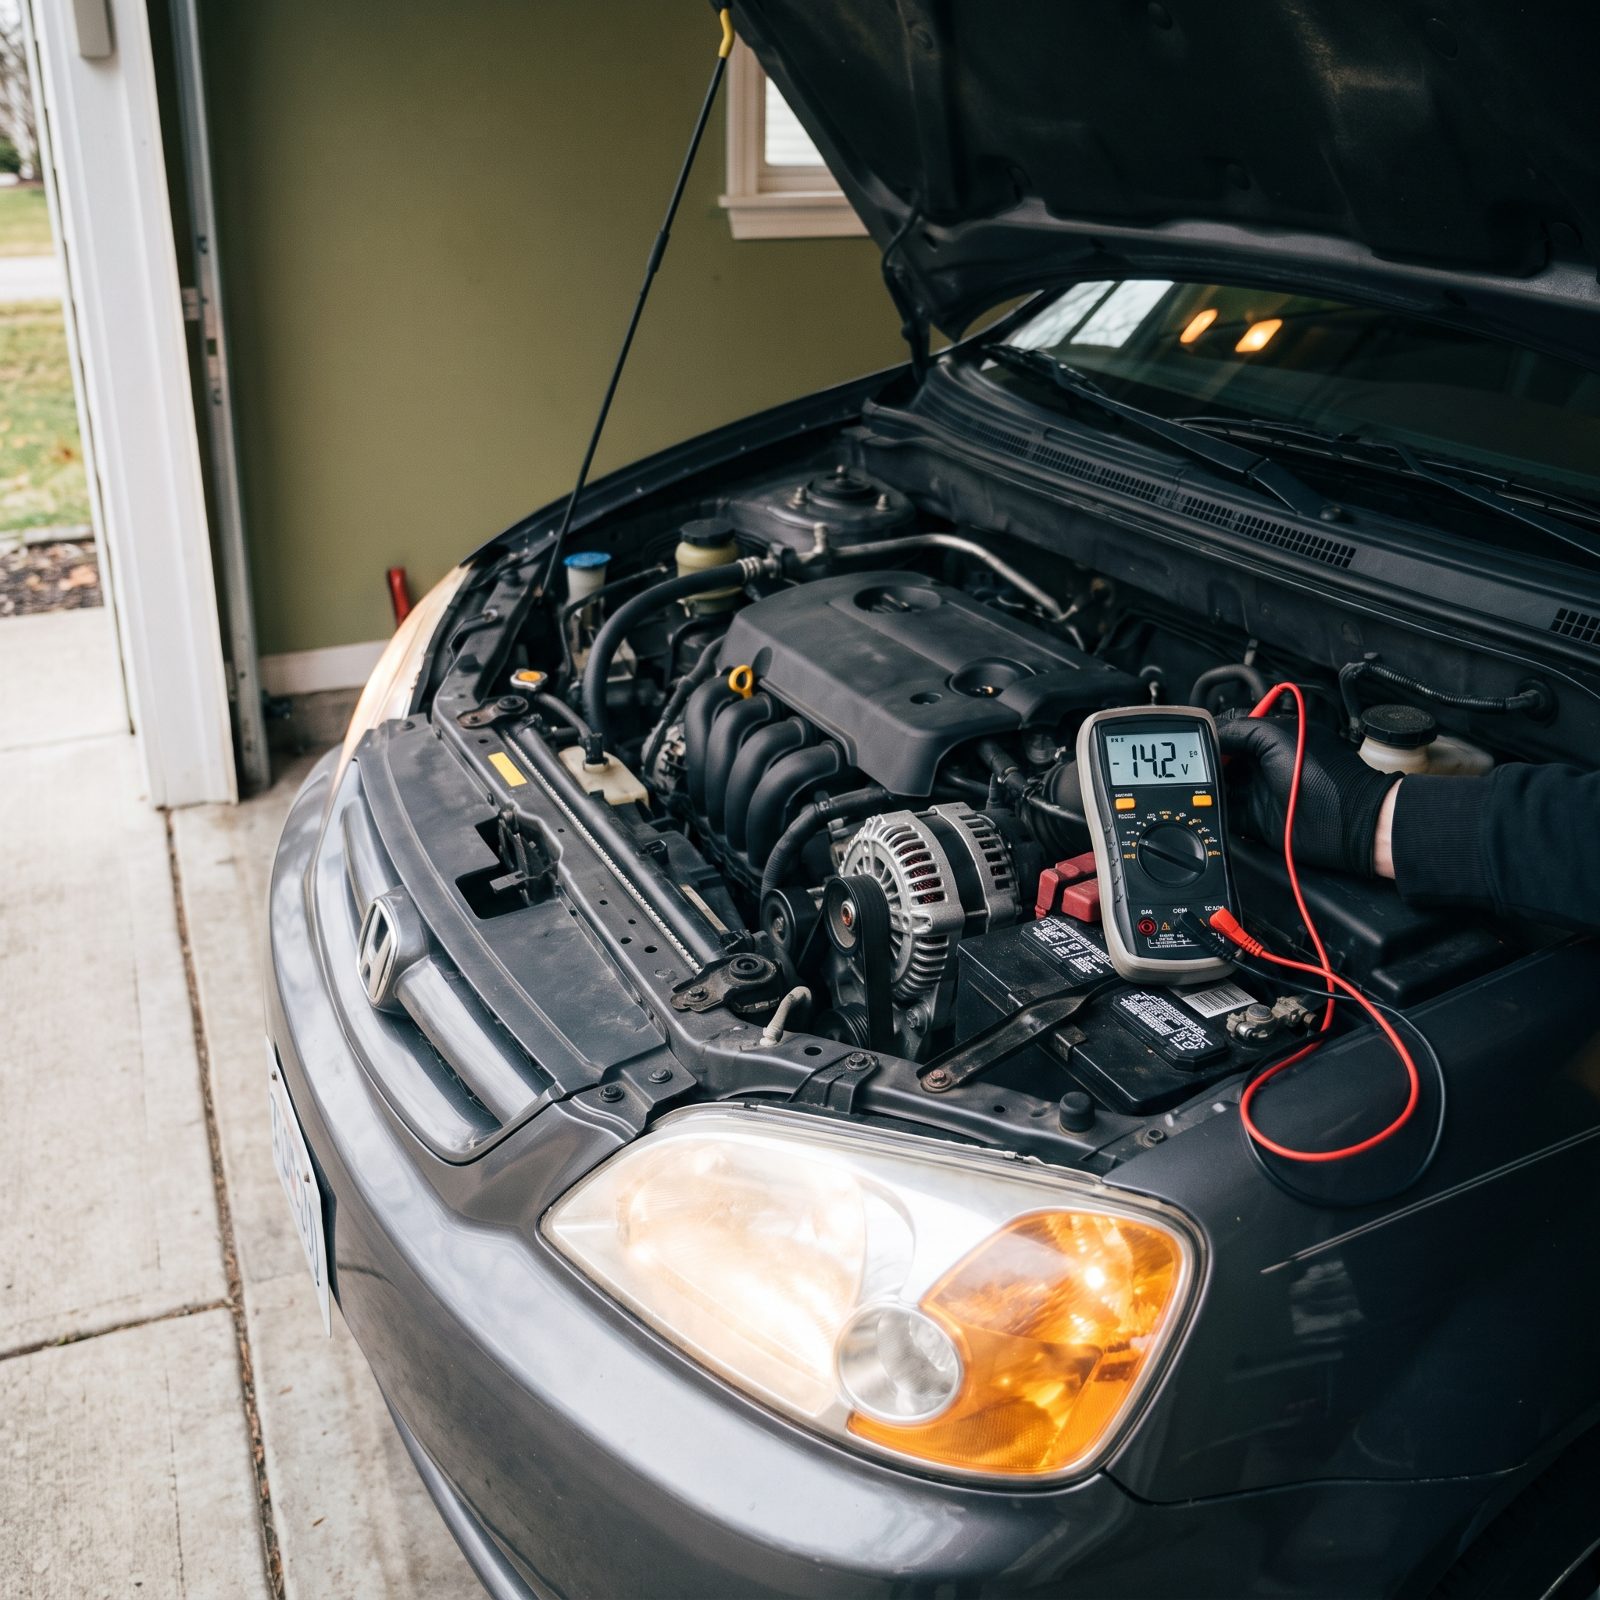
An alternator that charges fine at idle in your quiet garage can still fall flat when you’ve got the headlights, the blower on high, the defroster, and the stereo all pulling at once on a rainy highway at night. That’s the exact condition that leaves you coasting to a dark shoulder.
So test it under load, not at rest. With the engine running, you want to see roughly 13.8 to 14.4 volts at the battery. Now switch on everything electrical and watch. The voltage should barely dip and stay well above 13. Let it sag toward 12 with accessories running and the alternator can’t keep up, which means the battery’s quietly draining every mile you drive.
A weak charging system is a slow leak that only shows itself when you need the car most.
18. Scan for Stored and Pending Diagnostic Trouble Codes

A dark dashboard isn’t the same as a healthy one. Modern cars store trouble codes and set pending ones long before a warning light ever glows. A pending code is the car clearing its throat, telling you something’s drifting out of spec that hasn’t failed yet.
Why bother if nothing’s wrong? Because a pending misfire code or an evap leak that hasn’t tripped the light will absolutely become a lit check-engine light somewhere around hour six of your drive — usually in a canyon with no signal.
Plug a cheap OBD-II reader into the port under the dash. Pull stored codes, pending codes, and check your readiness monitors. Clear nothing until you understand it. A clean scan the day before you leave is the closest thing to peace of mind that fifteen dollars of plastic can buy.
17. Sniff and Inspect Fuel Lines and Connections for Leaks
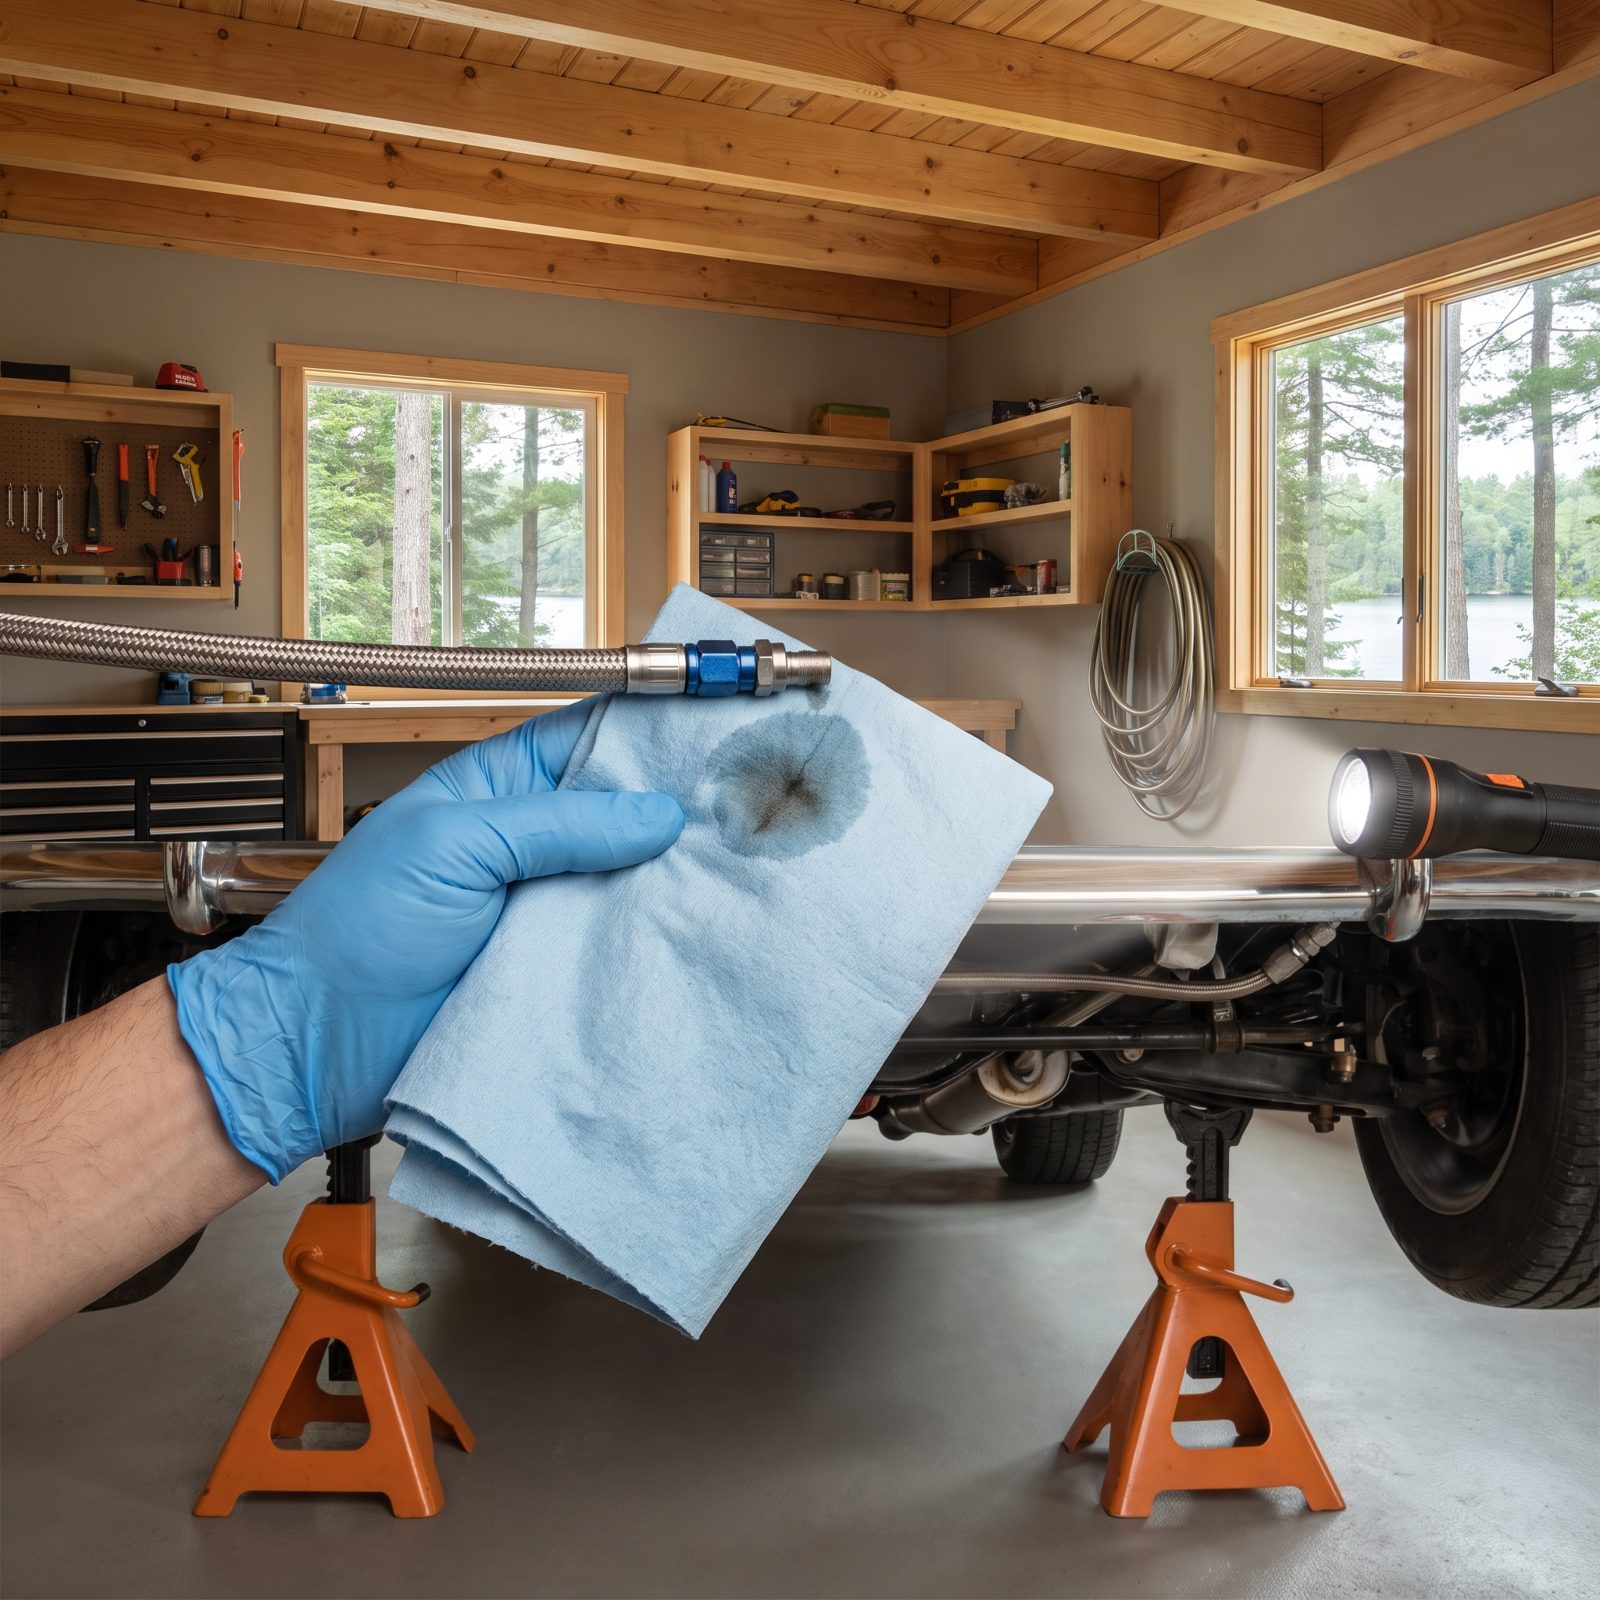
Your nose beats most tools at finding a fuel leak. A faint gas smell in a closed garage the morning after the car sat is never nothing. It’s a weeping injector seal, a cracked rubber section, or a quick-connect that’s lost its grip — and under a pressurized rail on a hot highway, a small seep can turn into a spray.
Fuel, heat, and wind. That’s not a combination you gamble on three hundred miles from home.
With the engine off and cool, trace every line you can reach. Wipe the fittings with a pale rag and look for damp spots or that telltale smell. Check the hard lines for surface rust and the rubber sections for cracks where they flex. Any wetness, any odor, fix it before the trip. No exceptions on this one.
16. Hold the Engine Air Filter Up to the Light
Would you like to save this?
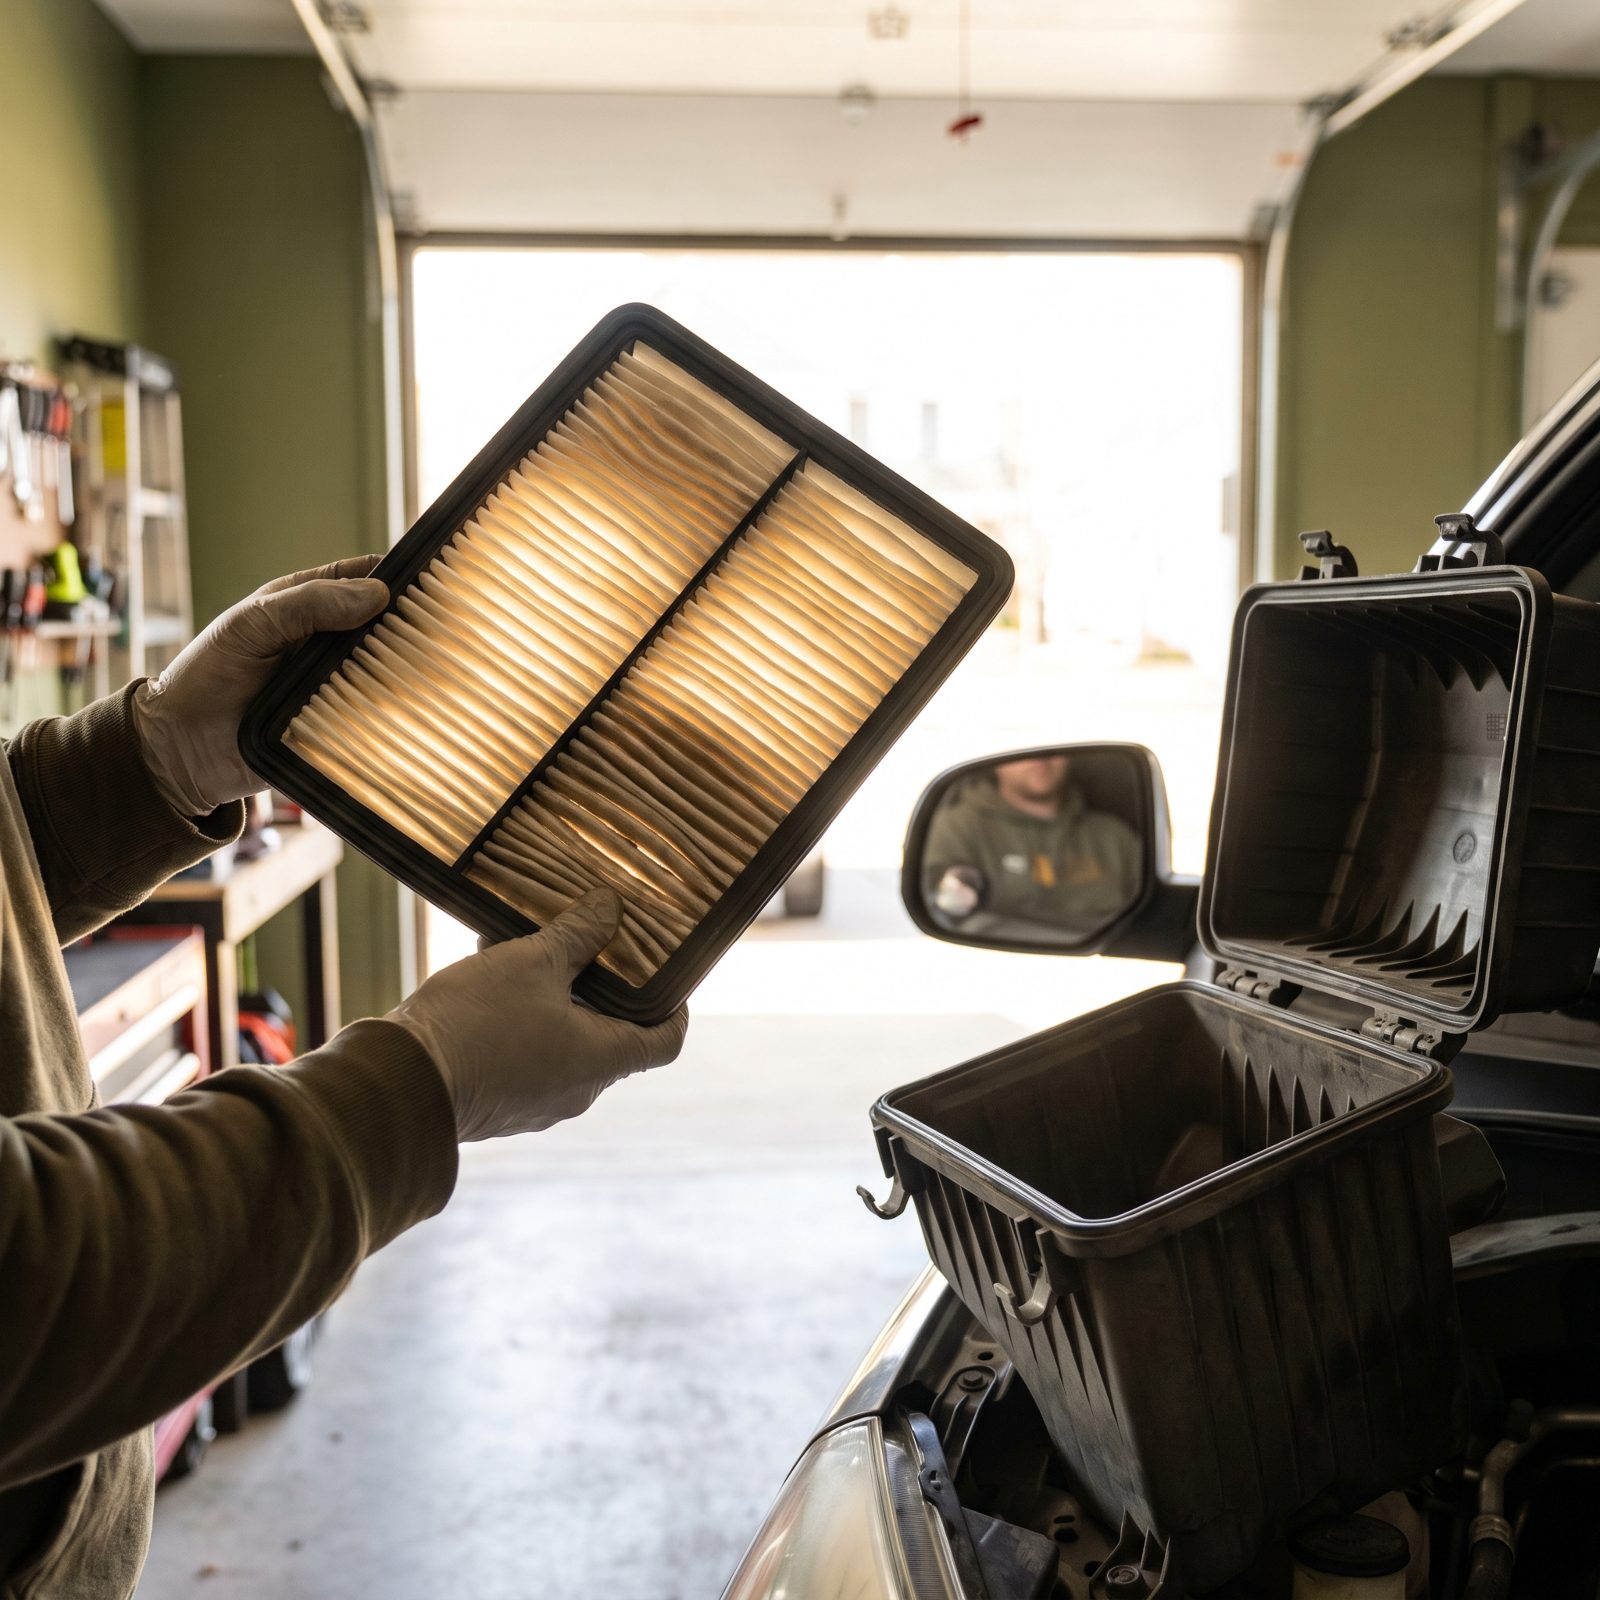
Here’s a trick older than fuel injection: pop the airbox, pull the filter, and hold it up to the sun. Light glows through the pleats? It’s breathing. Packed dark with road grit and the carcasses of a thousand highway bugs? Your engine’s been sucking air through a pillow.
A clogged filter chokes power and sinks your mileage, and on a loaded car climbing a grade in summer heat, it makes the engine work harder than it should for every single mile.
You don’t always need a new one. A lightly dusty filter can take a gentle tap against your palm to knock the loose dirt out. But if it’s genuinely dark and you can’t see daylight through it, swap it. A clean filter is five bucks of breathing room right when the car needs it most.
15. Inspect the Air-Intake Duct for Splits and Loose Clamps
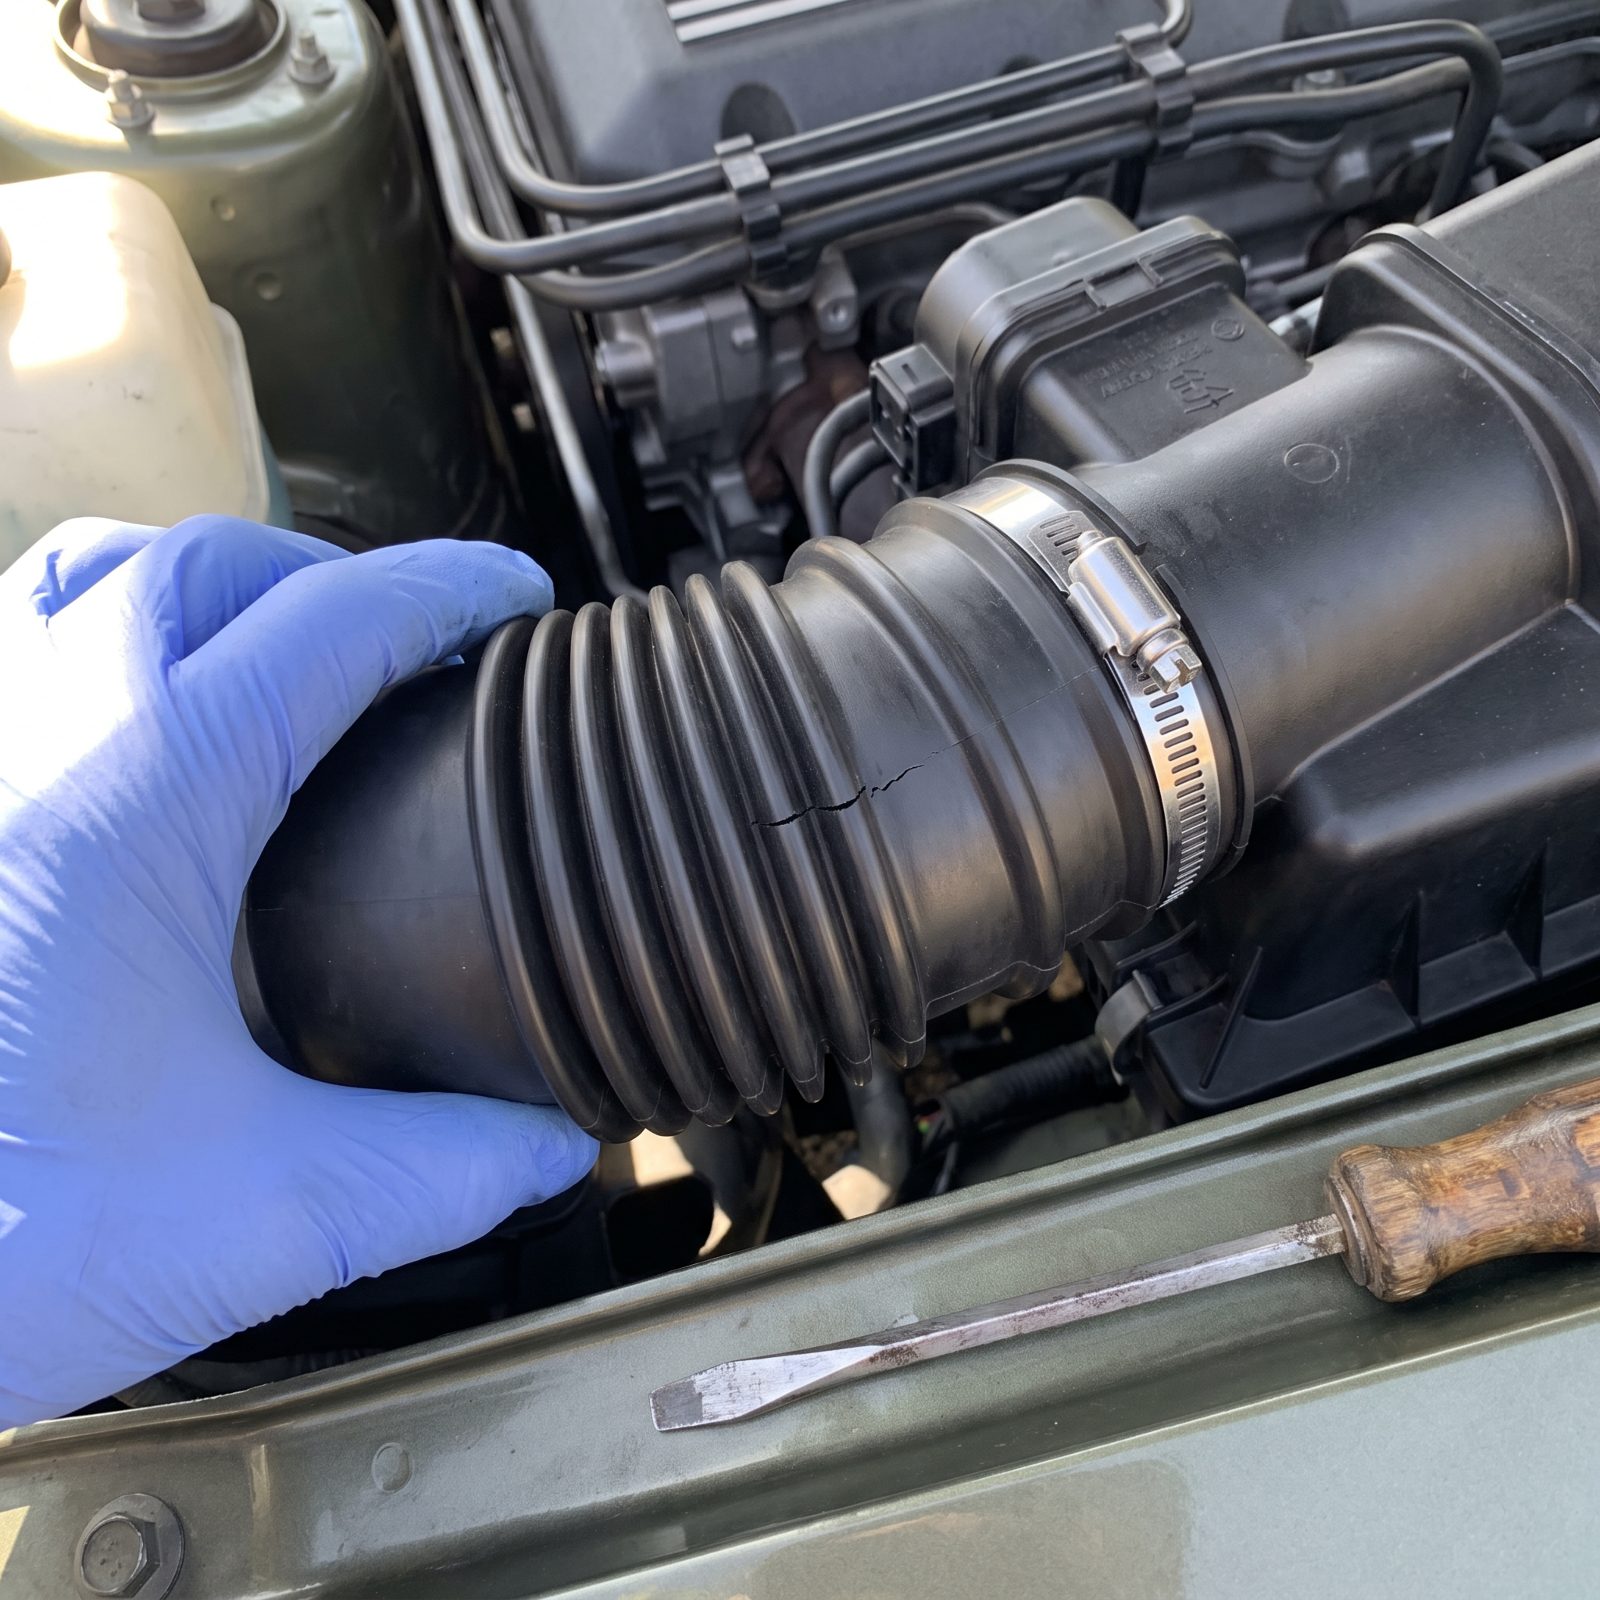
The accordion duct between your airbox and throttle body spends its whole life flexing with every engine movement, and after years of heat cycles the rubber goes brittle and cracks right at the folds. A split there lets unmetered, dirty air sneak in past the filter and the airflow sensor.
That throws the fuel mixture off, sets lean codes, makes the idle hunt, and dumps dust straight into the intake — all the quiet symptoms that make a trip miserable without ever quite breaking down.
Flex the duct gently along its length and look into the pleats for cracks. Pinch the clamps at each end; the ones at the airbox and the throttle body love to work loose. A cracked duct is a cheap part. A loose clamp is a free fix with a screwdriver. Either one, handled tonight, is one less thing talking to you from under the hood at 70.
14. Fill the Washer Reservoir and Test the Wipers and Nozzles
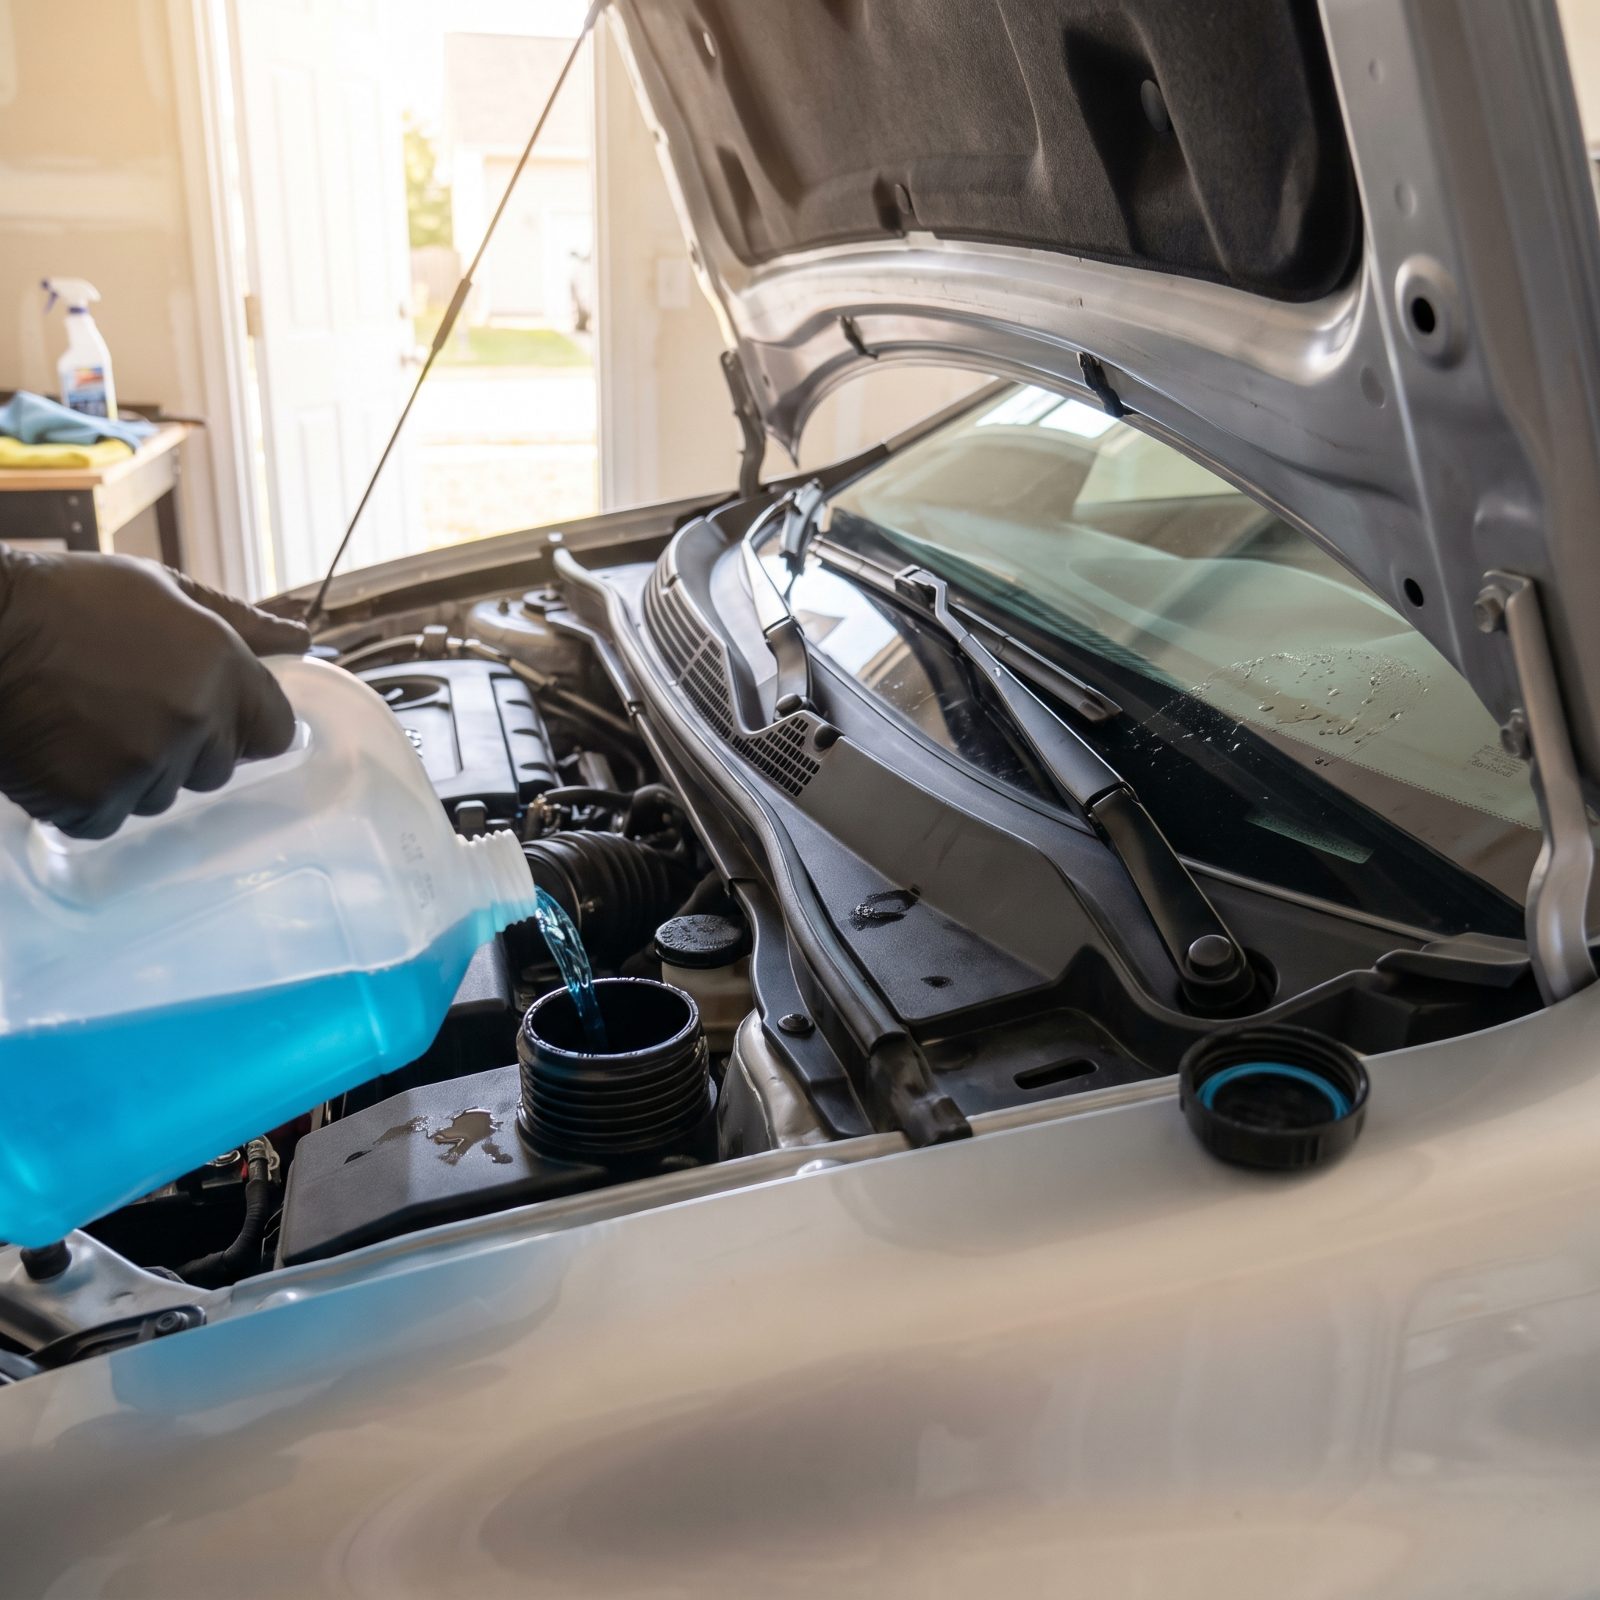
An empty washer tank is the thing you forget until a bug storm hits you at 70 on a two-lane in Kansas, and suddenly the glass is a yellow smear, the sun’s low, and you’re squinting through the one clean arc your thumb can wipe from inside. Not fun. Not safe either.
Fill the reservoir to the top with proper washer fluid, never plain water, which freezes, grows algae come summer, and does nothing to cut road film. Run the wipers across dry glass once and watch for streaking or chatter. Blades older than a year go hard and skip, so swap them for a fresh set of beam-style blades that clear better in a crosswind. Last, trigger the spray and confirm both nozzles hit high on the glass. A clogged jet? Clears with a sewing pin.
13. Inspect Windshield Chips Before Heat and Vibration Spread Them
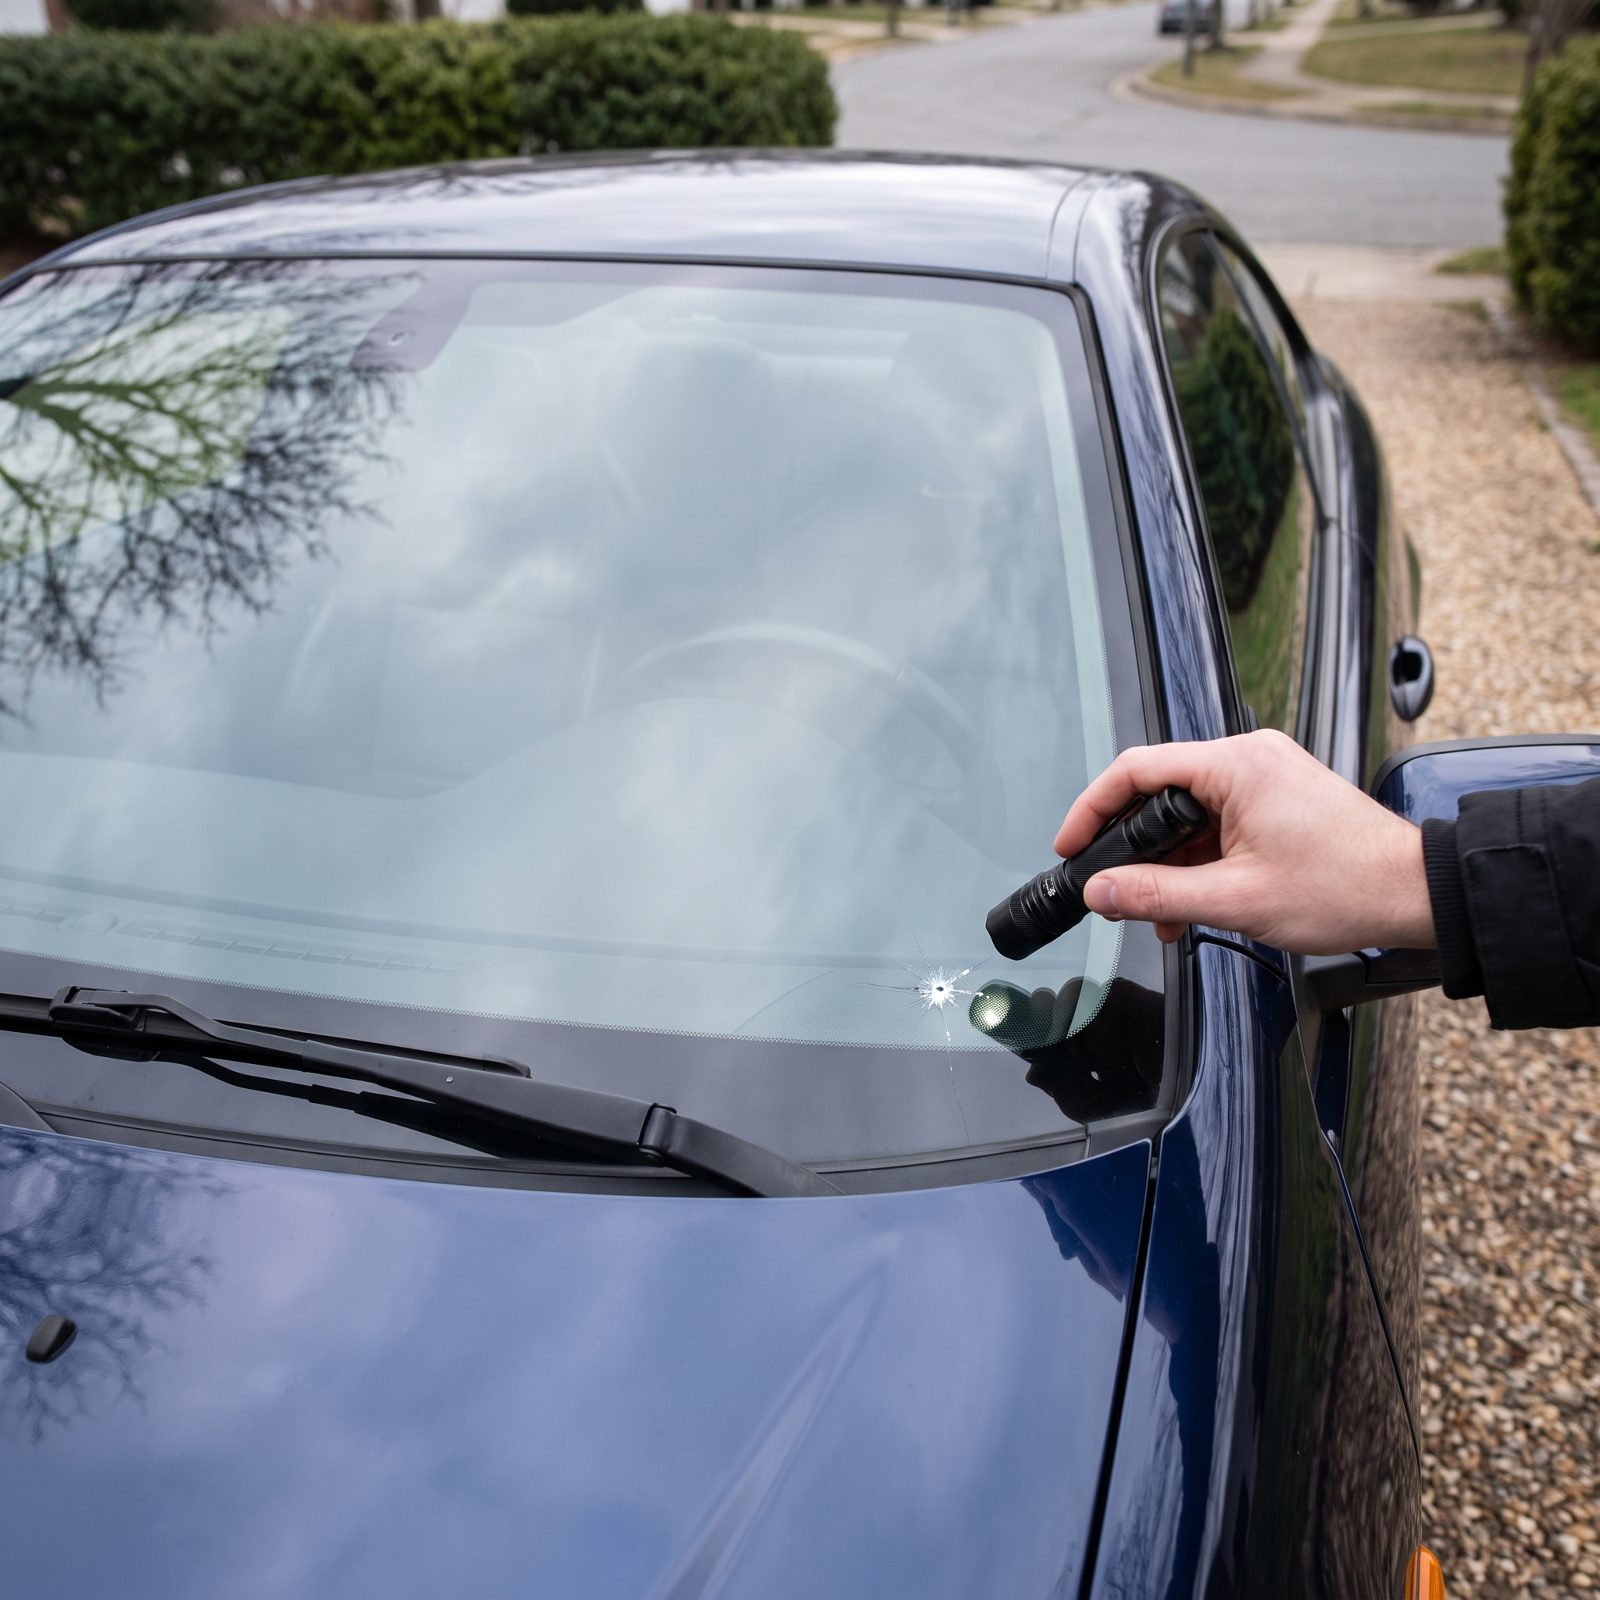
A chip the size of a pencil eraser is a repair. That same chip after six hours of highway vibration and a hot afternoon sun is a crack running clean across your field of view, and now you’re buying a whole windshield.
Laminated glass fails at the stress points. Heat expands it, cold contracts it, and every expansion joint you thud over works the chip like somebody tapping a nail. A long trip is the worst possible time to find out.
So catch it before you leave. A resin repair kit runs cheap and takes twenty minutes in the driveway, or a glass shop fills it for the cost of a tank of gas. Do it while the chip is still clean and dry, because dirt and moisture inside the break make the resin bond poorly. Clean glass heading into a trip beats a cracked one 300 miles from home.
12. Test Headlights, Taillights, Brake Lights, and Turn Signals
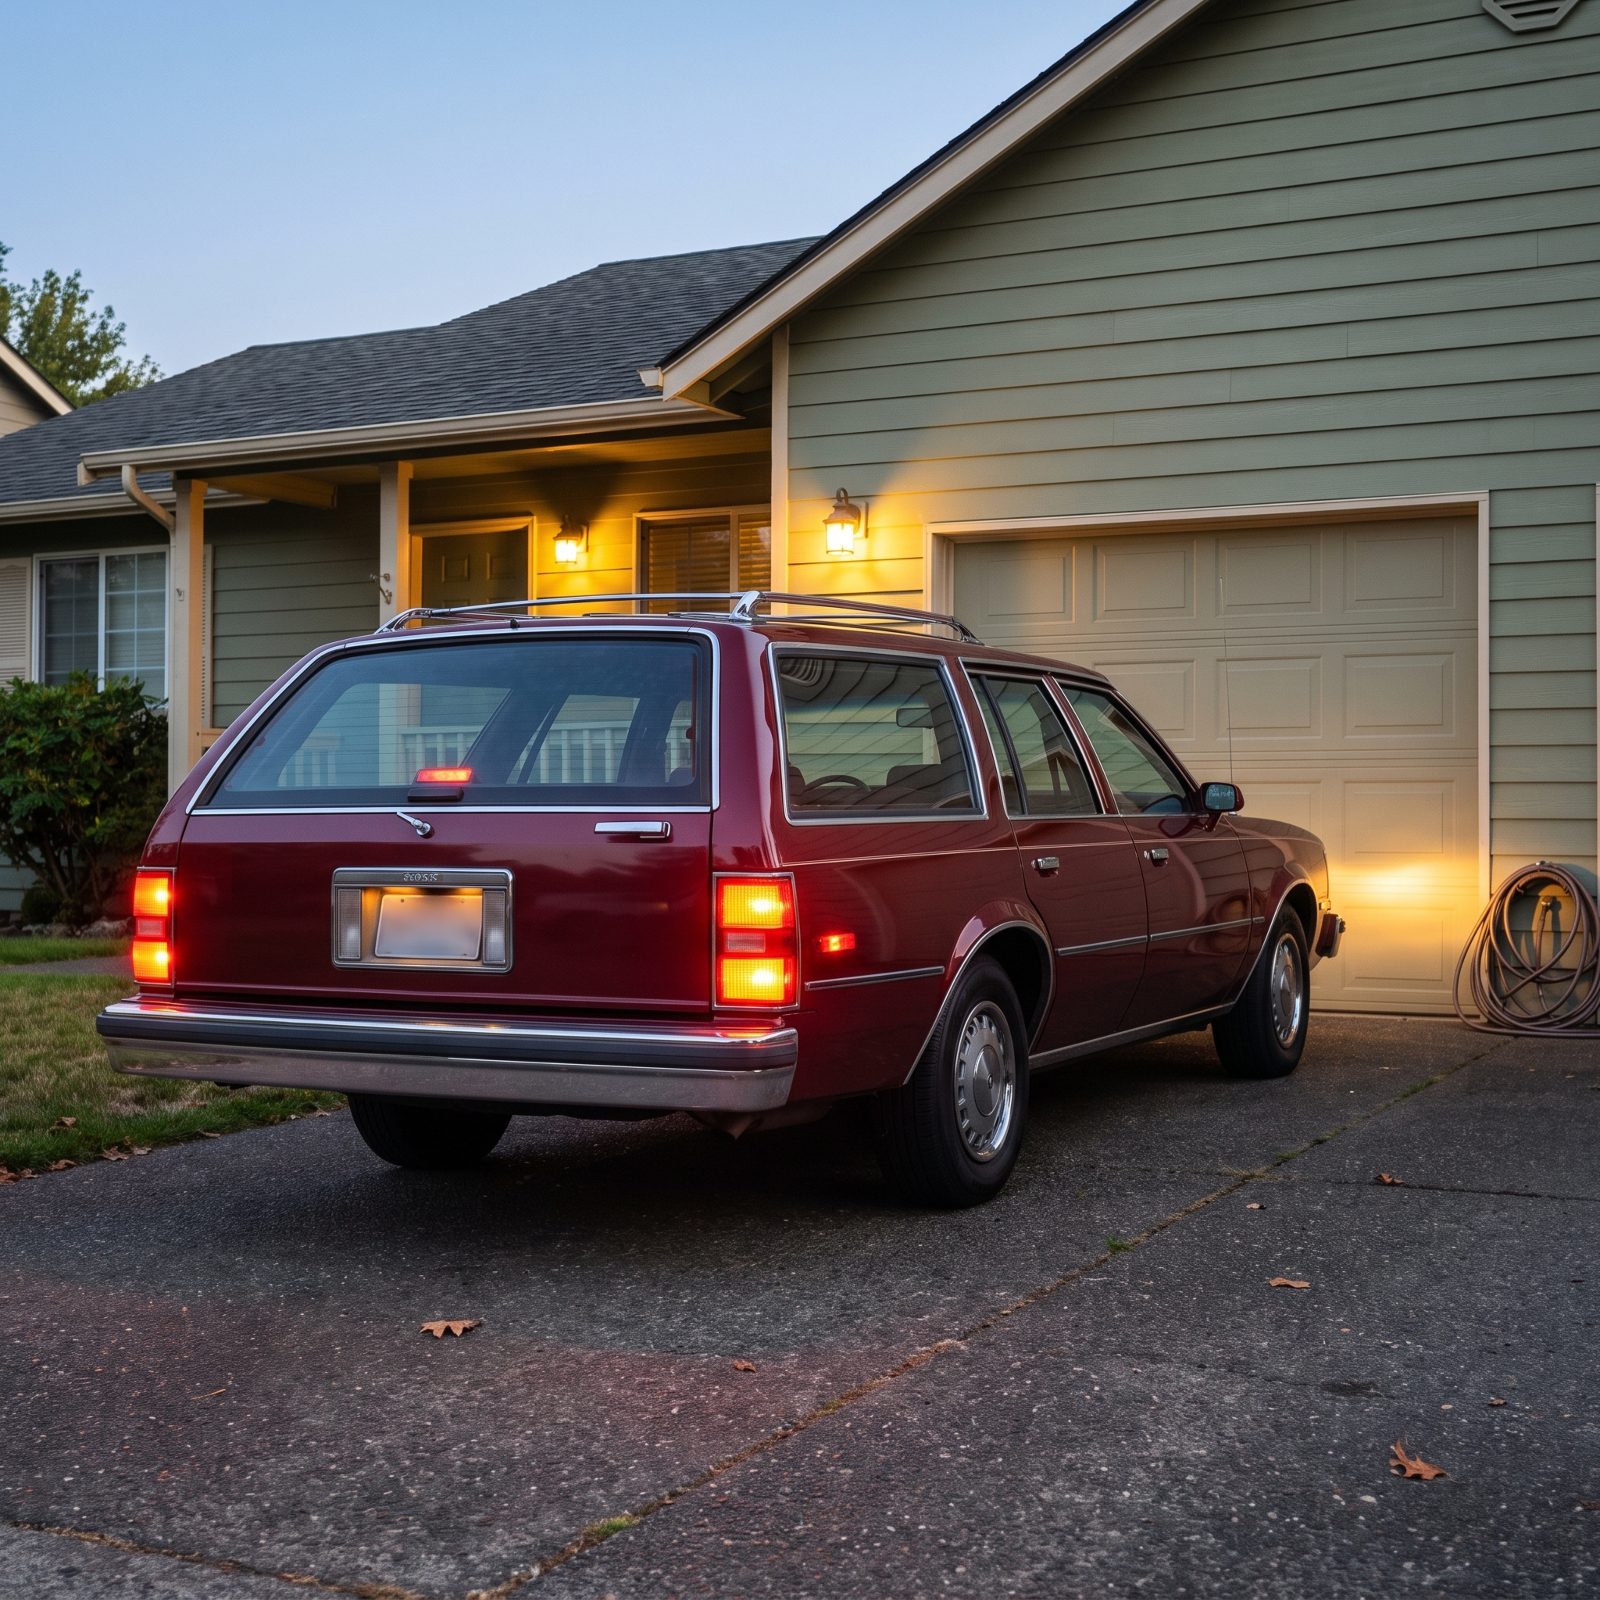
You can’t see your own brake lights. That’s the whole problem. A dead bulb back there and you’ll never know until someone leans on the horn or, worse, taps your bumper because they got no warning you were stopping.
Walk the whole car. Have a friend press the brake while you check each lamp, then run through the turn signals, the hazards, the headlights and high beams, and finally reverse. No helper? Back up to a garage door or a storefront window after dark and read the reflections. A single burned filament is a two-dollar bulb and five minutes of your life. A fast-blinking turn signal usually means one bulb on that side has already given up.
11. Pull Every Seat Belt Out Fully and Test Its Latch

Pull each belt all the way out, slow and steady, then let it retract. You’re feeling for a smooth draw with no stutter and a retractor that pulls the slack back in snug. A belt that hangs limp or won’t spool back has a tired spring. A belt that locks up on a gentle pull has grit in the mechanism.
Then click the tongue into the buckle. It should seat with a firm snap and release clean on the button. A lazy latch that pops loose over a bump is doing exactly nothing in a crash.
This is the one check nobody does and everybody should. A long trip means hours of your family riding in those belts, so spend two minutes per seat. Grit in the webbing slot wipes out with a cloth and a little mild soap. Nothing fancier.
10. Confirm the Windshield Defroster Clears Glass Quickly

Road trips start early and end late, and that means fog on the glass. Pull out of a motel lot into a cold morning with a slow defroster and you’re driving blind for the first mile, reaching for the windshield with your sleeve.
Start the engine cold, set the defroster to high, and time how fast the lower windshield clears. A healthy system opens a clear band within a minute or two. Slow clearing points to a weak blower, a clogged cabin filter, or an A/C compressor that isn’t kicking in to pull moisture from the air.
Swap a dirty cabin air filter, usually tucked behind the glovebox and cheaper than lunch. And run the A/C even in winter defrost mode, since dry air clears fog far faster than warm humid air alone. Verify it blows cold on command before you trust it to a dark windshield at dawn.
9. Inspect Shocks and Struts for Leakage and Weak Damping
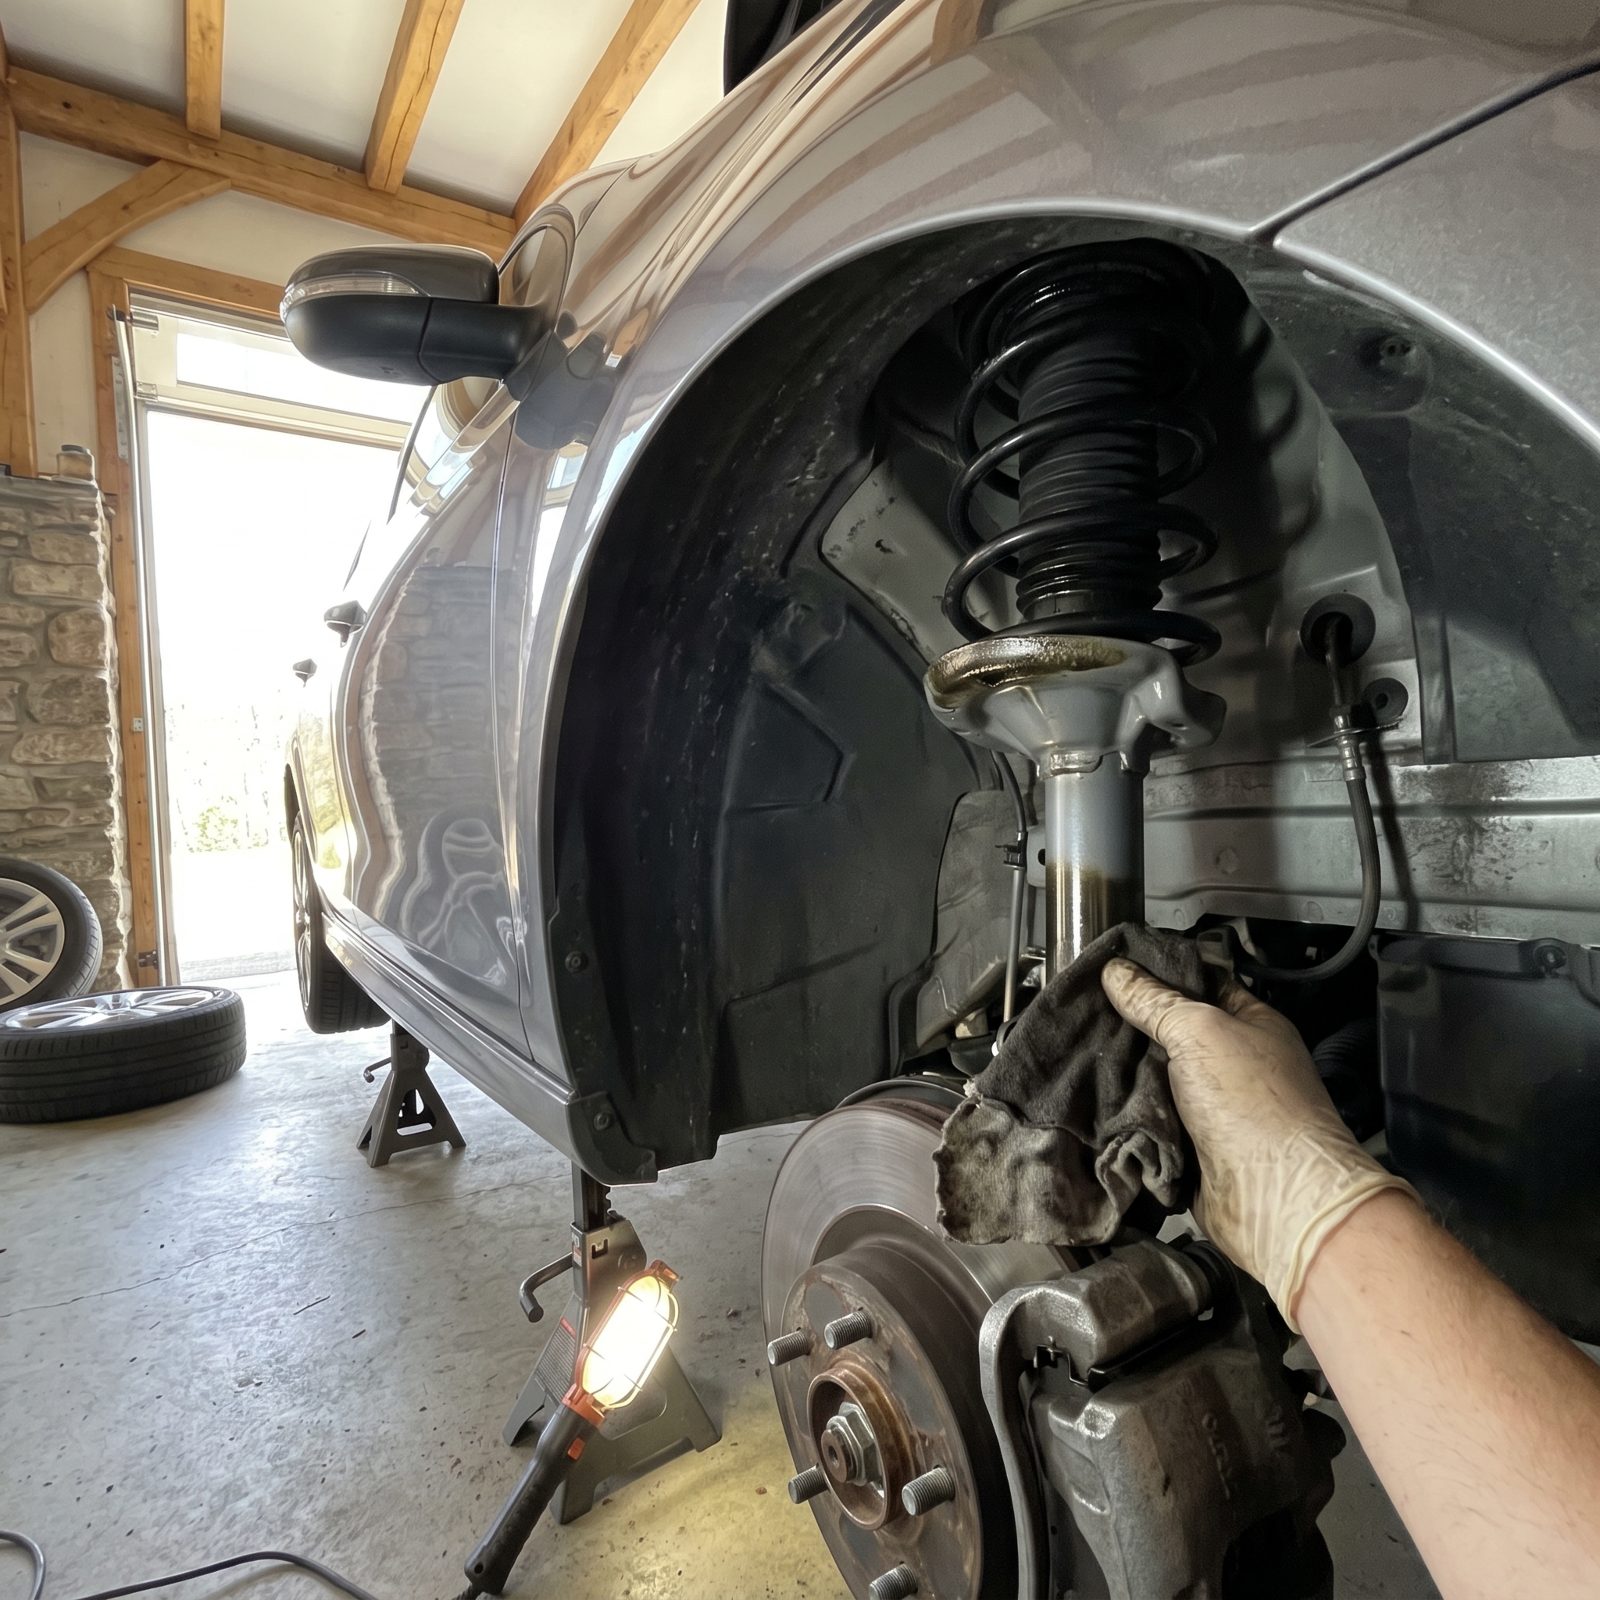
Worn shocks don’t announce themselves. The car still drives, still stops, still turns. But it floats over dips, dives hard under braking, and keeps bouncing after a bump like a waterbed. On a long trip with a loaded car, that softness turns into wander and a tired, unsettled ride for 500 miles.
Look for oil streaking down the shock body or strut shaft, a sure sign of a blown seal with the damping already gone. Push down hard on each corner and let go. The car should settle in one motion, maybe one and a half. Three or four rebounds means the shock’s spent.
8. Check Ball Joints and Tie-Rod Ends for Excessive Play
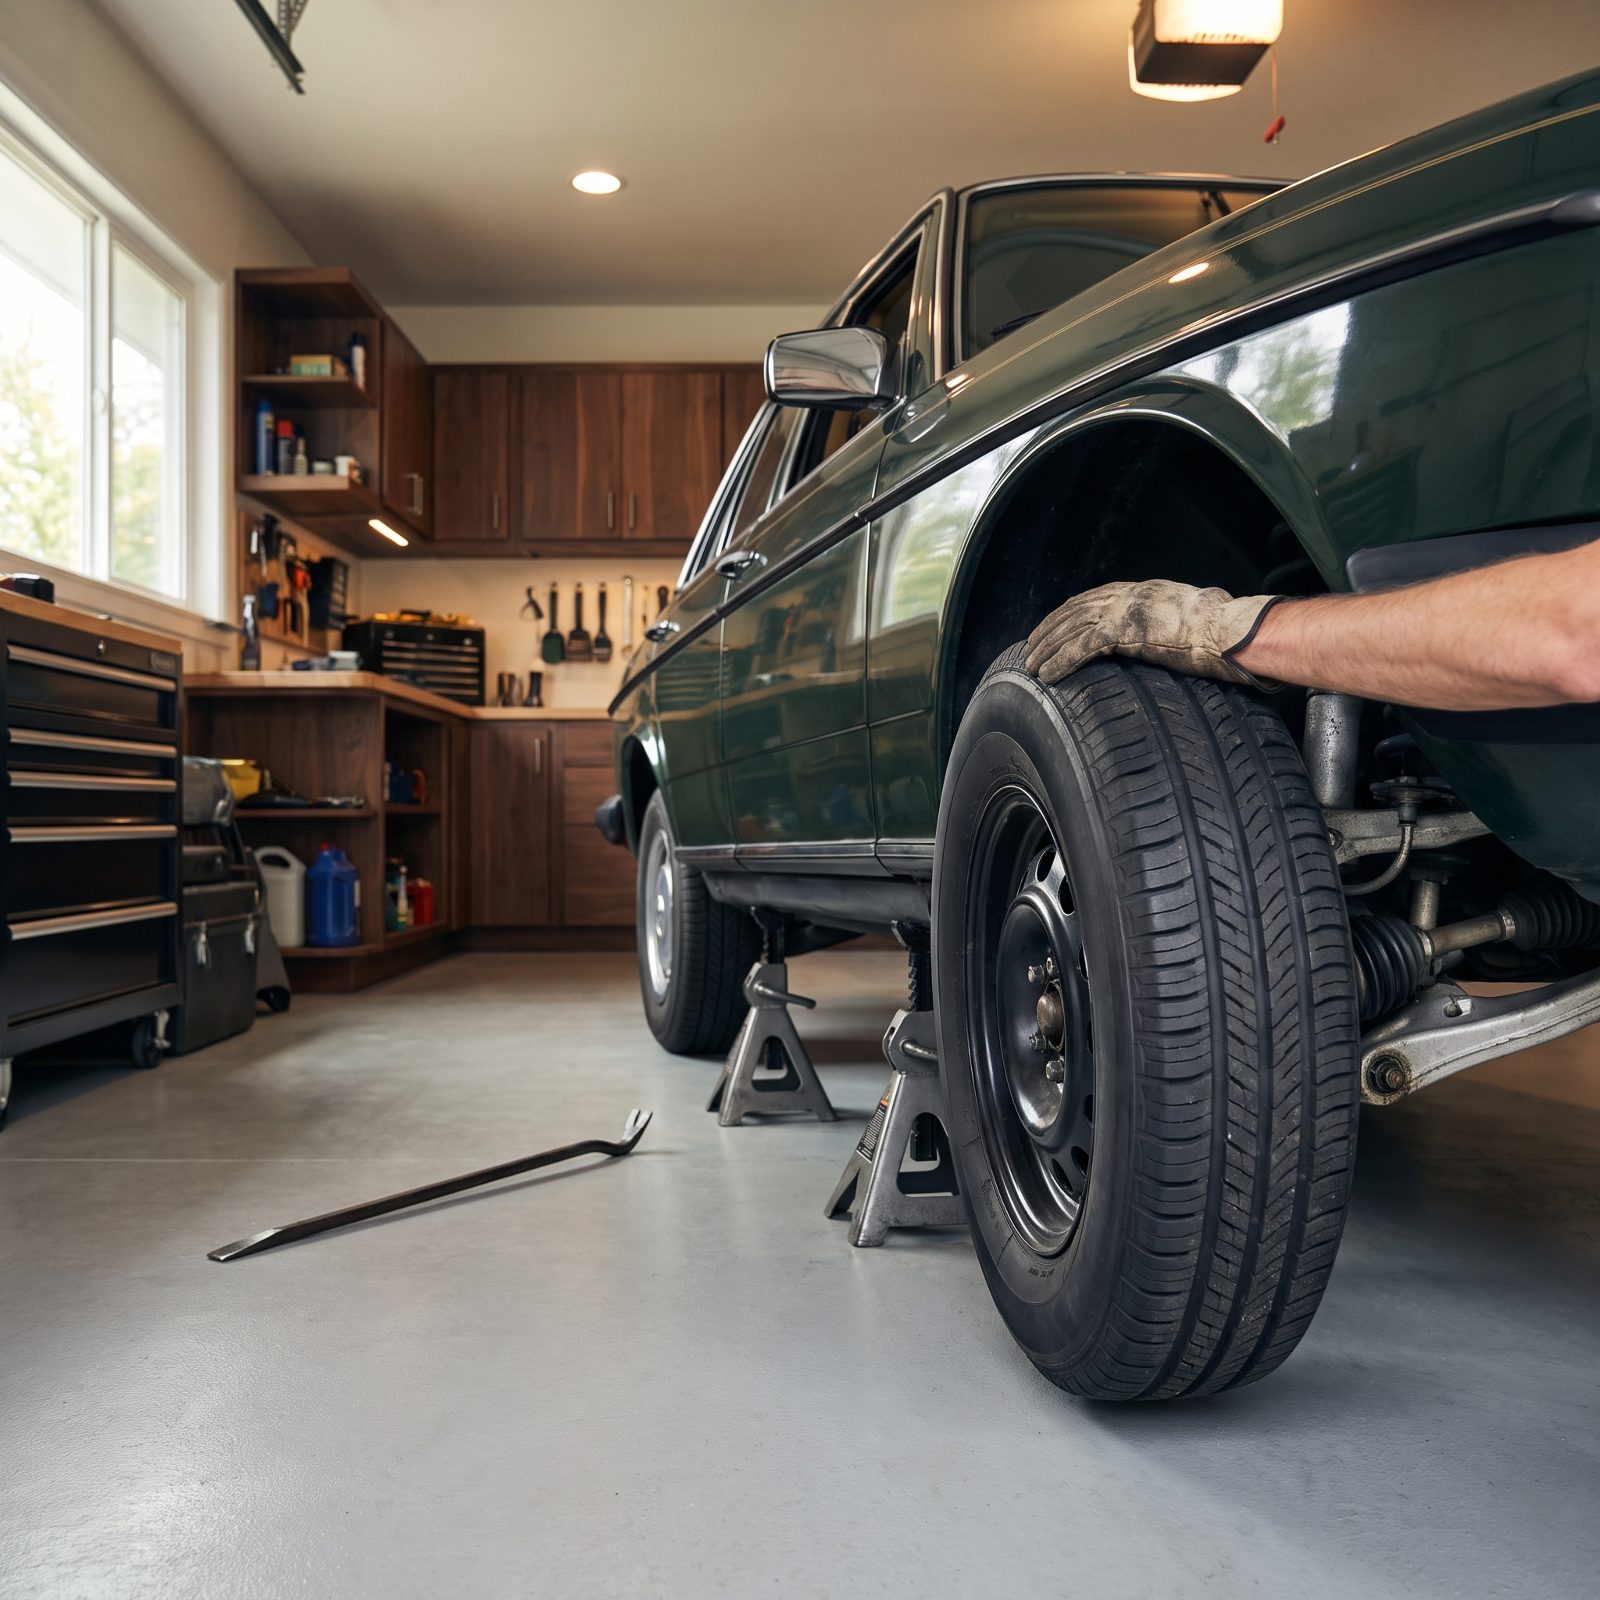
A loose ball joint is the one that scares us. Tie-rod ends control your steering, ball joints hold the wheel to the car, and let either go past a certain point of wear and you get vibration, uneven tire scrub, and in the worst case a wheel that folds under at speed. Not something you want to discover in a mountain pass.
With the front raised on stands, grab the tire at 12 and 6 and rock it in and out. Any clunk or play means a worn ball joint. Then grab it at 3 and 9 and rock side to side, where play points to tie-rod ends instead. A little creak in a dry joint can wait. A visible knock cannot.
Cracked grease boots are the early warning. Once the boot splits, grit gets in and the joint wears fast. Replace joints in pairs so the car tracks even.
7. Inspect Control-Arm Bushings, Sway-Bar Links, and Bushings
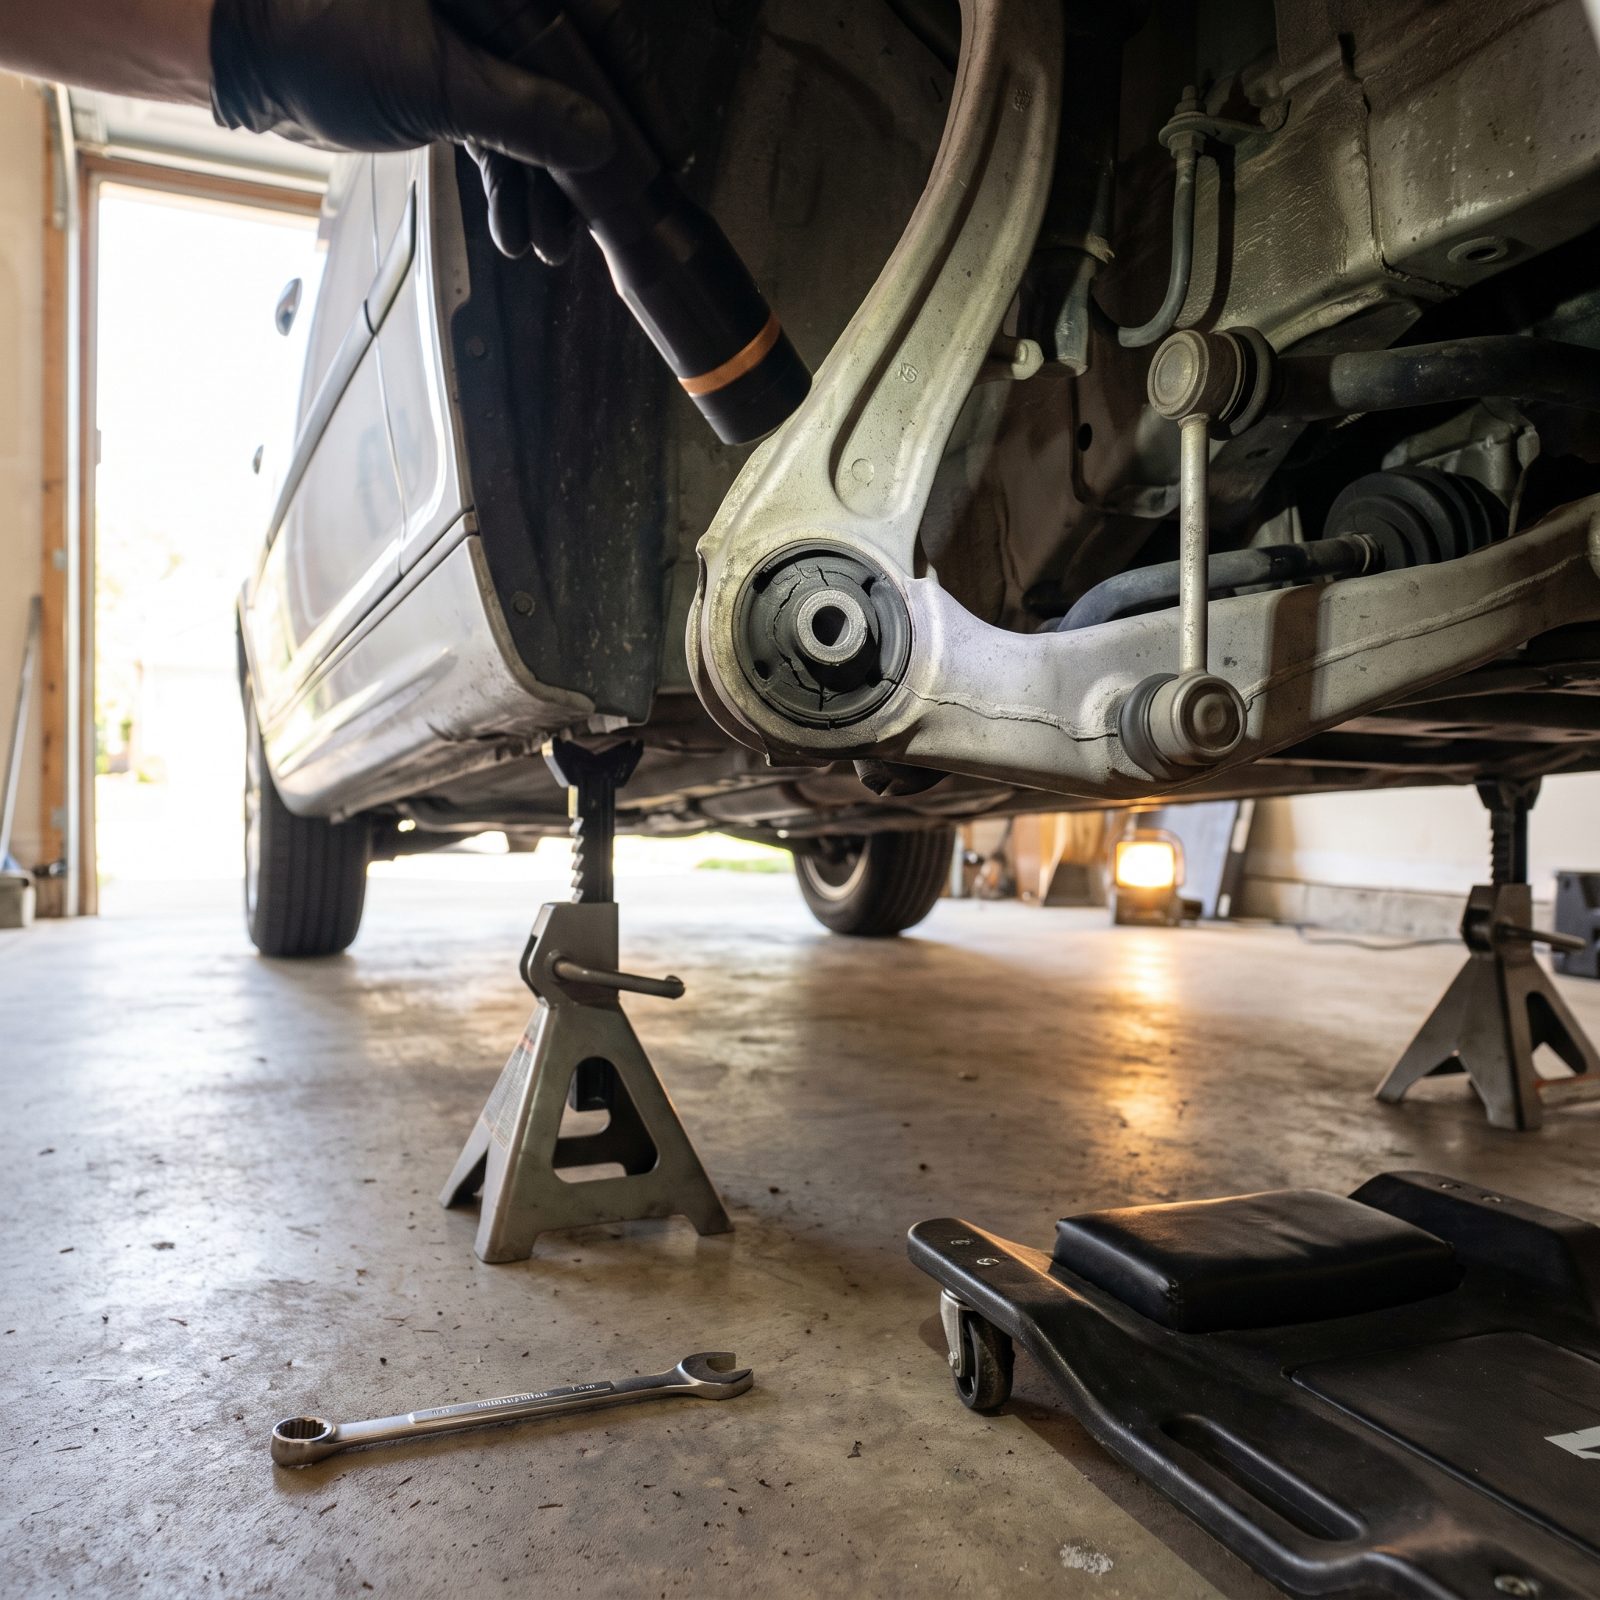
Rubber bushings are the quiet joints nobody thinks about until the car starts clunking over expansion joints and feeling vague in corners. They’re the soft mounts that let suspension pieces move without transmitting every jolt into the cabin, and they dry out, crack, and tear with age and heat.
Get under the car on stands and look at the control-arm bushings where the arm meets the frame. Perished rubber shows cracking or the metal sleeve pushed off-center. Grab the sway-bar end links and shake. A clunk means the little ball joints inside are shot, and a sloppy bar means the car leans and wanders on the highway.
6. Inspect the Exhaust for Leaks, Broken Hangers, and Loose Heat Shields
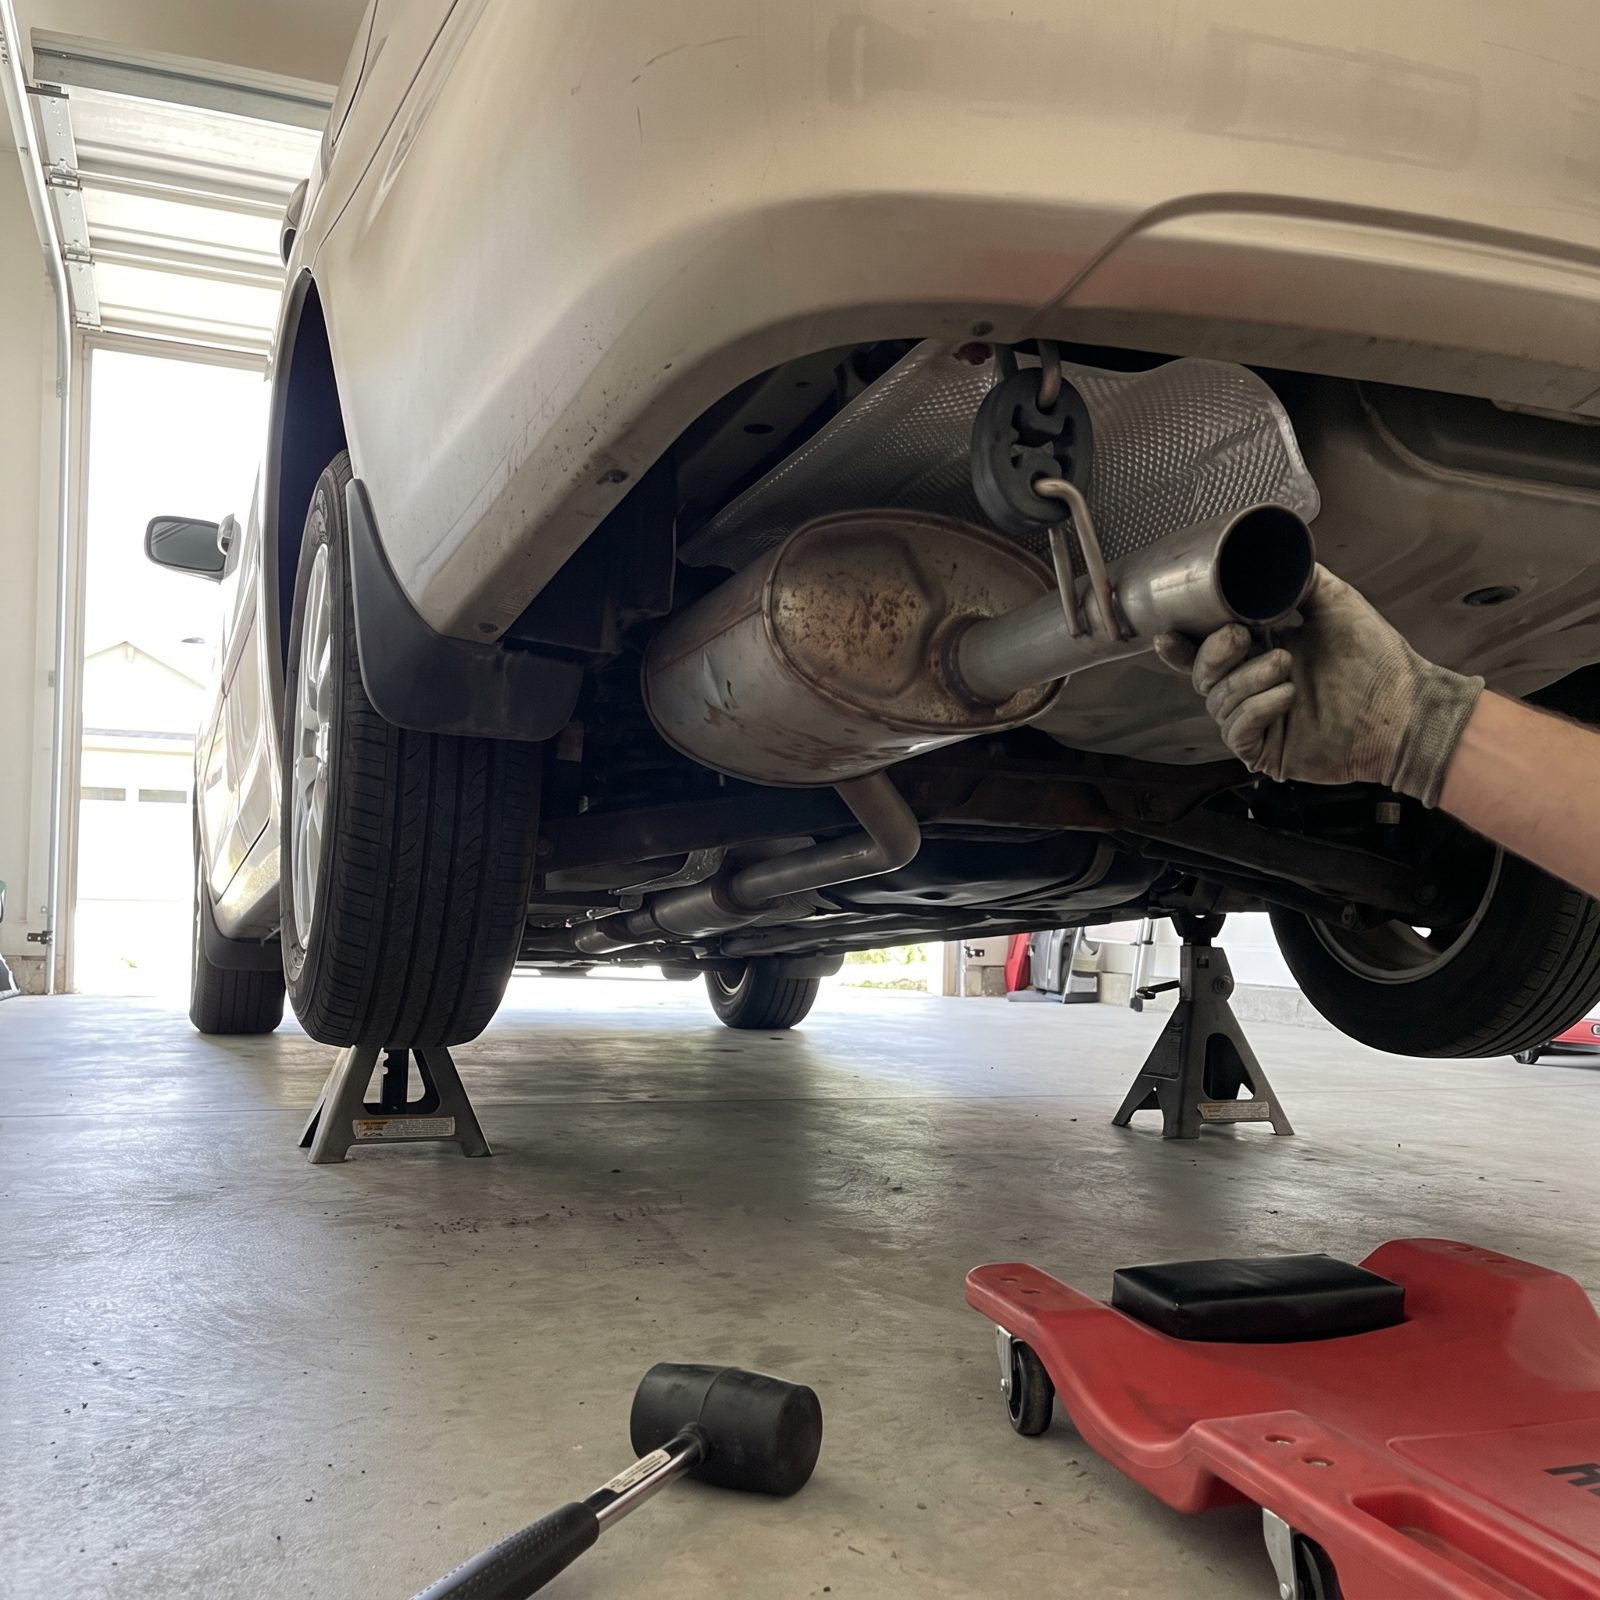
That buzzing rattle at idle that drives you nuts? Usually a loose heat shield. Annoying, sure, but the real worry on a long trip is an exhaust leak, because a bad one can push carbon monoxide up through the floor and into the cabin over hours of closed-window driving. That’s not a rattle. That’s a headache you don’t walk away from.
Cold engine, car on stands. Grab the exhaust and wiggle it, checking the rubber hangers for cracks and stretch, since a broken one lets the pipe drag or rattle against the body. Look along the pipe and muffler for rust holes or sooty black streaks that mark a leak. Tap the heat shields, and a loose one will ping and buzz.
A loose shield tightens with a hose clamp. A rotted hanger is a two-dollar rubber grommet. A leaking pipe, fix it before you go.
5. Look Beneath the Parked Car for Fresh Fluid Drips
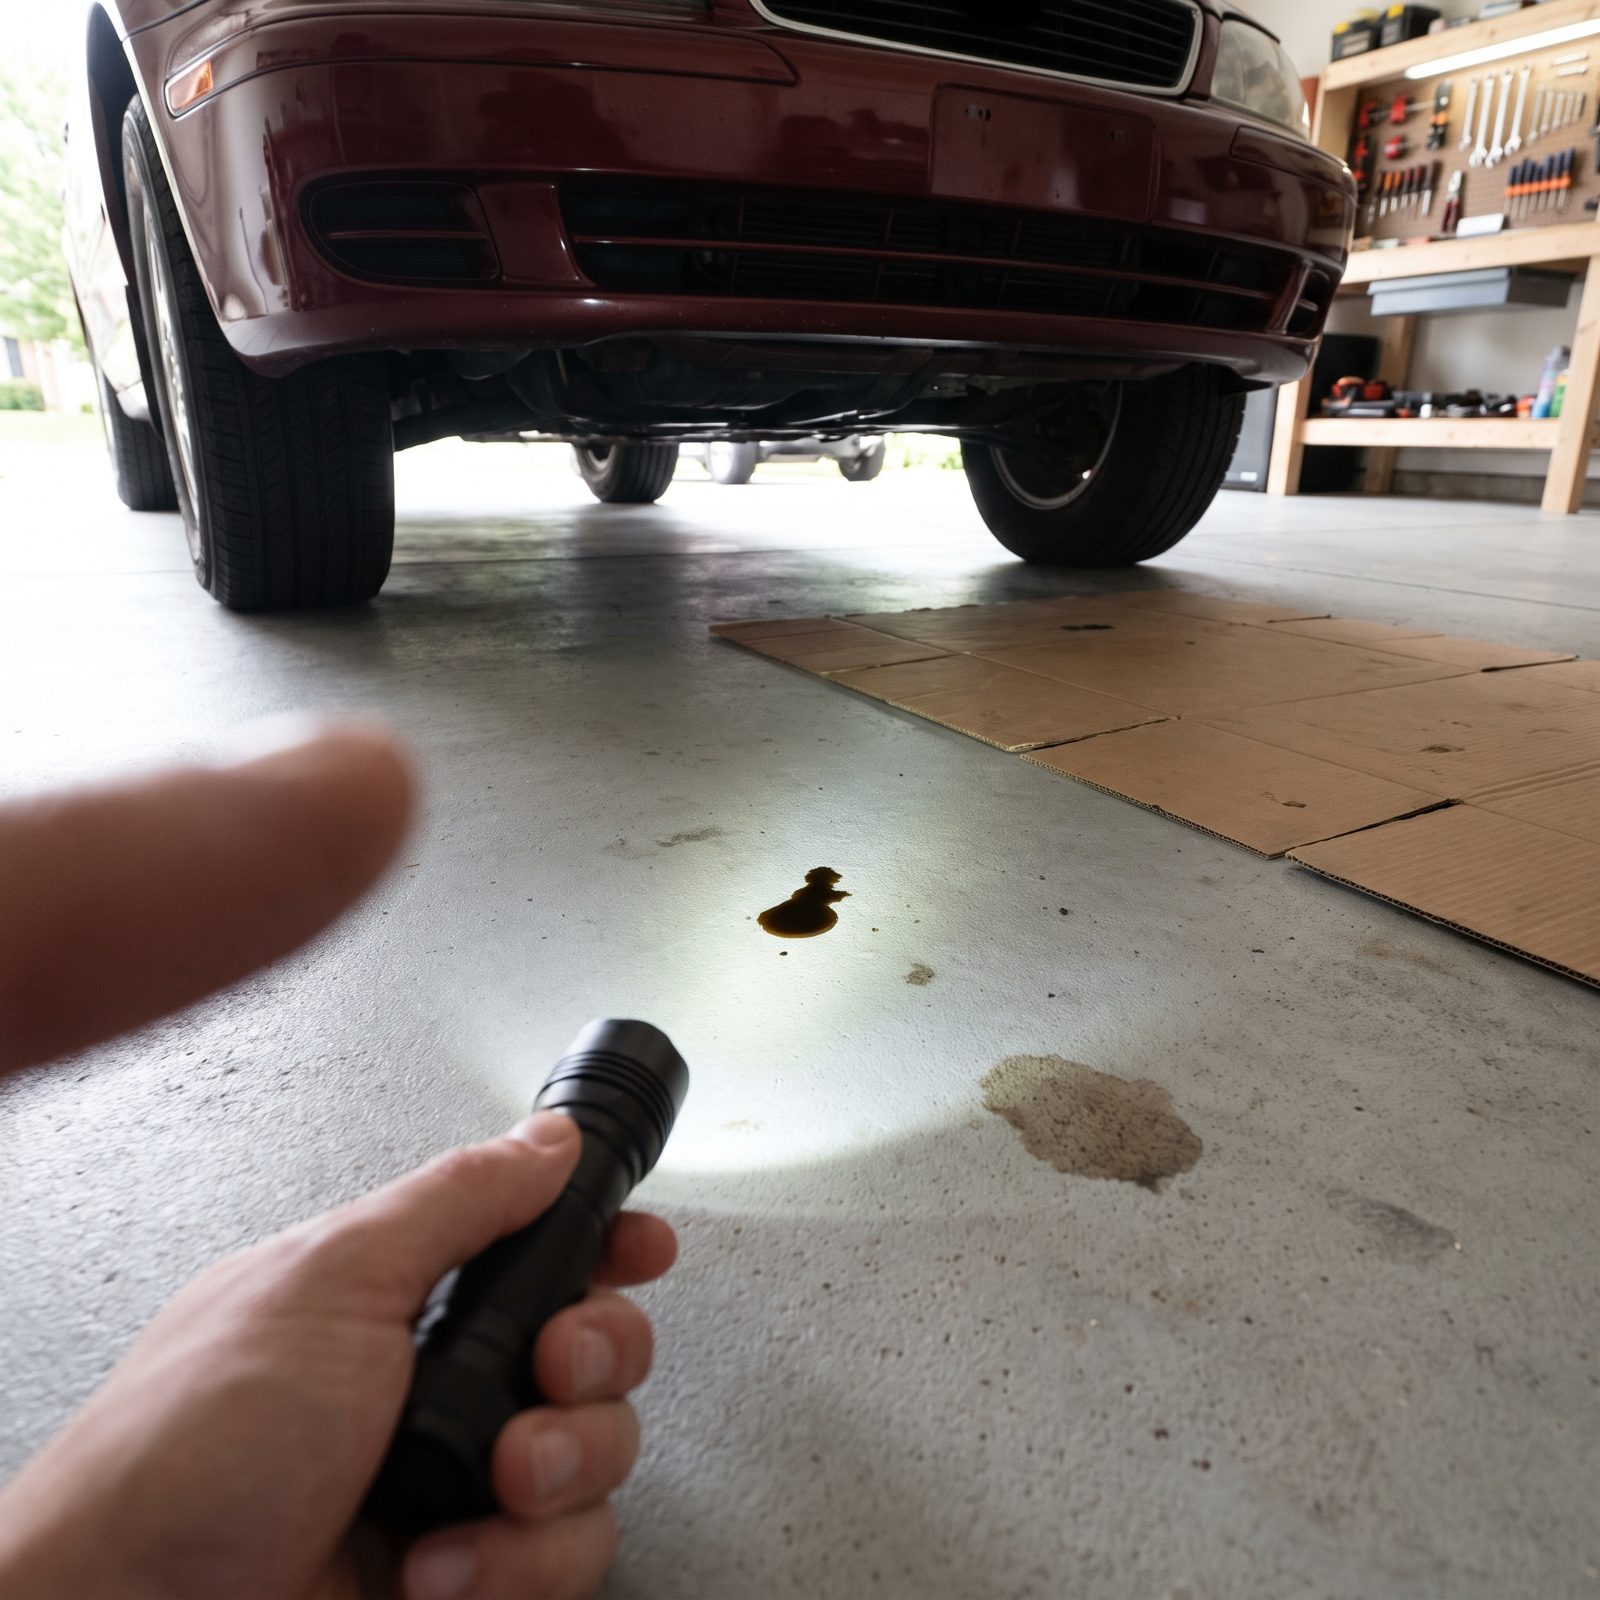
The driveway tells on your car if you let it. Slide a clean sheet of cardboard under the engine and transmission overnight. In the morning, the stains read like a diagnosis.
- Bright green or orange and slick, that’s coolant, and a leak now means an overheat on a mountain grade later.
- Light brown to black and oily, engine oil, so watch the level before you commit to 600 miles.
- Reddish and thin with a sweet smell, transmission or power-steering fluid, don’t ignore it.
- Clear and watery under the dash in summer, just A/C condensation, totally normal.
Fresh drips look wet and shiny. Old stains are dull and dry. A car that leaves a new puddle every morning is telling you something before you leave, which is a far better time to hear it than from a shoulder somewhere past the state line.
4. Road-Test for Vibration at Highway Speed Before You Commit to 400 Miles
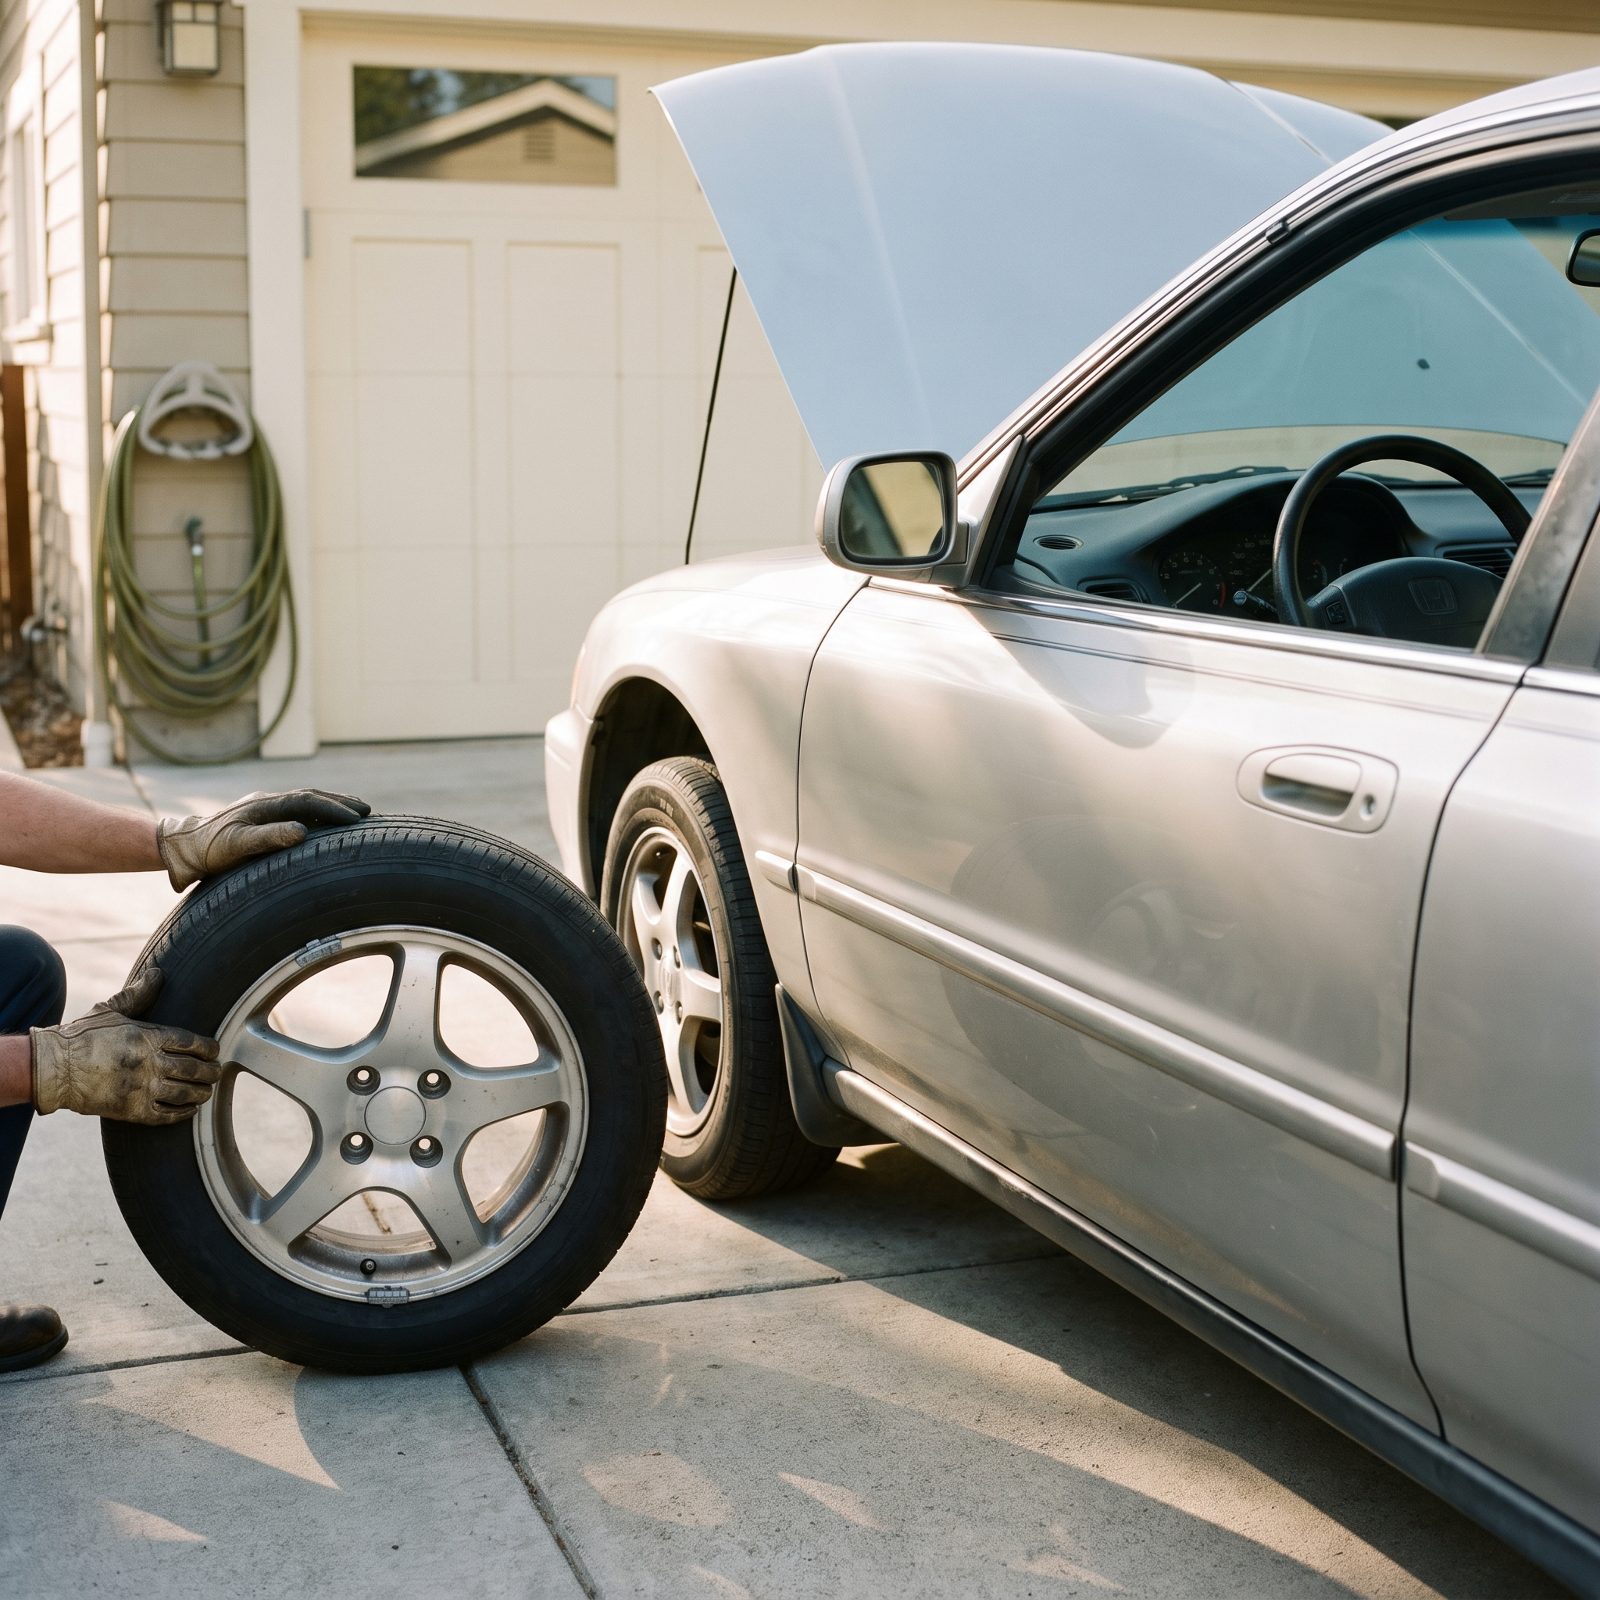
A shimmy that only shows up at 62 mph is the kind of thing you learn to ignore around town, because you never go fast enough to feel it. Then you merge onto the interstate for six hours and that faint buzz in the wheel becomes a drill through your palms by hour two.
Vibration at speed usually means a wheel is out of balance, a tire has a belt starting to separate, or a wheel bearing is going loose. On a long run, a separating belt can let go completely. Nobody wants that at mile 300.
Take the car to a stretch of smooth highway before you pack it, hold a steady 60 to 70, and pay attention to where the buzz lives — the steering wheel means front, the seat means rear — and whether it fades in and out with speed. Then get the wheels balanced and have a shop spin the tires looking for a bulge or separation.
3. Check for Brake Pull, Pedal Pulsation, and That Sinking Soft Pedal
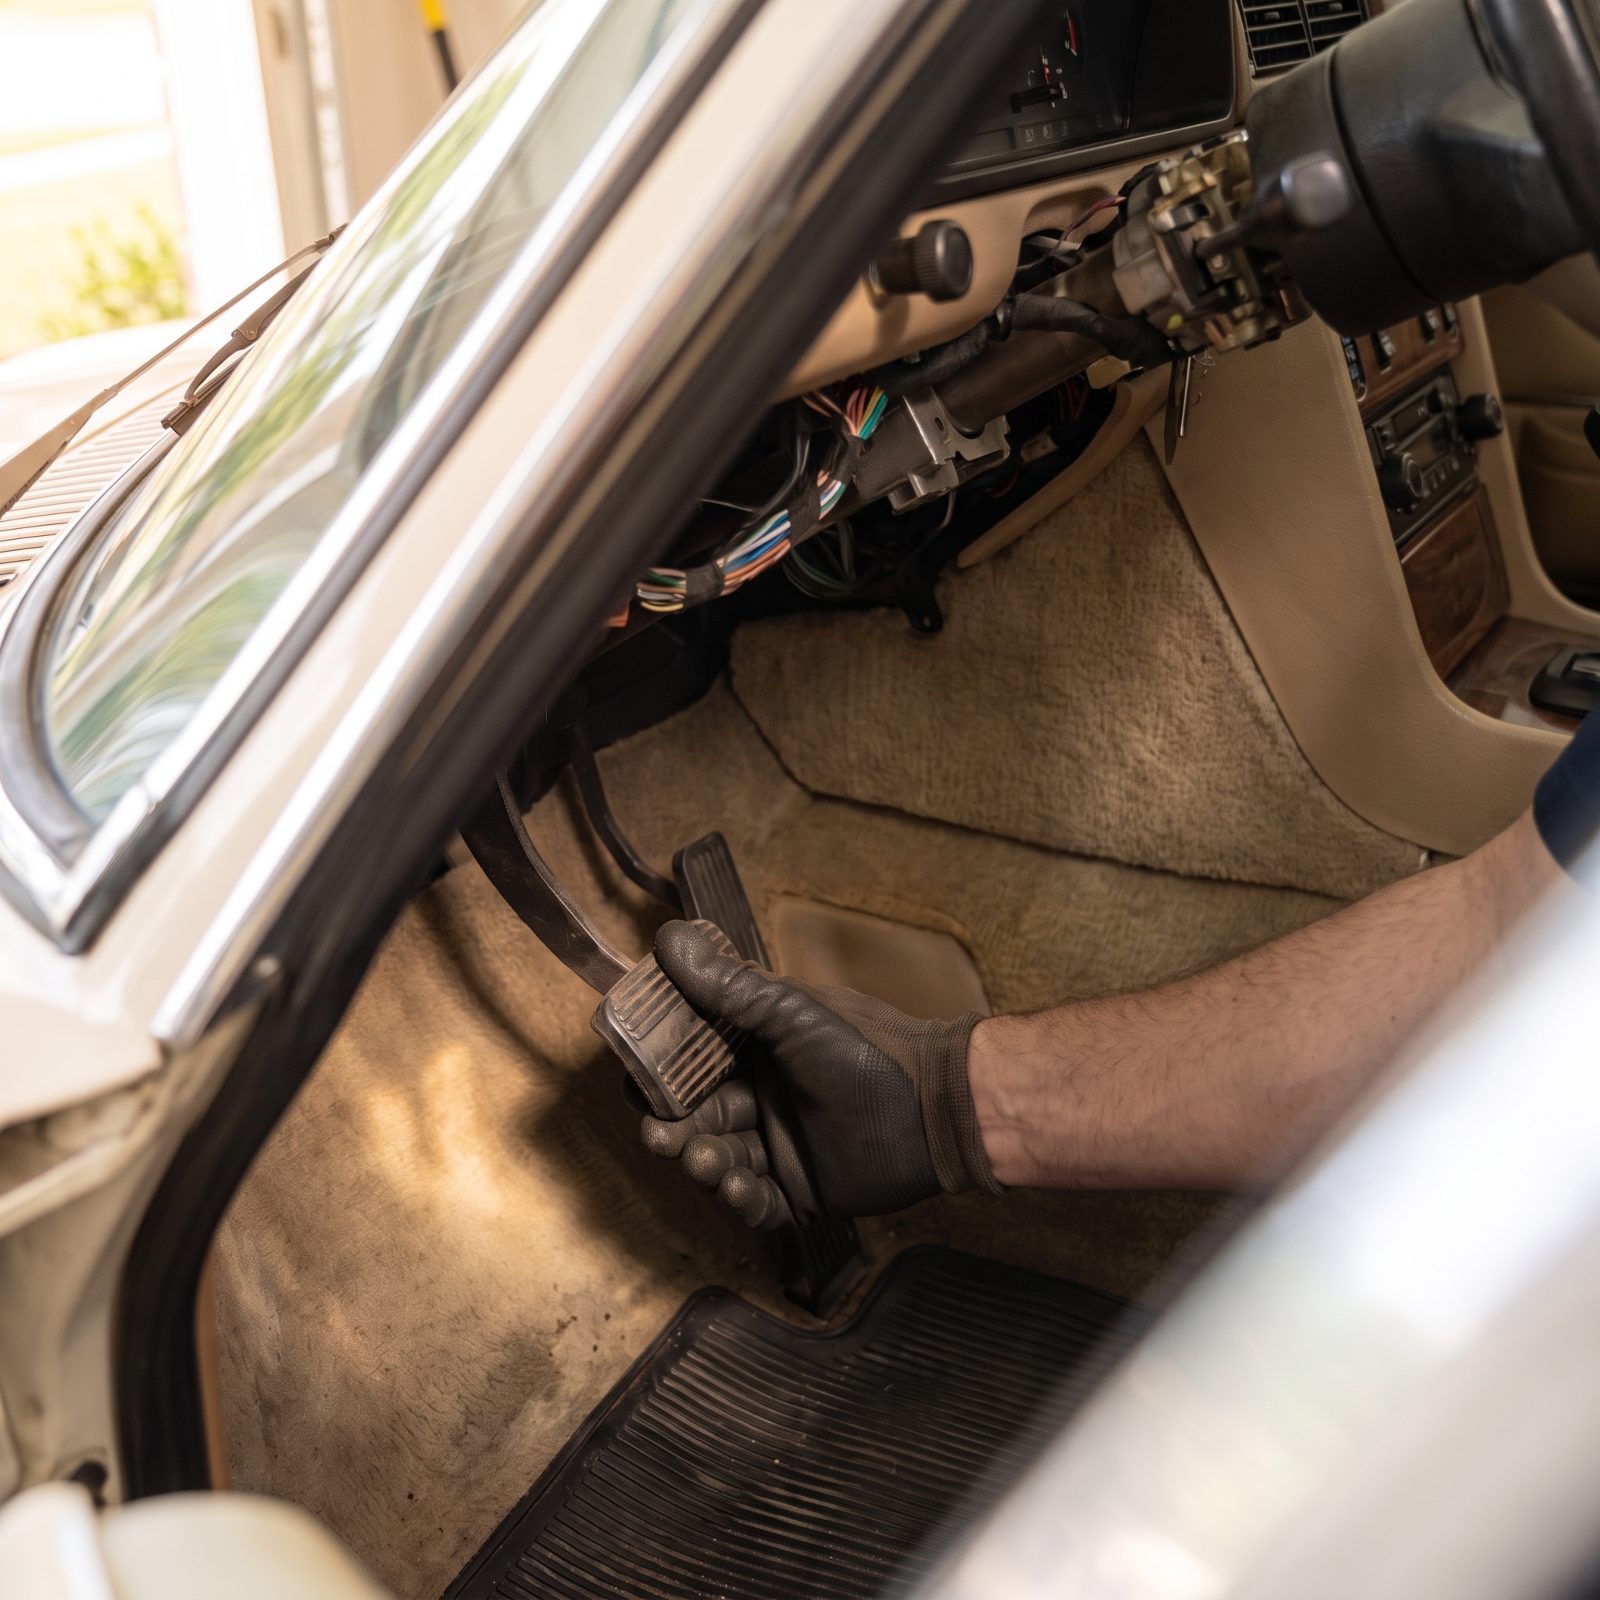
A brake that tugs the car toward one lane every time you slow down is telling you something. Could be a sticking caliper, a collapsed brake hose acting like a one-way valve, or pads worn unevenly. None of it gets better over a thousand miles of mountain descents.
Feel for three things before you leave. Pull: does the car wander left or right under braking. Pulsation: does the pedal throb back against your foot, which usually means warped rotors. Soft pedal: does it sink slowly toward the floor under steady pressure, which points at air in the lines or a tired master cylinder.
Find an empty parking lot, brake from 30 a few times with your hands loose on the wheel, and watch where the nose goes. Check the fluid reservoir while you’re at it. If the fluid looks like dark coffee, it’s absorbed water and should be flushed with fresh DOT 3 or DOT 4 to spec before any long trip with real grades.
A soft pedal is the one symptom you never drive on. Fix it in the driveway or don’t go.
2. Test the Steering for Wander, Binding, and Loose Play in the Wheel
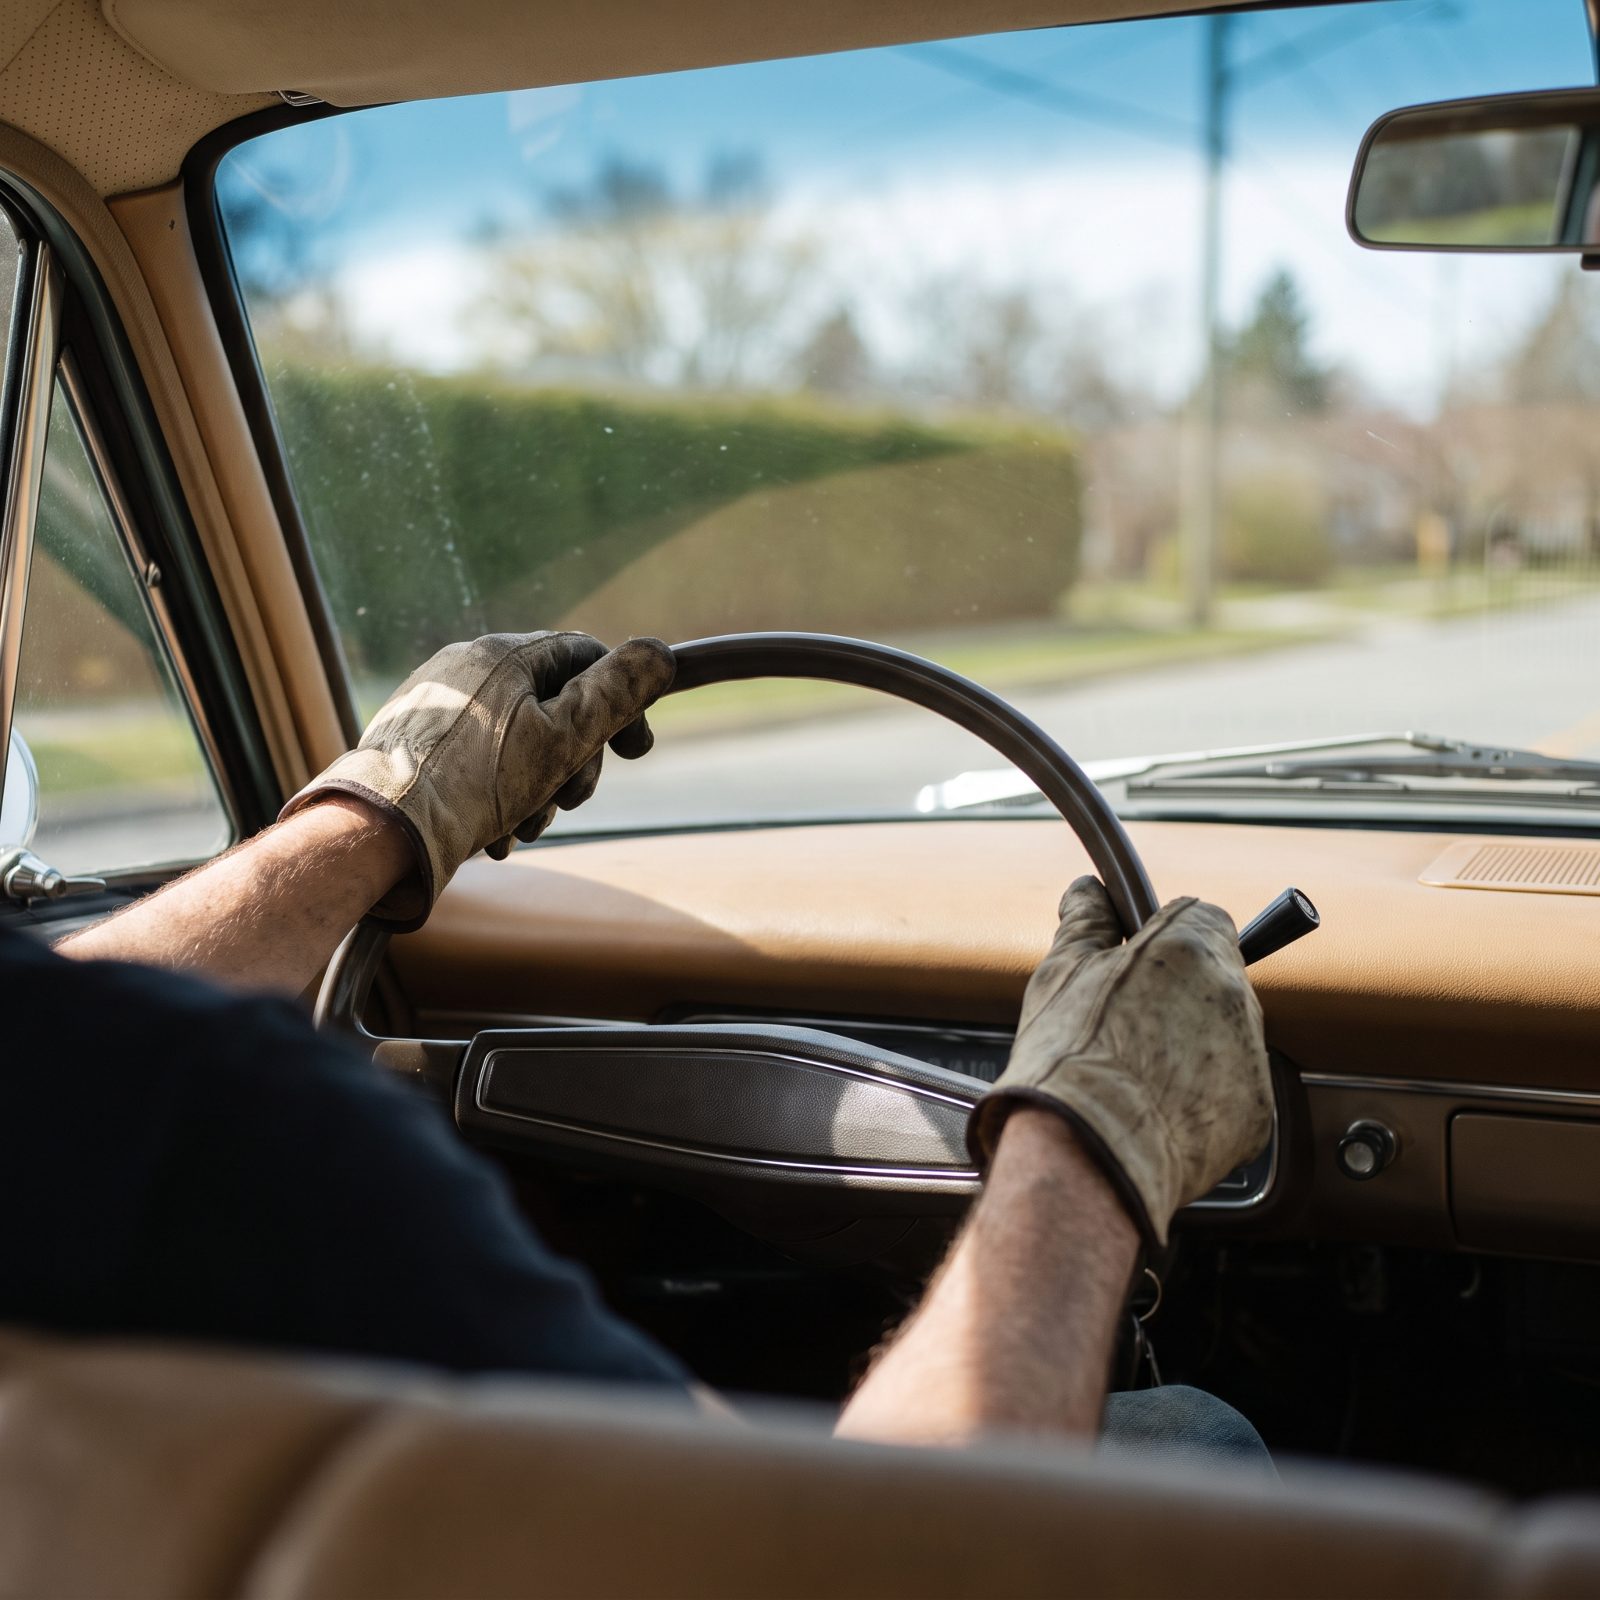
You’ve gotten used to nudging the wheel a little to keep the car straight. Everybody does, after enough years in the same car. But a vehicle that drifts on its own, or needs that constant small correction, is making you do its job for six hours straight.
Wander means worn tie rod ends, a loose steering box, or alignment that walked off. Binding — a notchy spot as you turn — can be a dry steering joint or a failing power steering pump. And too much free play, where the wheel moves an inch or two before the tires respond, is loose linkage that only gets worse.
Engine running, car sitting still, rock the wheel gently back and forth. More than about an inch of dead motion before the front tires start to turn deserves a look underneath. Then drive a straight, flat road hands-light and feel whether it tracks true.
1. Confirm the Engine Temperature Holds Steady Under a Loaded Test Drive
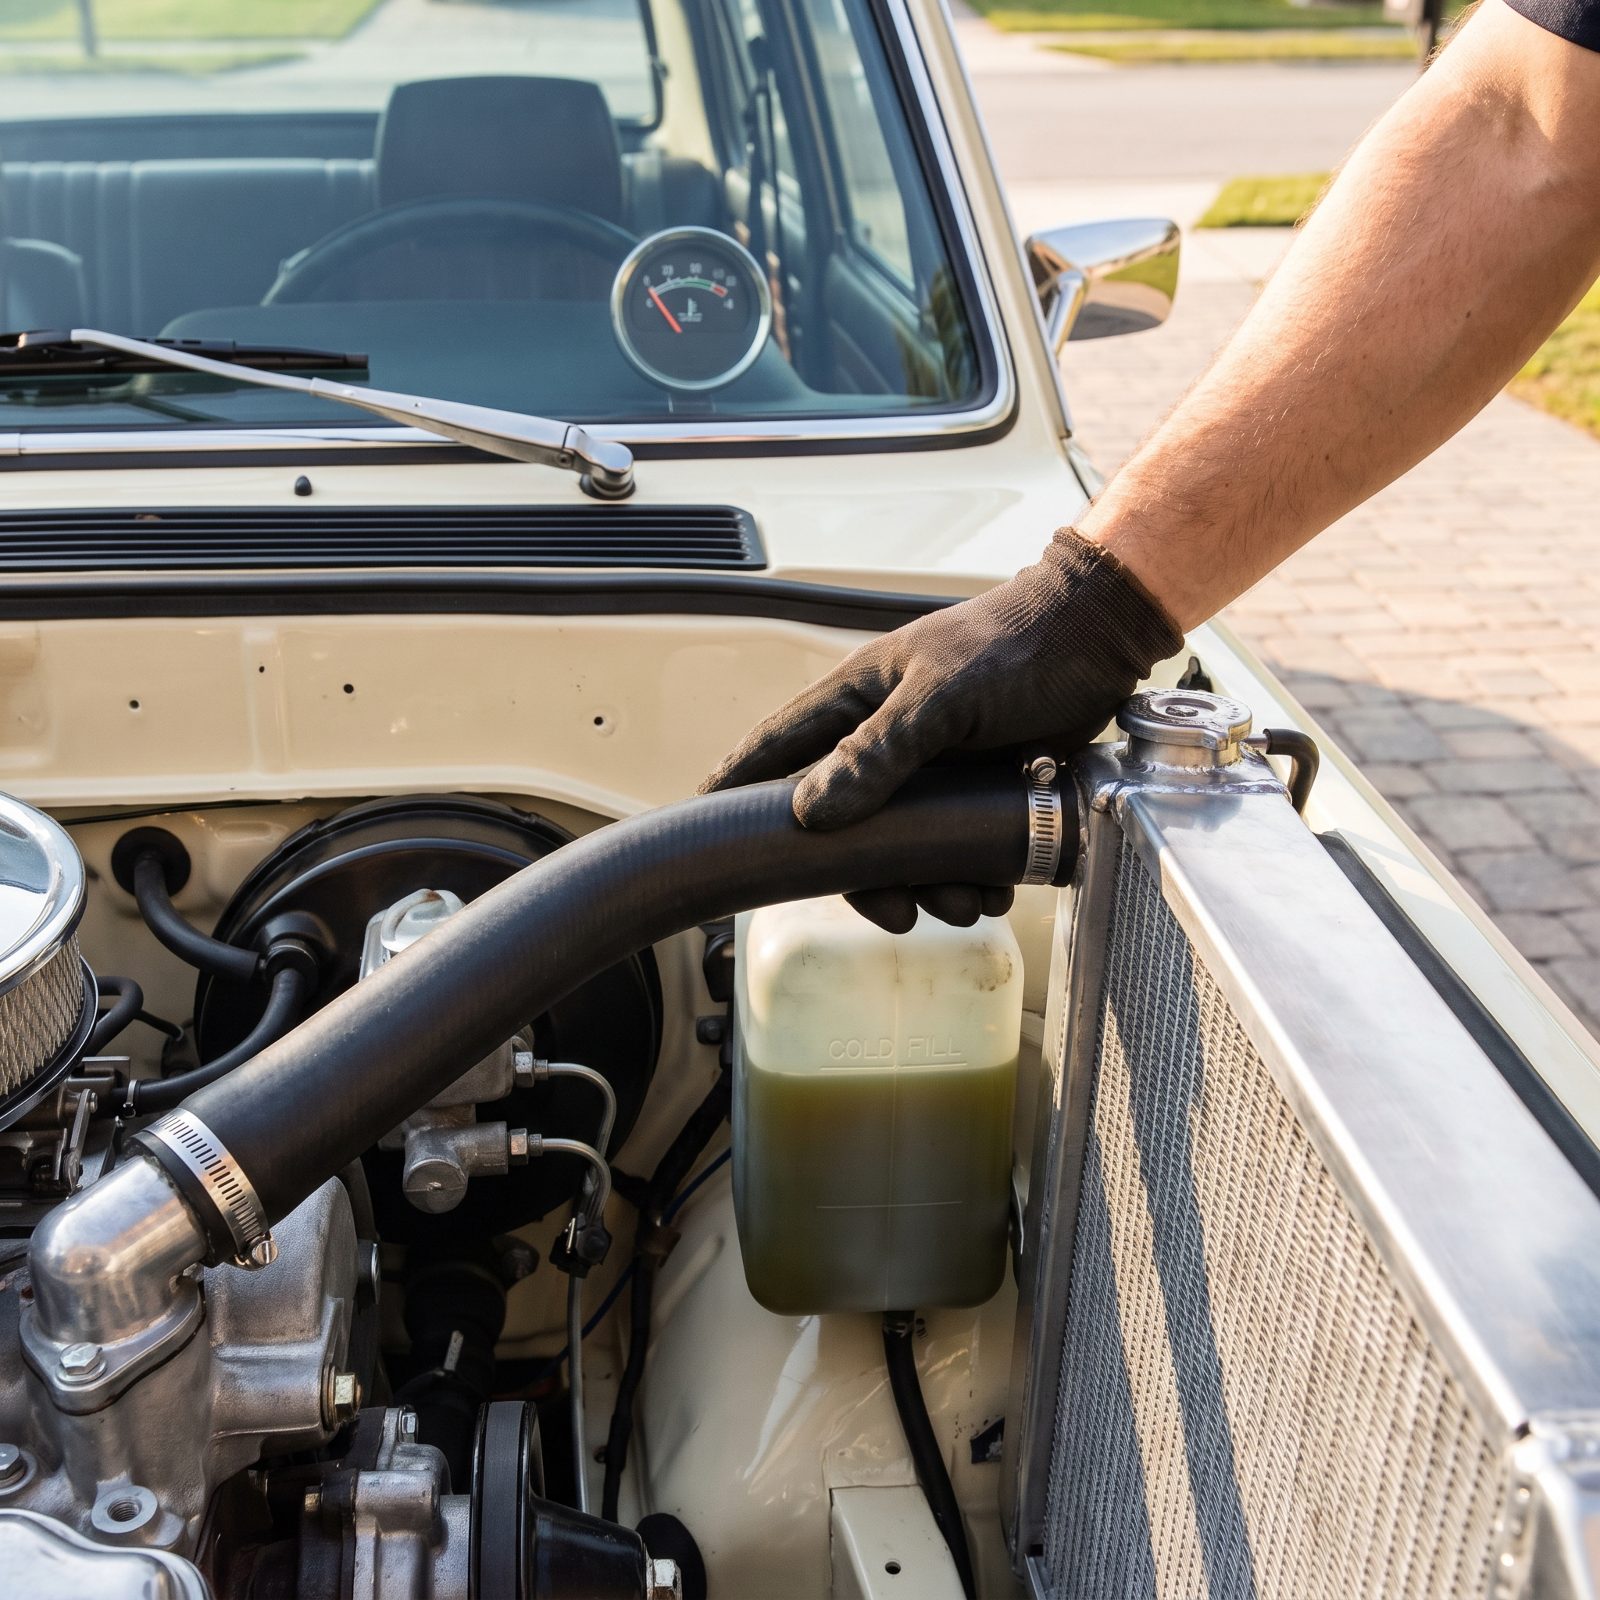
An engine that runs cool and steady around town can still overheat the first time you ask it to climb a grade with the air conditioning on and a trunk full of luggage. Light-duty driving hides a tired cooling system. A loaded run finds it fast.
When the needle creeps up and stays up on a hill, your suspects are a weak water pump, a clogging radiator, a lazy thermostat, or a coolant mix that’s lost its protection. Boil over on a mountain pass and you’re stranded somewhere with no shade and no cell signal.
So take a real test drive before the trip. Load the car the way you’ll actually pack it, run the AC, and find the longest climb nearby. Watch the gauge — it should settle and stay settled. Back in the driveway, check the coolant level cold and eyeball the color: fresh green or orange, not rusty brown.
One more thing people skip: a pressure test on the cap. A cap that won’t hold pressure drops your boiling point whether the rest of the system is perfect or not. Cheap part, easy test, and it fails more often than anyone expects.