Would you like to save this?
Yes! We can use auto paint for coloring wood. However, it will crack and flake off without detailed surface prep. Also, there are some areas like kitchen counters and cabinets that aren’t recommended.
If you are doing some remodeling and want to reuse some of your old kitchen or bathroom cabinets, you might want to paint them first. You can save money by reusing old vehicle paint instead of buying brand new paint. This might be a good plan if all the necessary safety measures are taken.
However, if you want to keep using the cabinets in the kitchen or bathroom, where food and personal care are prepared and used, it’s not a good idea to paint them with automotive paint. Here’s a deeper look at using car paint on wood, its pros and cons, and safety measures.
Can I Use Car Paint on Wood?
We can use auto paint on many wood types but the application process differs from using regular wood paint. Since it isn’t designed for household use, following the precautions is highly recommended.
Applying Automotive Paint on Wood
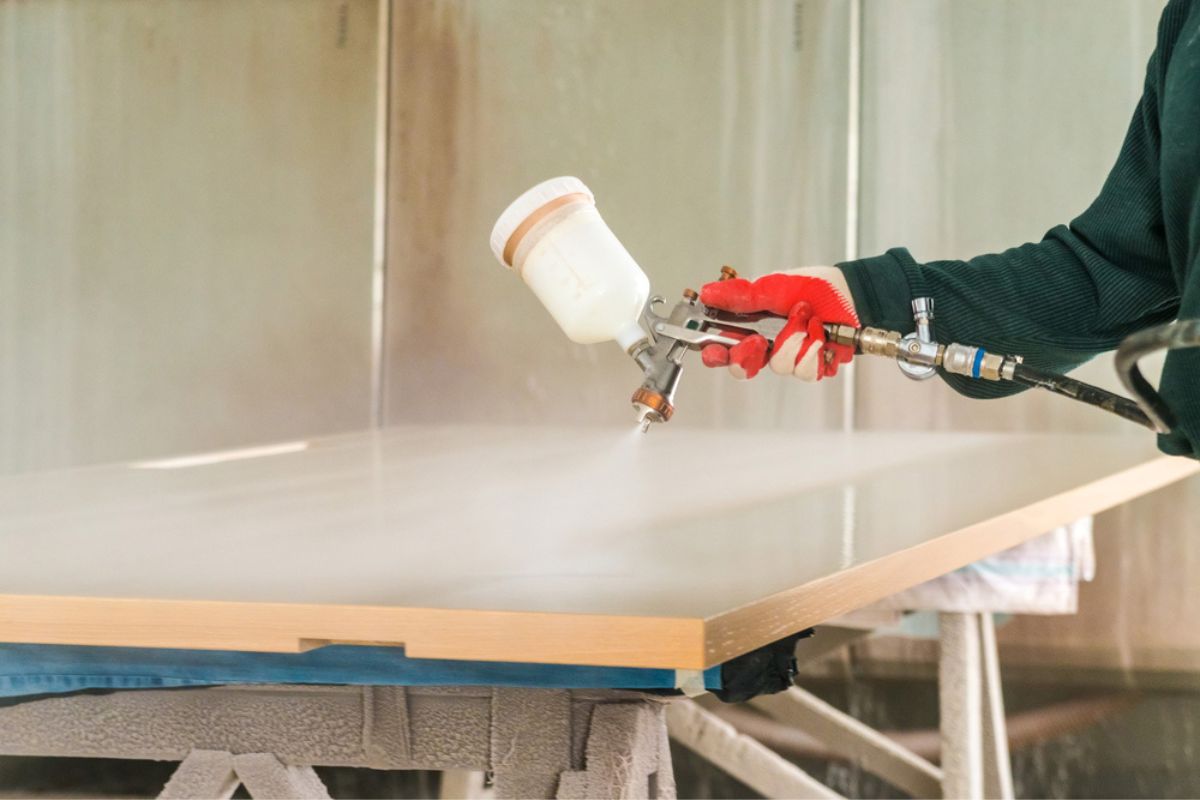
Keep in mind that automotive paint is more watery than the paints designed for use in the home, so be careful if you decide to use it on plywood or real wood cabinets. To achieve the same level of coverage as with regular interior wall paint, you will need to apply multiple thin coats of paint to your cabinets. It’s a plus that this type of paint dries to a glossy, eye-catching sheen.
Furthermore, automotive paint will not be a good match for the current veneer, laminate, or varnish on your cabinets. Cabinets should be sanded with coarse sandpaper before being painted to remove the finish and provide a more porous surface for the paint to adhere to. After you’re done, give the cupboards a quick wipe-down to get rid of any lingering dust or dirt.
You should use painter’s tape to seal off the edges of your cabinets. In any case, most painter’s tapes need to be removed soon after paint has been applied; for details, consult the product’s instructions. Keep in mind that removing painter’s tape after it has dried can result in paint tears, so you should never do this.
Applying a primer to your cabinets is the best way to ensure they are ready to go. To get good adhesion to laminates and other slightly glossy surfaces, an oil-based primer, which usually has a very strong smell, is a good option. The peeling sheets that might occur with latex primers make them an undesirable choice for glossy cabinetry.
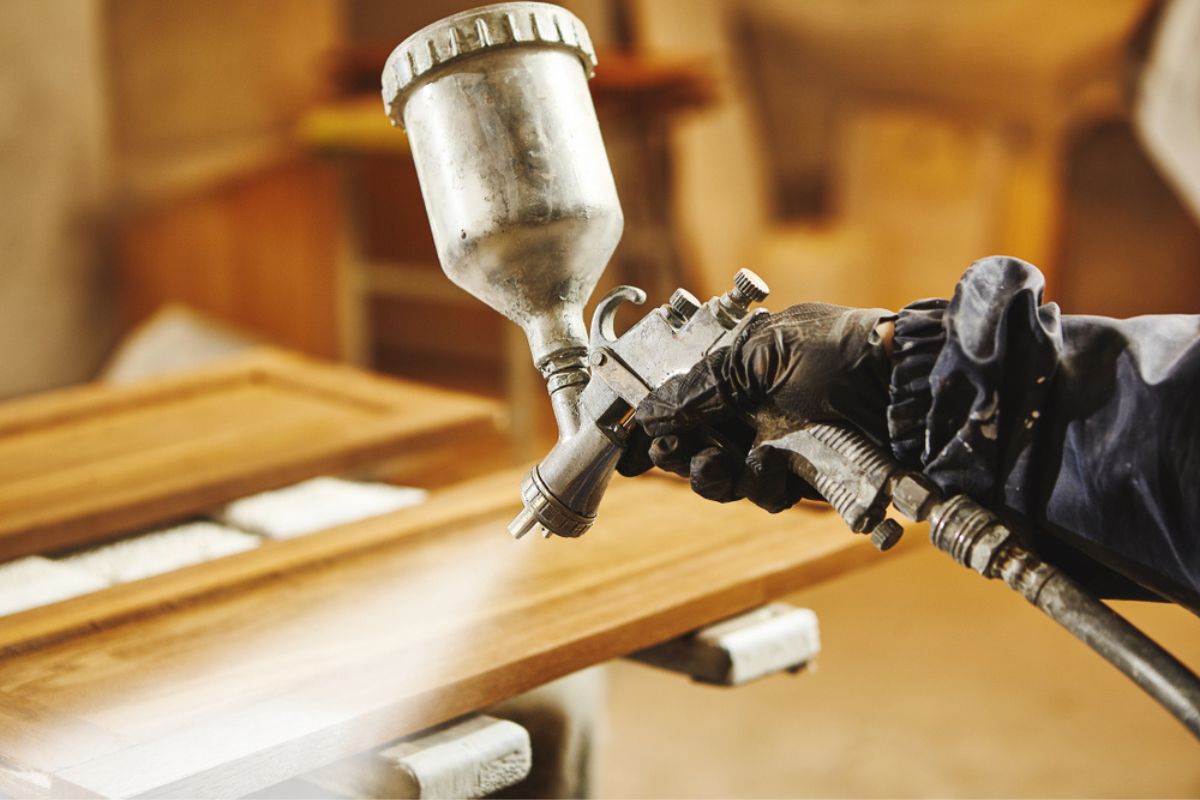
Coat your cabinet doors with automotive paint, going slow and smoothing out brush strokes as you go. Because of the paint’s low viscosity, brush strokes and other flaws will stand out like a sore thumb. For the best results, give the paint a good amount of time to cure in between coats.
For specifics, read the paint can, but generally speaking, paint needs three hours to cure. When you’ve finished painting and are satisfied with the results, you have to tidy up your workspace and reinstall the cabinets. To remove paint flakes and other dirt from the finished cabinets, wipe them down with a damp cloth.
Key Factors to Keep in Mind for Safety
Applying automobile paint requires a space with enough ventilation. If you plan on relocating your kitchen or bathroom cabinets to a basement, garage, or shed, you should paint them outside or in a well-ventilated area before you put them back together. Moreover, keep kids and pets away from any automotive paint you could be using.
Wearing gloves while painting cabinets is a smart idea to protect your hands from the paint. Further, it is highly recommended that you wear eye protection if you are working on a painting project.
Can I Use an Auto Clear Coat On Wooden Furniture?
In a word, yes. Automotive clear coatings are commonly used by painters to protect hardwood surfaces as they are simple to apply and extremely durable. Acrylic urethanes, a type of polyurethane without oil, are among the best clear coatings suggested for wood.
These items dry quickly and resist discoloration over time. These days, automotive clear coatings are technically acrylic urethanes, but they have a higher urethane content than acrylic. After curing, a clear coat with a higher urethane content is more rigid and long-lasting.
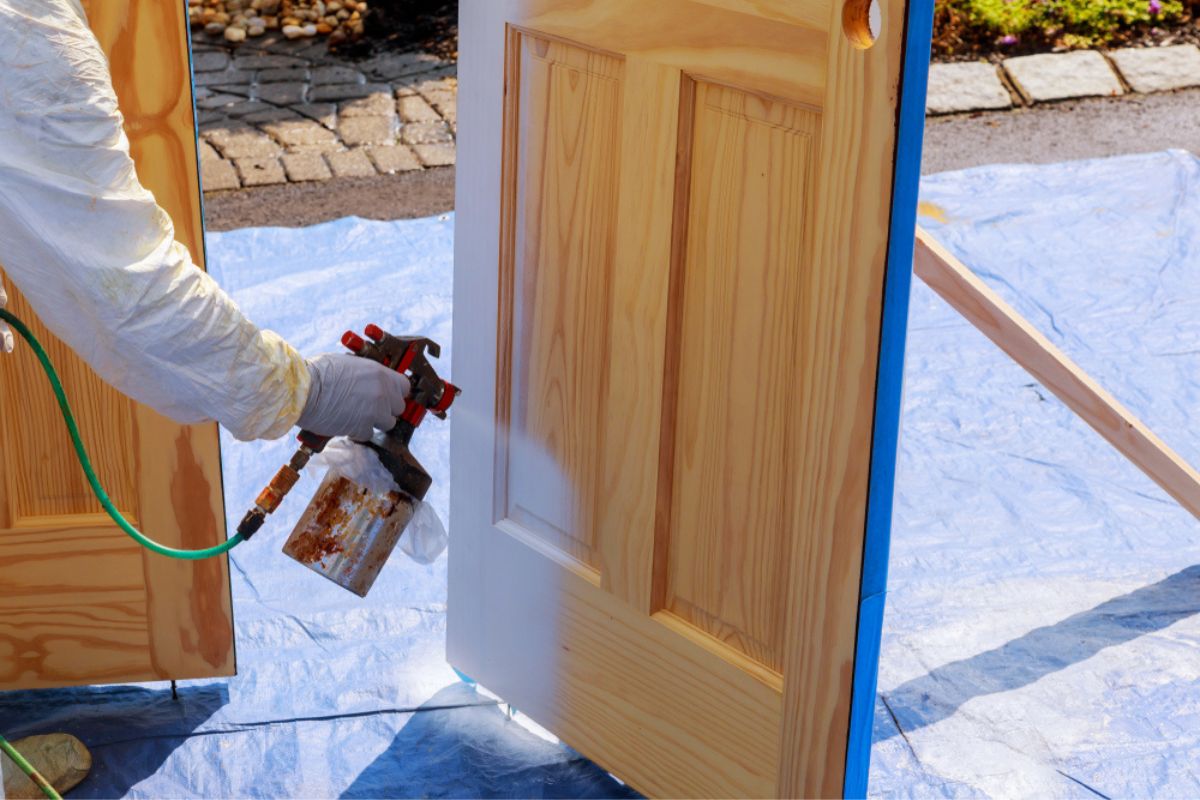
Can I Use Car Spray Paint On A Wooden Area?

Many painters will tell you that using car spray paint on wood yields even better results than using regular spray paint, and I would have to agree. Vehicle spray paints have hardeners that keep them looking good even after being out in the elements day and night. These added safeguards make them a superior alternative to standard spray paint.
For further details on the characteristics of a given automotive spray paint, read the label before making a purchase. Let’s pretend you’re clueless and have no idea what to search for. The spray paints that manufacturers designate as general-purpose or multi-purpose are the ones I advise using.
In preparation for your spray painting adventure, you can use such items on any surface without fear of serious consequences. Although they get the job done, all-purpose spray paints don’t hold up as much as specialty paints. If you need a longer-lasting paint job for your car, then you should choose enamel spray paint.
These paints have a more durable finish than typical auto spray paints and will preserve your wood from the elements for longer. If you want to paint something, but don’t want to get car spray paint on it, you can use it on any surface outside of your home. Surfaces like wooden rails or wooden gates and fences, which are difficult to paint with a brush and need extra protection, are good candidates for their use.
Using Car Spray Paint on a Wooden Surface
Follow the steps I’ve highlighted below for optimal results:
1. Clean it up
Location: a well-ventilated space with a drop cloth and your wood item. Get rid of the dust and debris by vacuuming or brushing it away, and then wipe the wood off with a moist cloth. The next step is to combine some de-greasing soap with water in a bucket, soak a clean cloth in the solution, and wash the area down.
If you don’t want the wood to get wet, remember to squeeze off the extra water. Use clean water to wash the area down, and then let it air dry. When everything is dry, use a clean, lint-free cloth to remove any leftover dust or dirt.
2. Fix What’s Broken
Check for flaws, and if you find any splinters or loose paint, sand them down. Then, repair any holes or cracks in the wood using a quick-drying wood filler and let it cure. When the filler is dry, sand it until it’s flush with the surrounding surface, and then clean up the dust with a vacuum.
Metal components on your surface will need to be cleaned of rust and lost paint with sandpaper and a wire brush before being repaired using metal repair filler.
3. Prepare the Wood
With the aid of a high-quality primer, the spray paint you use on your car will cover the surface more evenly, allowing for a more professional appearance in the end. It will also make the spray paint stick to the wood better, resulting in a finish that lasts longer. First, use painter’s tape to protect surfaces you don’t want to be painted.
The primer spray should be shaken until the small ball rattles, and then for an additional minute to create a uniform mixture. If the spray is unobstructed after pressing the nozzle into the air, you can move forward. Keep shaking and spraying until the spray mist becomes uniform if you encounter resistance.
Spray in straight, steady streaks at a distance of roughly a foot. It is important to overlap each pass to minimize the possibility of missing something. If you want to prevent paint runs, shake the can often and direct the mist to a different area of the surface.
If you’re using a primer, let it dry per the manufacturer’s instructions before applying a second coat.
4. Paint the Surface
Dust should be removed with a lint-free cloth after the primer has dried. Make sure you read the label to find out if sanding is necessary before painting over the product. Light coatings of auto spray paint should be applied in a manner analogous to that used for the primer, with sufficient drying time in between coats.
After the paint has been applied to the correct thickness, it must dry for the allotted amount of time before it can be used.