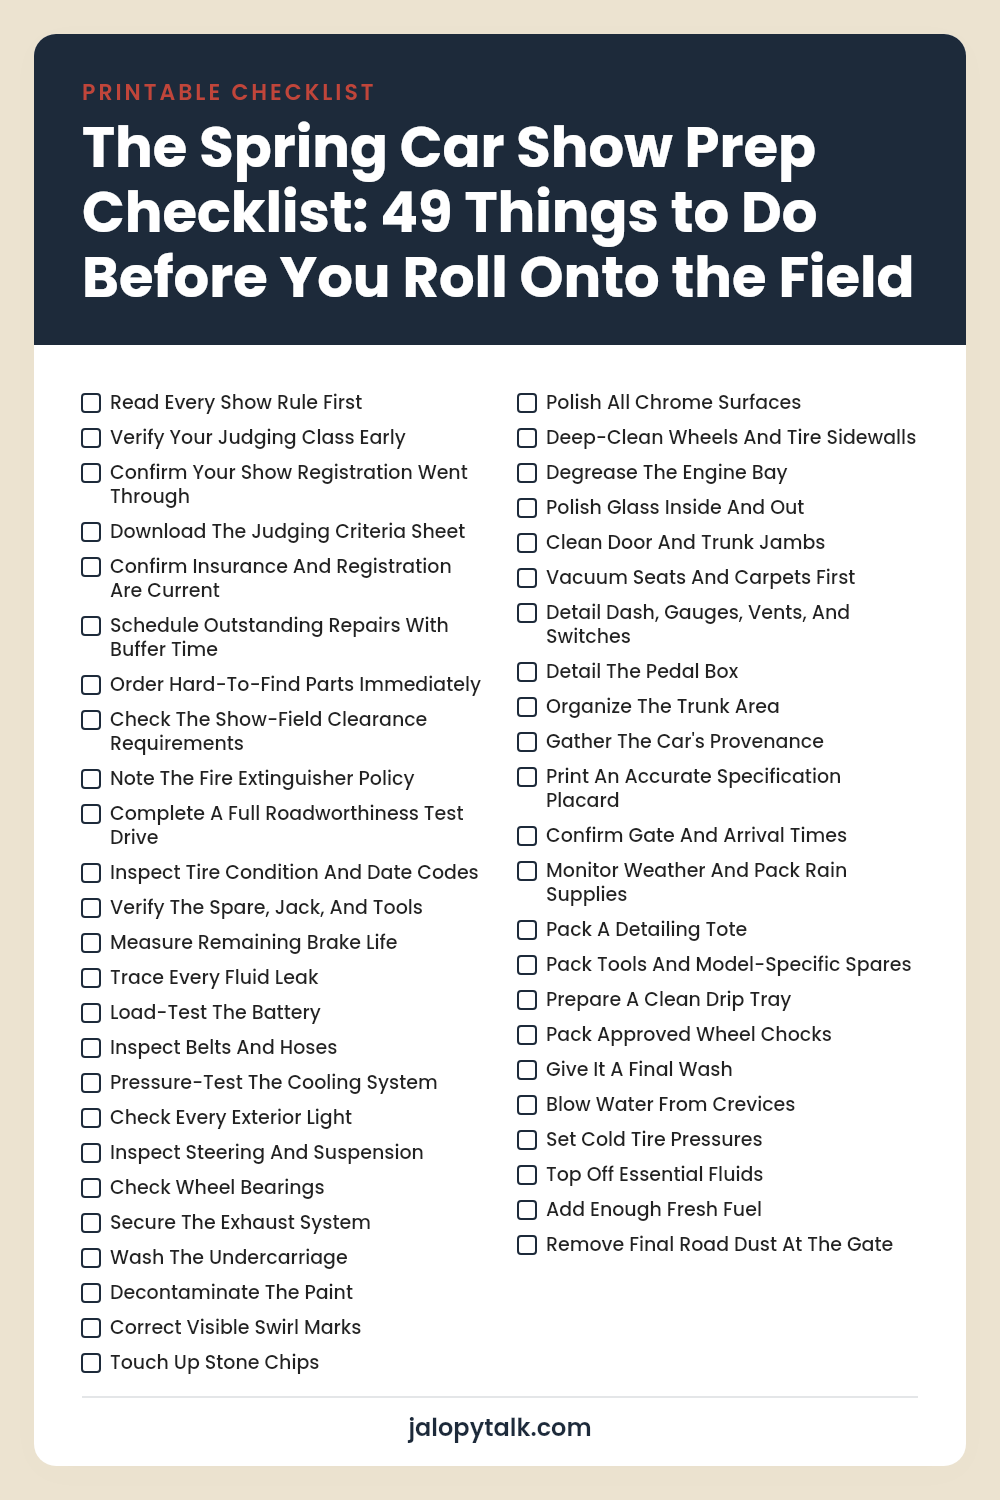
The car that rolls onto the field at 6 a.m. in June got there because of what somebody did back in March. Spring, that stretch between winter storage and your first show, is where the whole season gets won or lost. Skip the paperwork and you get turned away at the gate. Skip the test drive and you’re sitting in the staging lane watching the temp needle climb. So we’ve laid out the order to tackle all of it, from the first rule sheet down to the last shakedown run. Print it. Tape it inside the garage door. Work it top to bottom.
Please note that some of the images in this article were created with the assistance of AI.
48. Read Every Show Rule First
Most guys skim the rules, register, and figure they already know the drill because they’ve done shows before. That’s how you end up hauling a cooler onto a field where coolers are banned, or learning the gates close at 8 a.m. sharp when you’d planned on rolling in at 8:15. Rules change year to year and club to club.
So read the whole thing, cover to cover, the day the sheet drops. Arrival windows. Trailer parking. Pet policies. Whether you can even touch or move your own car once a volunteer has placed it. Highlight anything that changes what you pack.
47. Verify Your Judging Class Early
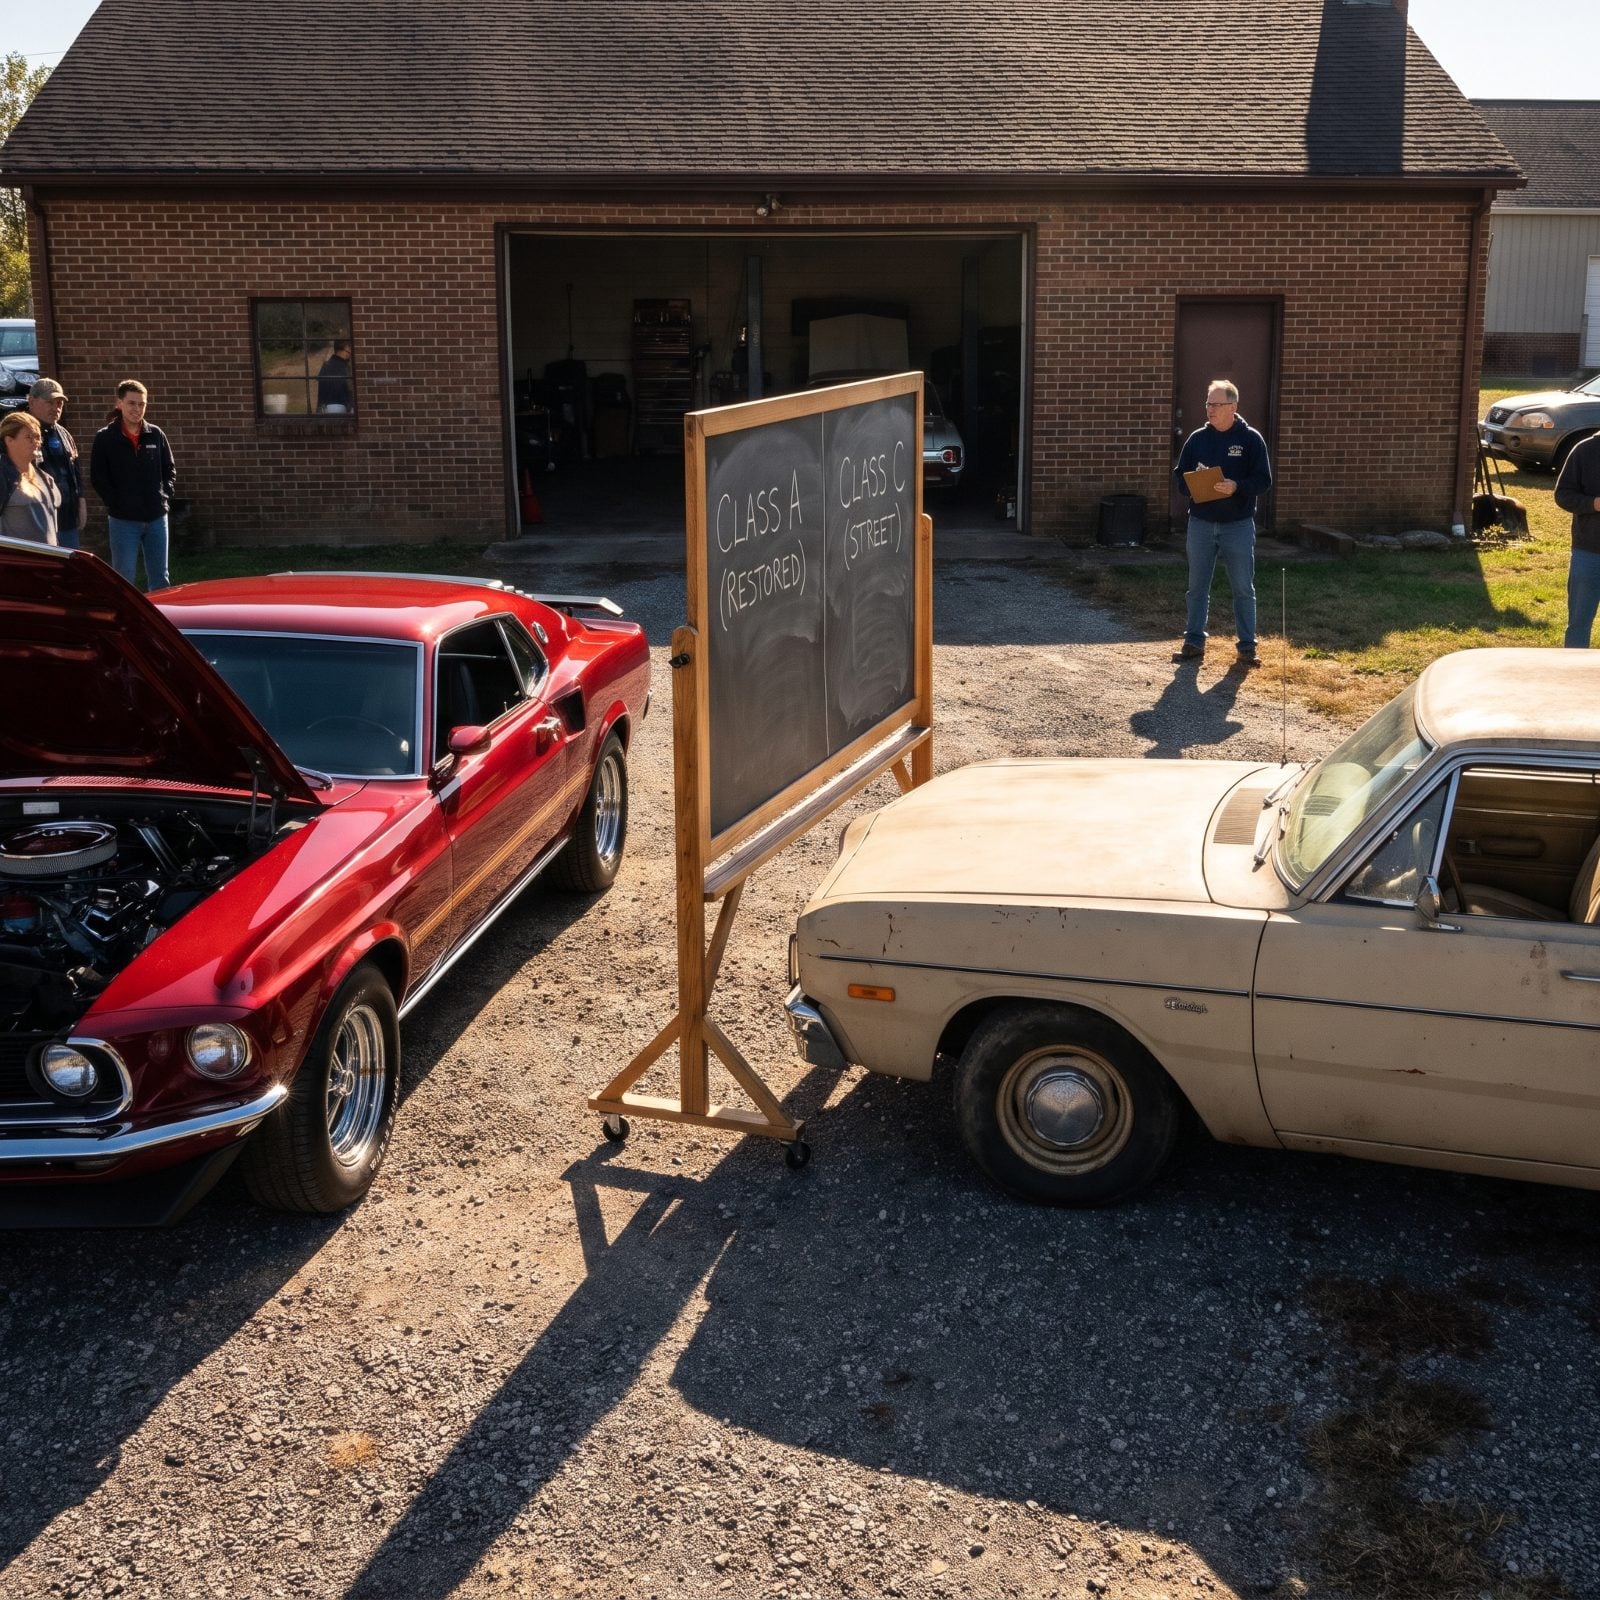
Put your car in the wrong class and you’re competing against builds you simply can’t beat. A numbers-matching stocker dropped into a modified group is dead on arrival. A restomod parked in an original-equipment class gets dinged for every non-period part on it.
Pull up the class definitions and match them to your car honestly. Year range, body style, engine — and the big one, originality versus modification. If there’s a cutoff for aftermarket parts, count yours. Too many bolt-on pieces bumps you up a tier whether you like it or not.
When the line is blurry, email the show chairman. I’ve watched people argue a class right there at registration and burn an hour they didn’t have to spare. Settle it in March.
46. Confirm Your Show Registration Went Through

You filled out the form online back in February. But did the payment actually clear? Did the confirmation land in your spam folder and die there? A surprising number of folks turn up with a registration that never processed, and the popular shows cap their field.
Log back into the portal and confirm you see a paid, accepted entry — not a pending one. Print the confirmation and the windshield placard if they issue one. Screenshots have a nasty habit of dying when your phone dies in the parking lot.
45. Download The Judging Criteria Sheet
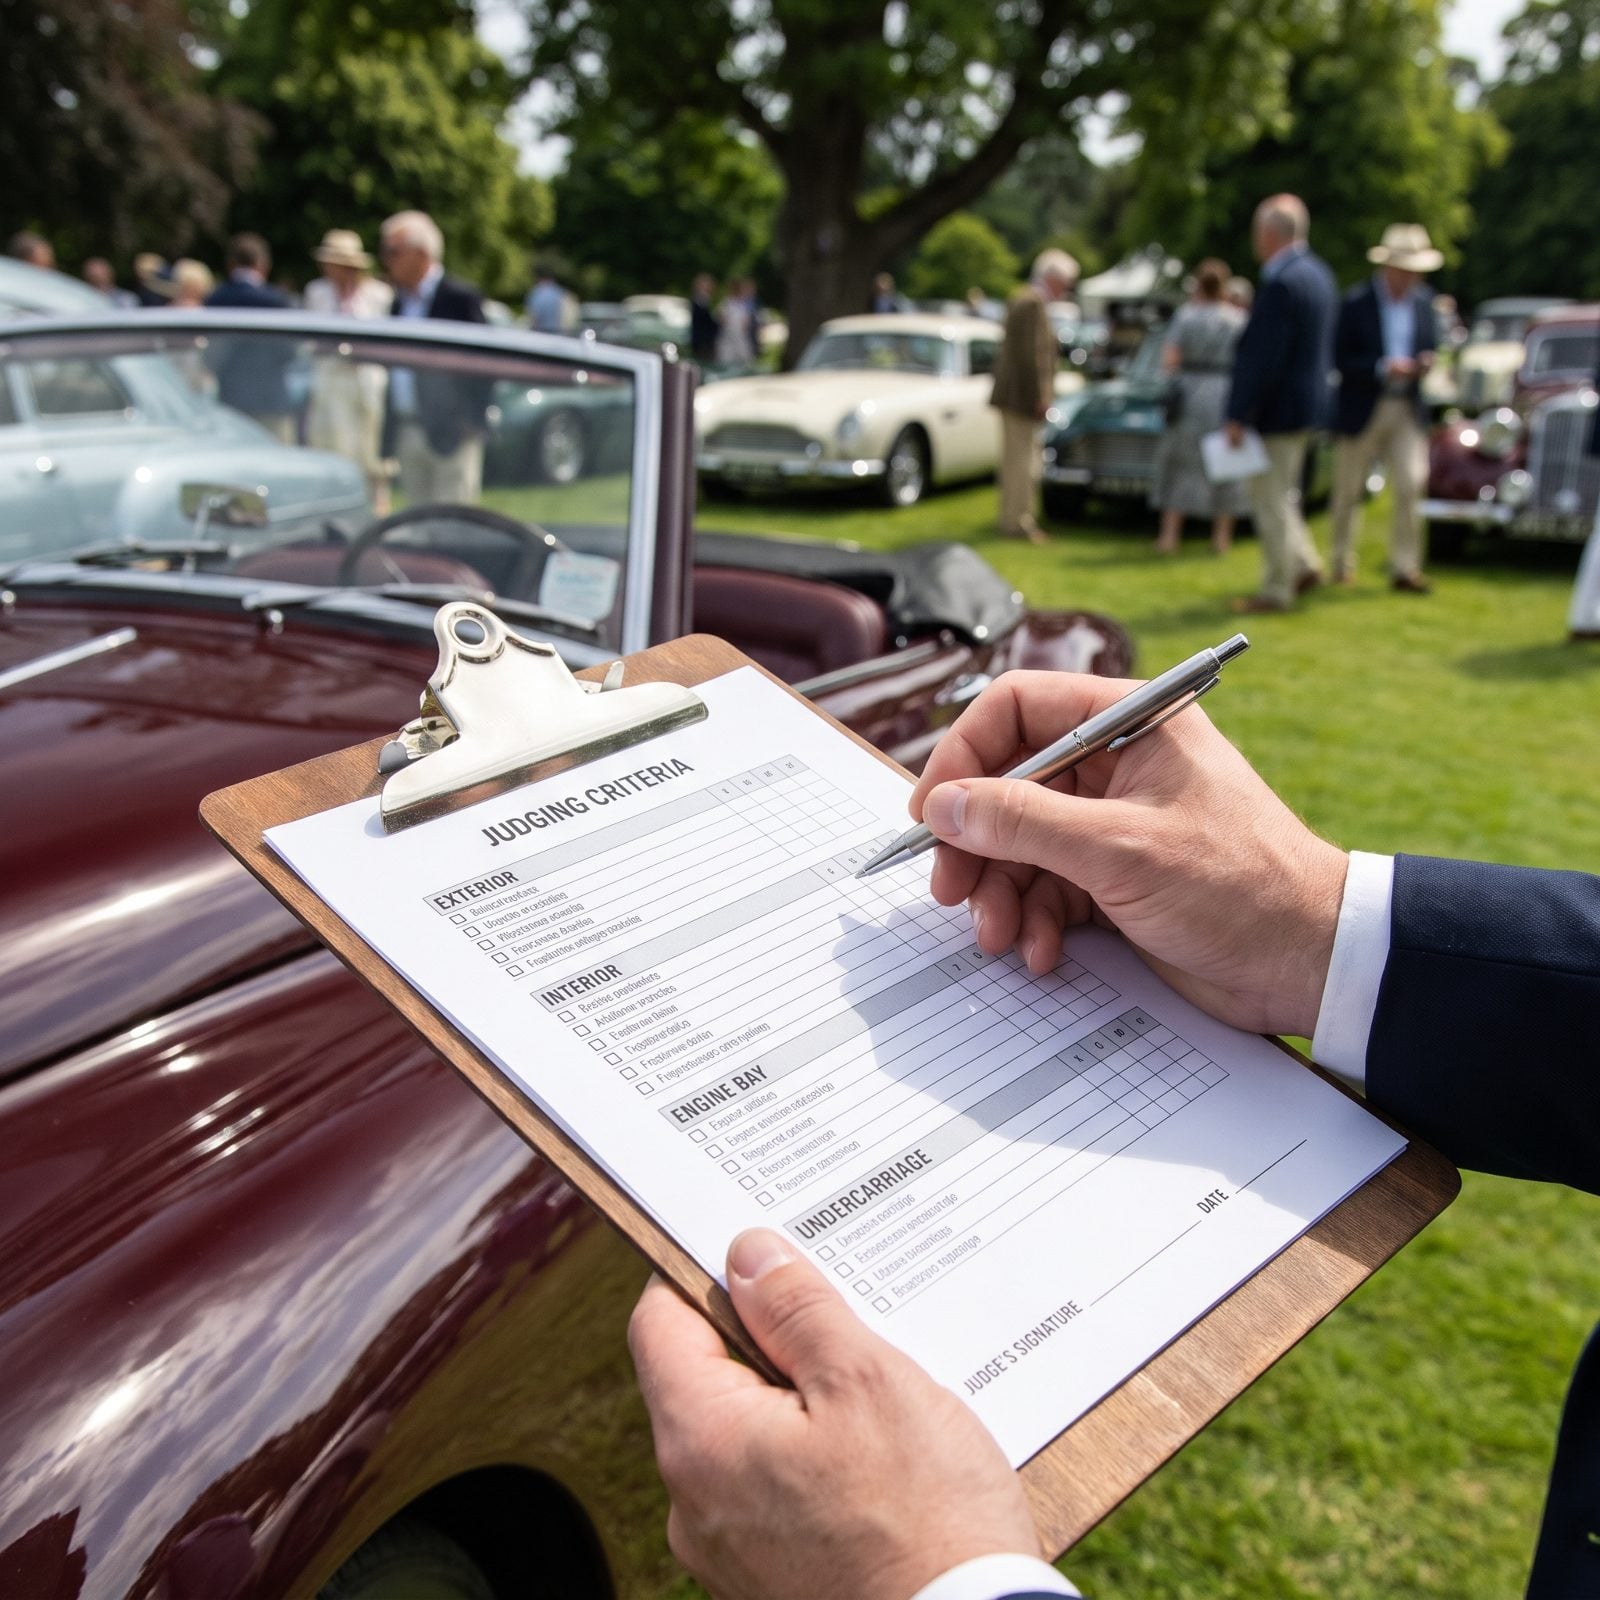
Judges don’t score on vibes. They score on a sheet, and if you’ve already seen that sheet you know exactly where the points live. Underbody cleanliness, correct date-coded parts, factory markings, tire condition, panel gaps — some categories hand out points for things you’ve been happily ignoring for years.
Get the scoring breakdown and read it like a map. Where sit the heavy point values? That’s where your spring hours go. Nobody ever won by over-polishing the trunk lid while bleeding twenty points under the car.
What Our Readers Say
- Jalopy Talk readers gave restored, concours-condition cars more hearts than the other images in the same articles, 82% versus 75%.
- Photos taken at car shows and lots earned more hearts from our readers than the other images in the same articles, 78% compared with 74%.
From Jalopy Talk reader polls and votes.
44. Confirm Insurance And Registration Are Current
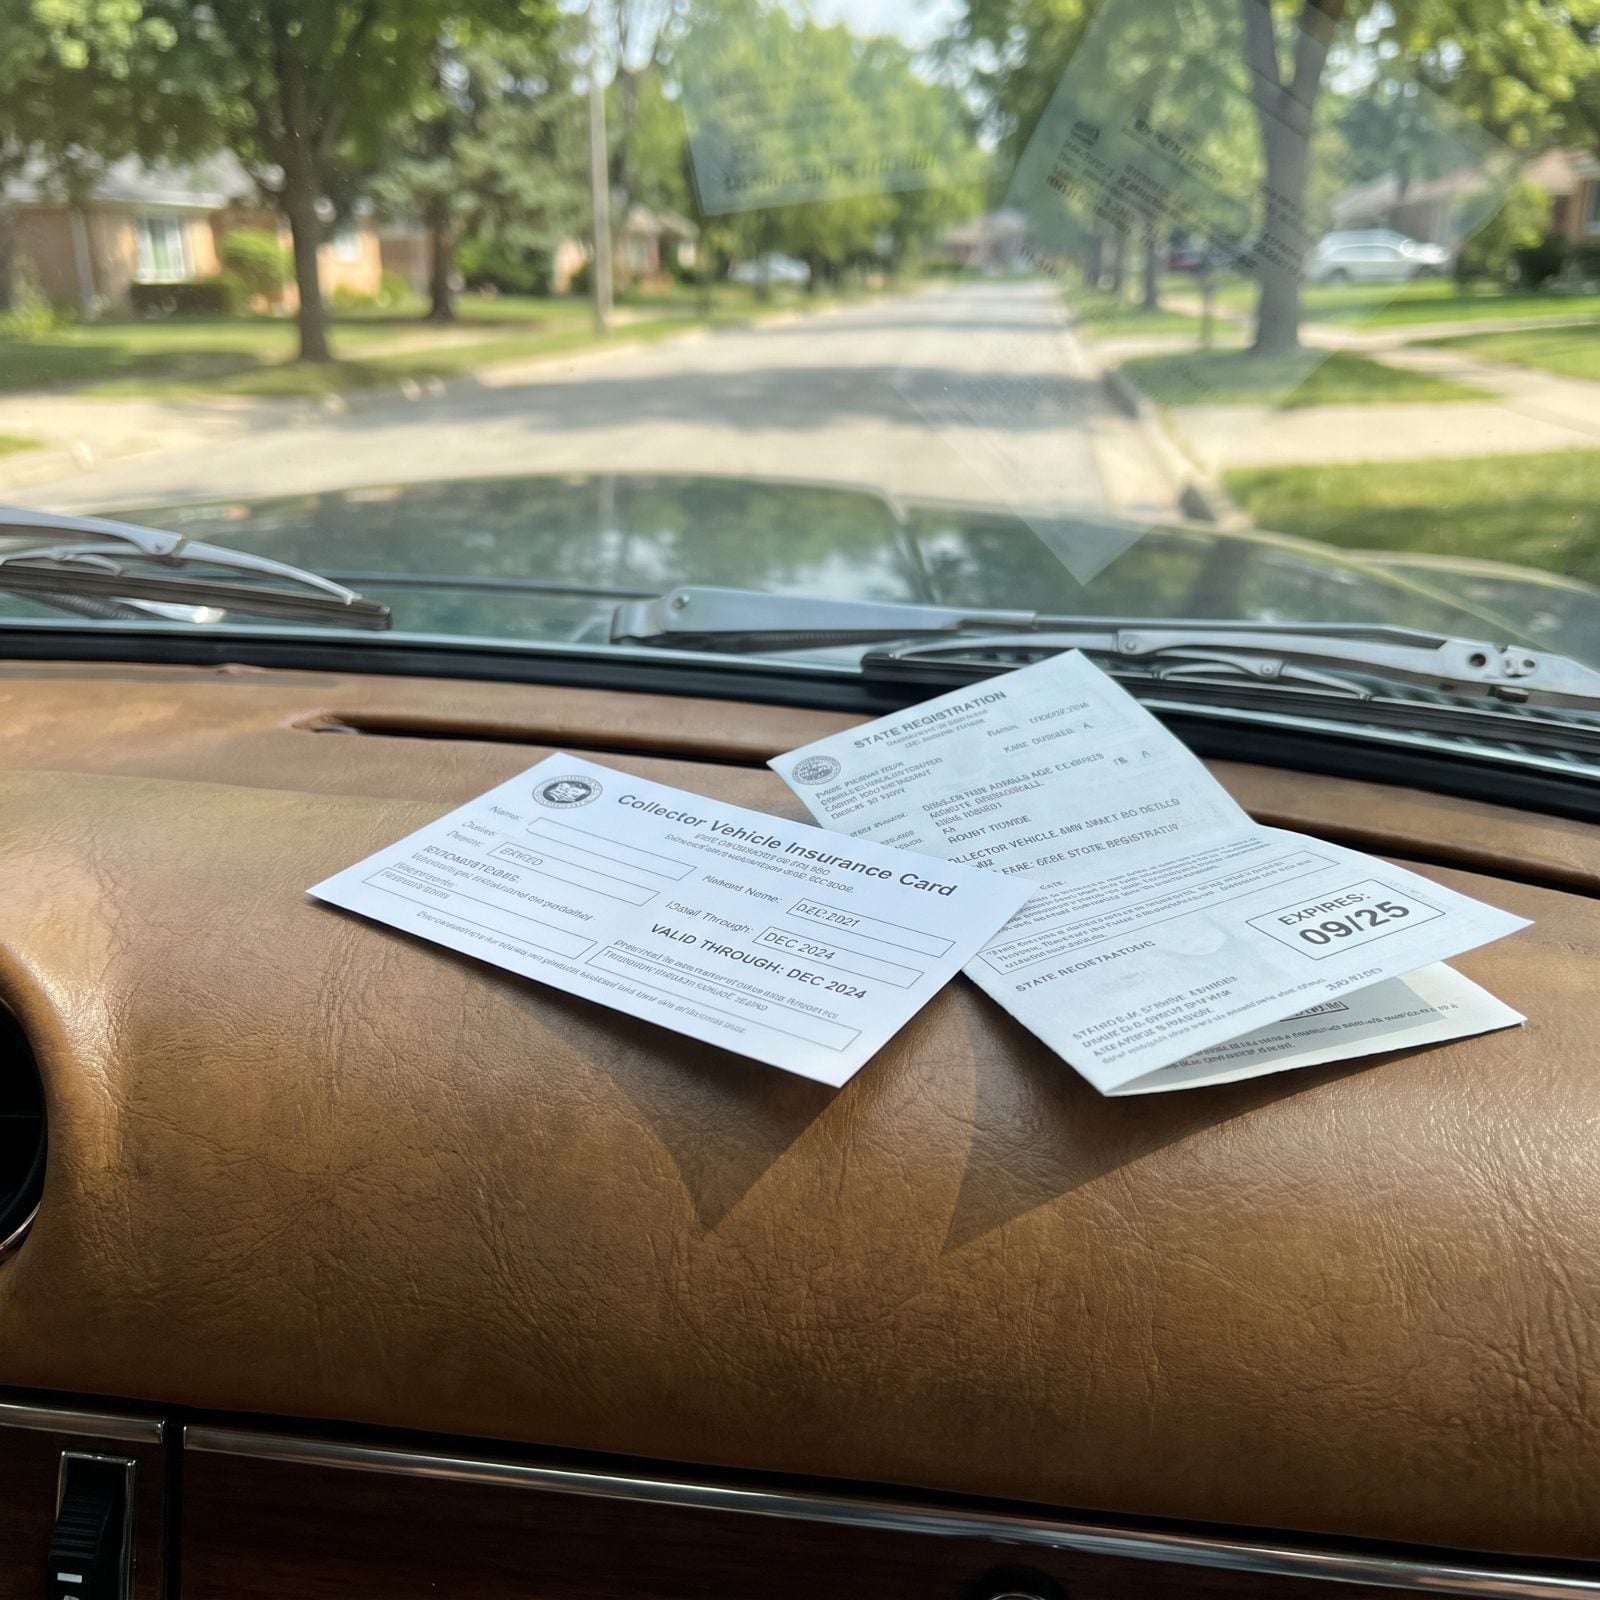
A show plate and a collector policy don’t mean much if either one lapsed over the winter. Collector insurance often carries mileage limits and seasonal clauses, so run your plate renewal date and the policy effective dates before the trailer leaves the driveway.
Driving to the show instead of trailering? Then this matters twice over. A cop doesn’t care that the car is a rolling museum piece. Expired tags are expired tags.
Keep the current insurance card and registration in the car, not the house. I locked mine in a desk drawer one year and spent the whole morning before a cruise sweating over a tail light. Learn from my mistake.
43. Schedule Outstanding Repairs With Buffer Time
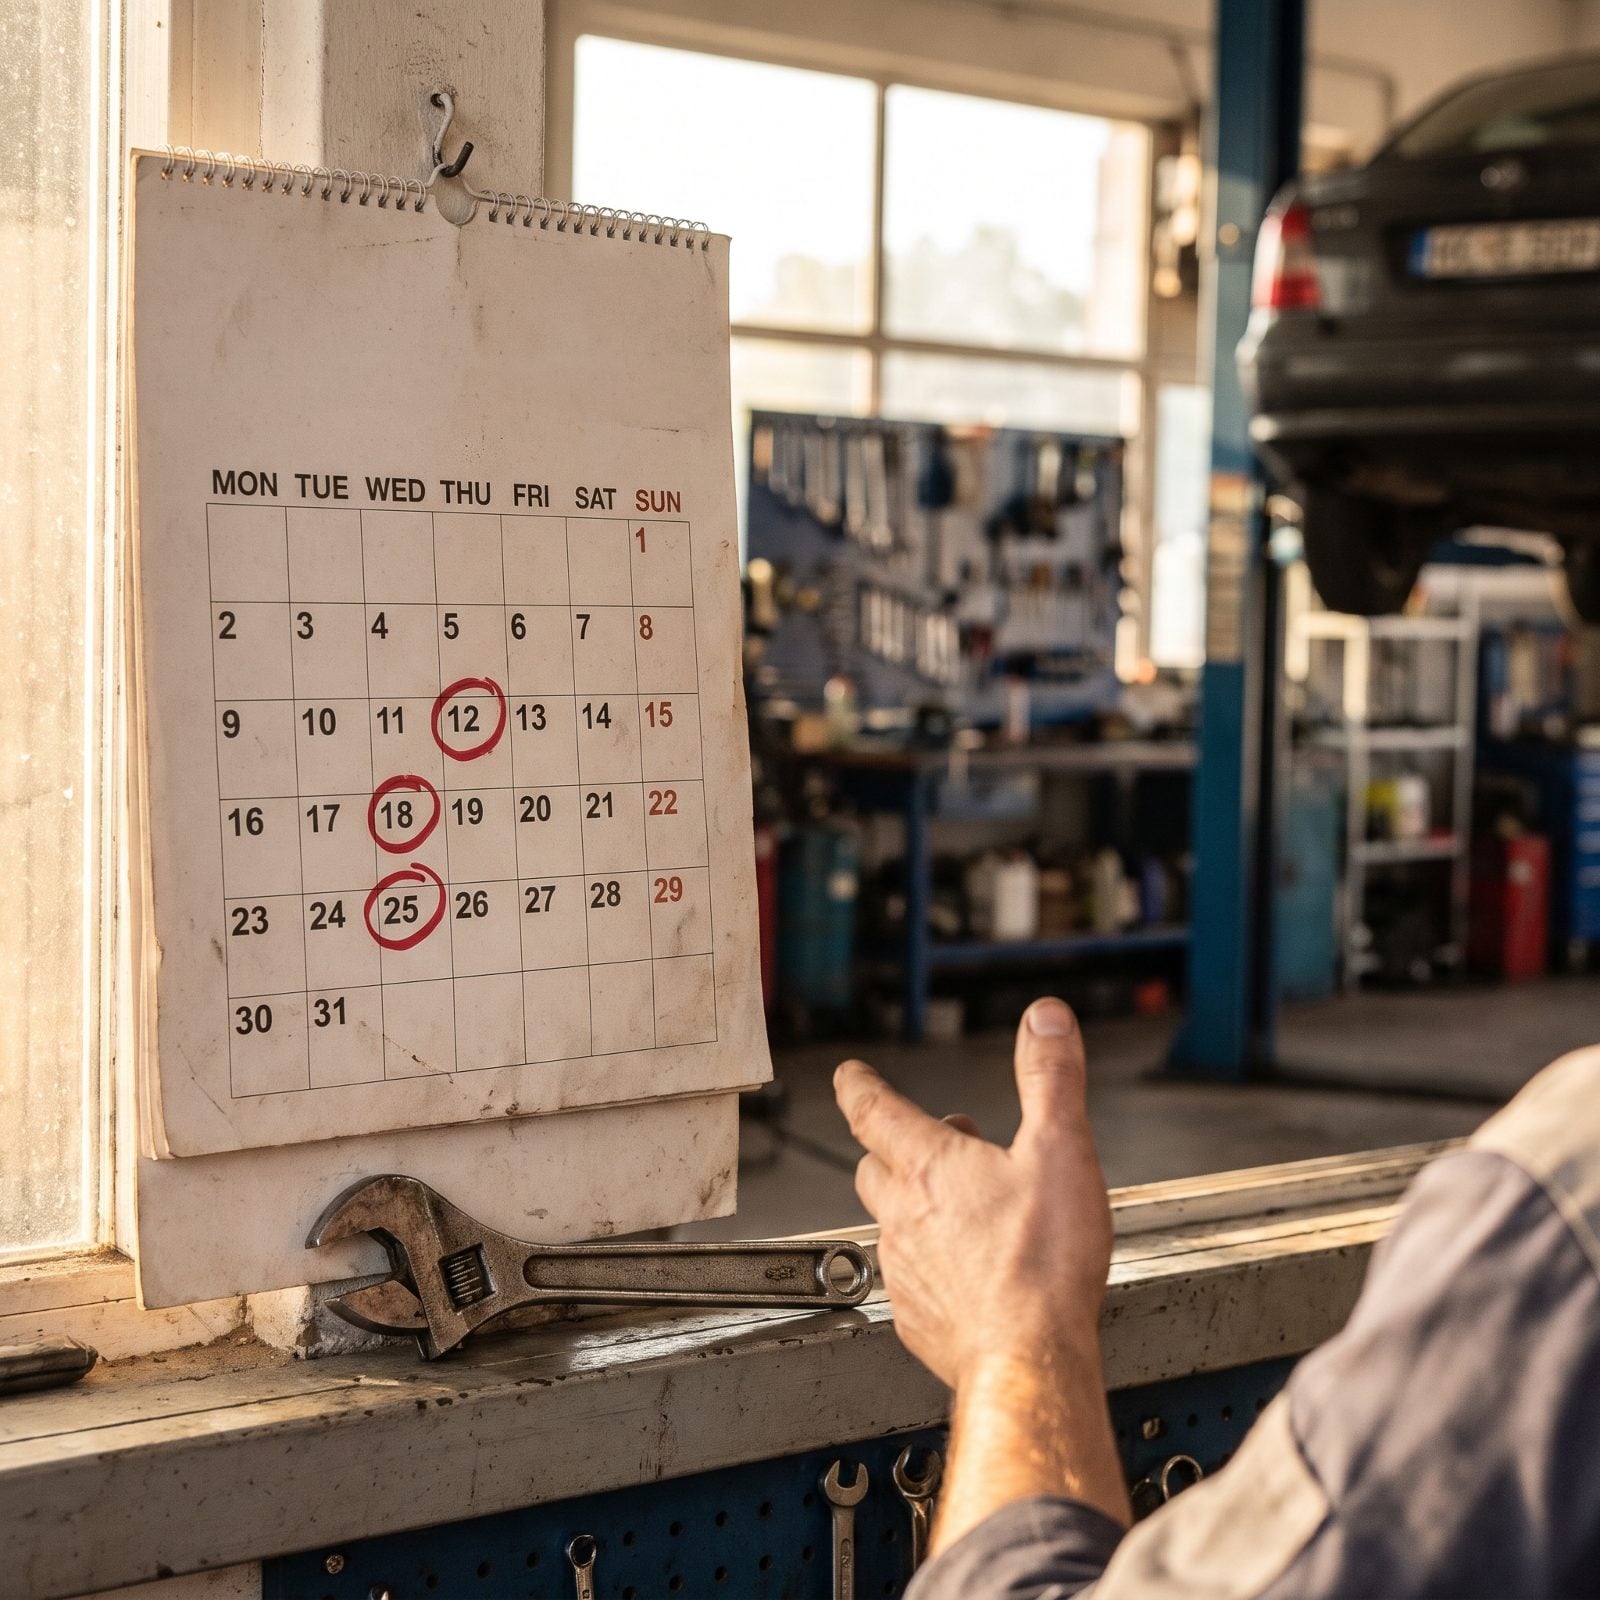
That brake job you’ve been meaning to do since October? Do it now. Shops get slammed come spring as every garage queen crawls out of hibernation at once, and parts for older cars don’t exactly materialize overnight.
Walk the car and list all of it — the soft brake pedal, the weeping water pump, that exhaust leak you can hear at idle. Then book the shop or block out the weekends to handle it yourself. Give yourself a two-week cushion before show day so one snag doesn’t snowball into a cancellation.
The car that fails in the staging lane is almost always the one that got its last wrench turned the night before.
42. Order Hard-To-Find Parts Immediately
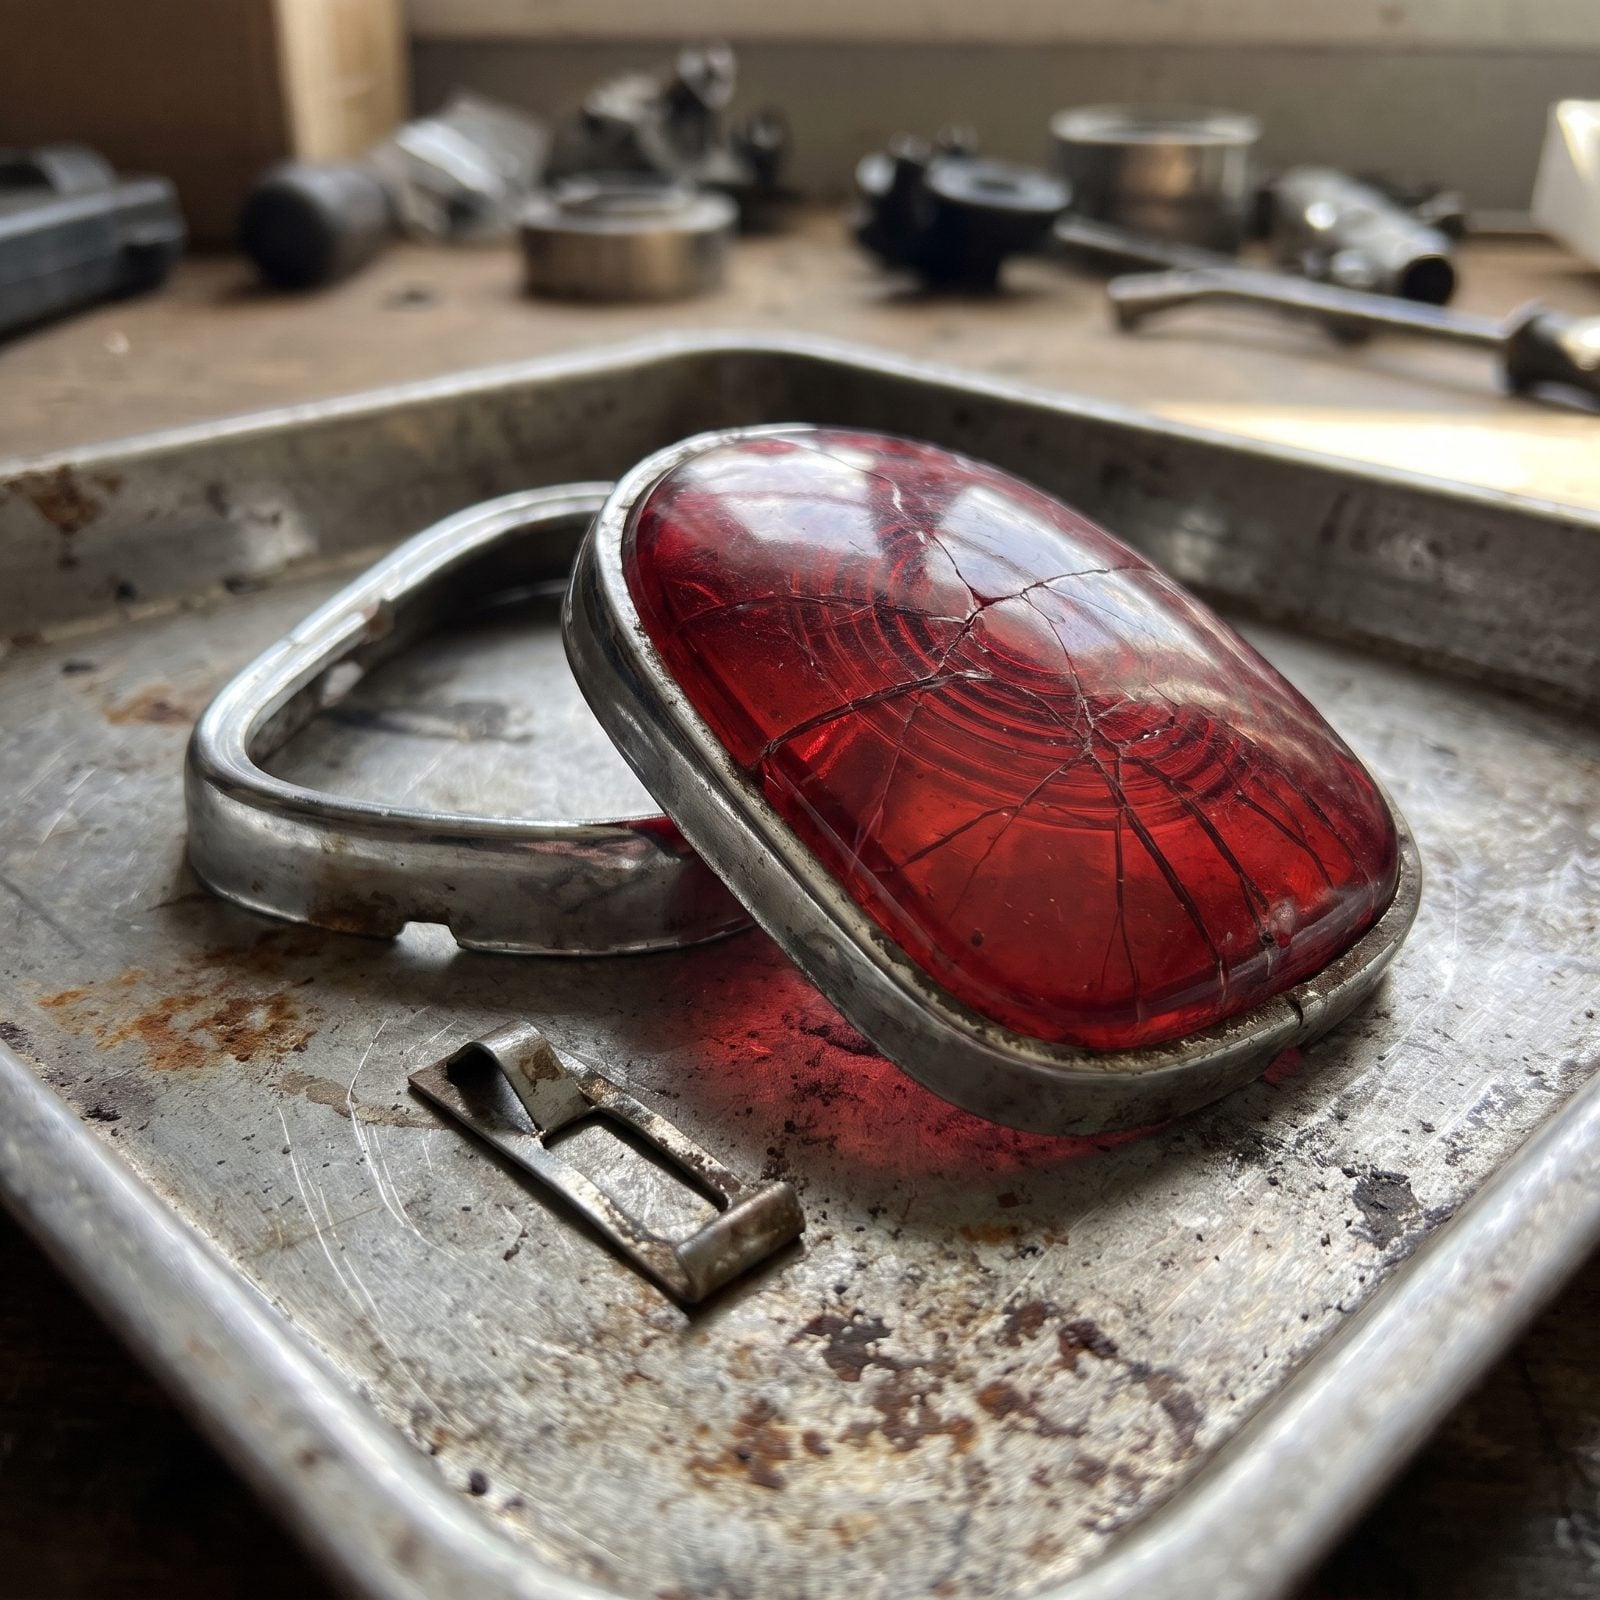
The cracked tail light lens. The correct-date radiator hose. That one trim clip that’s been missing for a decade. These are the parts that take six weeks to source, because somebody somewhere has to pull them off a donor car sitting in a field two states over.
Order them the moment you know you need them. NOS and quality reproduction stock moves fast once show season kicks off, and a backorder on a single lens can wreck an entire judging run.
41. Check The Show-Field Clearance Requirements
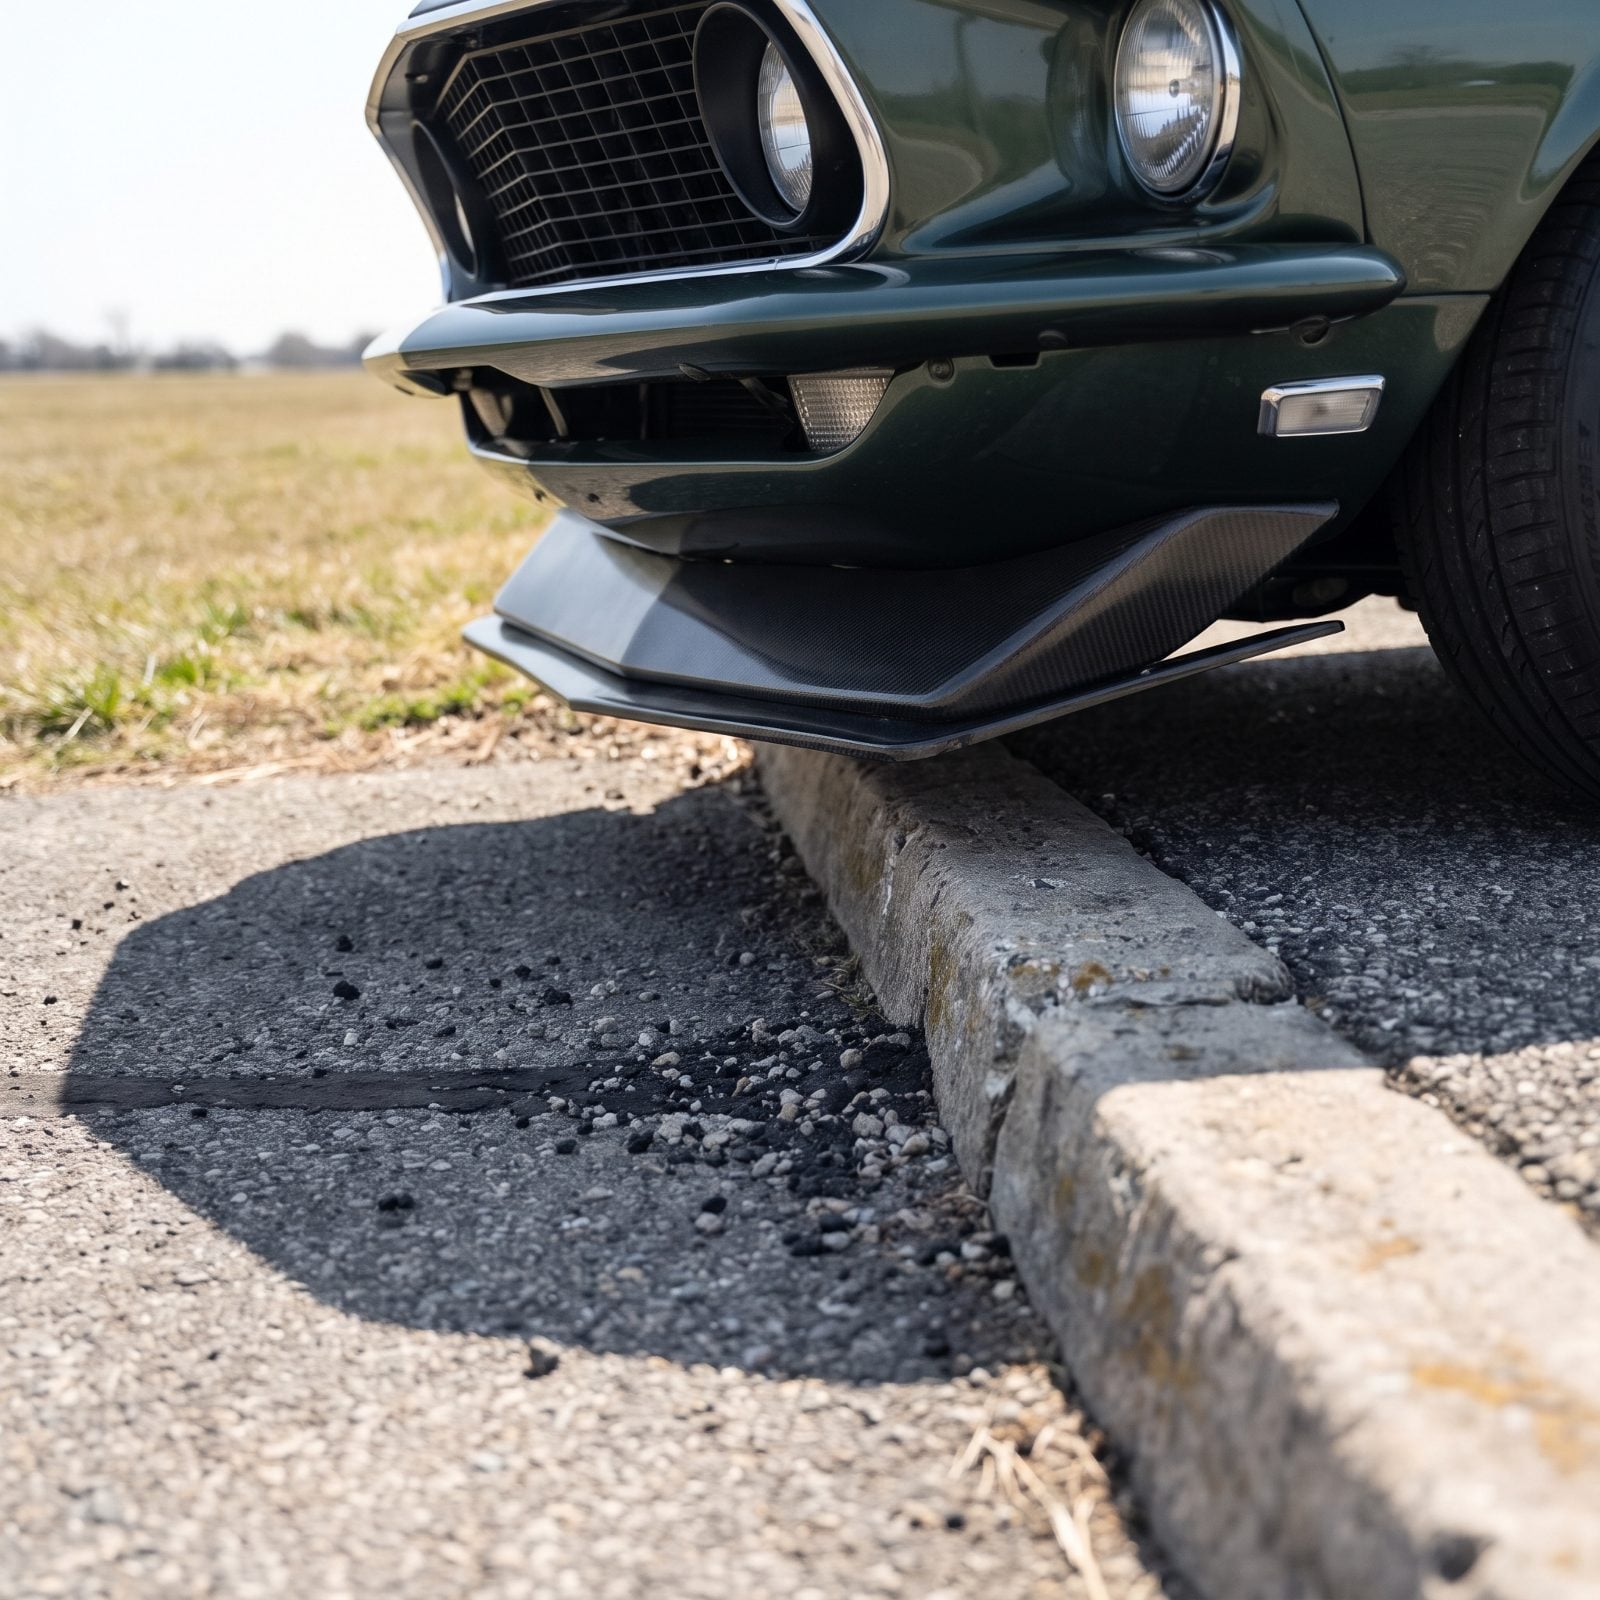
A lowered car that lives happily on smooth pavement can high-center on a grass field entrance or a curb cut you never bothered to scout. And kicking up a cloud of dirt as your front air dam barely skims past a curb in front of a hundred people is a rotten way to start the day.
Measure your actual ground clearance at the lowest point. Then find out what the show field really is — pavement, packed gravel, or grass with a lip at the gate. Grass fields with rain-softened edges have swallowed more than one low car.
If clearance is tight, toss a set of ramps or a couple of boards in the trunk to ease the transition. Ten minutes of planning beats a tow strap in front of the crowd.
40. Note The Fire Extinguisher Policy
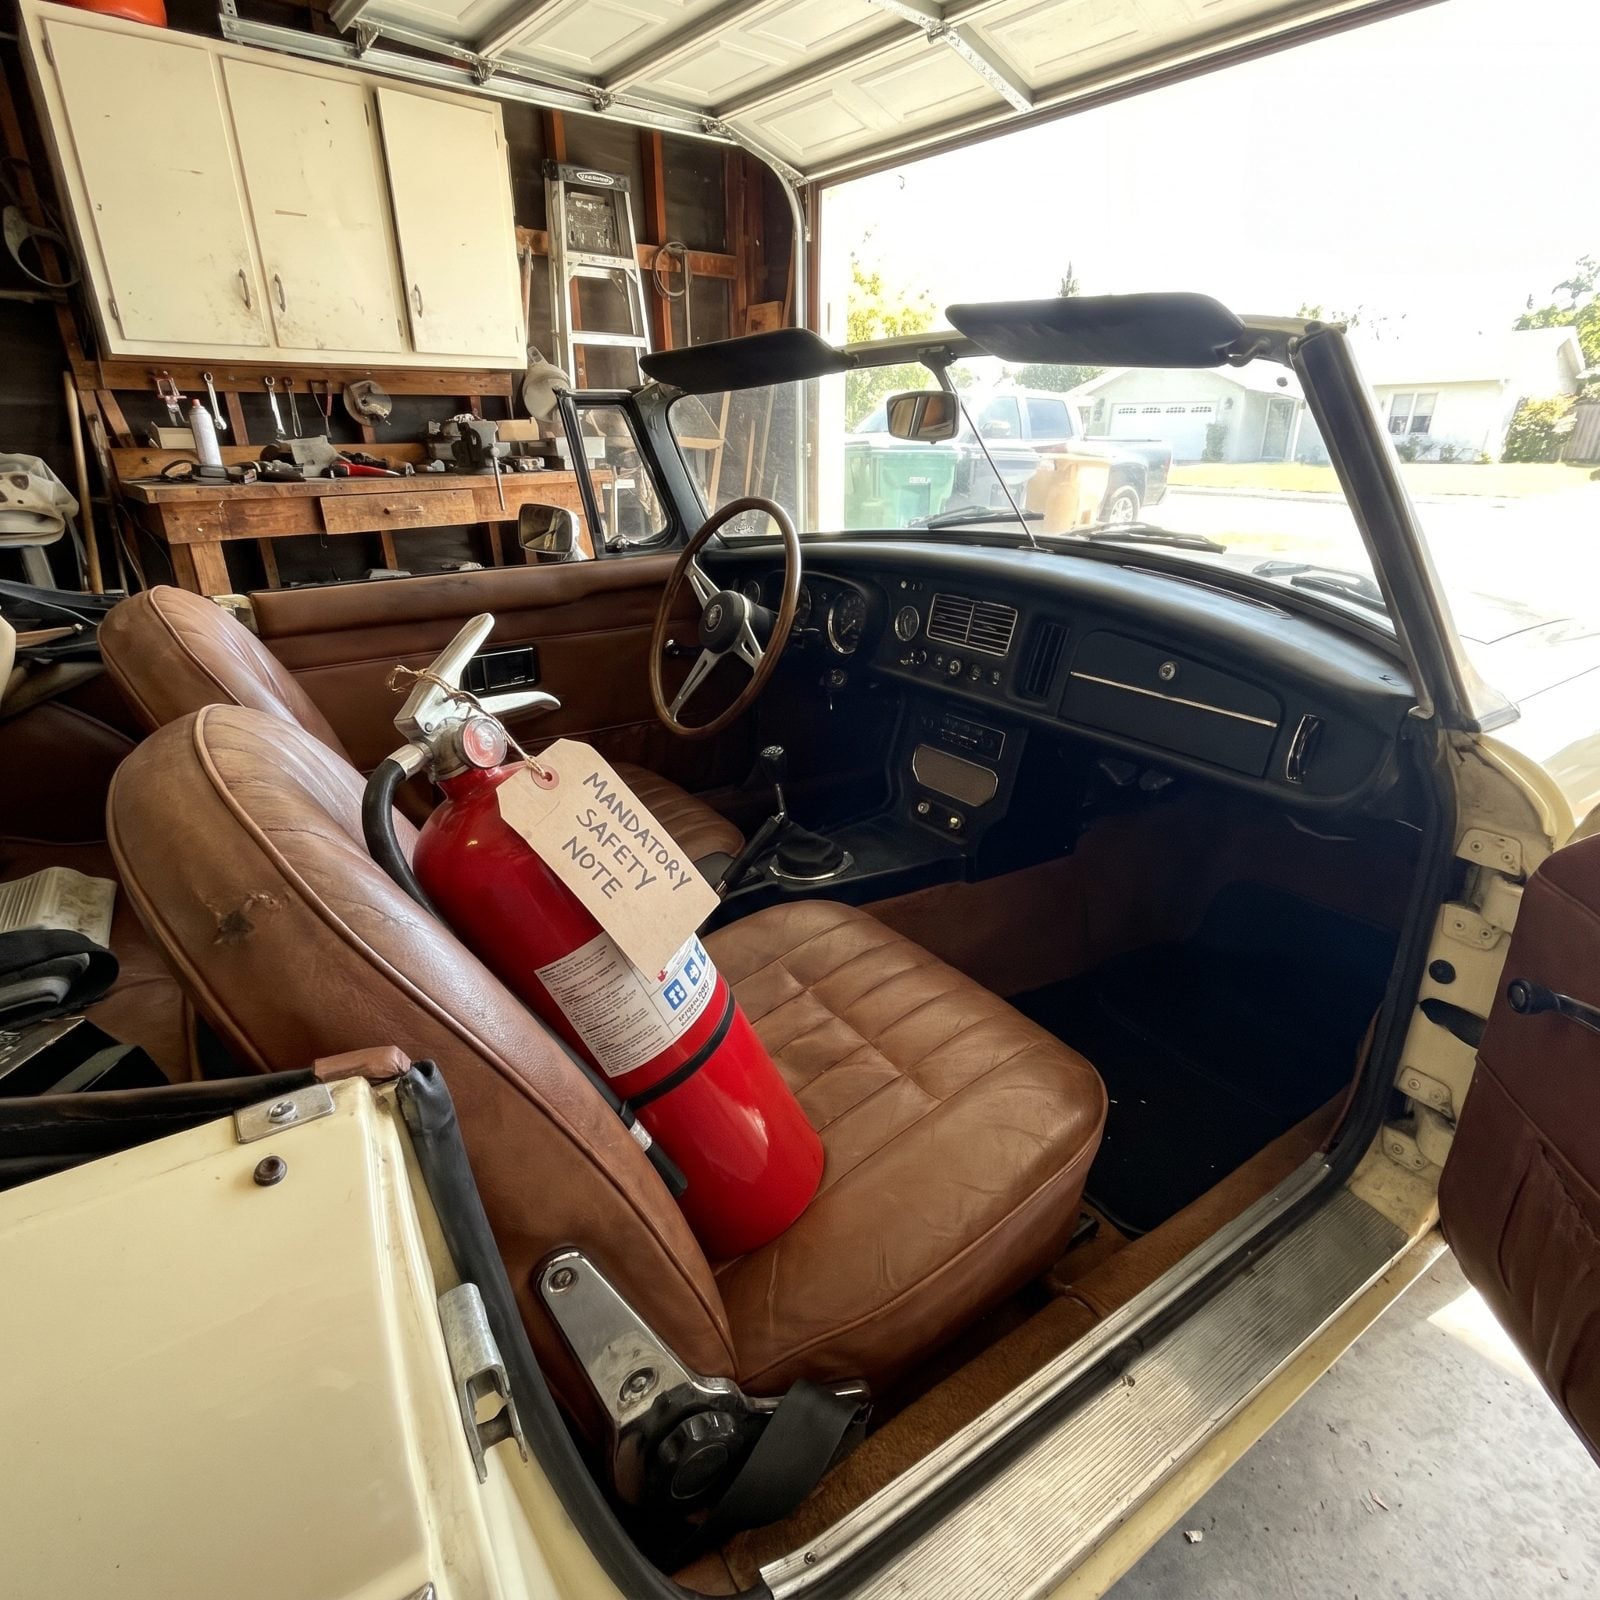
Plenty of shows now require every car on the field to carry a working, in-date fire extinguisher. Show up without one and you may not get waved through — especially at any field that allows engine starts or running displays.
Check the gauge, confirm it’s rated for fuel and electrical fires, and mount it somewhere you can actually reach, not buried in the trunk under a toolbox. Older cars with brittle fuel lines are exactly the ones this rule got written for.
39. Complete A Full Roadworthiness Test Drive
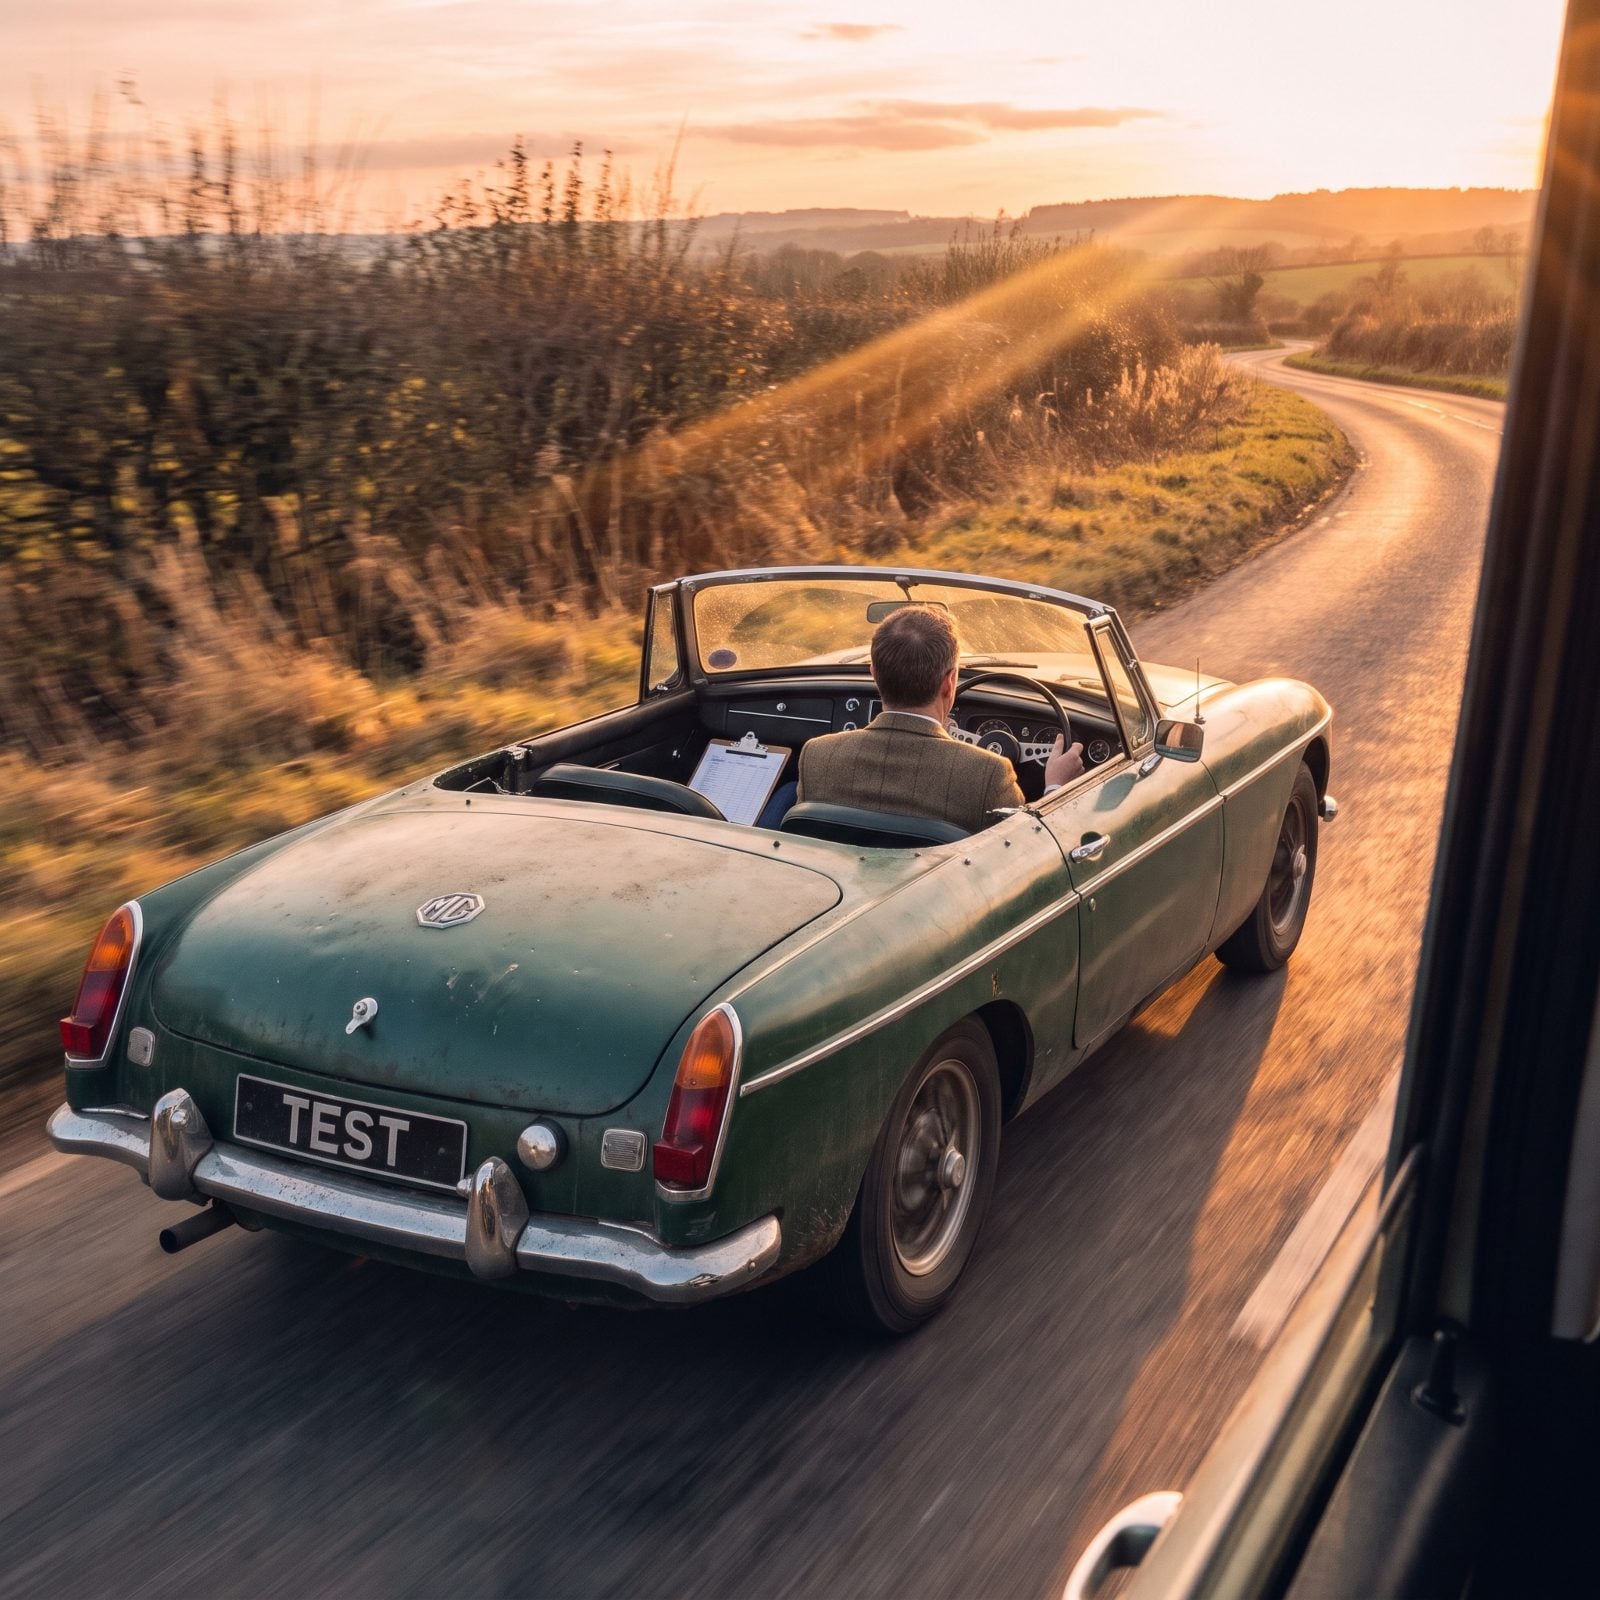
Don’t skip this one. It’s the one people skip because they ran clean out of time — which is precisely how a fresh rebuild strands you on the interstate shoulder. Everything can look flawless in the garage and still let go at 55 under heat and load.
So take a real drive. Twenty minutes minimum, long enough to reach full operating temperature. Work through the gears. Brake hard a few times from speed. Watch the temp gauge, listen for anything new, check for leaks the second you’re back.
Then let it sit and crawl underneath. A warm car gives up drips a cold one hides. If something shows, you’ve still got days to chase it down instead of discovering it in the staging lane at dawn. And that, right there, is why you do this in spring.
38. Inspect Tire Condition And Date Codes
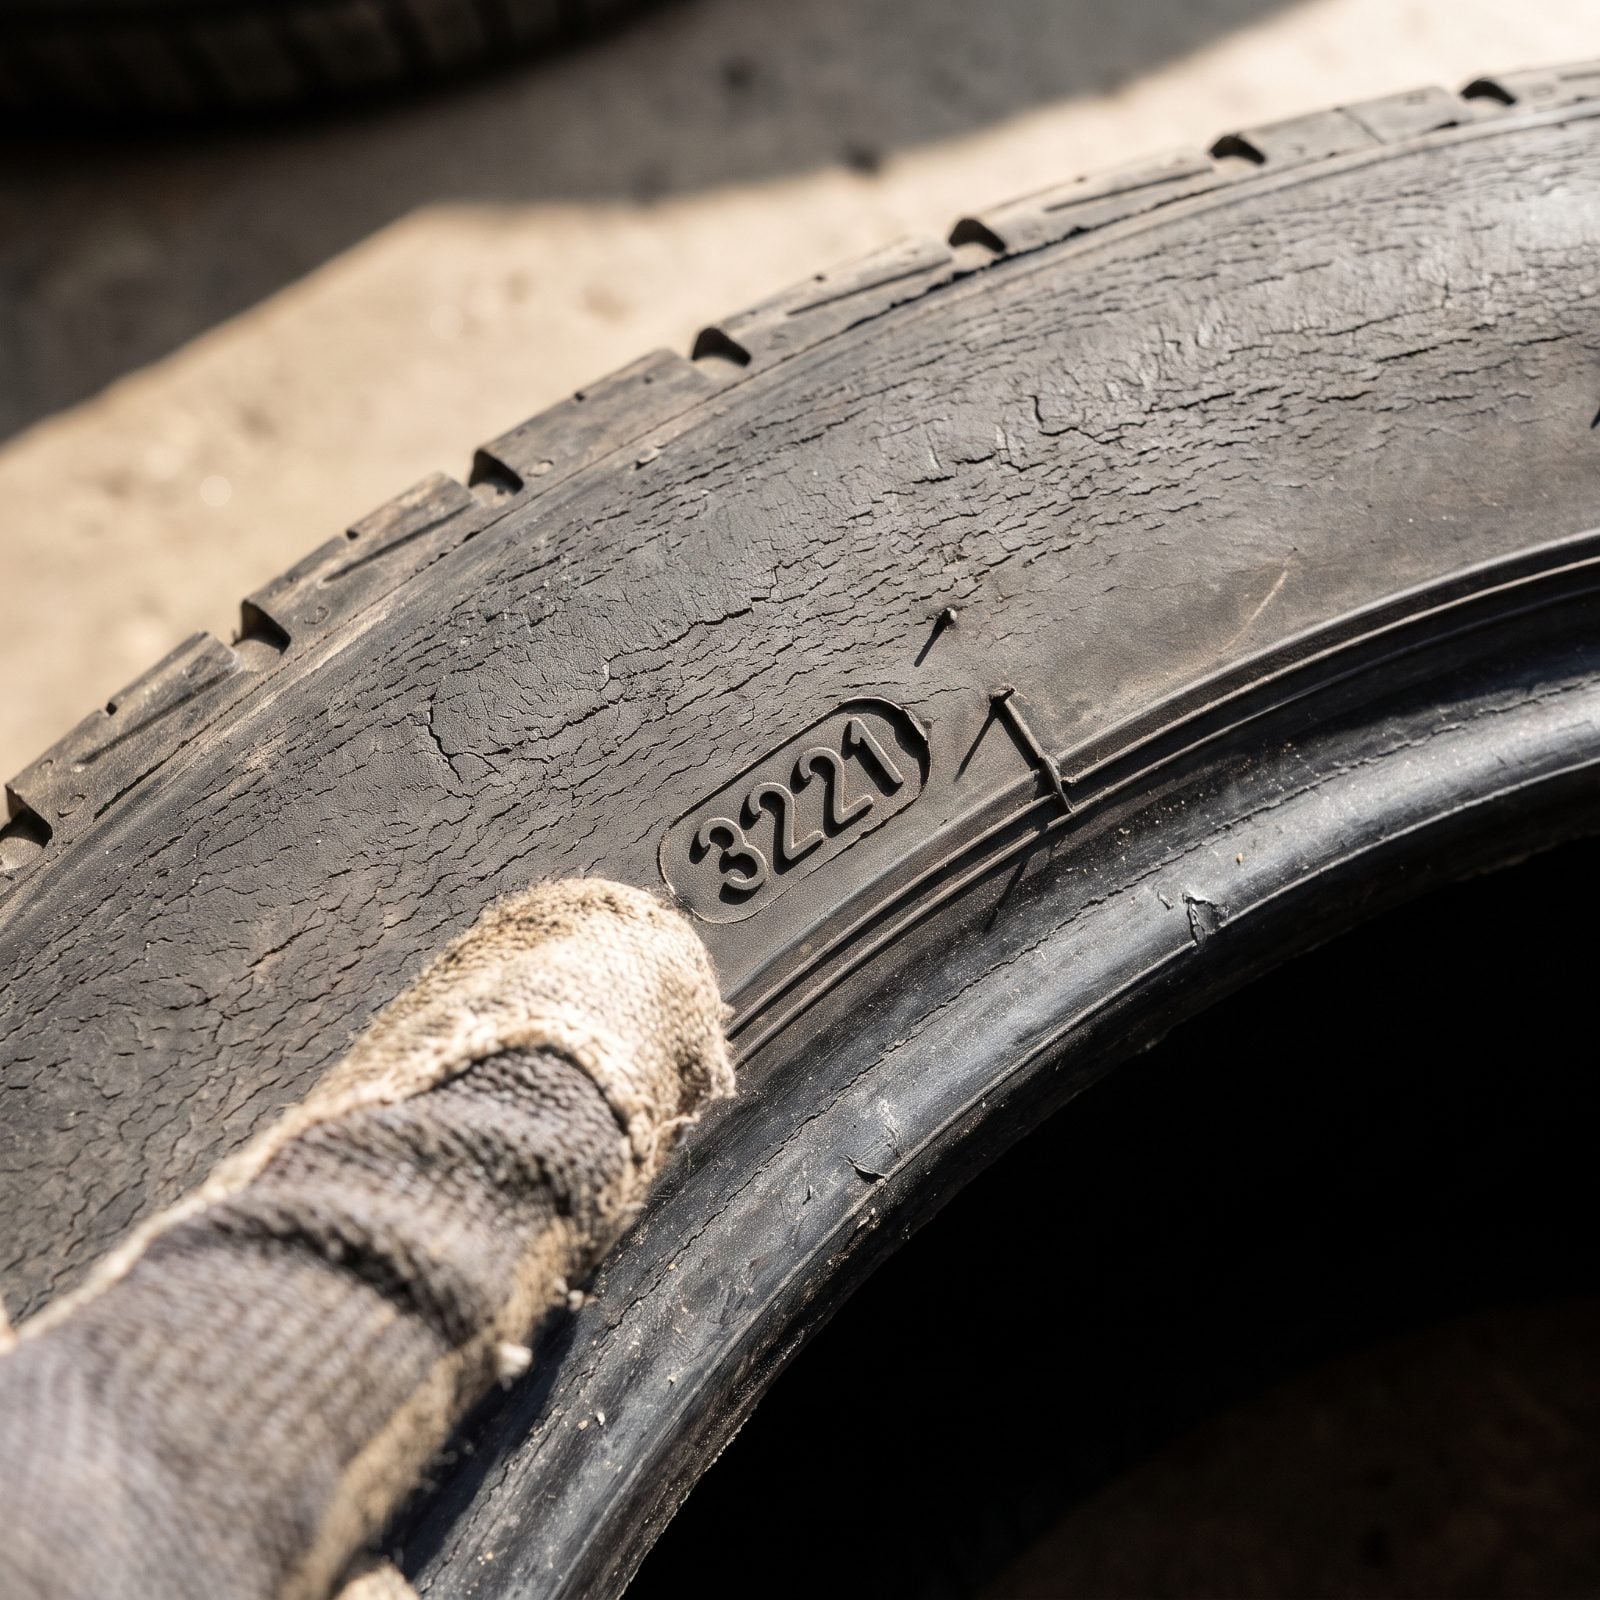
Rubber doesn’t care how many miles are on it. It cares how old it is. A tire can look fresh, hold air, and roll quiet while sitting a full decade past its prime, because the oils that keep it pliable cook away over years in a dry garage whether you drive the thing or not.
Find the four-digit code molded into the sidewall — first two digits the week, last two the year. Anything past six or seven years deserves a hard look no matter how good the tread reads. Run a quarter into the grooves with Washington’s head down, and if you can see the top of his head you’re near the limit.
Most people never check the inner sidewall, the side you can’t see from the driveway. That’s exactly where the cracks start hiding.
37. Verify The Spare, Jack, And Tools
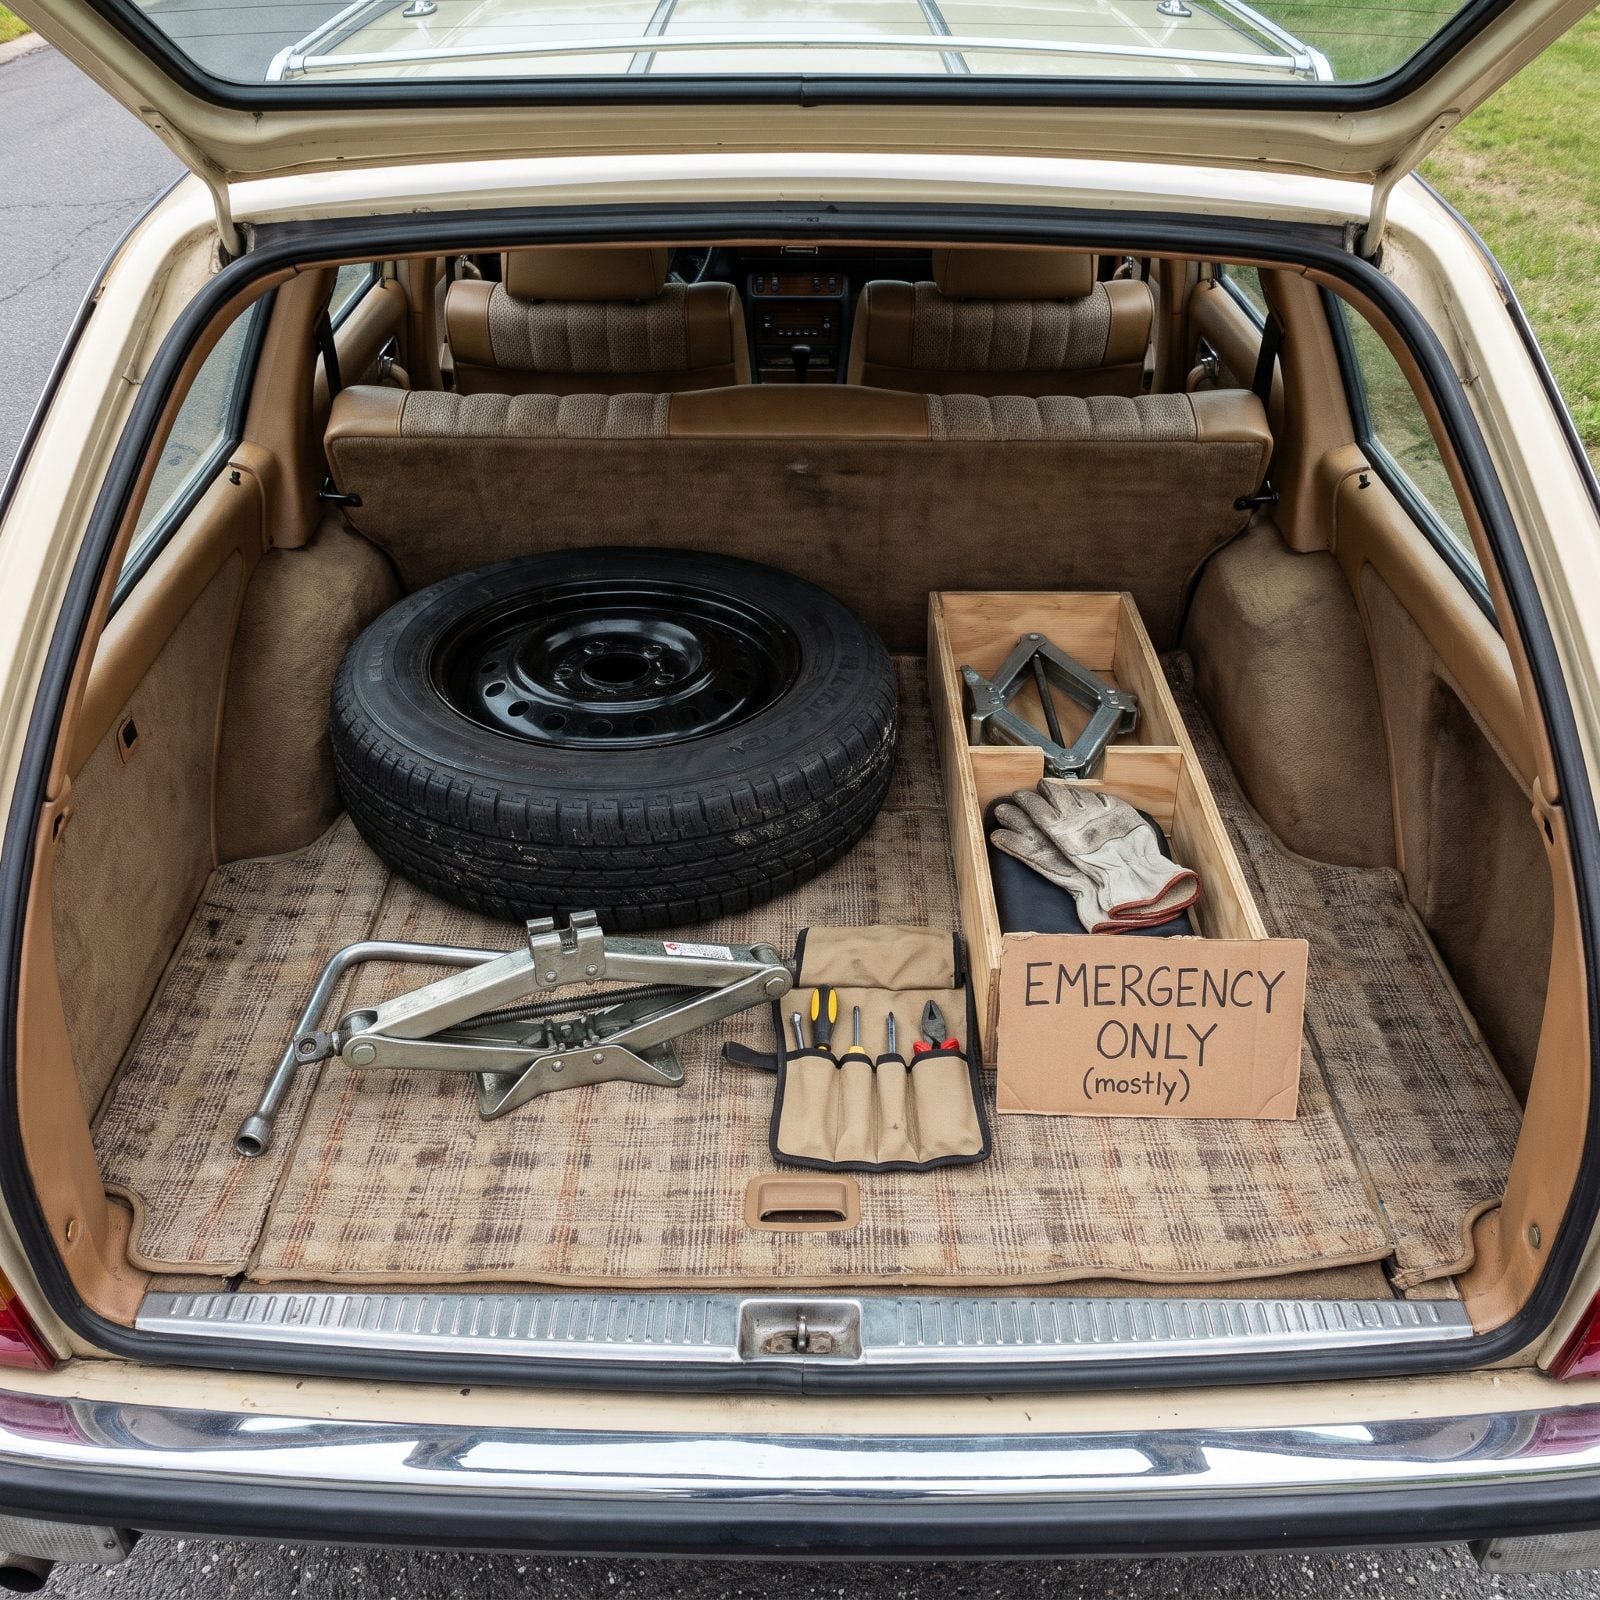
The spare only matters on the day you need it, which is always the worst possible day. You pull it out on the shoulder of a two-lane and discover it’s been flat since the Reagan administration.
So pump it up and check the pressure now, in the garage, with a real gauge. Then run the jack up and down its full travel — a seized scissor jack is useless, and old grease turns to glue. And confirm the lug wrench actually fits your lugs. A parts-store wheel swap years back may have quietly changed the size on you.
36. Measure Remaining Brake Life
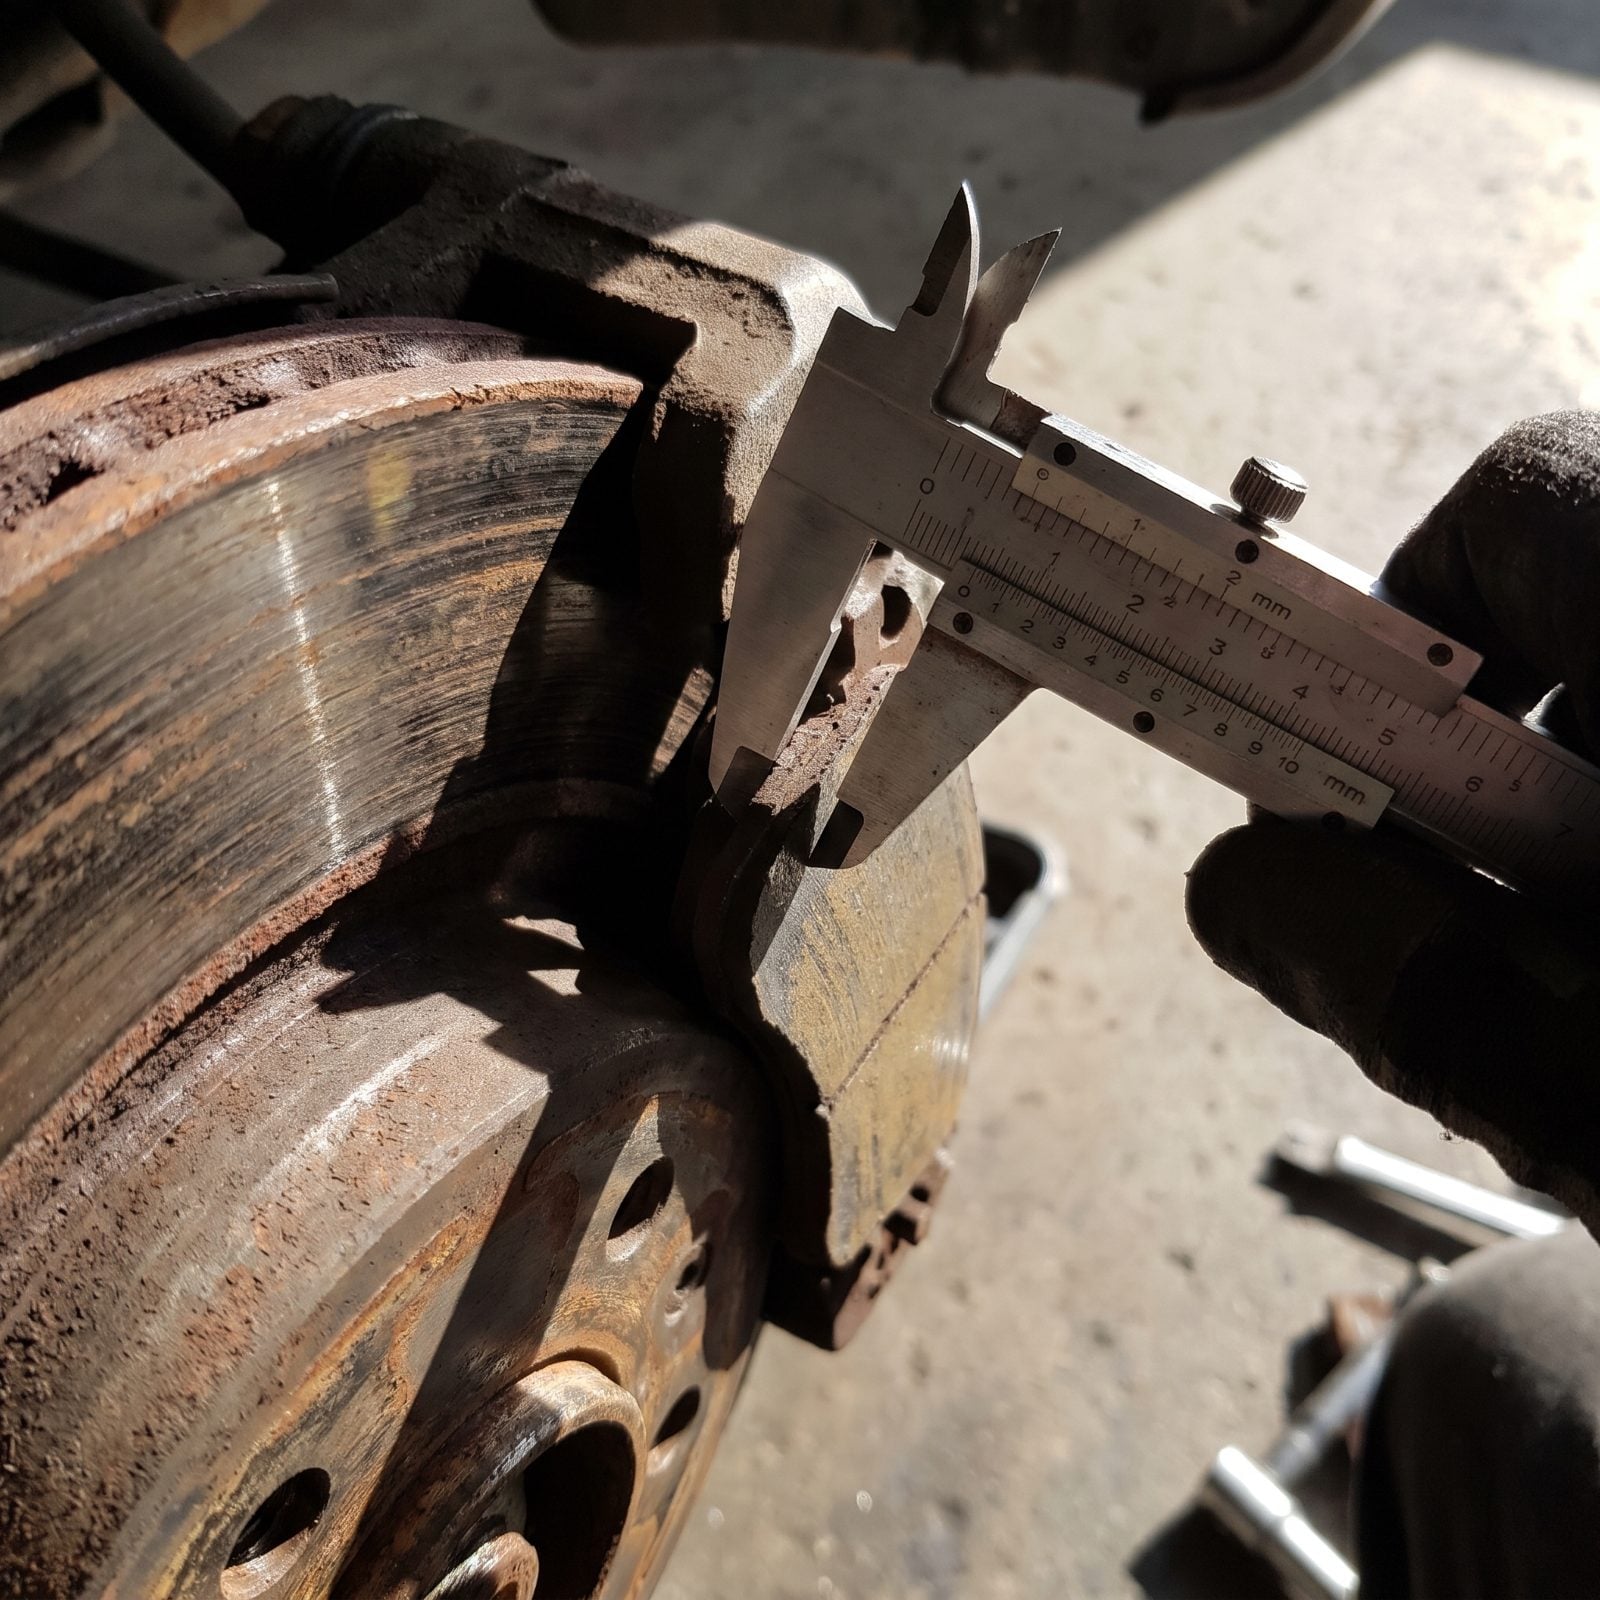
Brakes fail quietly until the day they don’t. A show car that sits all winter builds surface rust on the rotors, and the pads can glaze from getting hot once and cooling in place. You won’t feel any of it until you’re hauling the trailer down a grade.
Pull a wheel and look at the pad material against the backing plate. Less than an eighth of an inch and you’re on borrowed time. Run a fingernail across the rotor face — deep grooves you can catch mean it’s scored.
And here’s the one folks miss. Check the brake hose where it meets the caliper, because old rubber swells inside and acts like a one-way valve, dragging a brake without a single warning light.
35. Trace Every Fluid Leak
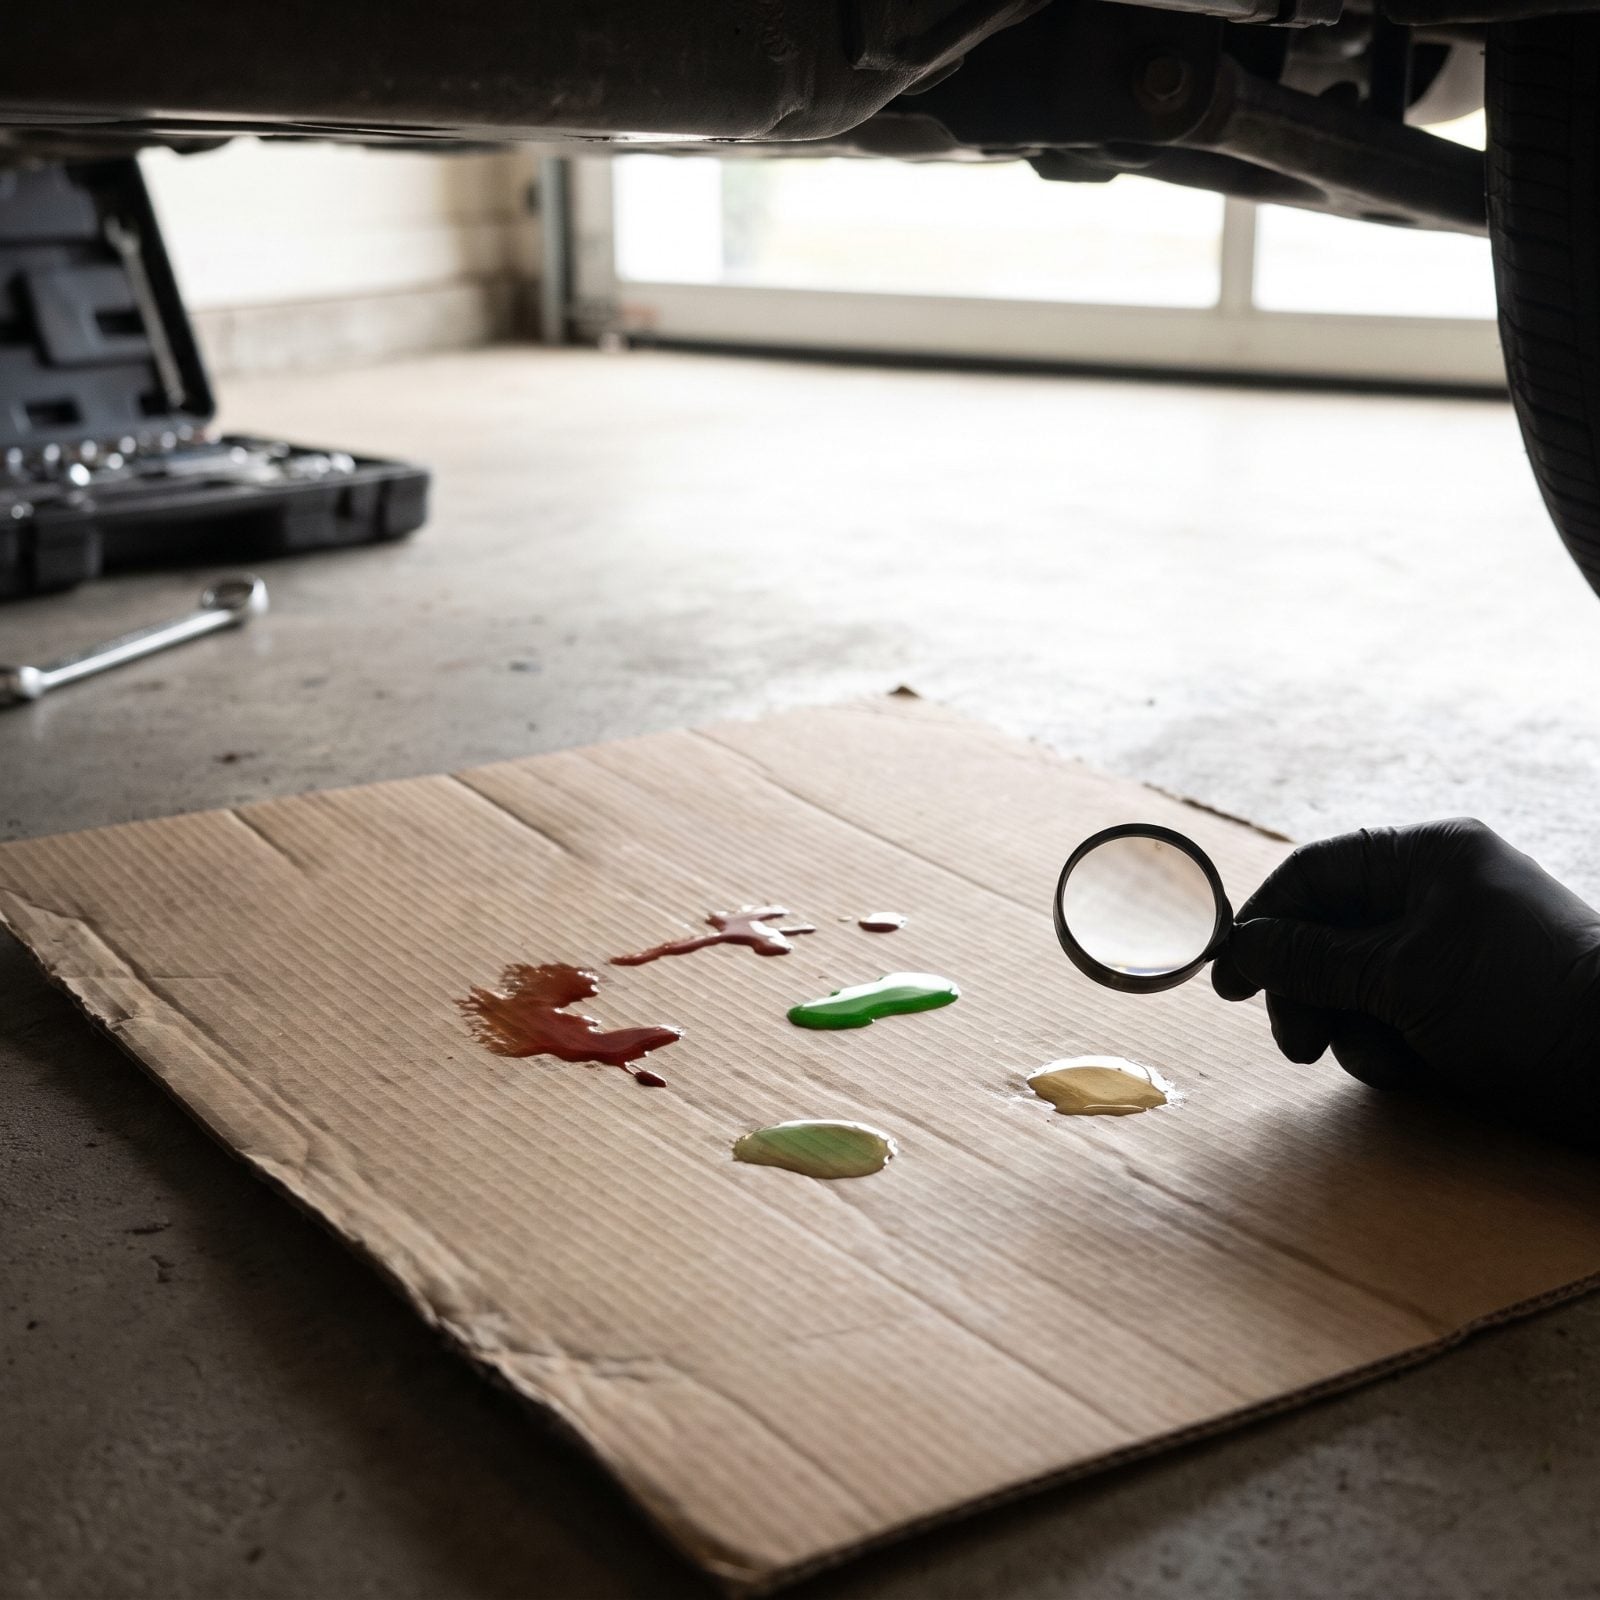
A leak is a car trying to tell you something. The trouble is figuring out which fluid is doing the talking.
Lay a flattened cardboard box under the car overnight, and by morning you’ll have a map. Color and location tell the story. Amber and thin near the front is engine oil. Red and slick toward the middle points at the transmission. Clear and sweet-smelling by the radiator is coolant, and slippery brake fluid near a wheel is the one that’ll ruin your day.
Wipe the suspect area clean with brake cleaner, run the engine, and watch where it comes back. Oil travels on the wind under there, so the drip almost never lands directly below its source. Follow it uphill.
34. Load-Test The Battery
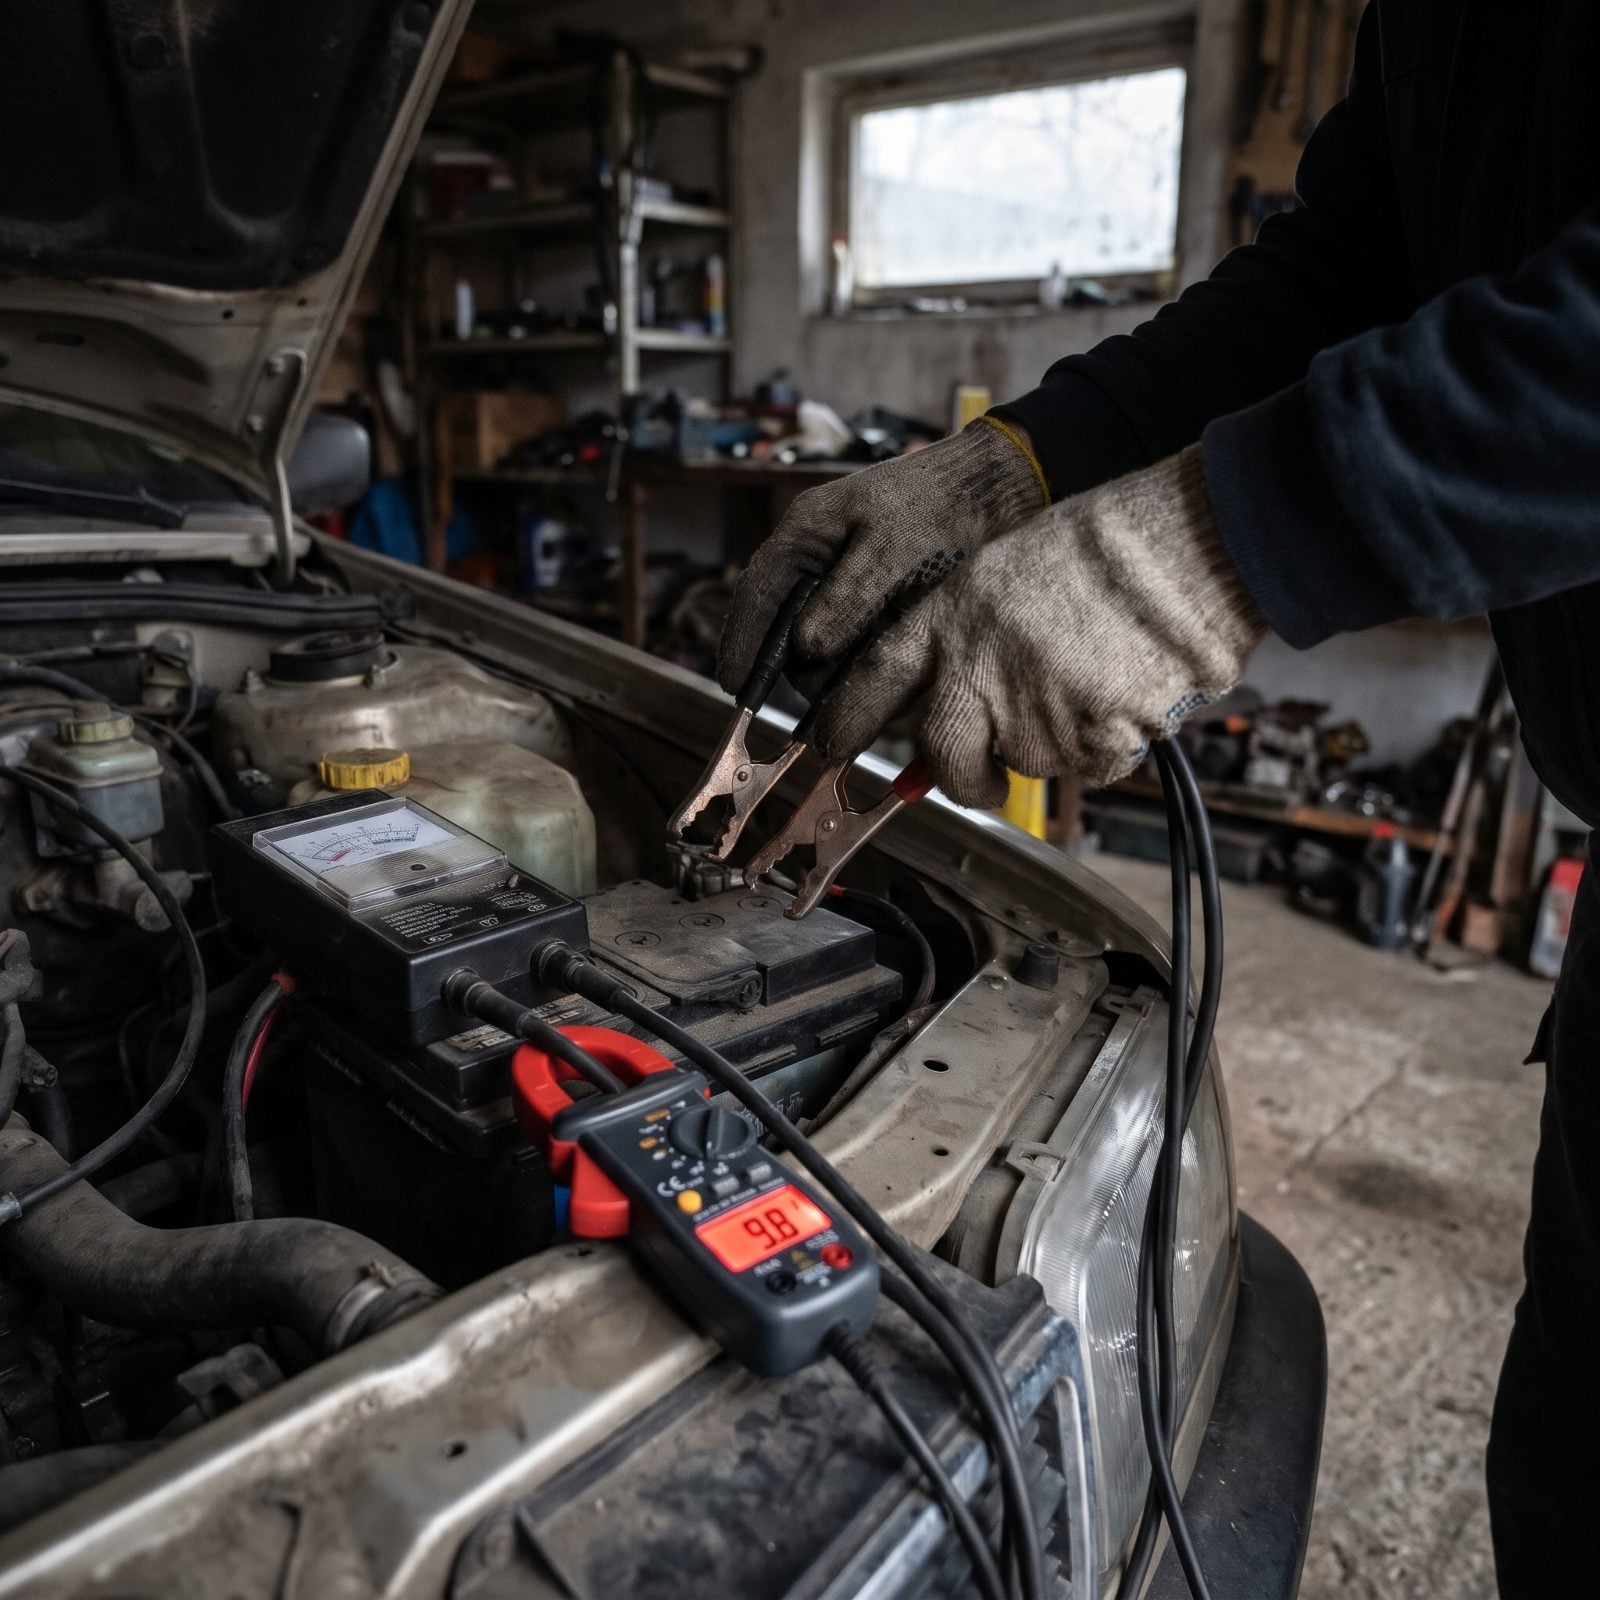
A battery that cranks fine in the warm garage can still quit cold in a parking lot after the show, every onlooker watching you fail to start. Voltage alone lies. A dying battery reads 12.4 volts right up until it can’t deliver current.
So you load-test, not just voltmeter. A proper tester pulls real amps and watches how far the voltage sags. Hold the load ten seconds, and if it drops below 9.6 volts the battery’s cooked.
While you’re in there, pull the clamps and look under them. A green crust or a white powder bloom at the post robs cranking power and fakes the symptoms of a bad battery. Clean posts, snug clamps, a dab of dielectric grease — and you’ve solved half the no-start calls at any show lot.
33. Inspect Belts And Hoses
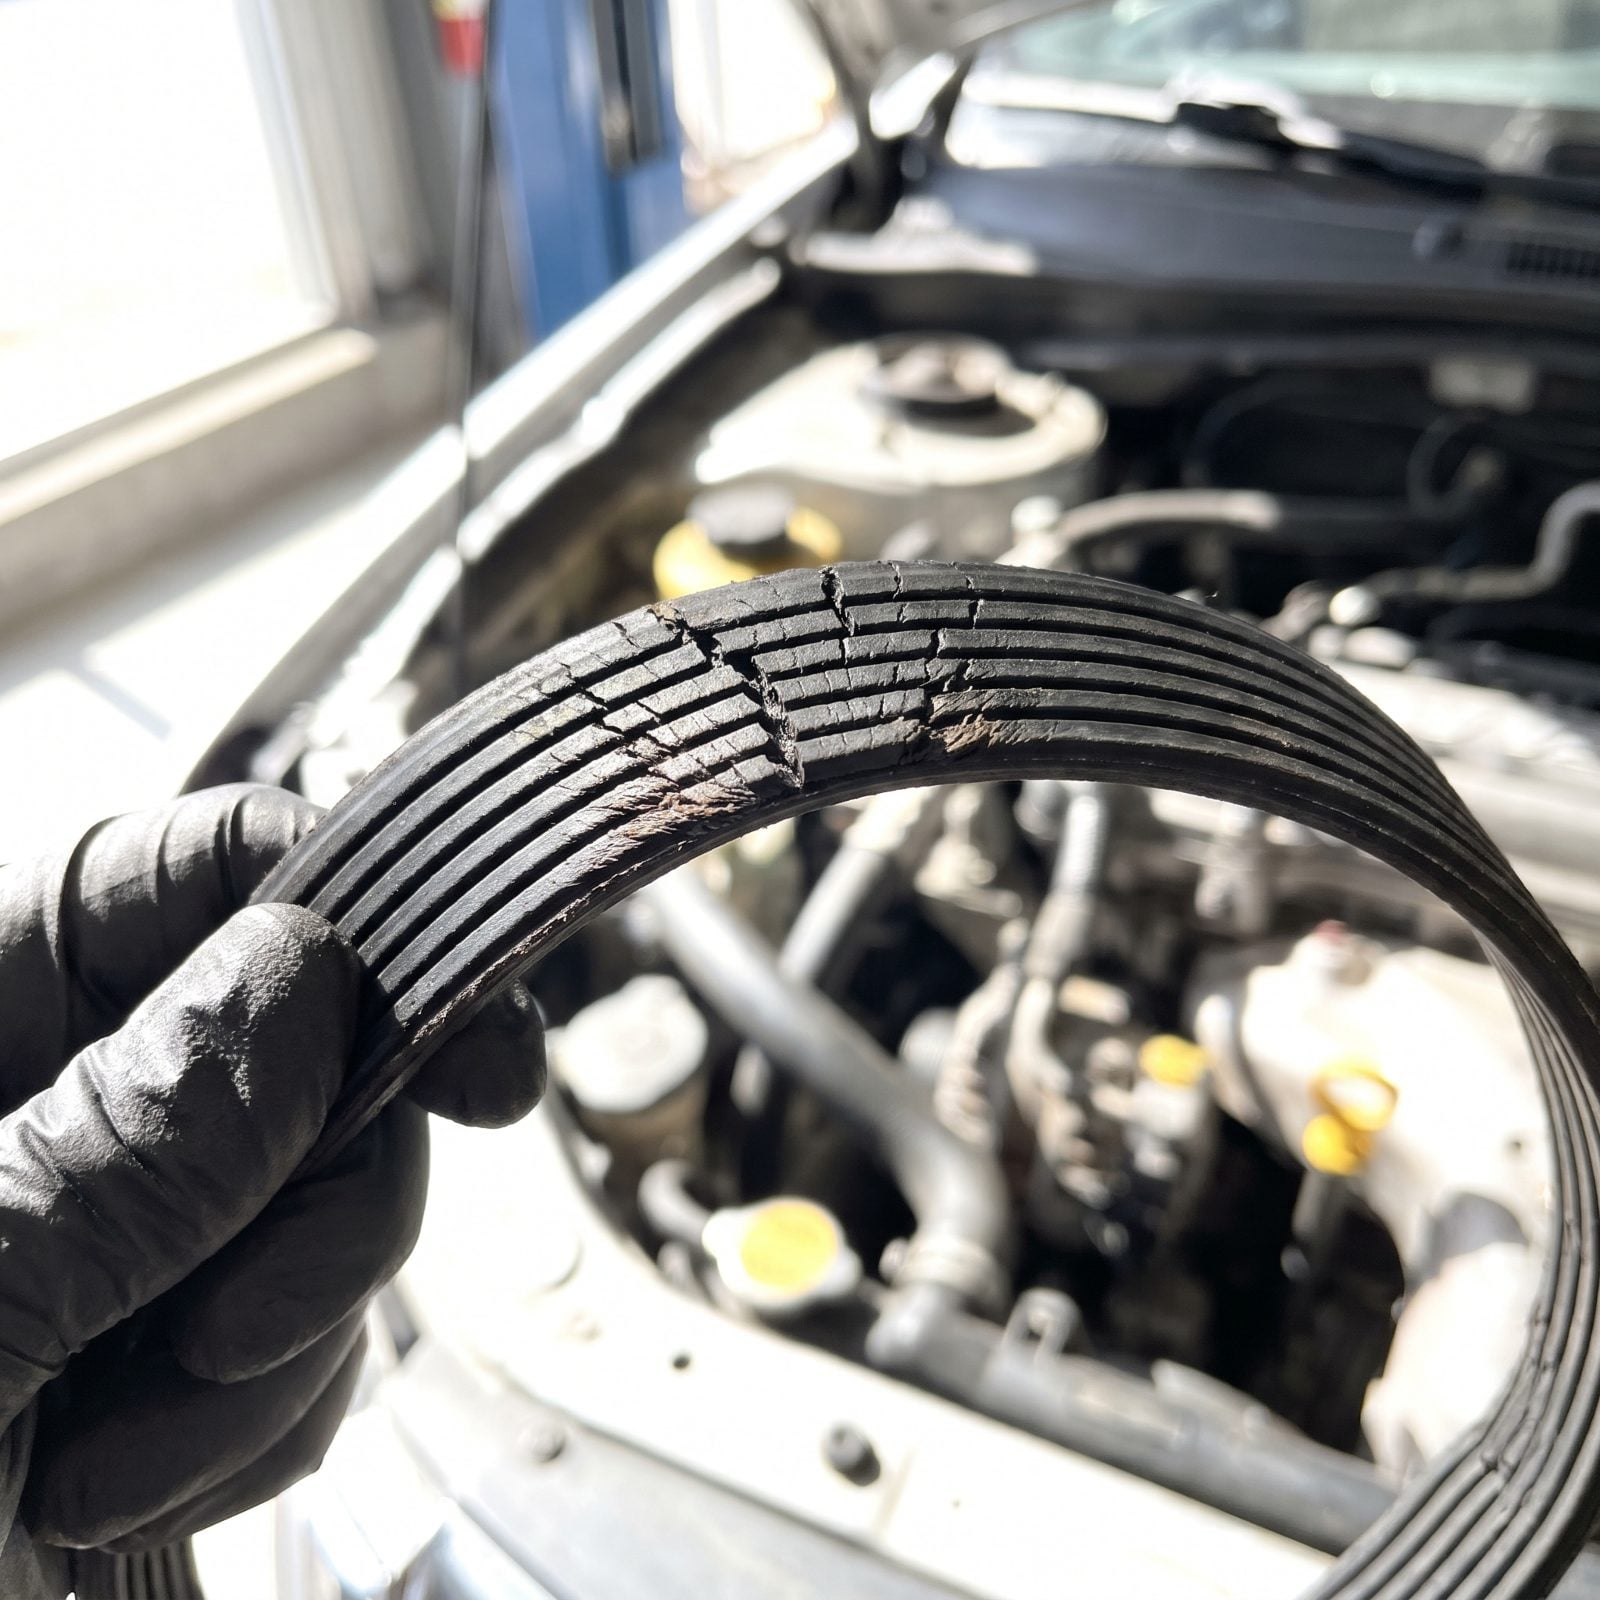
Belts and hoses age on a clock you can’t see from the driver’s seat. They look fine right up to the moment the belt shrieks or the hose splits and dumps coolant across a hot manifold in a cloud of steam.
Squeeze each hose along its length when the engine’s cold. A good one is firm and springs back; a soft mushy spot or a hard brittle section means the rubber’s breaking down inside. Then run your fingers under the belt and feel for glazing, cracks across the ribs, or a glassy shine on the underside.
Everyone skips the hose ends right at the clamps. Heat and clamp pressure gang up there, and that’s where it lets go first.
32. Pressure-Test The Cooling System
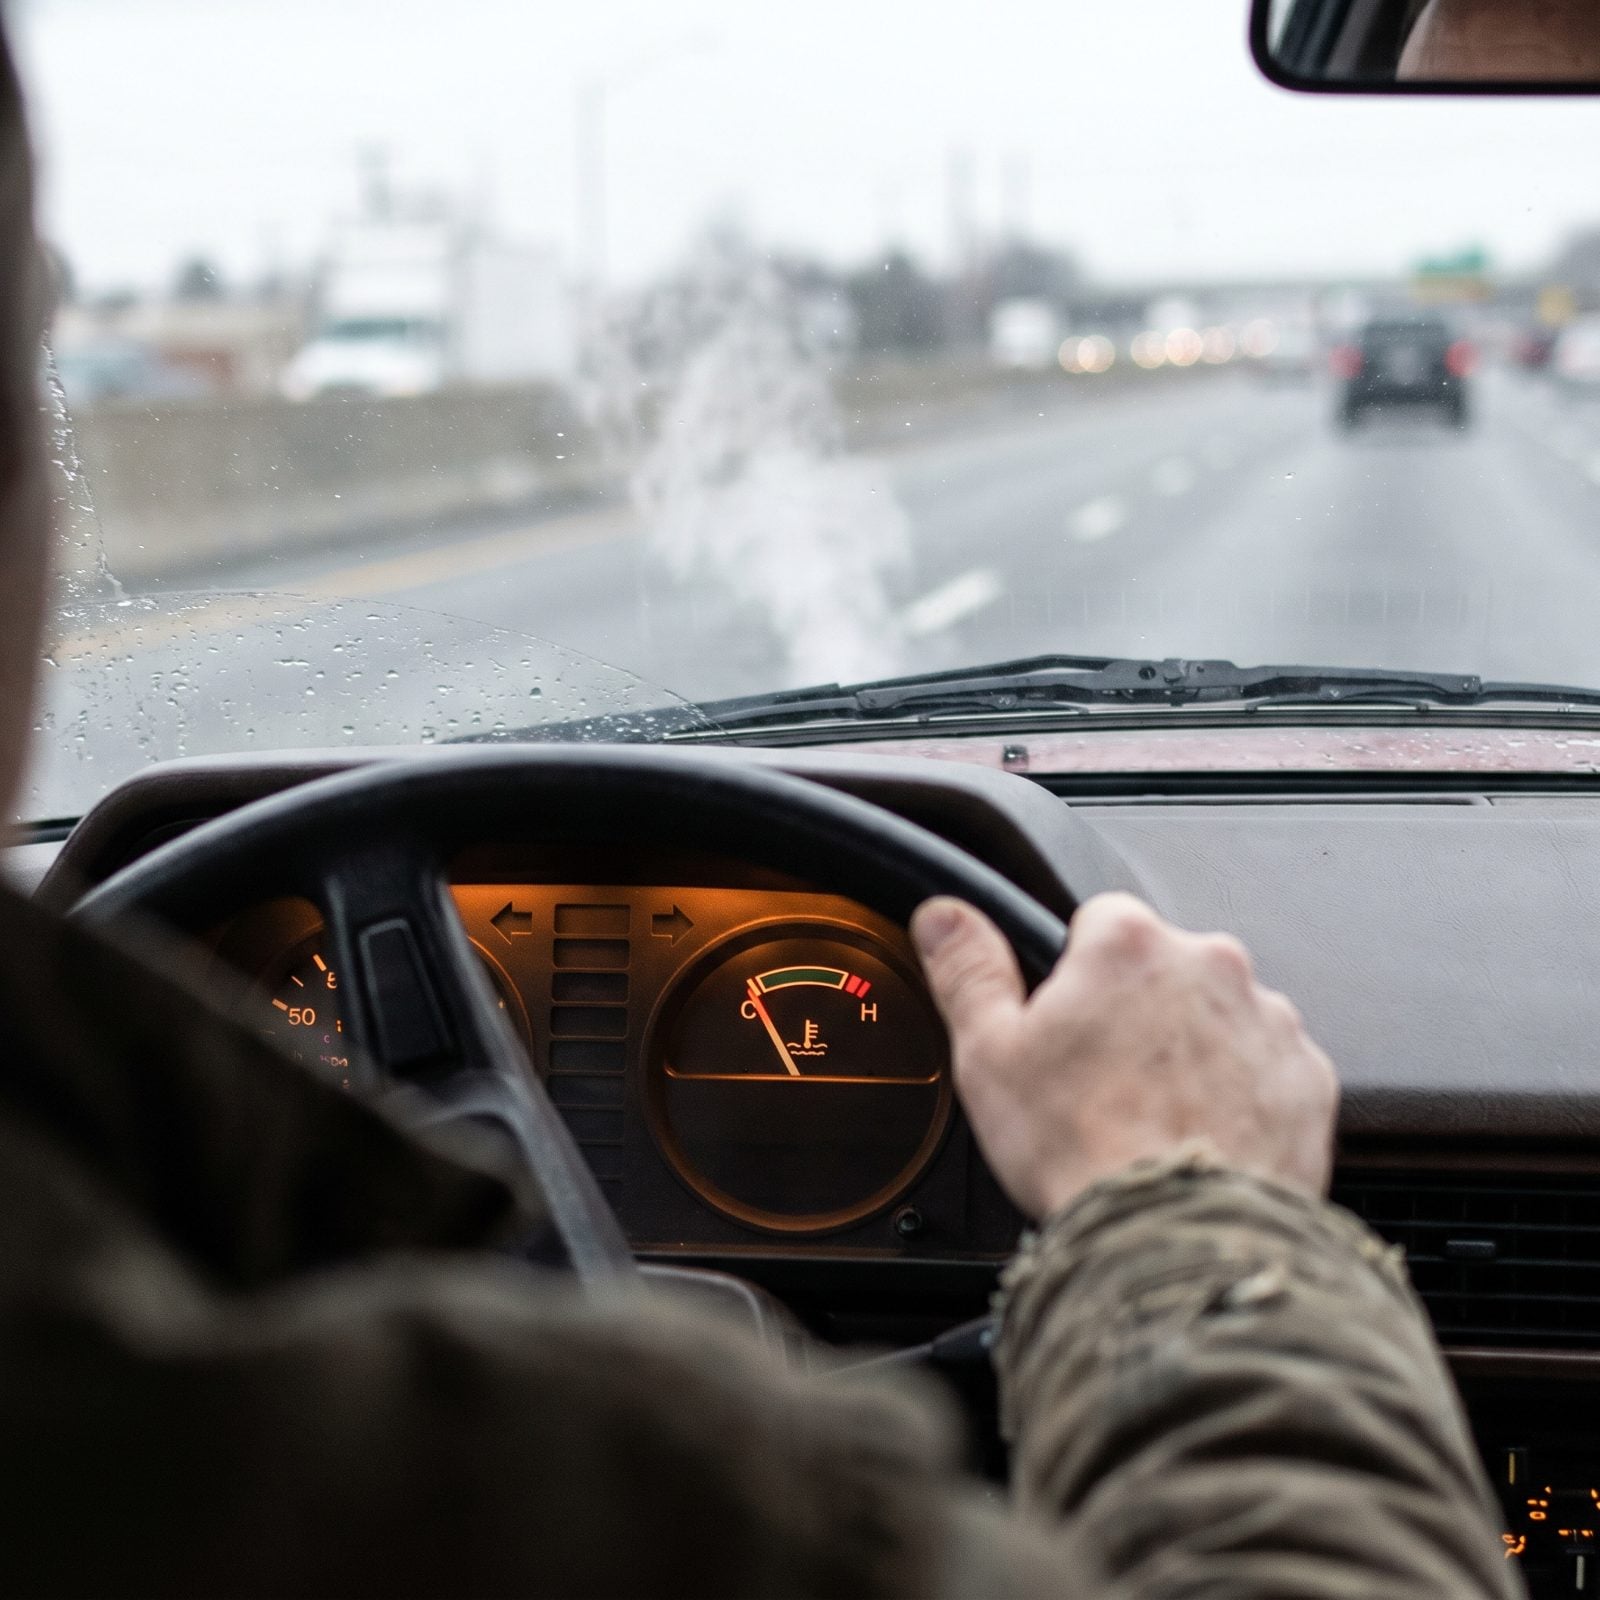
Overheating at an idling show is a particular kind of embarrassment. The temp needle climbs while the car sits still in a slow-moving line, and a tiny leak you’d never spot in the garage becomes a geyser in front of a crowd.
A pressure tester finds the pinholes before they find you. Pump the system up to the cap’s rating and watch the gauge. A needle that bleeds down means a leak somewhere, so now you go hunting with a flashlight — weep holes at the water pump, seepage at the heater core, a damp freeze plug.
Test the radiator cap separately on the same tool. A tired cap that won’t hold pressure lowers the coolant’s boiling point, and that alone can cook an engine that’s otherwise healthy.
31. Check Every Exterior Light
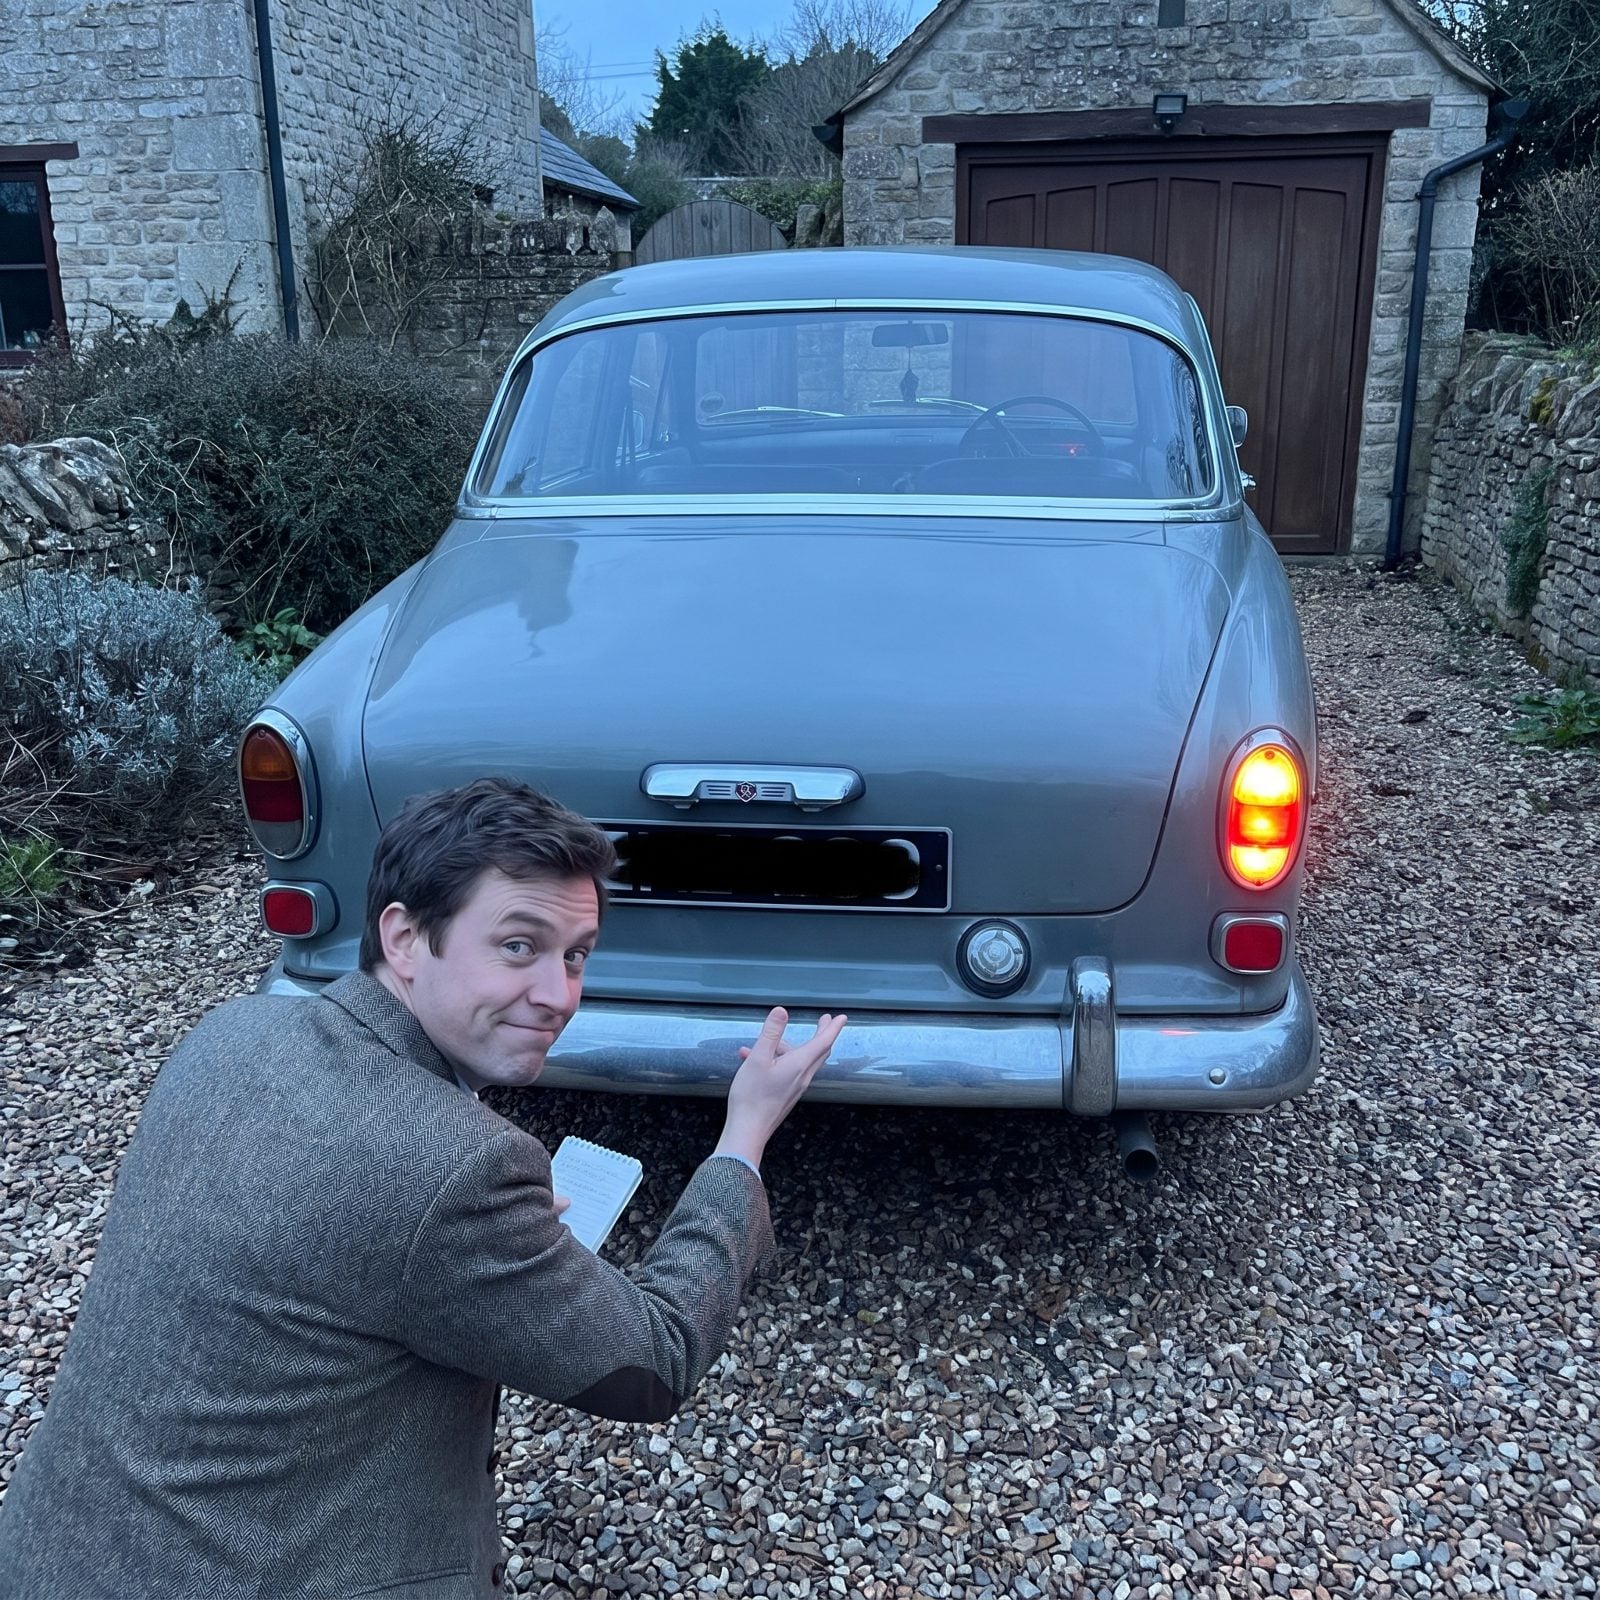
Half the lights on an old car work until the day you actually need them. Ground wires corrode, sockets go green, filaments break from one too many door slams.
Walk every circuit. Headlights high and low, parking lamps, both front and rear turn signals, brake lights, reverse, and the license plate bulb nobody ever remembers. Grab a helper for the brake pedal, or wedge a brick against it, then take a slow lap around the car.
A dim or flickering light is almost never the bulb — it’s a bad ground. Chase the ground strap and the little screw where the socket bolts to the body before you throw a new bulb at it and swear when nothing changes.
30. Inspect Steering And Suspension
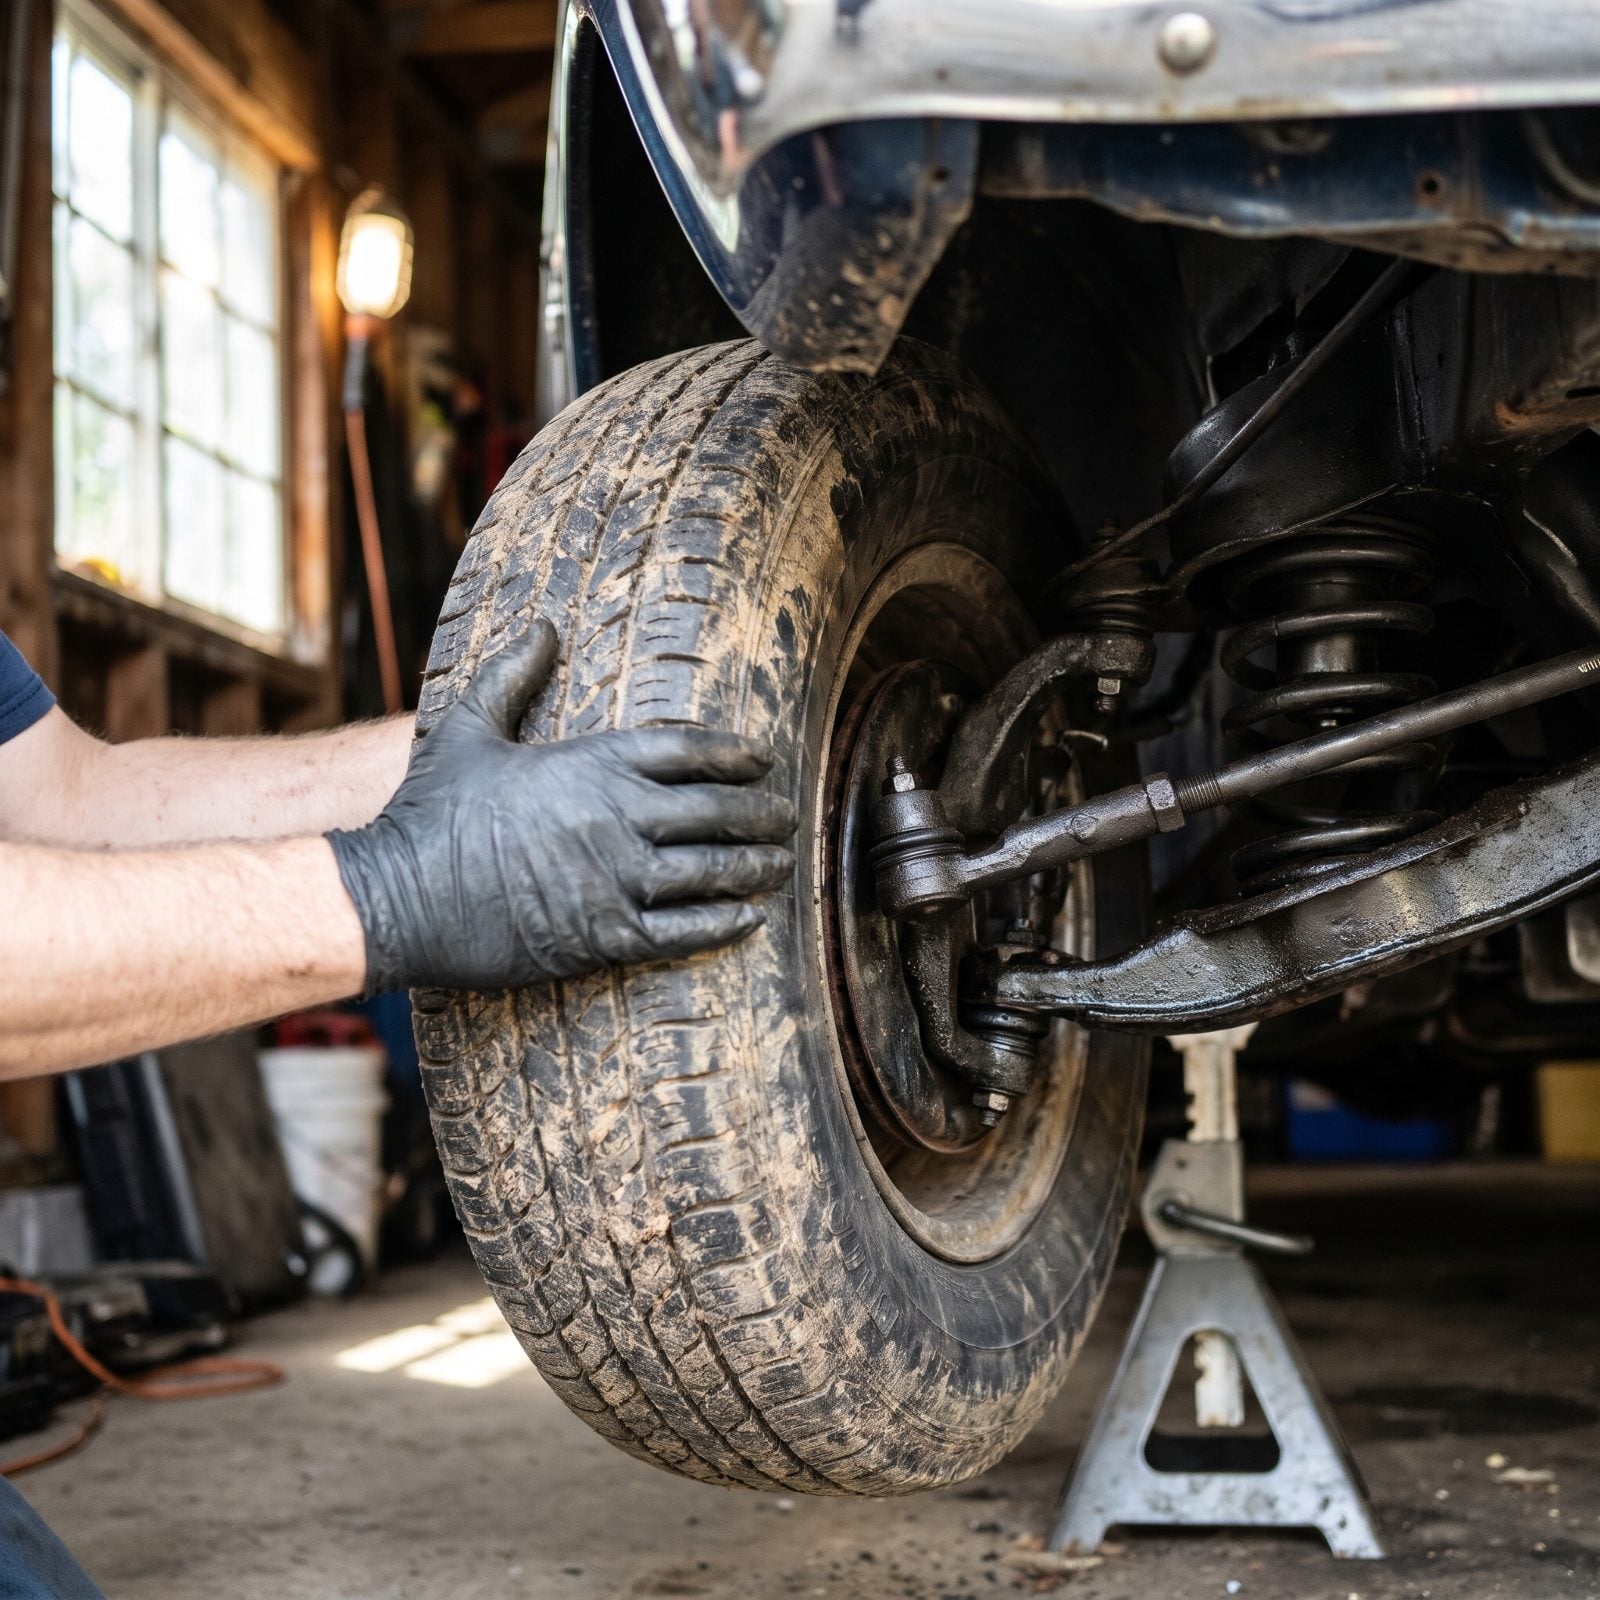
Worn steering doesn’t announce itself in a straight line. It shows up as a wander on the highway, a vague dead spot at center, a clunk over railroad tracks you’ve learned to ignore.
With the front end safely on stands, grab the tire at nine and three o’clock and rock it. Movement there points at the tie rod ends or the steering box. Now grab it at twelve and six and rock again — that play is a wheel bearing or a ball joint. Watch the rubber boots on every joint, too. A cracked, torn, or dry boot means the grease is gone and the wear clock is running fast.
Don’t skip the idler arm and the center link on these old cars. They sag with age and put slop into the whole system that no alignment can fix.
29. Check Wheel Bearings
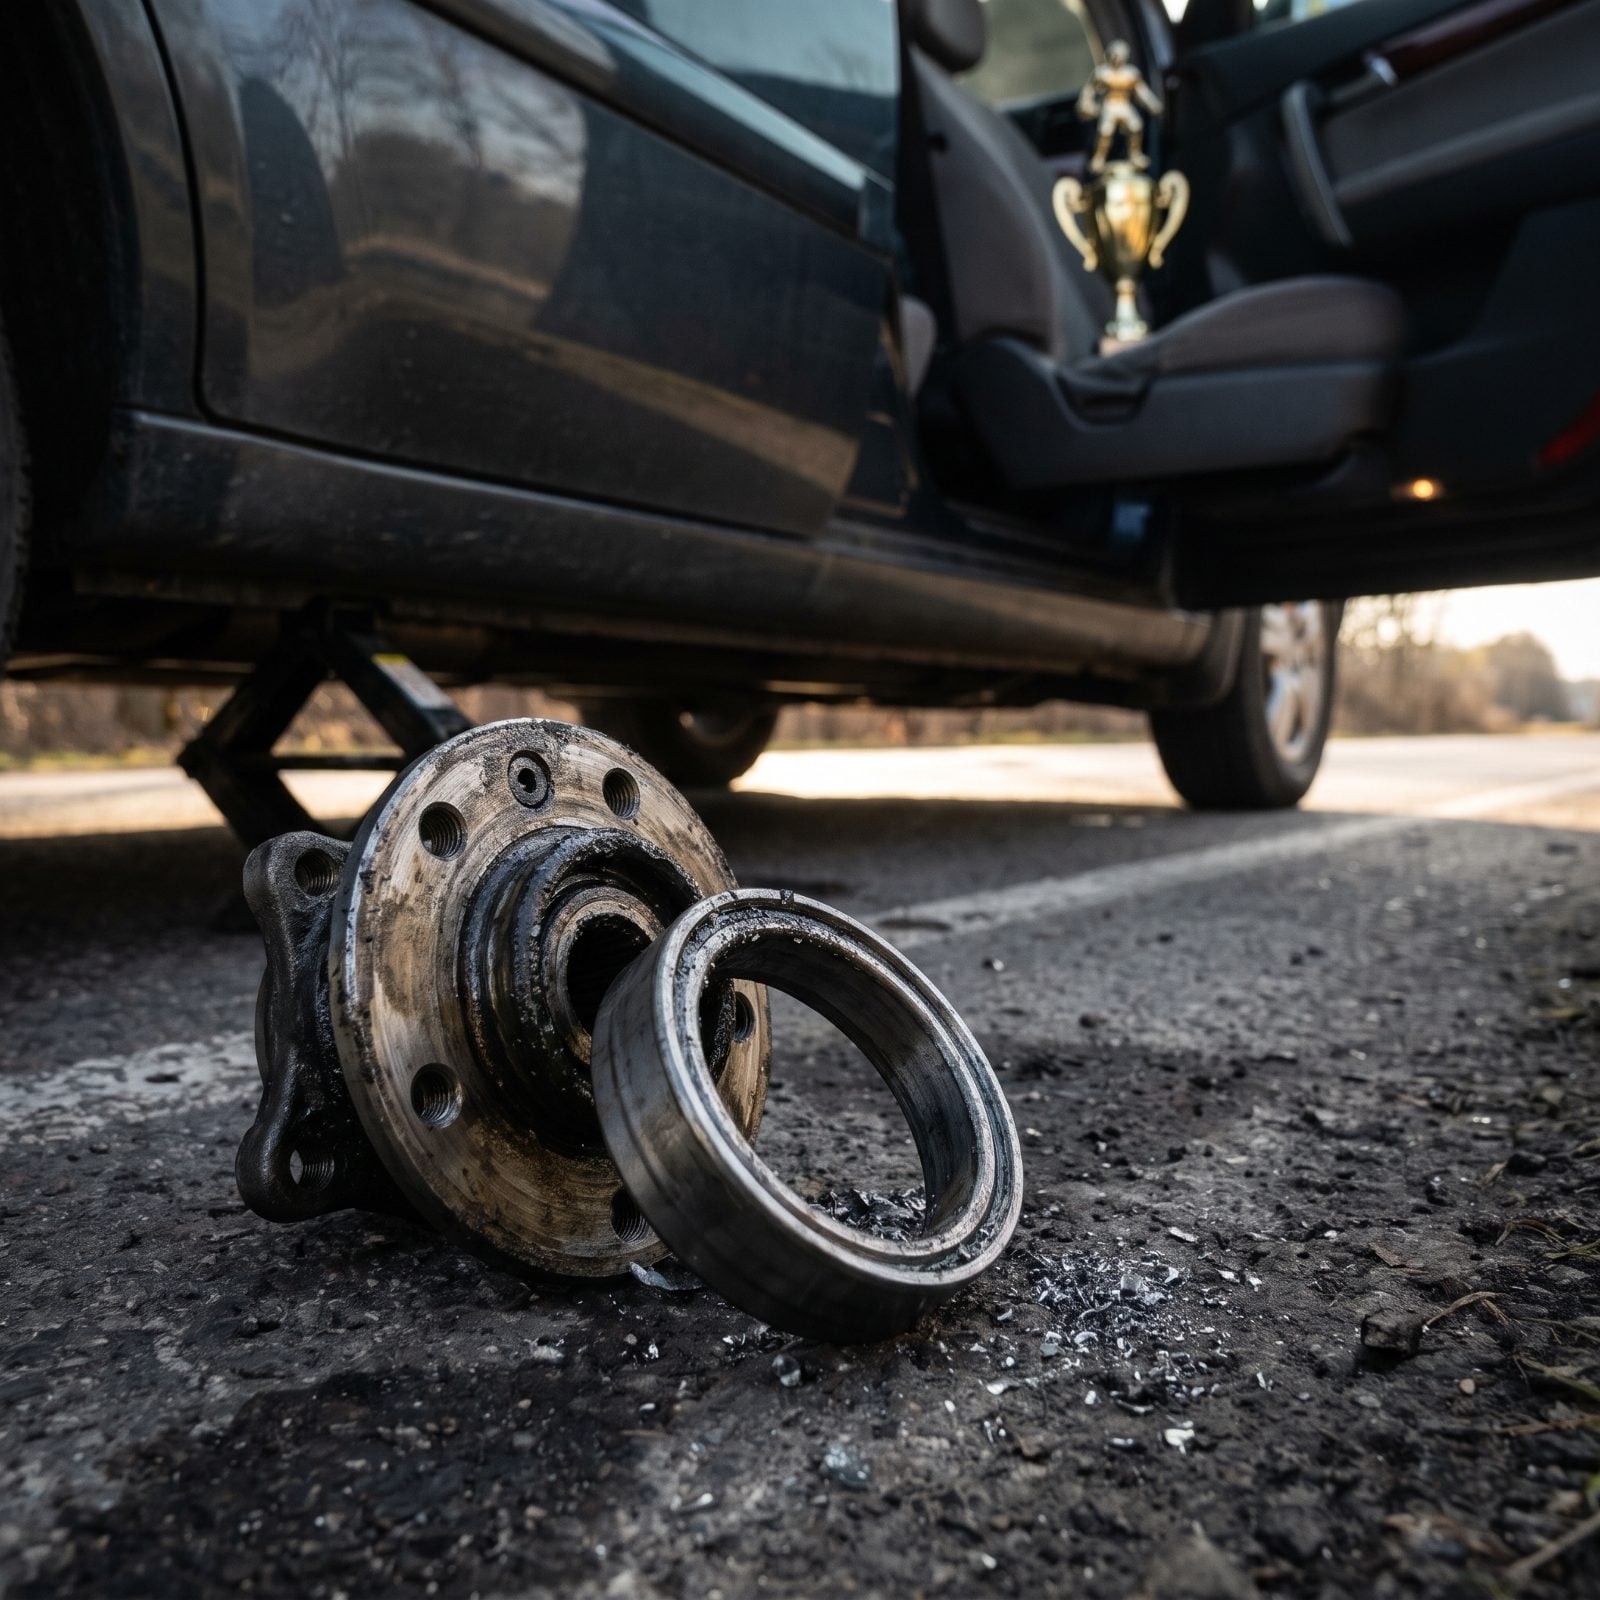
A bad wheel bearing is the one that strands you on the drive home, when the car’s packed, the trophy’s on the seat, and you’re two hundred miles out. It starts as a low growl that rises with speed and changes pitch when you sway the car side to side.
Jack the wheel off the ground and spin it by hand. Listen for a rumble or grinding, and feel for roughness through your palm on the tire. Then grab it top and bottom and rock. A knock there, once you’ve ruled out the ball joint, means bearing play.
On a car that’s sat all winter, pull the dust cap and look at the grease. Dry, gritty, or coffee-colored grease means it’s time to clean, inspect, and repack before you point the nose toward the show.
28. Secure The Exhaust System
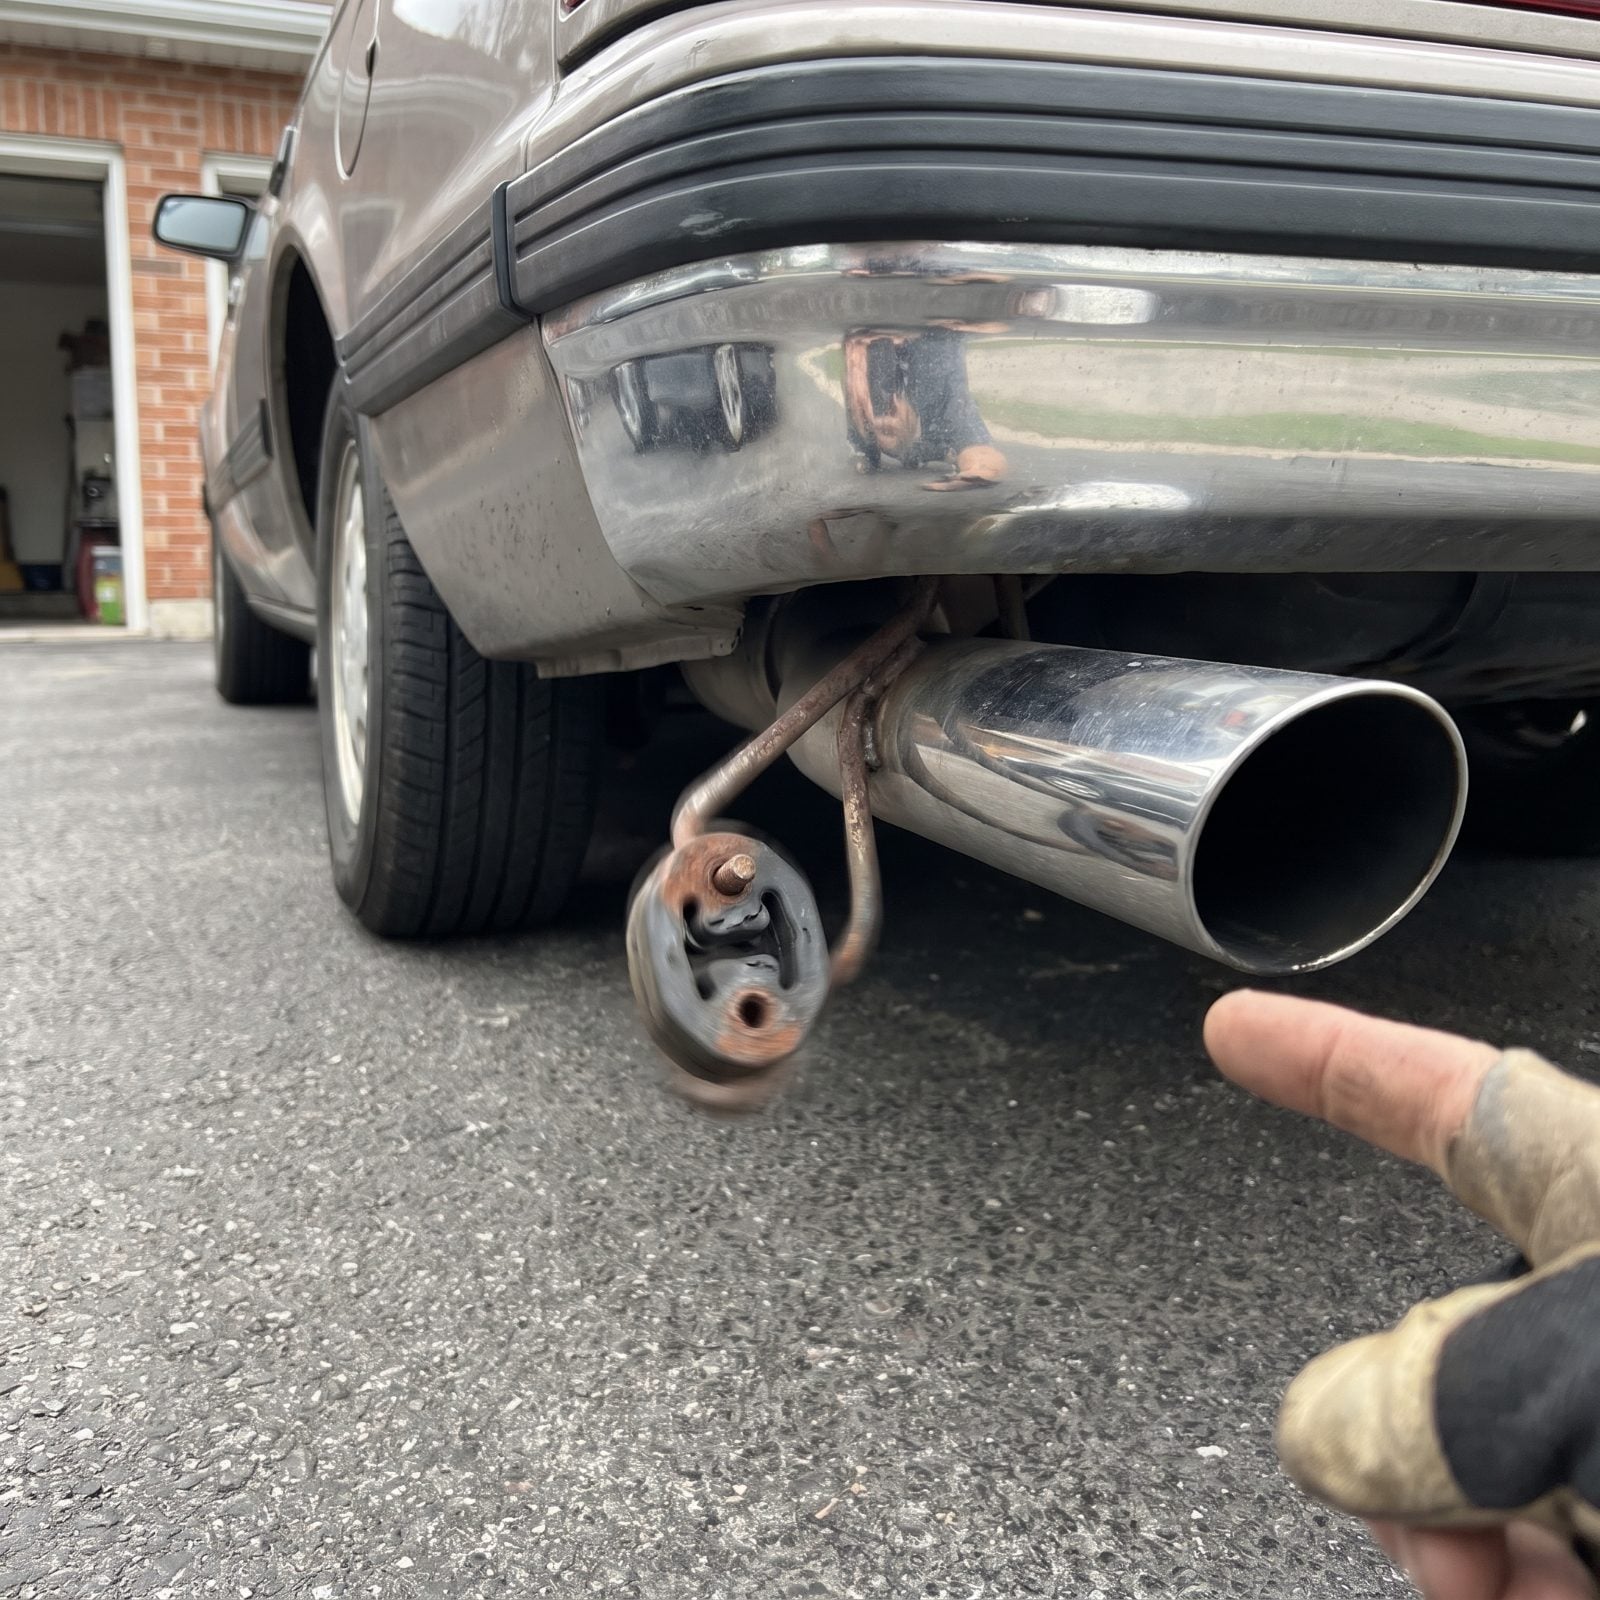
Nothing kills a show entrance like a rattling tailpipe that drops a decibel bomb when you idle past the judges. A loose hanger or a clamp that backed off over winter will buzz, scrape, and sometimes sag low enough to catch a curb lip on the way in.
Get the car up on stands and grab each pipe section with your hand. Push up, pull down, side to side. Anything that moves more than a half inch at the hanger needs attention, so check the rubber isolators for cracks and dry rot, and snug every clamp to spec.
Here’s what most folks miss. A long storage winter heat-cycles those bolts you torqued last fall and loosens them right back up. Re-check them now, not in the staging lane.
27. Wash The Undercarriage
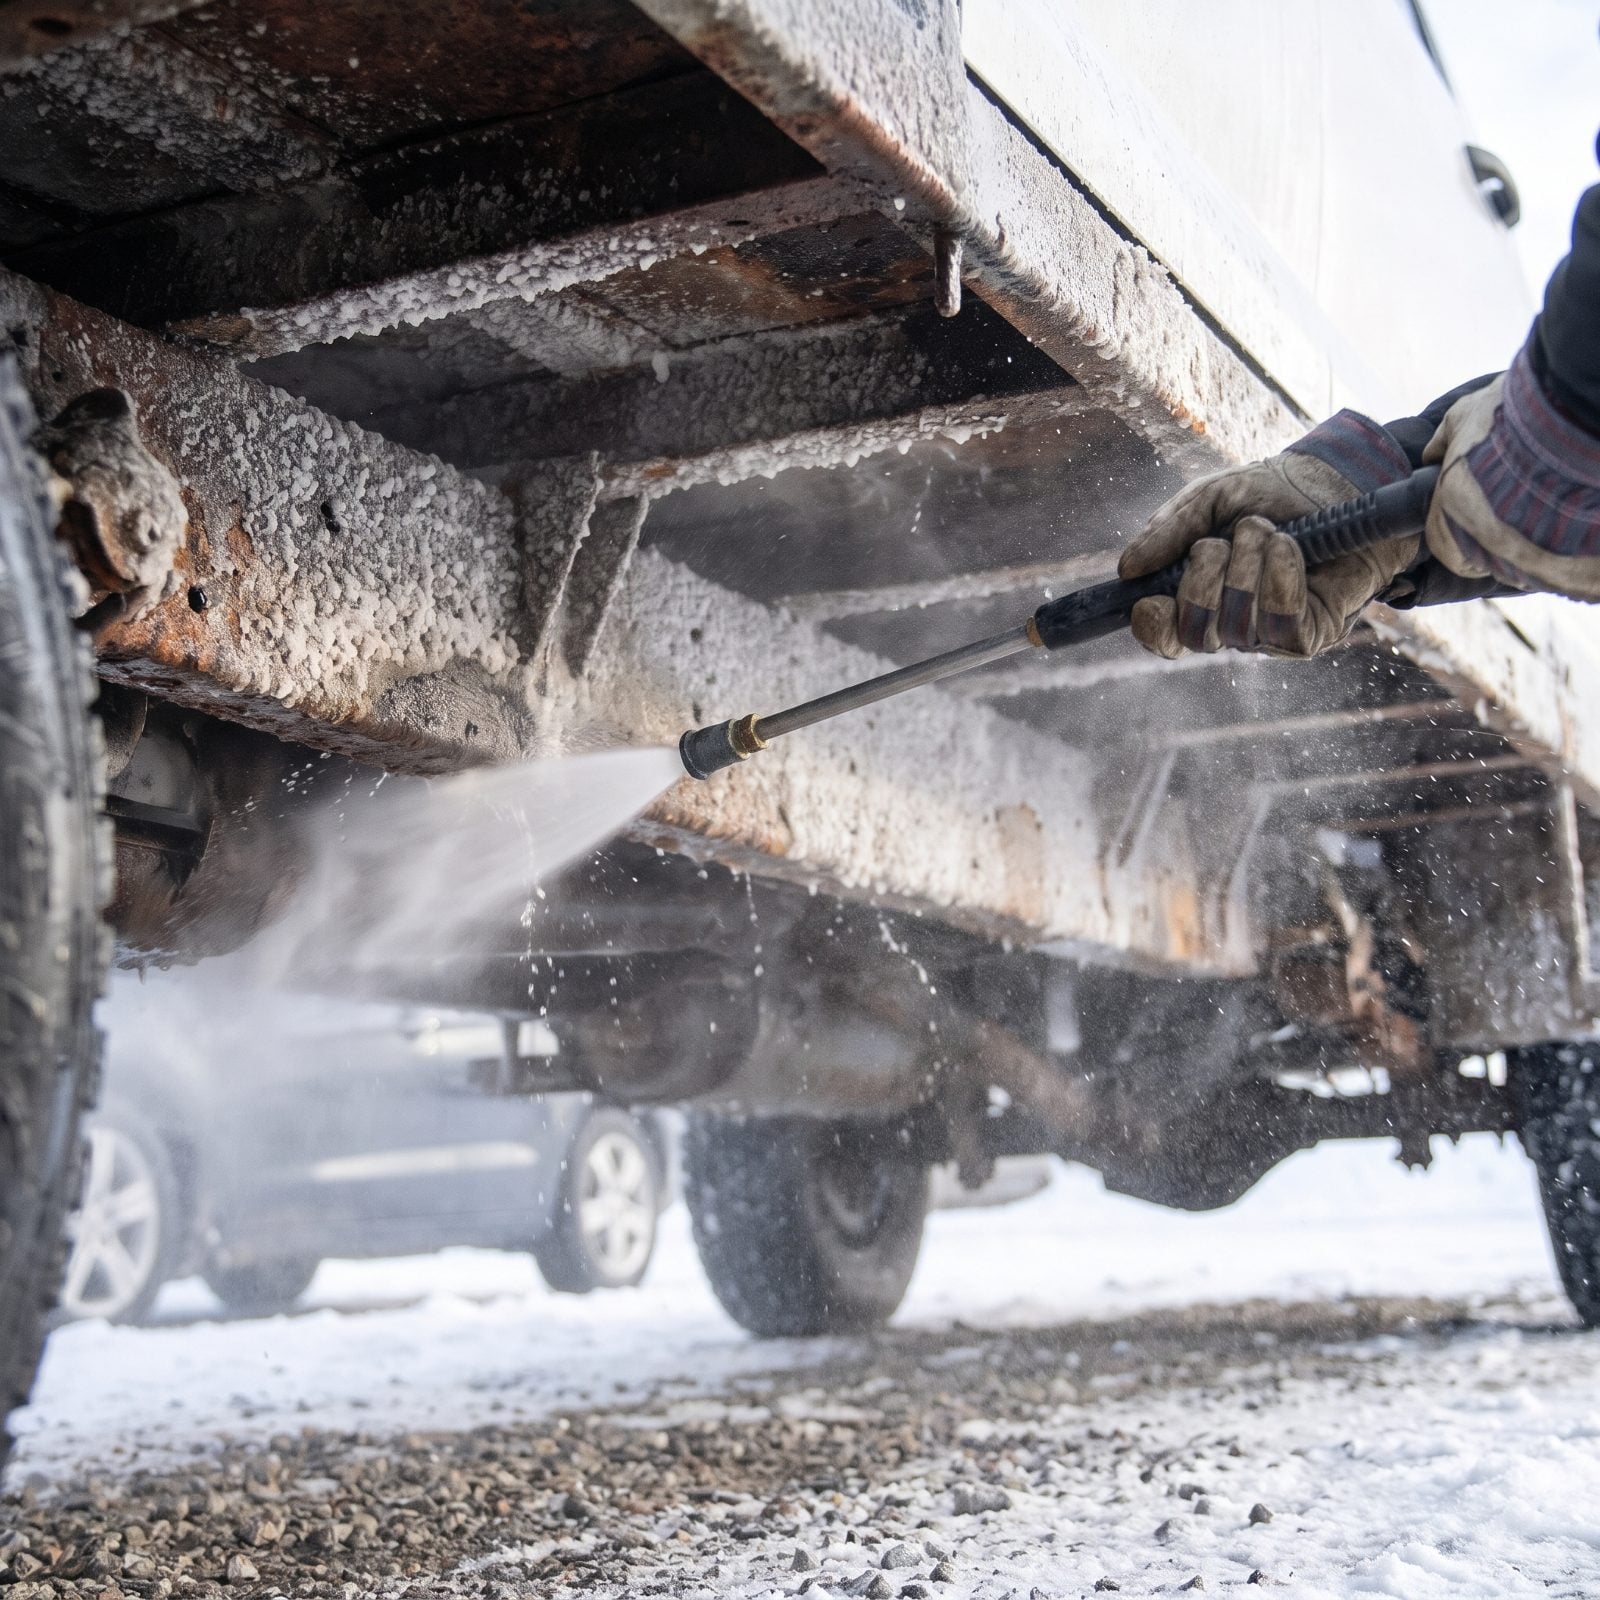
The undercarriage is where winter hides its grudge. Road salt, grit, and that chalky calcium spray dry into a crust that eats paint and starts rust from below. Judges at the better shows carry mirrors on sticks, and believe me, they will look.
Flush it with a strong rinse first, working front to back, hitting the frame rails, floor pan, and every suspension pocket where grime collects. A long-handled soft brush gets the stuff a hose alone won’t budge.
And here’s the part people skip: the drain holes in the rockers and trunk floor. Poke them clear so trapped water doesn’t sit and breed corrosion all summer. A clean, dry undercarriage is the quiet thing that separates a trailer queen from a driver.
26. Decontaminate The Paint
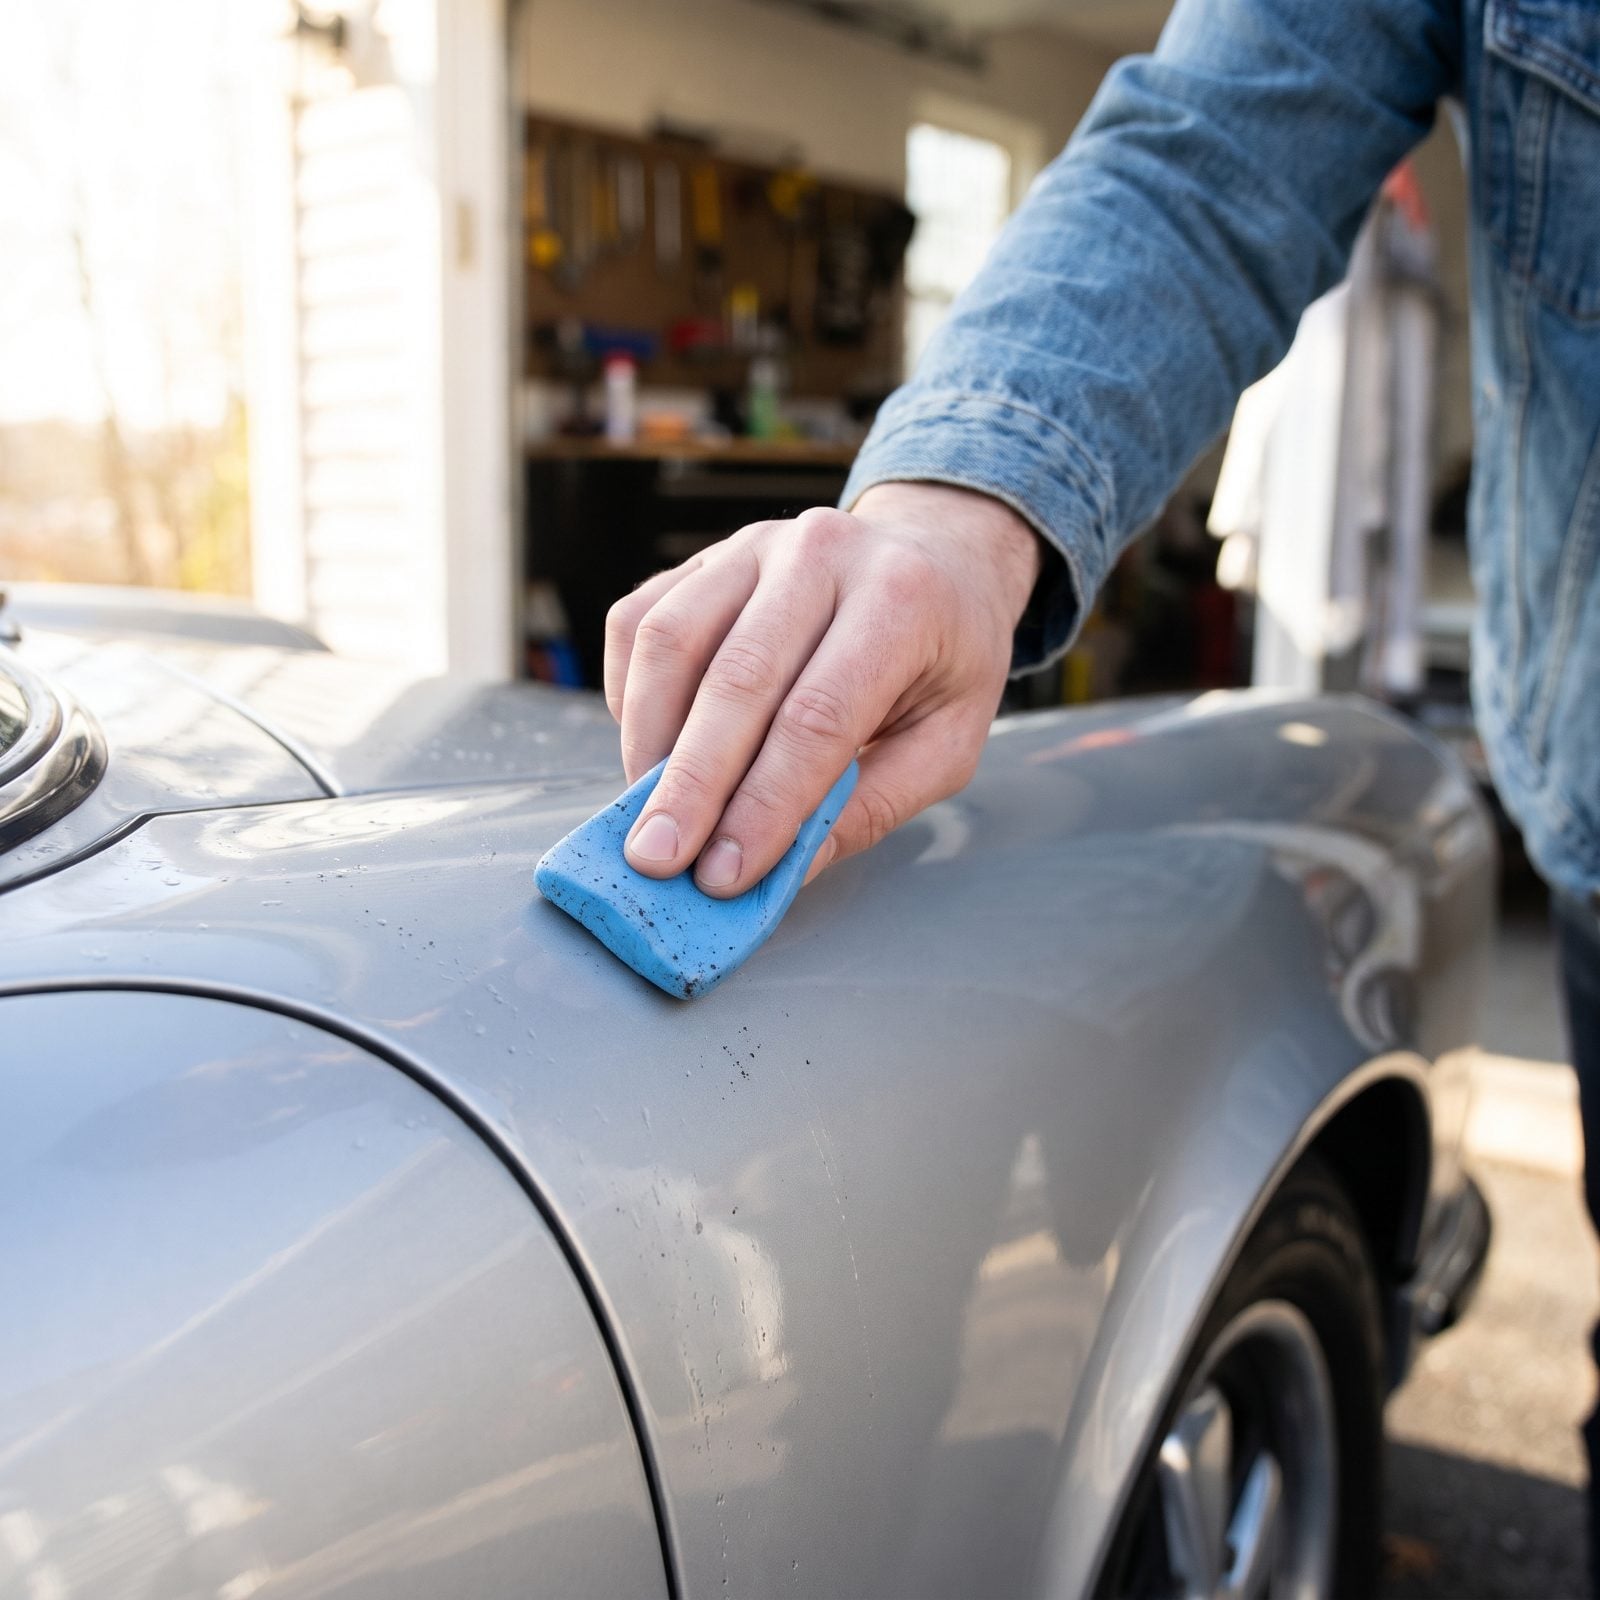
Run your fingertips over a washed panel. Feel that gritty roughness, like fine sandpaper? That’s bonded contamination, bits of industrial fallout, rail dust, and tar the wash left behind. Wax over it and you lock the grit against your paint.
A clay bar pulls it out. Keep the panel wet with lubricant, glide the clay flat with no pressure, and let it catch the particles. Knead to a fresh face when it loads up.
Here’s a quick test. Slip your hand inside a sandwich bag and glide it over the paint. The bag amplifies every rough spot your bare fingers miss.
25. Correct Visible Swirl Marks
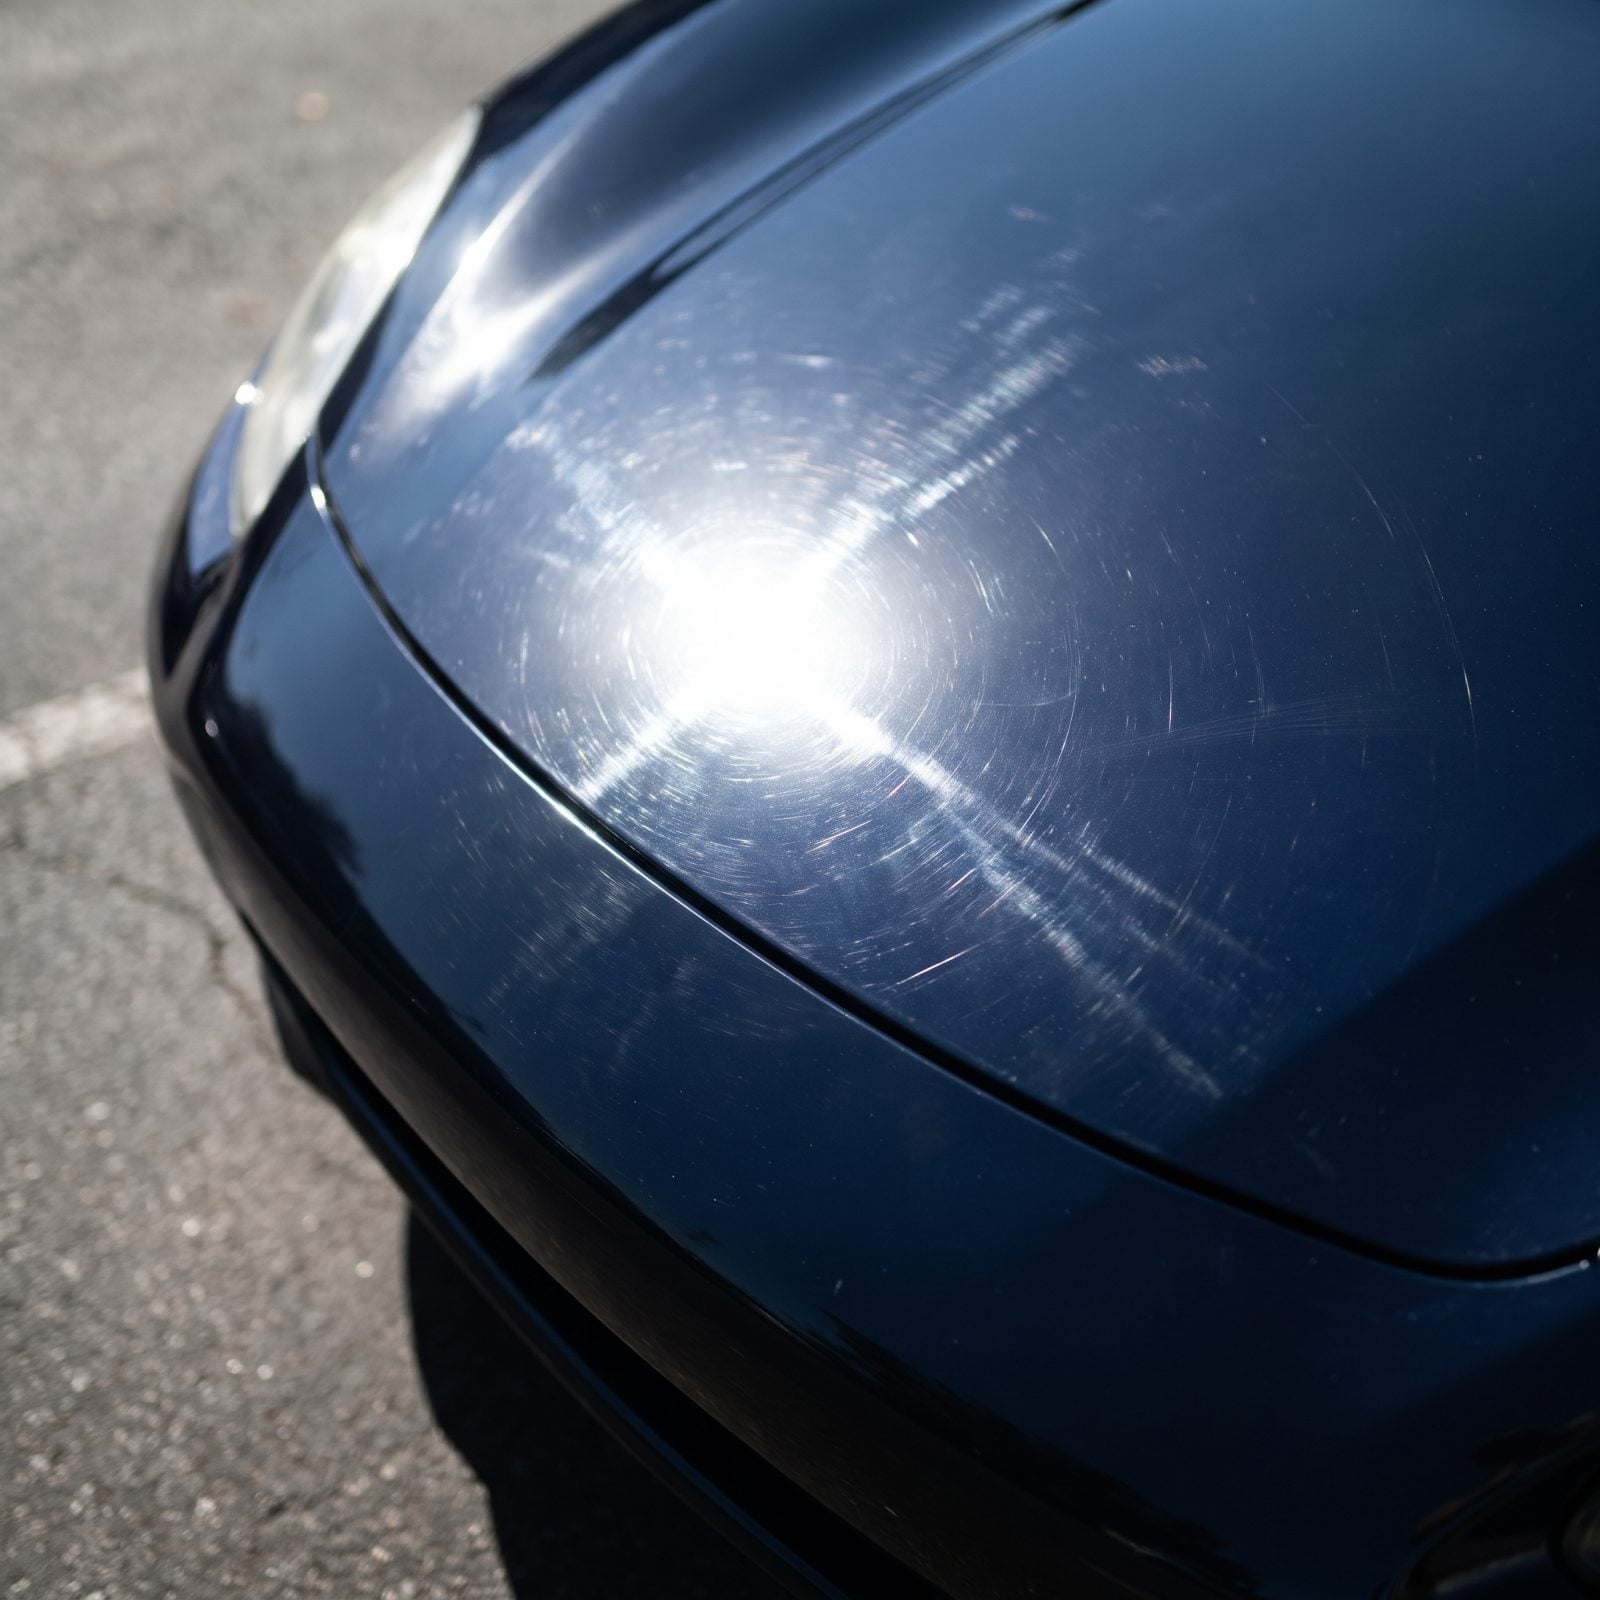
Dark paint under direct sun is a confession. Those spiderweb swirls, the ones you only catch when the light hits right, come from years of wiping with the wrong towel and washing in straight-line strokes. Show lighting and spring sun will put every one of them on parade.
A dual-action polisher with a light cutting compound knocks them down. Work a two-foot square at a time, slow passes, moderate pressure, and wipe the residue to inspect. The correction shows up instantly against the uncorrected half.
Beginners botch one thing: they skip the inspection light. Pull the panel into shade, drop a bright LED to a low angle, and the real defects announce themselves. Correct what you can actually see, then seal it.
Dark paint is worth the extra polishing time: black and charcoal exteriors got more hearts from our readers than the other images in the same articles, 75% versus 68%.
24. Touch Up Stone Chips
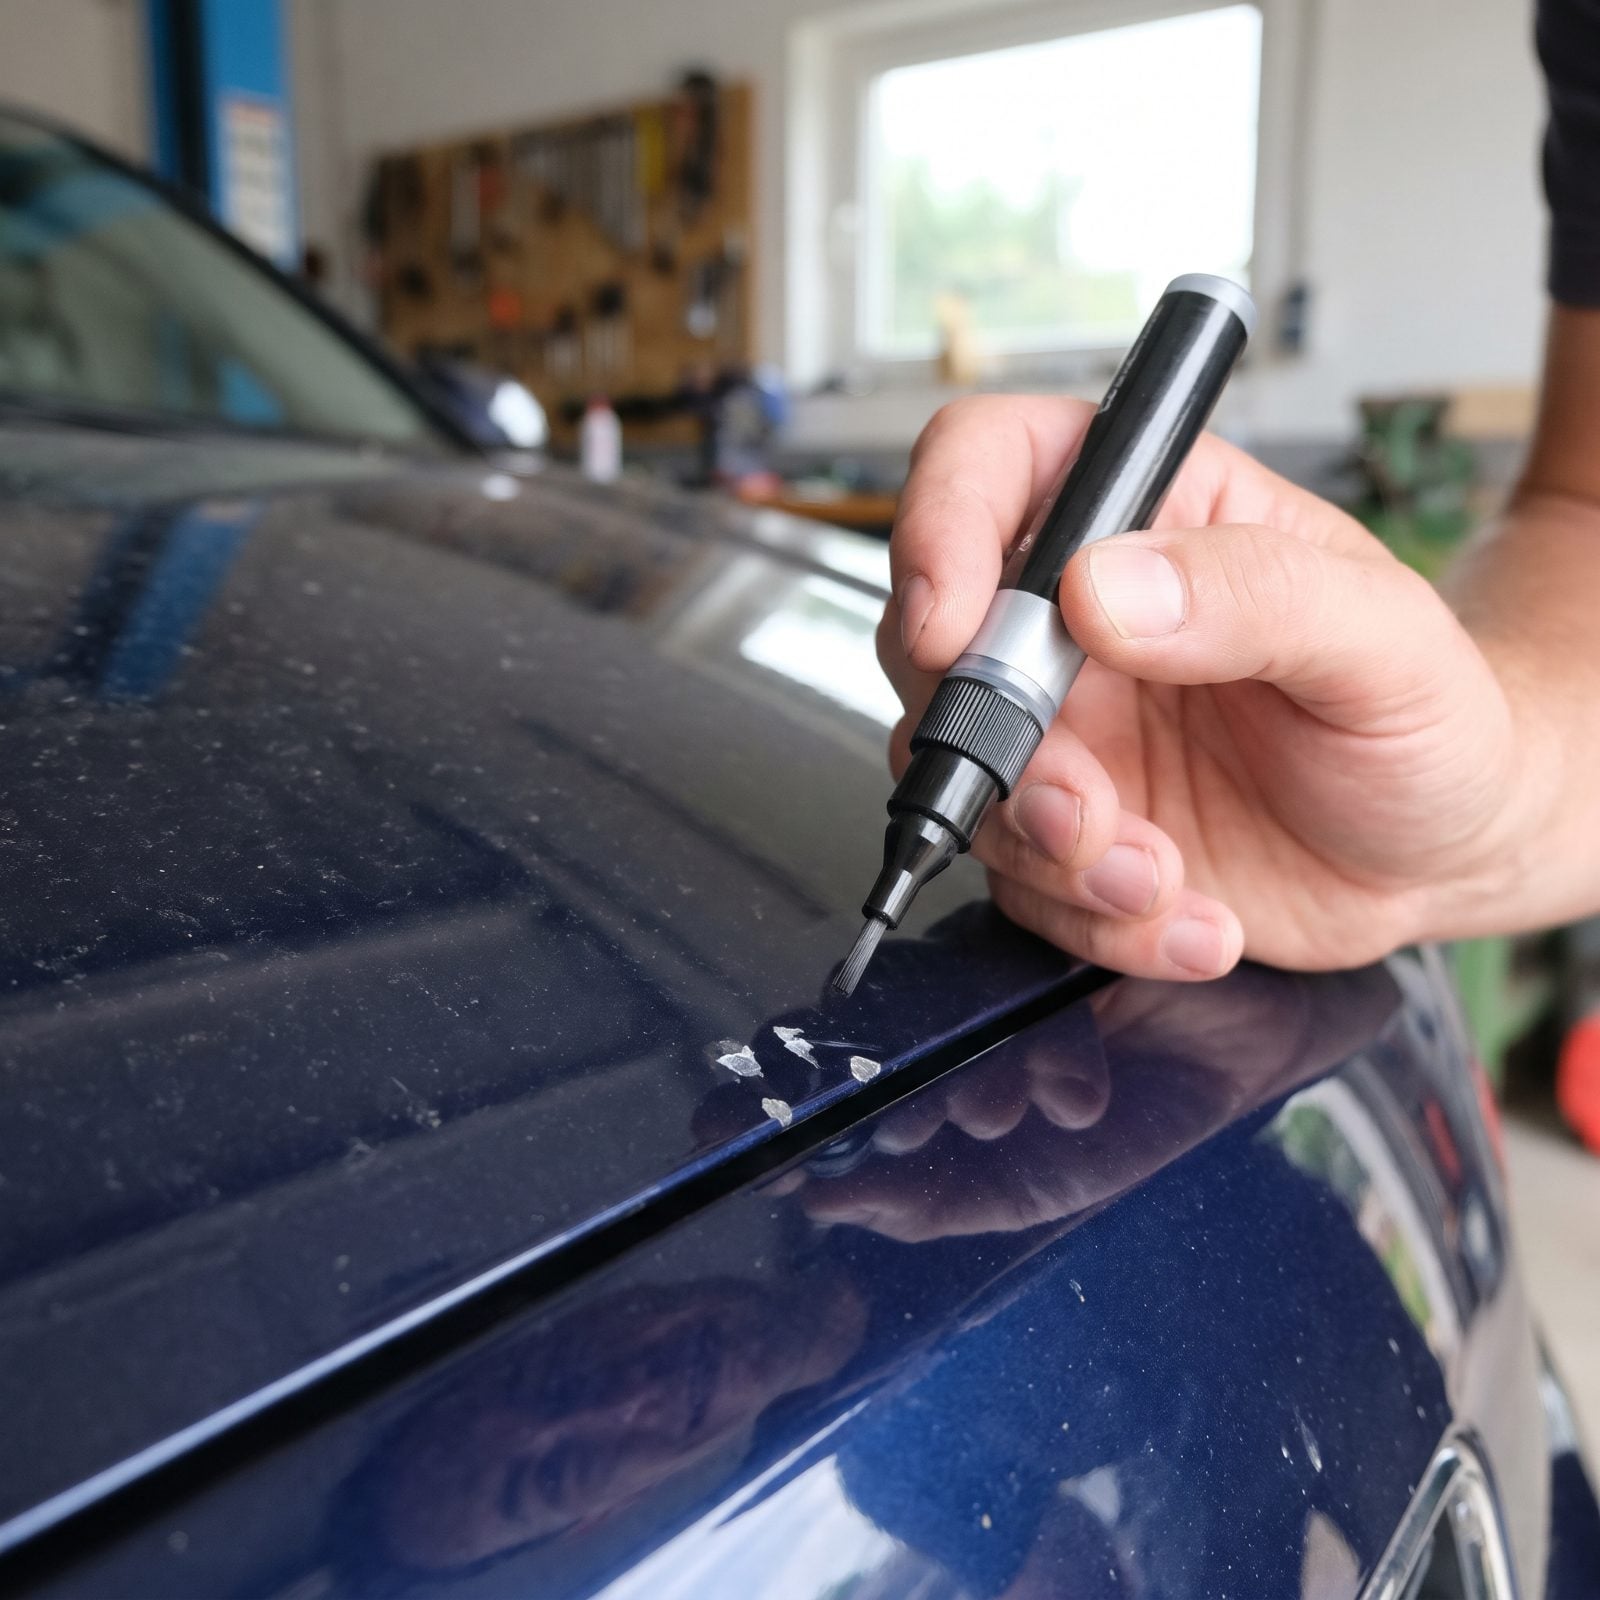
Stone chips read as neglect from three feet away, even on an otherwise flawless car. Every highway mile this winter earned you a few on the leading edges, the hood lip, the headlight surrounds, the lower doors.
Clean the chip with a dab of alcohol first. Then build the paint in thin layers with a toothpick or a fine brush, never a glob, letting each coat flash before the next. You want it filled flush, not mounded up.
The detail folks rush is the patience between coats. A chip filled in one heavy dab shrinks as it dries and leaves a crater. Three thin passes over two days? Invisible at show distance.
23. Polish All Chrome Surfaces
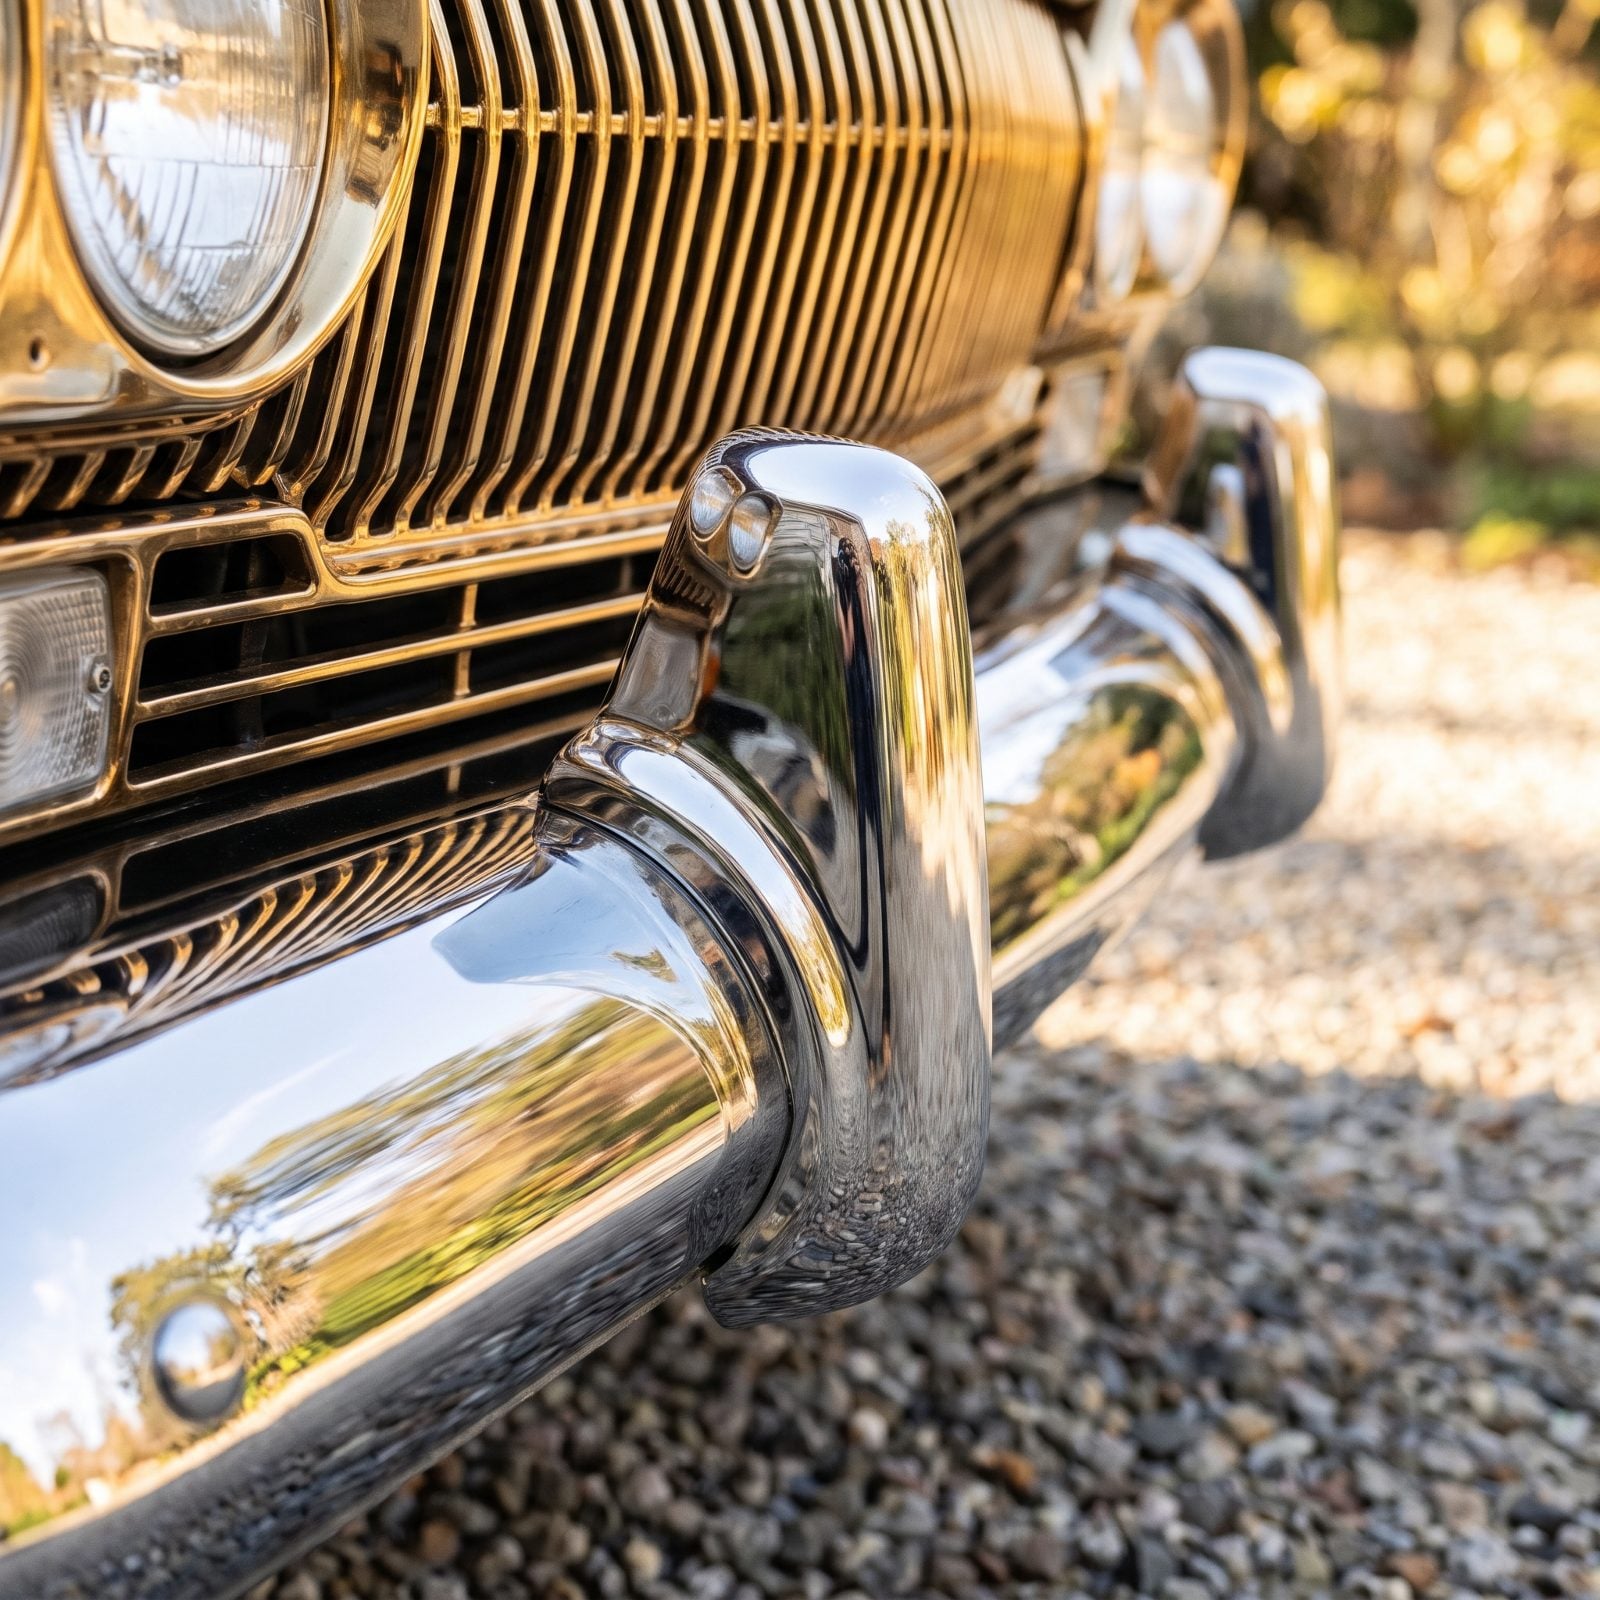
Chrome is the jewelry of a classic, and nothing dates a restoration faster than cloudy, pitting brightwork. Bumpers, grille bars, window surrounds, trim — all of it hazes over in storage.
Use a dedicated chrome polish, not an all-metal cleaner, and work it in small circles with a soft cloth. Flip to a clean section often. The haze wipes off to a mirror, and you’ll see yourself in it.
Good chrome catches the light and holds it. The whole car looks sharper for it.
Worth knowing: light surface pitting can be improved with fine 0000 steel wool and polish, worked gently. Deep pitting means replating, and no cloth will save it. Know the difference before you scrub.
Jalopy Talk readers notice the brightwork too, since cars with lots of chrome got hearts 83% of the time, compared with 75% for other images in the same articles.
22. Deep-Clean Wheels And Tire Sidewalls
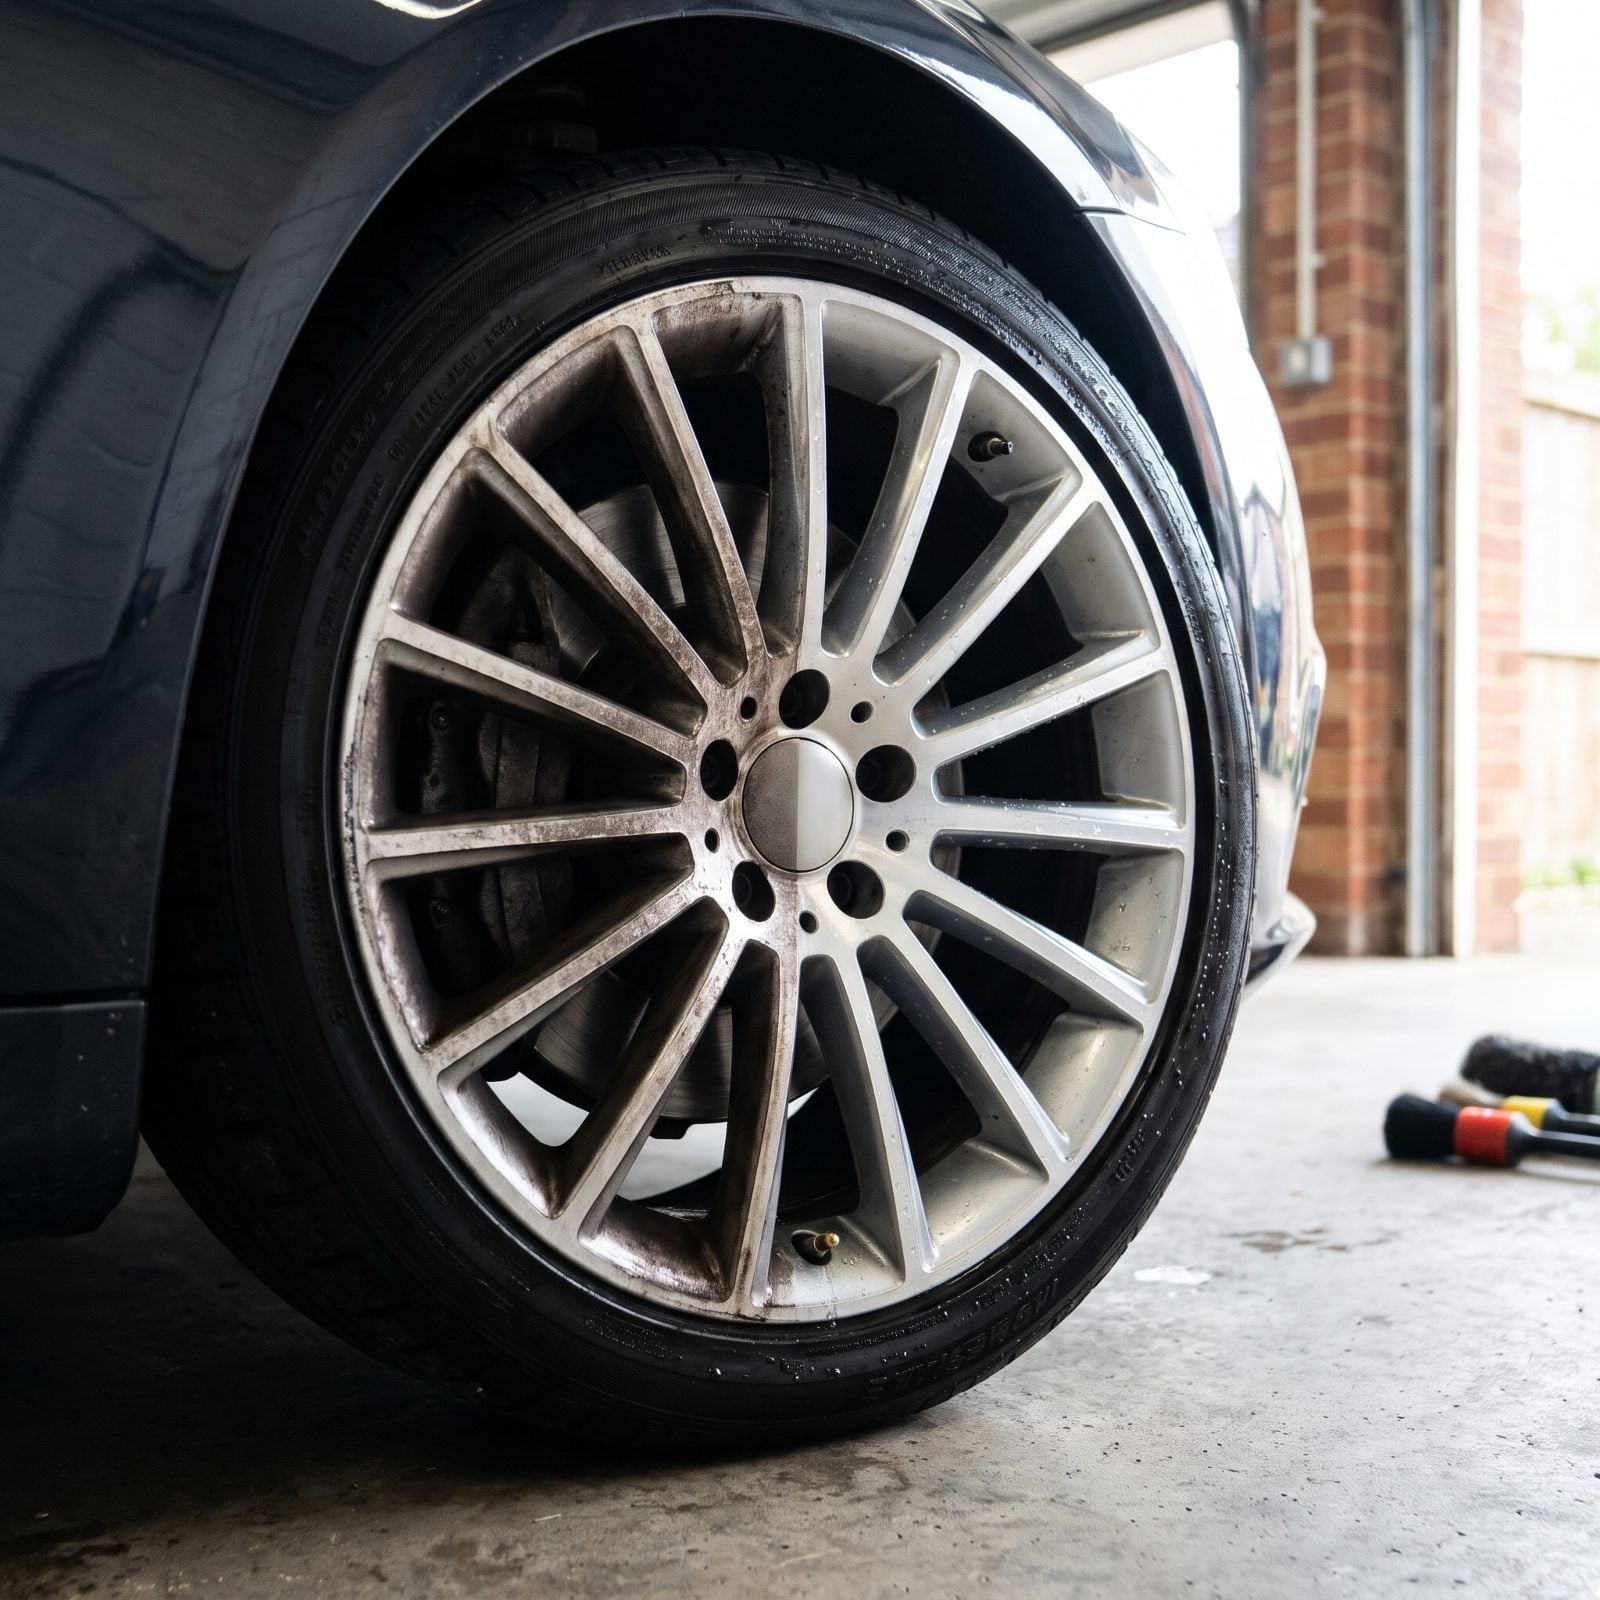
Dirty wheels undo an otherwise clean car. Brake dust, road film, and old dressing cake into the spokes and barrel where a sponge can’t reach, and the eye goes straight to it.
Spoke wheels and wire wheels demand a soft detail brush that threads between the bars. Work a wheel cleaner safe for your finish, agitate, and rinse thoroughly. Scrub the whitewalls or raised lettering with a stiffer brush and a dedicated cleaner until they’re bright, not browned.
21. Degrease The Engine Bay
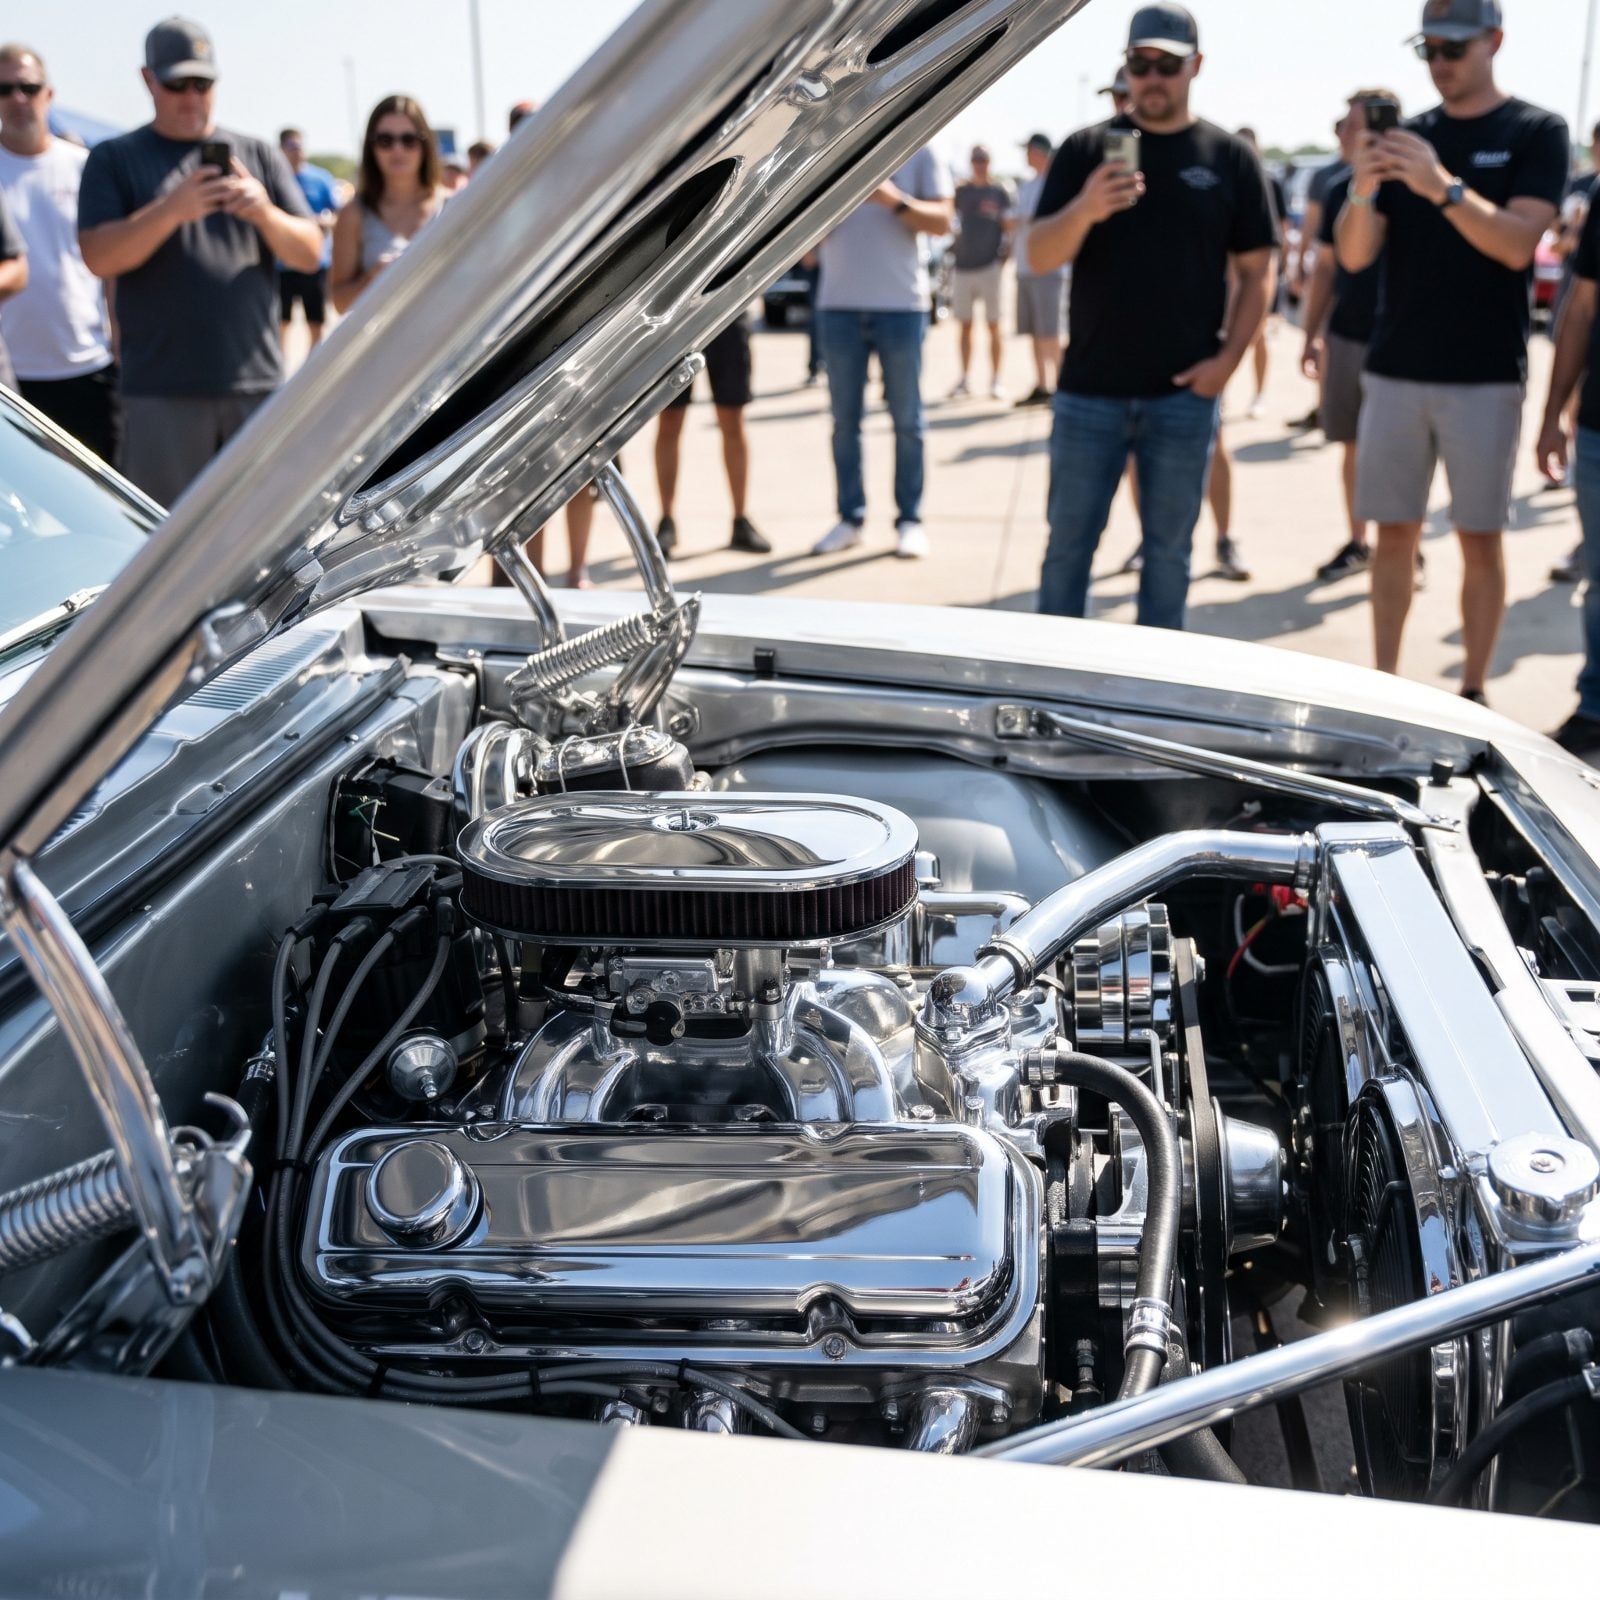
Pop the hood at any show and a crowd gathers. A greasy, grimy engine bay tells them the car is a weekend driver that never gets attention. A clean one tells them you care about what they can’t see.
Cover the distributor and any exposed electrical, then work a degreaser into the painted surfaces, hoses, and block. Agitate with small brushes and wipe — don’t blast it with high pressure. Dress the hoses and plastics lightly to bring back the color.
The move most folks forget: dry it fully and run the engine a few minutes afterward to chase out trapped moisture. Water pooled in a crevice means surface rust by next weekend.
20. Polish Glass Inside And Out
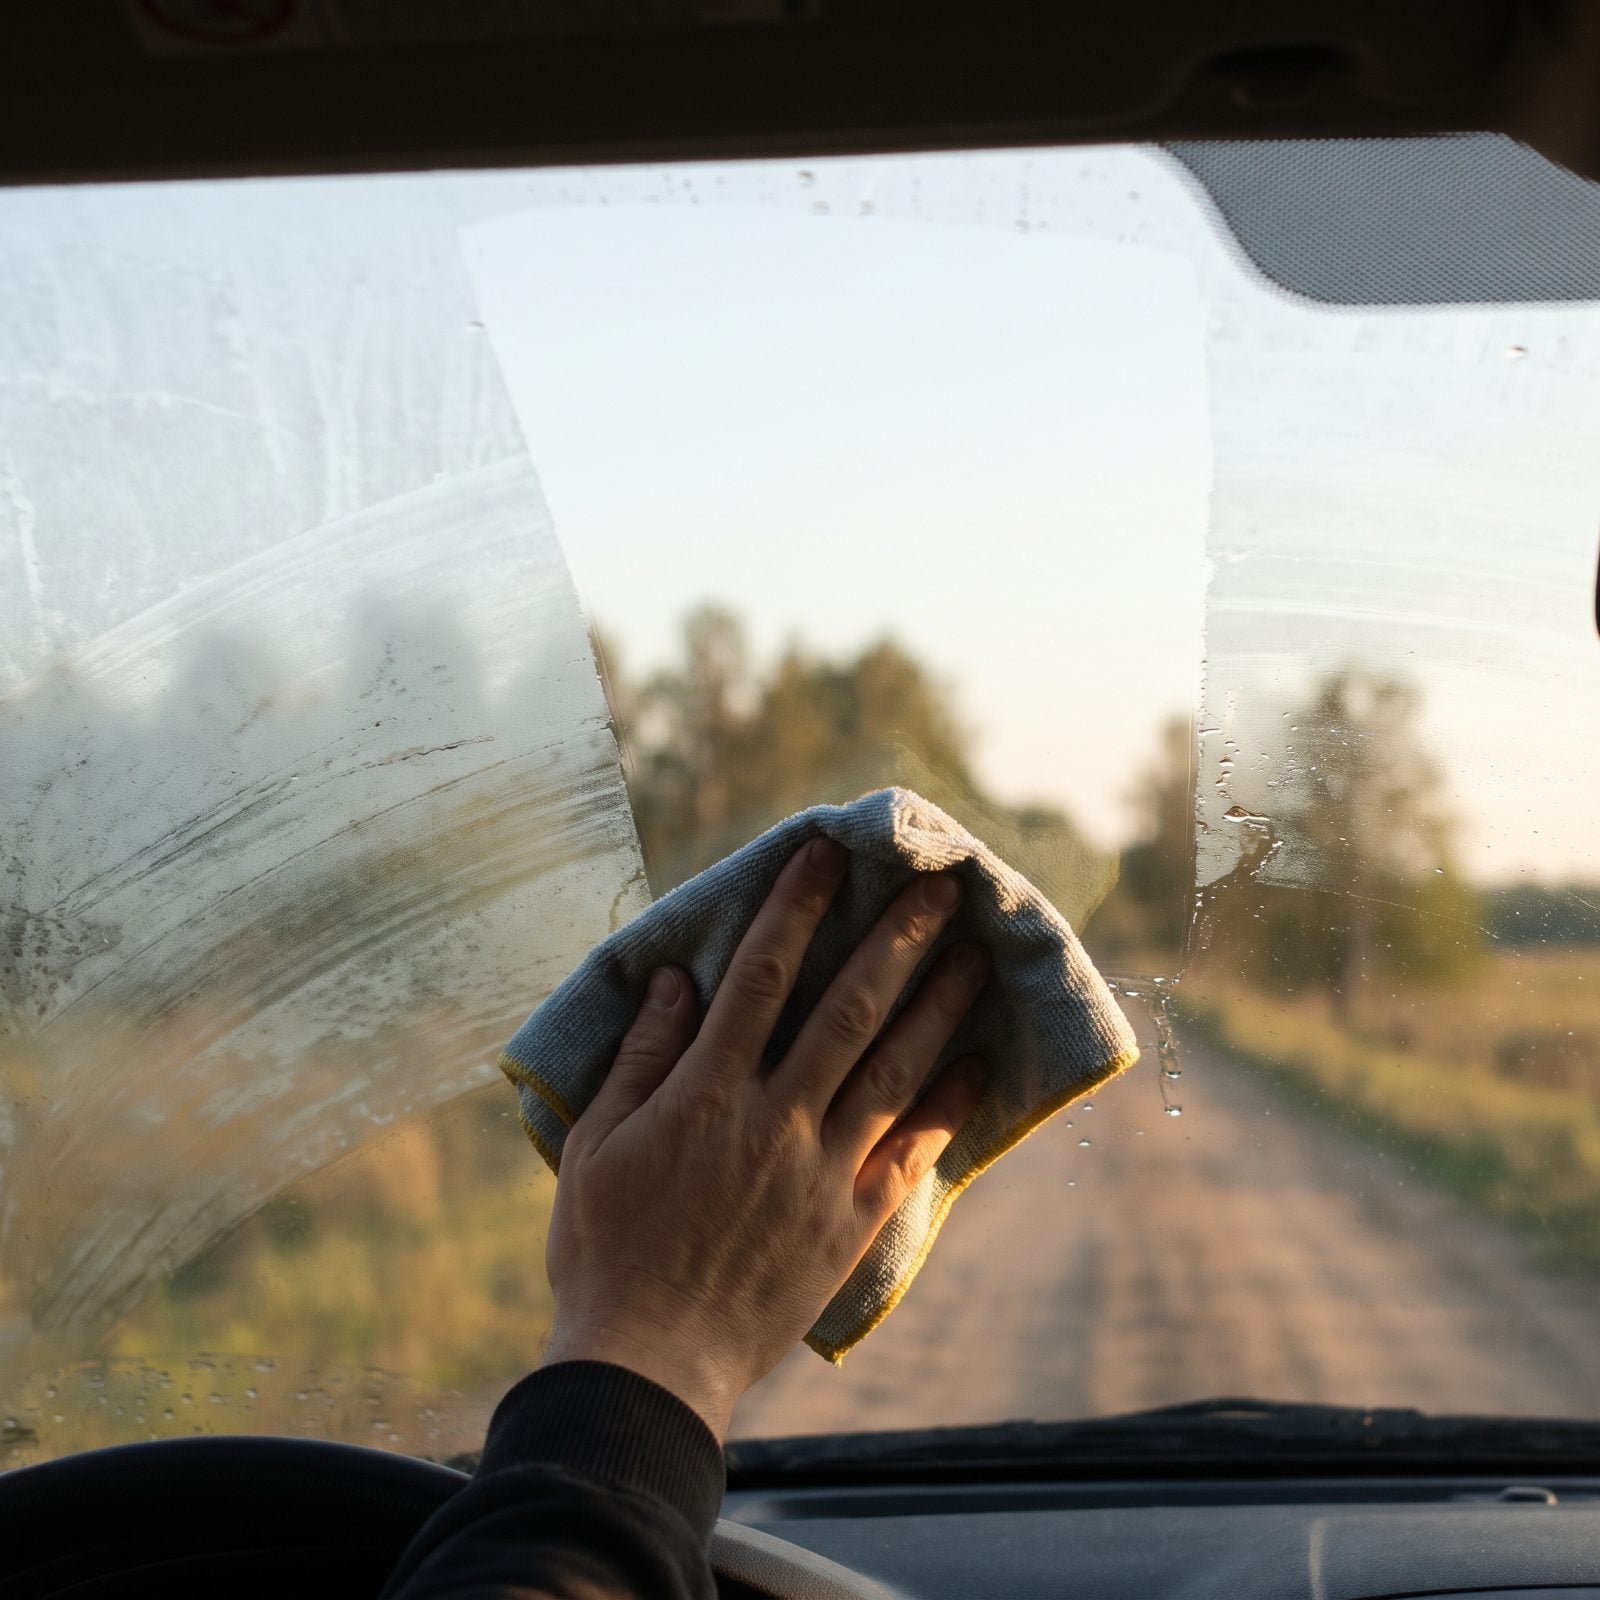
Glass is the one surface photographers and judges look straight through, so smears show instantly. That hazy film on the inside of the windshield is off-gassing from vinyl and plastics, and it builds up fast on a stored car.
Use an ammonia-free cleaner and two cloths: one to clean, one to buff dry. Work the inside horizontally and the outside vertically. If a streak shows up later, you’ll know which side to hit.
And don’t forget the edges where the glass meets the trim. That’s where the last of the haze likes to hide.
19. Clean Door And Trunk Jambs
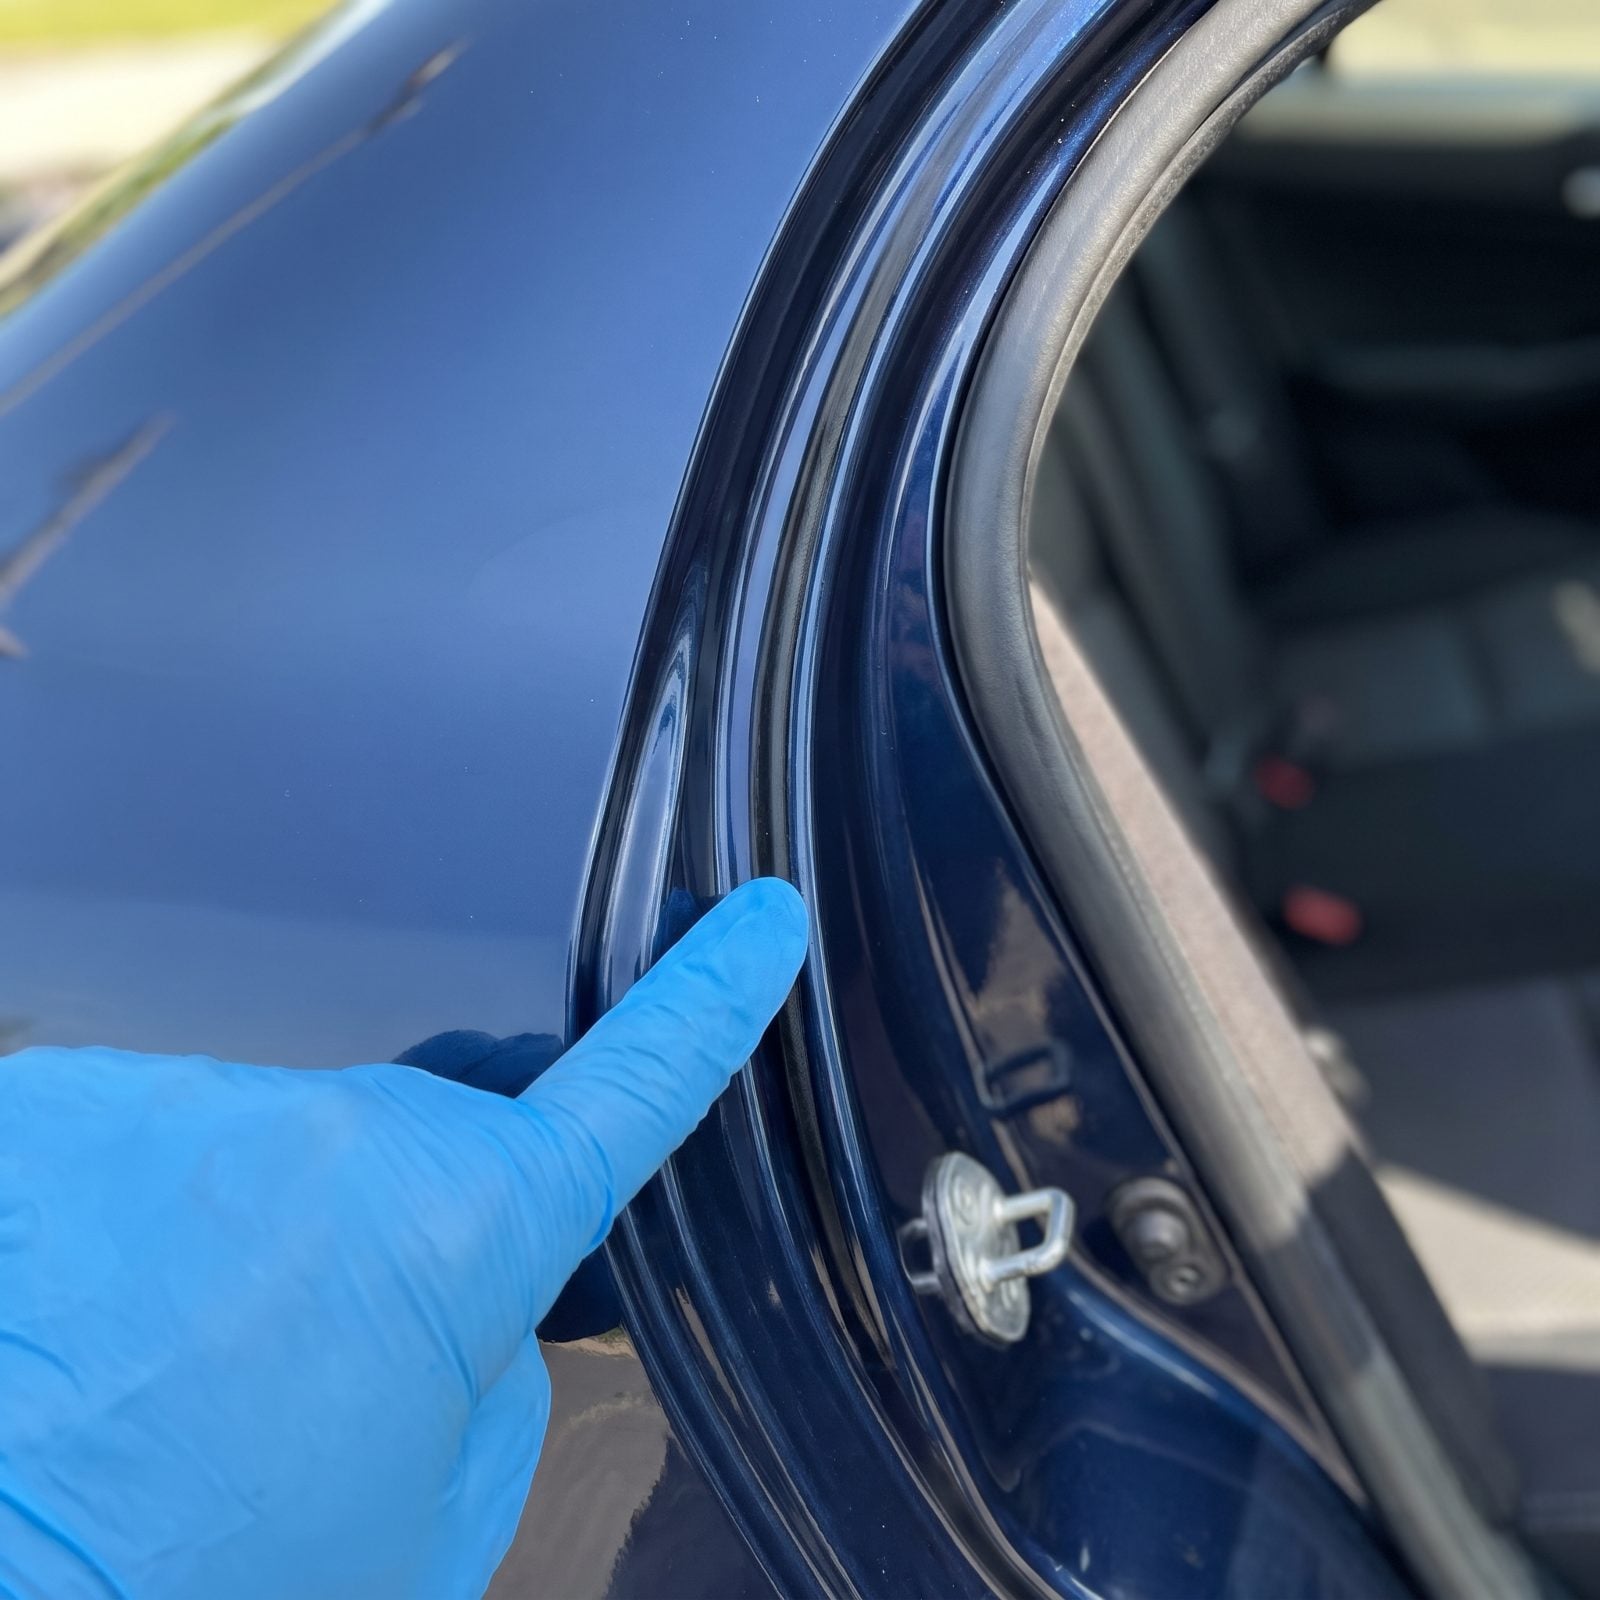
This is the detail that wins trophies, because almost nobody bothers. Open a door at most shows and the jamb tells the real story — overspray, grime, dried polish caked in the seams. A judge who swings that door wide and finds it spotless just moved you up the field.
Hit the door jambs, trunk gutter, and hood channels with a soft brush and cleaner, then wipe and seal the paint. Clean the rubber weatherstripping and dress it so it stays supple. Chase the polish dust out of every crease.
Save this for last, right before you load up. The jambs are the first thing to collect dust again, so do them, then drive carefully to the field and leave the doors shut until you stage.
18. Vacuum Seats And Carpets First
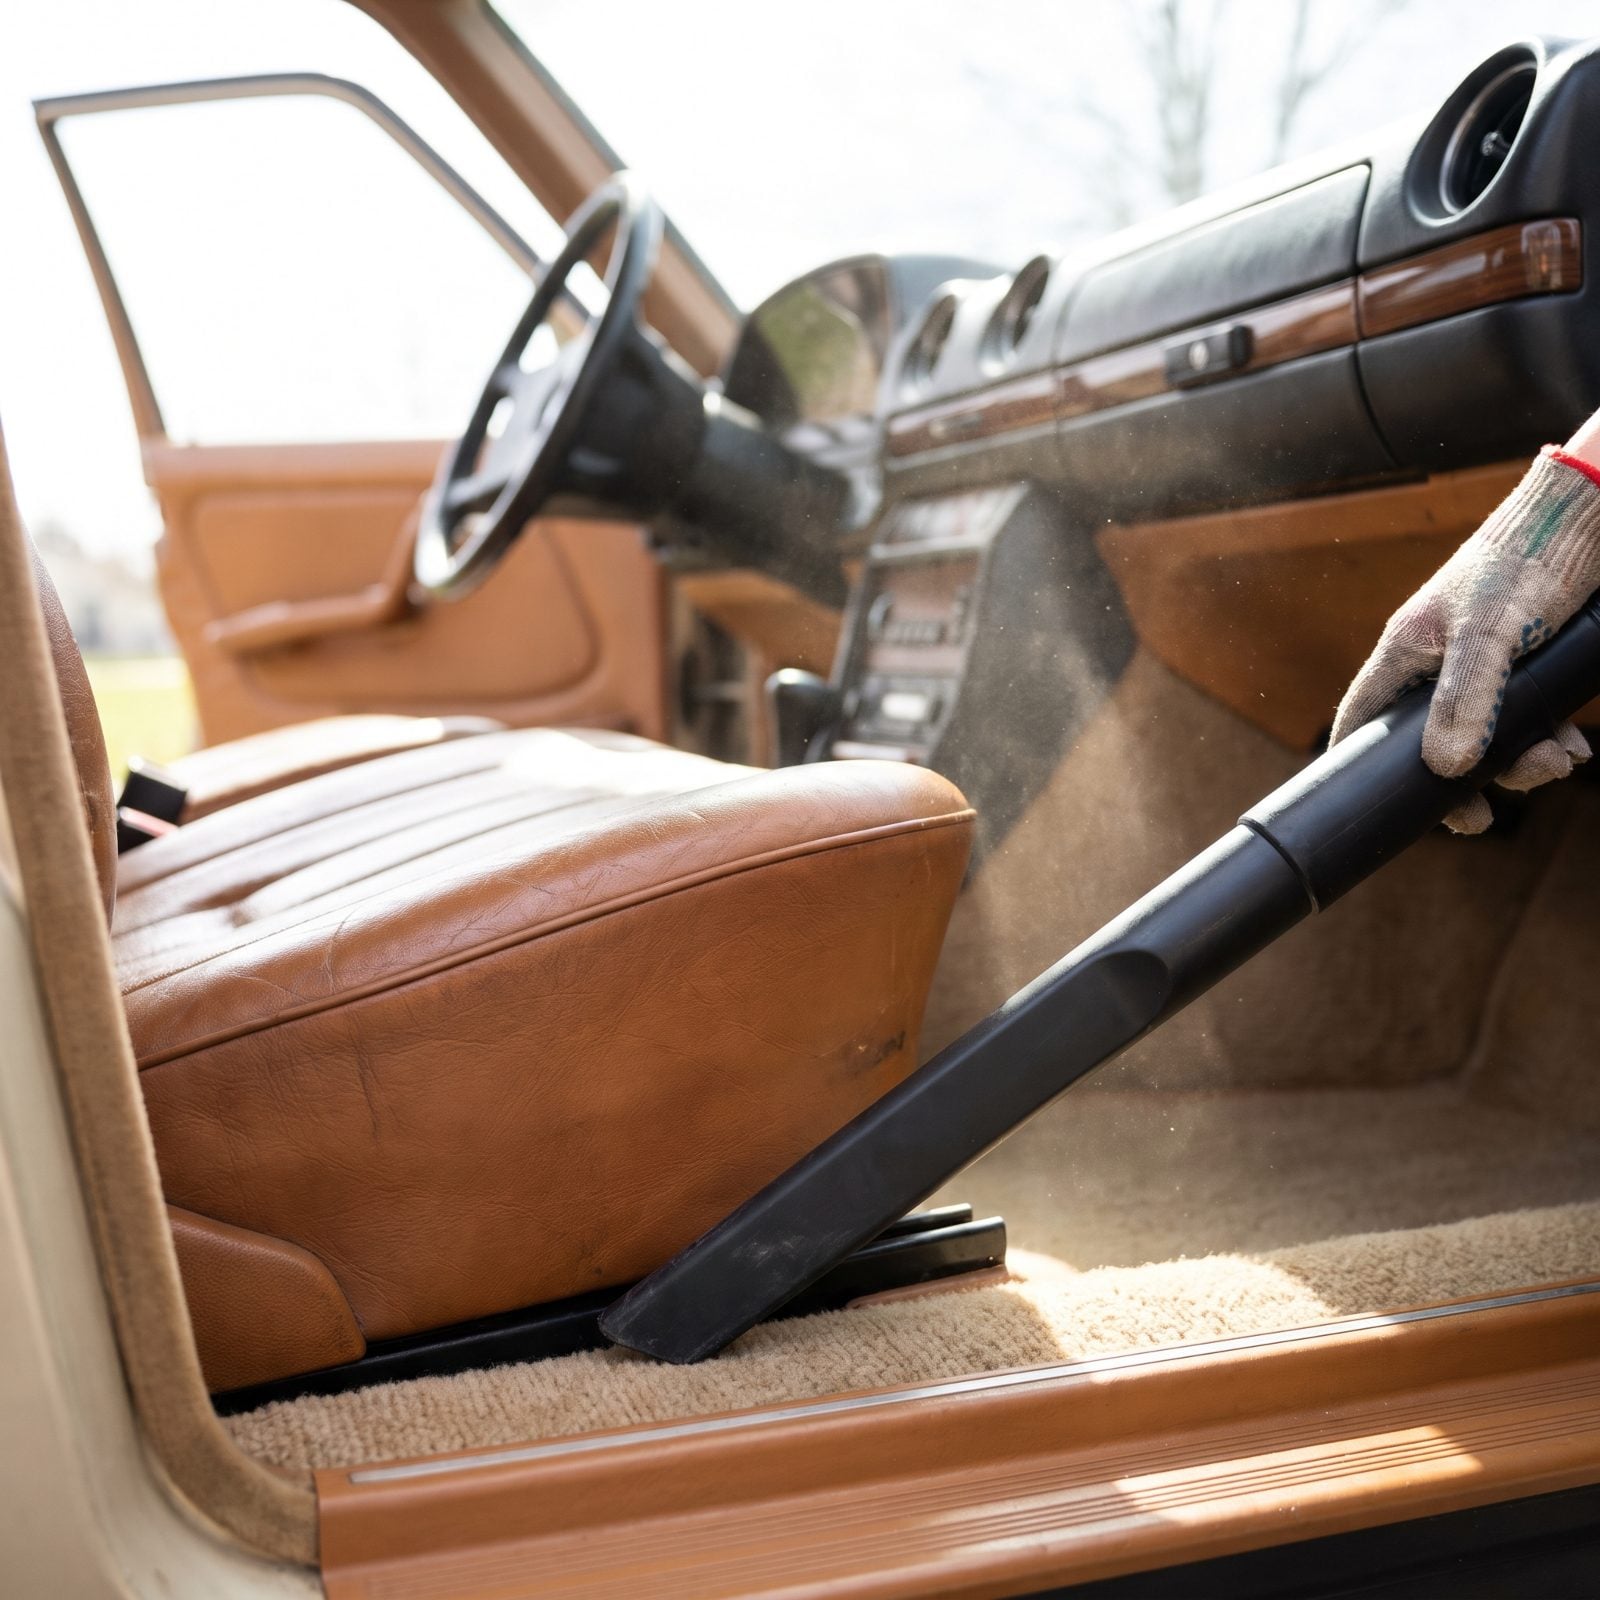
Start here, always. Vacuum before you touch glass, before you polish, before anything else, because dust falls and you’ll only end up chasing grit onto surfaces you’ve already cleaned if you work the other direction. Top to bottom. That’s the whole rule.
Pull the seats all the way forward, then all the way back. The worst debris lives under the tracks and in the seam where the backrest meets the cushion. Use the crevice tool there, slow, and run it along the door sill drain channels too. Lift the floor mats out completely and vacuum the carpet underneath, because judges lean in and look.
The spot most people miss: the seat belt wells and the little pocket behind the rear bench where coins and french fries have lived since the Nixon administration.
17. Detail Dash, Gauges, Vents, And Switches
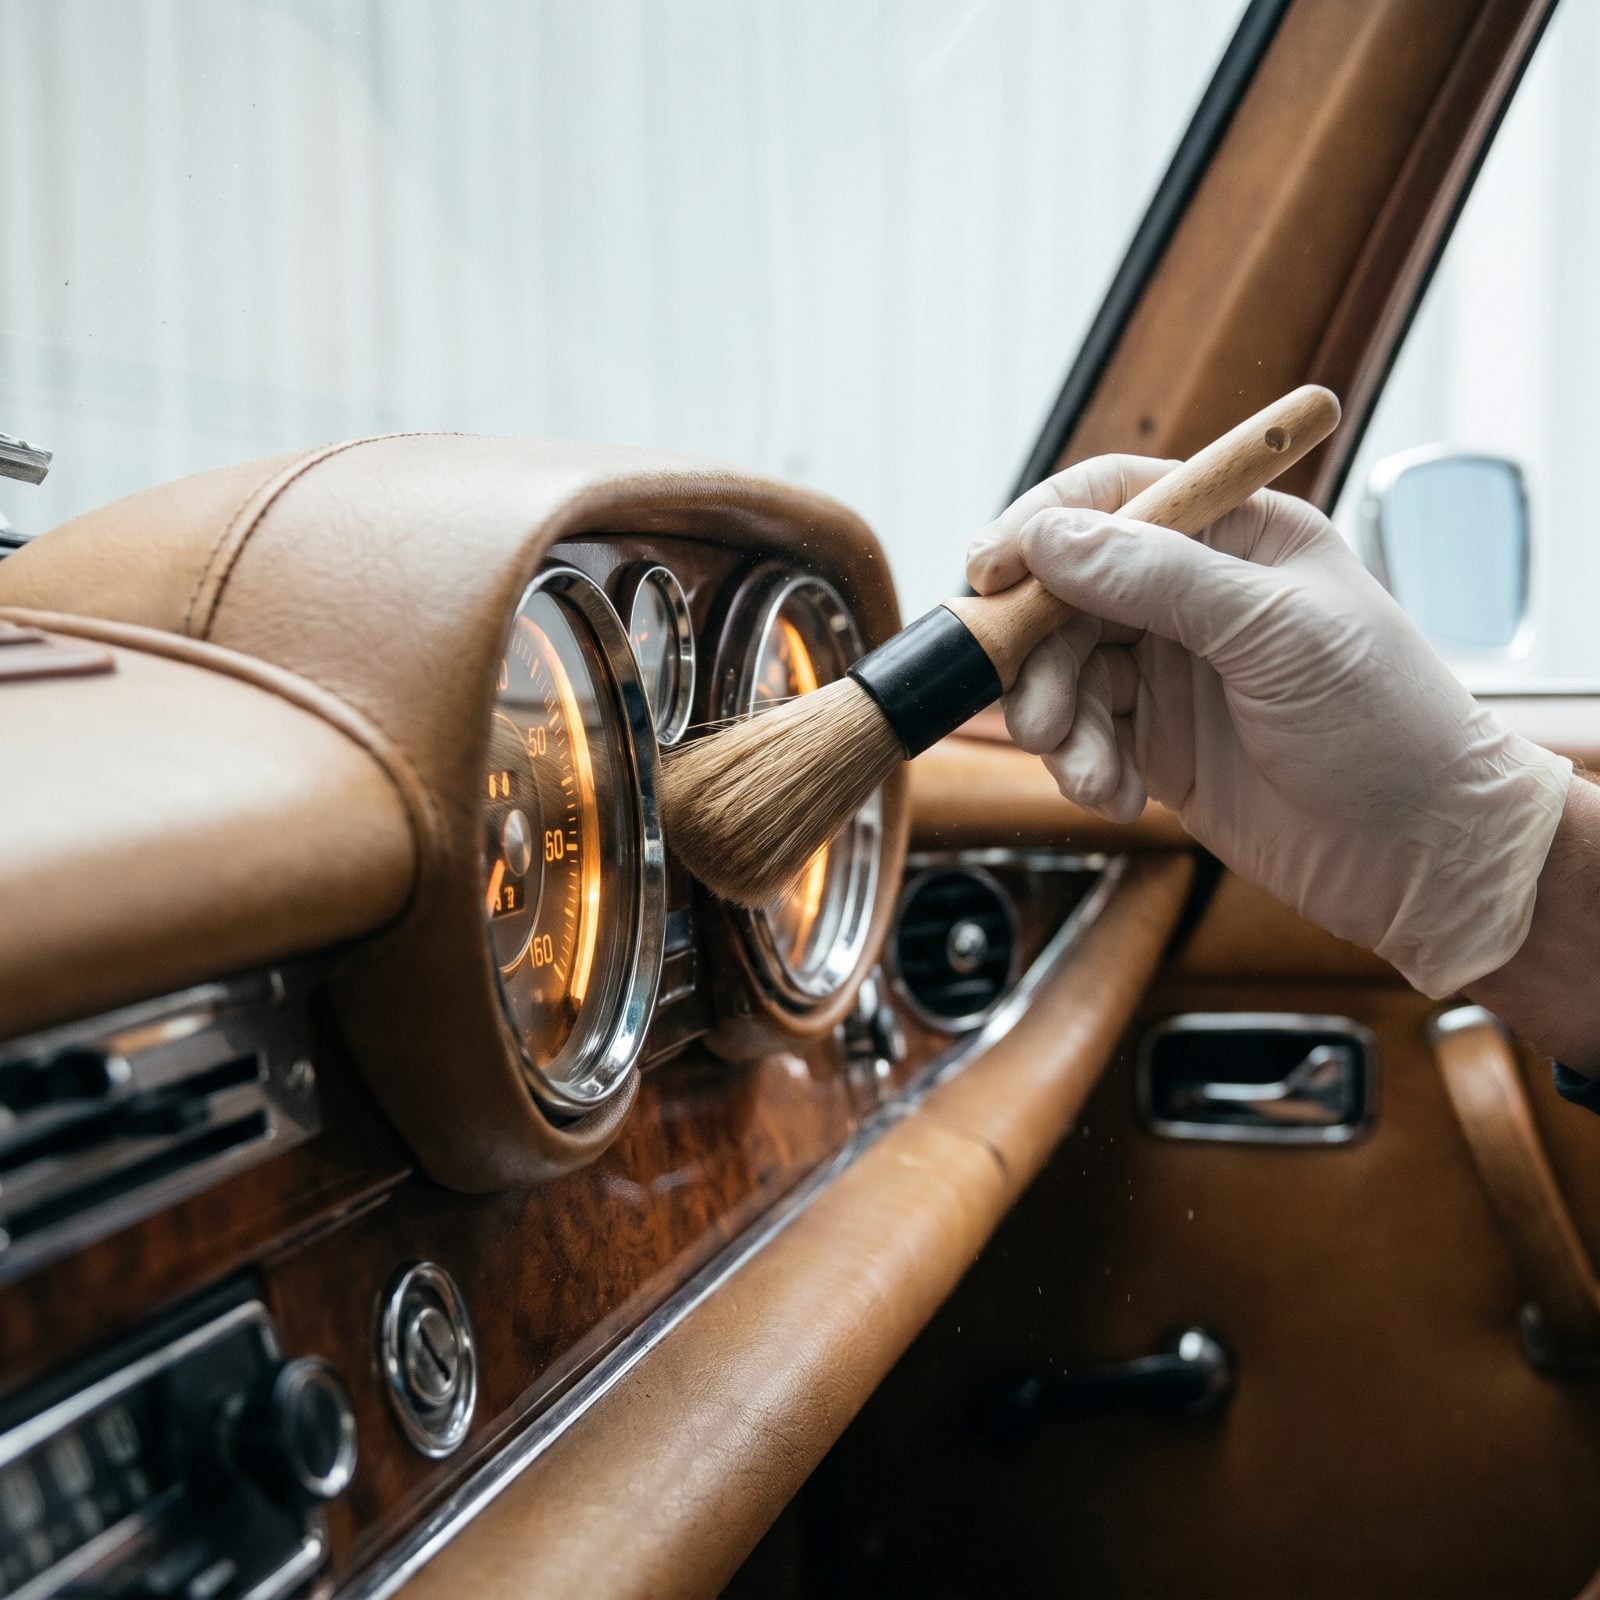
The dash is where a show car wins or loses the quiet points. Dust settles in the gauge bezels and the vent louvers, and under the harsh sun of a show field it photographs like fine gray snow.
Skip the household spray. The ammonia in it hazes vinyl and can craze old gauge lenses. Reach for a dedicated soft detailing brush and work the seams around every switch, then let cotton swabs handle the vent slats and the knob bases where a cloth just can’t reach. A barely damp microfiber takes care of the flat spans, and that’s the whole chore.
Here’s the one folks forget: the gap beneath the chrome gauge bezels and the back edge of the instrument cluster hood. Judges with mirrors find it.
16. Detail The Pedal Box
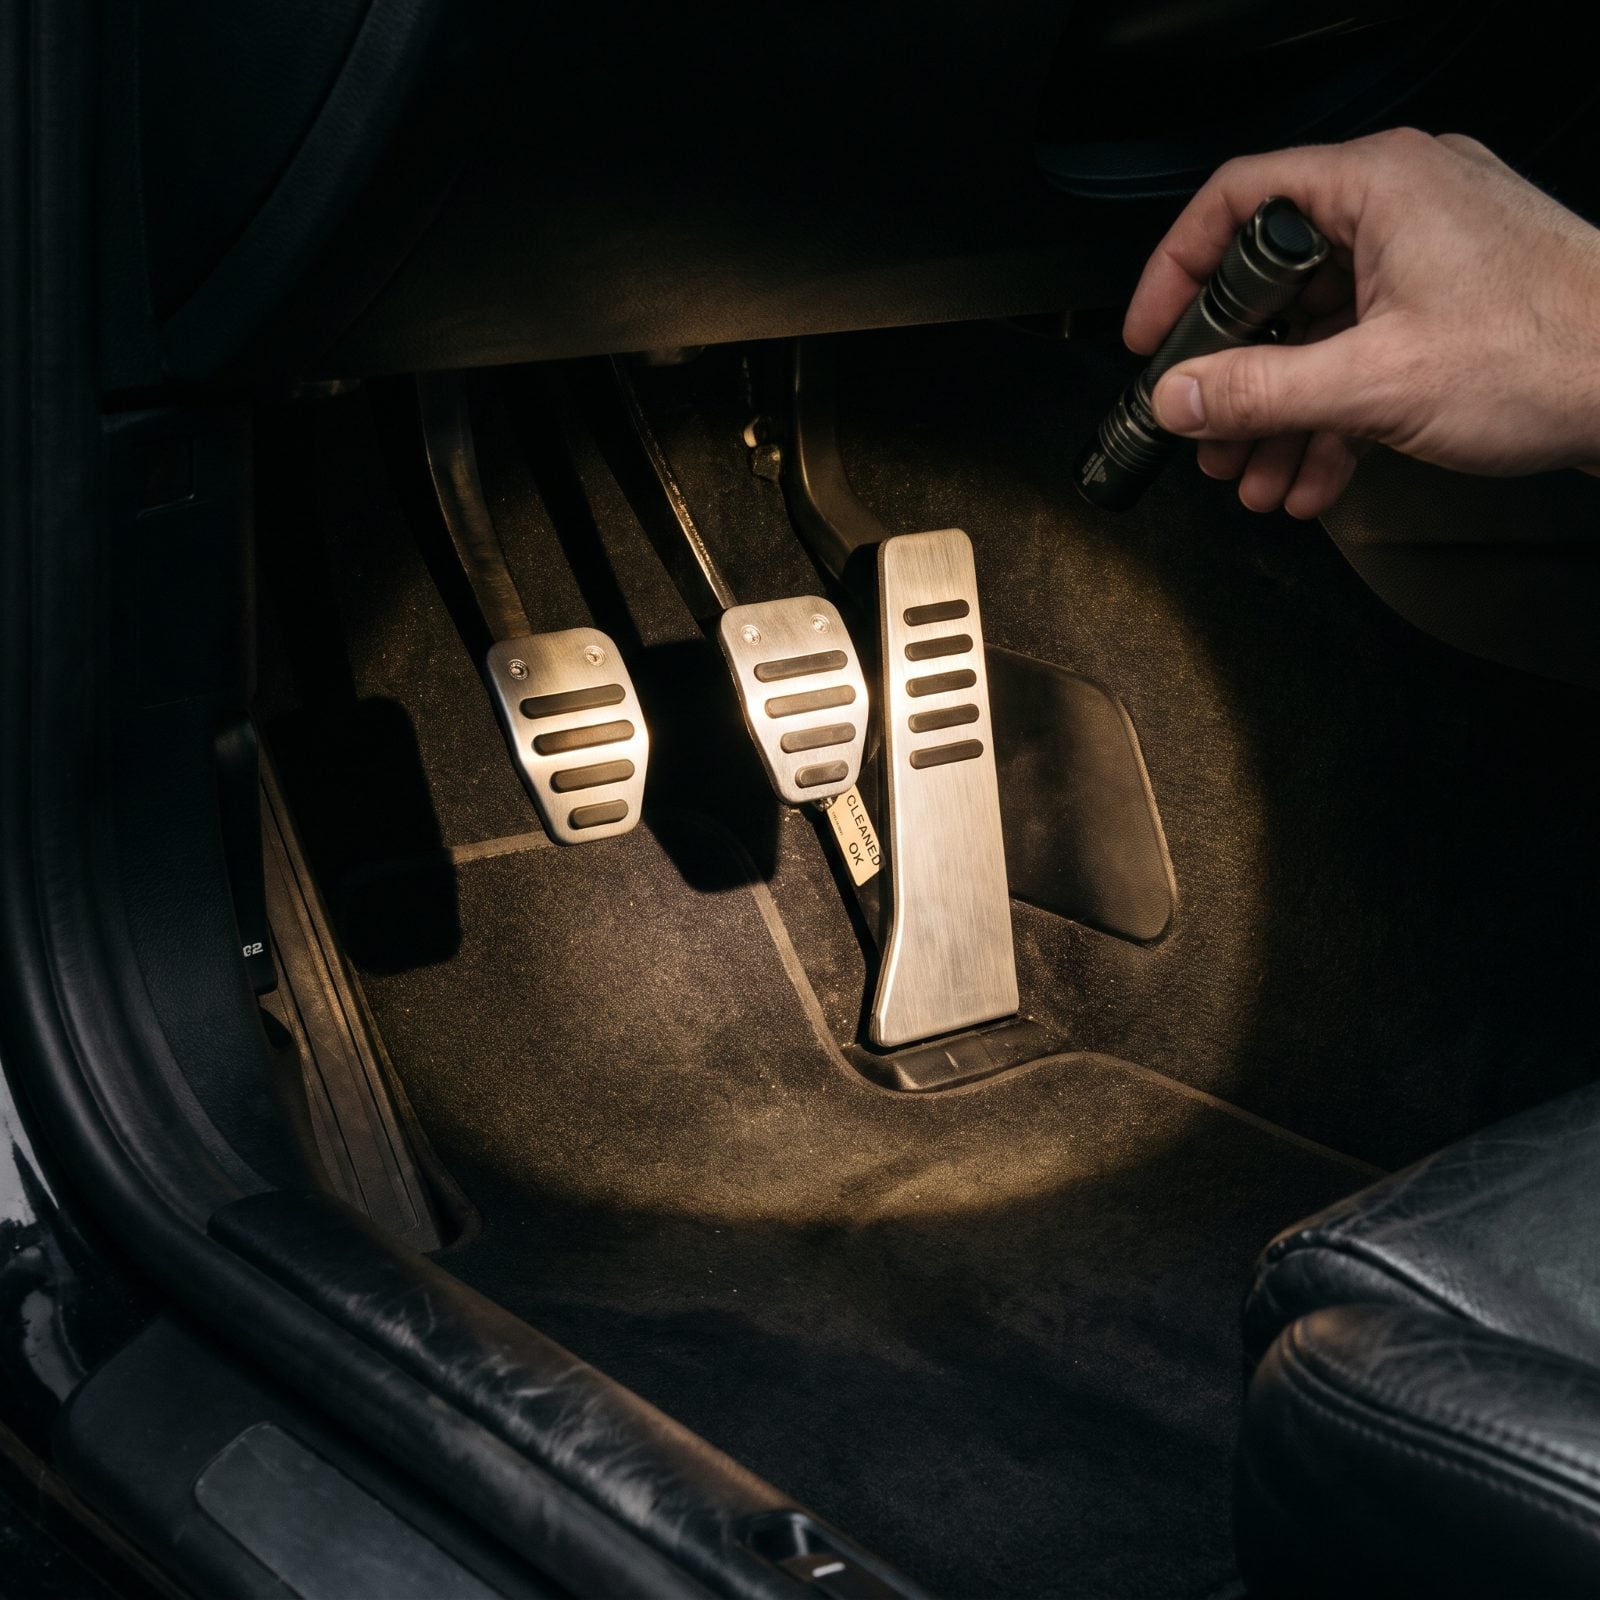
Nobody expects the pedals, which is exactly why you do them. A spotless engine bay and a grimy pedal box tells a judge you cleaned for the camera, not for the car.
Scrub the rubber pads with a stiff brush and a little degreaser to pull decades of shoe grime out of the ribbing. Rinse, dry, then hit them with a matte rubber dressing, and I mean matte, because a glossy tire shine on a pedal looks like a cheap trick and reads wet instead of factory-fresh. The metal pedal arms take a quick polish and nothing more.
Dress them matte and leave them to cure overnight so you’re not braking on a slick pad come show morning.
15. Organize The Trunk Area
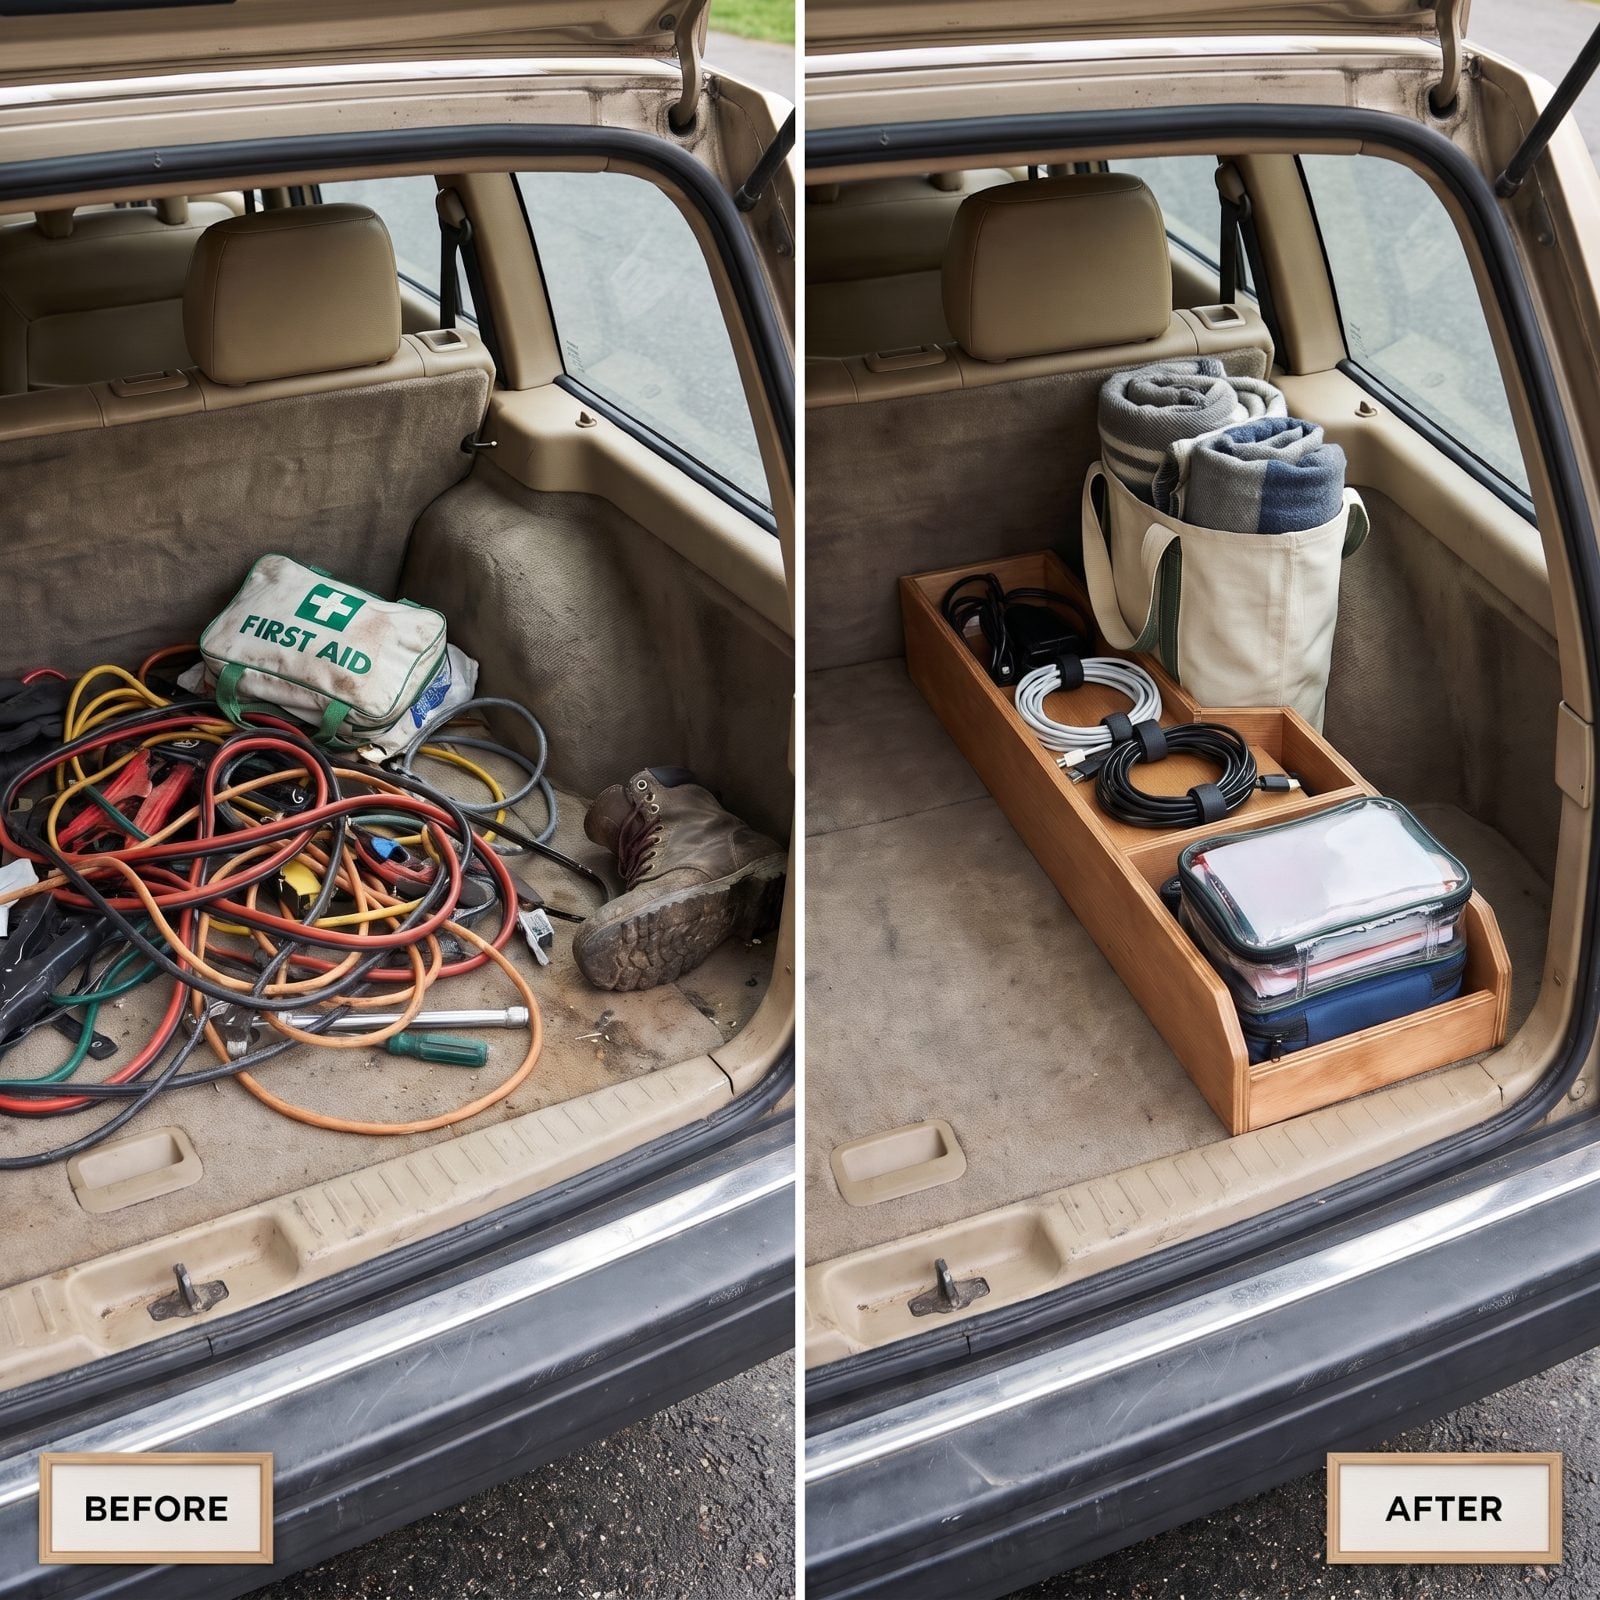
The trunk is the sleeper category. A good share of entrants pop it open on the field and reveal a jumble of jumper cables, a cooler, and a beach chair. Don’t be that car.
Vacuum the trunk mat and clear out the loose dirt and debris that collect on the floor. Set the spare where it belongs, jack secured in its bracket, correct trunk liner smoothed flat. If your car ran a particular trunk mat pattern from the factory, this is where a reproduction pays off.
Keep your travel gear contained. Coil the cables and jumper leads and corral them, along with a first-aid kit, in a long divided wooden box running from the seatback toward the tailgate. A judge opening a trunk wants to see order, not a jumble.
14. Gather The Car’s Provenance
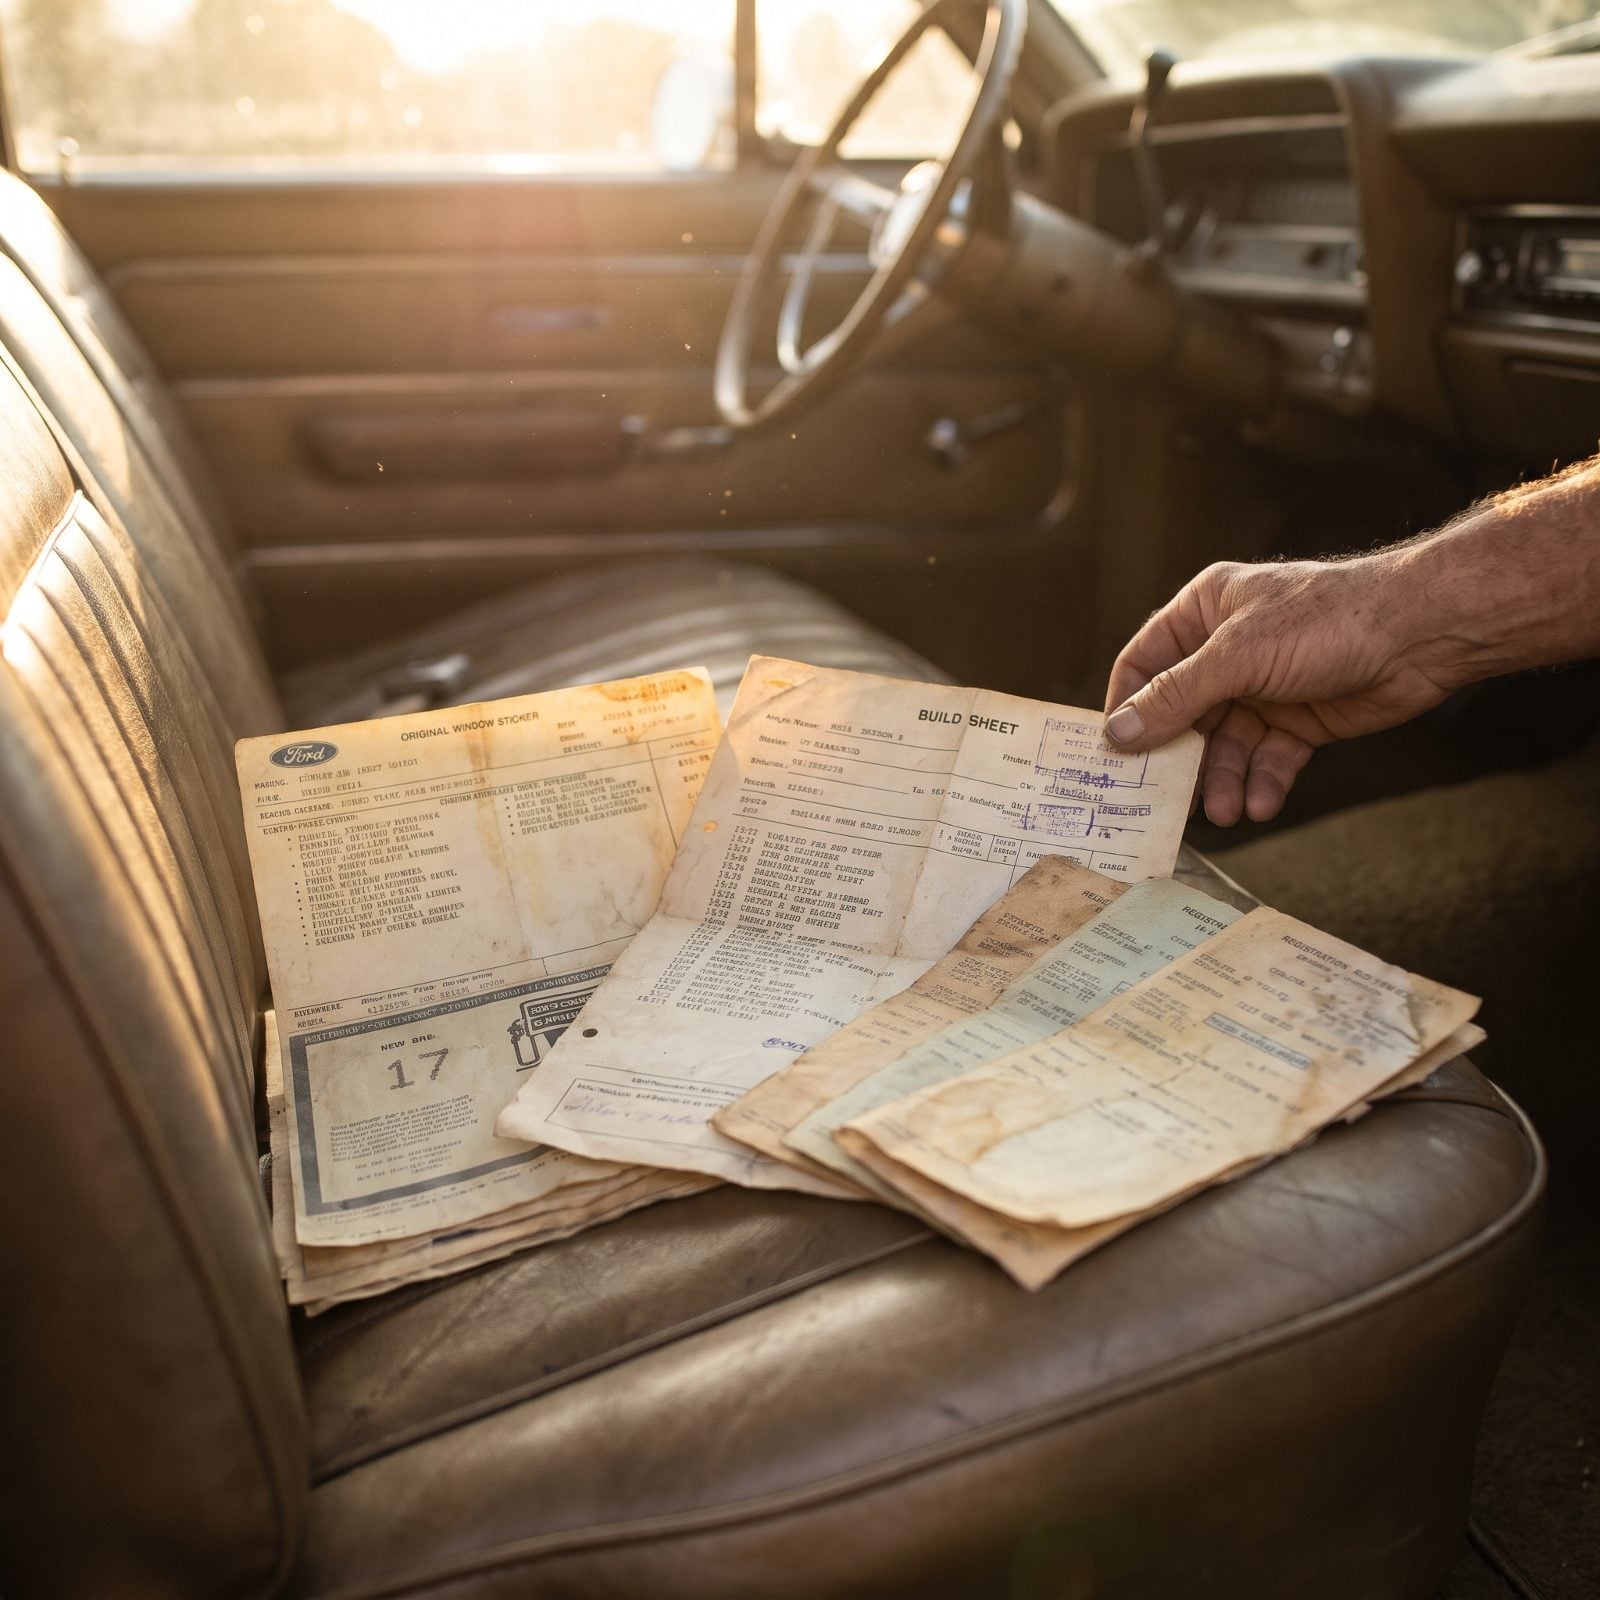
Paper tells the story the paint can’t. A car with its original window sticker, the build sheet, old registration slips, and a shoebox of photos from when it was new carries weight no detail job matches.
Round it up now, not the night before. Slide the fragile pieces into clear sleeves so handlers can read without touching. Make a simple binder: original documents up front, restoration receipts behind, a page of photos showing the before. Spectators love this part as much as judges do.
The thing people leave home: the maintenance logbook. A line of oil changes going back years says this car was loved, not just restored to flip.
13. Print An Accurate Specification Placard
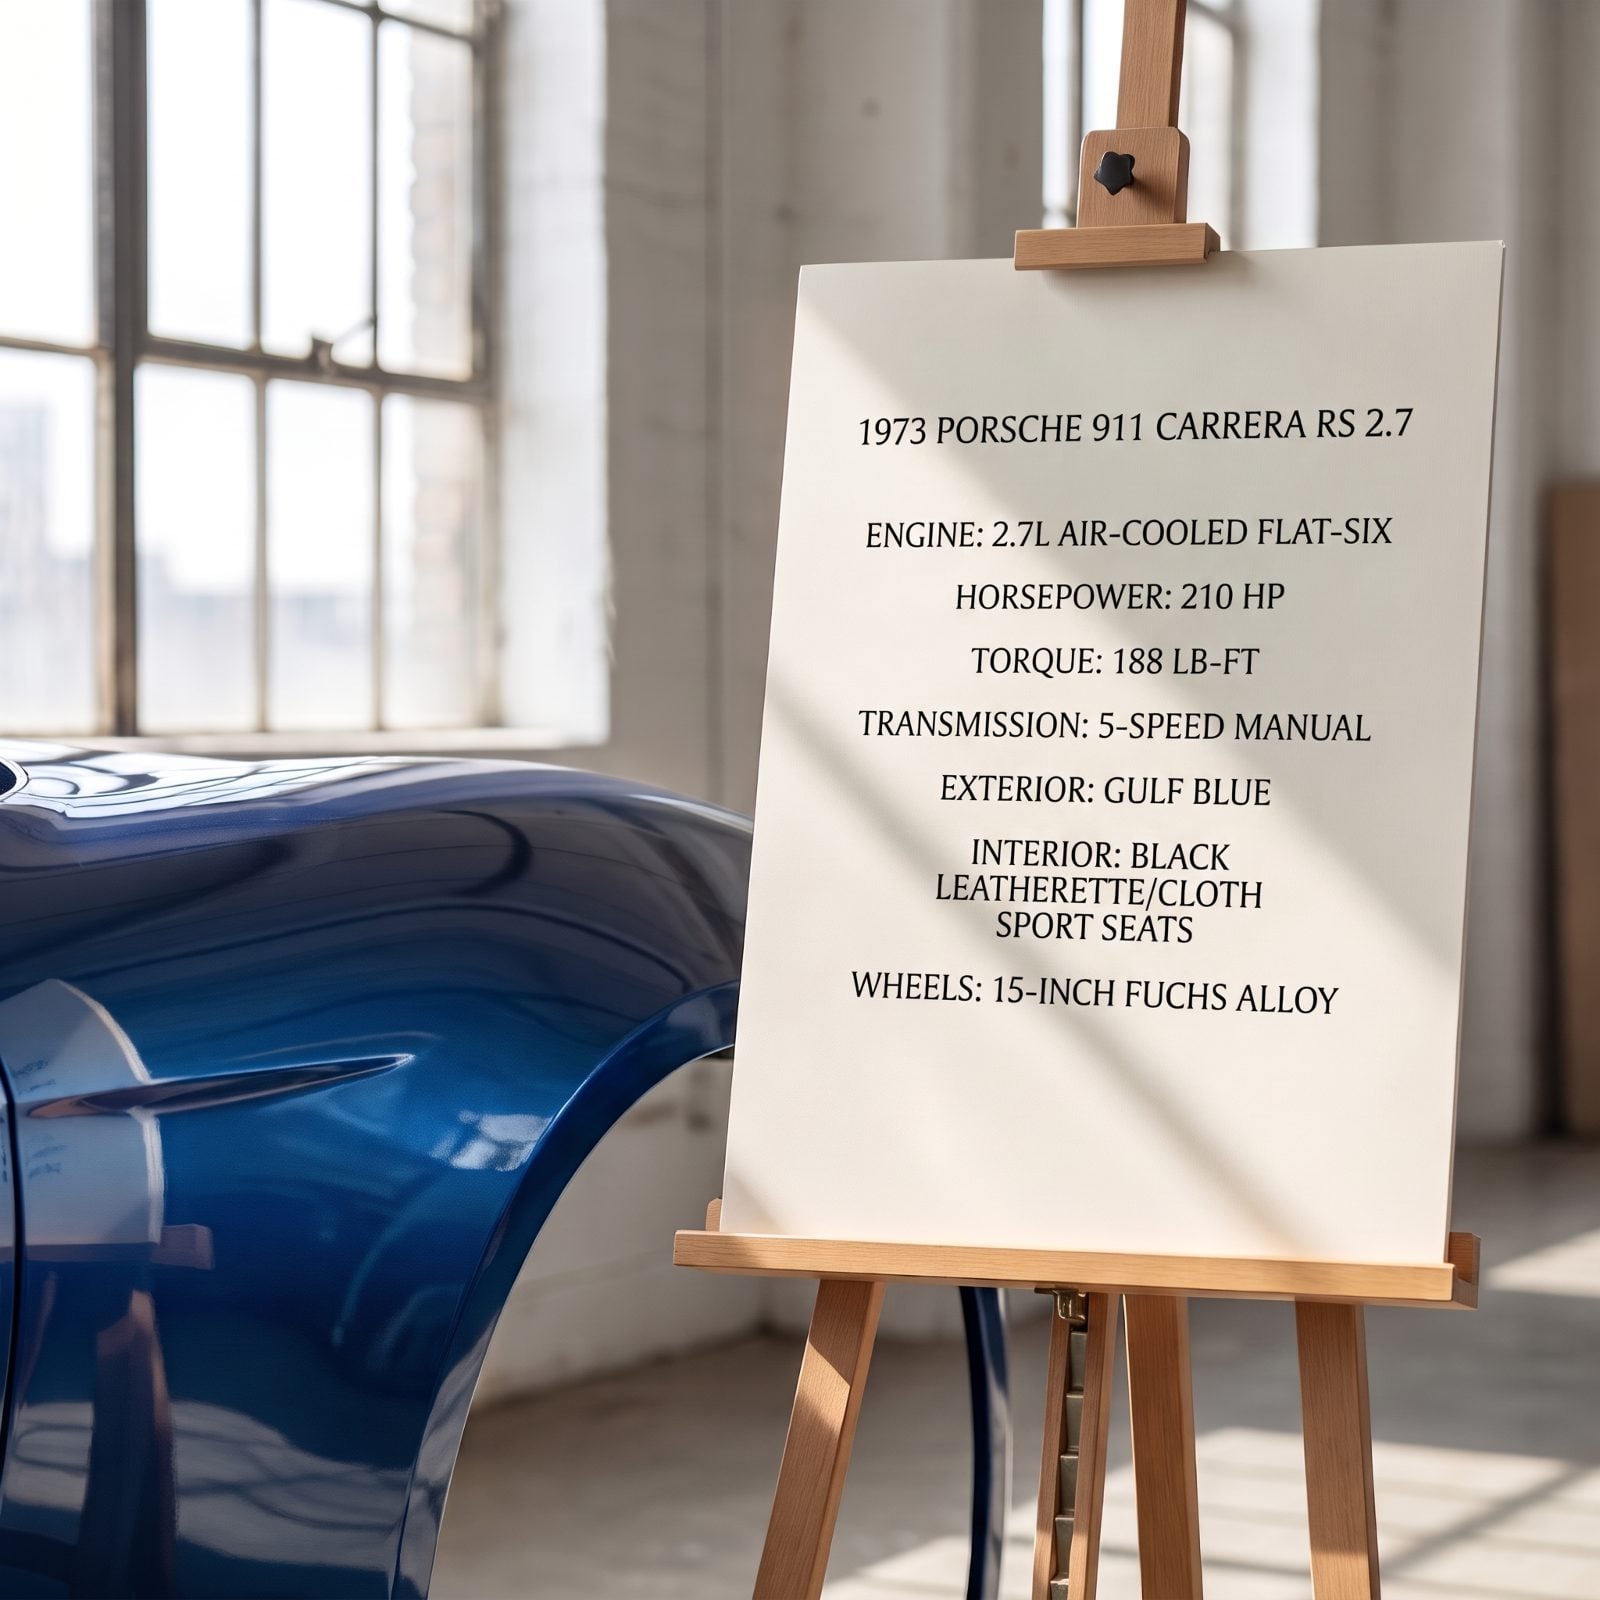
Get the numbers right or don’t print a card at all. A placard that claims the wrong horsepower or a wrong production year invites a knowledgeable judge to question everything else you’ve told them.
Keep it clean: engine, horsepower, torque, transmission, exterior color, interior and wheels, each on its own line. Verify every figure against your documentation, not against what you remember a buddy saying over a beer. Big, readable type, please. A sturdy wooden easel keeps it upright and off the paint.
What trips people up: listing modifications as if they were factory. Note any changes honestly. Correctness reads as integrity, and integrity reads on the scorecard.
12. Confirm Gate And Arrival Times
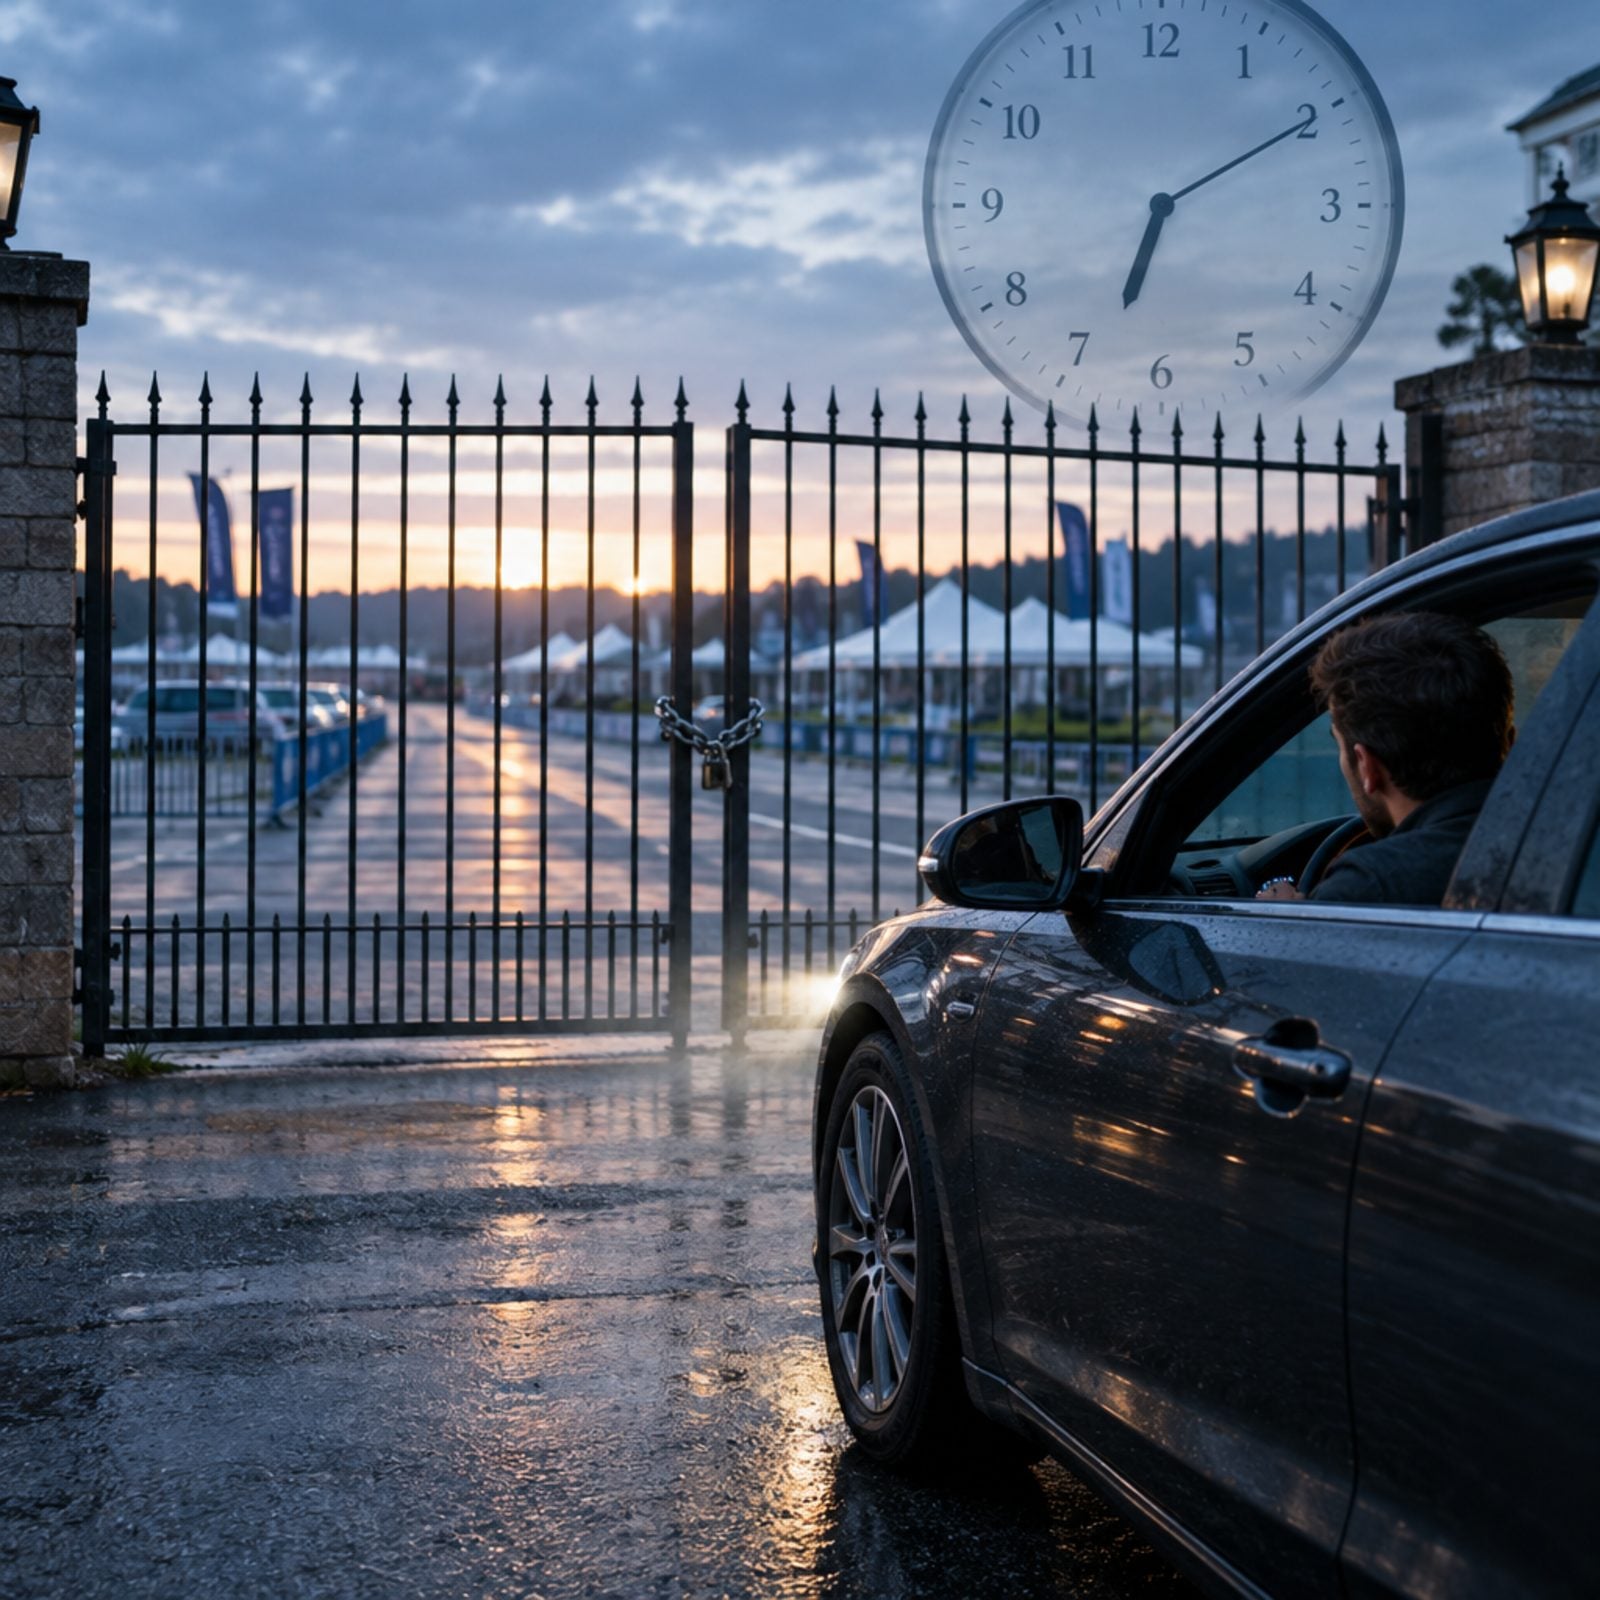
Show-day logistics sink more people than mechanical gremlins. Venue gates often run on fixed hours, closing at dusk and staying chained until a posted morning time. Roll in at dawn and you sit outside a locked gate; still be inside after close and your car is locked in until morning.
Call or check the event packet for your specific class gate time, not the general opening. Then map the route, note the staging lane, and figure your departure time backward from there. Add a buffer. Cold tires, a slow line at the fuel stop, a wrong turn, it all eats clock.
The overlooked detail: pre-registration pickup. Some shows make you grab a packet and windshield number from a will-call tent before you stage. Know where it is.
11. Monitor Weather And Pack Rain Supplies
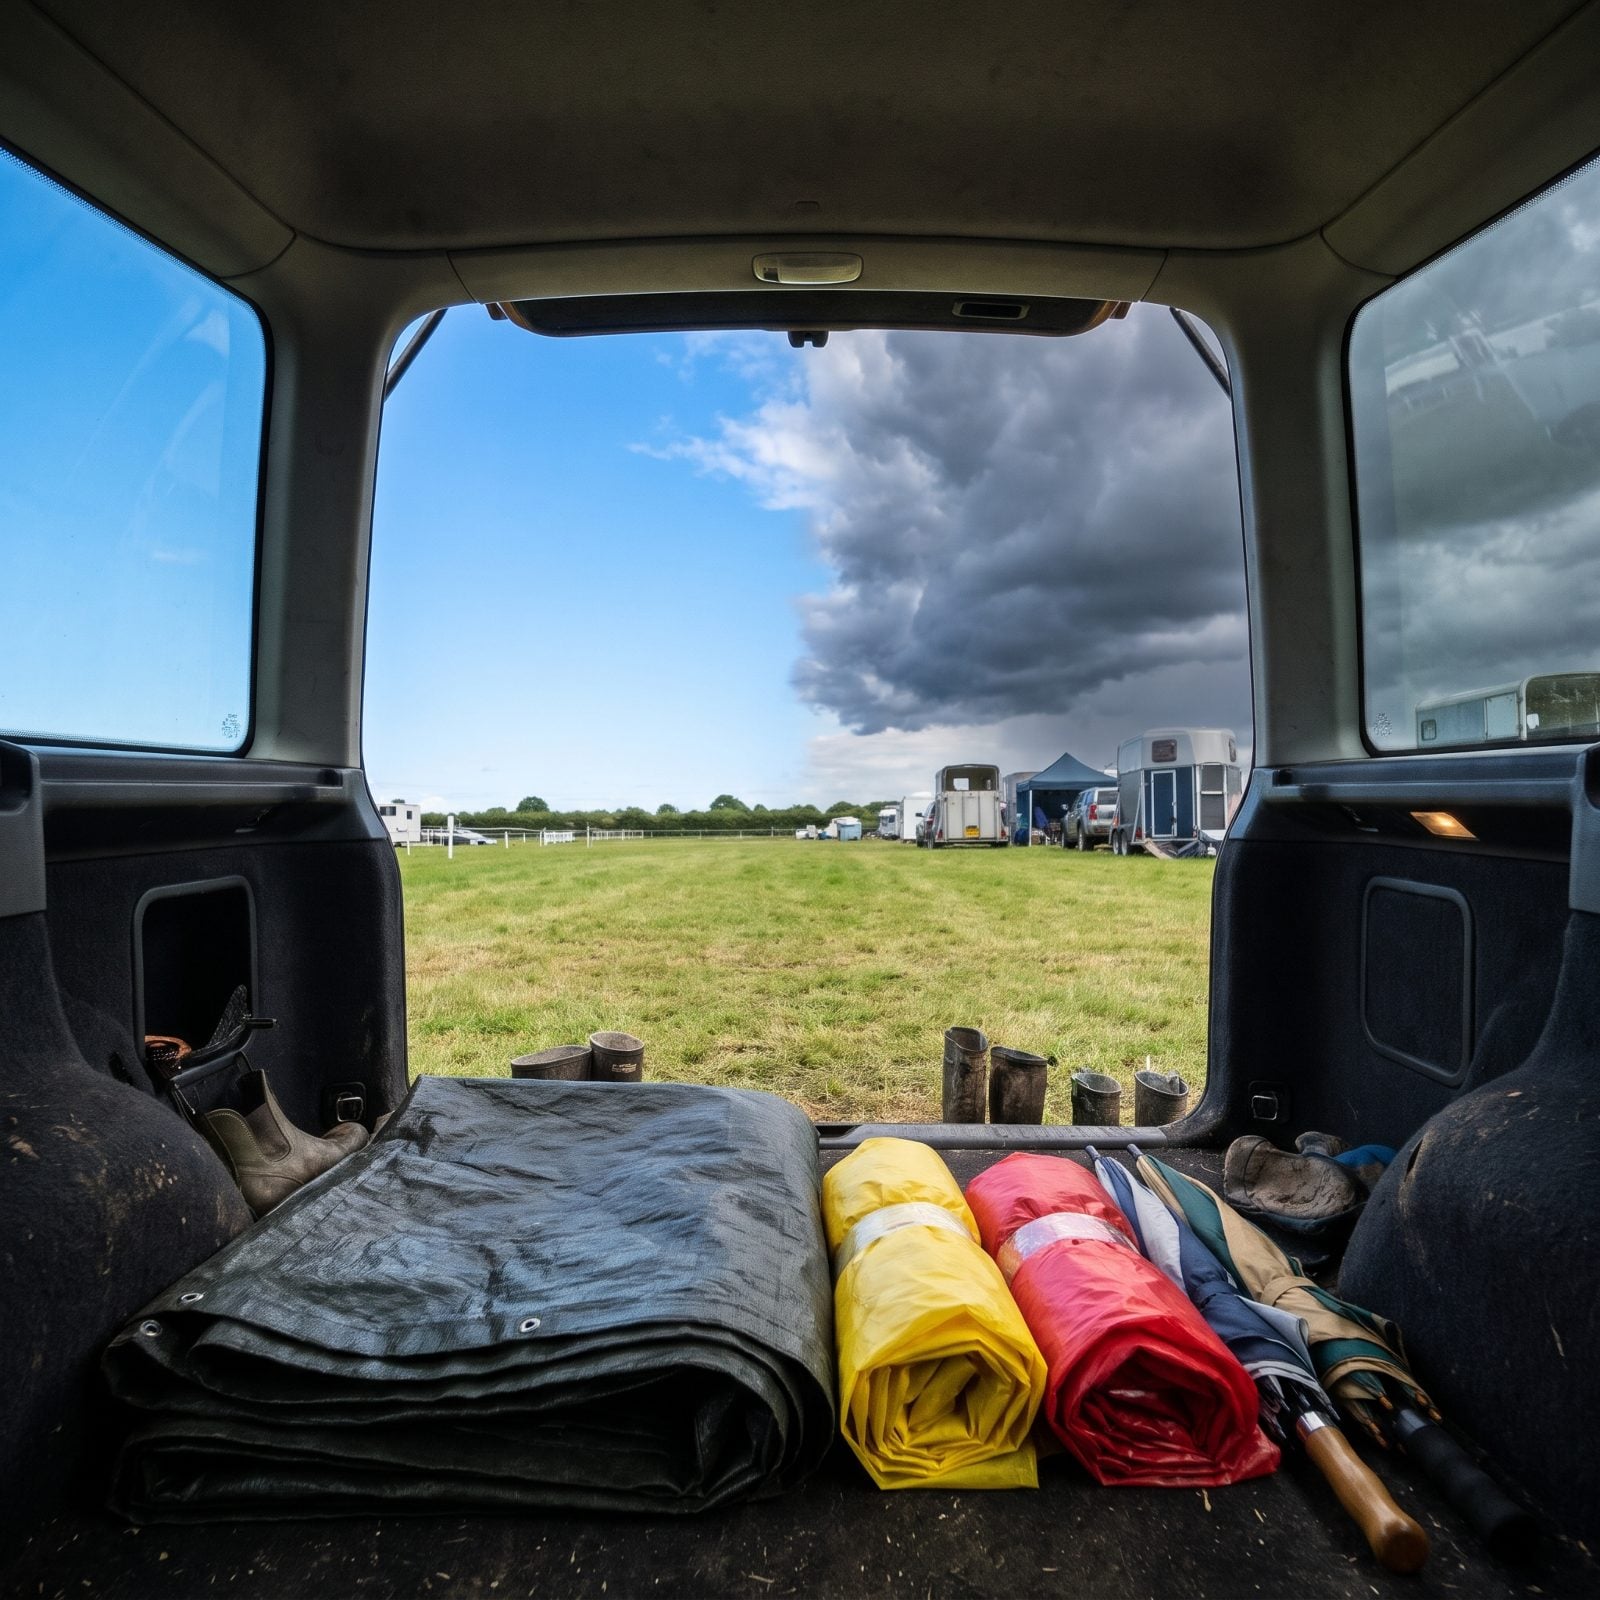
Spring weather lies. A clear forecast at breakfast can turn into a cloudburst by noon, and water spots dried under hot sun will etch into fresh wax before you can reach them.
Check the hourly forecast the night before and again at dawn. Pack a stack of clean drying towels, a soft breathable car cover, and if your show allows it, a pop-up canopy. A quick-detail spray and a dedicated drying towel let you blot spots the moment the sky clears.
What most forget: a towel for your own shoes and knees. You’ll be kneeling on wet grass to wipe rocker panels, and tracking that moisture back onto your interior undoes an hour of work.
10. Pack A Detailing Tote
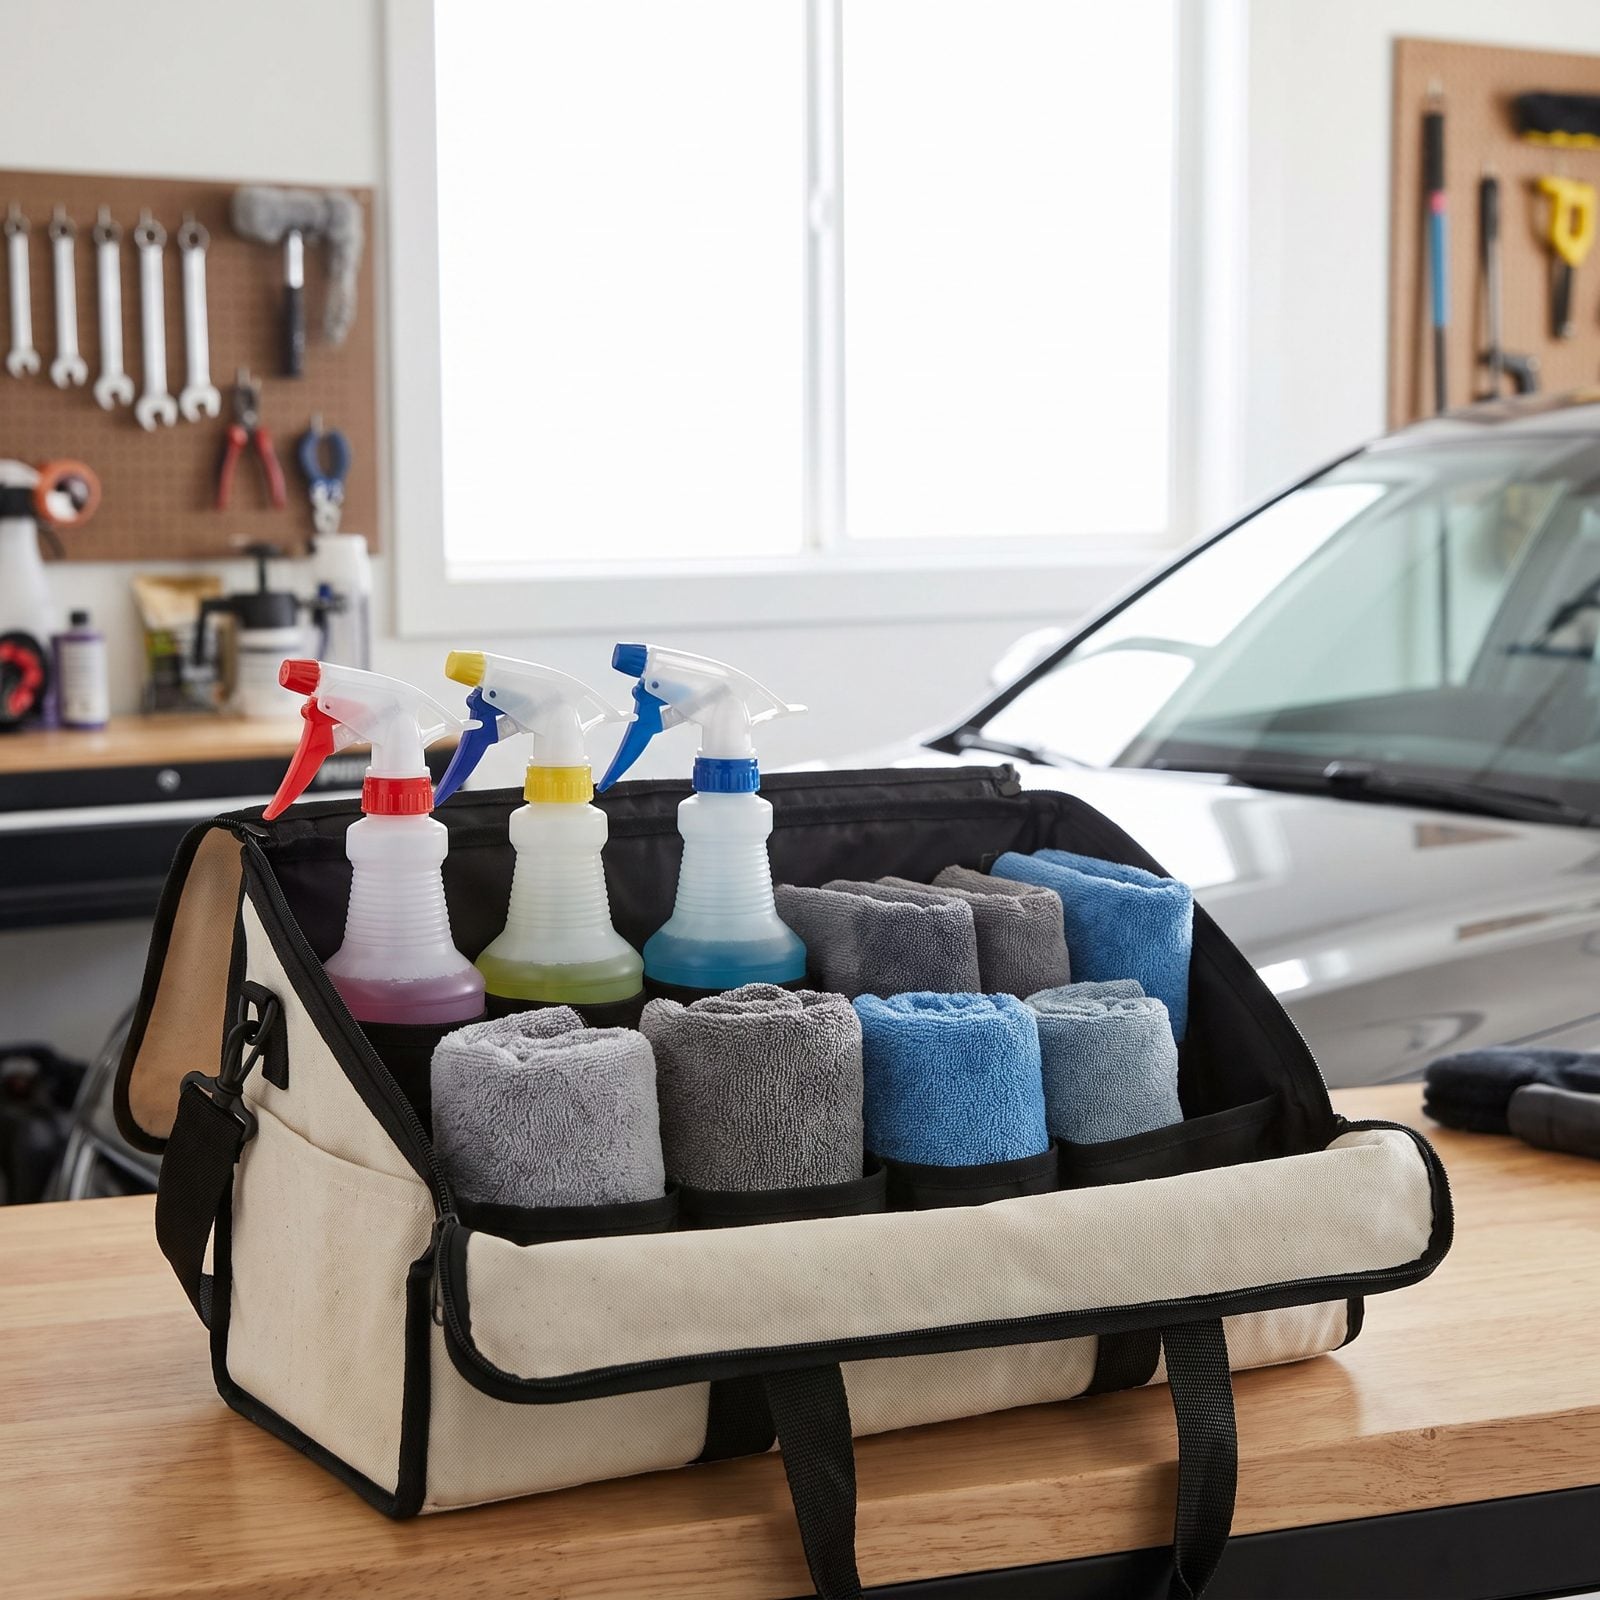
You detailed at home. You’ll detail again on the field. Dew, bugs, road film, and a fine grass dust settle on every car between the driveway and the rope line.
Build a tote you can grab in one hand: a quick-detailer spray, a stack of plush microfiber towels sorted by job, chrome polish, a small wax applicator, cotton swabs, and a soft brush for badges and grilles. A spray bottle of plain water handles bird surprises fast.
The move seasoned folks make: separate your towels by color and never cross them. Paint towels never touch wheels. One gritty wheel towel on a fender leaves swirls you’ll see at the next three shows.
9. Pack Tools And Model-Specific Spares
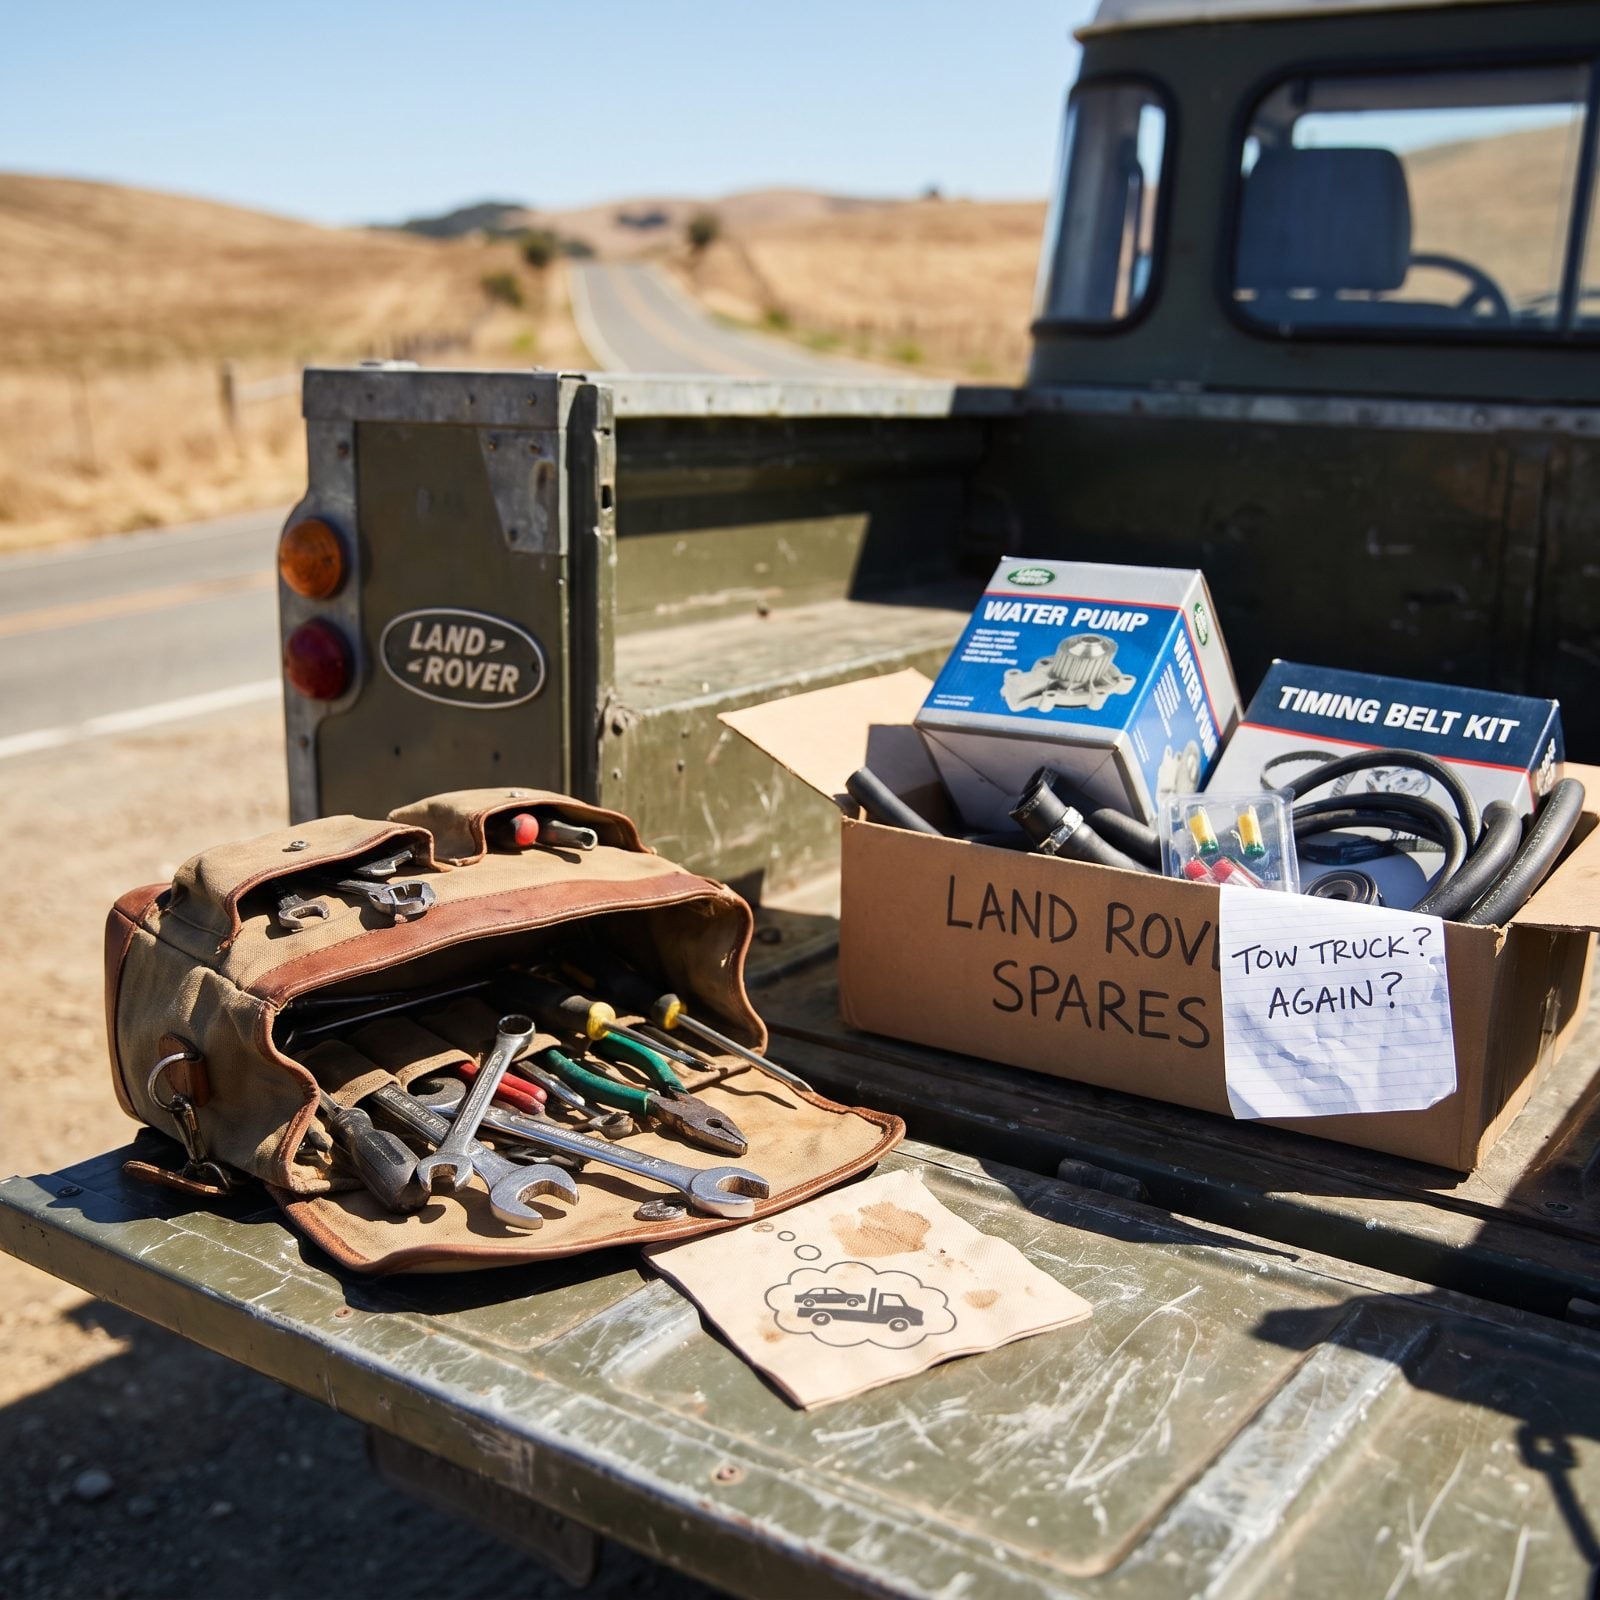
The tow-of-shame in front of a thousand spectators is a memory nobody wants. Older cars pick their worst moments, and show day is a magnet for them.
Pack the basics, then pack the parts your particular car likes to eat. Think about it honestly:
- Belts and hoses that are specific to your engine and nearly impossible to find on a Sunday.
- Ignition bits if you run points, a spare set and condenser live in the glovebox cheap.
- Fuses, a belt, and a gallon of your correct coolant mix for the drive home.
What separates the veterans: they carry the one oddball tool their car needs that no borrowed roadside kit will have. Know yours and pack it.
8. Prepare A Clean Drip Tray
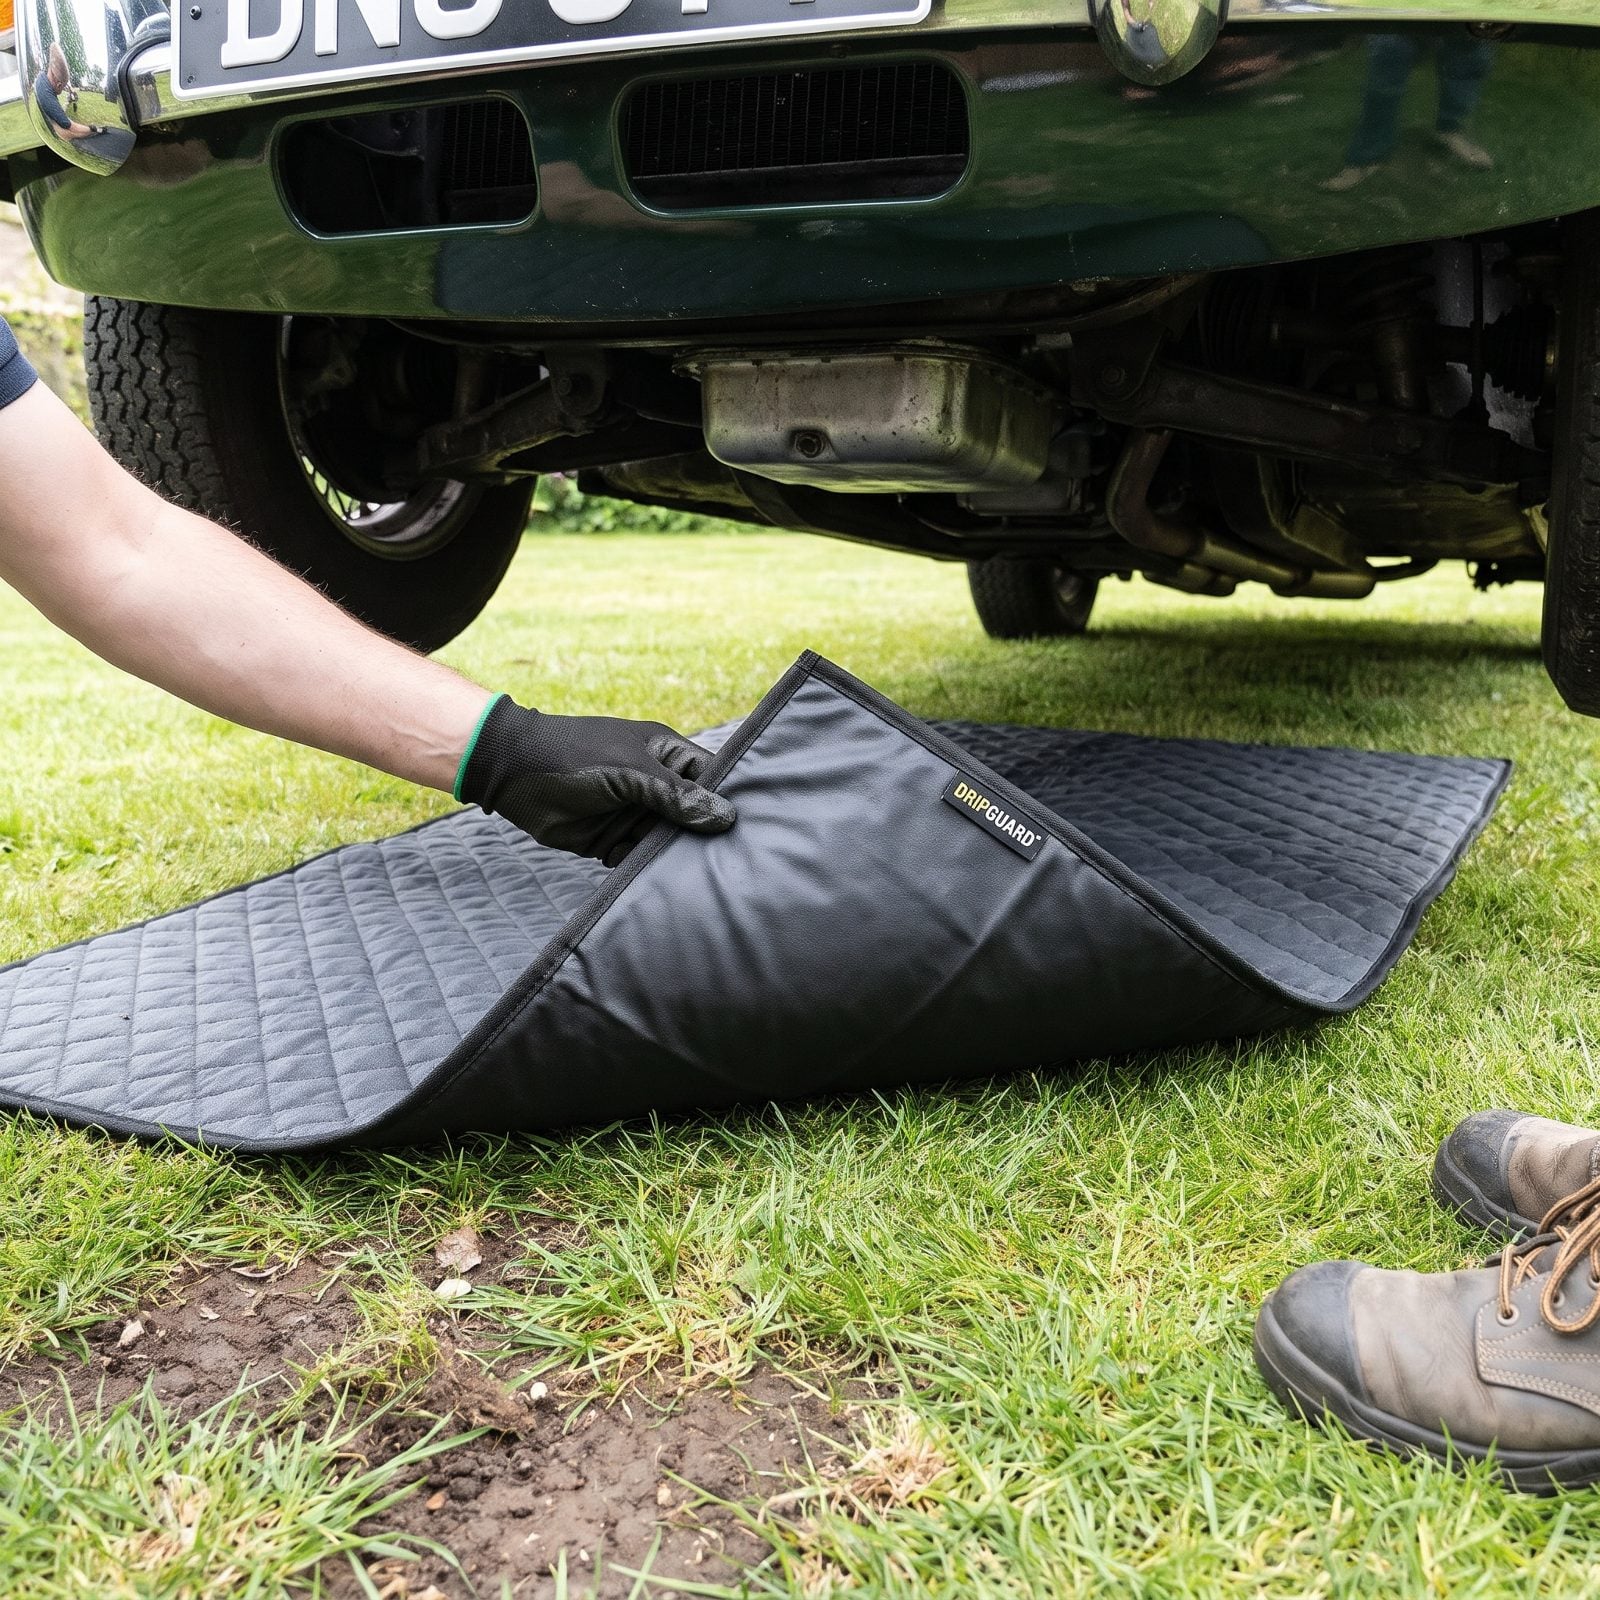
Judges and field marshals hate oil spots on the grass, and plenty of shows will dock you points or park you on gravel if your classic marks its territory. A clean drip mat, laid out on the grass in front of the car’s nose and ready to slide under the oil pan and transmission, keeps the field pristine and keeps you in the judges’ good graces.
Don’t reuse last season’s grease-soaked cardboard. Buy a proper quilted fabric drip mat with a wipe-clean backing, sized to cover from the front crossmember back to the bellhousing, and lay it out on the grass under the front bumper before easing it underneath. Older British and Italian cars practically expect a leak — size up if yours has a reputation.
7. Pack Approved Wheel Chocks
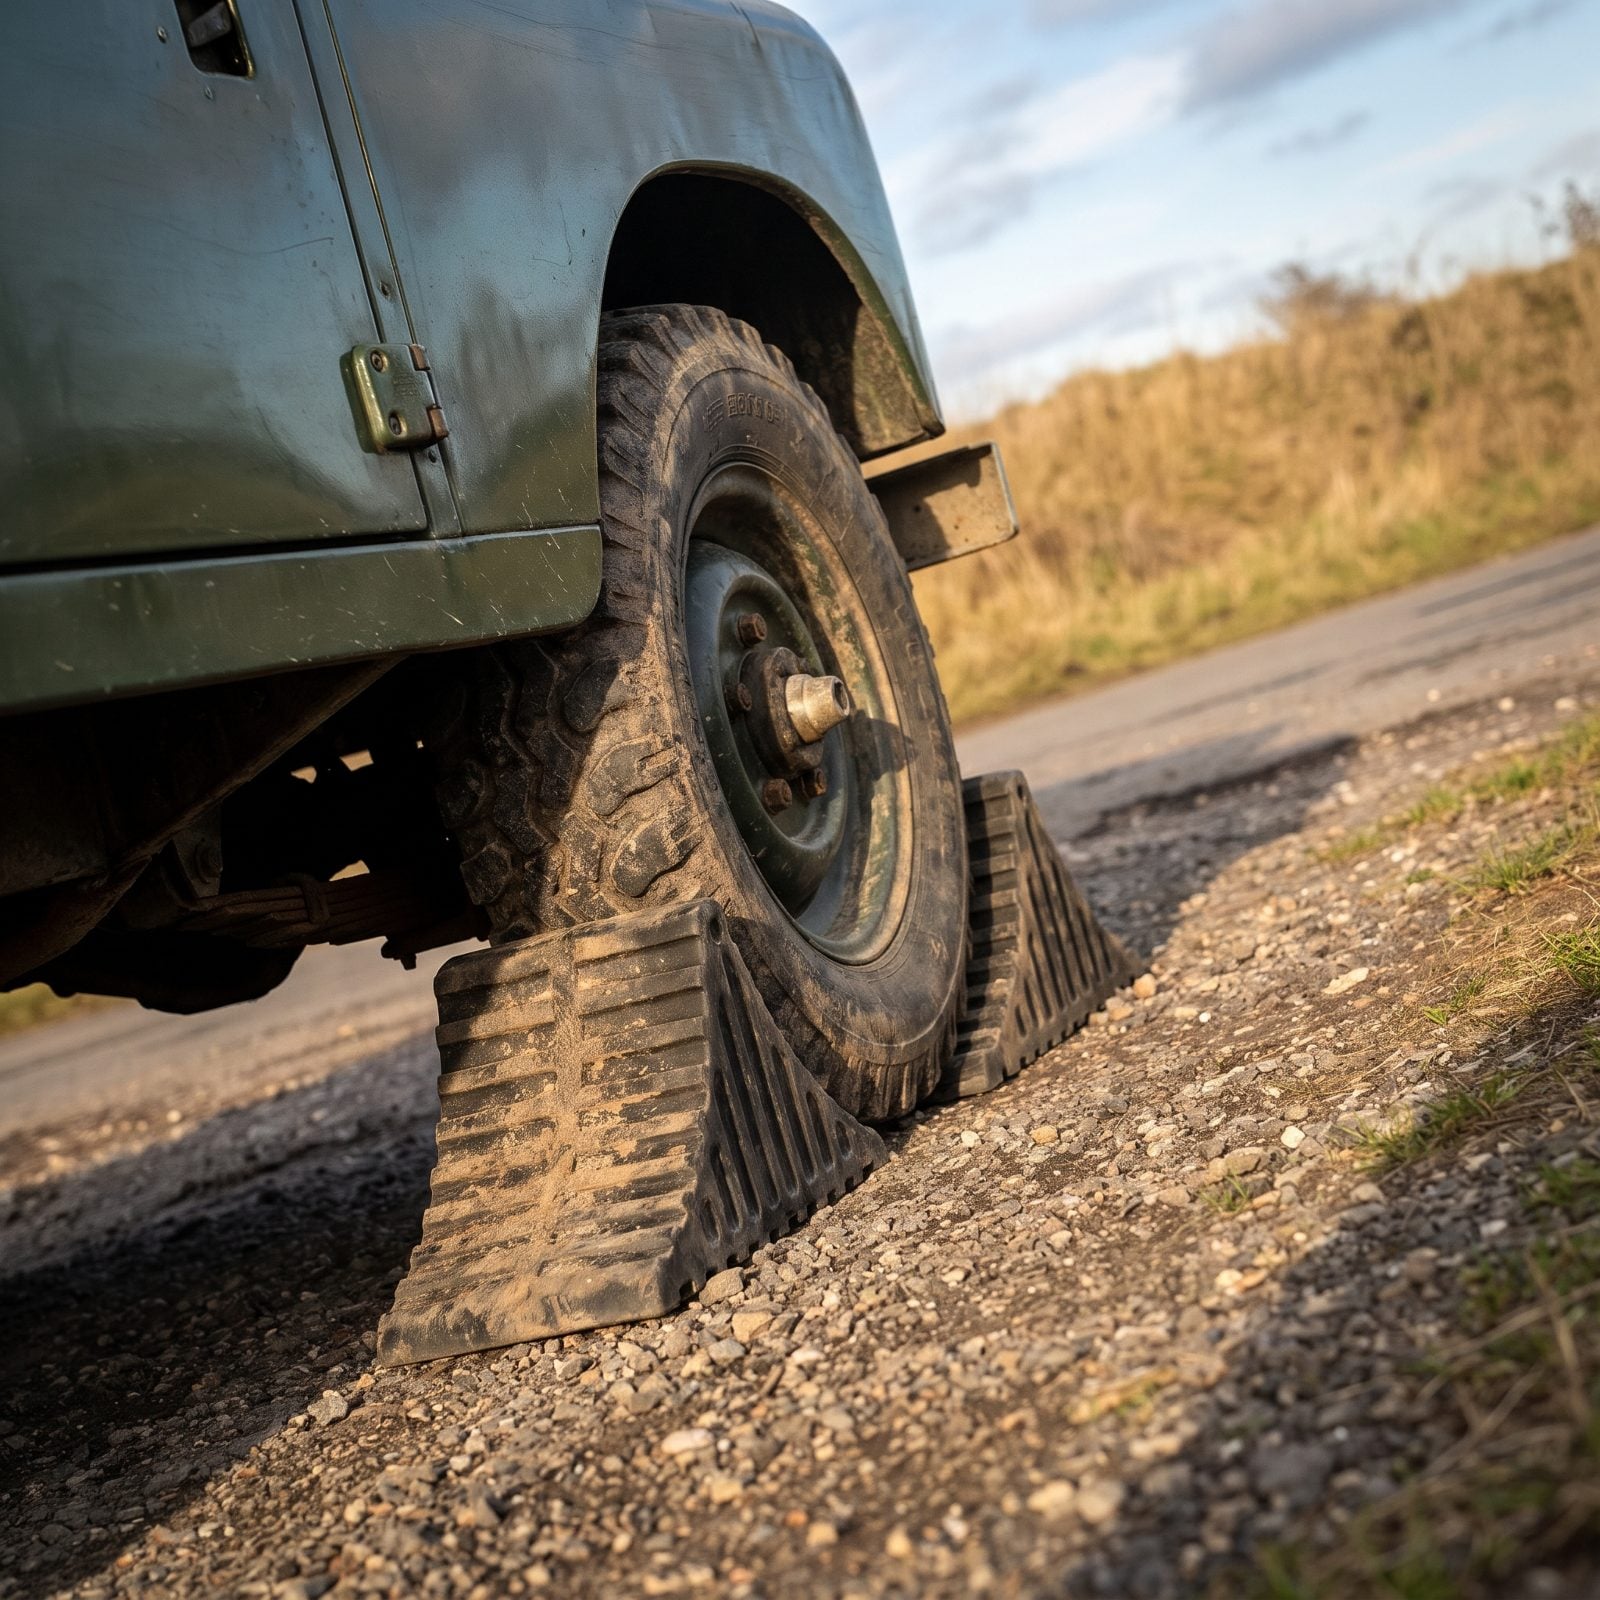
A classic on a slight grade with no parking pawl is a runaway waiting to happen. Many show fields slope more than they look, and automatics from the fifties and sixties don’t always hold on a hill. A set of proper chocks isn’t optional. It’s cheap insurance against the worst phone call of your summer.
Skip the flimsy folding plastic ones and get solid rubber chocks rated for your car’s weight. Then check the show’s rulebook, because some events require a specific size or a reflective marking. Pack two, chock front and rear on the downhill side, and keep them in the trunk so you never arrive without them.
6. Give It A Final Wash
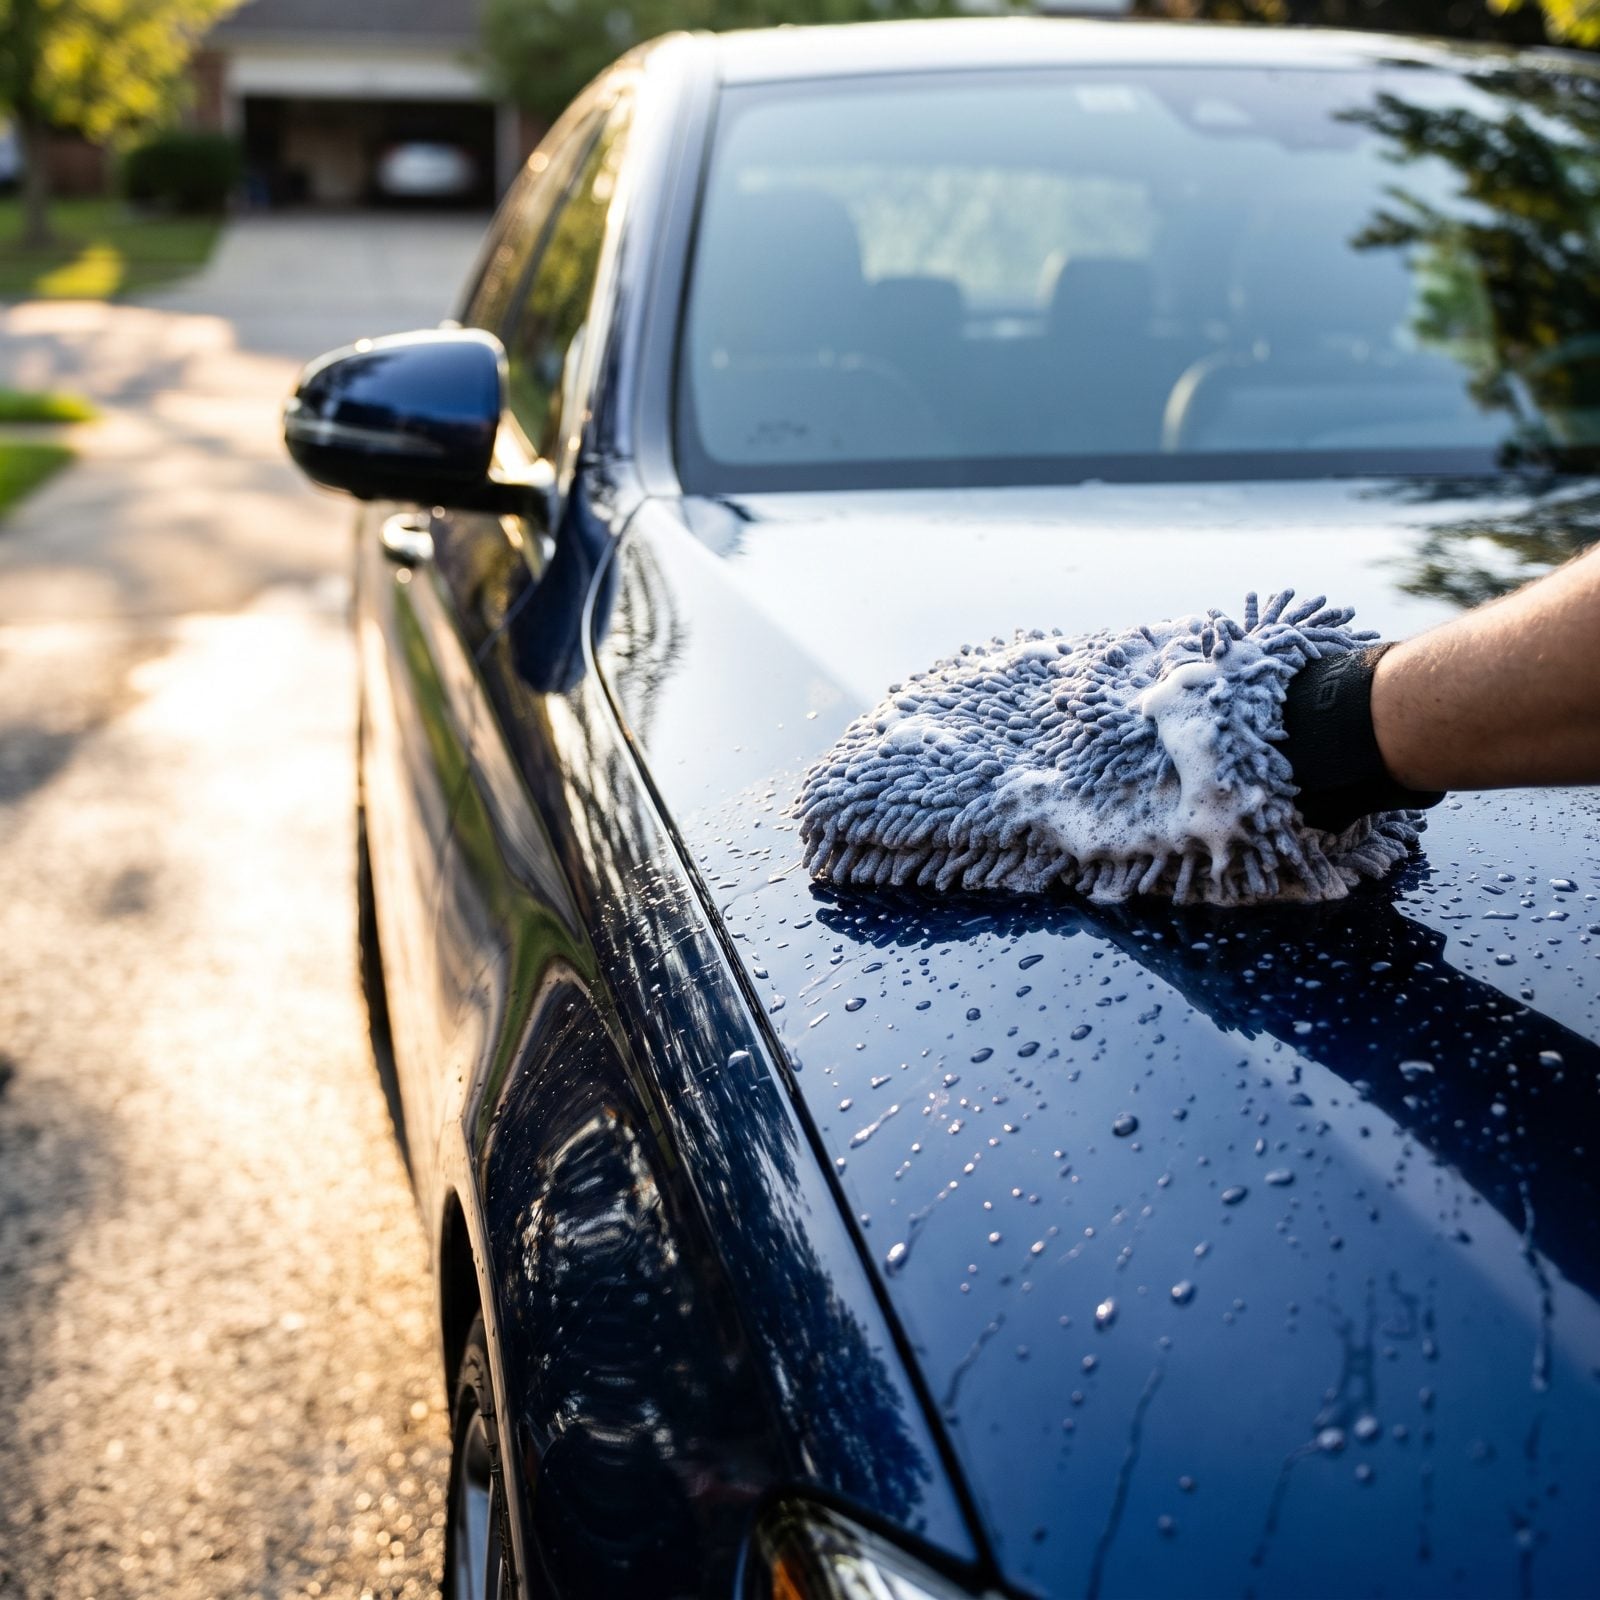
The last wash before a show isn’t the same as a Saturday rinse. You’re removing the fine grit that scratches when you buff, and you want the car arriving as close to clean as possible so the gate touch-up is quick.
Use the two-bucket method — one for suds, one for rinsing the mitt, both with grit guards in the bottom. Wash top to bottom so the dirtiest panels come last, and work in shade or early light so the suds don’t dry and streak. A pH-neutral soap won’t strip the wax you laid down earlier in the week.
5. Blow Water From Crevices
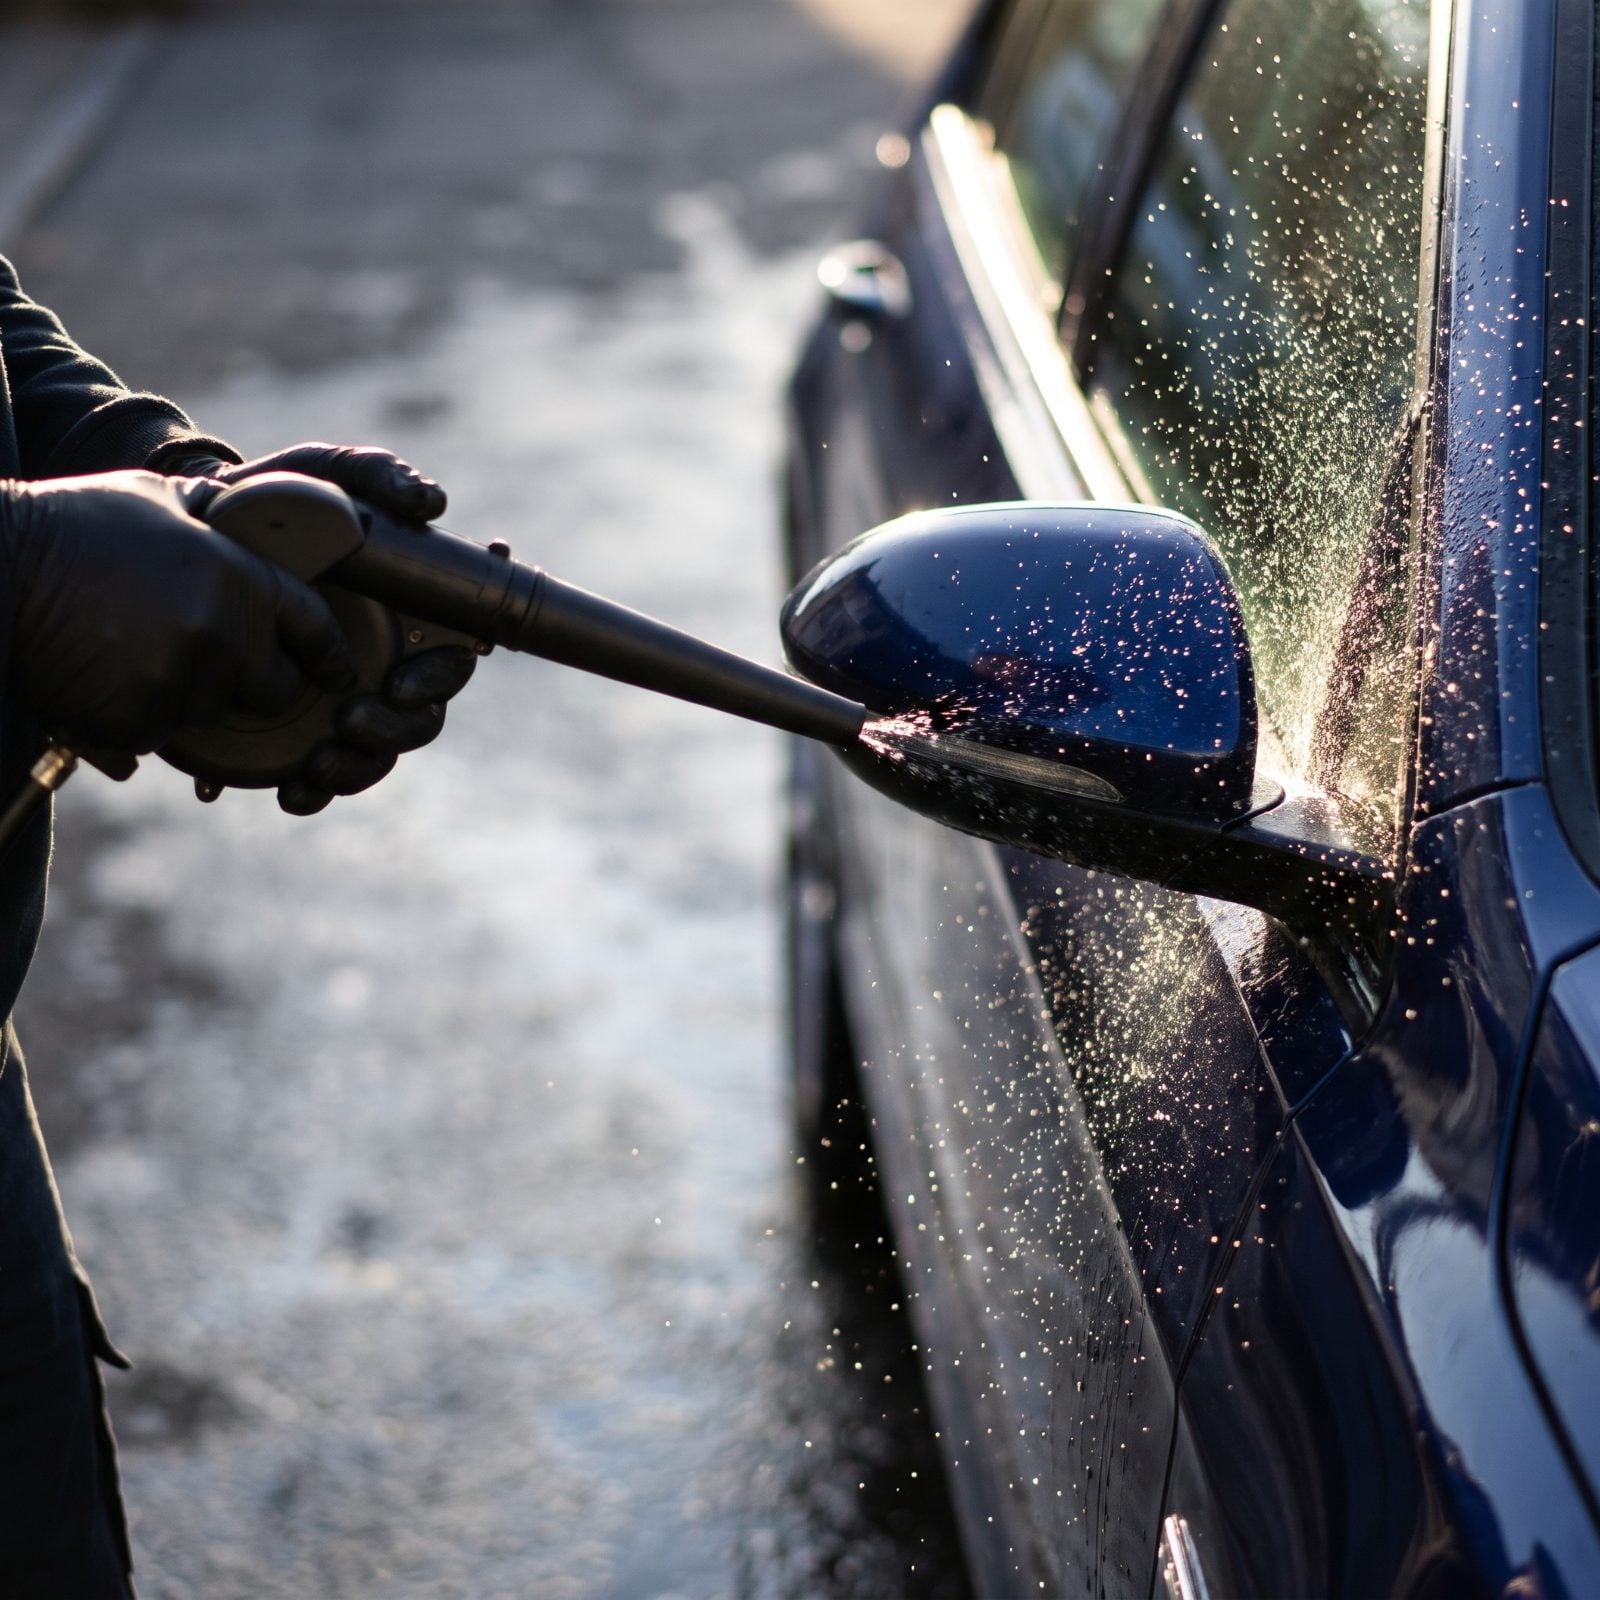
This is the detail most people miss. You can dry every panel to a shine and still get busted, because water hides in the seams and trickles out as a dirty streak the second you’re on the field. Judges notice. So does your paint.
Chase the hidden water out of door jambs, mirror mounts, badge edges, bumper seams, and the gaps around trim. A cordless blower or filtered compressed air does it without touching the paint, and it’s worth being fussy about chrome script and emblems, where mineral spots love to form. Follow up with a soft waffle-weave on anything the air pushes loose.
4. Set Cold Tire Pressures
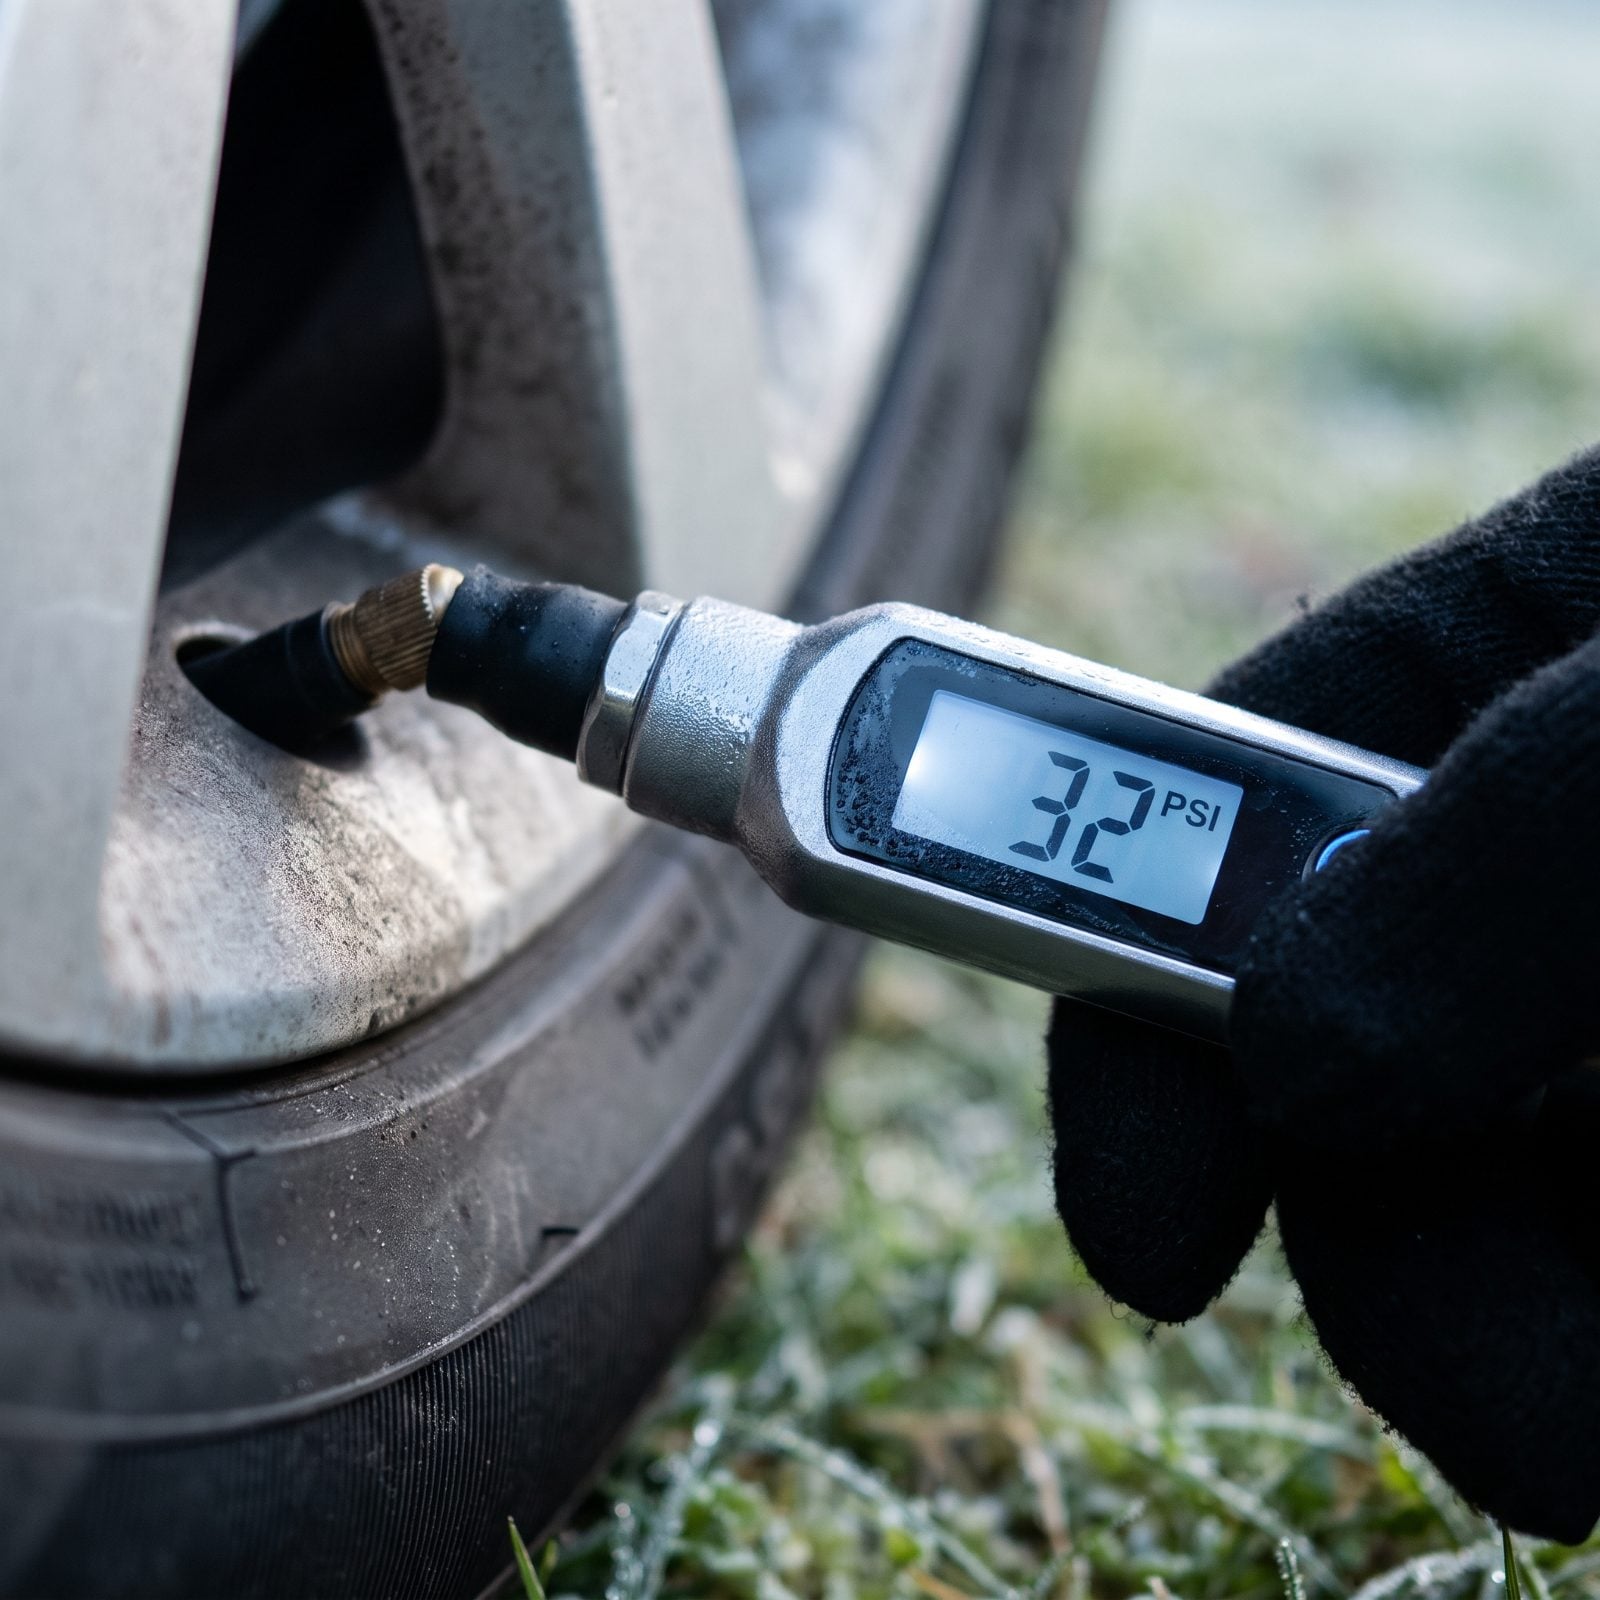
Tire pressure read hot after a highway run will lie to you by four or five pounds. Check it cold, first thing in the morning before you drive, so the numbers mean something. Underinflated tires wear the shoulders and feel vague on the road, while overinflated ones ride hard and crown the tread.
Use a good dial or digital gauge, not the pencil stick rattling in your glovebox. Set each tire to the figure on the door jamb placard, not the max number stamped on the sidewall. Those two are not the same, and plenty of folks get it backwards.
3. Top Off Essential Fluids
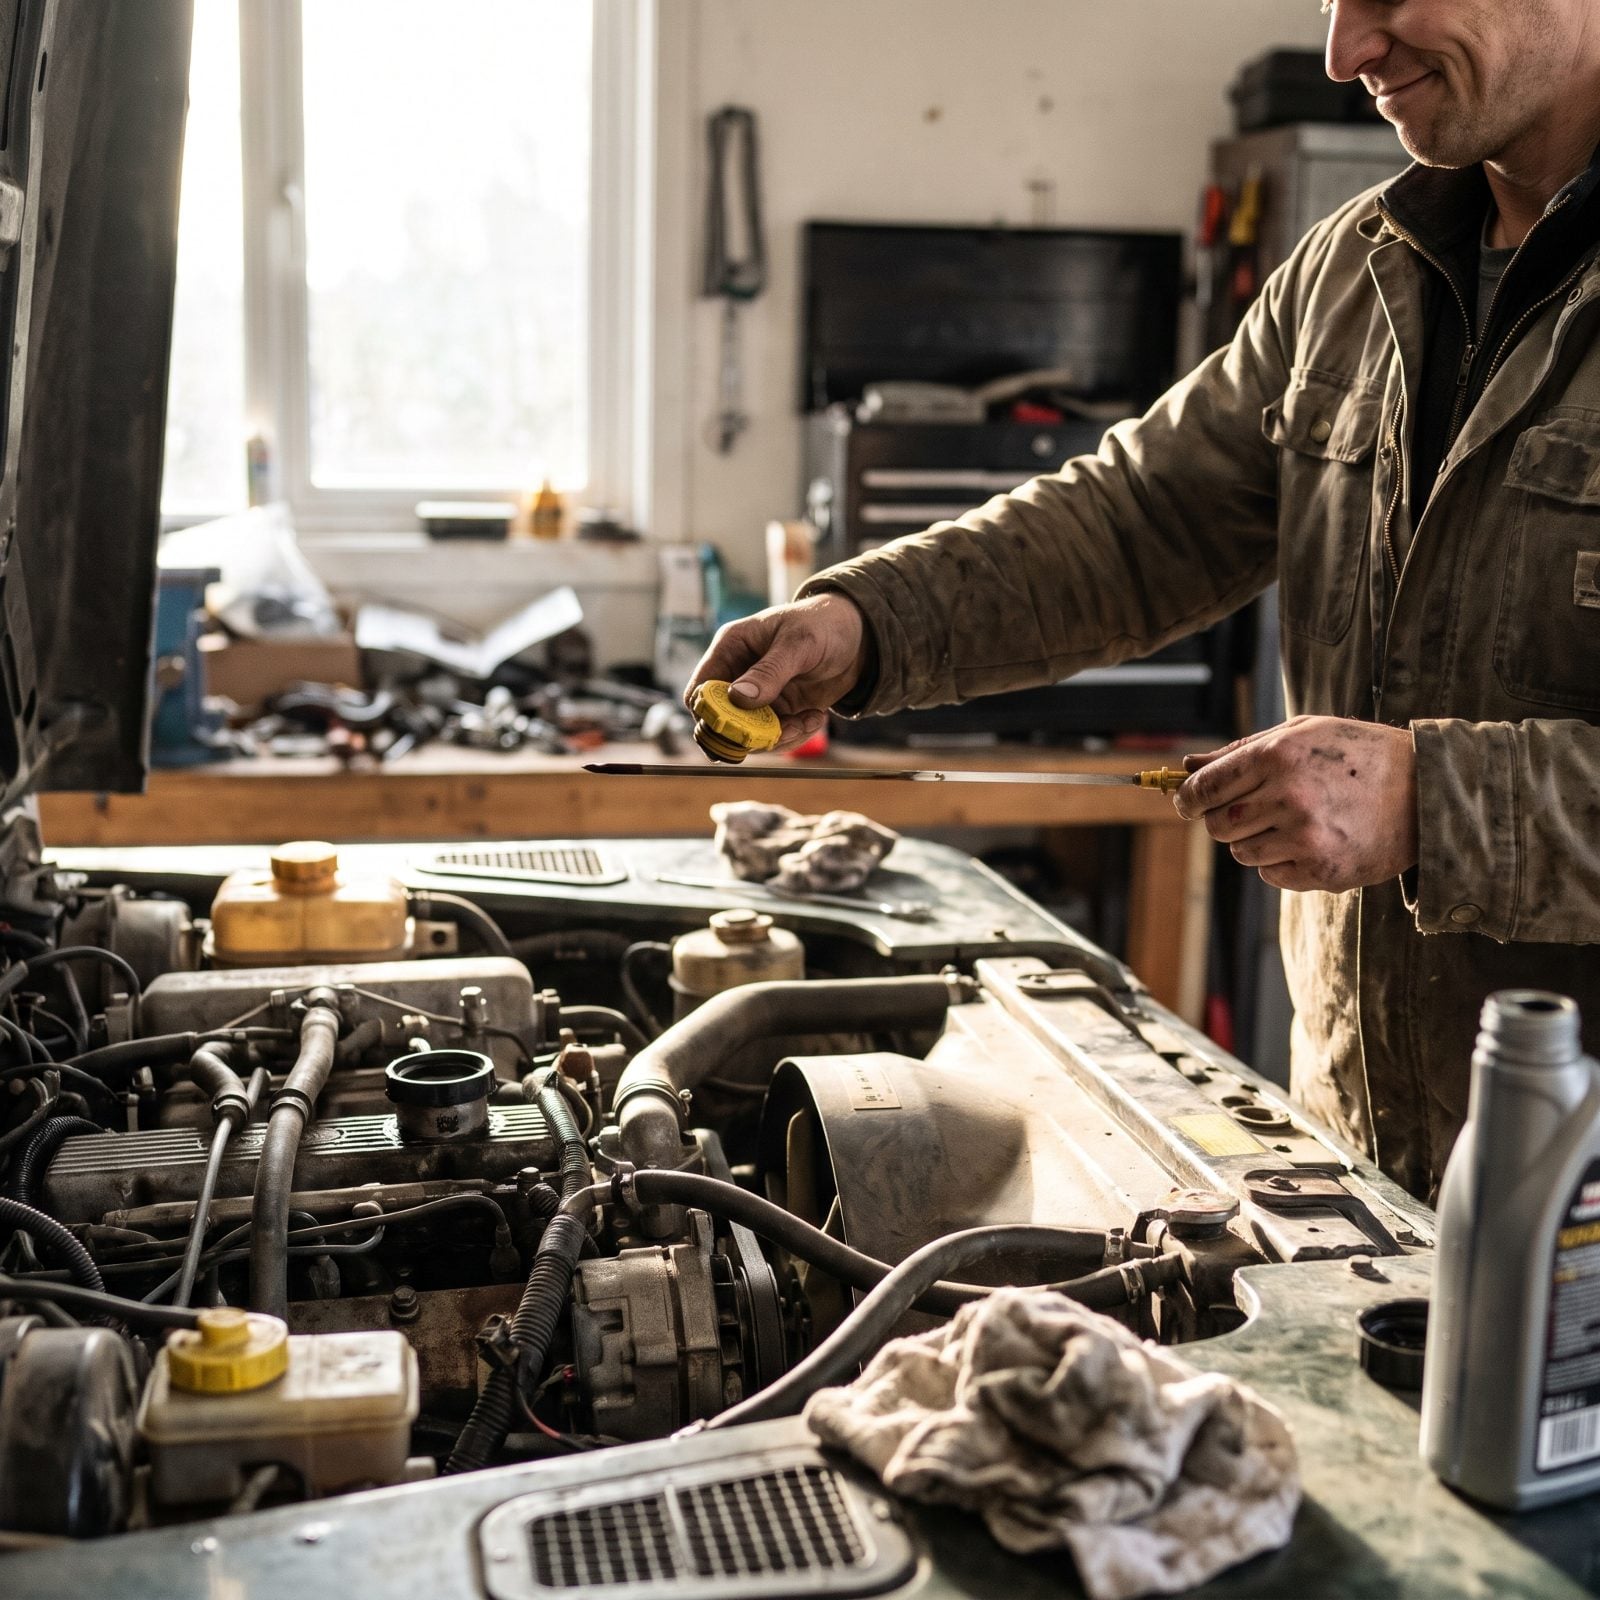
Nothing deflates a show morning like a low-oil ticking valvetrain or a coolant puddle forming under your spotless classic. Run through the fluids the night before so you aren’t topping off in a parking lot with the wrong bottle.
Check oil on level ground with the engine warm, wipe the stick, reinsert, and read the film. Eyeball coolant in the overflow between the marks, and look at brake fluid through the reservoir without popping the cap unless it’s low. On an older car, glance at the power steering and automatic transmission dipsticks too, and clean around every cap before you open it so grit doesn’t drop in.
2. Add Enough Fresh Fuel
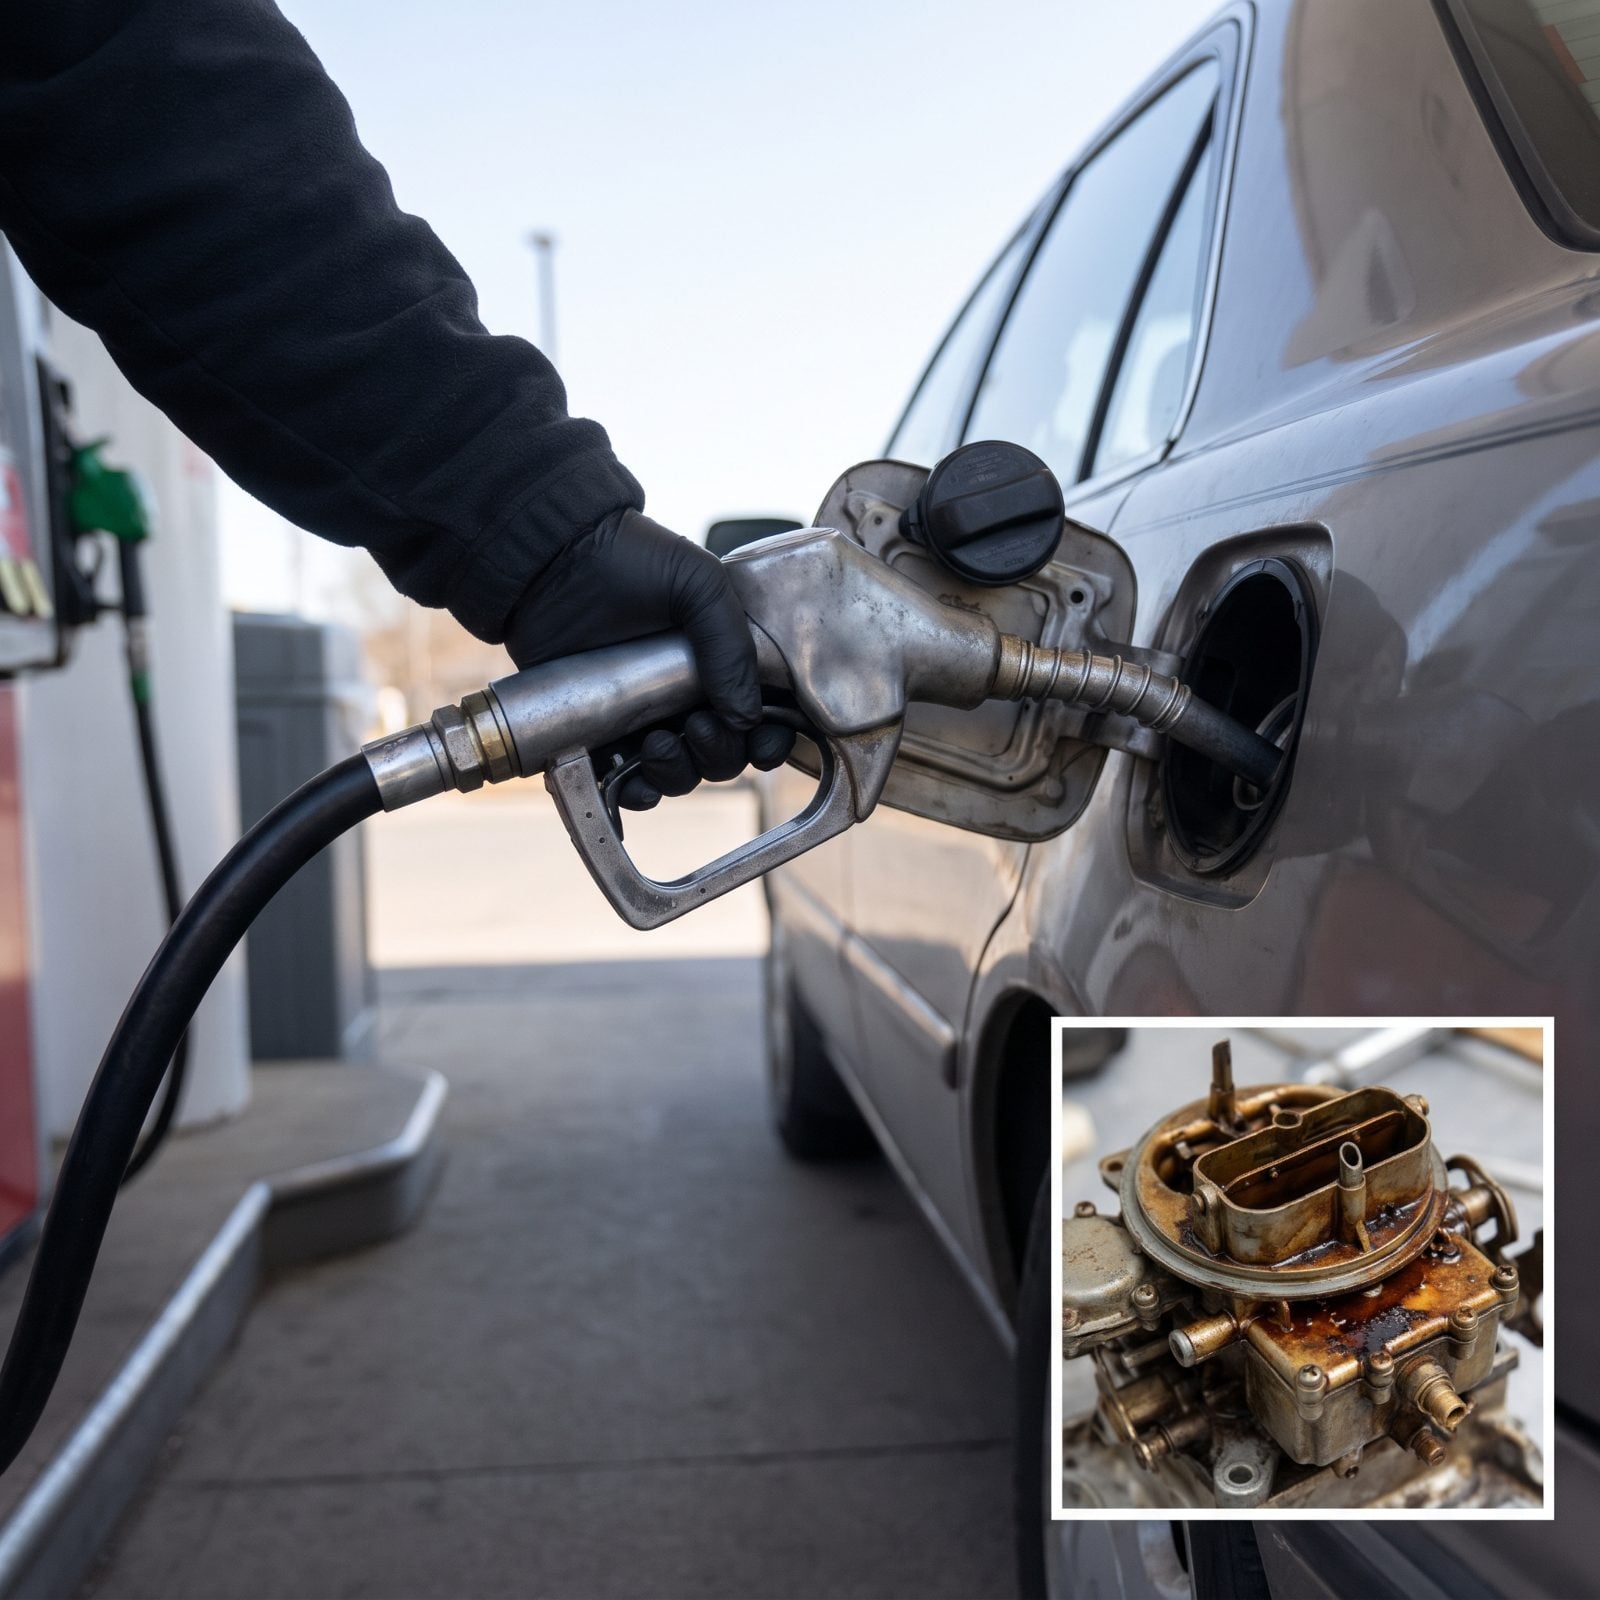
Old fuel is a show killer. Gas left sitting all winter turns to varnish, gums the carburetor, and leaves you hand-cranking a dead starter while the field fills up around you. Before the big day, run the tank down and refill with fresh fuel.
Add enough to get there, idle on the field if you choose, and drive home — but don’t brim it to the neck. A hot tank in a parked car expands, and overfill can push fuel through the vent and down your clean paint. If your engine wants premium, give it premium. A pinging classic under a judge’s ear is not the sound you want.
1. Remove Final Road Dust At The Gate
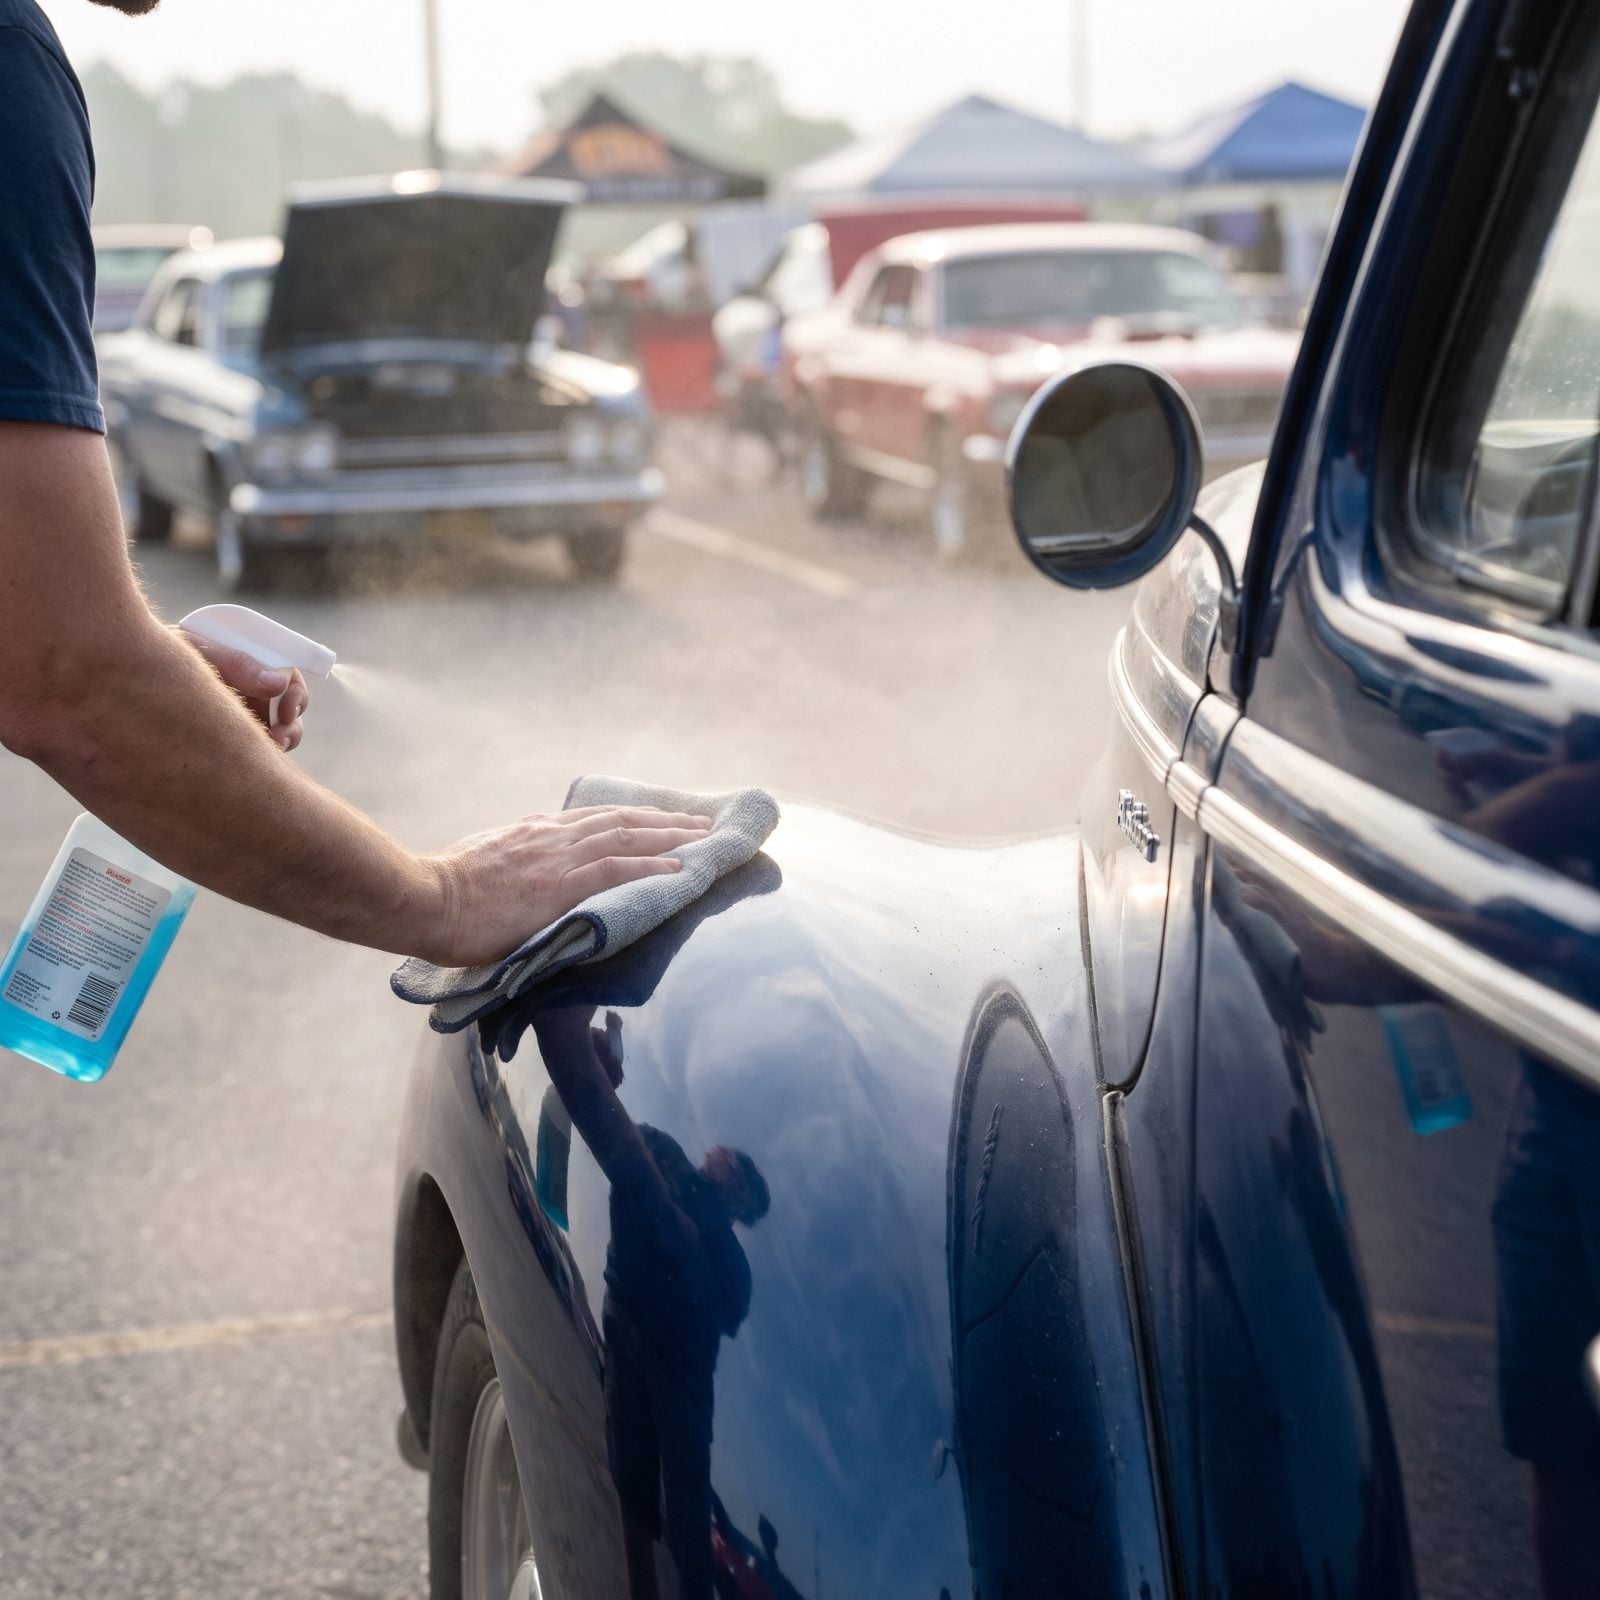
You detailed the car to perfection, drove twenty miles, and now there’s a haze of road film on the lower panels and bug spots on the nose. The gate line is where the smart owner does the final wipe, not the field where you’re already being judged.
Keep a quick-detailer spray and two plush microfiber towels in the trunk for exactly this. Mist lightly, wipe with no pressure in straight lines, and flip to the clean side often. Hit the lower doors, rockers, front valance, and the leading edge of the hood where highway grit collects.
Do the glass and chrome last, and knock the dust off your tire shine before you roll onto the grass. Little touches at the gate are what separate a clean car from a clean car that looks like it tried.
Your Printable Checklist
Save it to Pinterest or print it — every check from the list above on one page.