
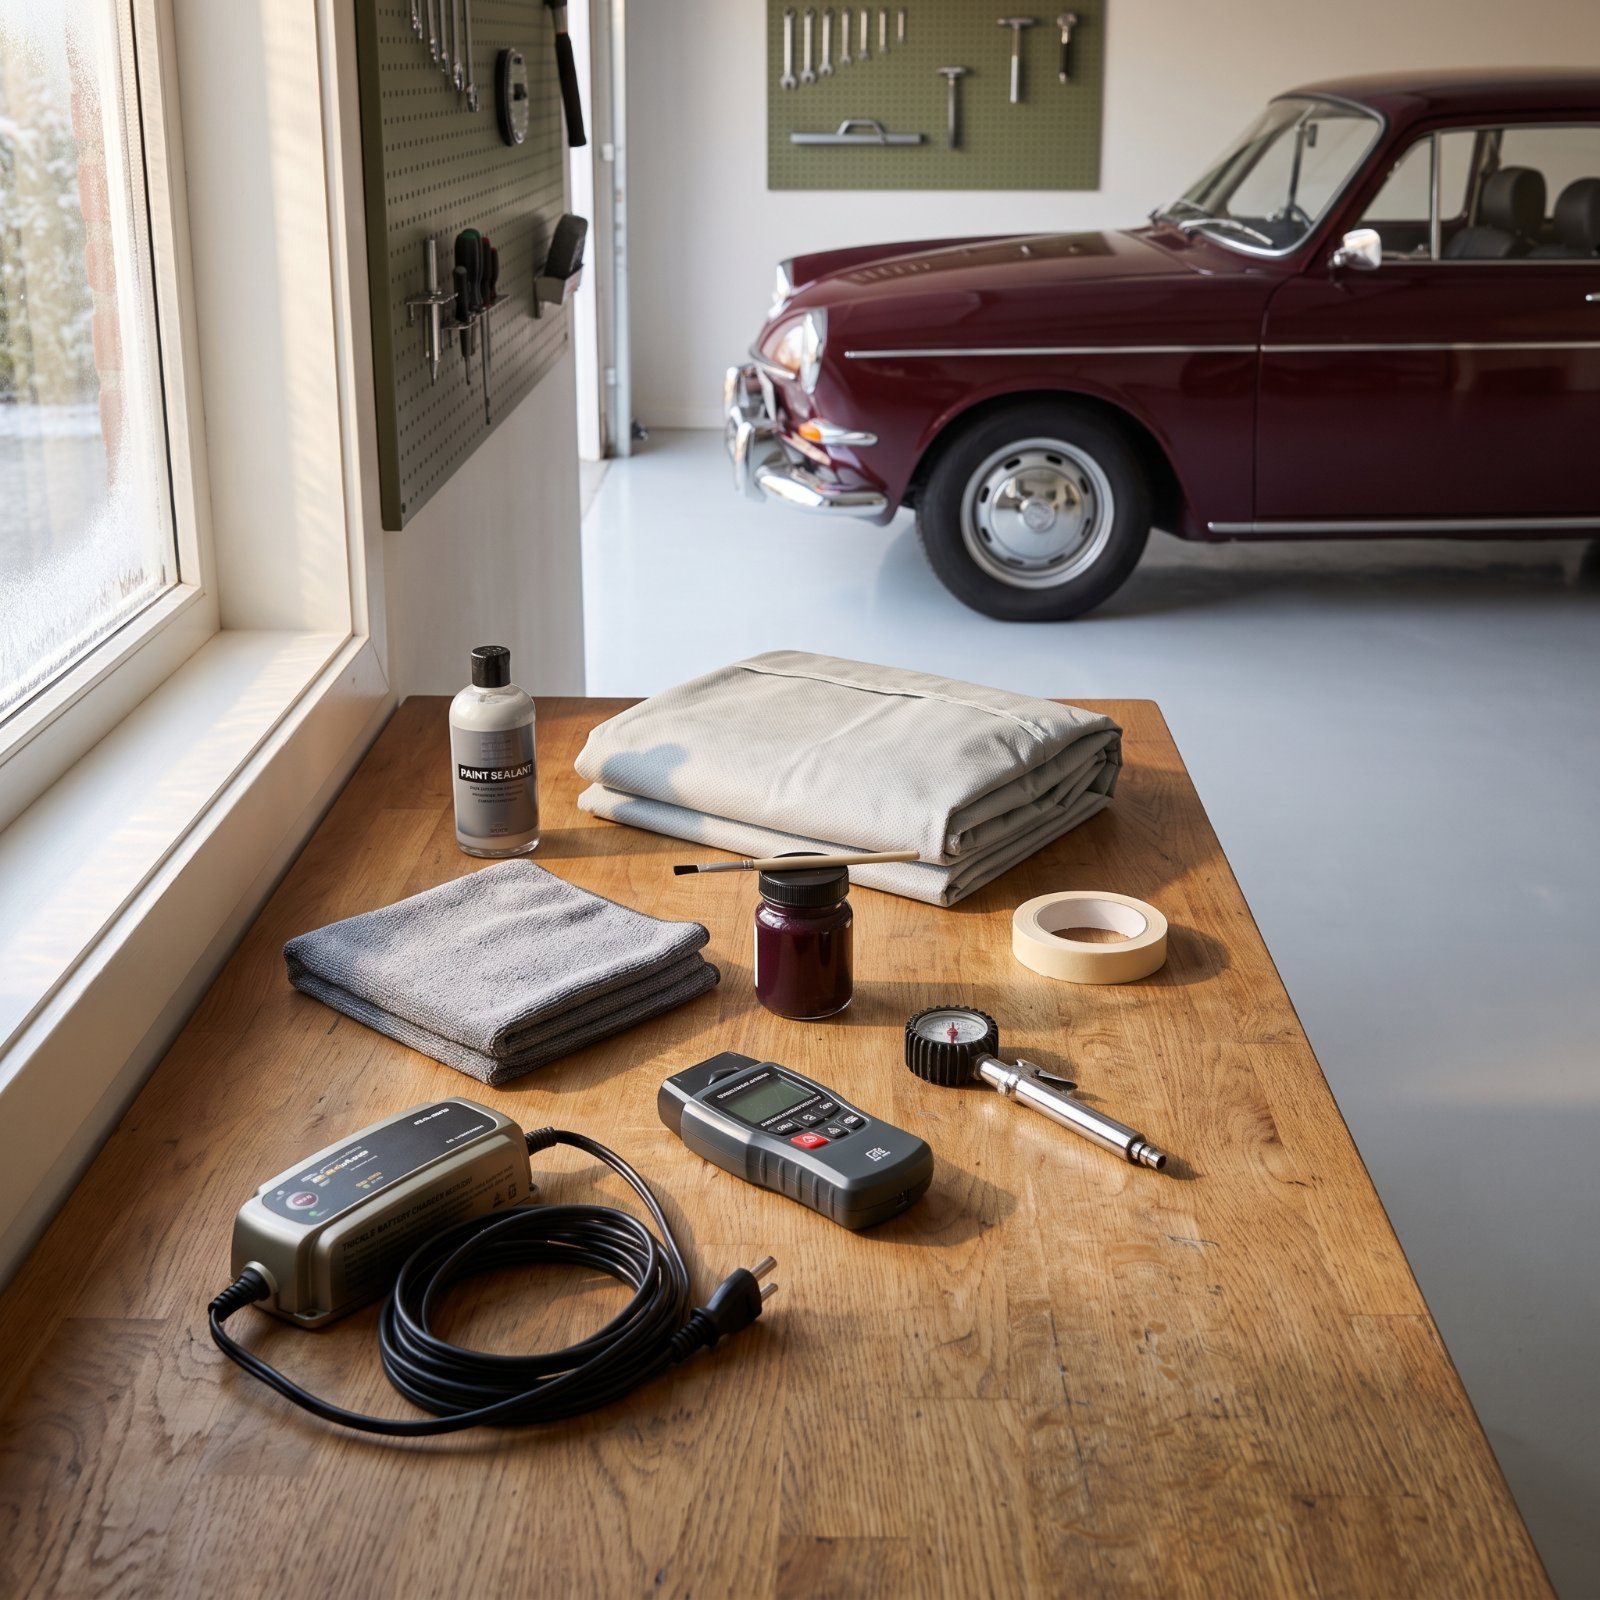
Would you like to save this?
Nobody tucks a car away in November planning to find a dead battery, a mouse nest in the air cleaner, and four flat spots come April. But it happens every spring, to good people with good cars. The trouble is almost never bad luck. It’s the small step skipped in a cold hurry, the shortcut taken when your hands are freezing and the daylight is gone. The fixes below cost less than repairing one season of road salt damage, and most take an afternoon. Start here, work down, and drive it hard once the weather breaks.
41. Choose a Dry, Weather-Tight, Secure Storage Space Before You Pull In
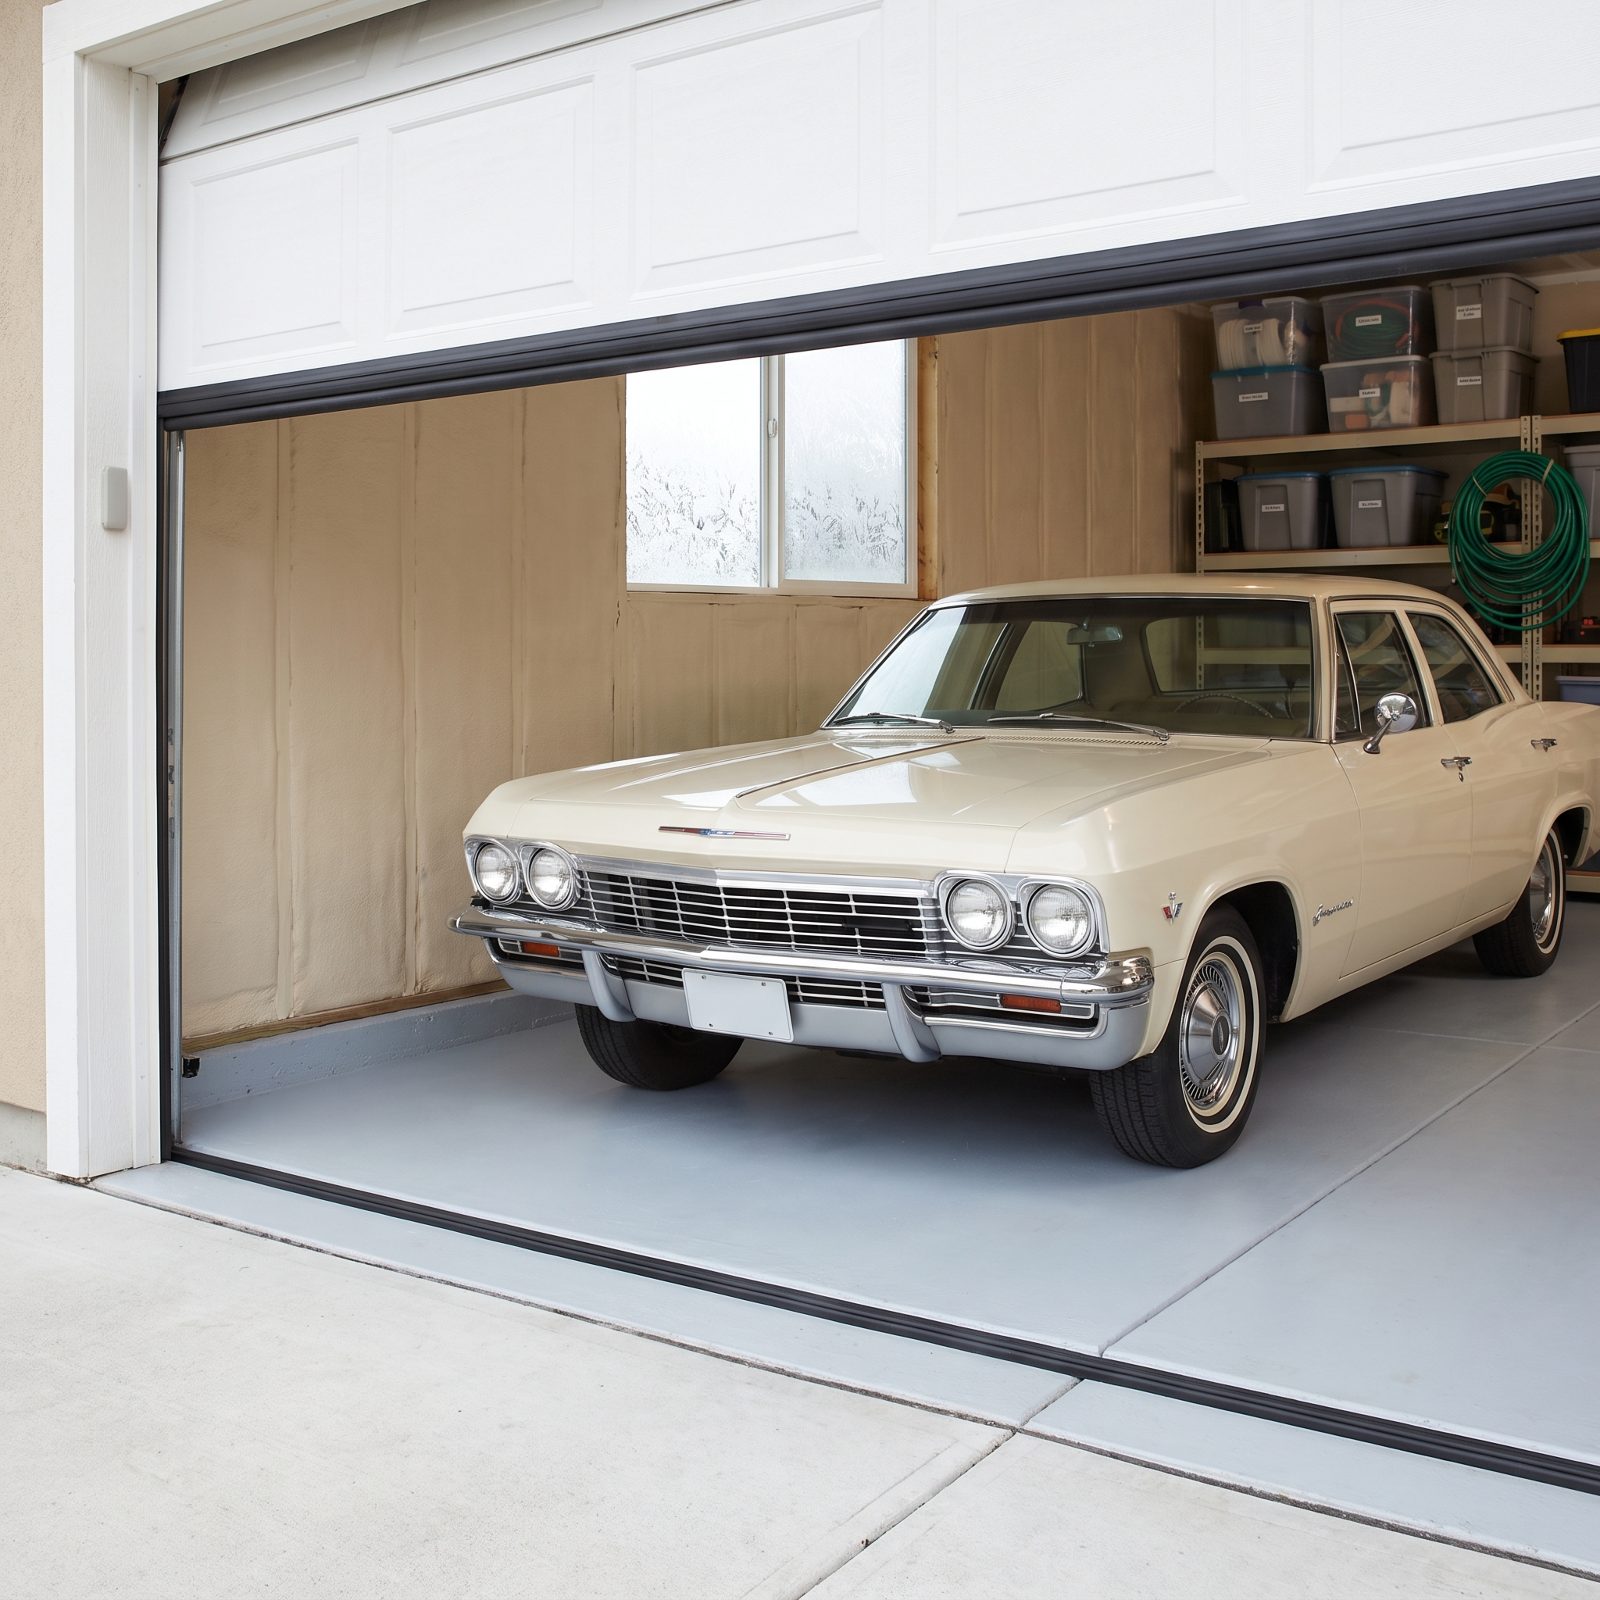
A carport is not storage. A leaky pole barn with a dirt floor is worse than the driveway, because it traps damp air against cold metal all winter and calls it shelter. Open eaves, a door that whistles wind, a roof with one soft spot over the hood — all of it conspires against paint and chrome.
Moisture is the enemy, and it moves in on cold air. A space that breathes storm weather all season sweats condensation onto every panel it touches. Theft and curious hands are the other half of the problem on anything with real value.
So pick a building with a sound roof, four closed walls, weather-stripped doors, and a lock you trust. Check the corners for daylight. Walk it after a hard rain. If water gets in, so does the rot.
40. Test the Concrete Floor for Rising Moisture First
This one gets overlooked for years because you can’t see it. A concrete slab poured on grade with no vapor barrier under it wicks ground moisture up through the pores and into the air around your tires and undercarriage all winter. The floor looks dry. It isn’t.
That rising damp is why cars stored on bare slabs pit on the brake rotors, grow surface rust on the exhaust, and smell musty when you crack the door in spring. The water never fell from above — it came up from below.
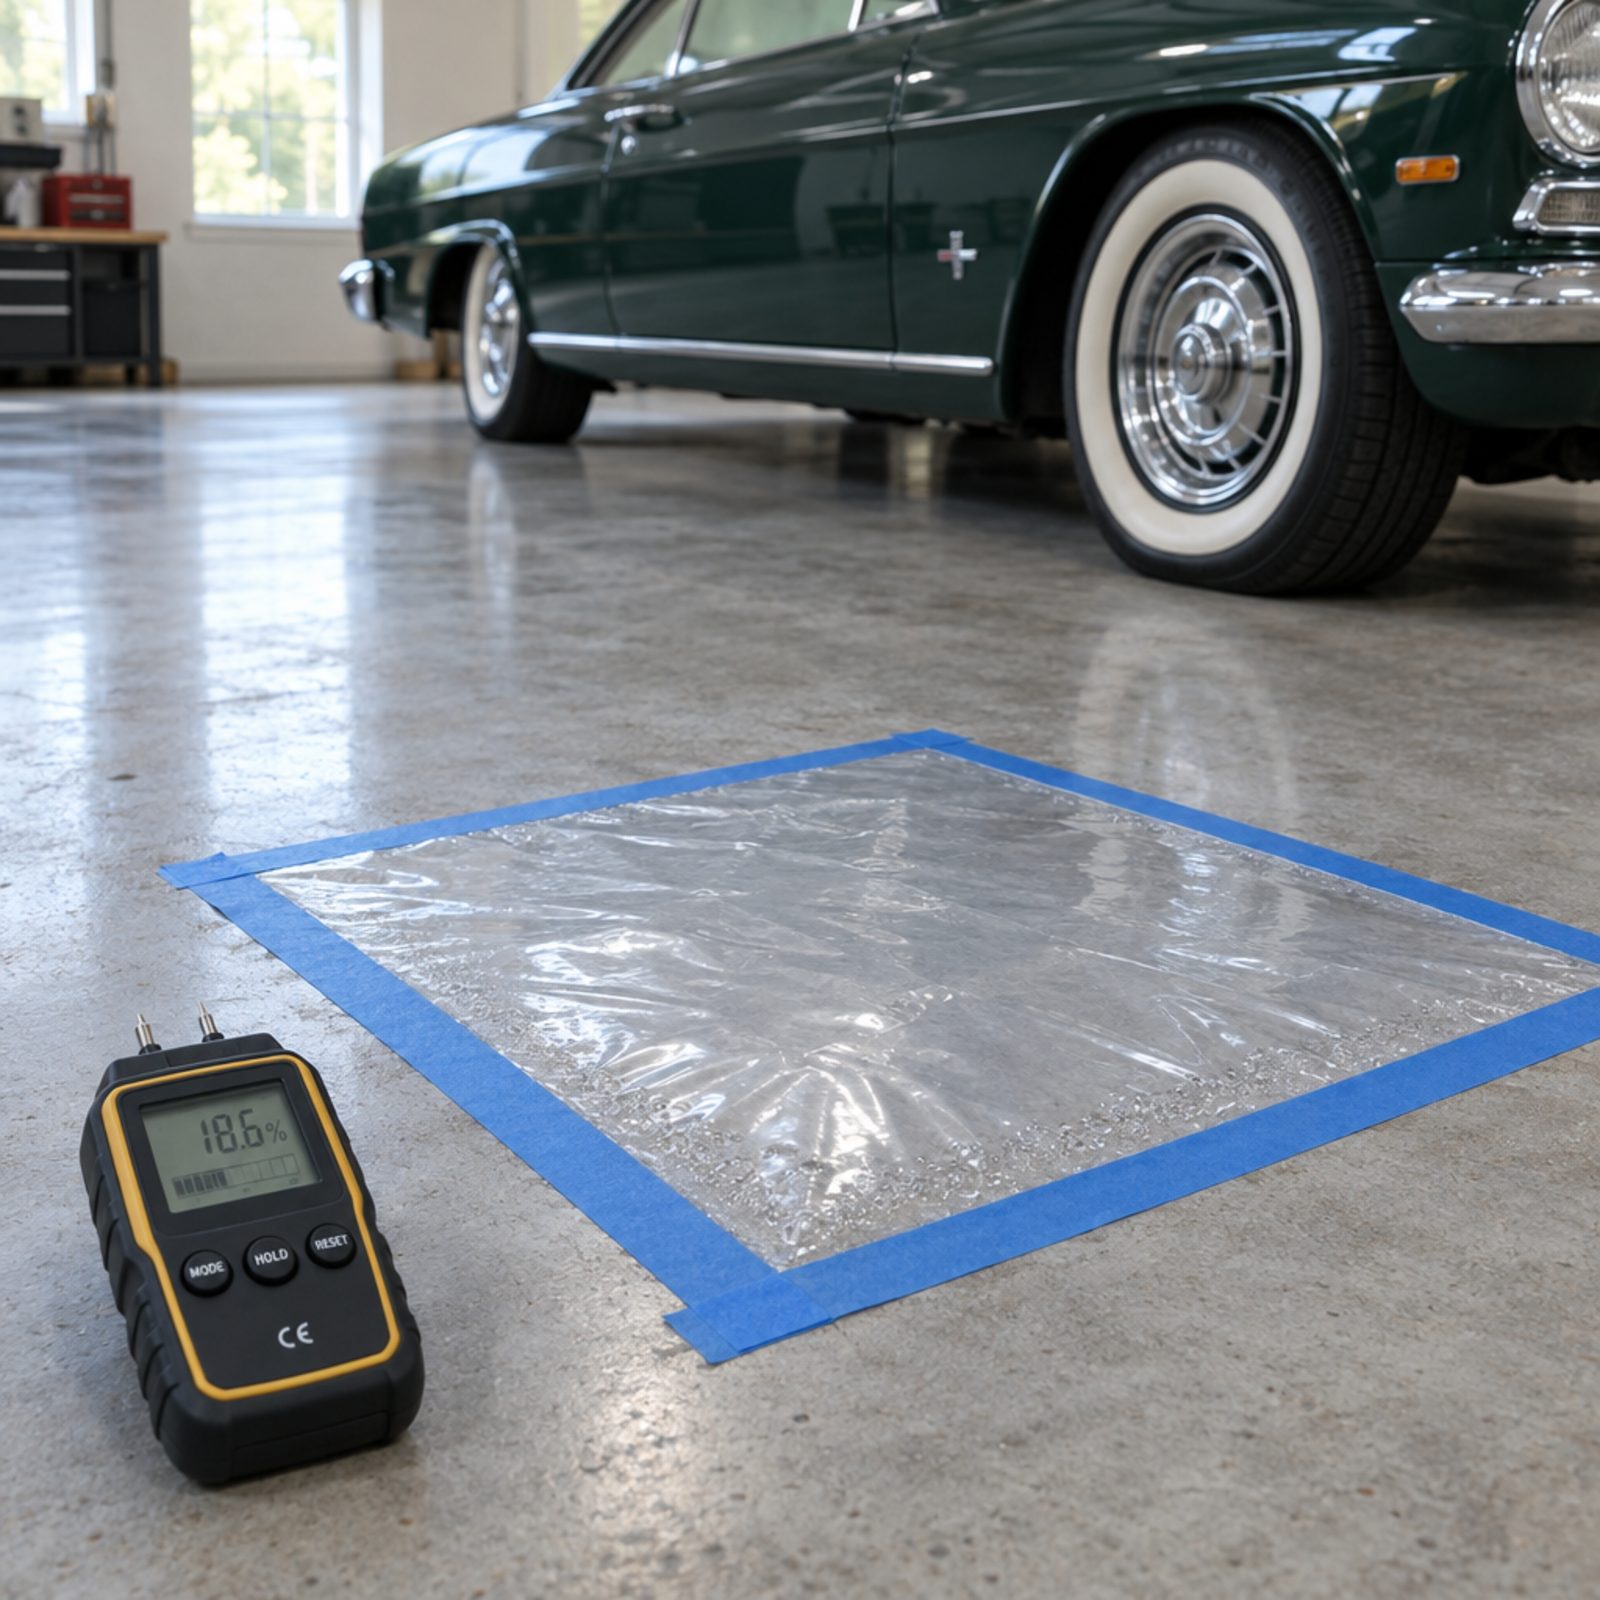
Tape a two-foot square of clear plastic to the floor and leave it overnight. Condensation under the plastic in the morning means the slab is breathing moisture. Fix it by parking on a heavy rubber garage floor mat or a vapor-barrier parking pad, which cuts the slab off from the car entirely.
39. Keep Storage Humidity Between 45 and 55 Percent

Dry is good. Too dry is its own problem. Drop under 40 percent and rubber seals and leather dry out and crack. Push past 60 and you’re inviting rust on bare metal, mildew in the carpet, and that locker-room smell in the headliner. The sweet spot sits between 45 and 55 percent relative humidity, where paint, chrome, upholstery, and rubber all hold in balance.
Most garages swing way outside that band without anyone watching. A small dehumidifier with a built-in humidistat, set to cycle on at 55, handles it for pennies a day. Run the drain hose to a floor drain so you’re not emptying a bucket in January.
38. Move Fertilizer, Pool Chemicals, and Other Corrosives Out of the Building
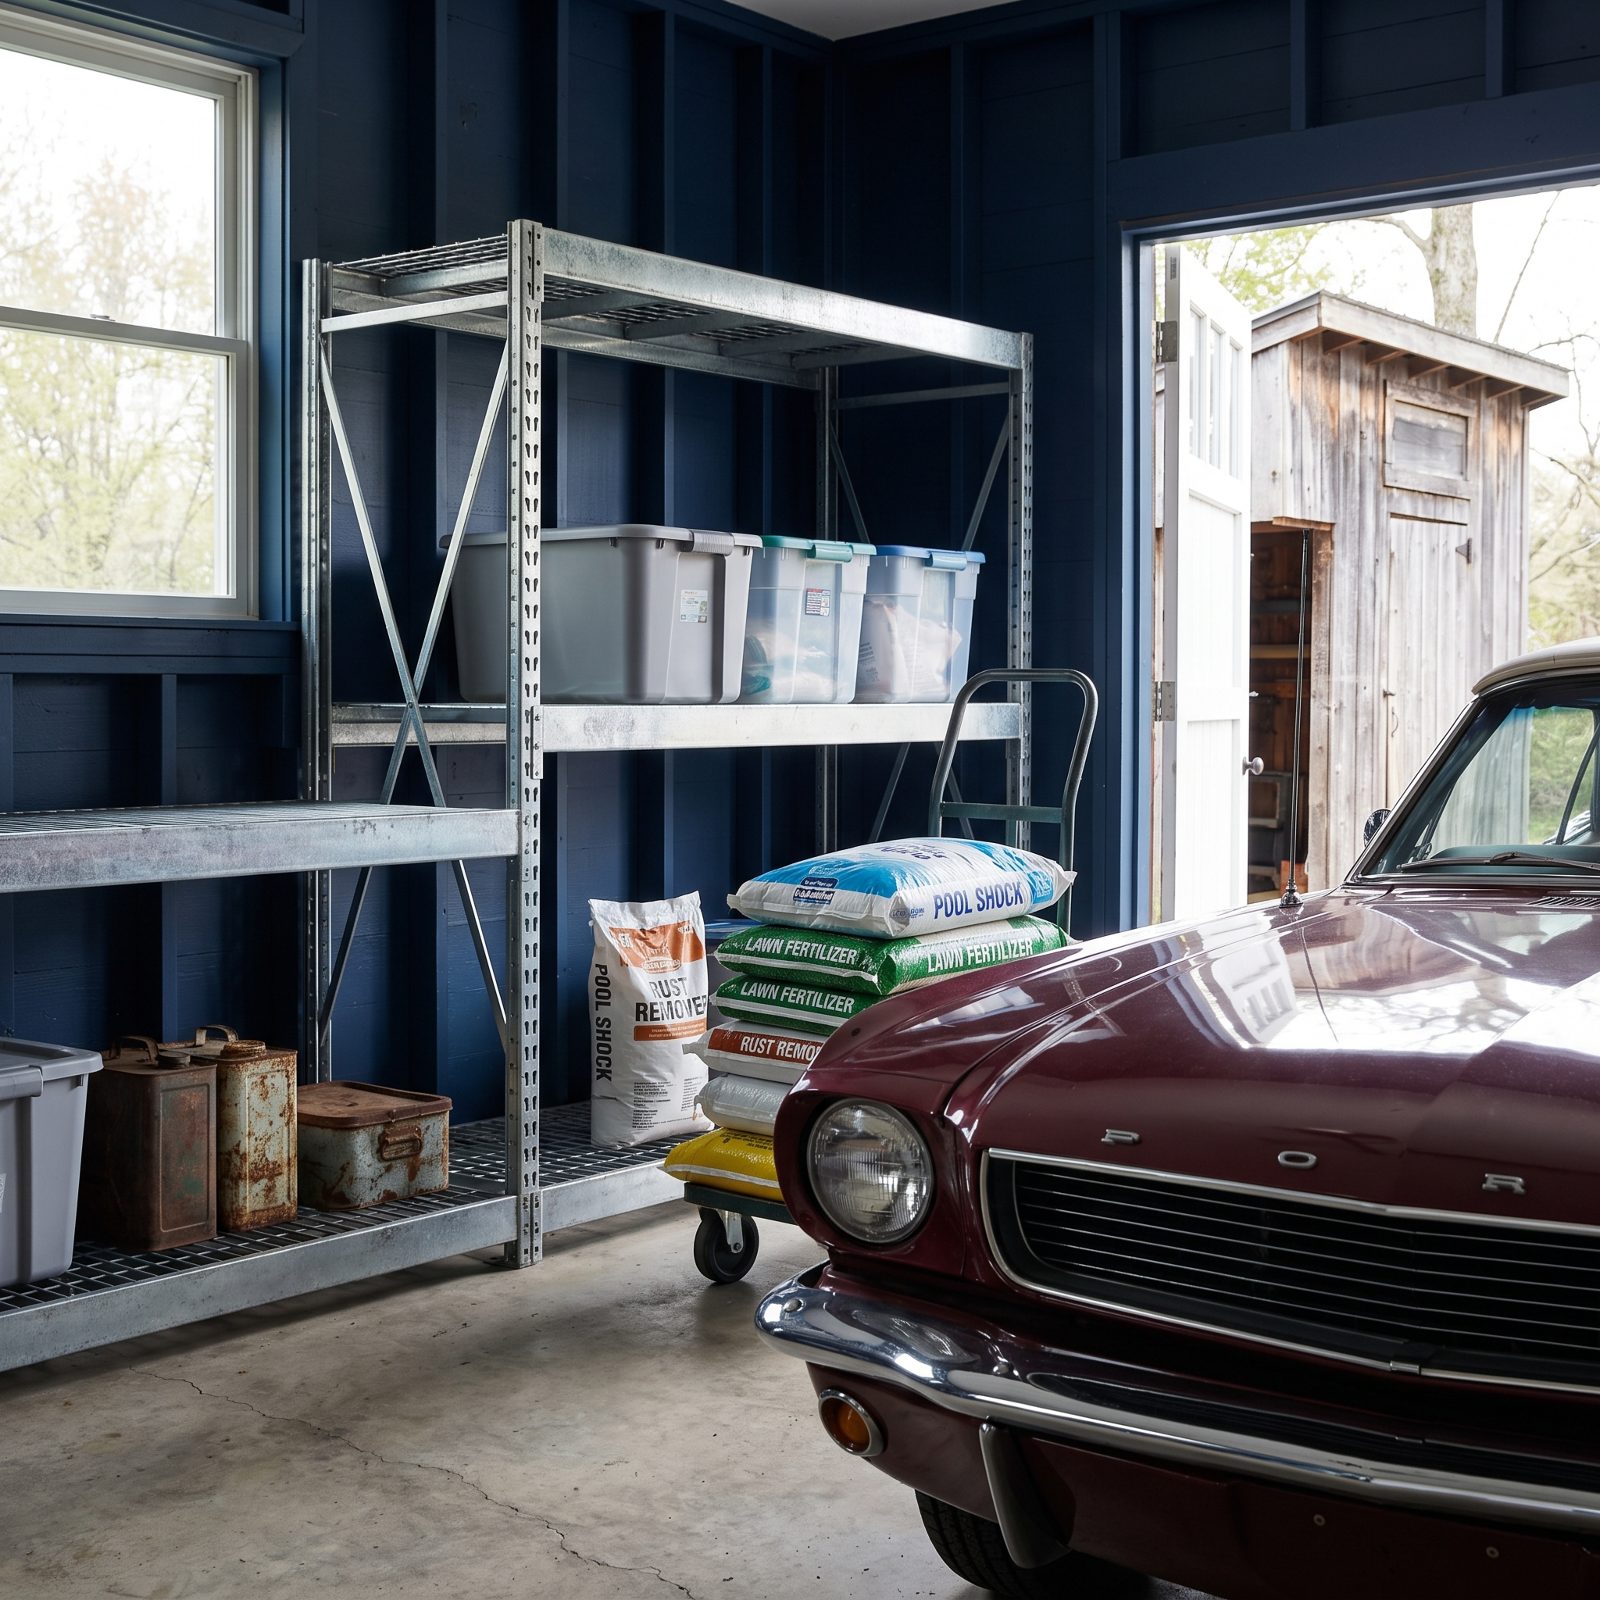
You’ve seen the shelf in every garage in America: open bags of lawn fertilizer, a bucket of pool shock, a box of ice-melt, maybe some muriatic acid from a project nobody finished. Those compounds don’t just sit there quietly. They off-gas chlorine and ammonia salts into the still winter air.
That vapor settles on chrome and bare metal and starts corrosion you won’t catch until spring, when the bumpers have gone gray and hazy and the exhaust tips are pocked. Fertilizer especially is a nitrate salt — and salt plus humidity plus a cold steel bumper is a chemistry lesson you don’t want.
Get every corrosive out of the car’s building. Not sealed in a corner. Out. A separate shed or an outdoor deck box keeps the fumes where they belong, far from anything you spent an afternoon polishing.
37. Make Sure Snowmelt Cannot Run Under the Garage Door
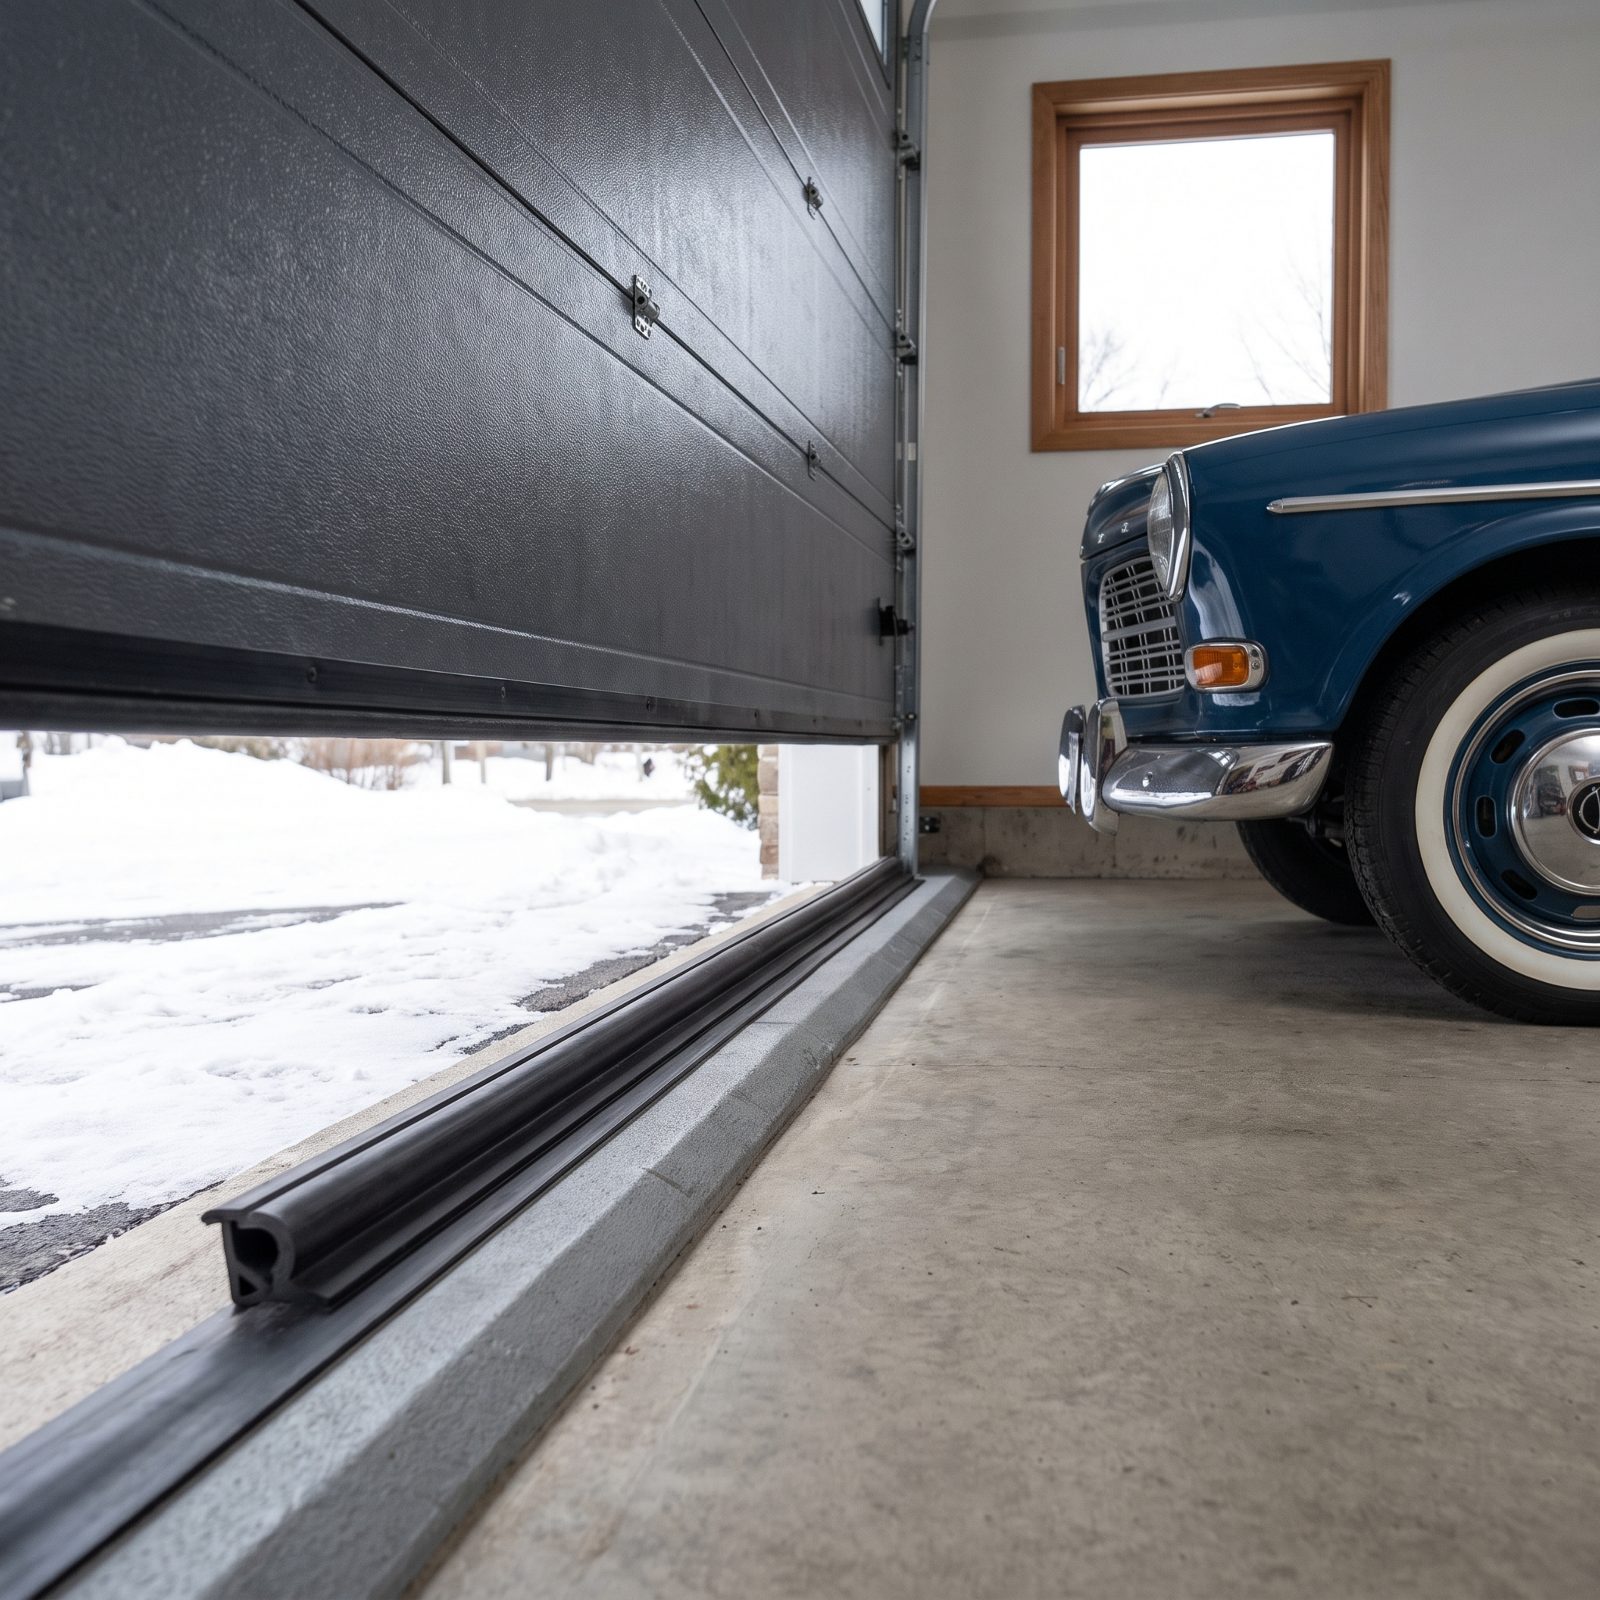
On most homes the driveway slopes toward the garage just enough that nobody notices until it matters. Pile snow against the door, let it thaw during a warm afternoon, and that meltwater runs straight under the seal and pools under your car. Water laced with road salt, no less, if you tracked any home on your winter beater.
Salt water sitting under the frame overnight is how floors rust from underneath. It’s slow, it’s quiet, and it’s completely avoidable.
Install a garage door threshold seal that bonds to the floor and forms a low dam, or add a rubber bottom weather seal to the door itself. Park the car a foot or two back from the door, and shovel snow away from the base after every storm.
36. Wash Away Dirt, Bug Residue, Sap, Droppings, and Road Tar Before It Sits
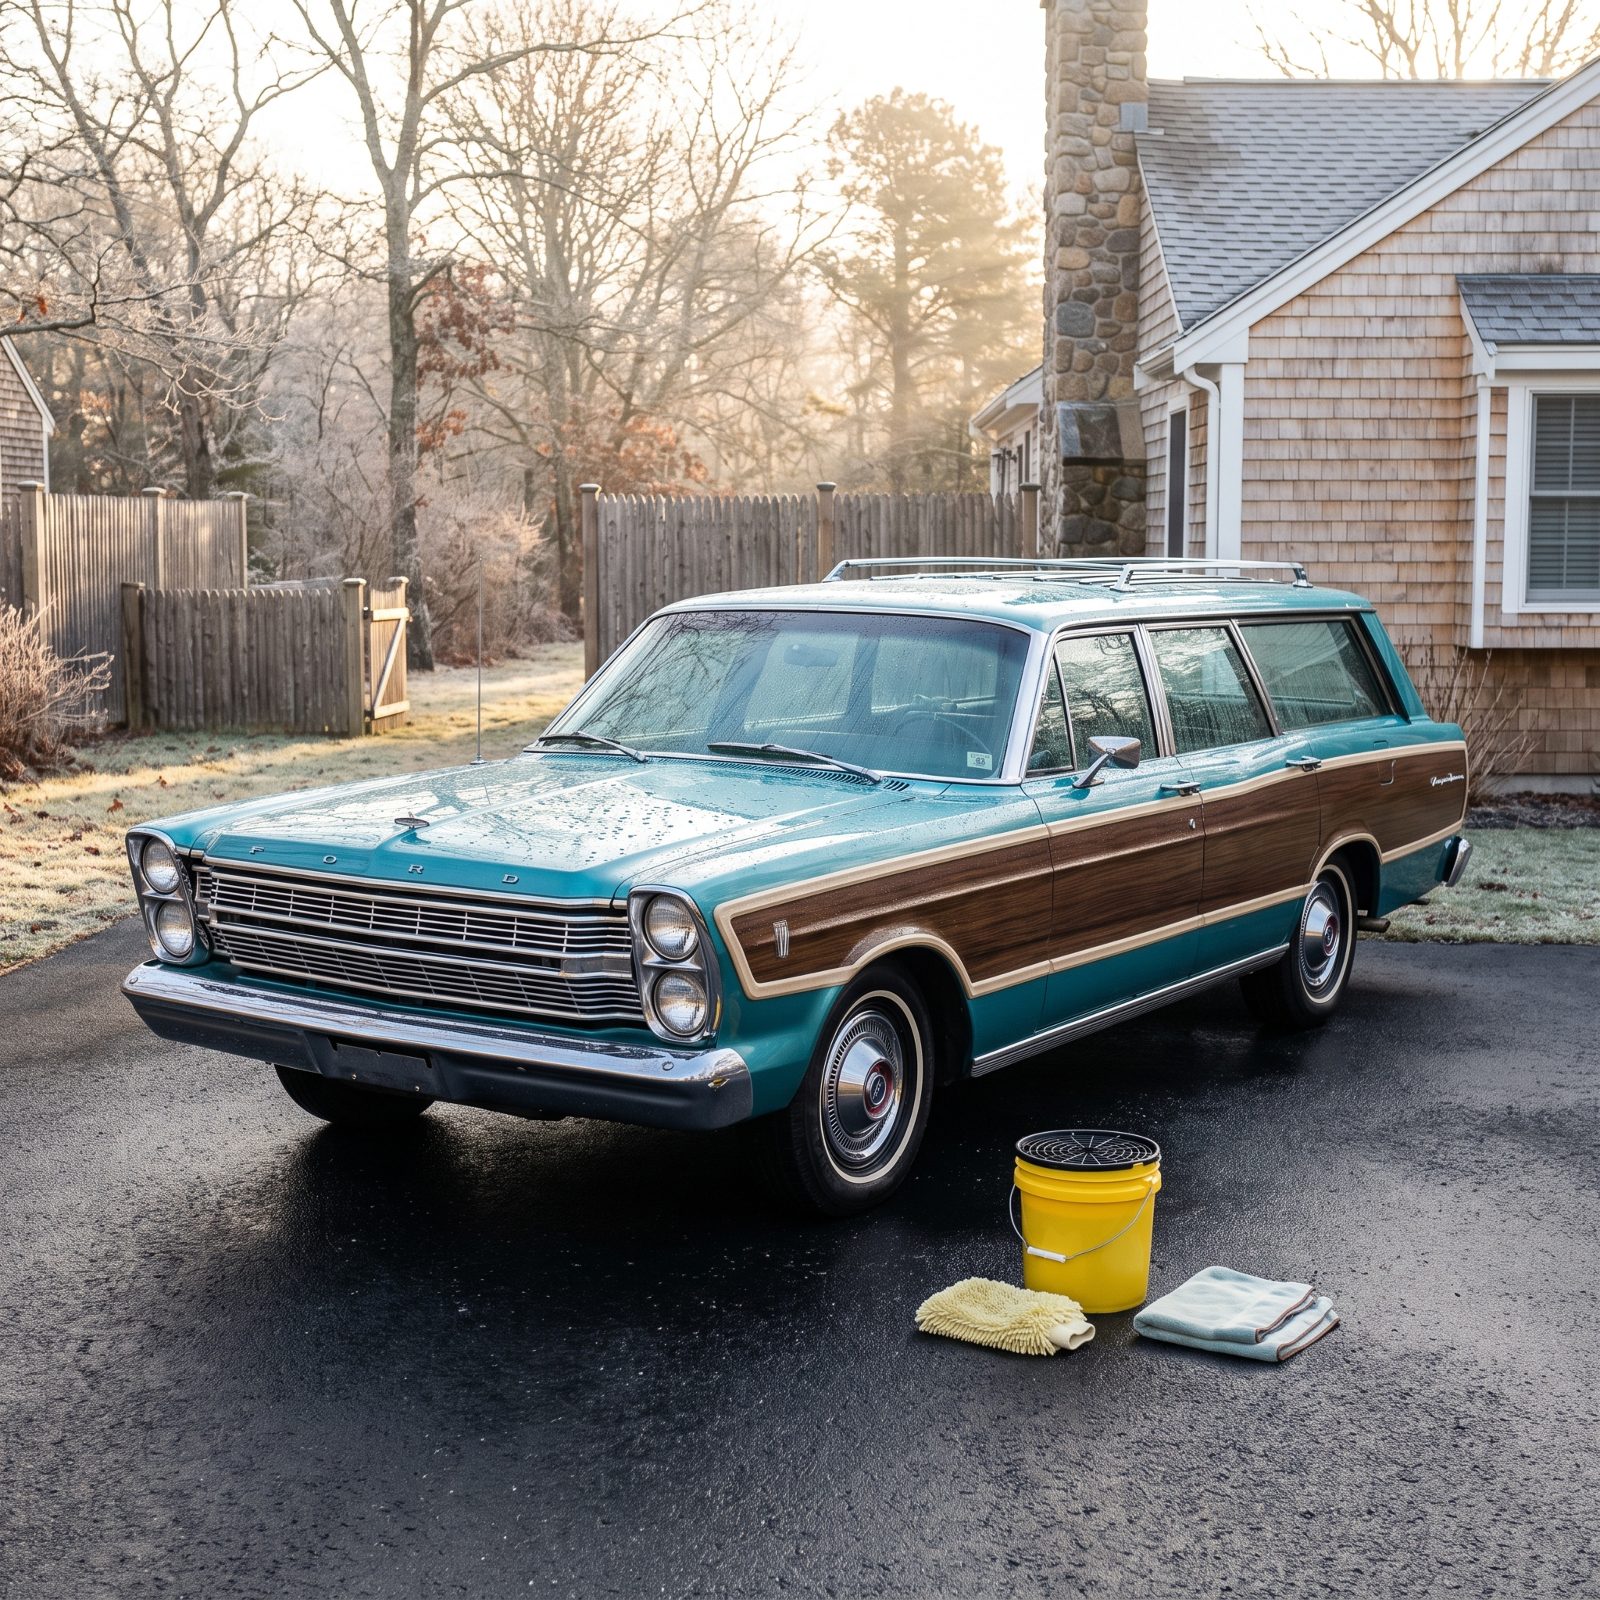
Putting a dirty car away for five months is like going to bed without brushing your teeth, except the damage is permanent. Bug splatter, tree sap, bird droppings, and road tar are all mildly acidic, and given enough undisturbed time they etch rings right into the clear coat.
By spring those marks aren’t a wash-off problem anymore. They’re a buff-out problem, sometimes a repaint problem. The paint cooked under its own grime all winter long.
Do a proper two-bucket wash with a grit guard, hit the stubborn spots with a bug-and-tar remover and a clay bar, then dry every panel completely. A wet car locked in a cool garage just sits and sweats. Dry means dry, including the door jambs and under the trunk lid.
35. Blow Trapped Water Out of Seams, Trim, and Mirror Housings
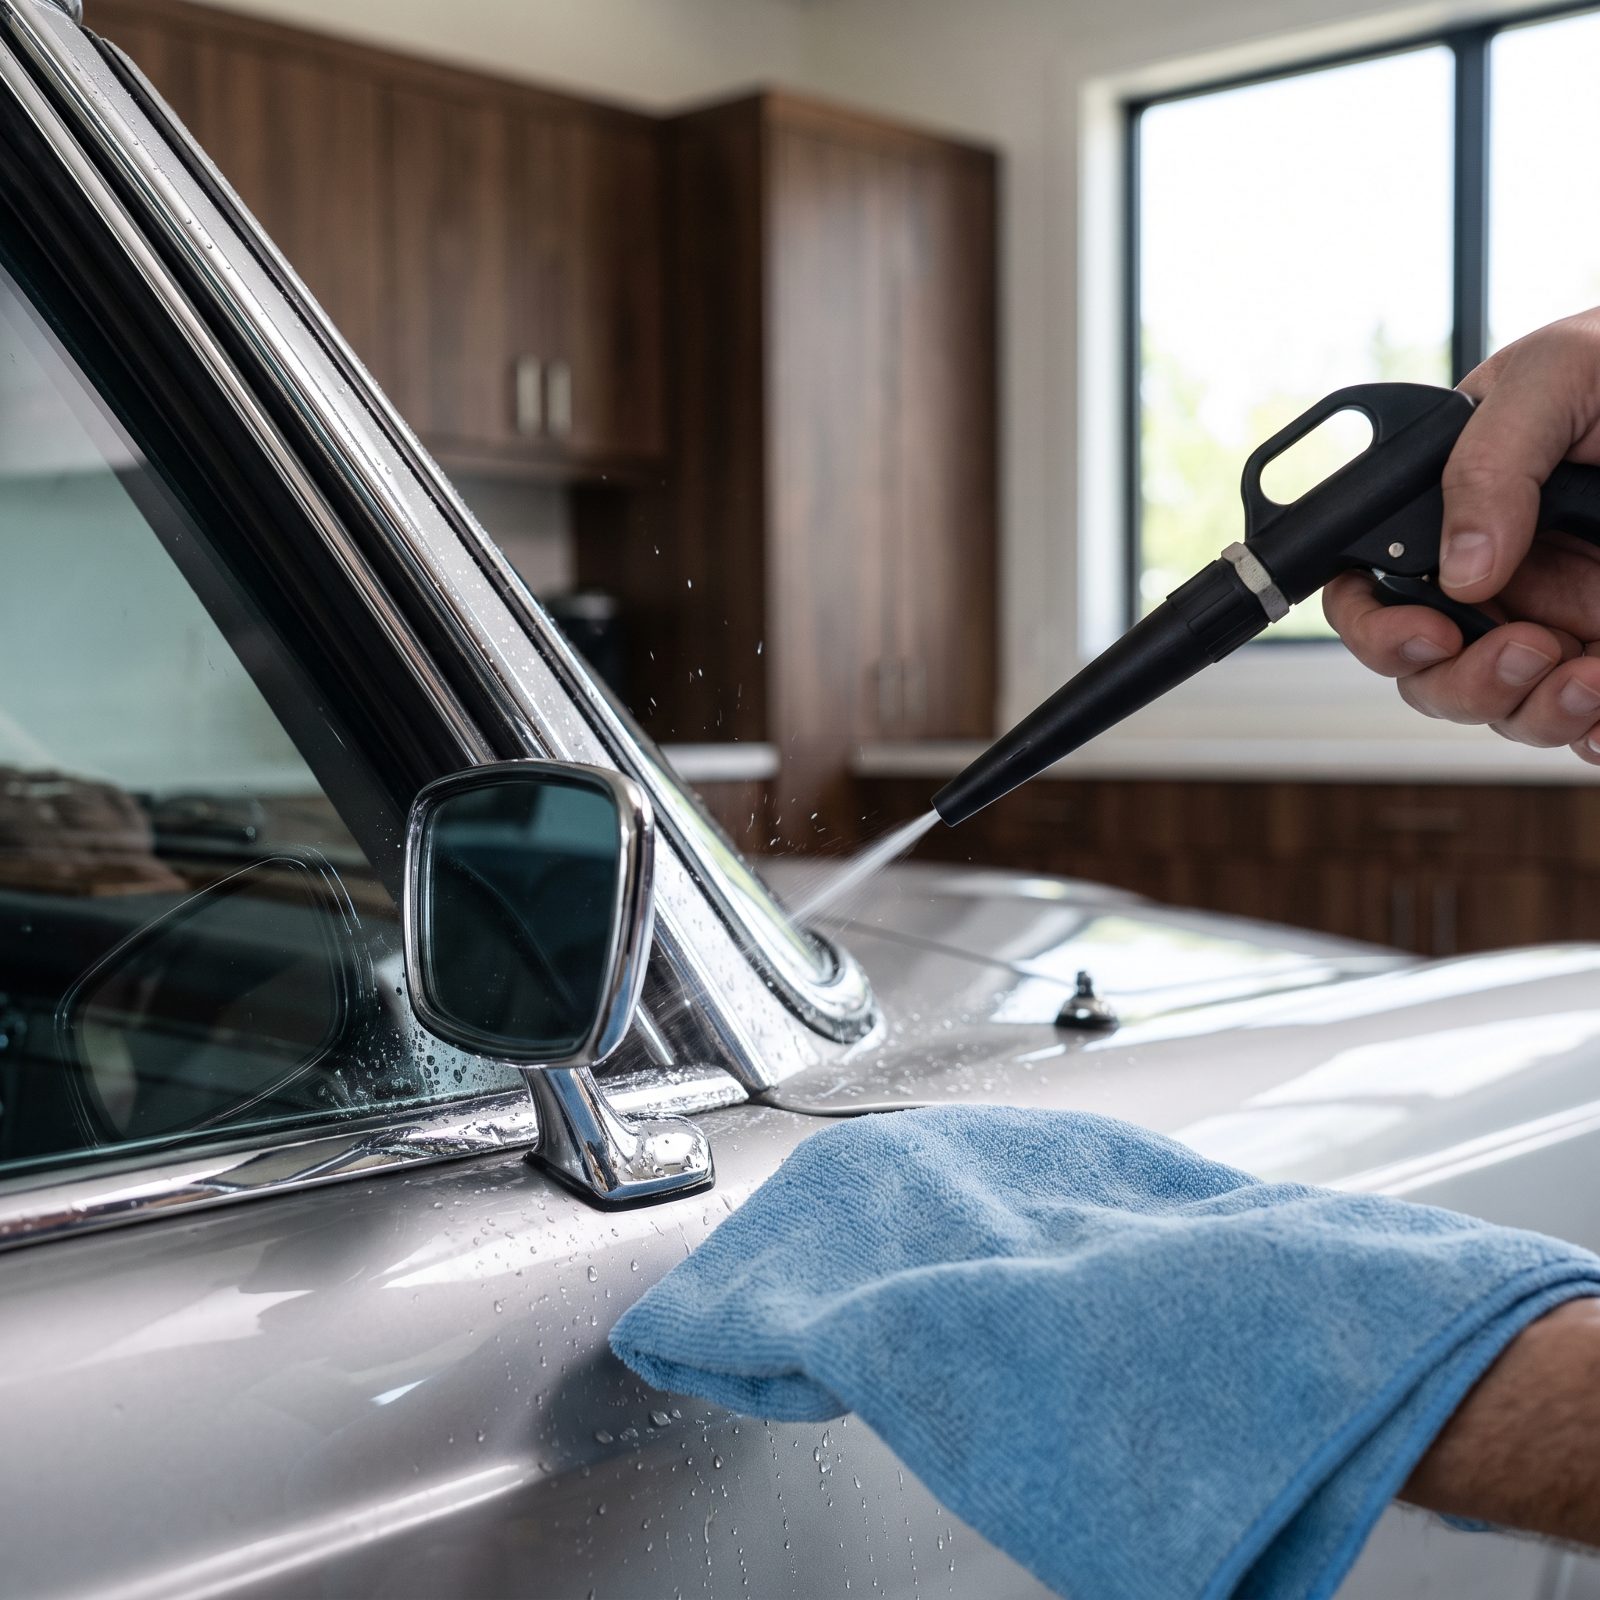
You dried the panels, so you figure the car’s dry. But water hides. It sits in the door seams, in the lower window channels, behind chrome trim, inside the mirror housings, and in every drain hole in the body. A chamois never reaches those spots.
Trapped water in a cold garage is exactly where rust starts — in the hidden seams you won’t inspect until the bubbling shows through the paint. By then the metal underneath is long gone.
Walk the car with a compressed-air blower or even a leaf blower on low and chase the water out of every seam, trim gap, and mirror base. Check that the door and rocker drain holes are clear while you’re down there. Half an hour now saves a body panel later.
34. Touch Up Paint Chips That Expose Bare Metal
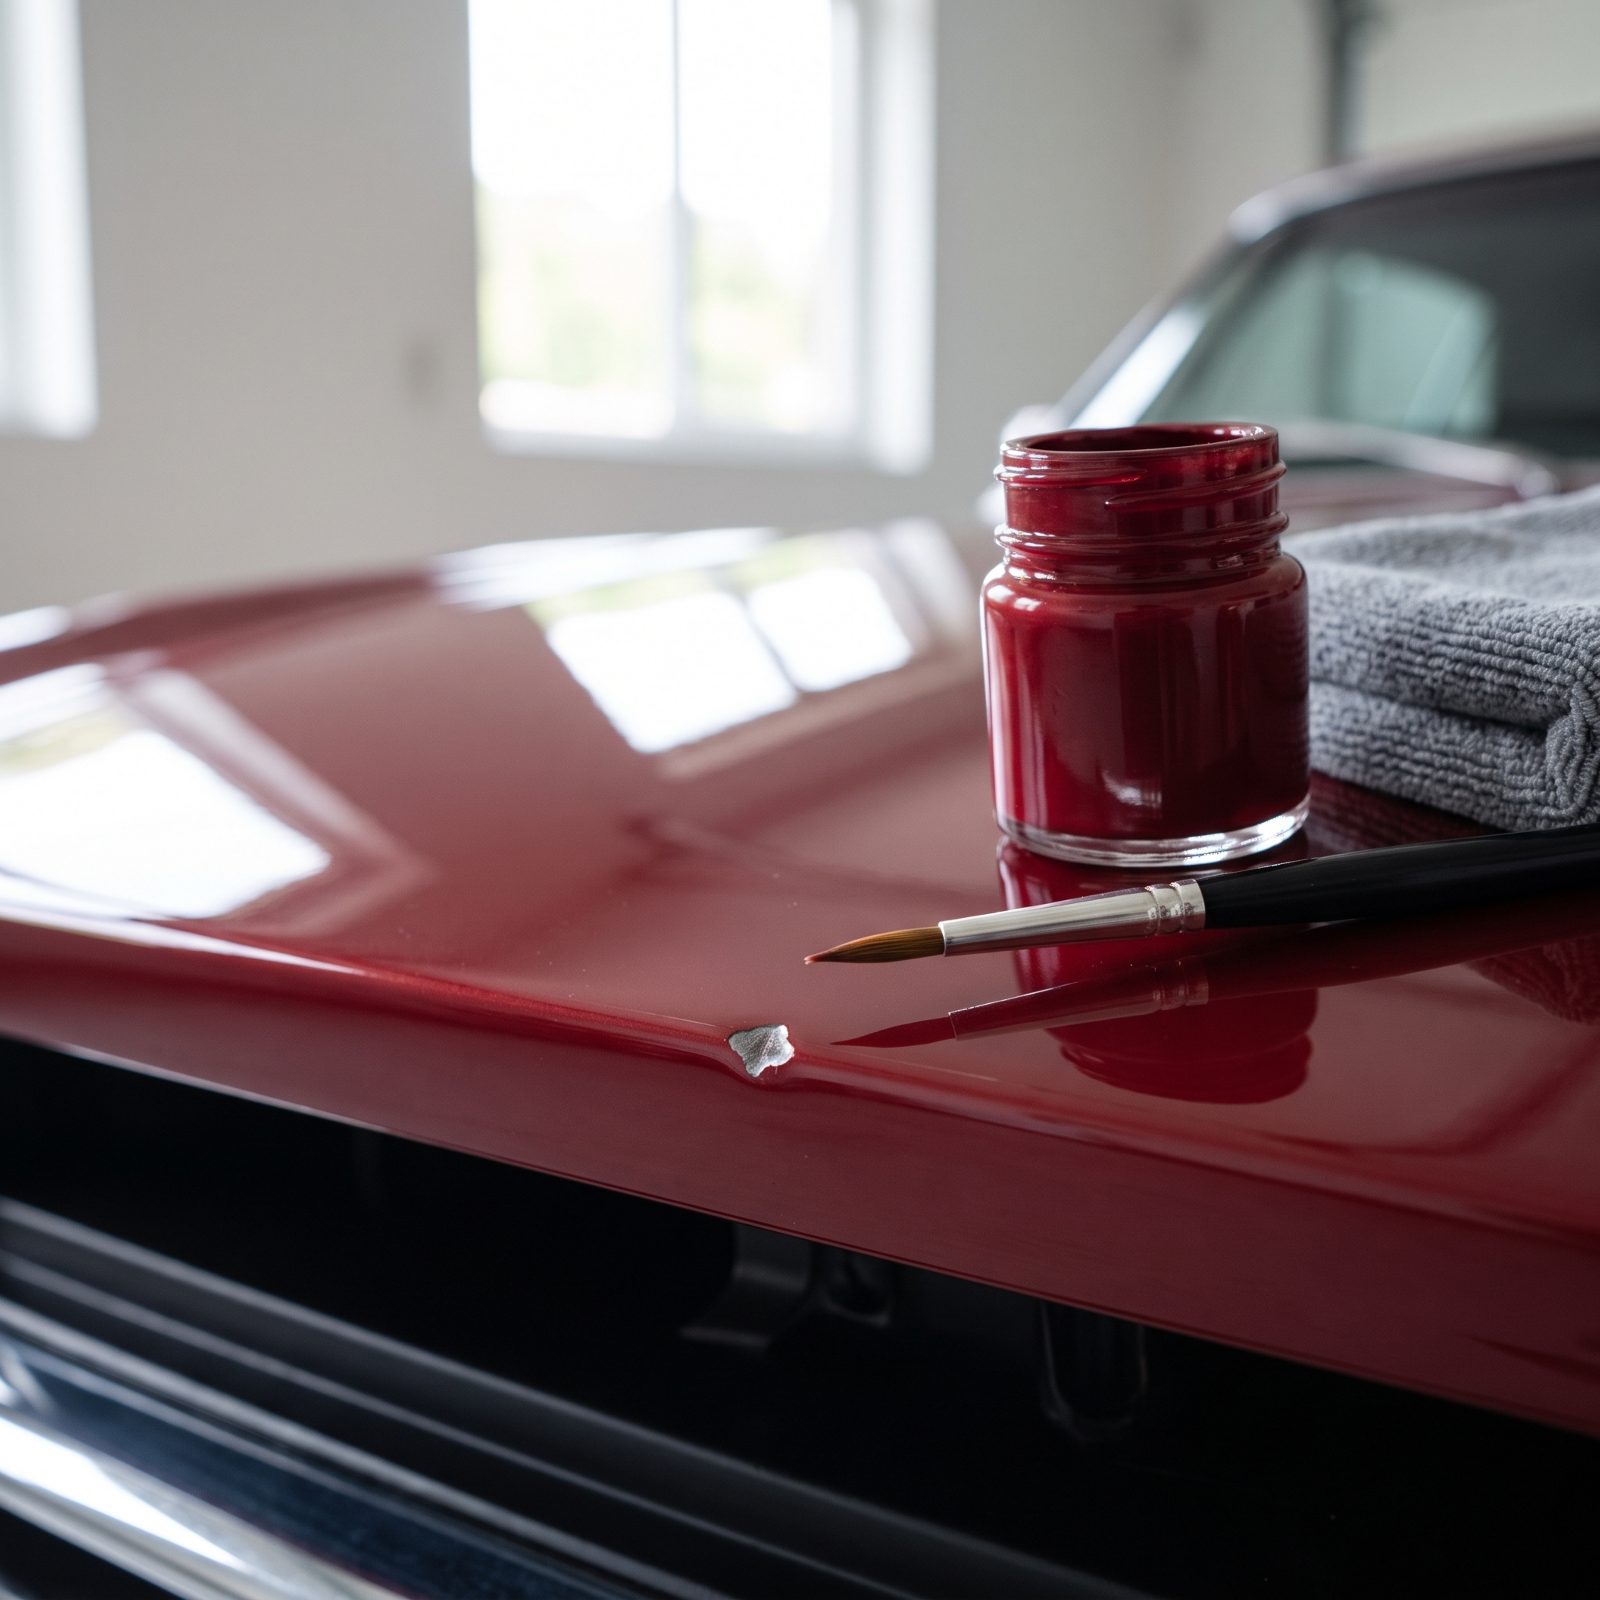
A stone chip is a small thing in October and an open wound by March. Every chip that reaches bare metal is a doorway. Moisture gets in, oxidation creeps under the surrounding paint, and the chip spreads into a blister ringed with rust.
Winter storage is the worst possible time to leave bare steel exposed. The car sits undisturbed in cool, damp air for months with nothing fighting the corrosion, and it just works away, slowly, the whole season.
Get matched touch-up paint by your factory color code, clean each chip with a little solvent, and dab in thin coats with a fine brush or a toothpick. Let each coat flash before the next. You’re not chasing invisible here — you’re sealing the metal, and keeping the rust out is the whole job.
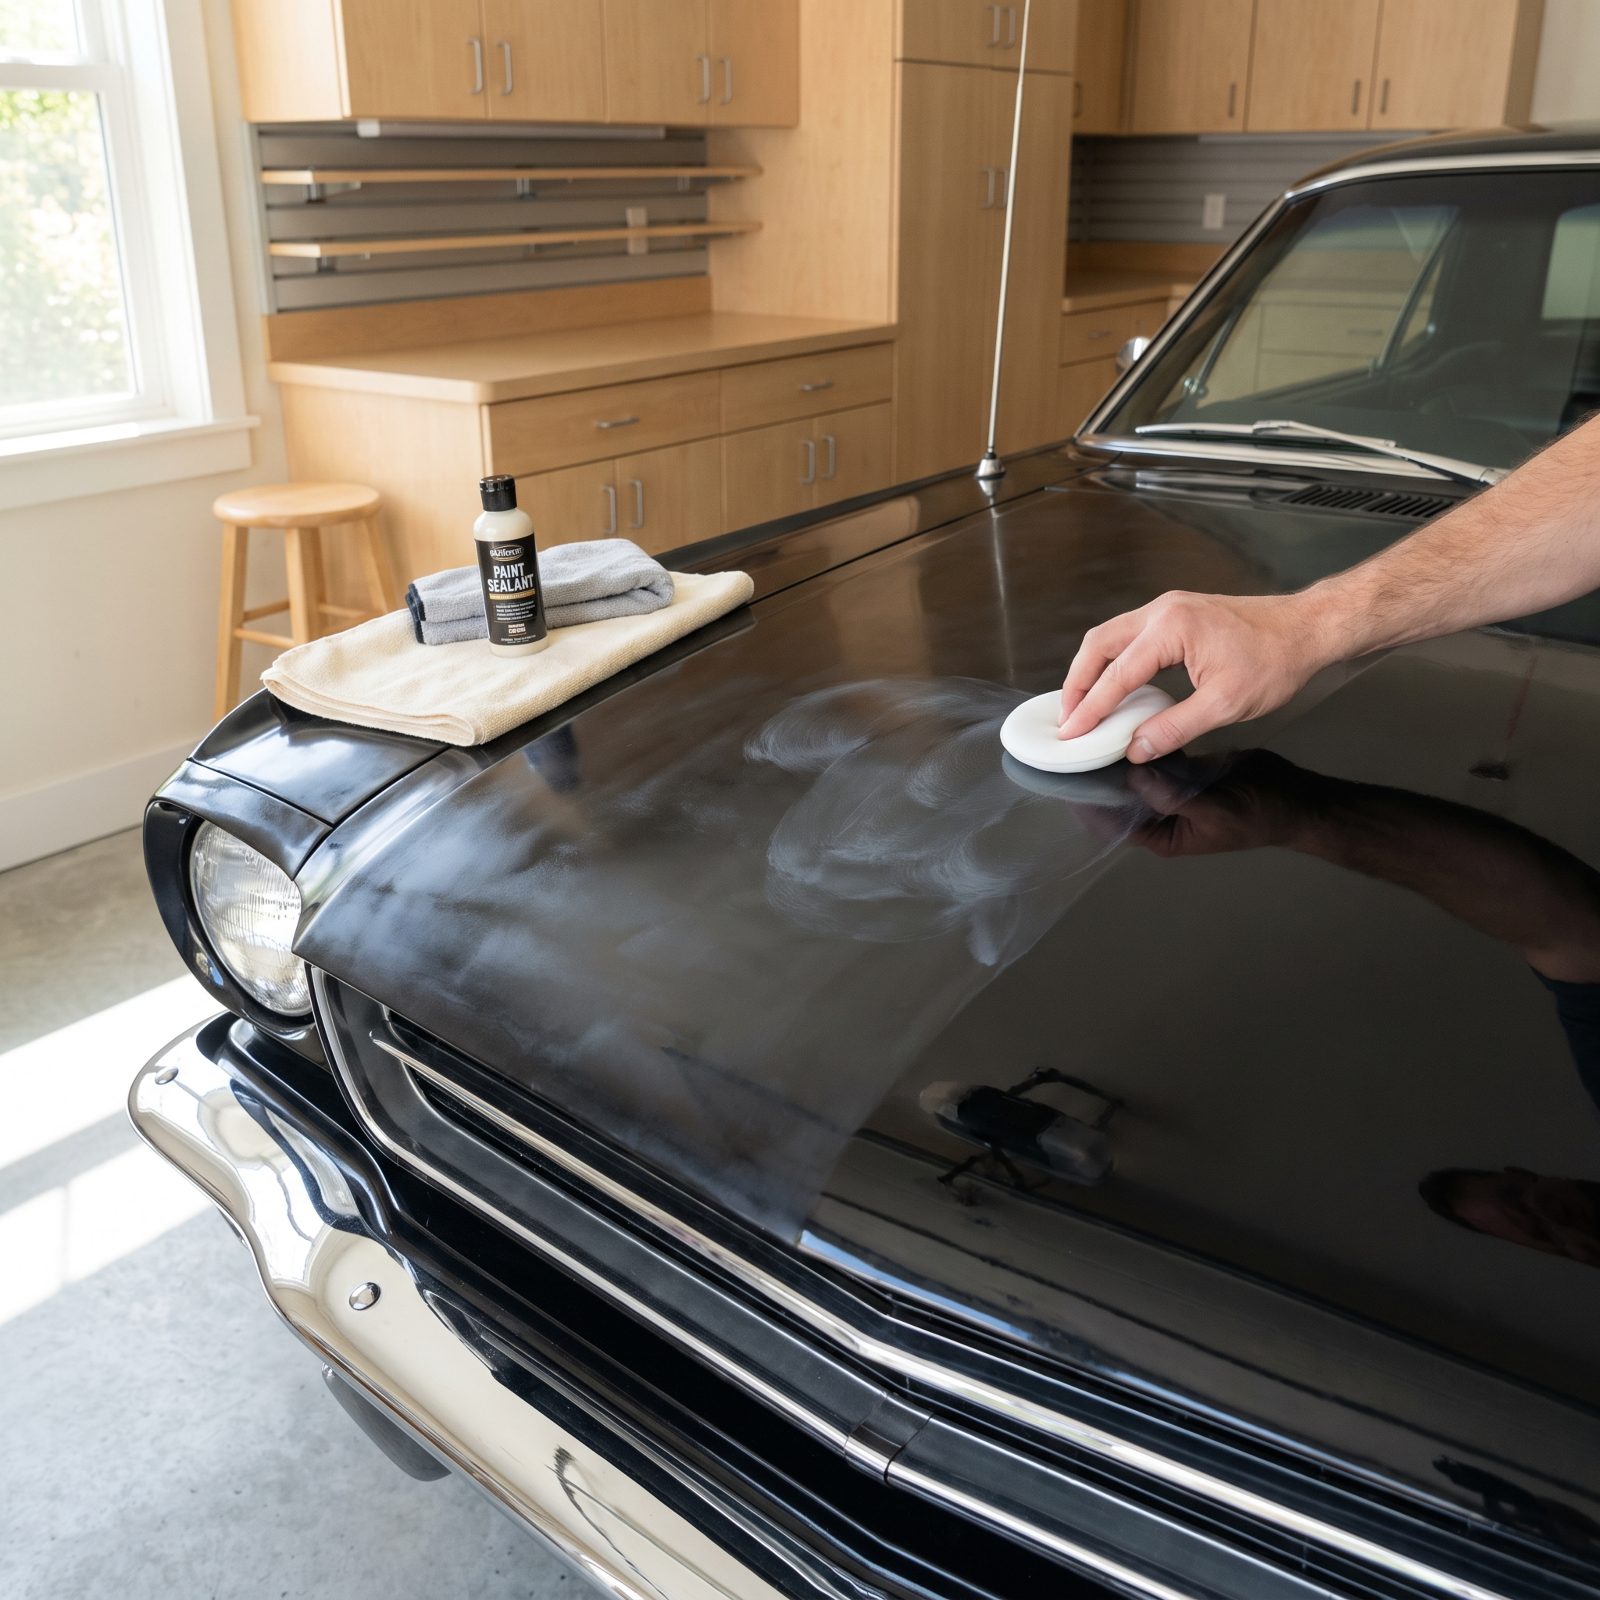
33. Apply Paint Sealant and Protect Chrome From Surface Rust
Would you like to save this?
Wax feels like the finish line. But a carnauba wax breaks down in a couple of months and leaves the paint bare for the back half of winter. For long storage you want a synthetic paint sealant, which bonds to the clear coat and holds its barrier for the whole season and then some.
Chrome is the piece everyone forgets. Those gleaming bumpers and trim will haze over and pit if left unprotected in damp air, and polishing surface rust back out is slow, delicate, finger-cramping work.
Once the sealant cures, hit all the chrome and bright trim with a dedicated chrome polish, then a thin film of chrome sealant or even a light coat of mineral oil wiped nearly dry. That keeps air and moisture off the metal — exactly what rust needs.
32. Clean the Undercarriage and Neutralize Every Trace of Road Salt
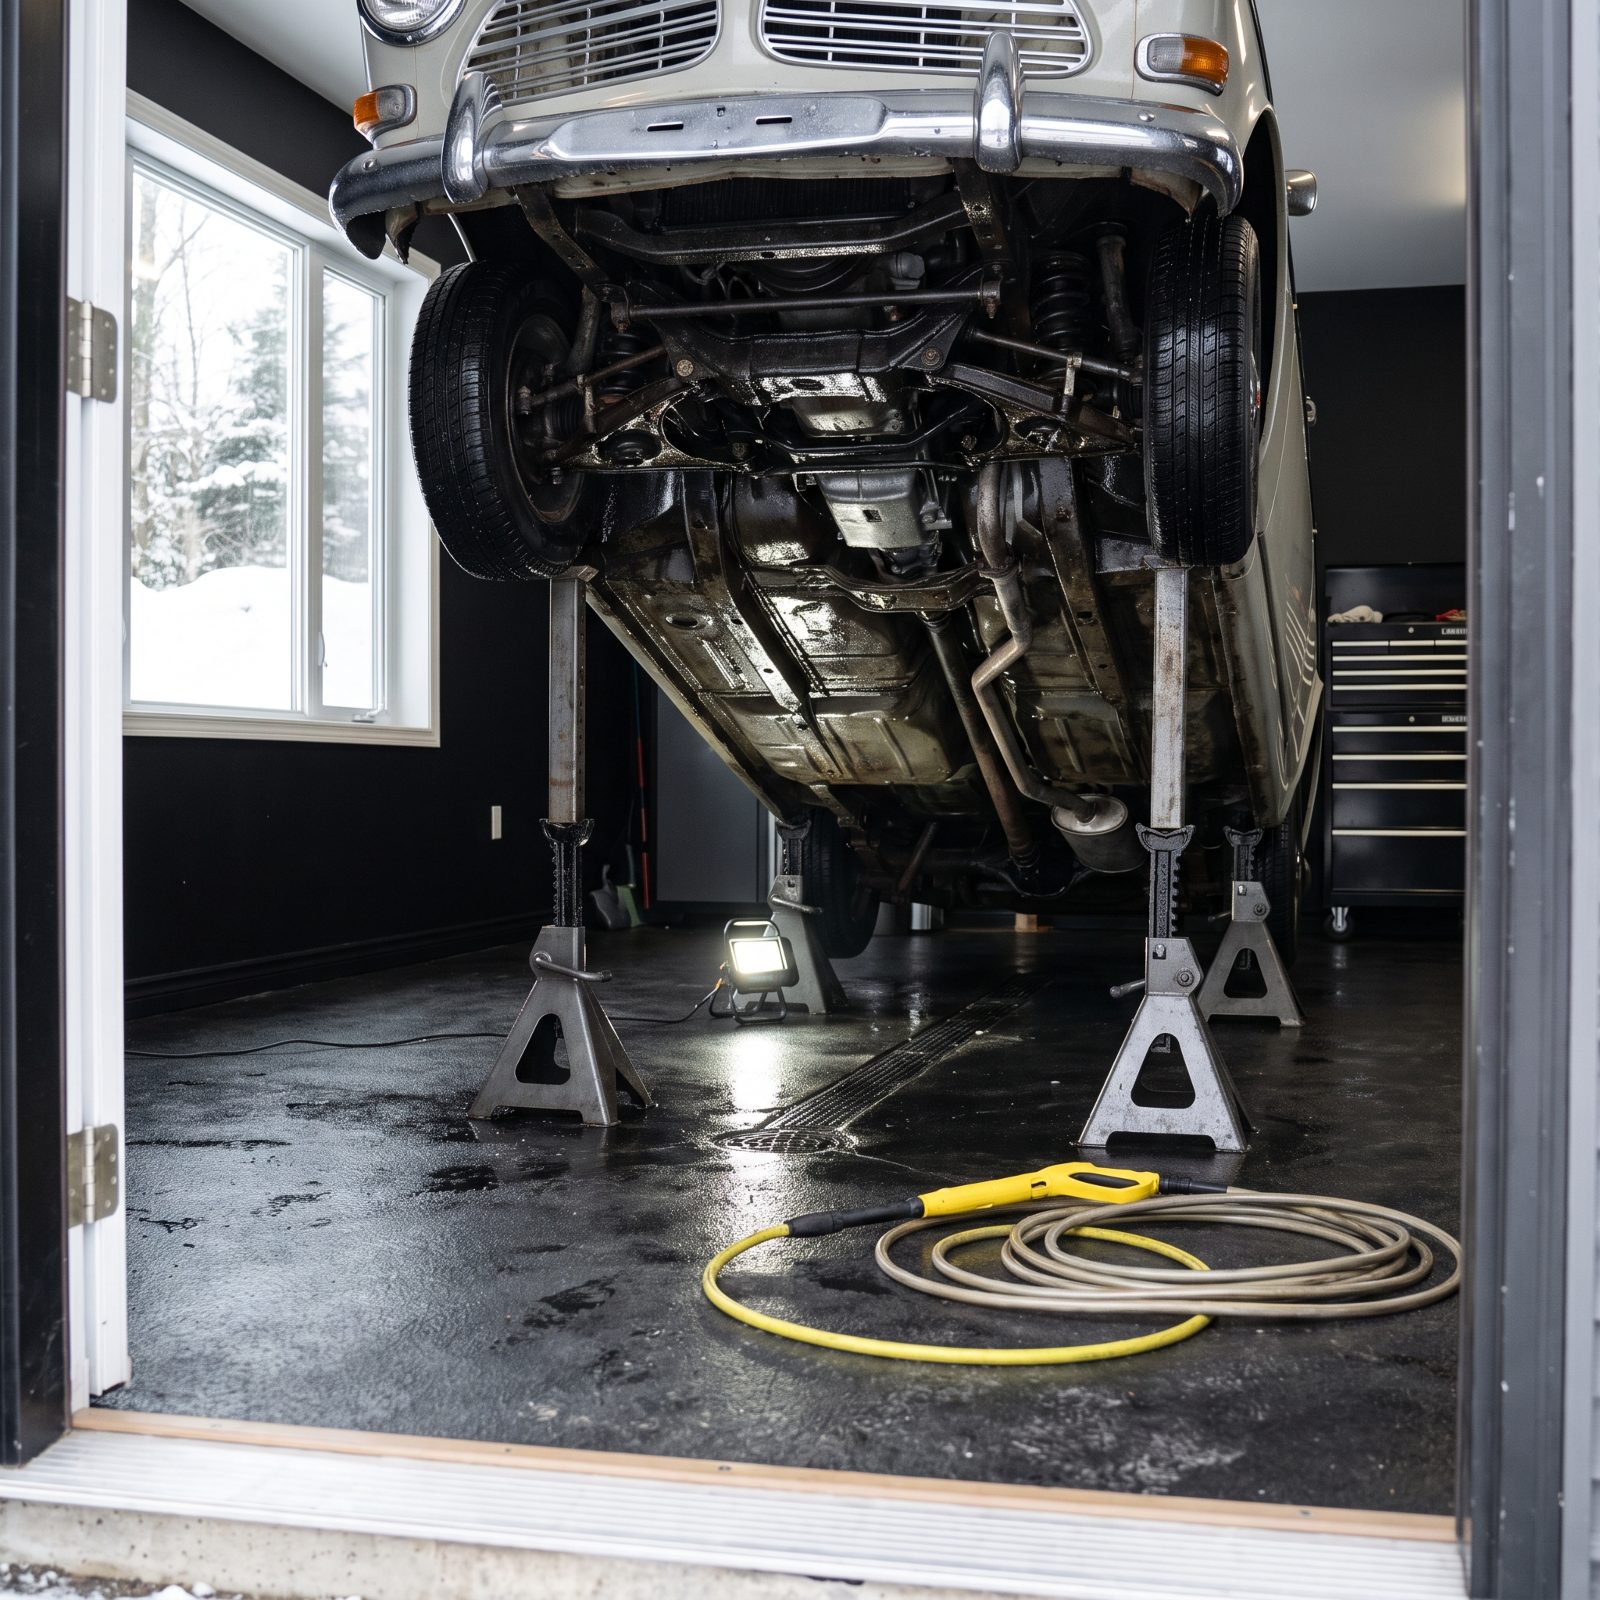
The top of the car gets all the love and the bottom gets all the damage. If that car saw even one salted road on the way into storage, there’s salt packed into the frame rails, the floor pans, the suspension cradle, and every crevice you can’t see standing up.
Salt doesn’t quit when the car stops moving. It draws moisture out of the air and holds it against the steel, so the frame keeps rusting all winter in a garage that looks perfectly dry. This is where good cars quietly die from underneath.
Get the car up on proper jack stands — never a jack alone — and pressure-wash the whole underside. Then neutralize what’s left with a salt-dissolving rinse before you flush it clean again. Once it’s dry, a light coat of corrosion-inhibiting spray on the bare metal seals the deal.
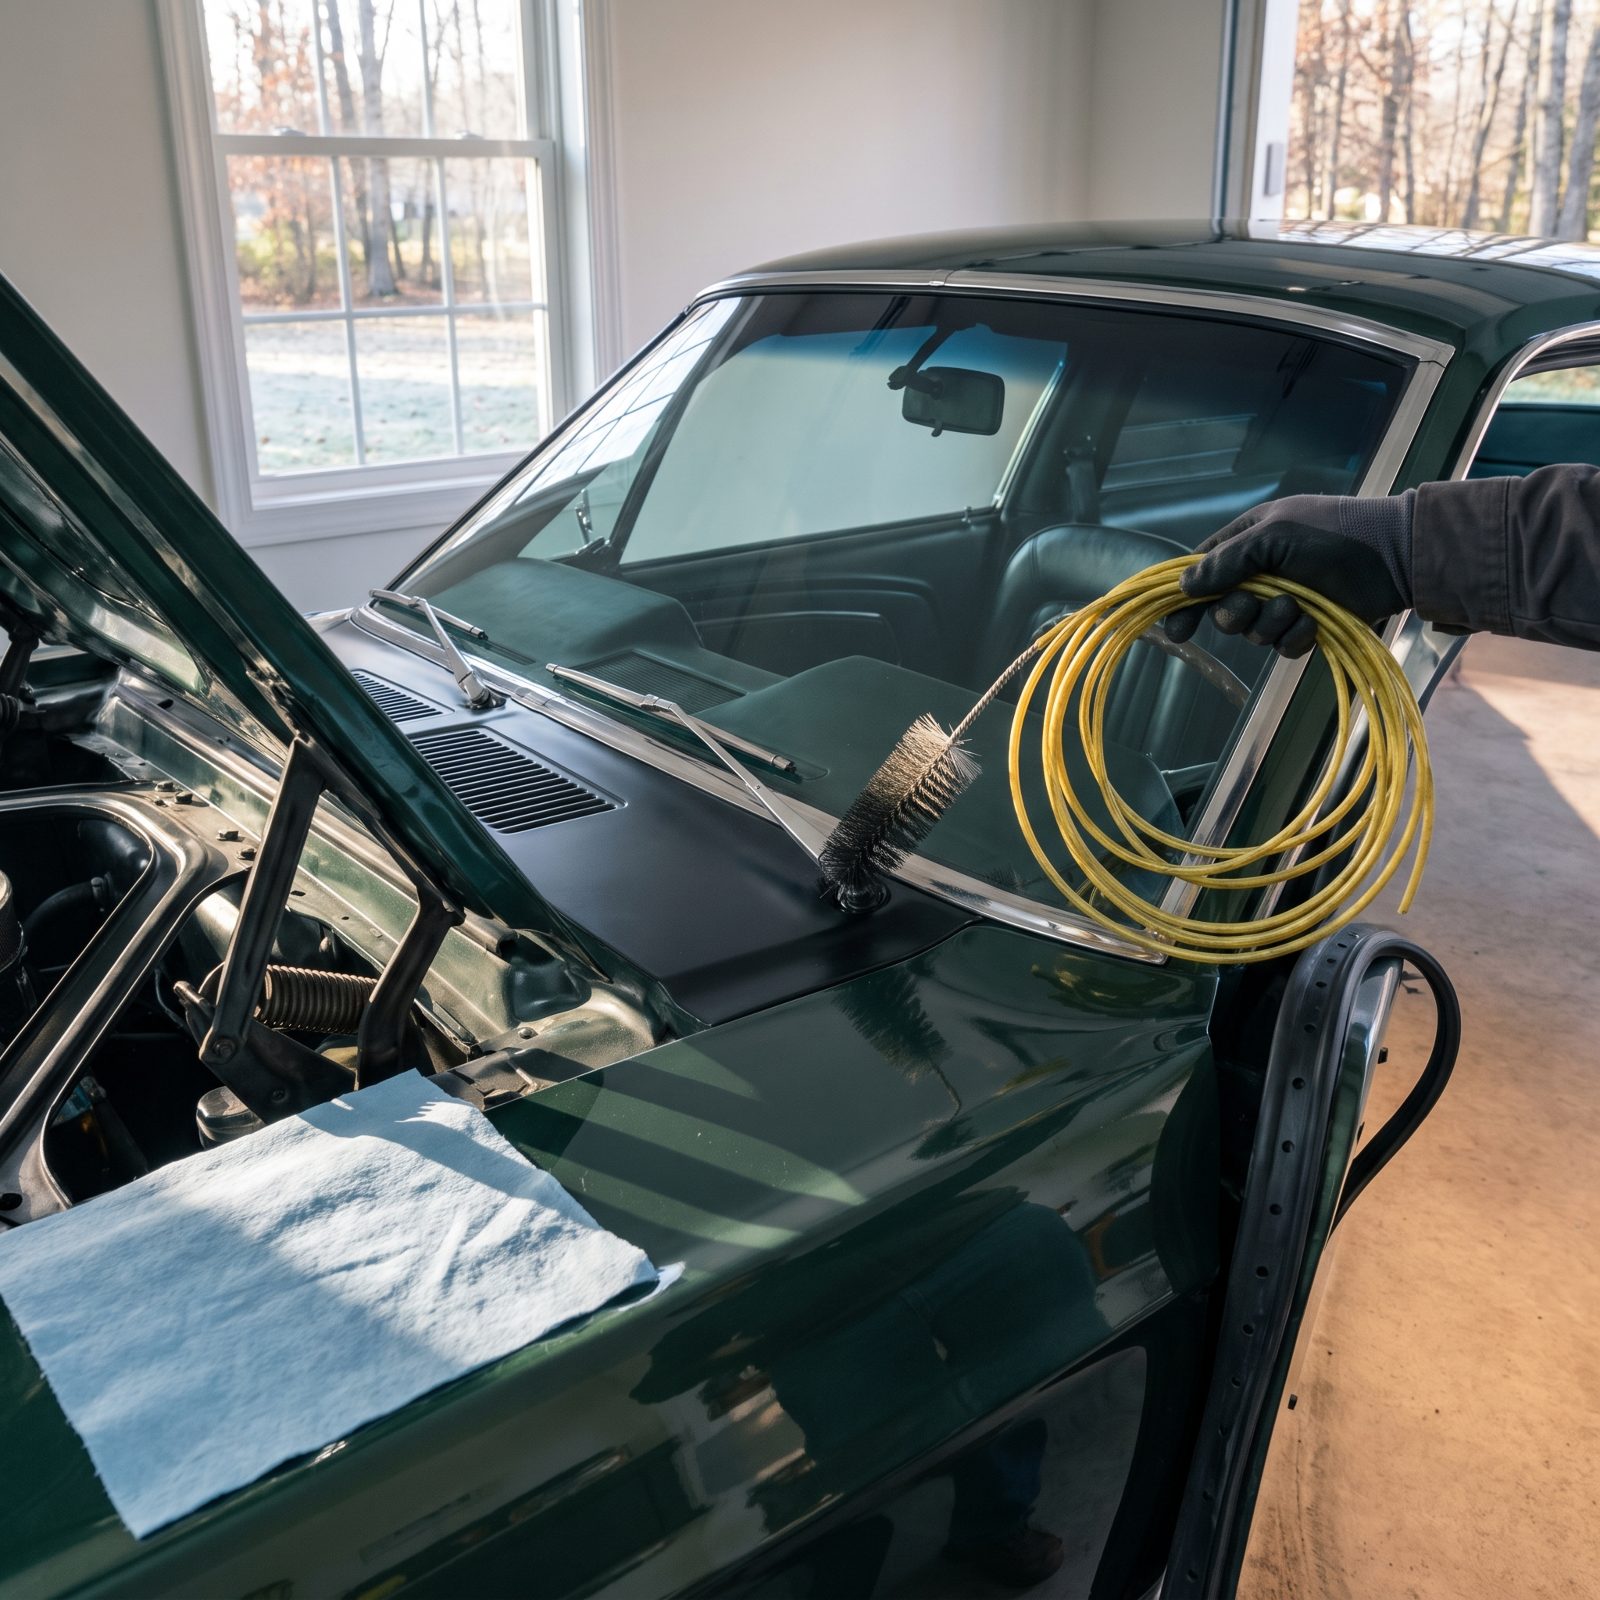
31. Clear the Cowl, Door, Sunroof, and Trunk Drain Channels First
30. Find and Repair Fluid Leaks Before They Spread Under a Resting Car
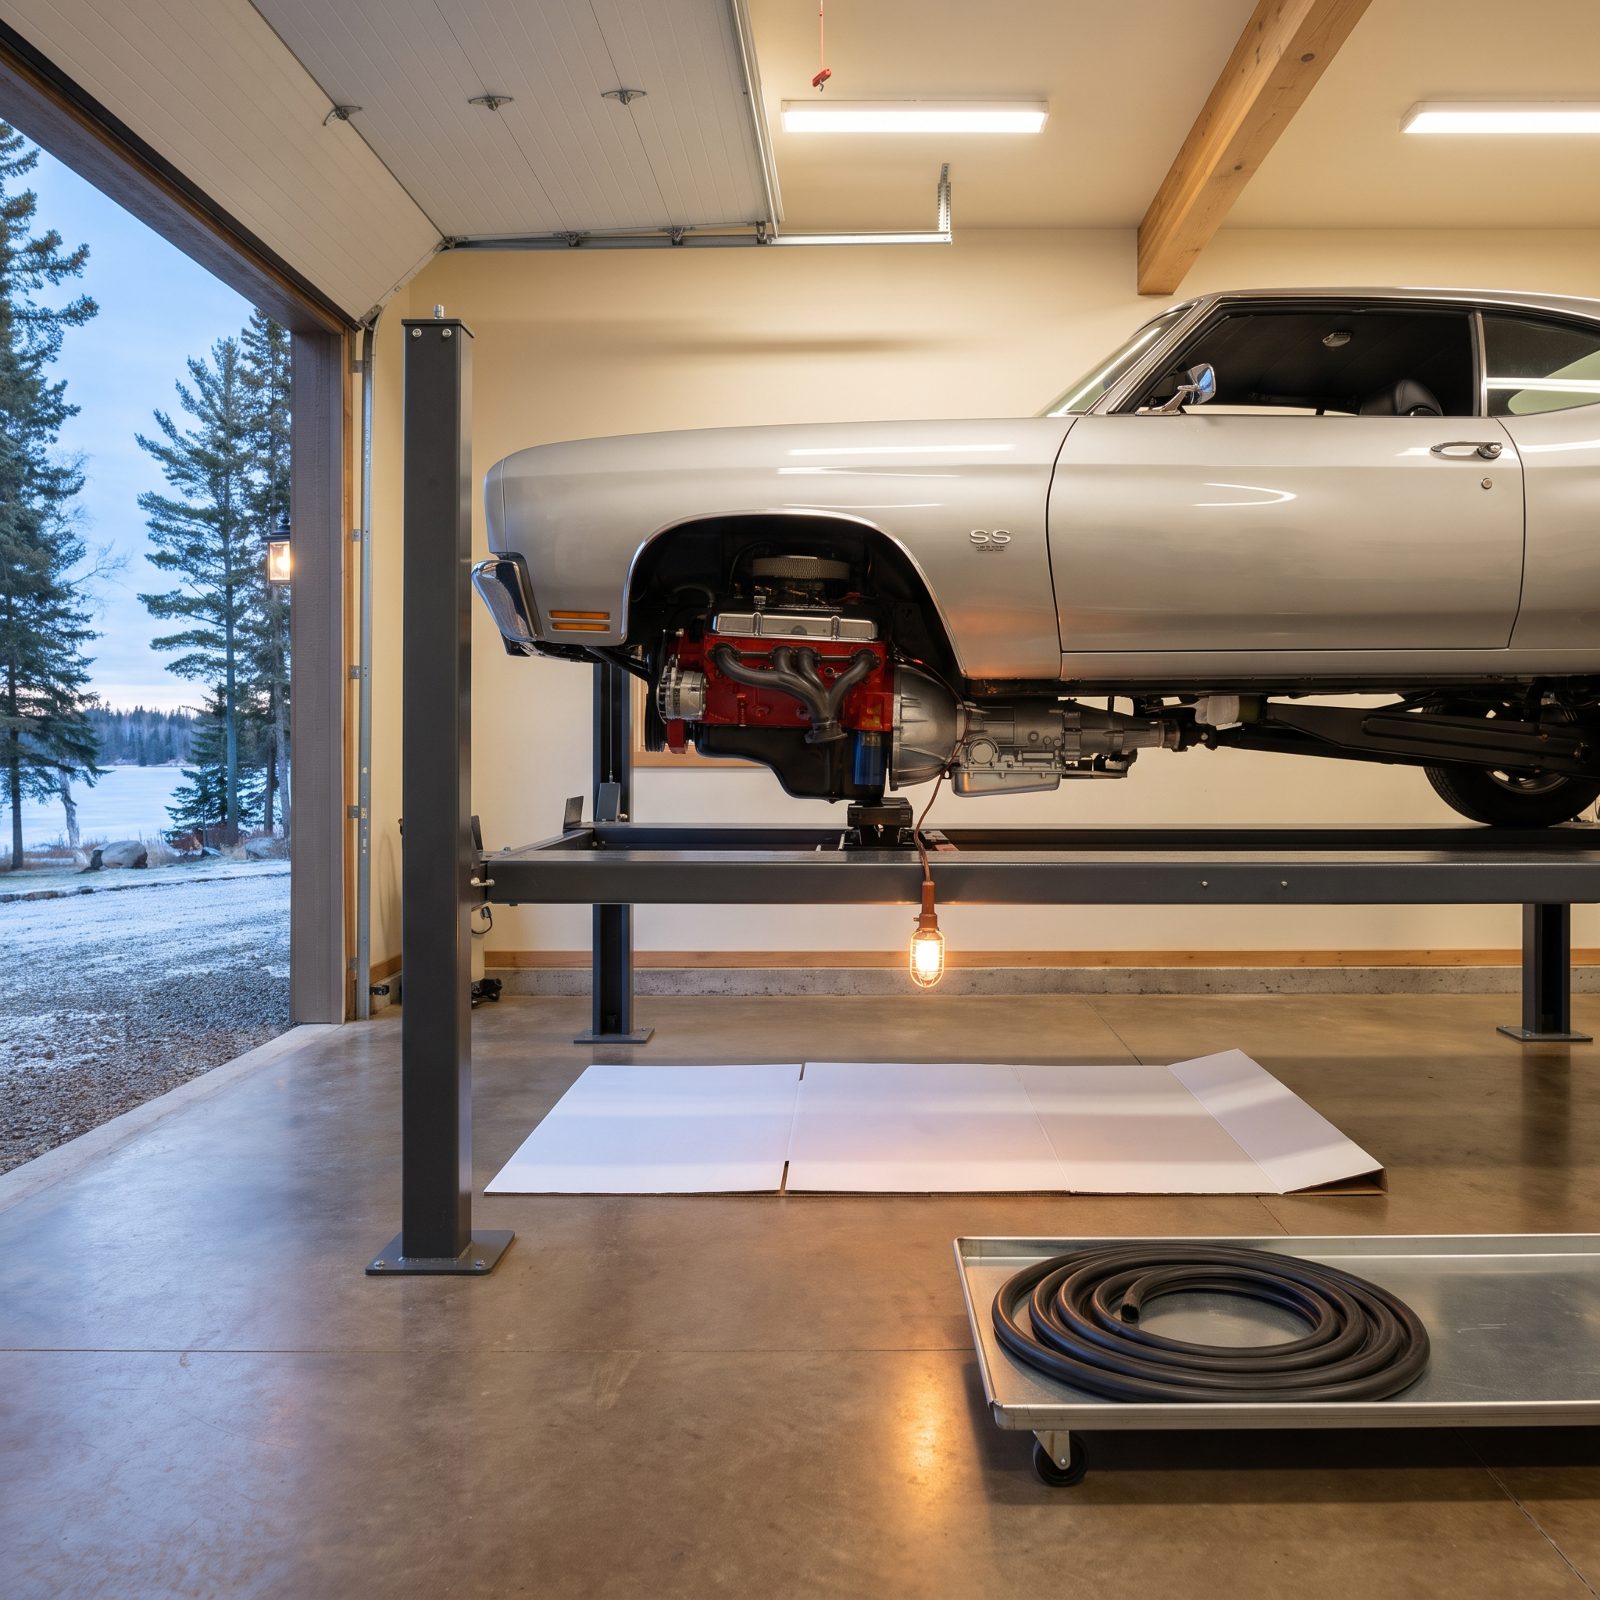
A puddle on the floor in spring is bad news written in oil. The fresh leaks you can see right now are the ones you can actually trace, but let a car sit six months and that same seep turns into a dried crust that hides exactly where the trouble started.
Gaskets and seals shrink when they dry out, and a car parked cold for a season dries out plenty. A weepy rear main or a tired valve cover gasket won’t fix itself in storage. It just stains the pan under the car and hands you a worse mystery come March.
So slide a clean sheet of cardboard under the engine and transmission before you store it. Wipe everything down, run the car to temperature, let it sit overnight, then read the drip pattern. Trace the highest wet point and reseal it now, while the diagnosis is still honest.
29. Change Contaminated Oil, Then Run the Engine to Circulate It
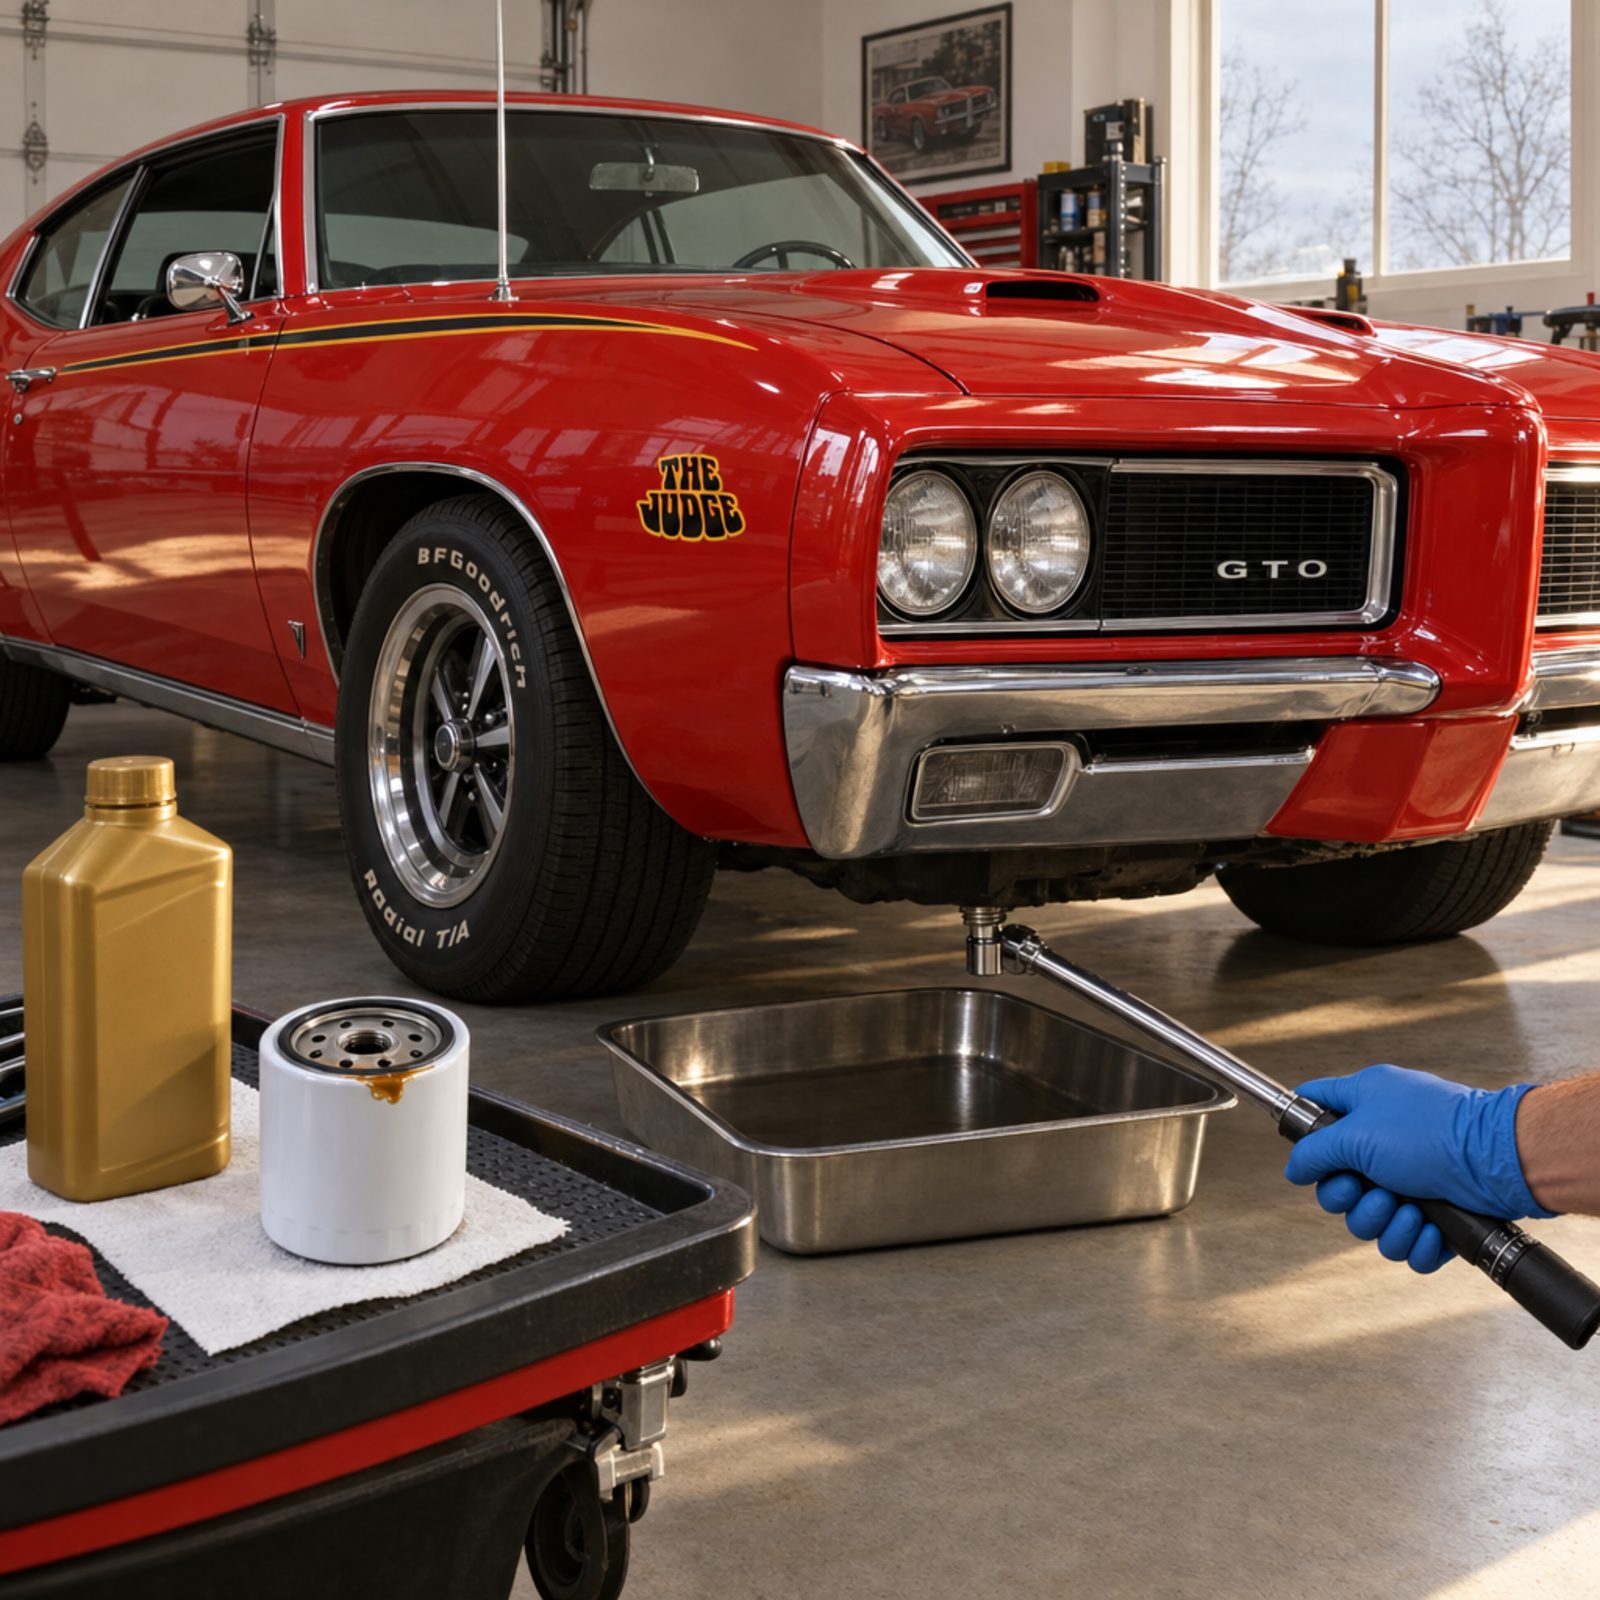
Dirty oil doesn’t rest quietly. It carries acids, fuel dilution, and combustion byproducts that keep eating at bearings and cam lobes while the car sleeps, and months of that contact leaves pitting you’ll never fully undo.
Fresh oil is cheap insurance against a winter of slow chemical attack. But draining it and walking away isn’t enough. New oil sitting in the pan protects nothing north of the oil pump. You want it coating the cam, the lifters, the cylinder walls, every surface that corrodes bare.
Change the oil and filter, torque the drain plug to spec, then fire the engine and bring it to full operating temperature. Five to ten minutes of real running gets clean oil onto every moving part. Shut it down warm and let it coat on the way to rest.
28. Test the Coolant’s Freeze Protection and Overall Condition
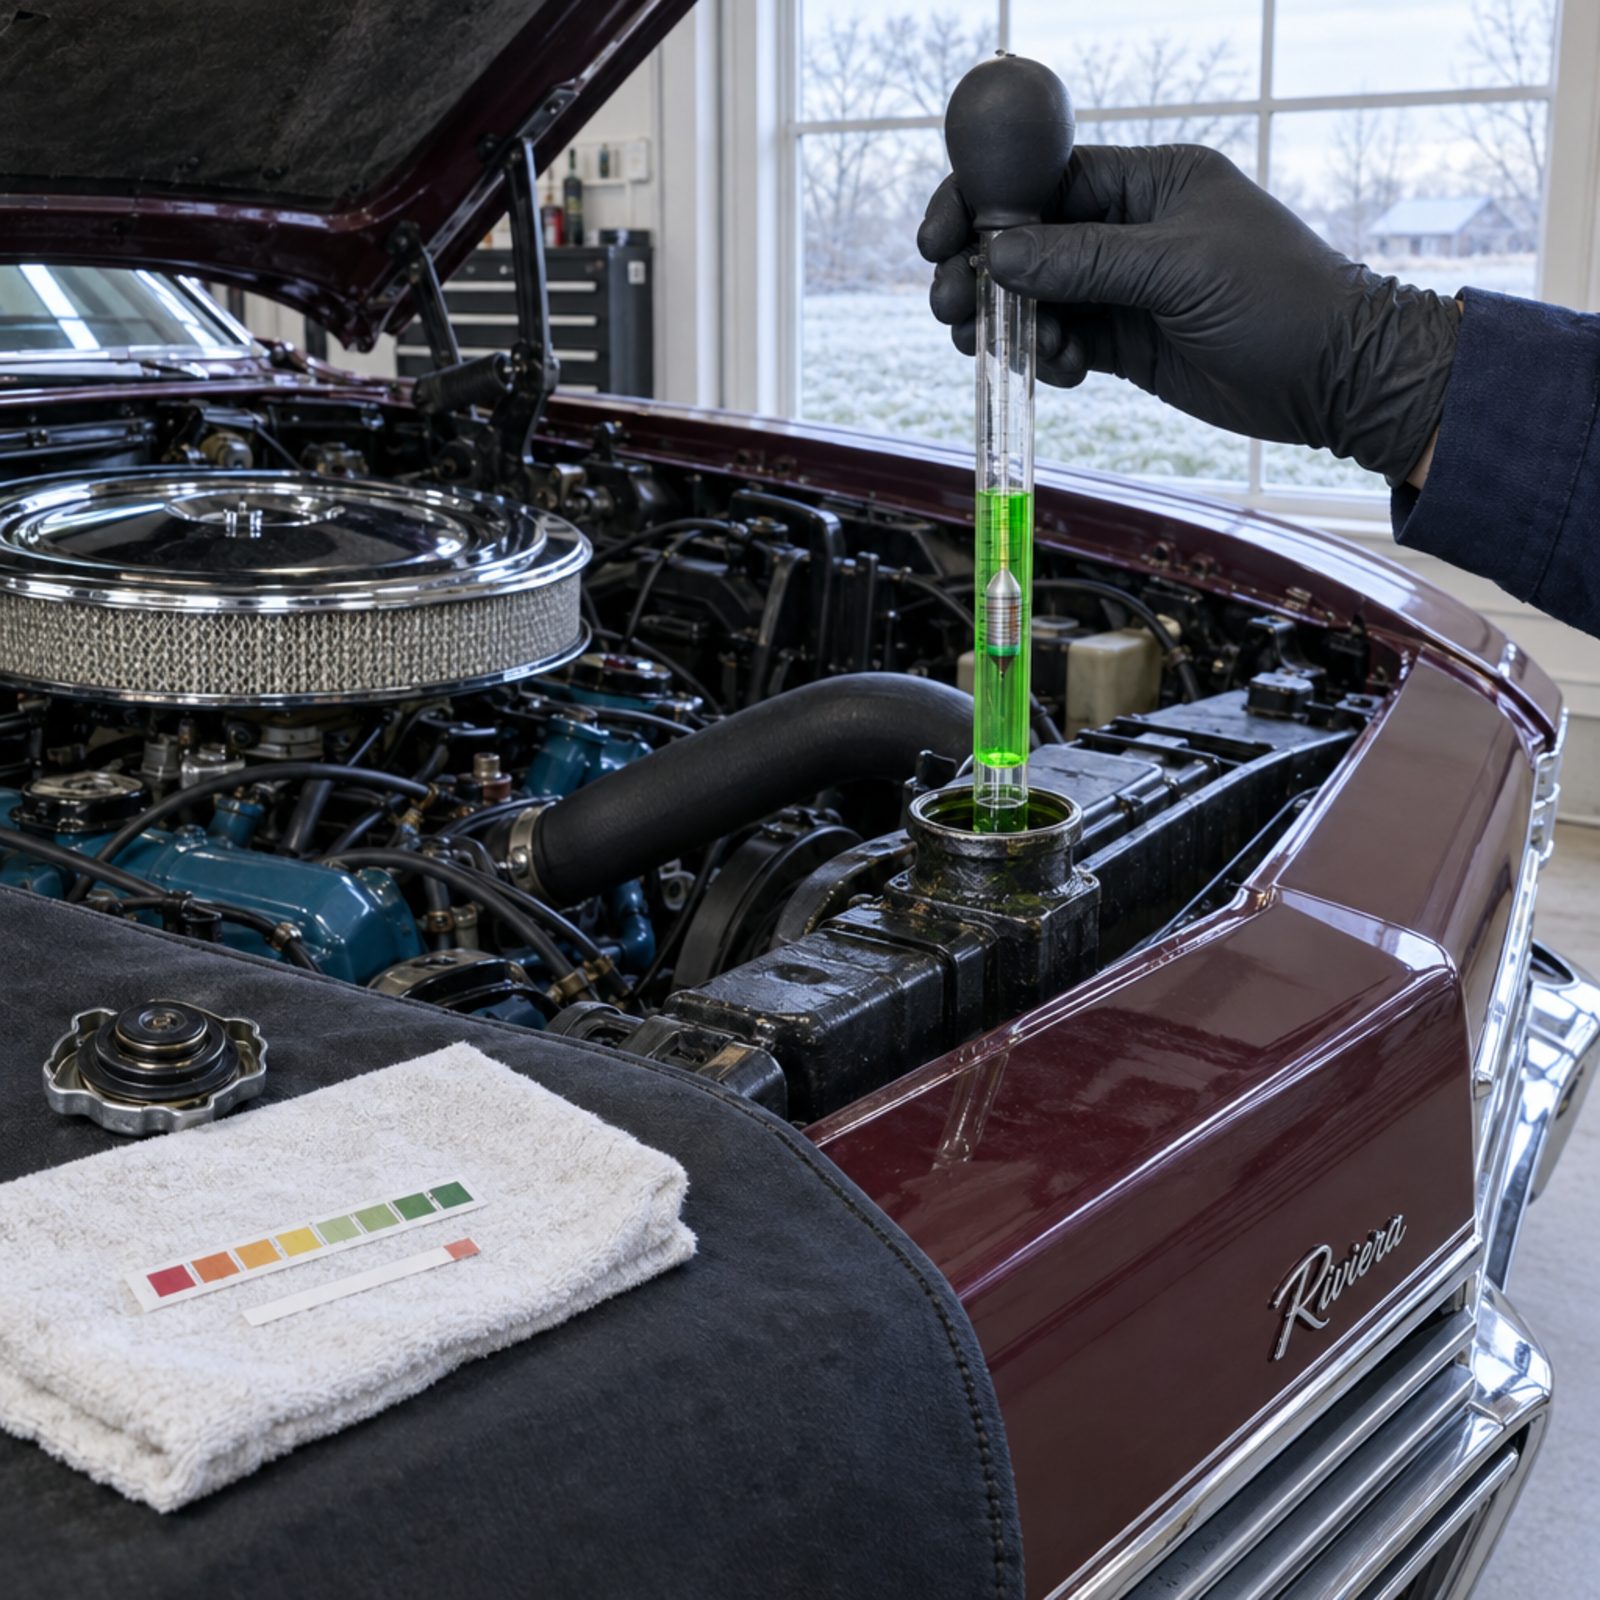
Coolant that tested fine three winters ago is a bet, not a fact. Antifreeze wears out. The glycol breaks down, the corrosion inhibitors deplete, and what’s left can turn mildly acidic and start chewing on your water pump, heater core, and aluminum parts from the inside.
Weak coolant in a hard freeze is how blocks crack and freeze plugs blow. A classic sitting in an unheated garage through a cold snap deserves better than a guess.
Pull a sample with a floating-ball tester or a refractometer and confirm protection down to the lowest temperature your region throws at it. Check the color and pH too. If it’s rusty, cloudy, or reads acidic, flush it and refill with the correct mix for your engine. I’ve watched a cheap test strip save a whole radiator.
27. Fill the Fuel Tank to the Top to Starve Off Condensation
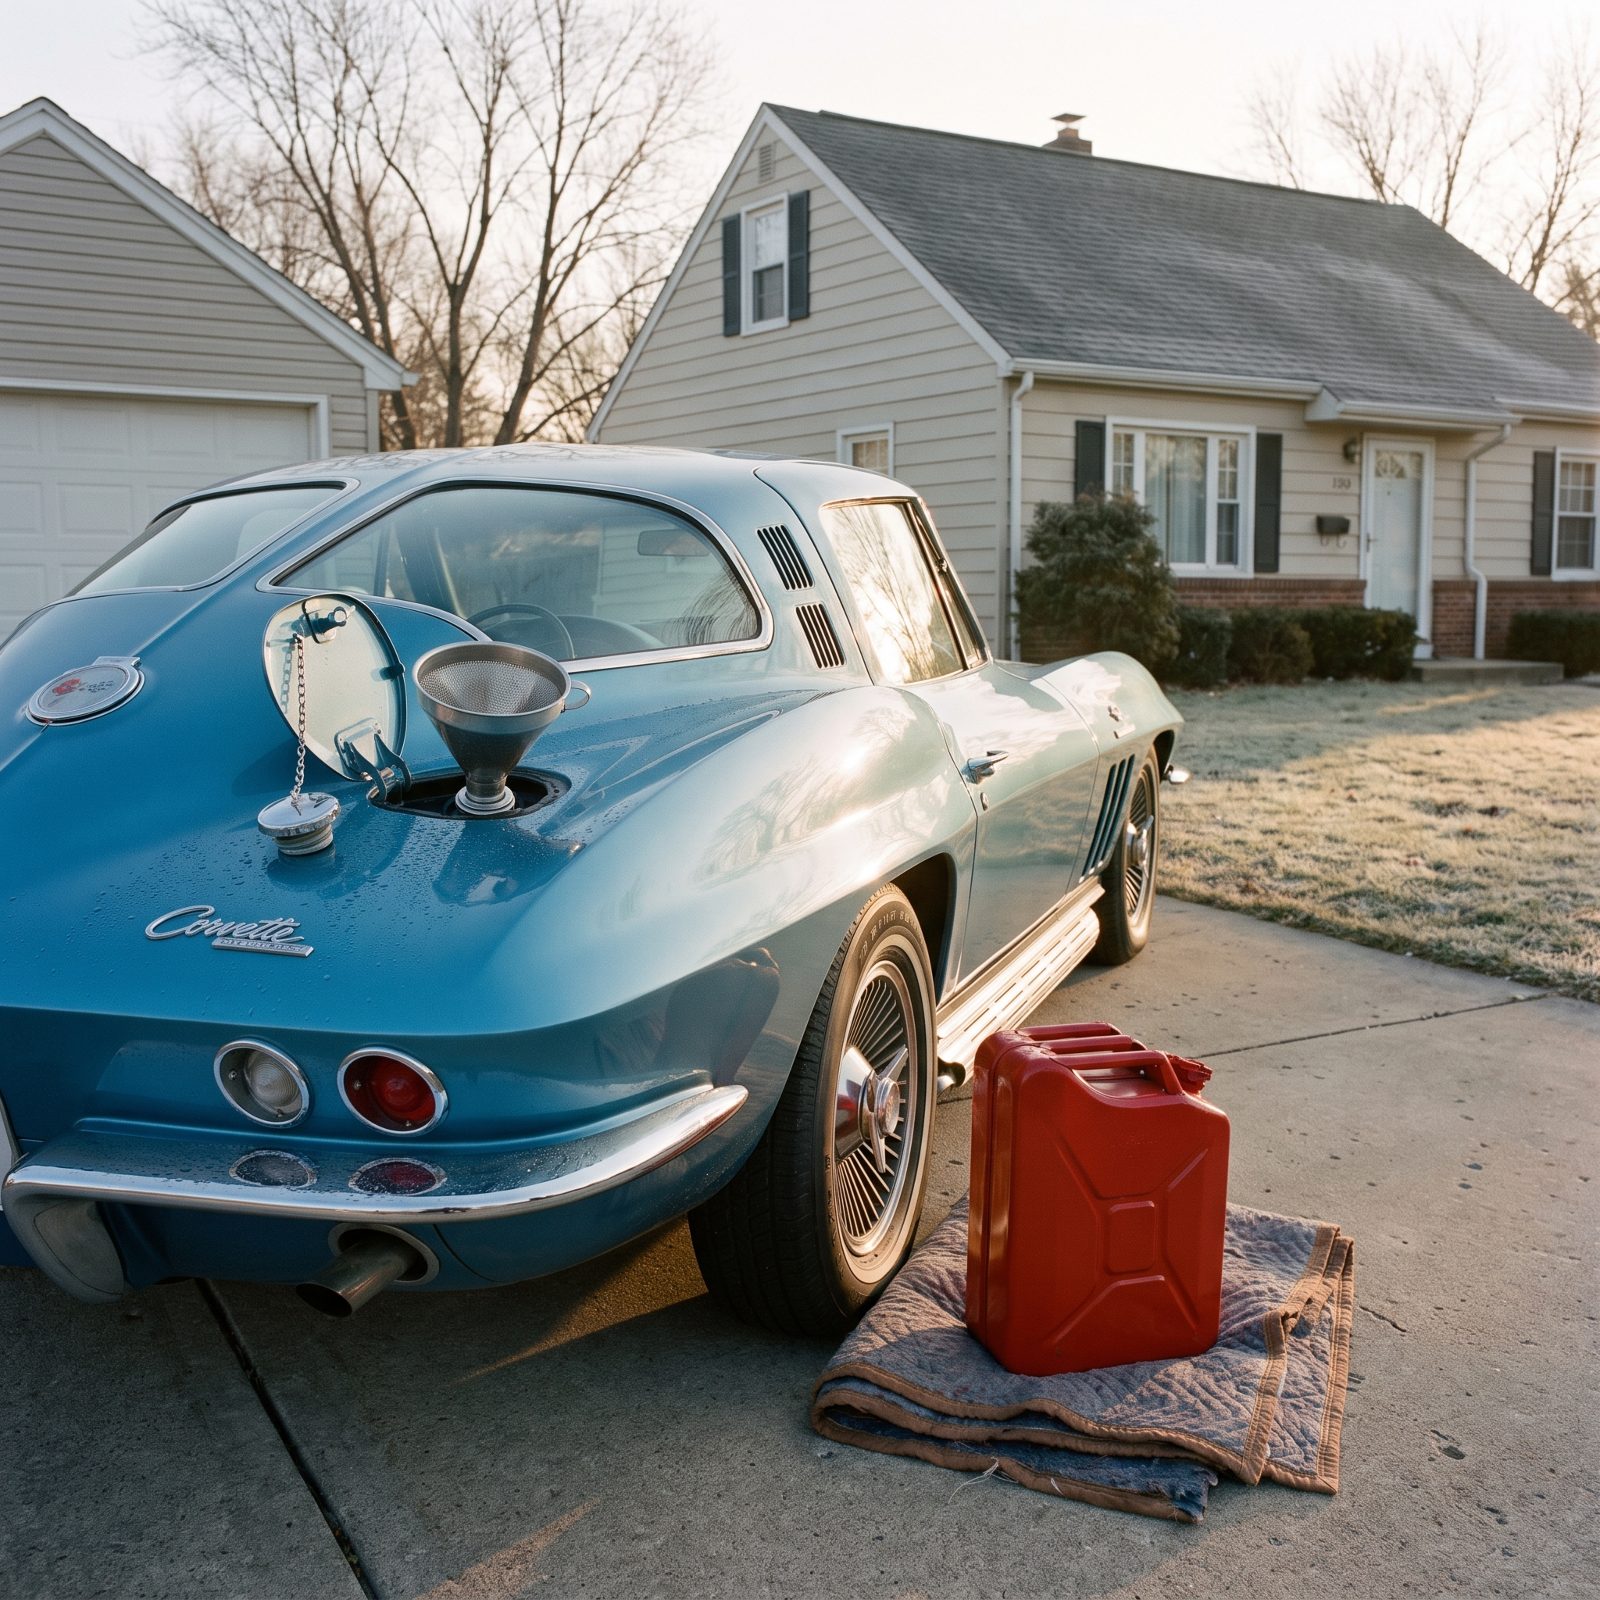
An empty tank is a terrarium for rust. Every temperature swing pulls humid air in through the vent, that moisture condenses on the bare metal above the fuel line, and over a winter those little beads of water pool at the bottom and start rusting the tank from the inside out.
The fix is almost too simple. A full tank leaves barely any air space for moisture to collect, so there’s nothing to condense. Fill it right to the top before storage, ideally with fresh, non-ethanol fuel if your car was built to run it.
Top it off at the end of the season, along with the stabilizer, before that last drive home.
26. Measure the Correct Dose of Fuel Stabilizer, Not a Lucky Glug
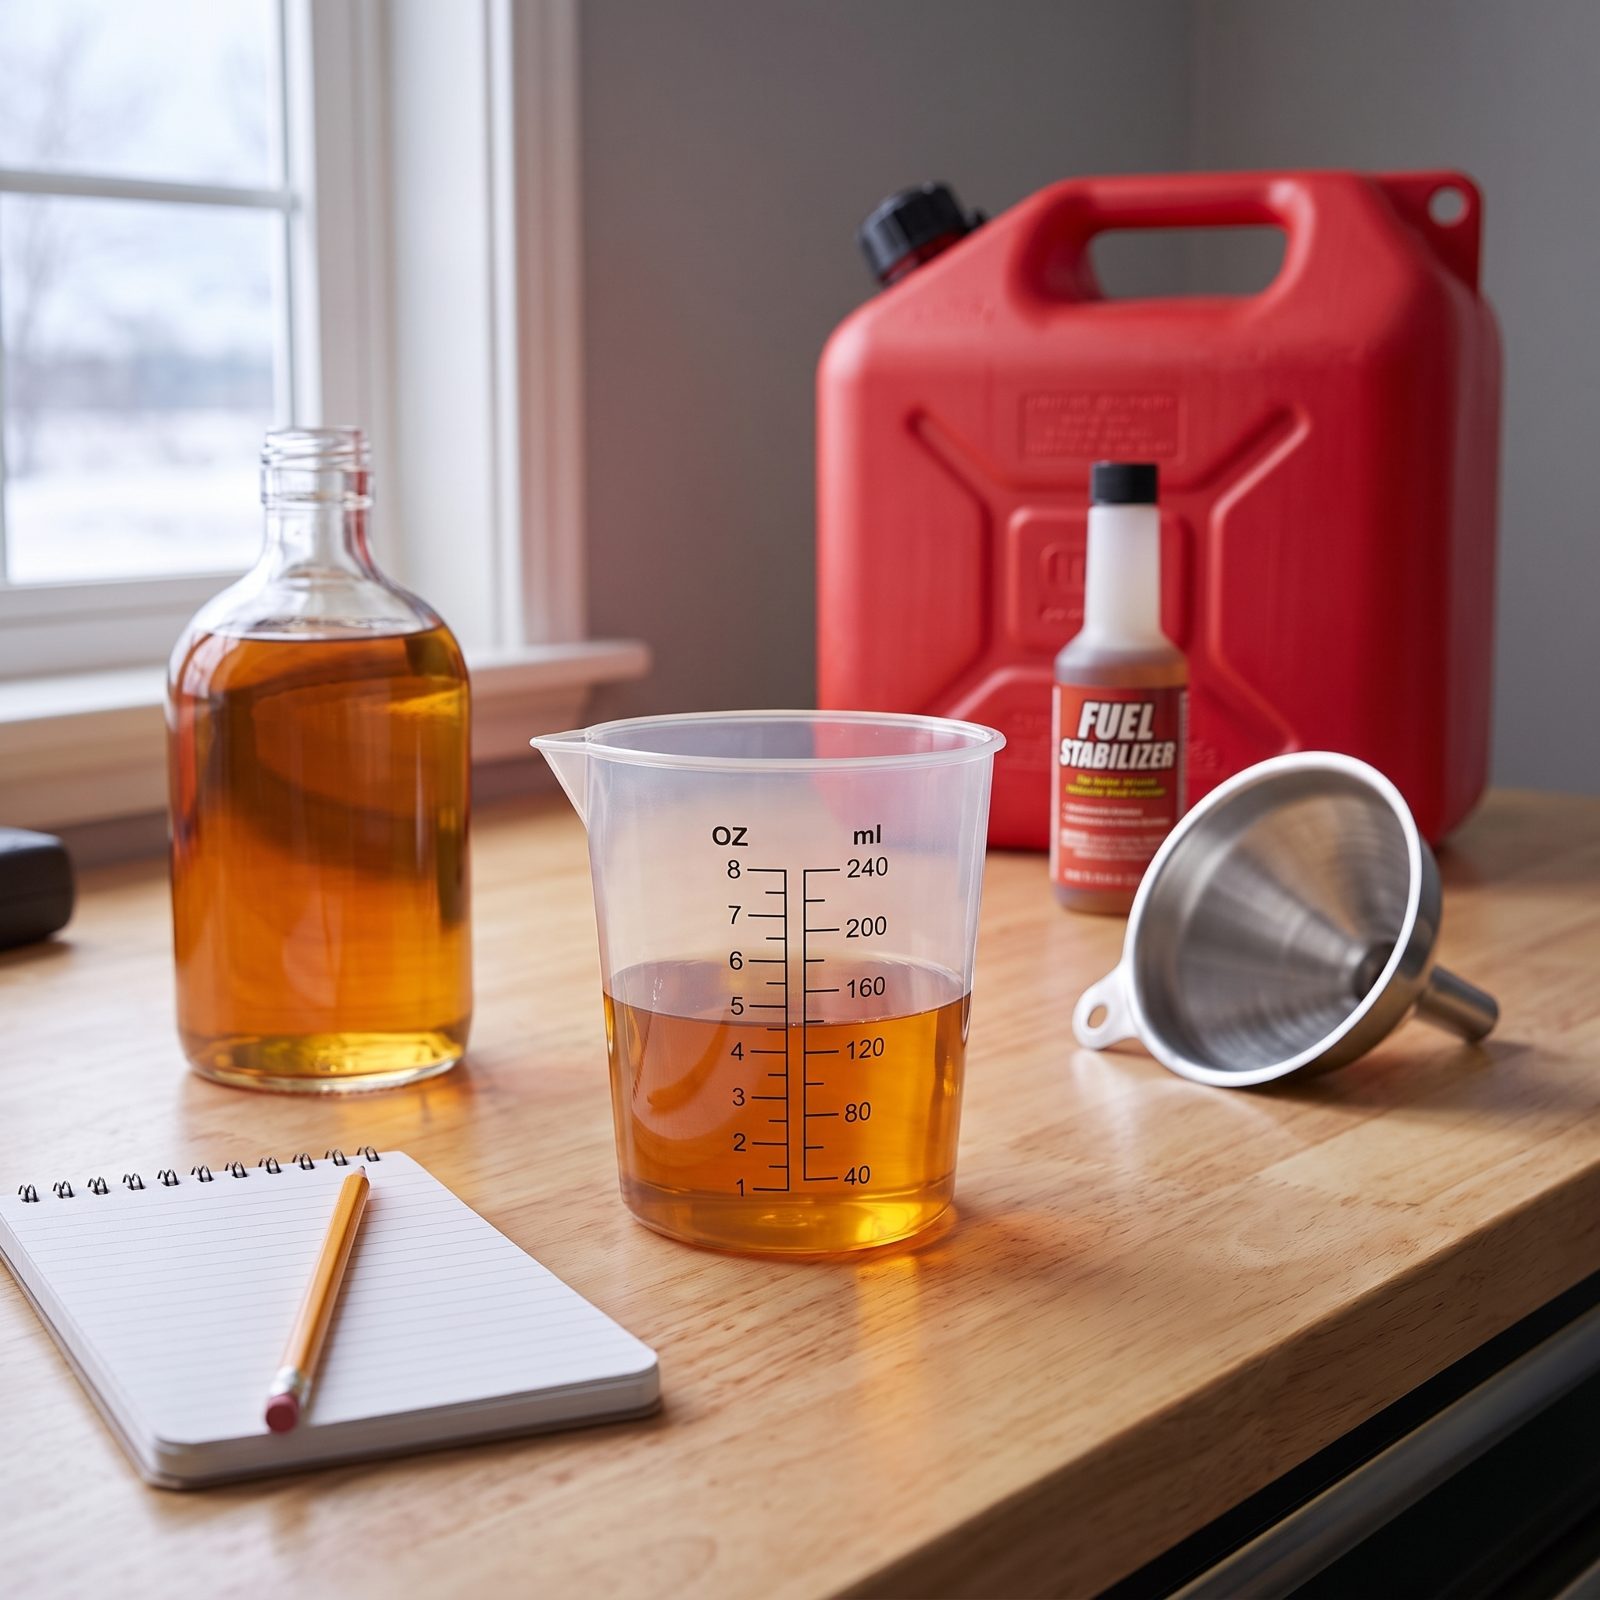
Eyeballing stabilizer is a rookie move, and I did it for years. Too little and the fuel still varnishes. Too much and you can foul plugs or gum the system worse than doing nothing at all. The dose matters because the chemistry is matched to a specific volume.
Most stabilizers run roughly an ounce per couple of gallons, but read your bottle. A twenty-gallon tank is not the lawnmower you dosed by feel last fall. Use the cap’s graduated lines or a cheap measuring cup, figure your tank’s real capacity, and pour the right amount.
25. Drive Long Enough to Pull Stabilized Fuel Through the Whole System
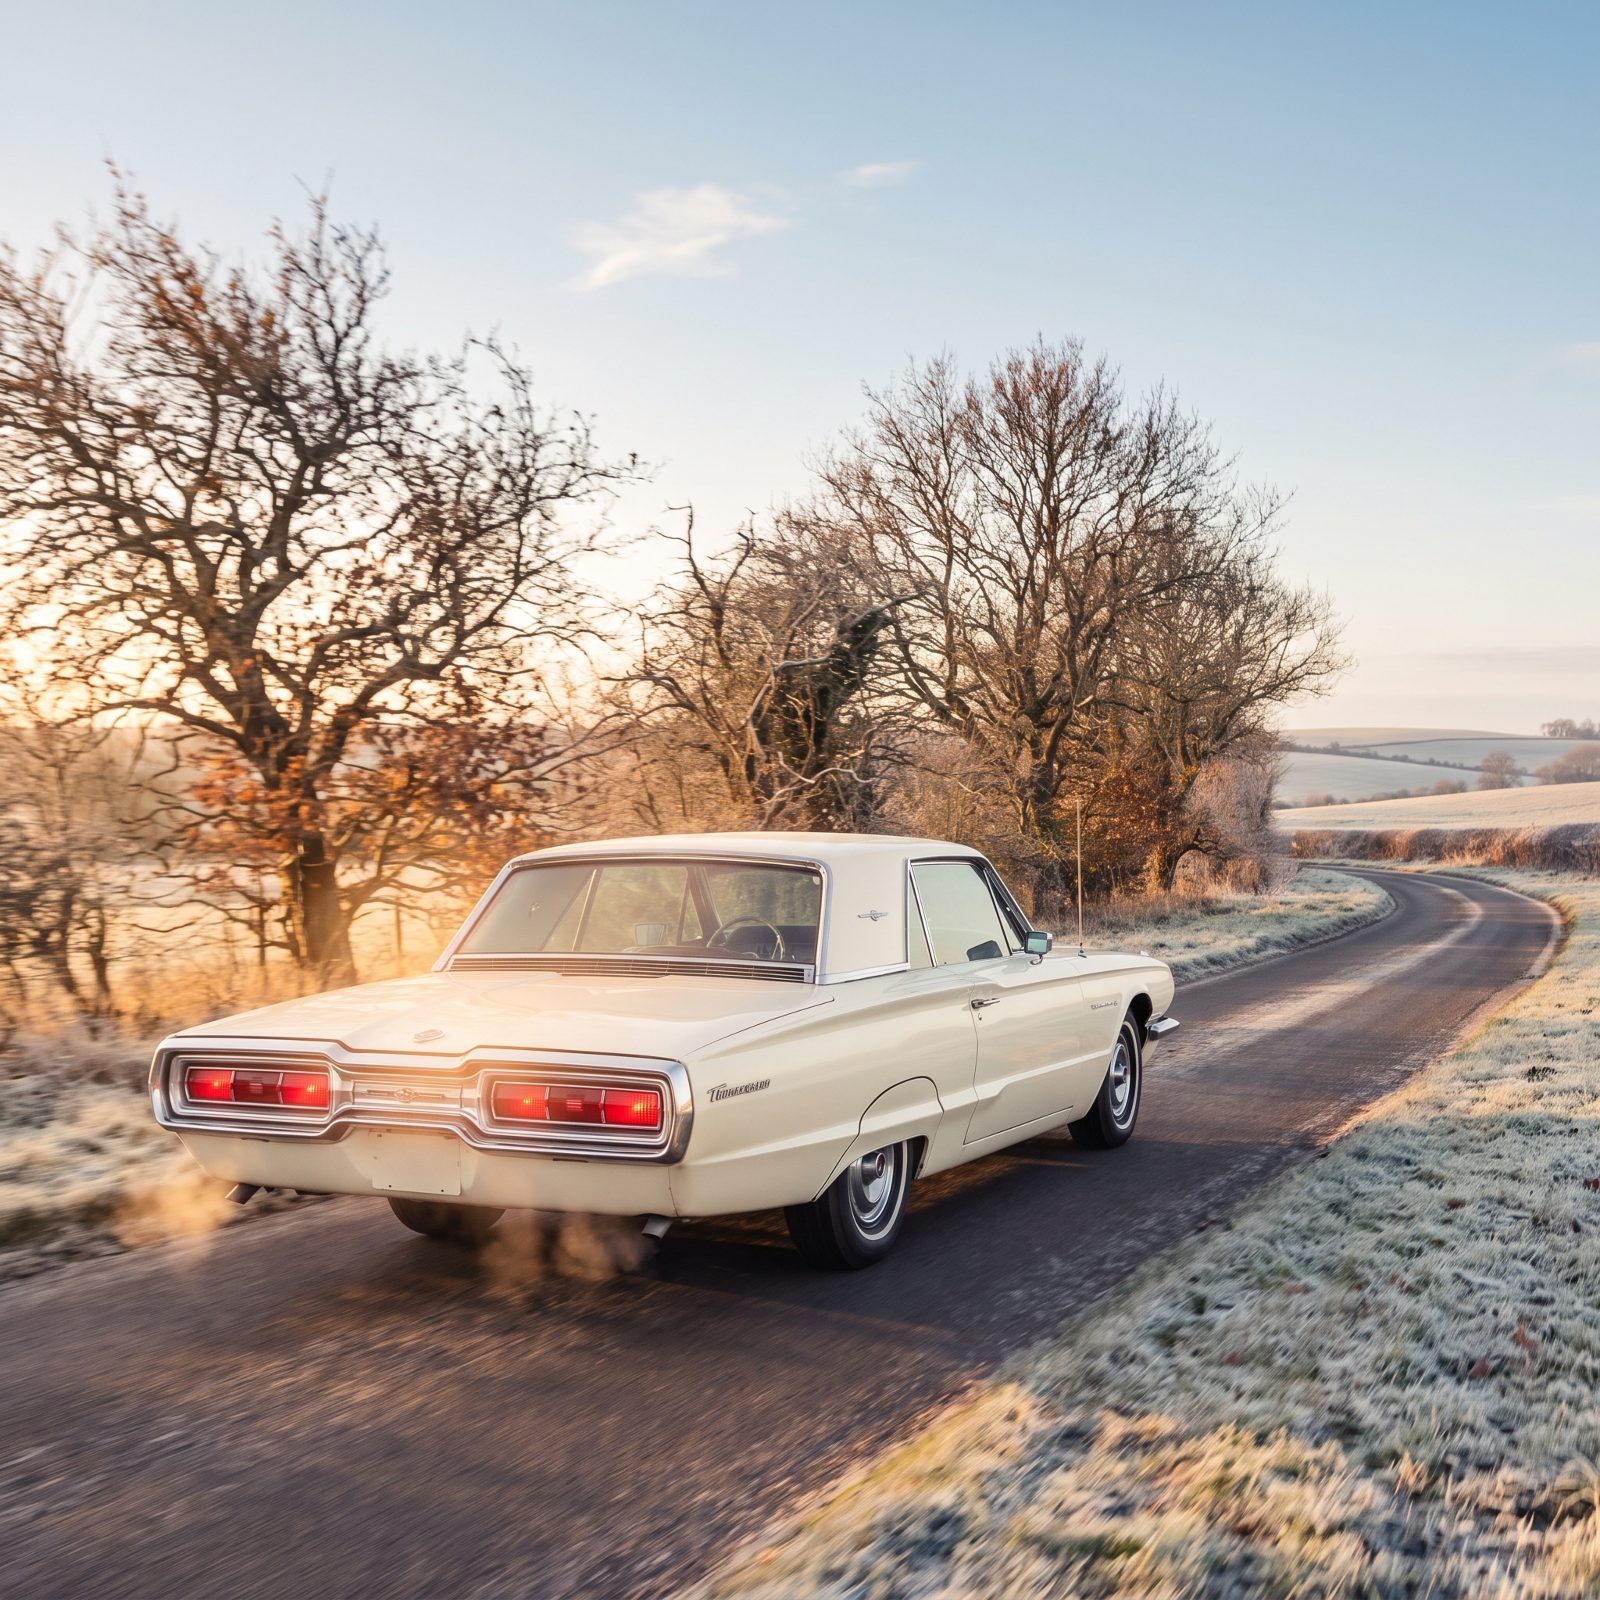
Pour stabilizer in, park the car immediately, and you’ve protected the tank and nothing else. The fuel pump, the lines, the filter, the carburetor or injectors, all of it still holds untreated gas that’ll varnish over the winter.
Stabilized fuel only protects the parts it actually reaches. So you have to move it.
After you add the stabilizer and top off, take the car for a real drive. Fifteen to twenty minutes at operating temperature pulls treated fuel all the way through the system and brings the engine to full warmth, which burns off crankcase moisture as a bonus. Make it the last proper run of the season, the one where you take the long way home.
24. Prepare the Carburetor and Float Bowl for a Long Rest
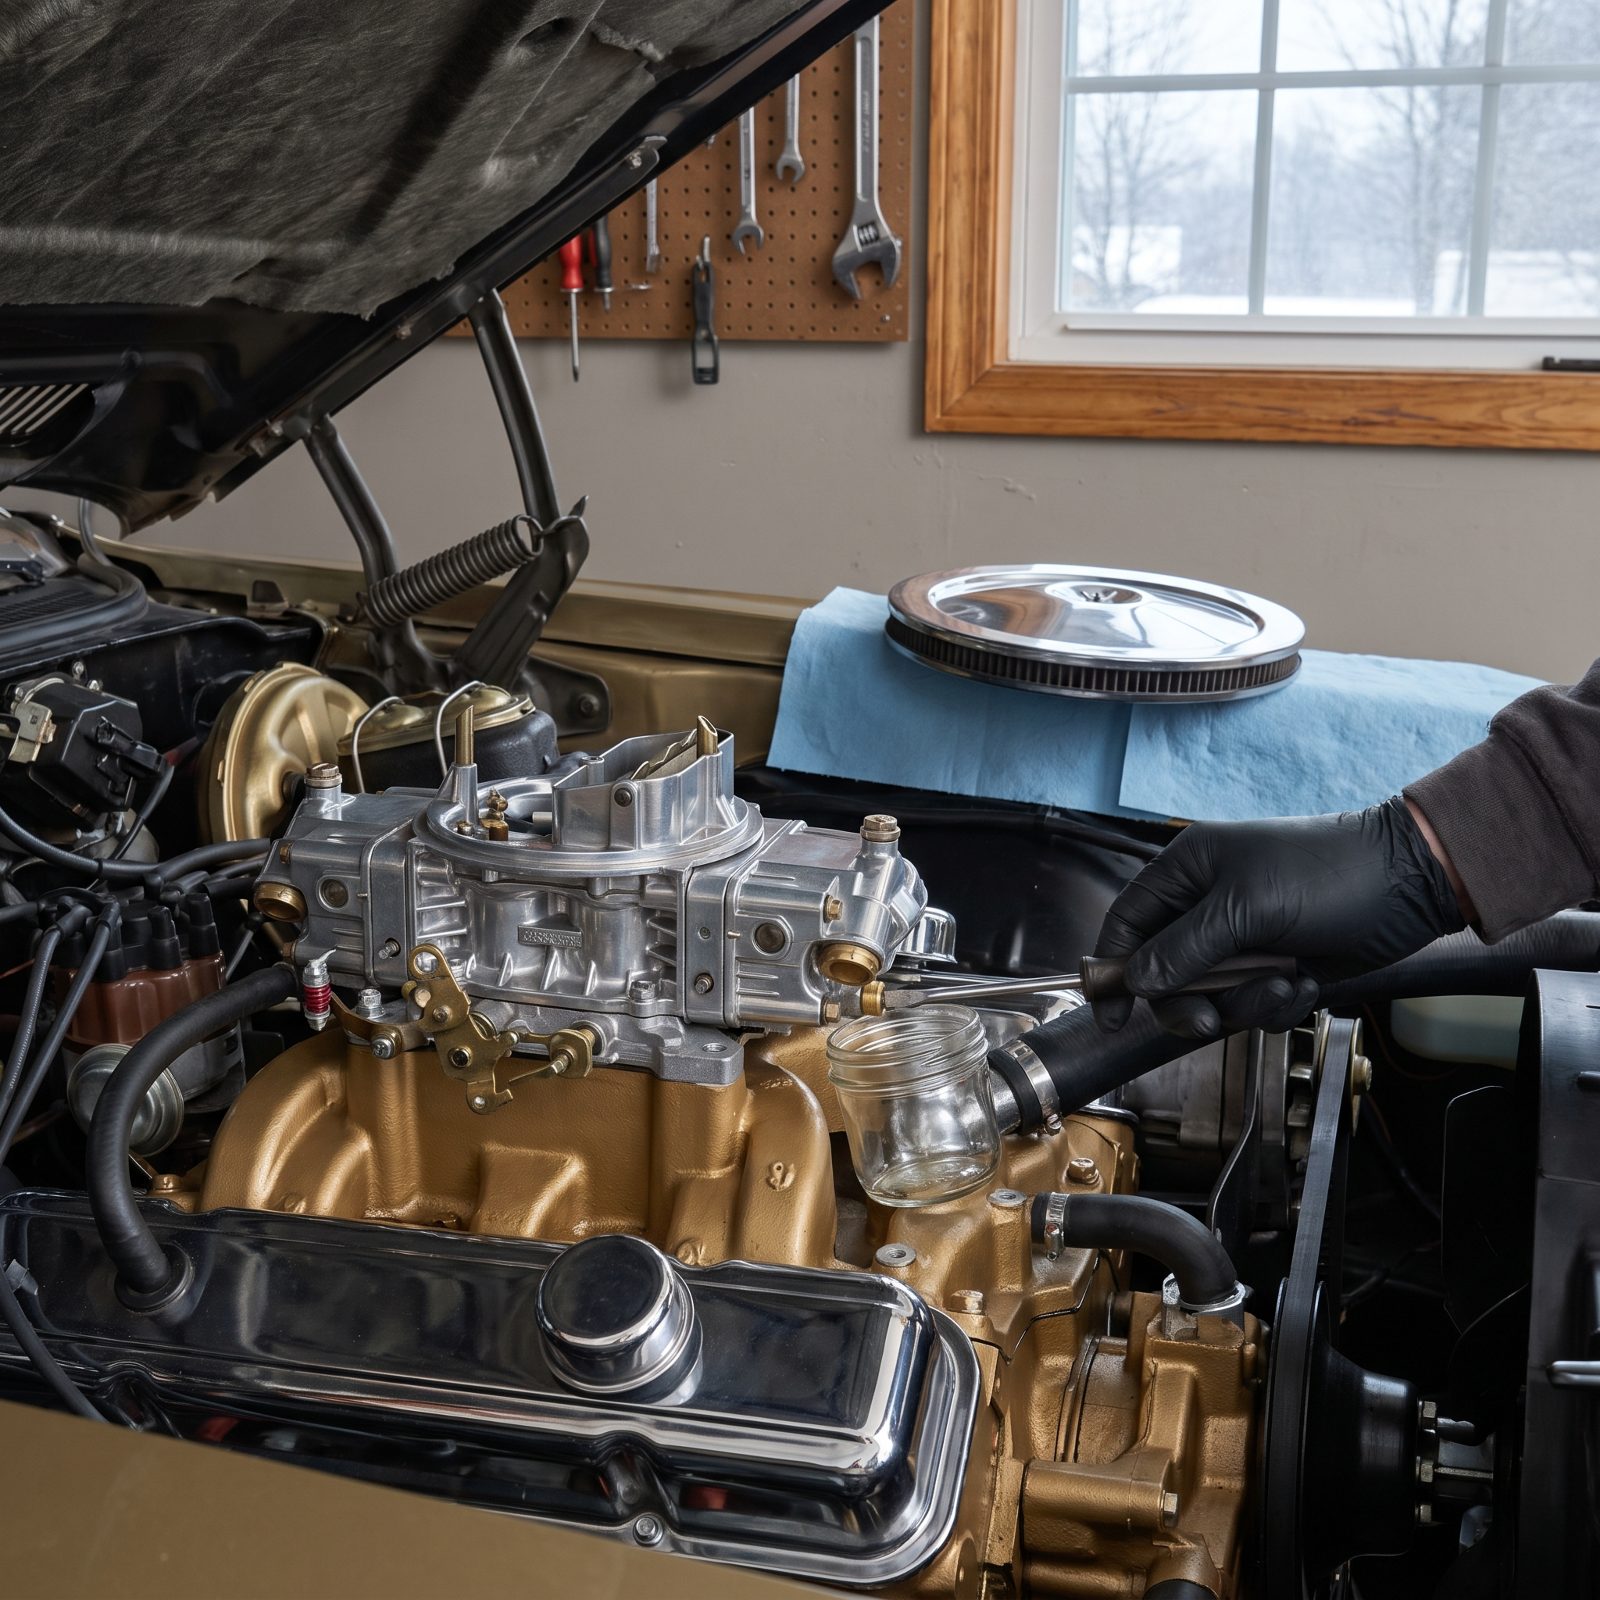
The float bowl is where storage trouble loves to hide. Leave gas sitting in a carburetor for months and it evaporates down to a sticky brown varnish that glues the needle valve shut and clogs the tiny idle passages. Come spring you get a no-start and a rebuild you didn’t budget for.
A carbureted engine holds just a few ounces of fuel right in the most vulnerable spot. That handful of gas is the most likely of all to turn to gum.
There are two schools here. Some folks run the carb dry, shutting off the fuel and letting the engine stall to empty the bowl entirely. Others prefer the bowl full of stabilized fuel to keep the gaskets and needle seat from drying out and shrinking. On an original car with old cork or paper gaskets, I lean toward leaving it full of treated fuel. Either way, drain and inspect the bowl in spring before that first fire-up.
23. Fog the Cylinders When the Car and the Climate Call for It
Would you like to save this?
Bare cylinder walls rust fast in damp air. Cast iron with the oil film cooked off will develop a light surface rust in weeks, and that rough spot is exactly where your rings ride. Scoring a cylinder over one winter is a real way to ruin a good engine.
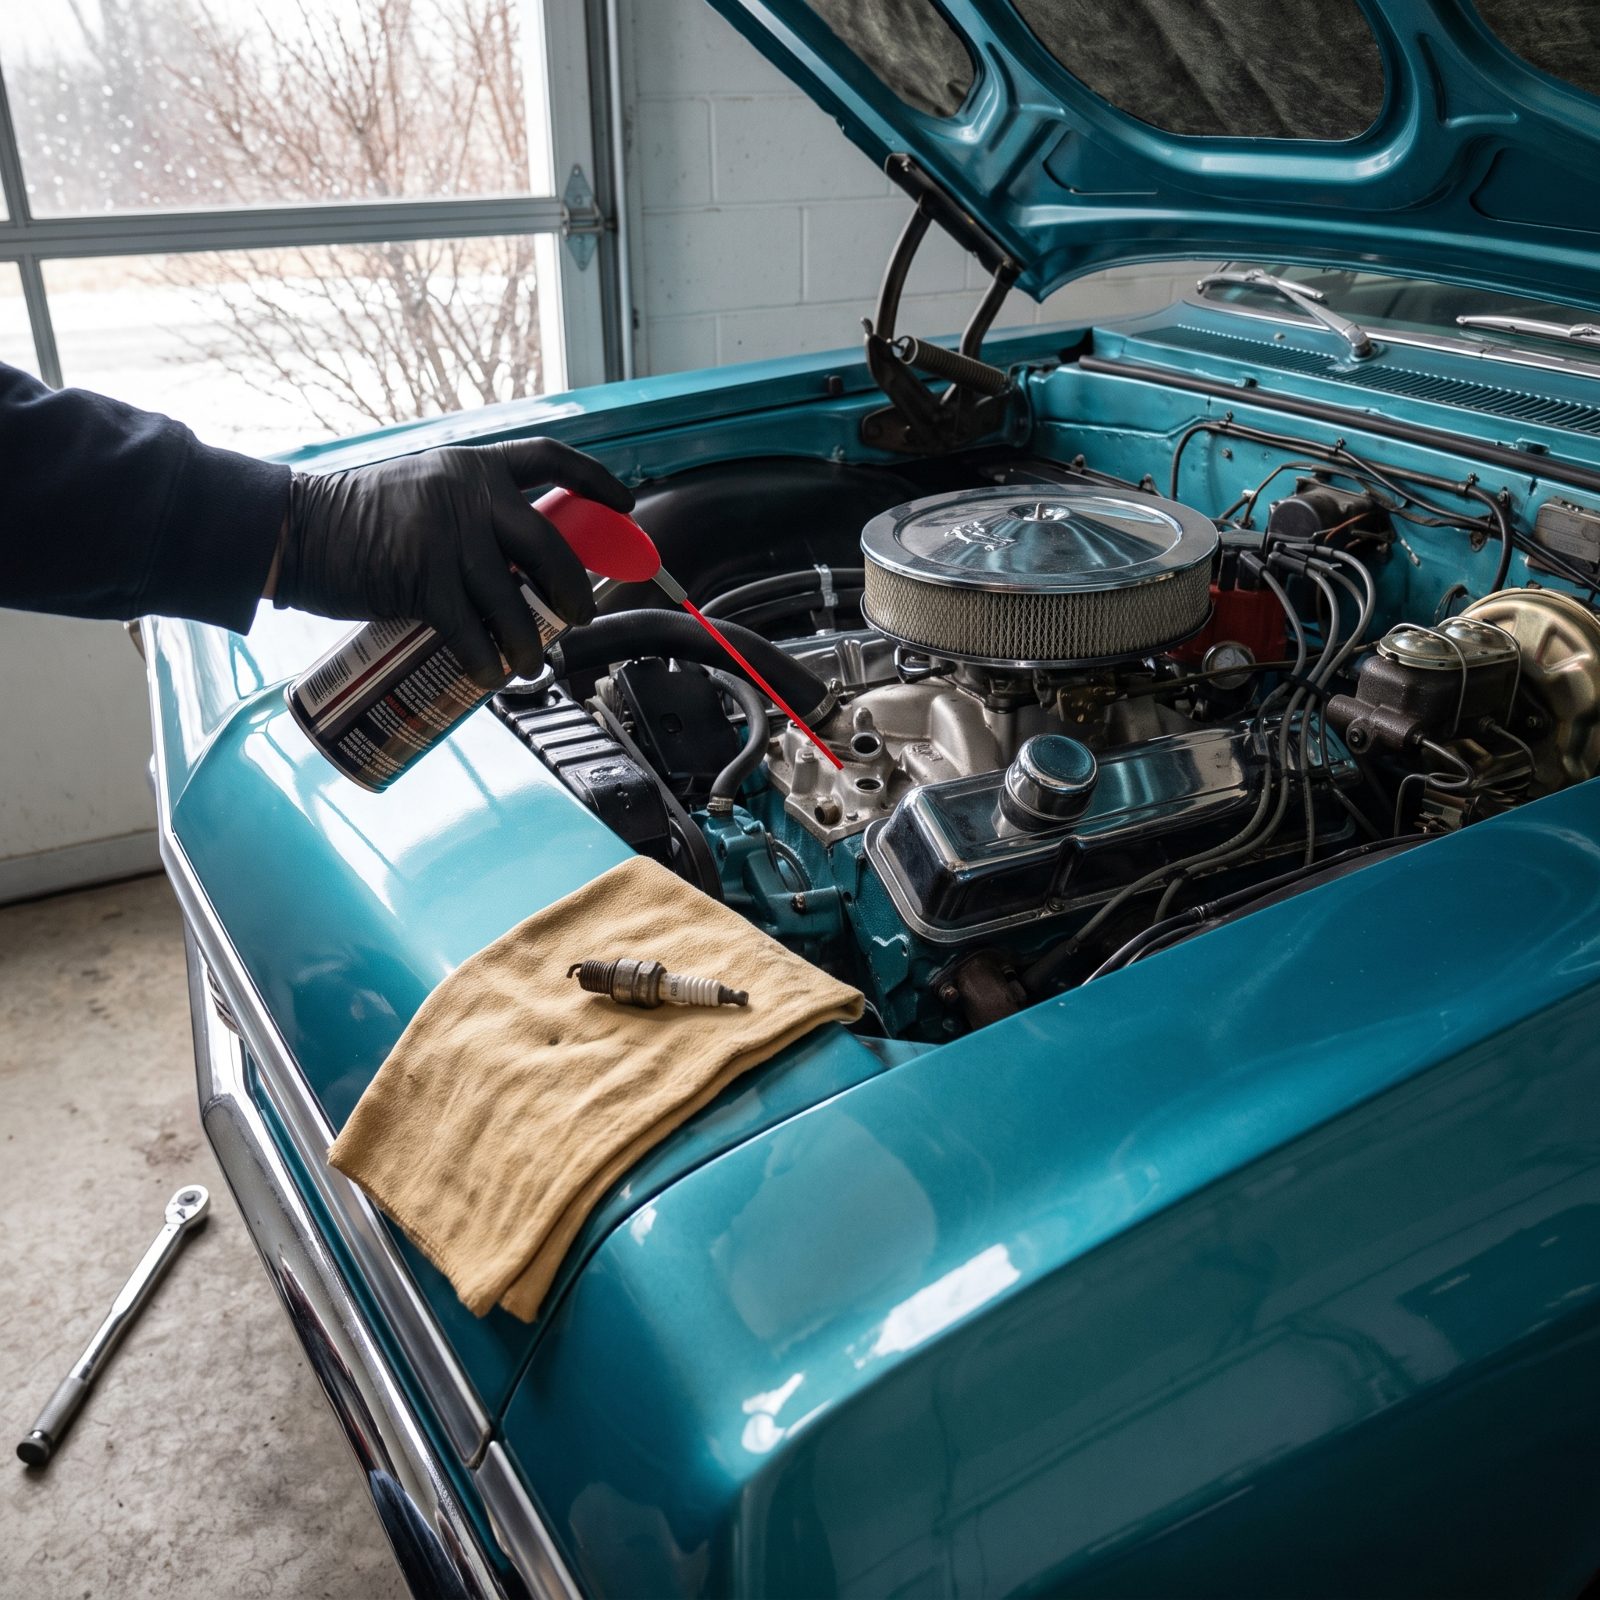
Fogging oil coats those walls and the valve faces with a clinging film condensation can’t get past. It isn’t needed for every car in every garage, so judge by your situation.
- Store it in a humid, unheated, or coastal garage? Fog it.
- Leaving it parked longer than six months? Fog it.
- Dry climate, heated space, back on the road by March? You can likely skip it.
To do it right, warm the engine, pull the plugs, spray a few seconds into each cylinder, then crank it over a couple of revolutions to spread the film before reinstalling the plugs finger-tight plus a quarter turn.
22. Cover the Intake and Exhaust Openings and Tag Every Reminder
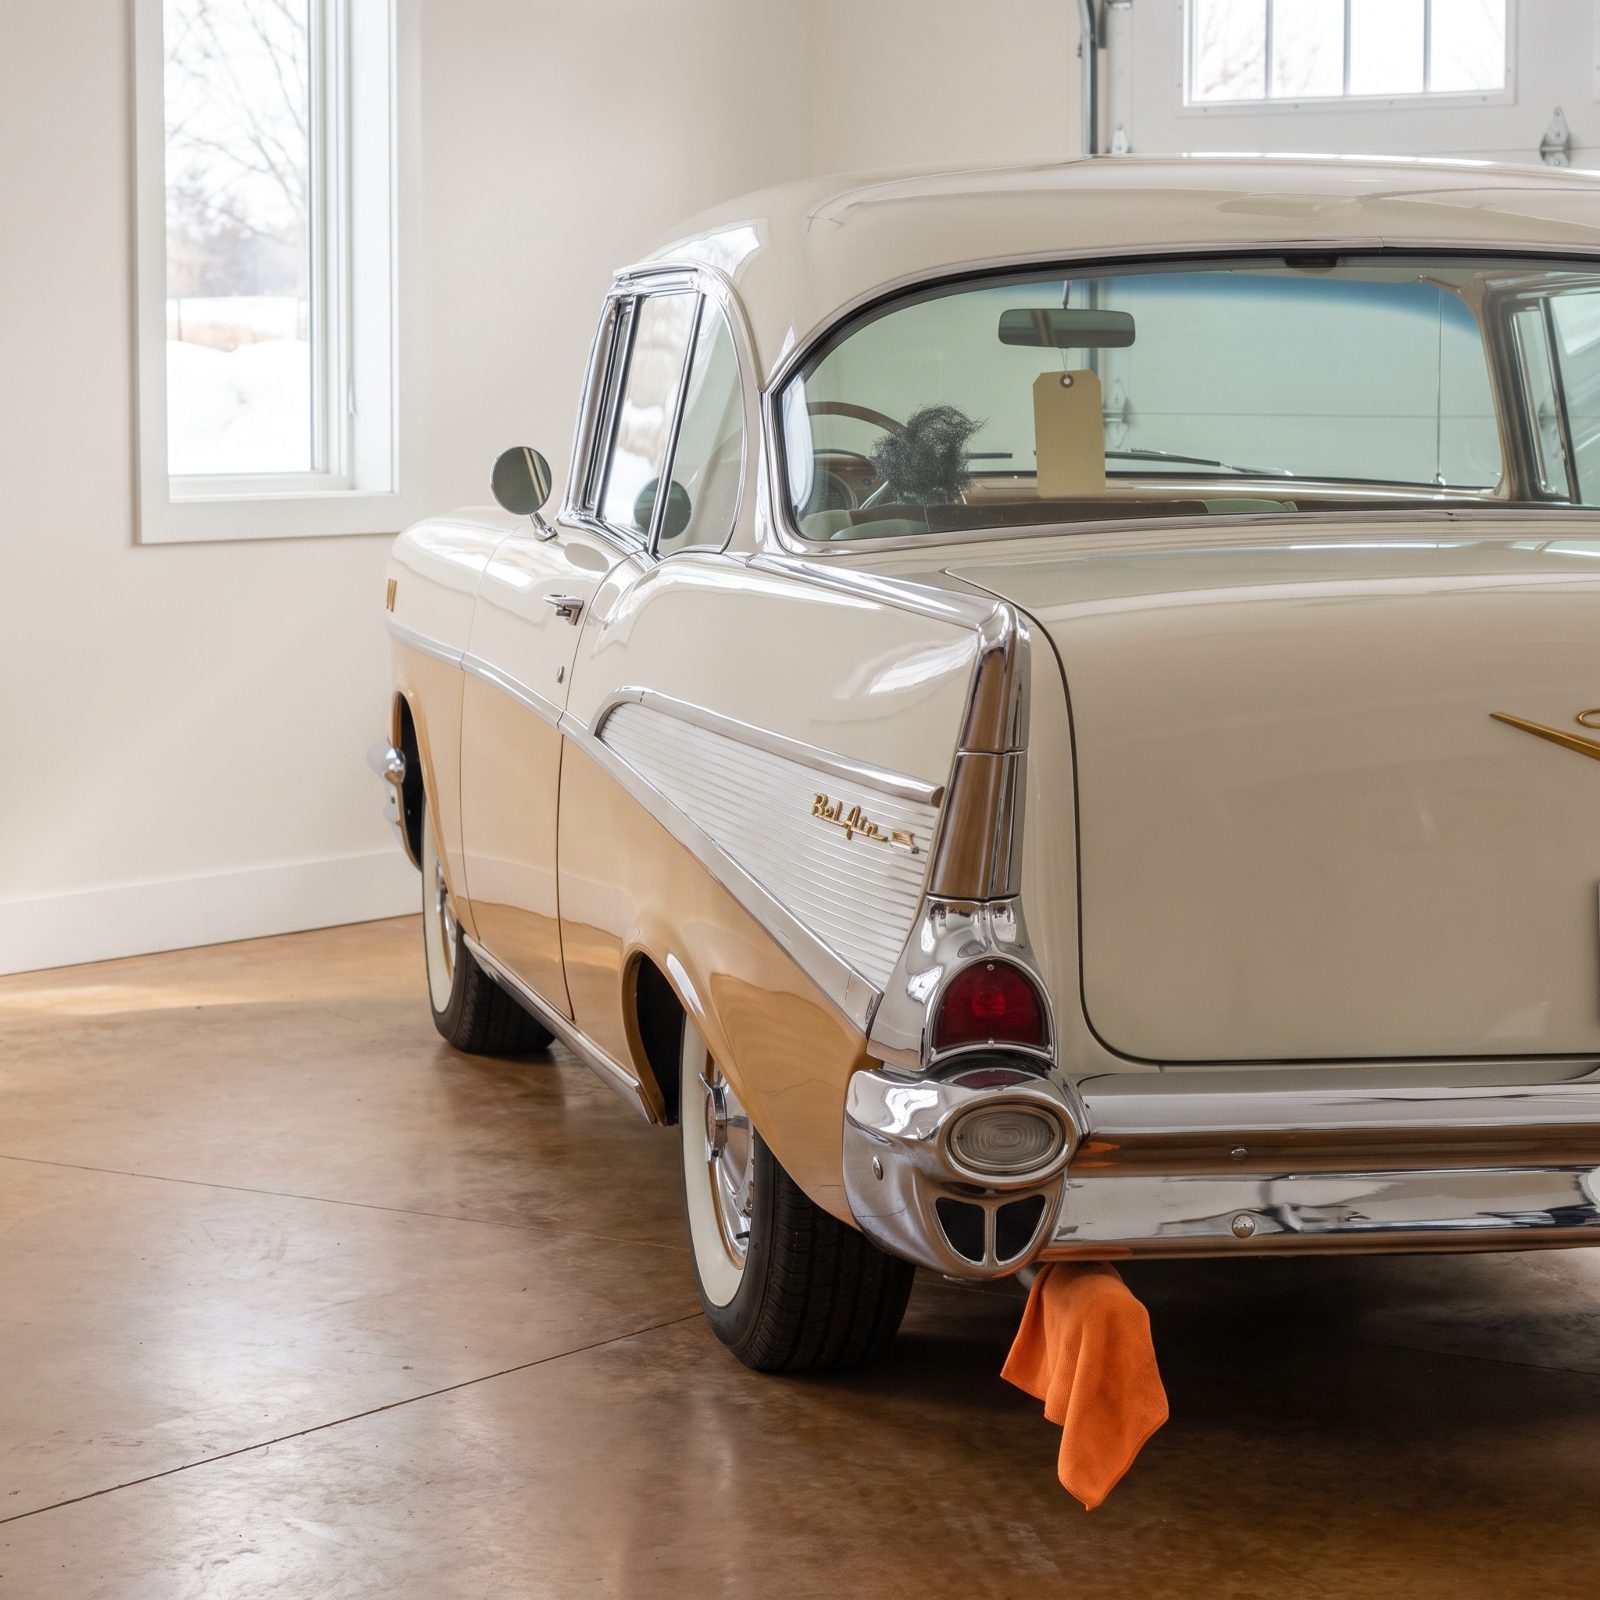
Open pipes are an invitation. A tailpipe or an exposed carburetor throat is a warm, sheltered highway straight into the places a mouse most wants to nest. Chewed wiring, a nest packed in the intake, acorns in the exhaust: all of it starts with an opening you left wide.
Plug the tailpipe and cover the air cleaner inlet with coarse steel wool or a proper breathable plug. Rodents won’t gnaw through steel wool the way they shred foam or rags.
Now here’s the part people forget. Everything you plugged, you have to remember to un-plug. Starting an engine with a rag stuffed in the carb or a plug in the pipe is how you learn a hard lesson about backpressure. Hang a bright tag on the steering wheel listing every opening you blocked, and leave it there until the engine is running clean in spring.
21. Remove Every Scrap of Food, Soda Can, and Damp Towel Before the Door Shuts

That half-empty coffee in the console doesn’t evaporate over winter. It ferments. So does the french fry that slid under the seat back in October, the damp towel in the trunk, and the sticky Coke ring you swore you’d wipe up. Five months sealed in a cold cabin and that stuff becomes a science experiment.
Moisture feeds mold, and crumbs and wrappers are an engraved invitation to mice. The smell soaks into carpet and headliner and never fully leaves, so you open the door in April to a car that reeks of something you can’t quite name.
Pull everything. Glovebox, console, door pockets, trunk, under the seats, hands along the carpet seams, floor mats out entirely. A car going into storage should be as empty as the day it rolled off the showroom floor.
20. Vacuum the Carpets and Dry the Floor Mats Until They’re Bone Dry
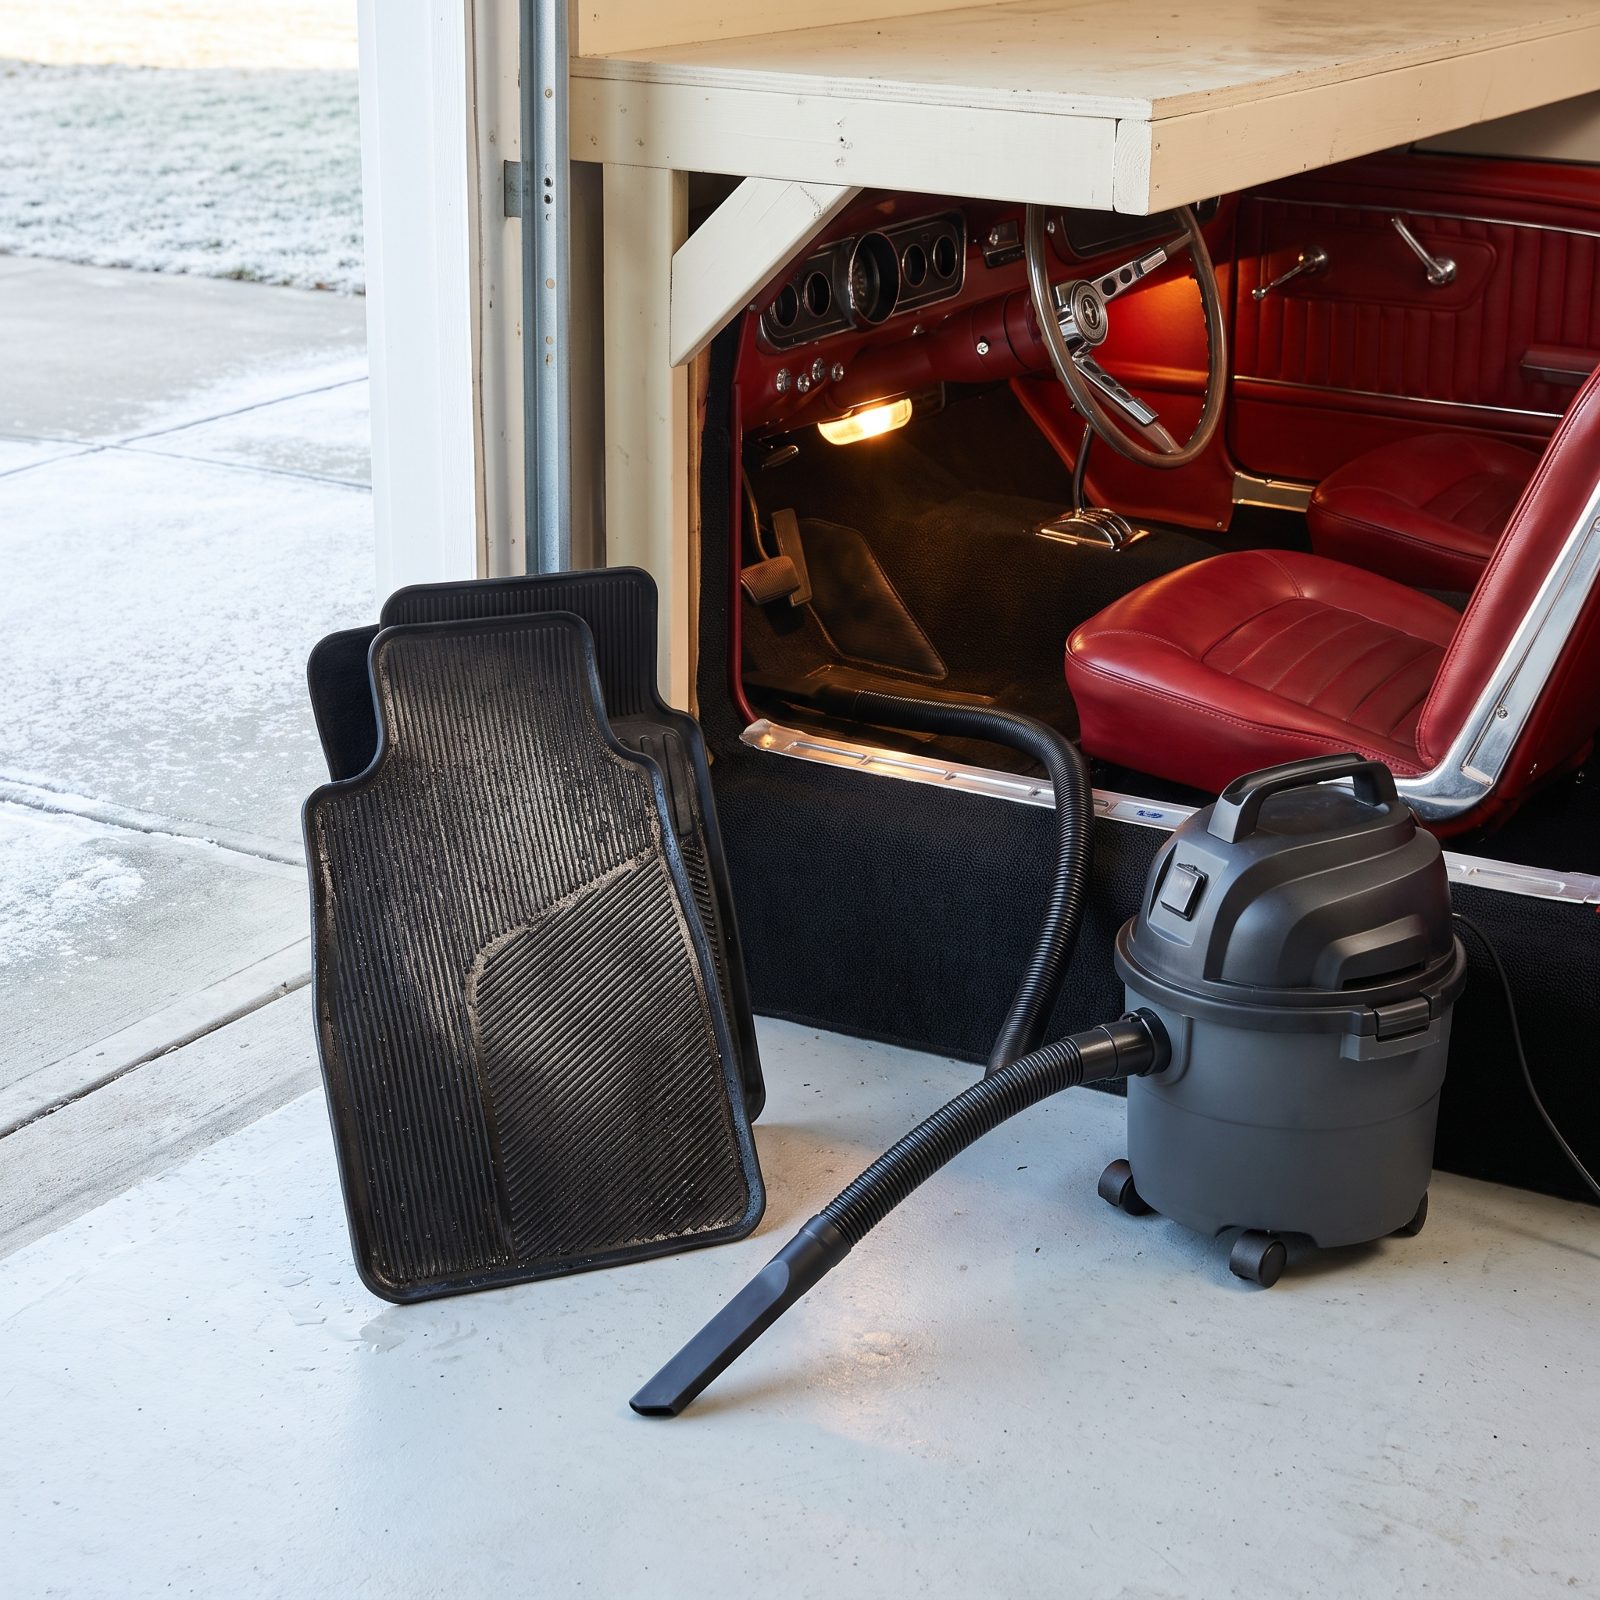
Snow melts off your shoes, road salt tracks in, and all of it ends up soaked into the carpet pad, the layer you can’t see and can’t easily reach. Seal that into a cold garage and the moisture has nowhere to go but up into the floorpan.
That’s how you get rust blooming from the inside out, the kind that eats a floor before you ever spot a bubble in the paint. Wet carpet pressed against bare metal for a season does real structural damage.
So vacuum the whole interior, pull the mats, and stand them up to dry somewhere warm. If the carpet itself still feels damp, run a fan across it for a day before the car goes to sleep. You want a cabin dry enough to seal in a jar.
19. Shut the Fresh-Air Vents So Outside Air Can’t Creep In

Here’s one almost nobody thinks about. Your climate controls, left in the fresh-air position, keep a direct pipeline open from the cowl vents straight into the cabin, and all winter long damp outside air drifts in through that path and settles on everything.
Close it off. Set the controls to recirculate so the outside-air flap seats shut. On older cars without recirculate, close the vent to its coldest or fully-closed position so the fresh-air door is at least mostly sealed.
Thirty seconds of work, and it keeps the interior one notch drier than it’d otherwise be. Dry is the whole game in storage.
18. Drop Rechargeable Desiccant Tubs in the Cabin and Trunk
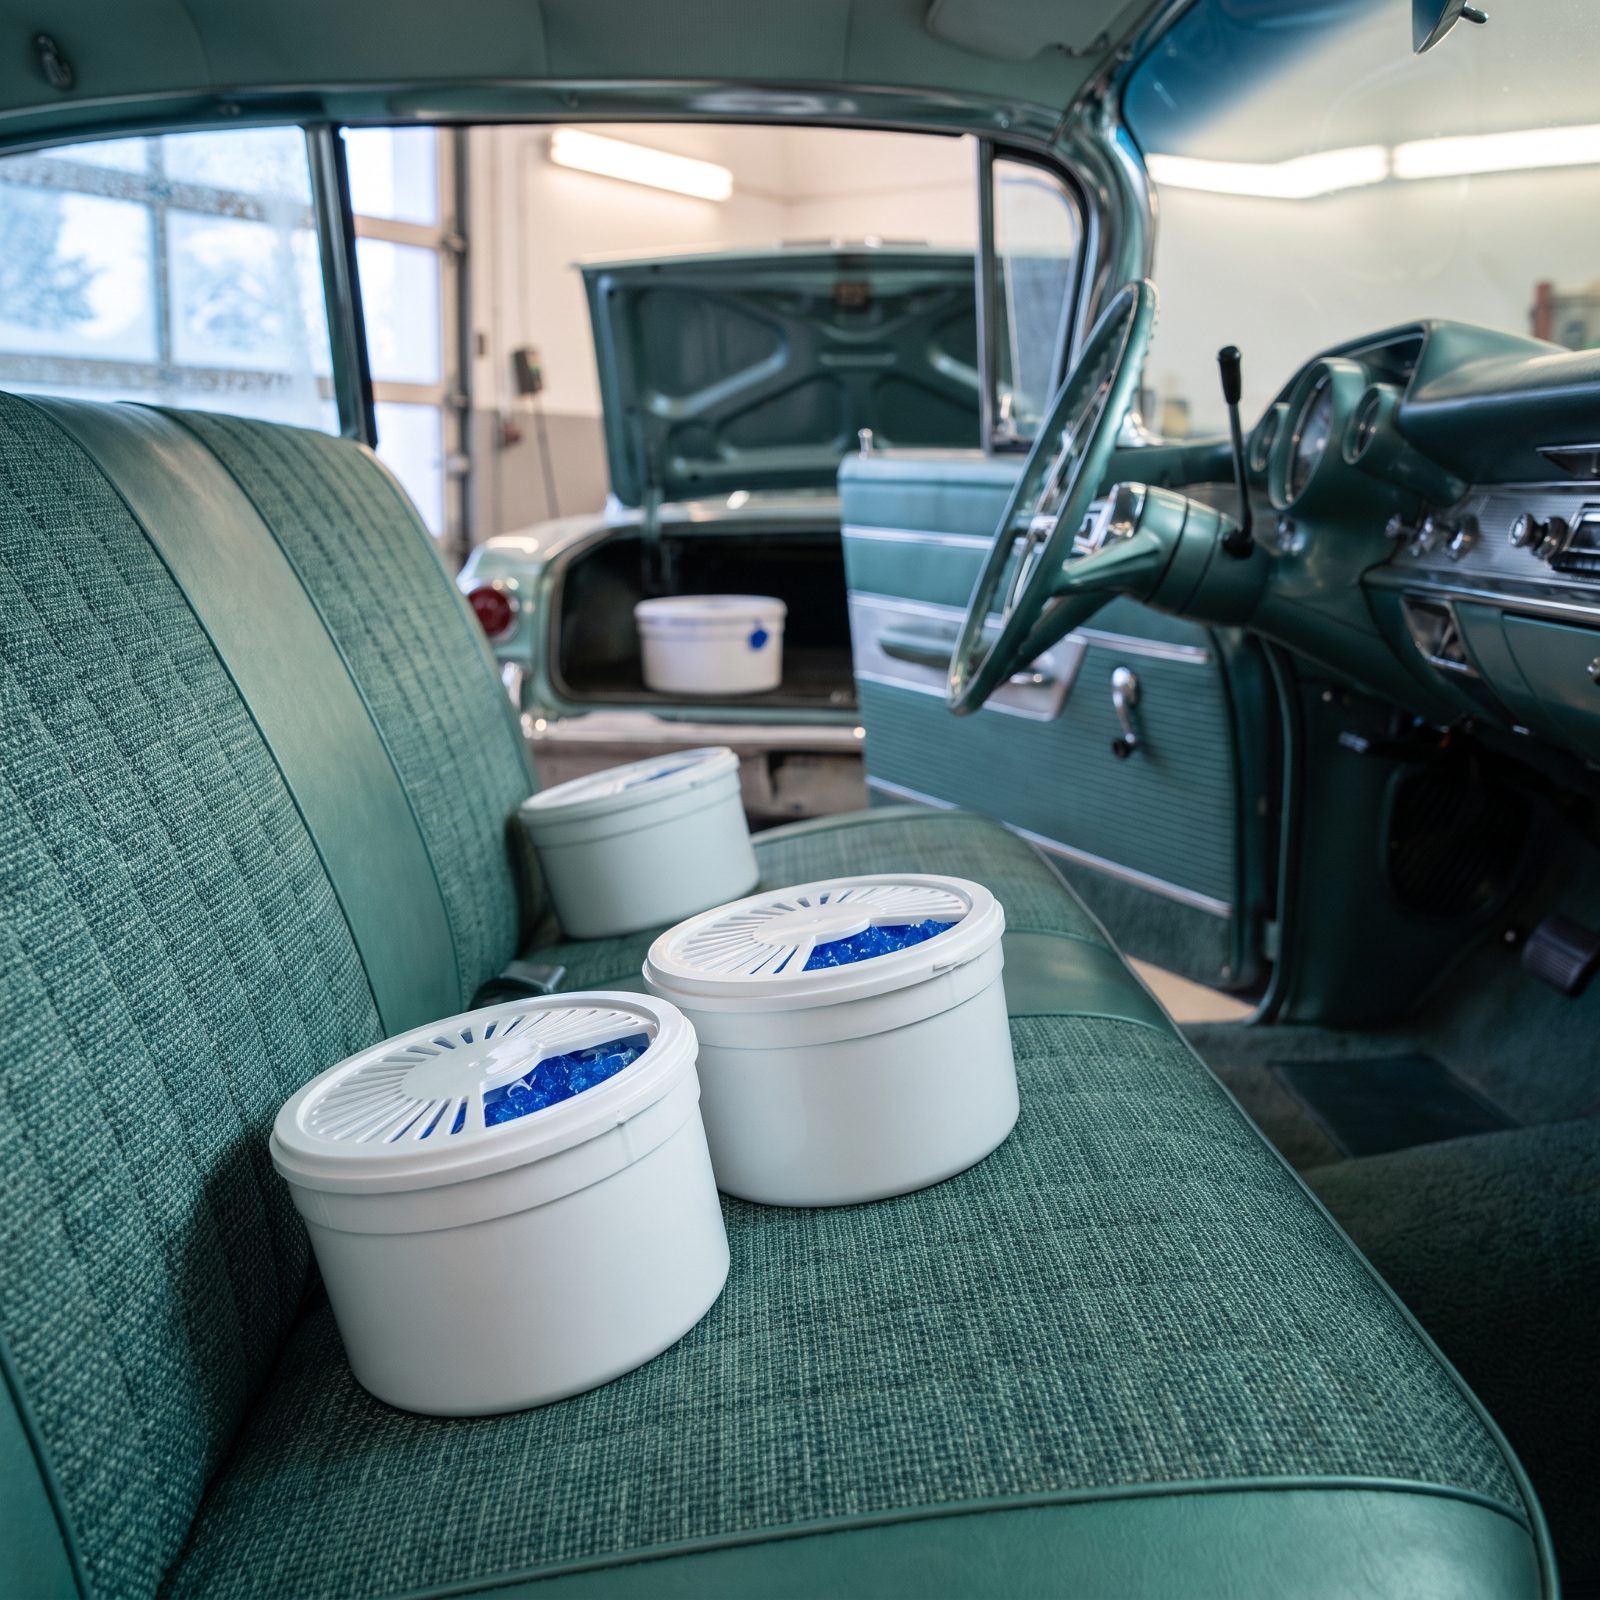
Dry air inside the car is cheap insurance. Even an empty, sealed cabin holds humidity, and in an unheated garage that moisture condenses on glass, chrome, and metal every time the temperature swings.
Set a rechargeable desiccant container on the cabin floor and another in the trunk. Go with the silica-gel type that has a color-change indicator, so you can actually see when it’s saturated. When the crystals turn, you pull the tub, bake it dry in a low oven or on a radiator, and set it back. No disposables, no mess.
Skip the loose moisture-crystal bags that drip into a reservoir. Knock one of those over on your carpet and you’ve created the exact problem you were trying to prevent. Ask me how I know.
17. Walk the Garage and Seal Every Gap a Mouse Could Use
A mouse fits through a hole the size of a dime. Sounds like an exaggeration until you find one nesting in your air cleaner in March.
Winter drives rodents indoors looking for warmth, and a quiet garage with a soft car in it is paradise. They chew wiring insulation, shred seat foam for bedding, and stash acorns in the heater box. The damage runs into real money fast, and rewiring a vintage harness is miserable work.
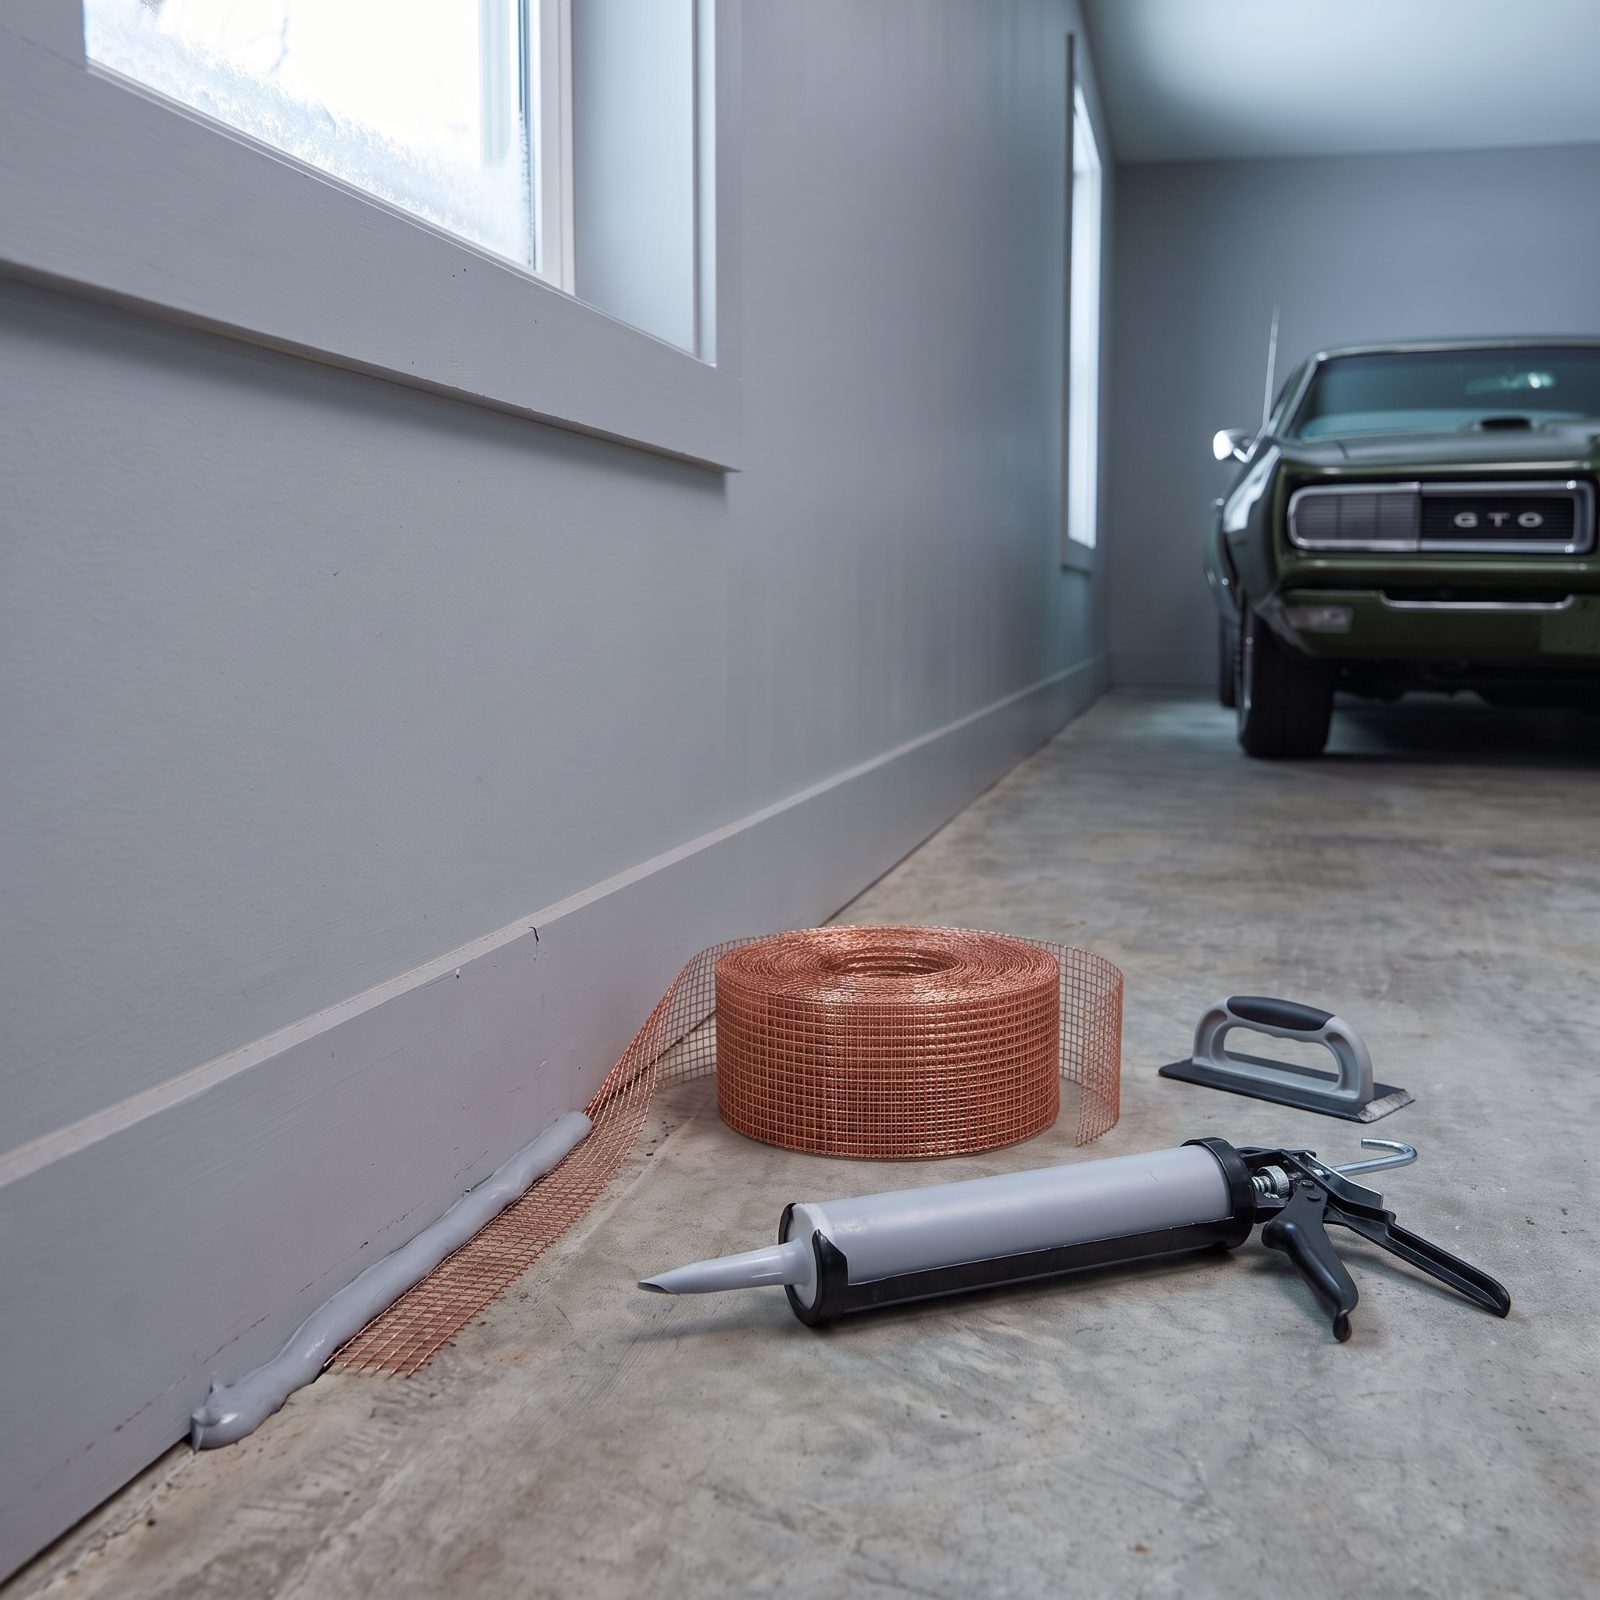
Before the car goes in, walk the perimeter with a work light and hunt for the gaps: under the garage door, around pipes passing through walls, the corner where the slab meets the frame. Stuff copper mesh into the openings and seal over it. Copper doesn’t rust, and mice won’t chew through it.
16. Screen the Tailpipe, Air Intake, and Other Open Invitations With Metal Mesh
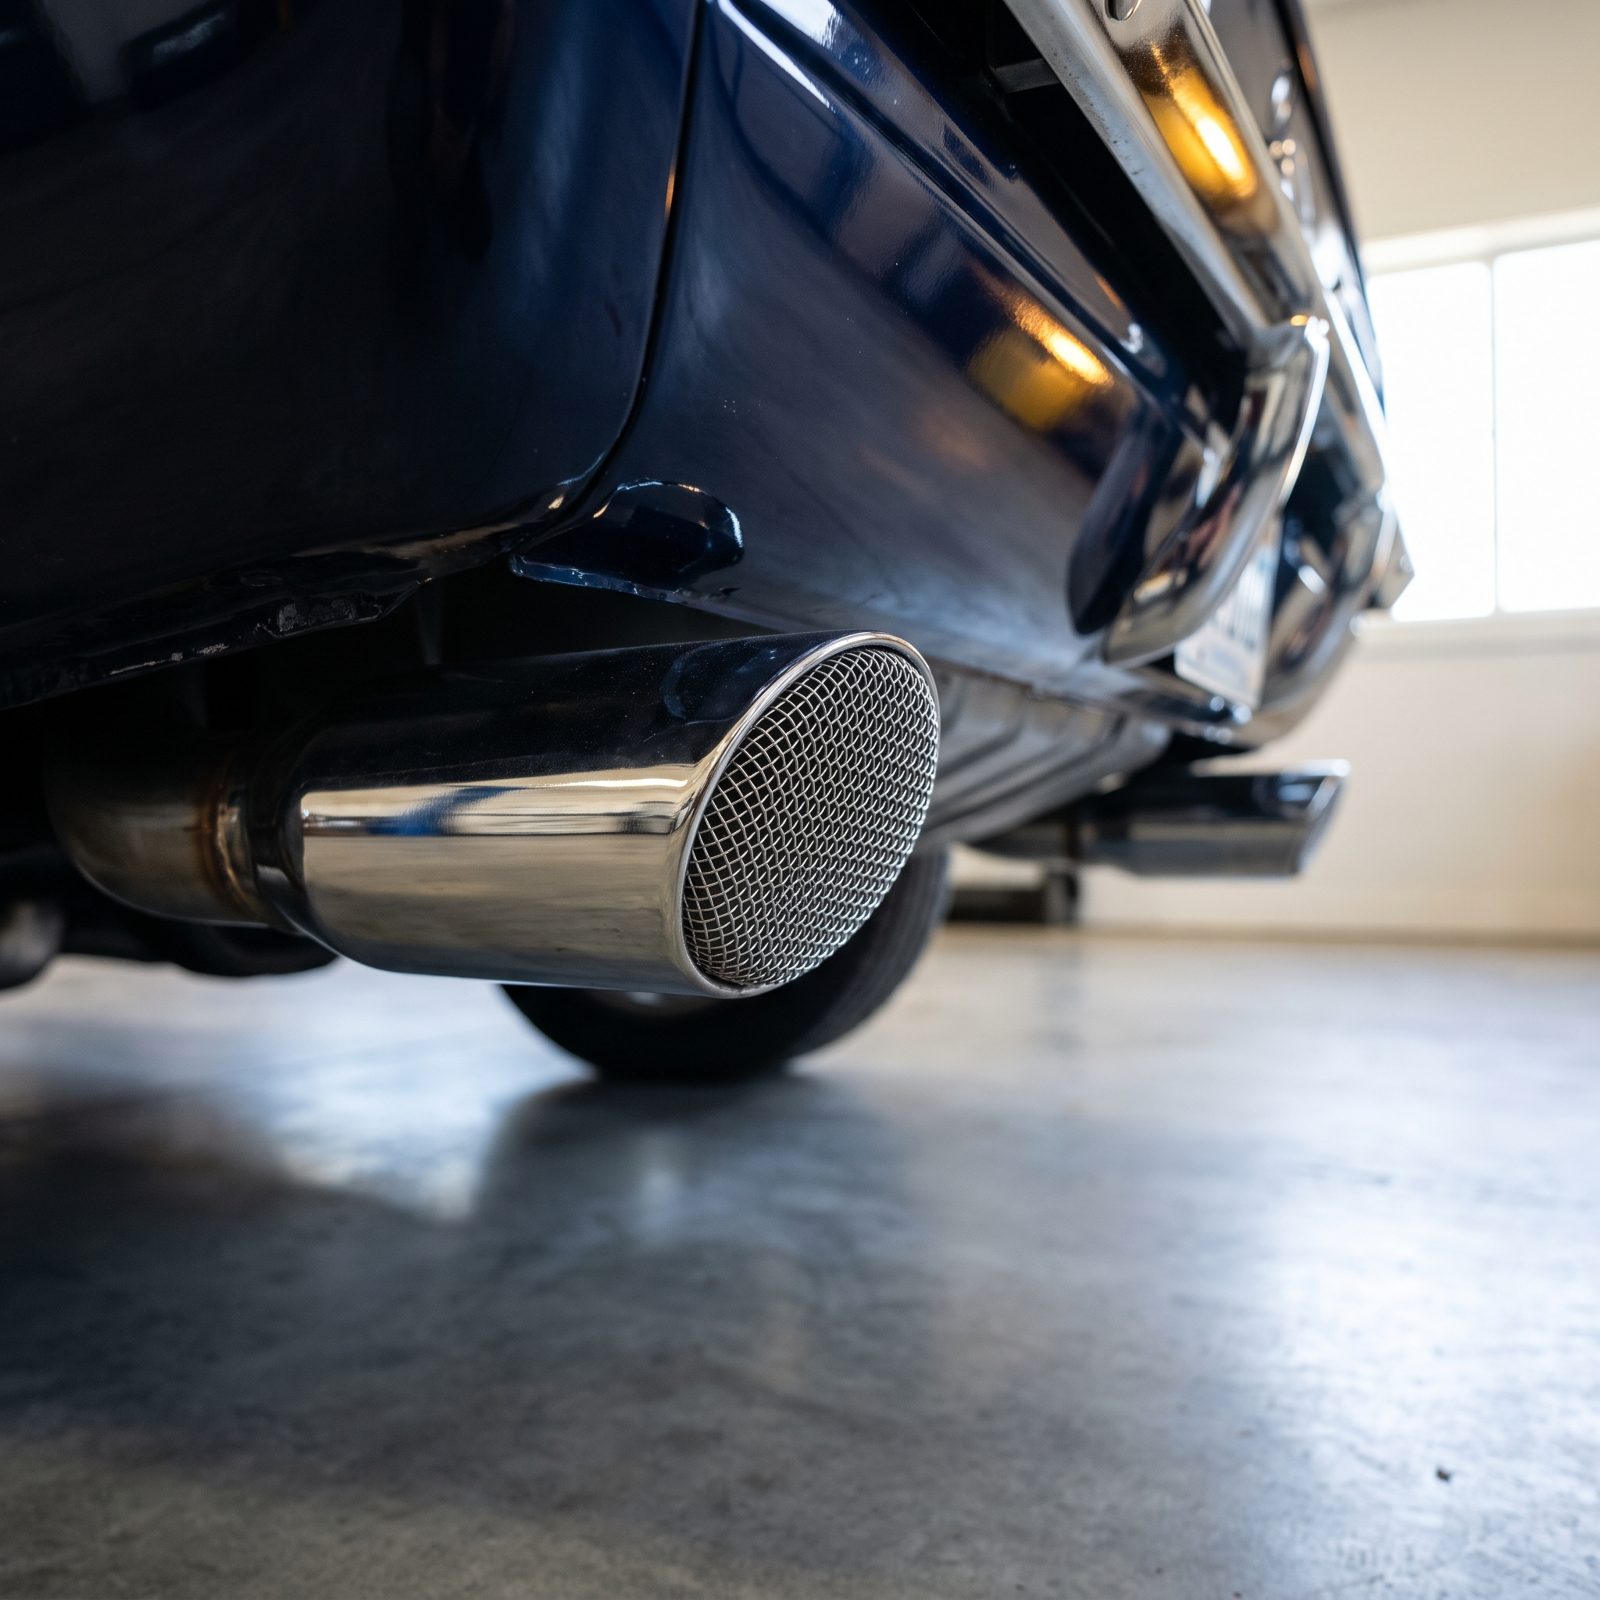
The tailpipe is a highway straight into your exhaust system, and a mouse will happily set up house in there. Same goes for the air intake snorkel, the fresh-air cowl, and any open line big enough to crawl into.
Cut squares of stainless or aluminum mesh and fit them over each opening. Steel wool works in a pinch but rusts and sheds, so screen is cleaner. Make it removable, never permanent.
And here’s the part people forget: hang a bright tag off the steering wheel or shifter listing every opening you blocked. Fire up a cold engine with a plugged tailpipe in spring and you’ll either pop the mesh out the exhaust or back it up into the system. That reminder is non-negotiable.
15. Ring the Storage Area With Mechanical Snap Traps
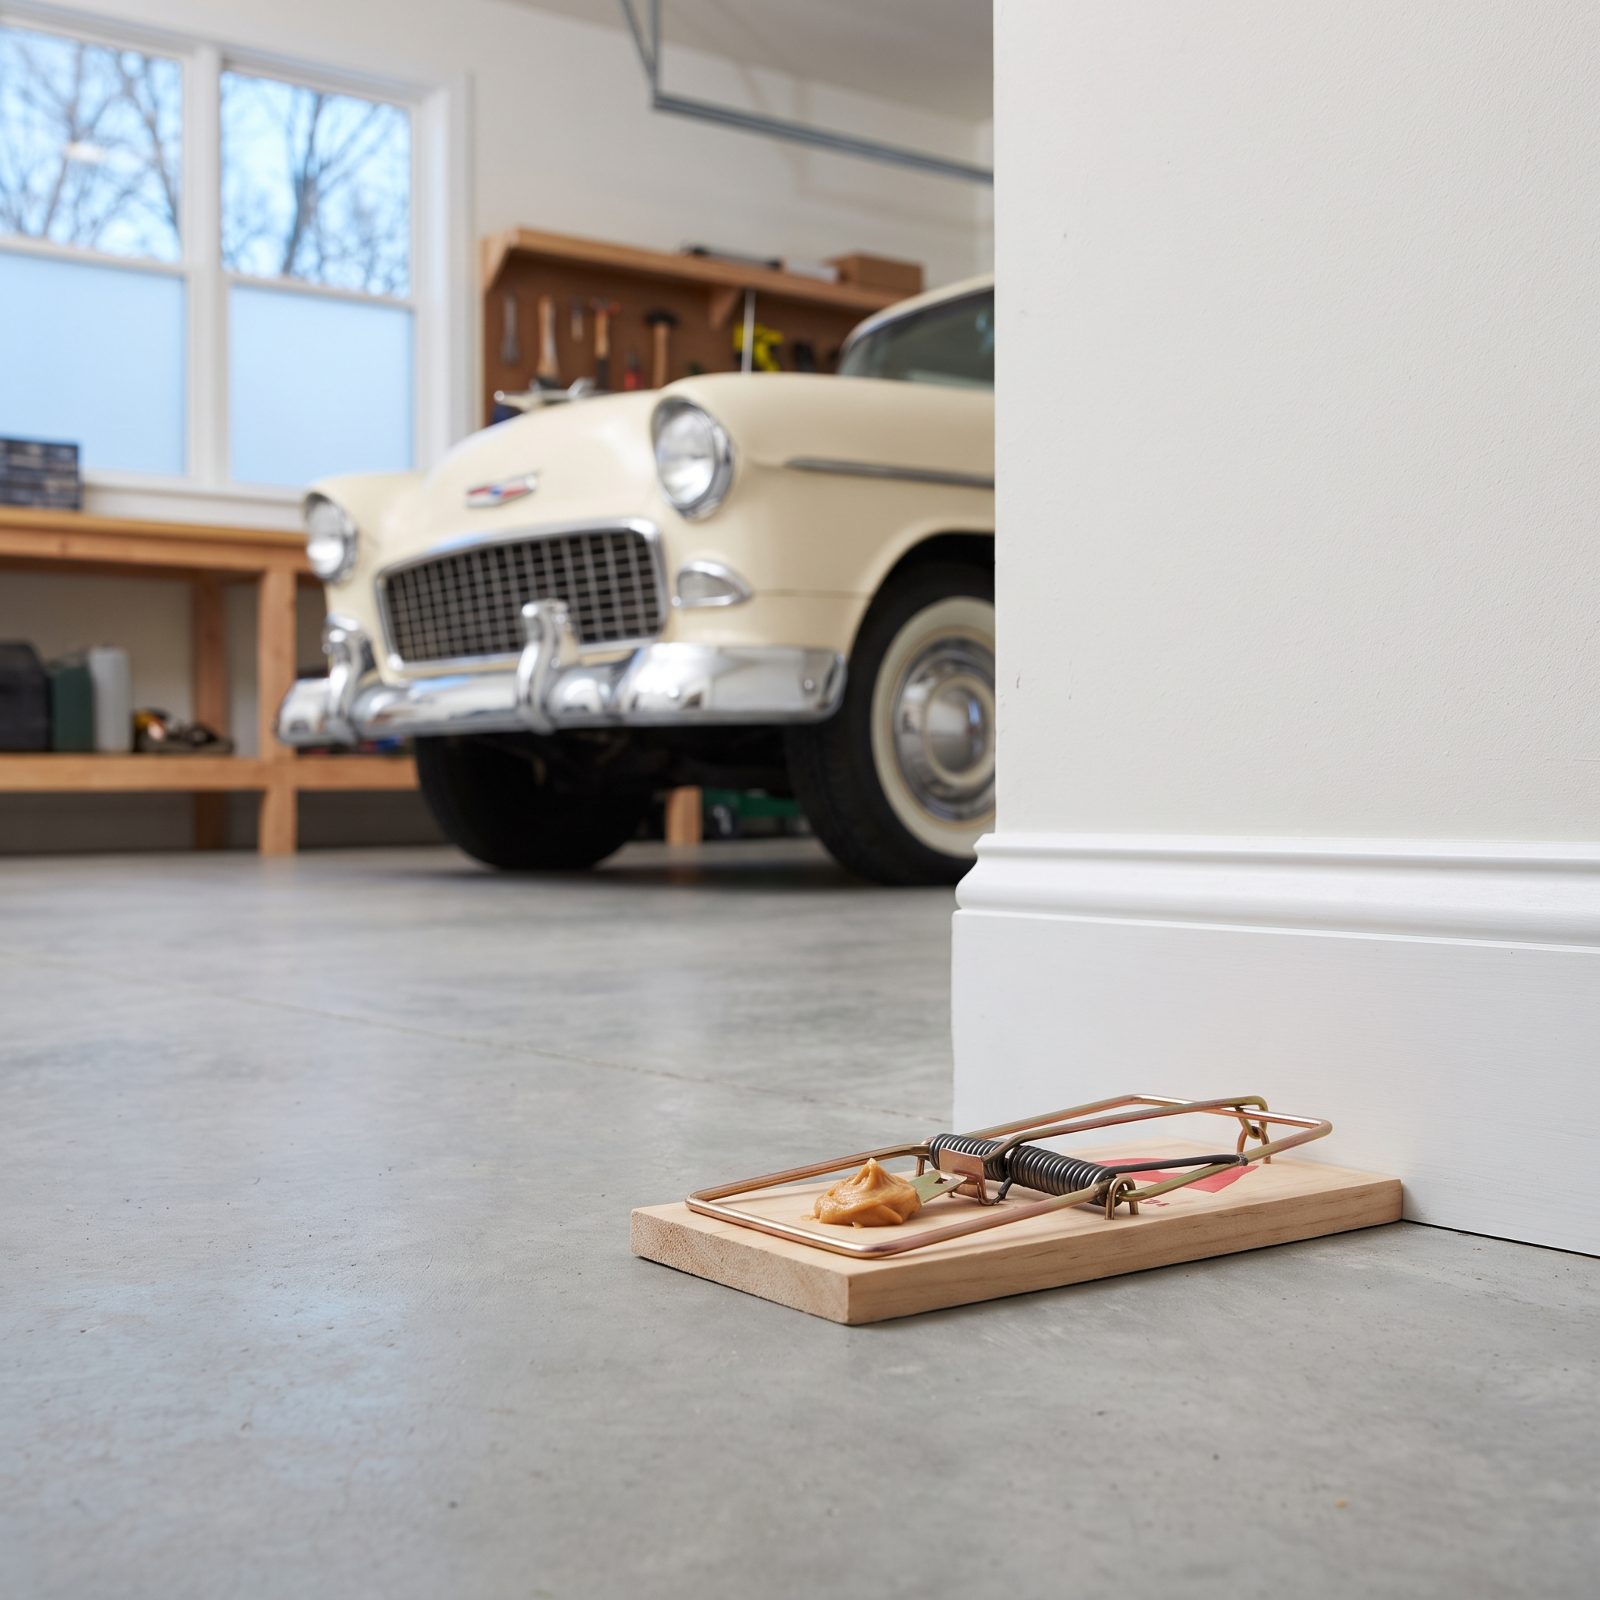
Sealing and screening handles most of the problem. Traps handle the mouse that was already inside when you buttoned everything up, and there’s usually one.
Set classic mechanical snap traps around the perimeter of the car, not on it. Several of them, spaced along the walls and tucked into the corners where rodents like to travel. Bait with peanut butter, which holds far better than cheese and doesn’t dry out in a week.
Skip the poison baits. A poisoned mouse crawls off into a wall void or up into the car’s ductwork to die, and then you’ve traded a live-rodent problem for a dead-rodent smell you’ll be chasing for months. Mechanical traps keep the problem right where you can see it and deal with it.
14. Feed the Door, Window, and Trunk Weatherstripping Before It Dries Out
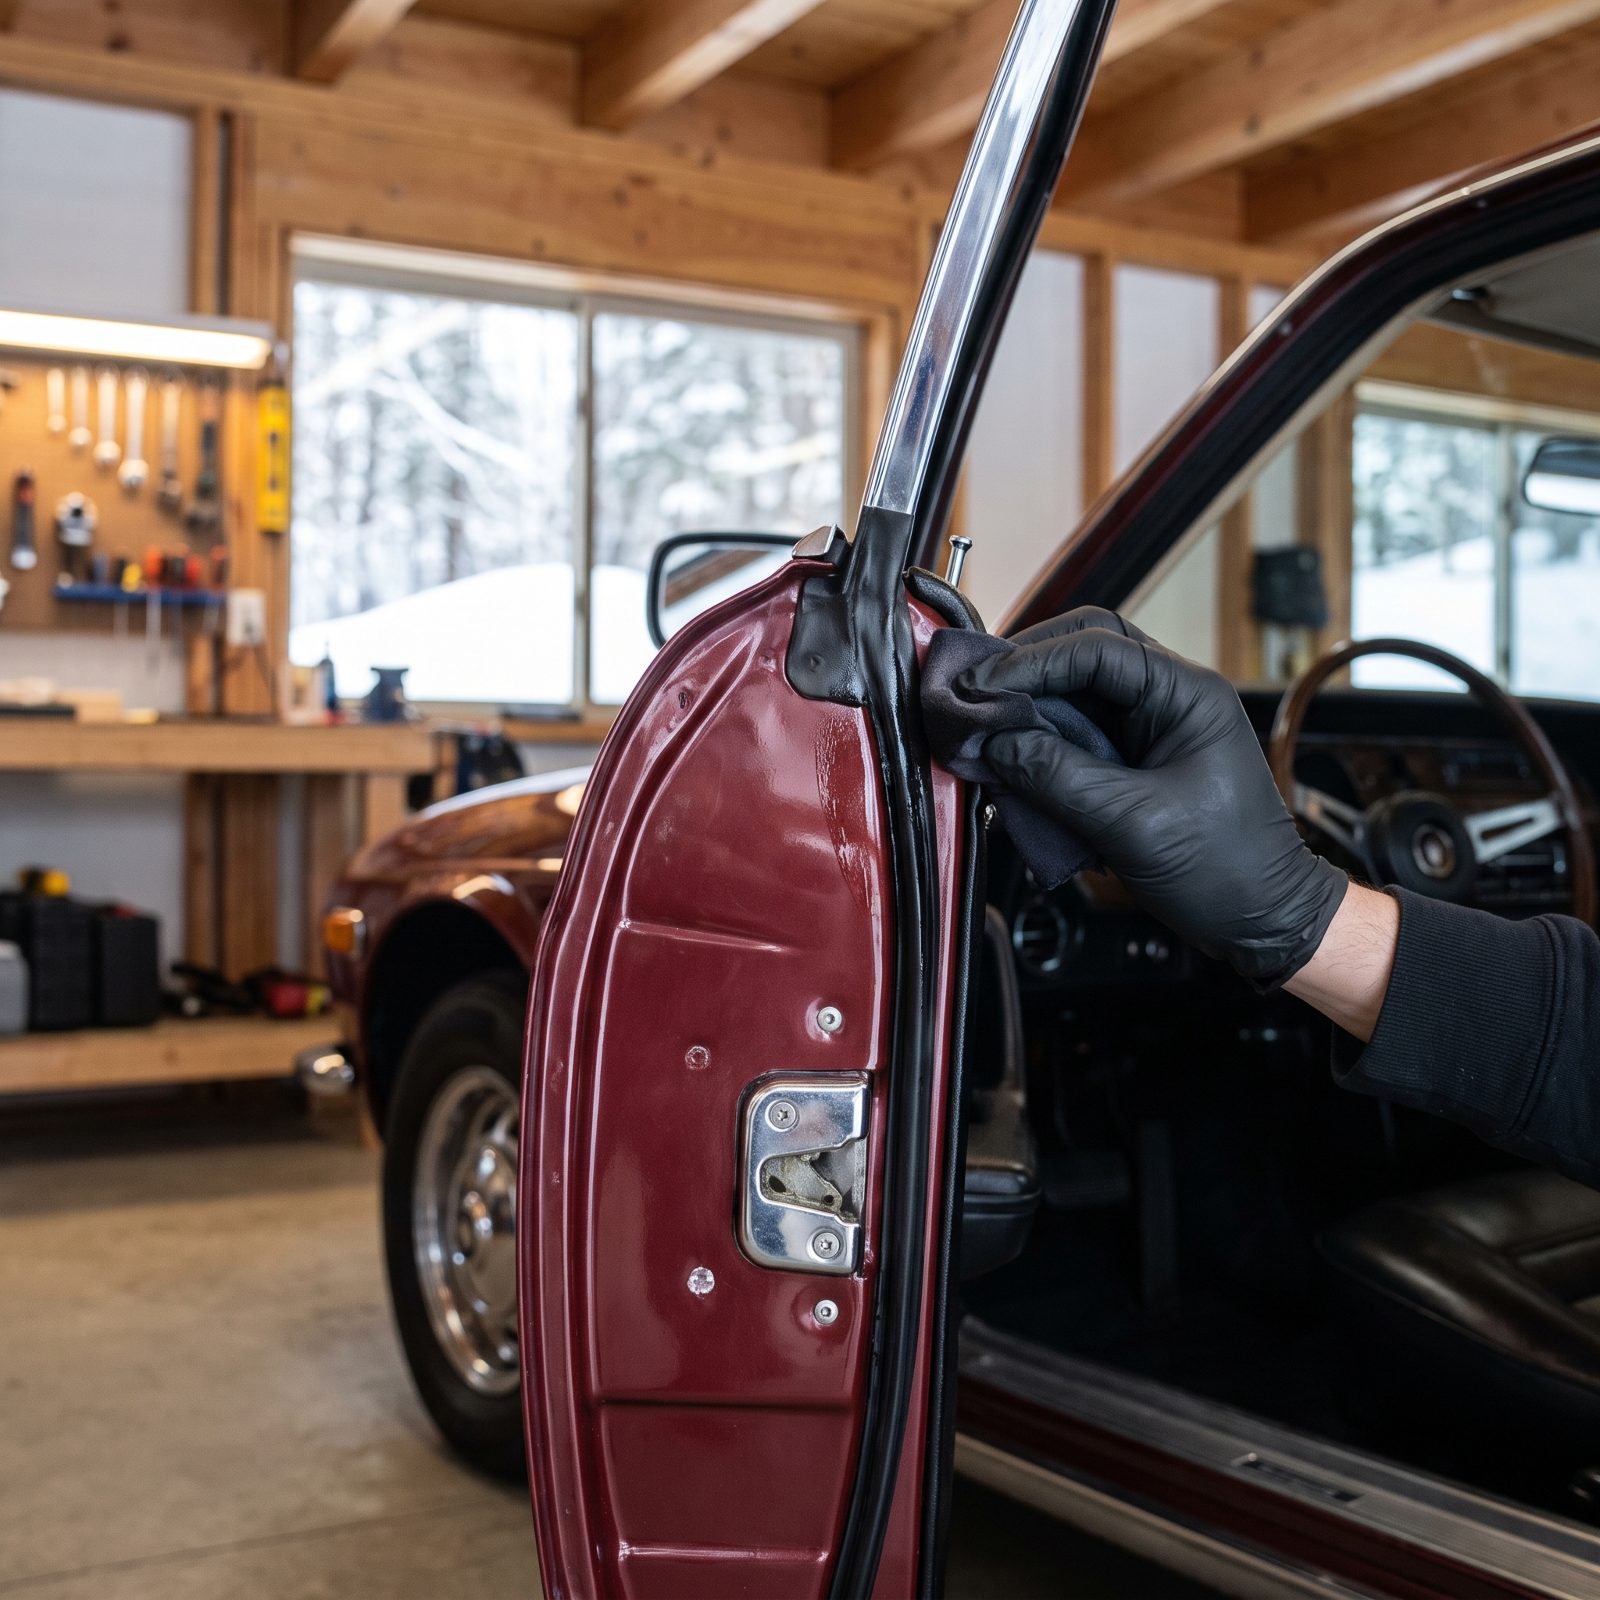
Rubber seals dry out, shrink, and crack when they sit in cold air for months, especially if they went into storage already parched. Once a door seal splits, it stops sealing. Water and damp air get in, the door whistles at speed come spring, and finding replacement weatherstripping for an older car is both expensive and a headache.
Before storage, wipe the seals clean and work a rubber conditioner into them. Something silicone-free made for rubber, applied with a cloth, keeps the gaskets pliable through the cold.
Hit the doors, the trunk, the hood seal, and the window channels. Supple rubber in November is supple rubber in April. Brittle rubber is a parts-hunting weekend you never needed.
13. Put a Convertible Away With the Top Up and Latched

Would you like to save this?
A convertible top folded down for the winter is a mistake that teaches itself. Left stacked in its well for months, the fabric and the rear window develop creases and set wrinkles that never fully relax, and vinyl rear windows crack right along those folds in the cold.
Store the top up and latched. That holds the fabric under proper tension, keeps its shape, and shields the headliner and interior from settling dust. The frame rests where it was built to rest.
Give the top a clean and a treatment first if it’s canvas, and make absolutely sure it’s bone dry before you latch it. Sealing damp fabric against the header is how mildew gets started, and mildew on a cloth top is a stain you fight forever.
12. Lift the Wiper Blades Off the Glass or Pull Them Entirely
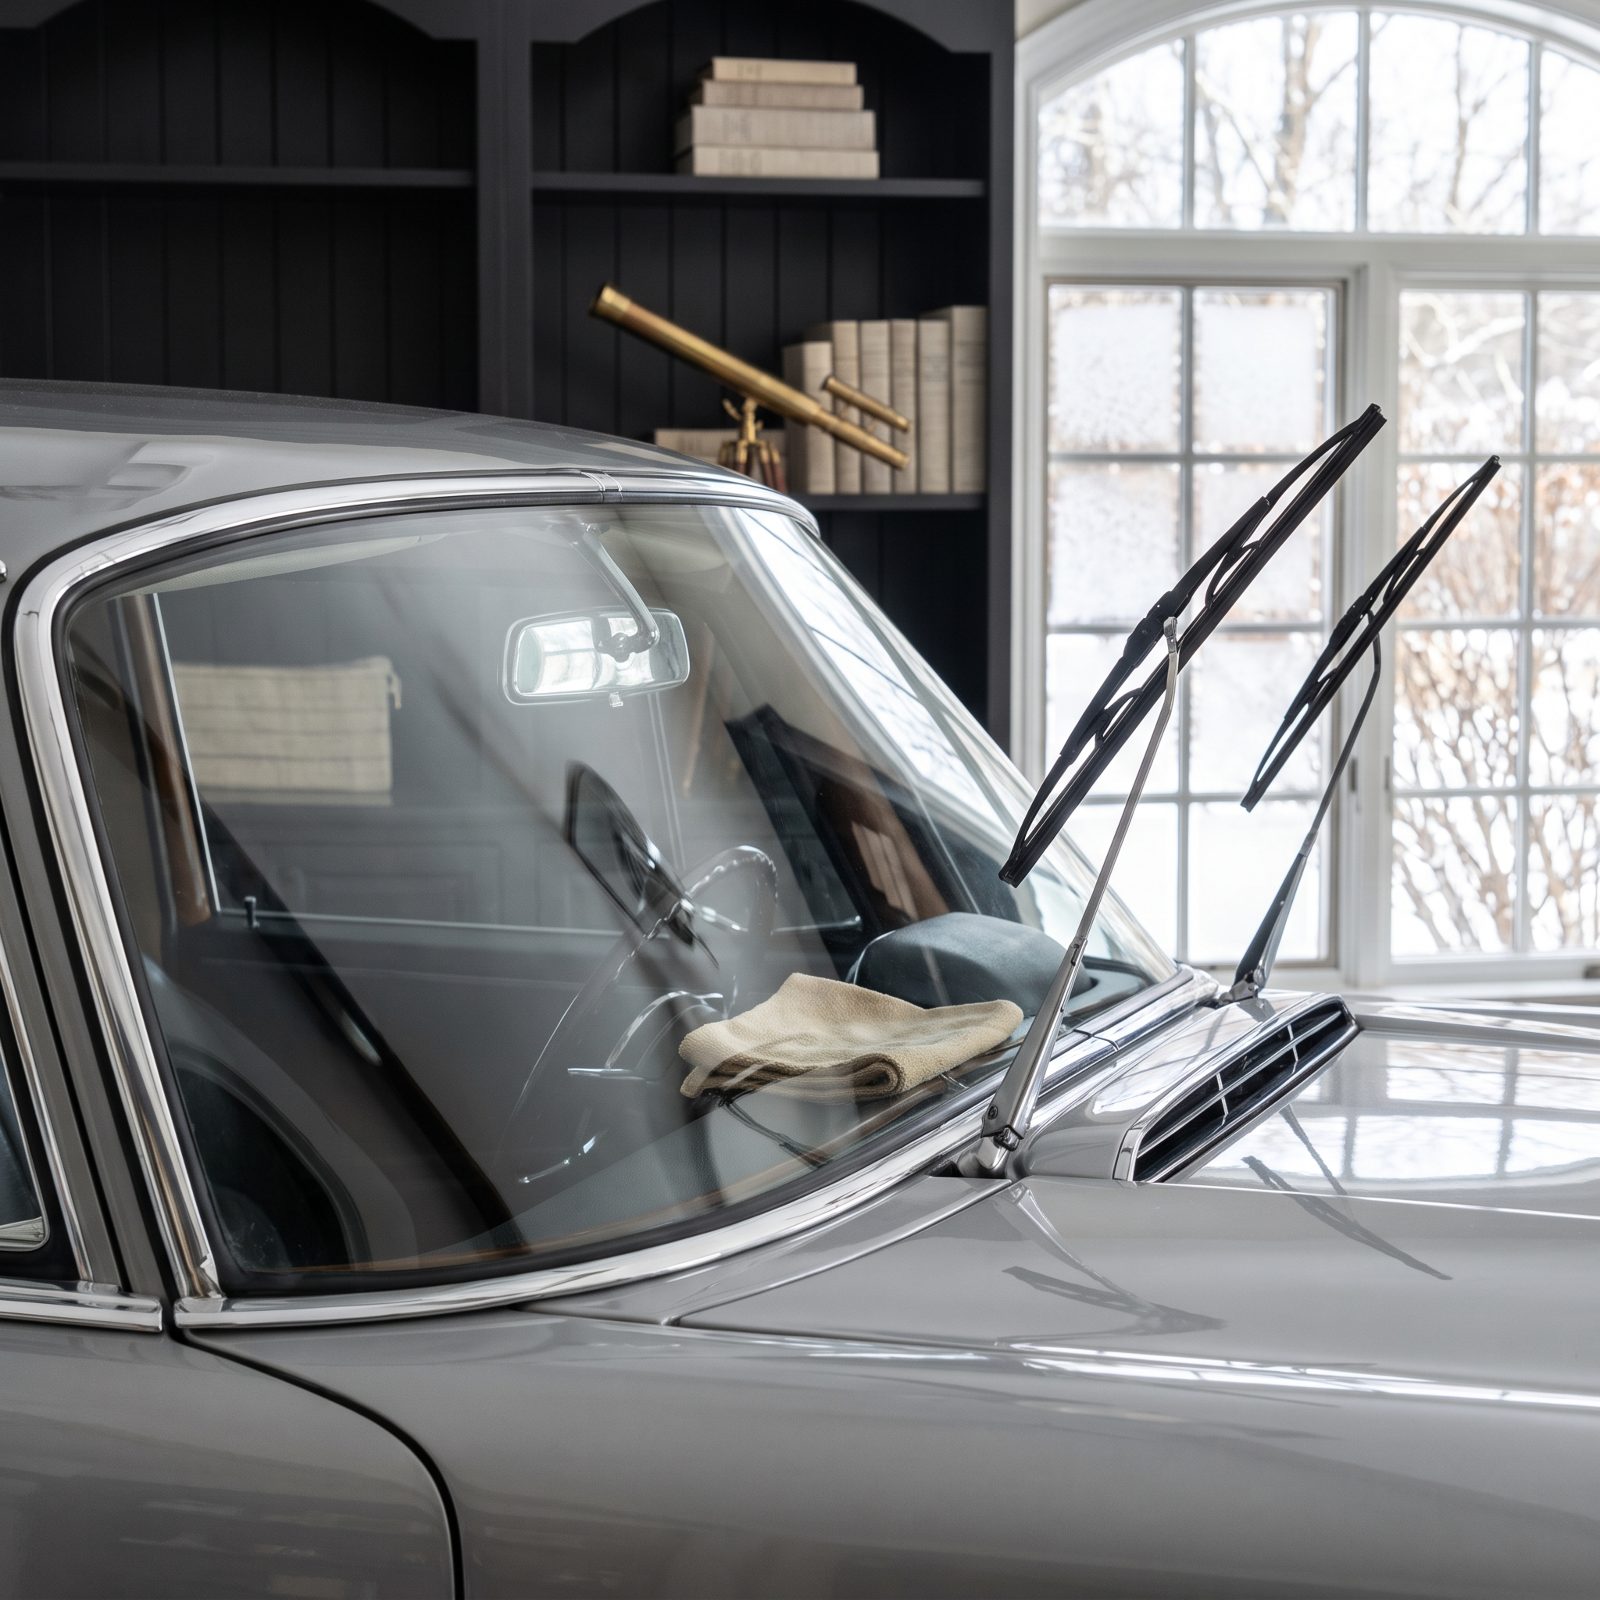
Leave the blades pressed against cold glass all winter and the rubber takes a permanent set where it sits. Worse, the blade can actually bond to the glass and tear itself when you finally lift it, and on some cars you’ll leave a faint rubber ghost line on the windshield.
Lift the arms so the blades stand clear, or just pull the blades off and store them flat in the car. Either way the rubber keeps its edge and the glass stays unmarked.
Small thing. But a whole winterization comes down to small things done right, and this is the one that takes thirty seconds and hands you a clean sweep on the first wet drive of spring.
11. Inspect the Tires and Set Them to the Storage Pressure
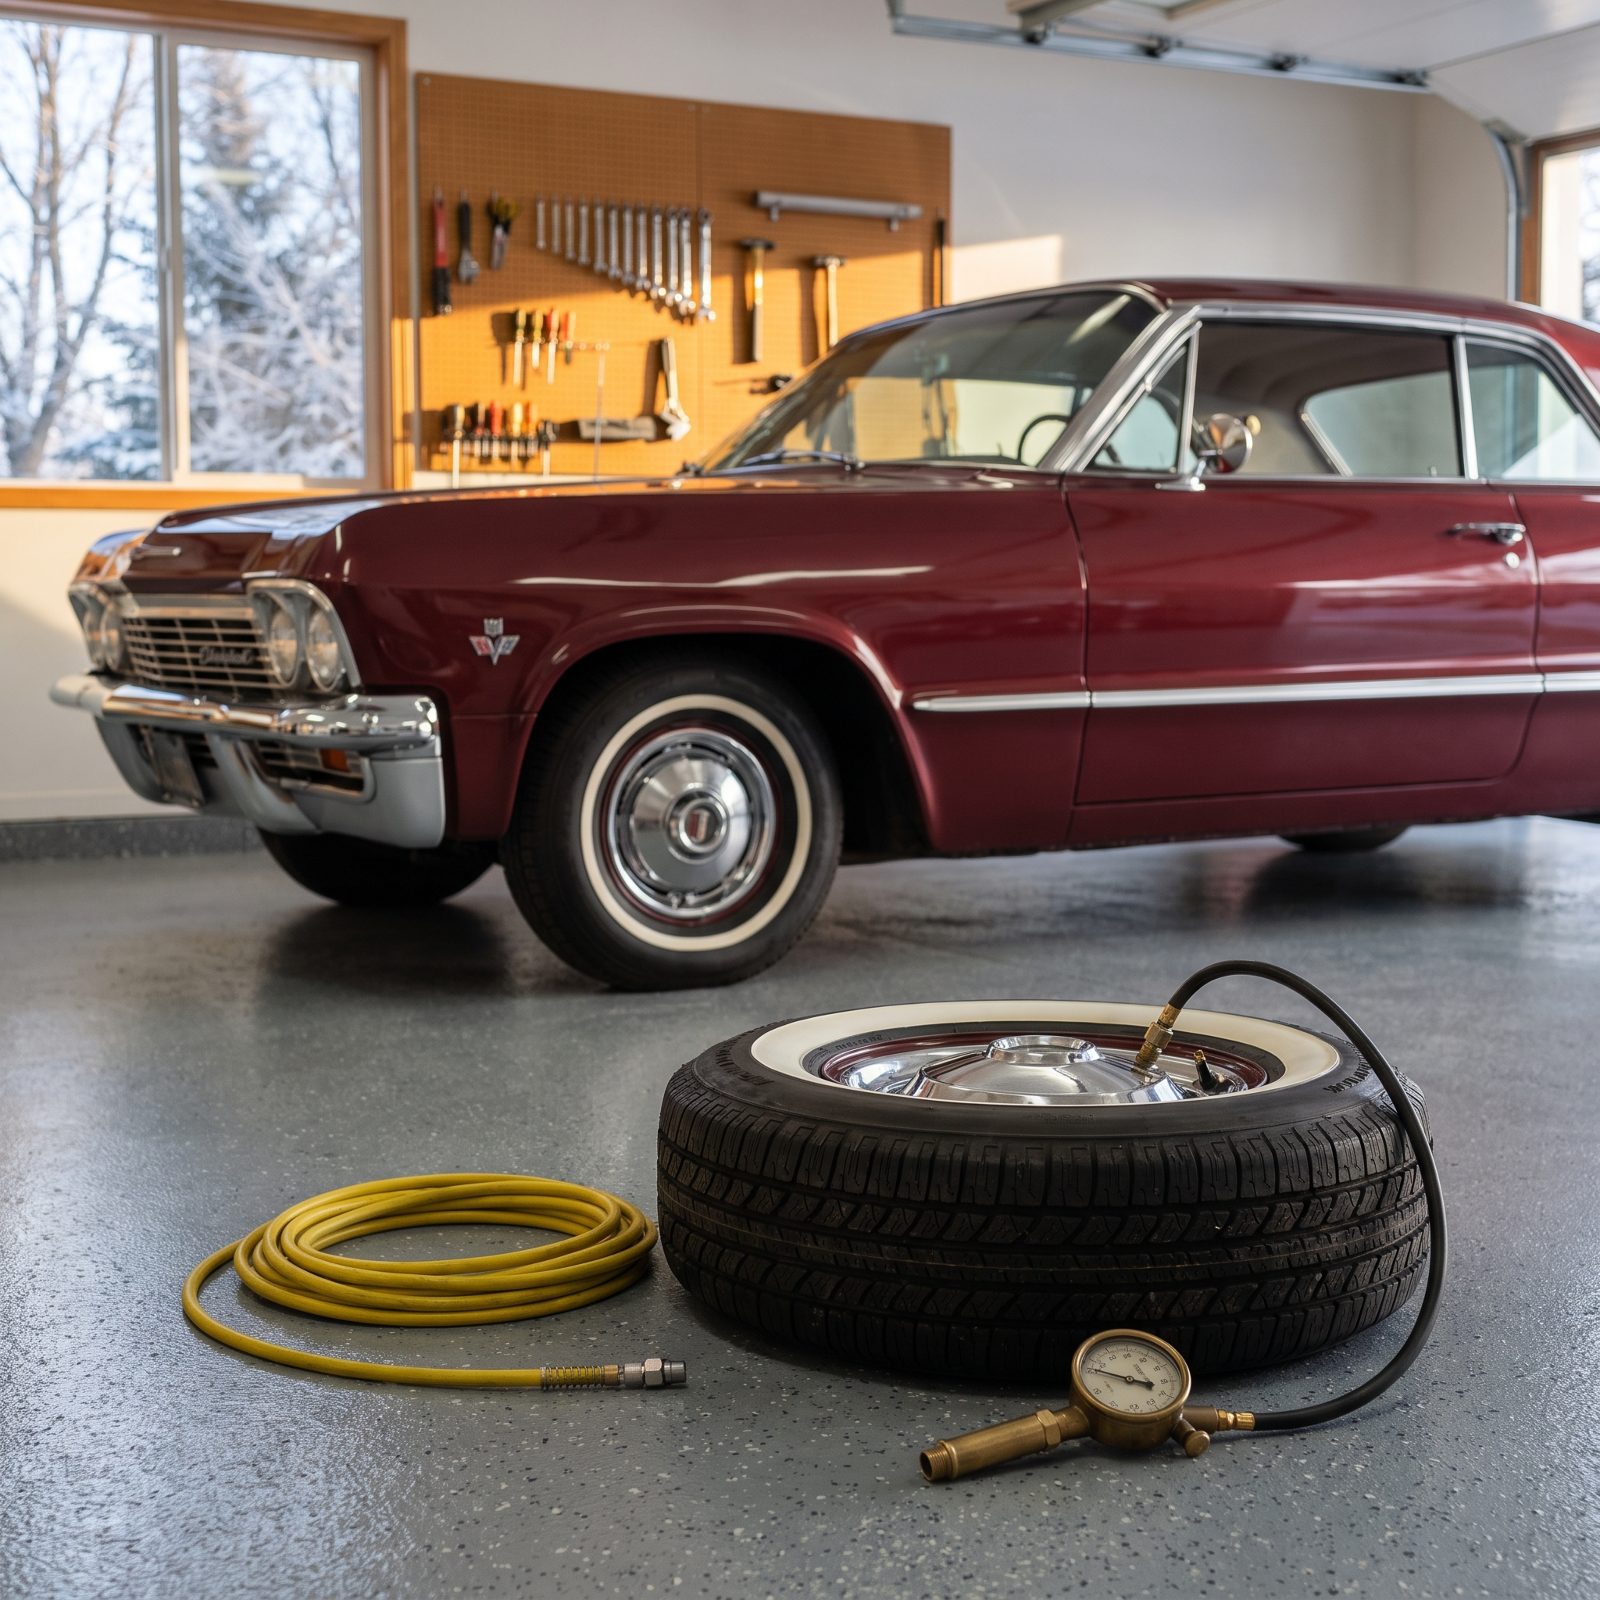
Before the car goes to sleep for the season, get down on the floor and actually read the tires. Look for cracks snaking along the sidewall, a nail you never noticed, that slow leak that’s been nagging you all summer. Winter won’t fix any of it — it’ll make the whole mess worse.
Here’s the part most folks skip. A tire sitting at normal pressure through four cold months sags under the car’s weight and starts to flat-spot as the rubber takes a set. You feel it as a thump-thump for the first few miles come spring. Sometimes forever.
Bump the pressure up before storage — usually around 40 PSI, or whatever the high end of the sidewall rating allows — to keep the carcass firm against the floor. Write down what you set so you remember to drop it back in April.
10. Use Curved Tire Cradles to Reduce Flat Spotting
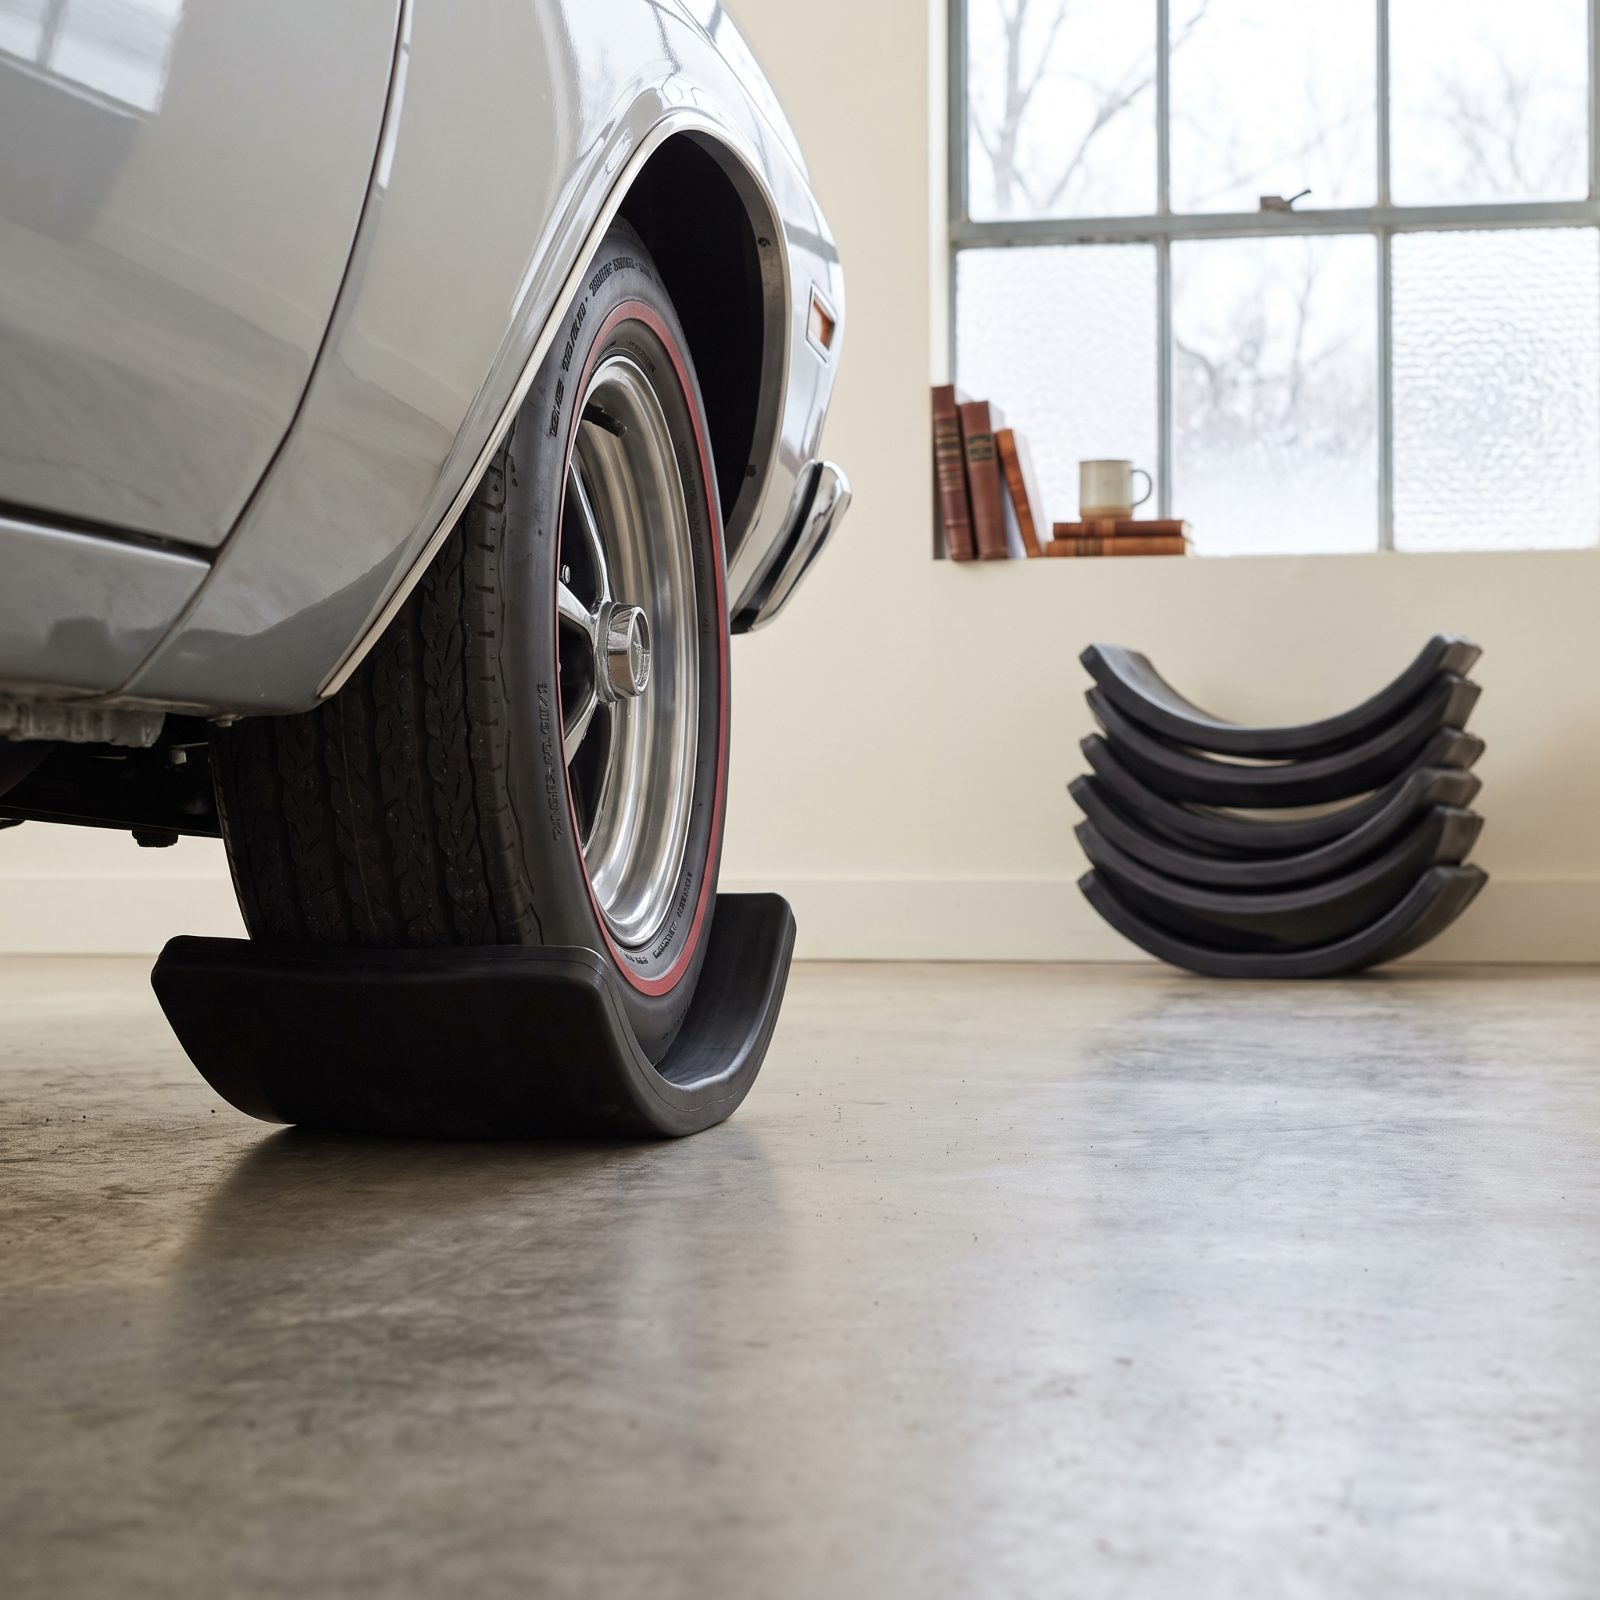
If the car’s going to stand still for months, jacking it up and putting it on stands is one answer. For a lot of us that’s overkill — a real hassle, too, especially when you want to roll the car out on a dry January afternoon just to stand there and admire it.
Curved tire cradles are the middle path. Contoured ramps matched to the radius of the tire, so instead of the whole weight pressing on one flat patch, the load spreads across a larger arc of the tread. Less deformation. Less chance of a permanent set.
Drive the car gently into a set of four and you’ve done the job in five minutes. They cost less than a decent set of jack stands, and they don’t leave the car teetering in the air all winter.
9. Keep the Suspension Naturally Loaded Unless the Manual Says Otherwise
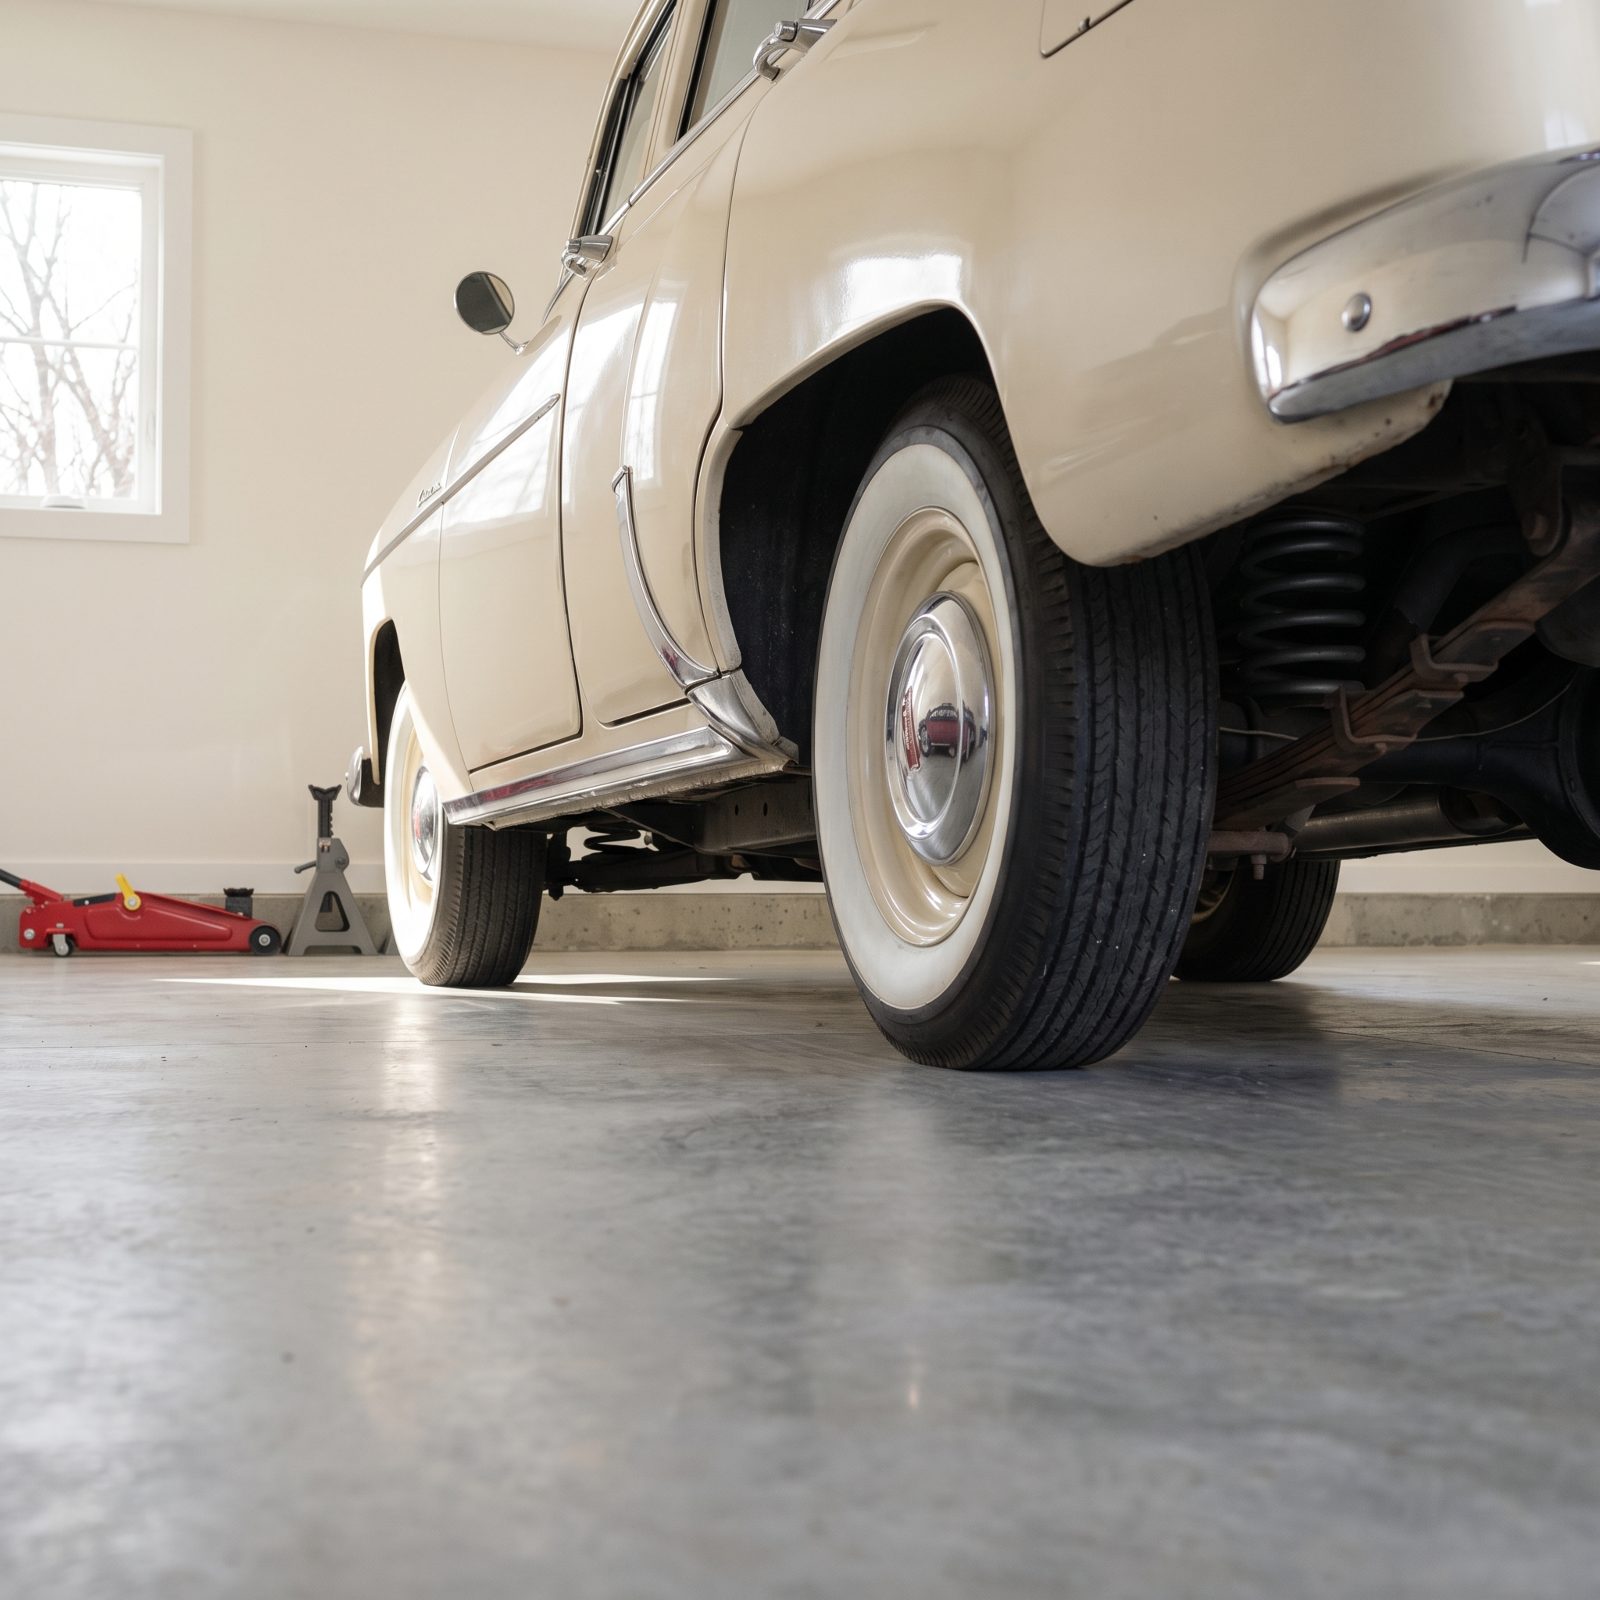
There’s a persistent garage myth that every stored car should go up on stands with the wheels dangling. For most cars, that’s flat wrong, and it can do real harm.
Let the suspension hang unloaded for months and you put constant tension on parts designed to sit compressed. Ball joints, bushings, shock seals, and especially the half-shaft boots and CV joints on some setups all take the strain. A coil-spring car left drooping can also stress the shock’s internal stops.
So leave the car on its wheels, at natural ride height, loaded the way it sits in the driveway. The exception? Cars whose factory manual specifically calls for unloading, plus a few with delicate torsion setups. Read your manual. The engineers who built the thing already thought about this.
8. Release the Parking Brake, Select the Correct Gear, and Use Wheel Chocks
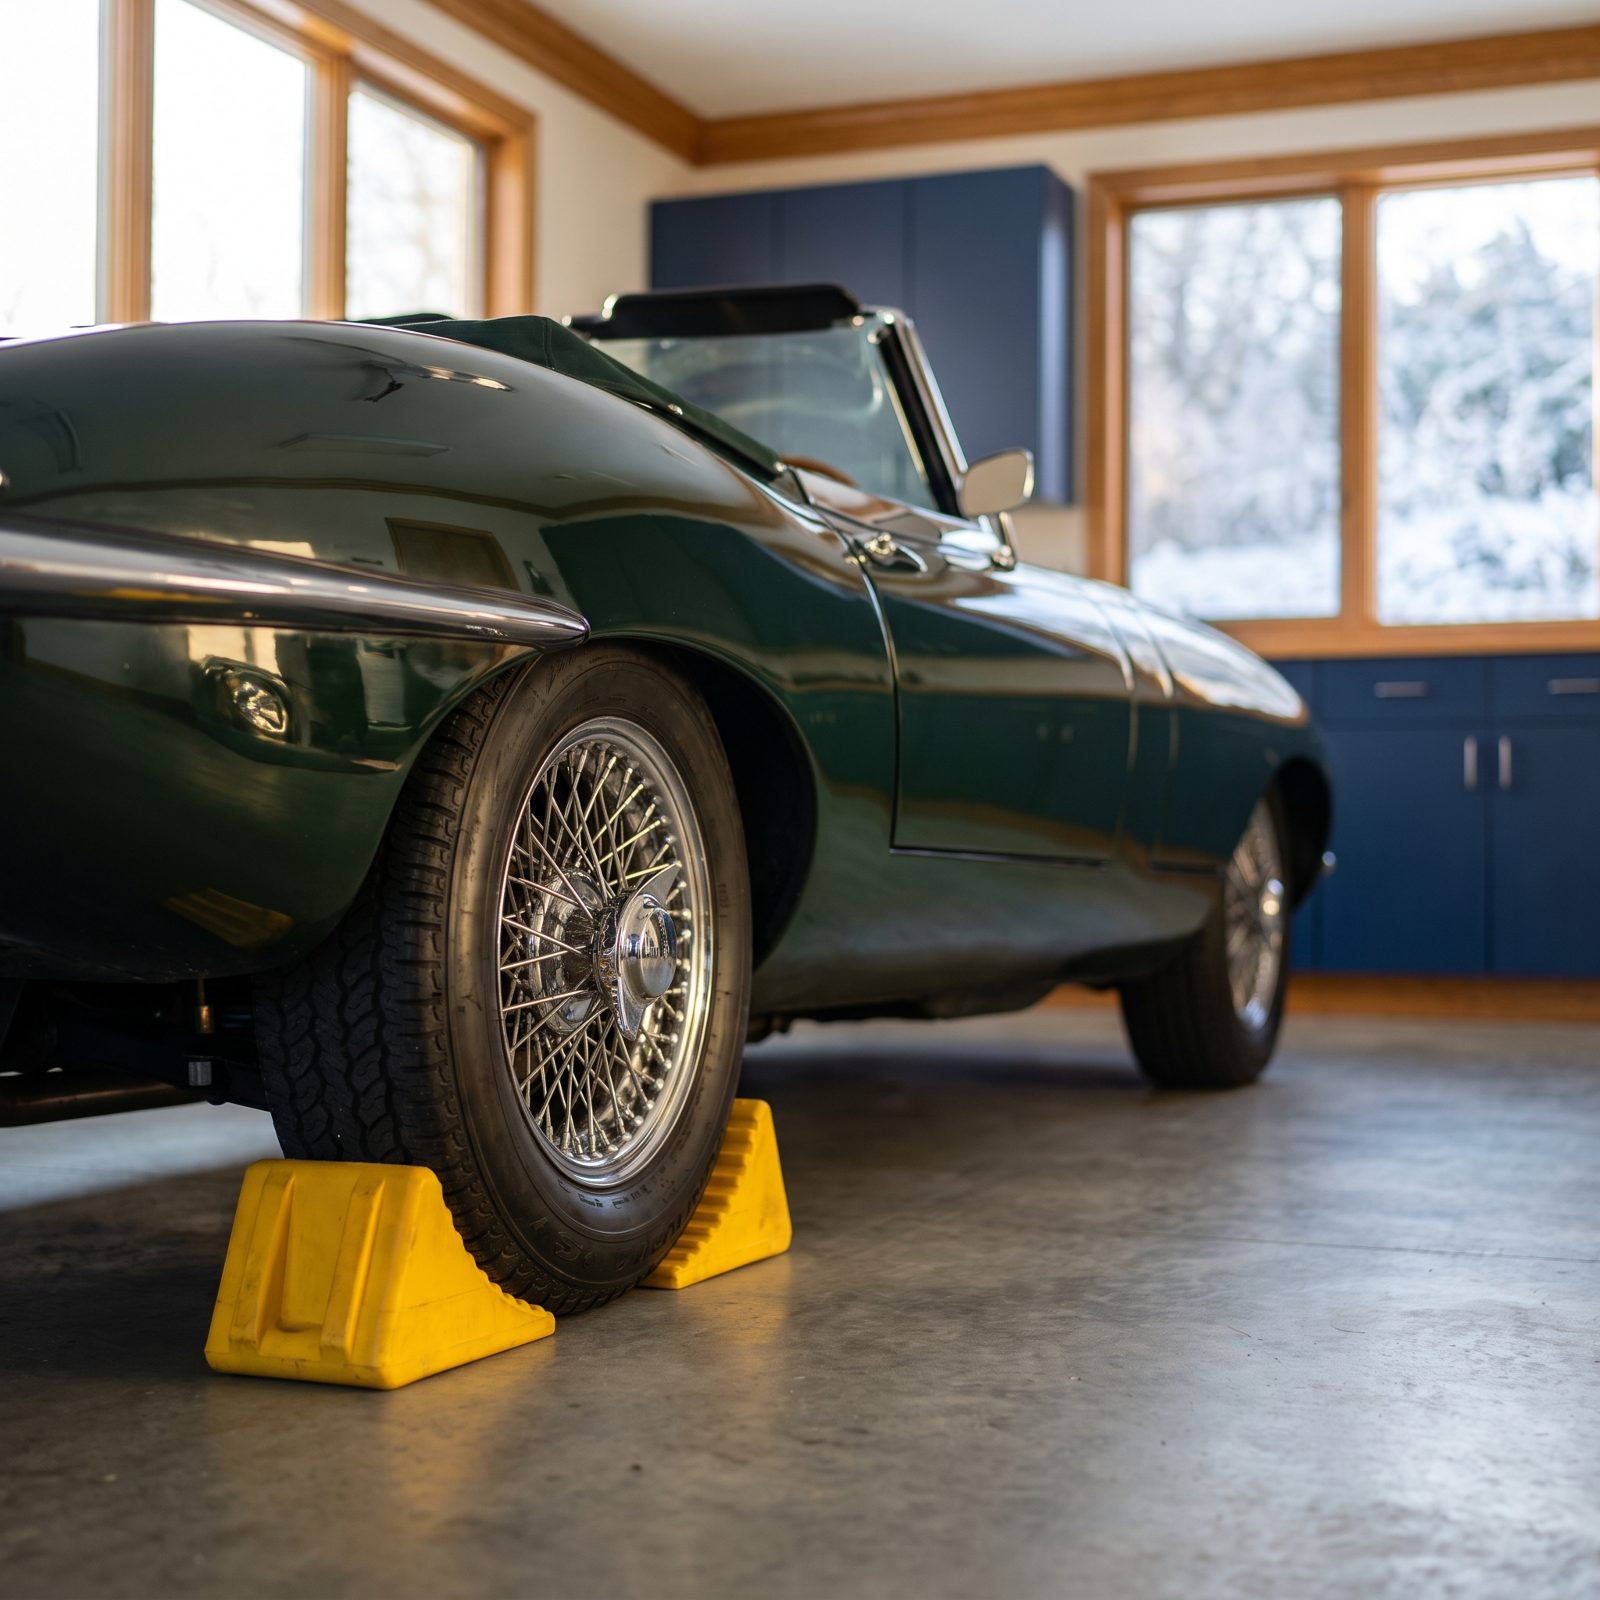
Set the parking brake and walk away for the winter, and here’s what you’re risking: the shoes or pads bond to the drum or rotor. Come spring you fire it up, drop it in gear, and the car won’t roll — or it lurches free with a bang and a nasty scrape baked right into the friction surface.
Leave the parking brake off instead. On a manual, select first or reverse so the car can’t creep. On an automatic, leave it in Park. Then chock the wheels, front and back of at least one tire, so nothing moves regardless.
7. Clean and Protect the Battery Terminals
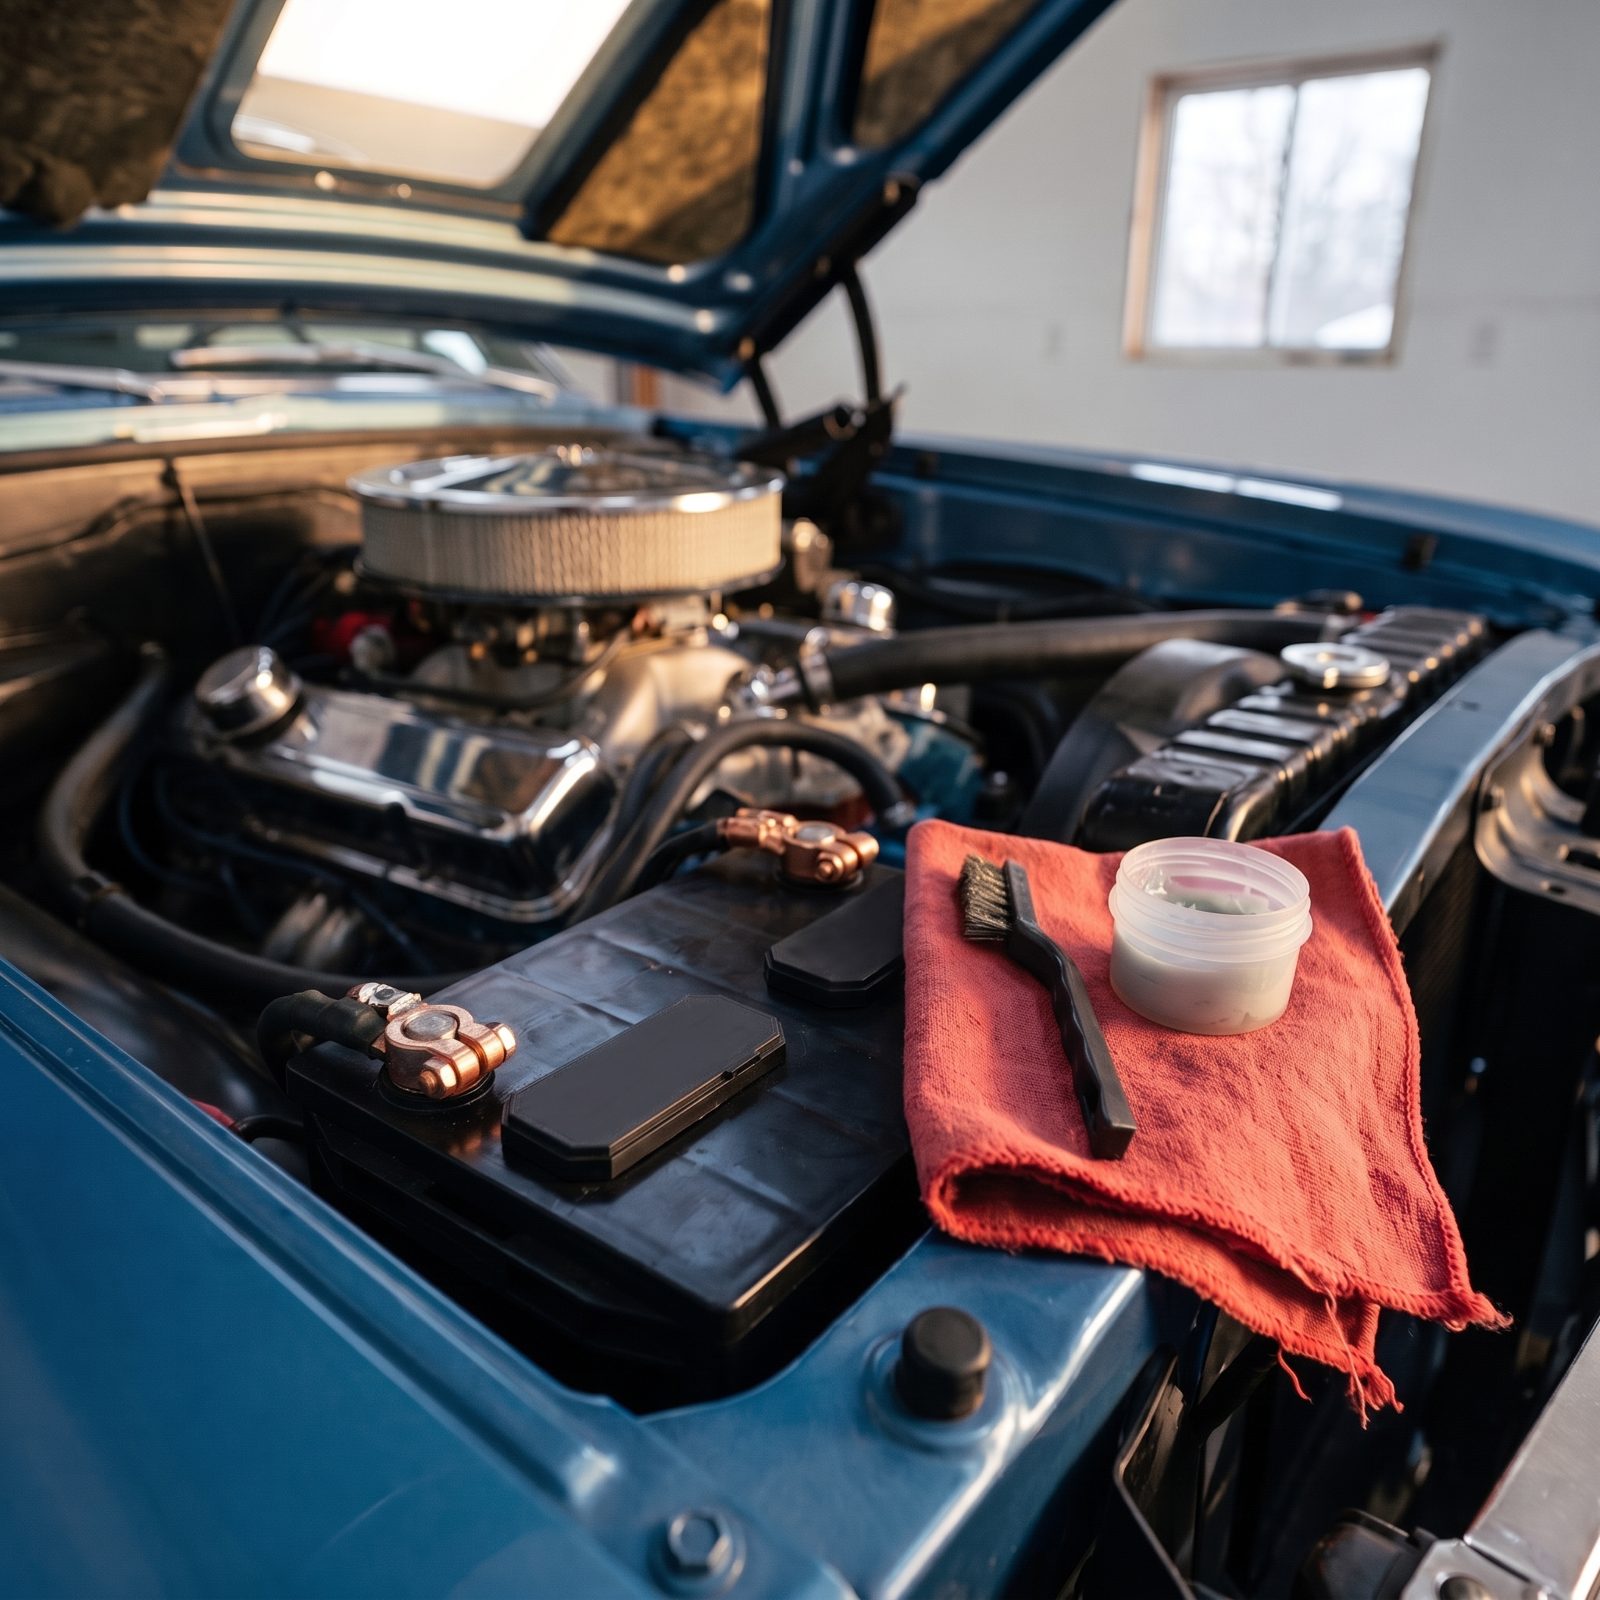
Corrosion on battery terminals looks like crusty blue-green fuzz, and it loves a cold, idle winter. Left alone, it creeps up the cables and eats into the copper strands, so even after you charge the battery in spring, you’re fighting bad connections the whole time.
Clean the posts and clamps with a wire brush or a paste of baking soda and water, dry everything, then coat the metal with dielectric grease or a dab of petroleum jelly to lock out moisture. Wipe the top of the battery clean too — a film of dust and acid residue can carry a slow drain right across the case.
Five minutes now saves you the spring ritual of scrubbing green crust while the car sits useless in the driveway.
6. Disconnect or Remove the Battery as the Vehicle Requires
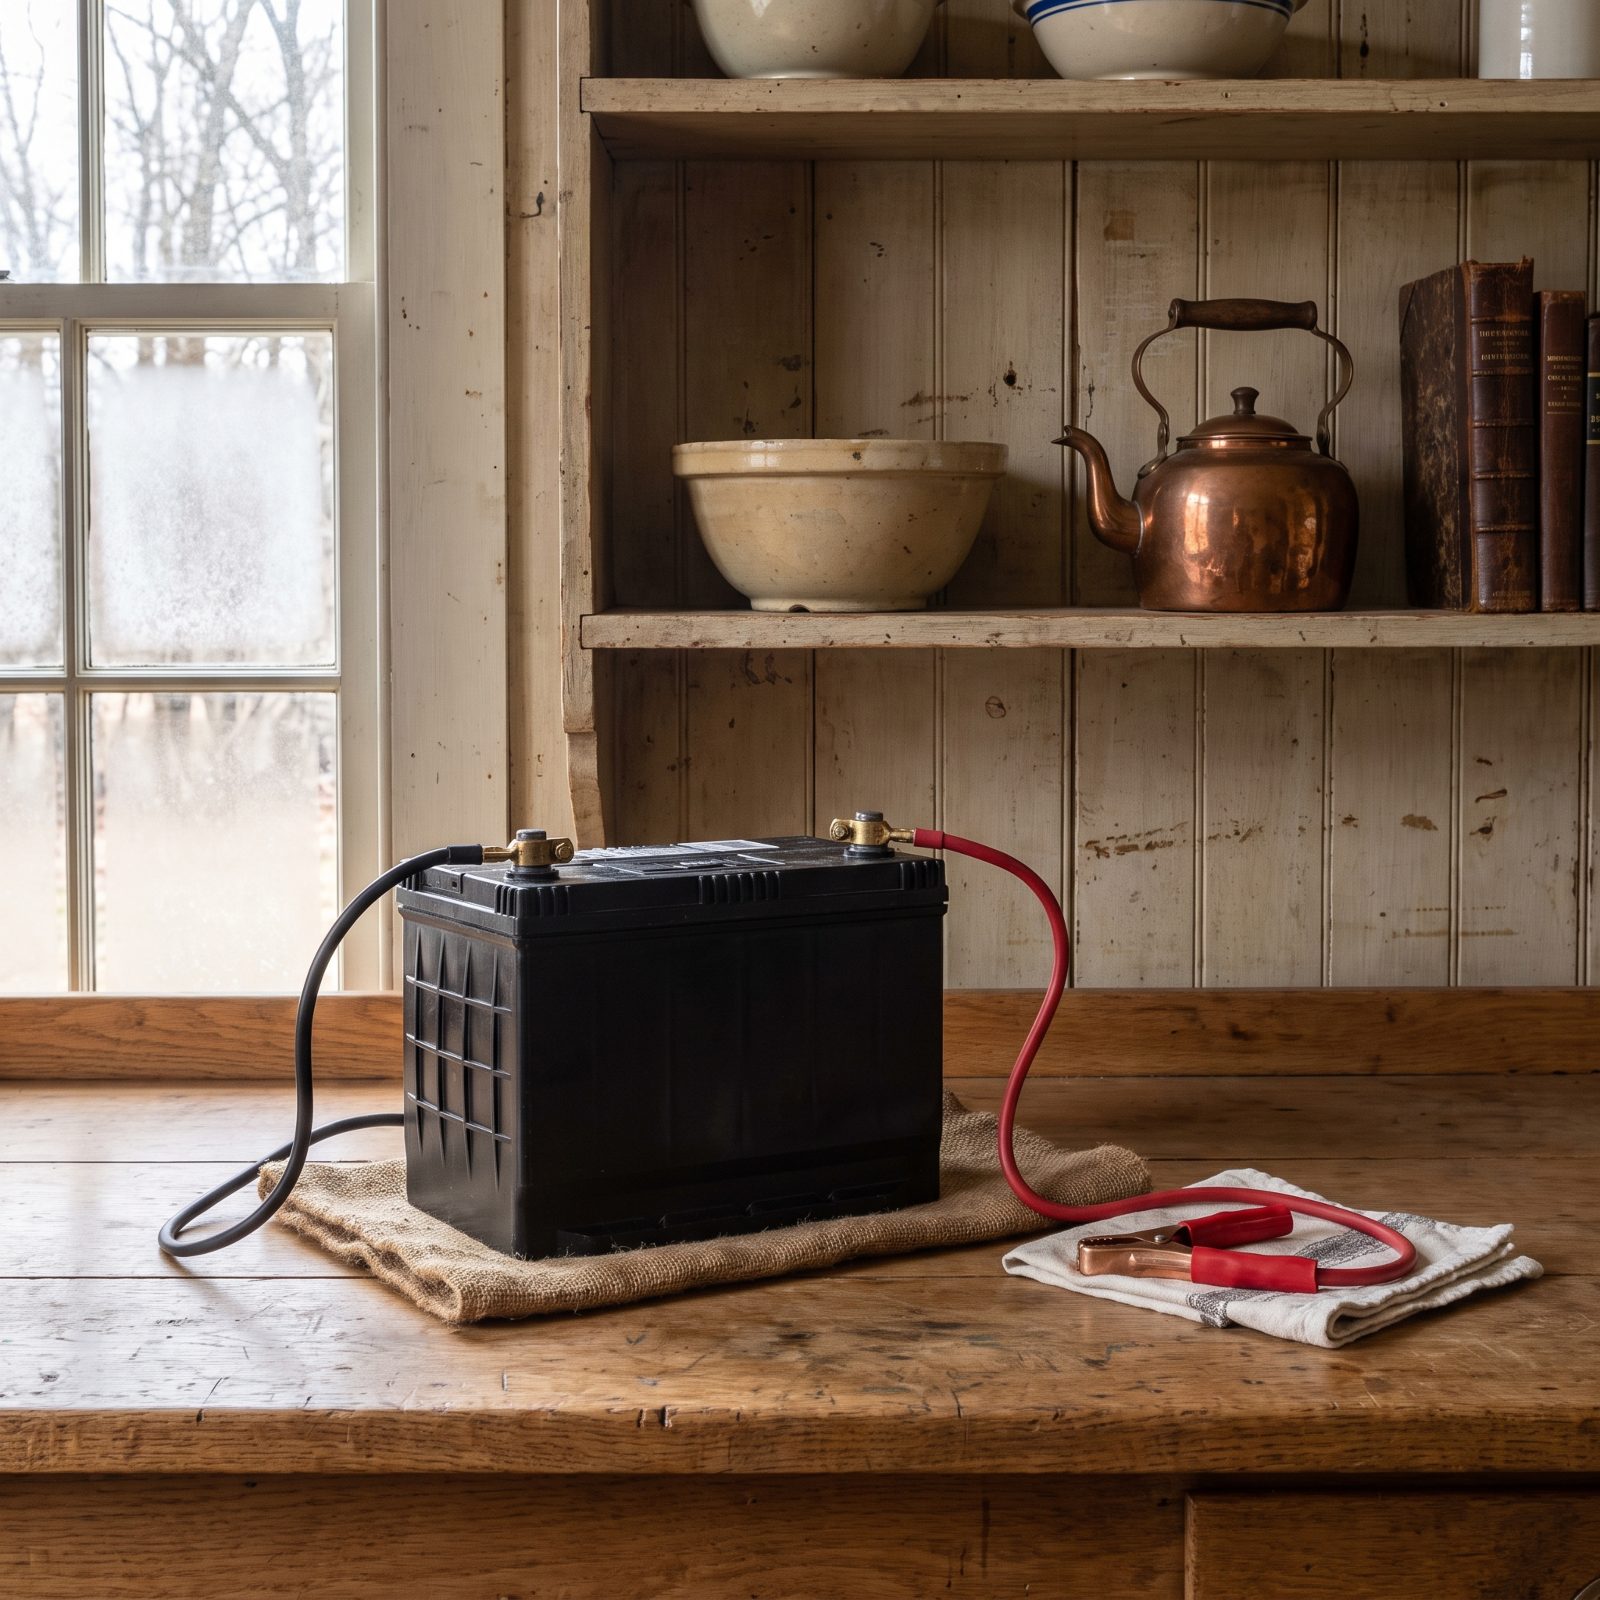
Older cars with points and a simple charging system can usually just have the negative cable disconnected and left alone. Newer collector cars from the ’80s and ’90s are a different story — memory keep-alive circuits, clocks, and alarms that pull a small constant draw. That parasitic drain flattens a battery in weeks and can wreck it if it sits dead and sulfated.
Figure out which camp your car’s in. Got electronics that need keeping alive? You’ll want a maintainer rather than a disconnect. Simpler machine? Disconnecting or pulling the battery entirely is clean and safe.
5. Use a Smart Maintainer Designed for the Battery Type
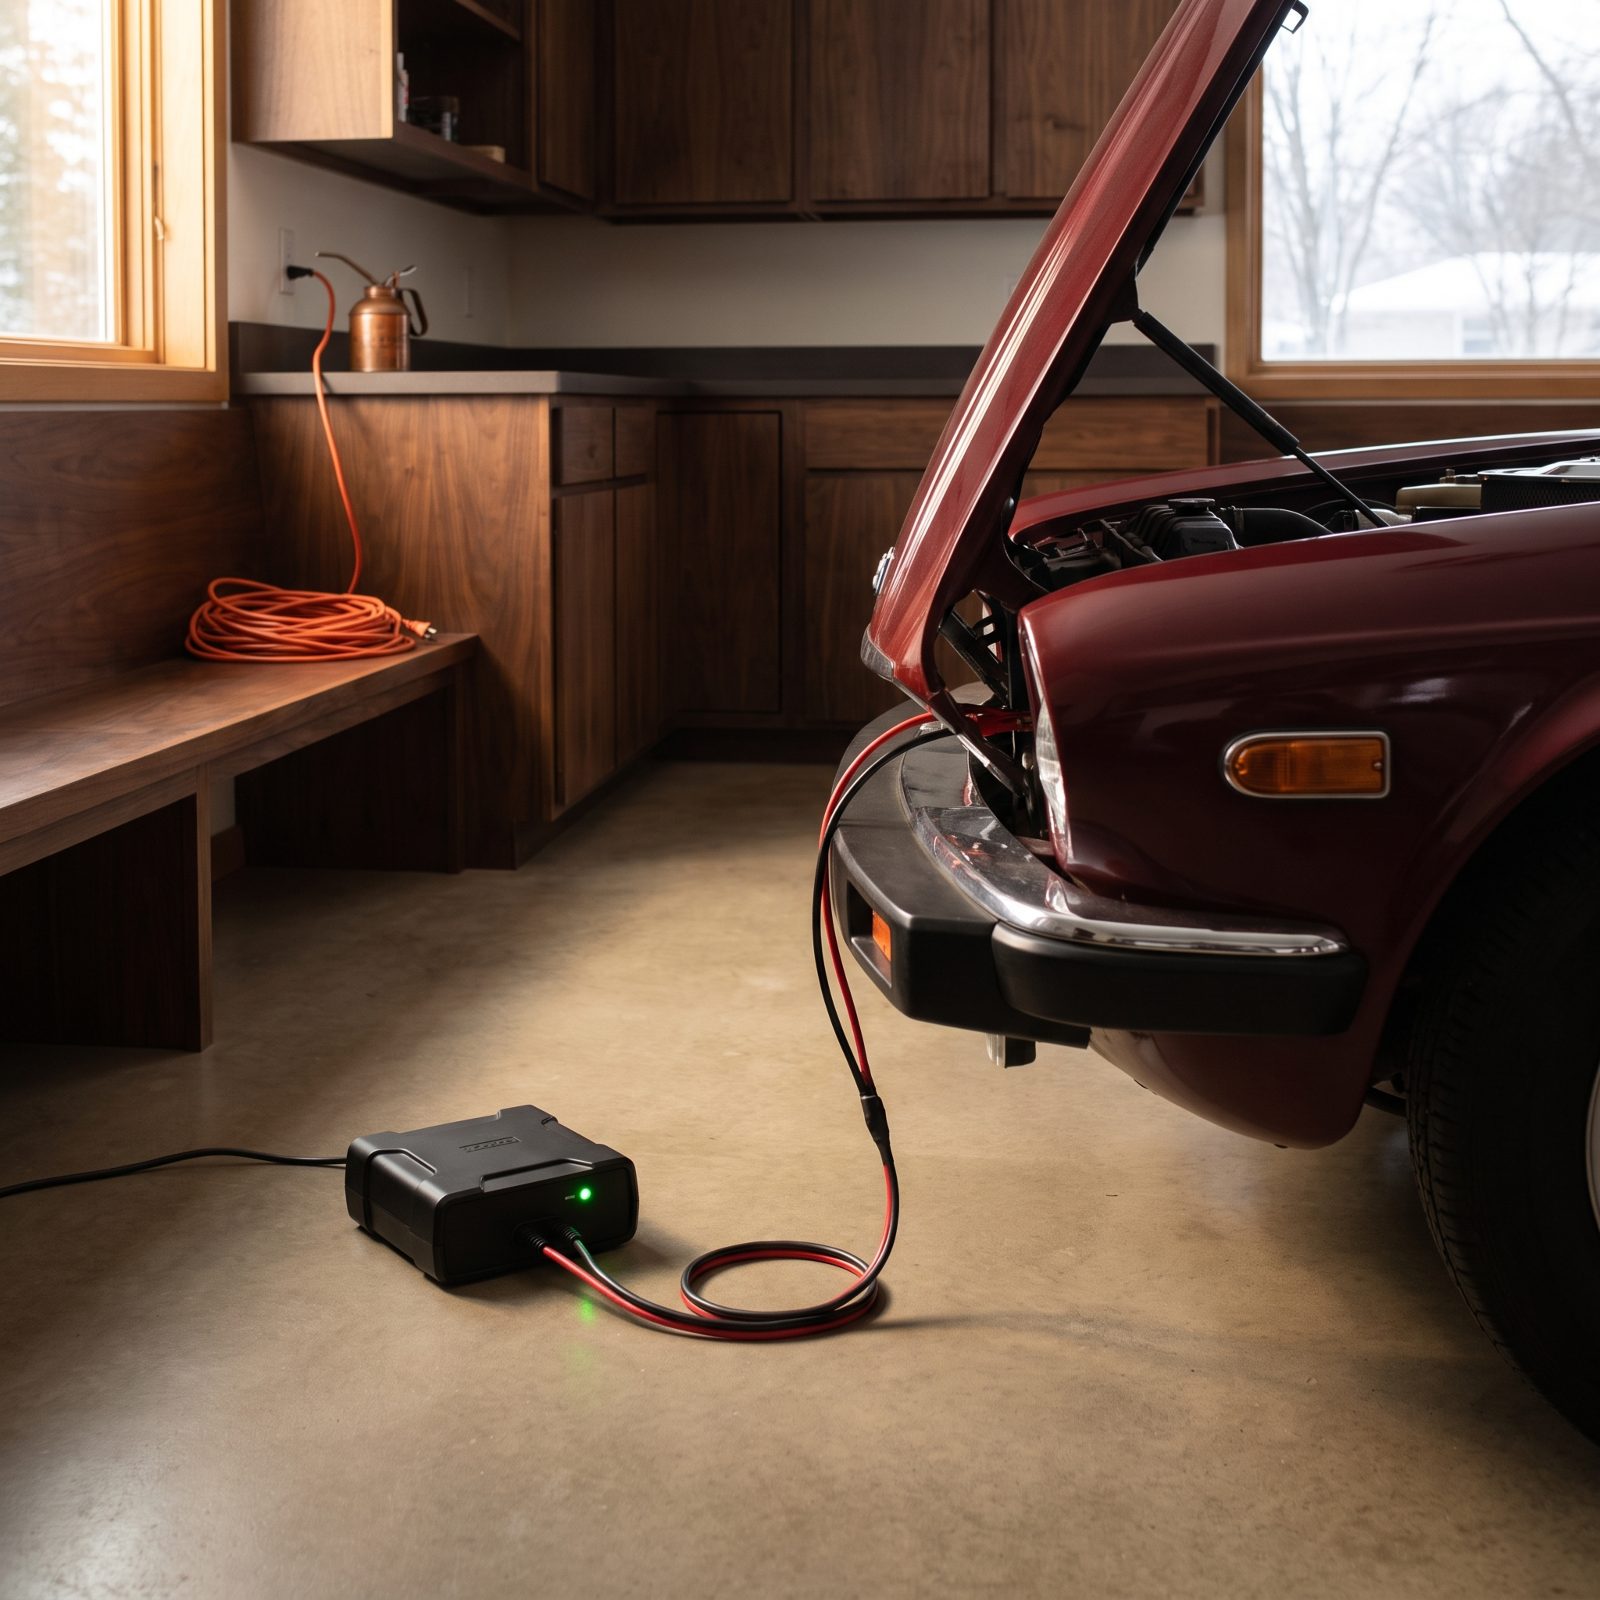
A trickle charger and a smart maintainer are not the same animal. An old-school trickle charger keeps pushing current whether the battery wants it or not, and over a long winter that constant feed can cook the electrolyte right out of the cells.
A smart maintainer watches the battery and only tops it up when it dips, then backs off. That’s what you want for storage. But match it to the chemistry. Flooded lead-acid, AGM, and gel batteries all charge at slightly different voltages, and a maintainer set for the wrong type will either undercharge or overcook.
Modern units from CTEK, NOCO, and Battery Tender let you pick the battery type or detect it automatically. Set it, plug it in, confirm the status light, and your battery comes out of winter as strong as it went in.
4. Use a Clean, Breathable, Tailored Indoor Car Cover
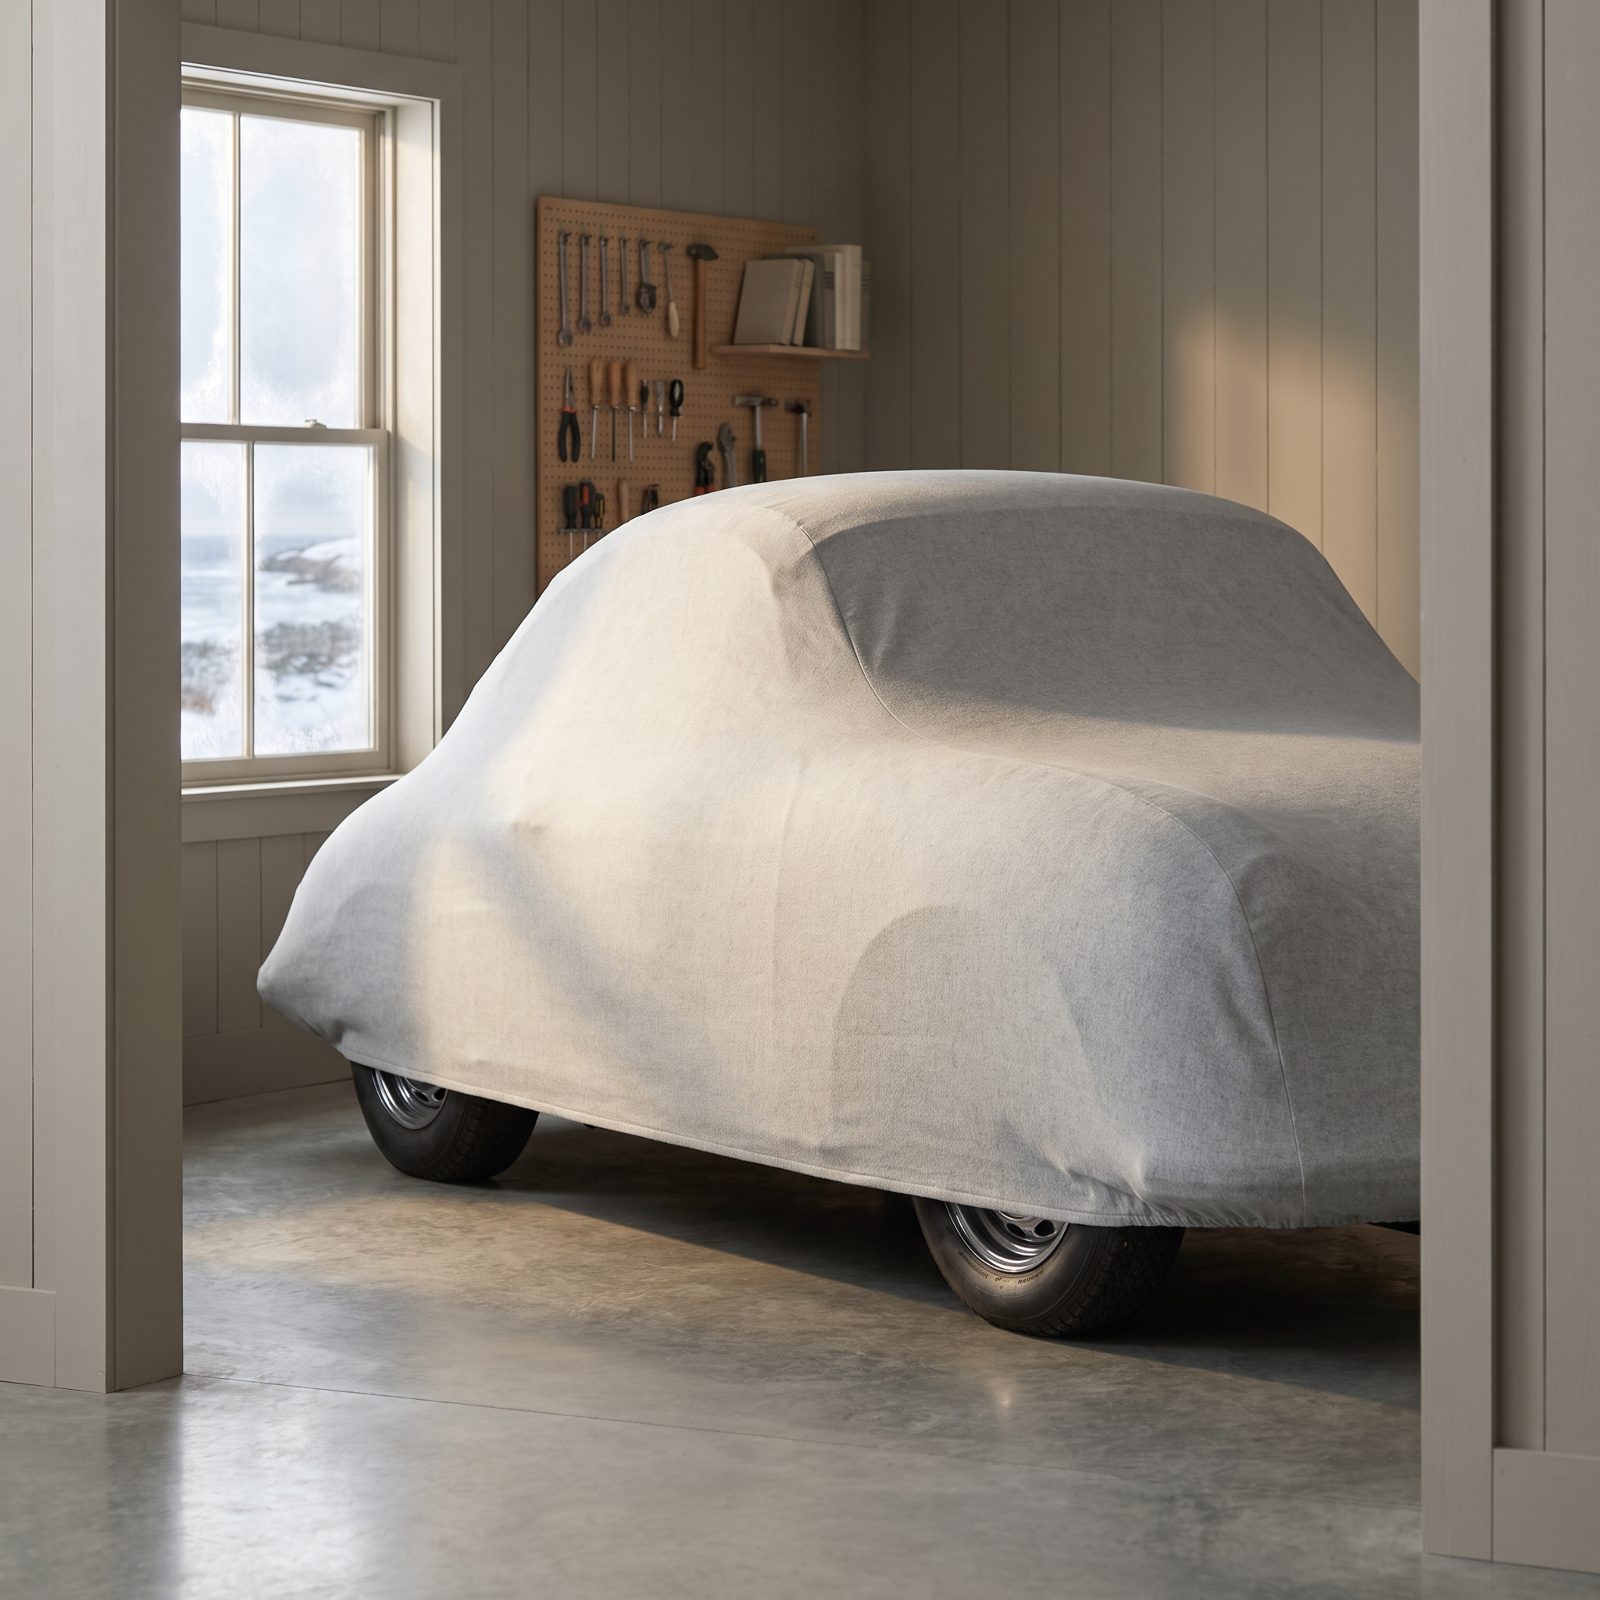
The worst car cover you can own is a cheap plastic tarp. It traps moisture against the paint, holds condensation like a greenhouse, and the stiff material sandblasts your clear coat every time it shifts. Folks reach for them because they’re cheap — then blow a whole weekend buffing out the swirls.
Indoors, you want a soft, breathable cover made for the car: flannel-lined or a quality nonwoven fabric that lets moisture escape while keeping dust off. Fit matters too. A loose cover that flaps in a draft will rub shine marks into the paint over a few months.
Wash the car first and let it dry completely. A cover over a damp or dirty car just presses grit and moisture into the finish for the whole season.
3. Never Stack Boxes, Tires, or Parts on the Car
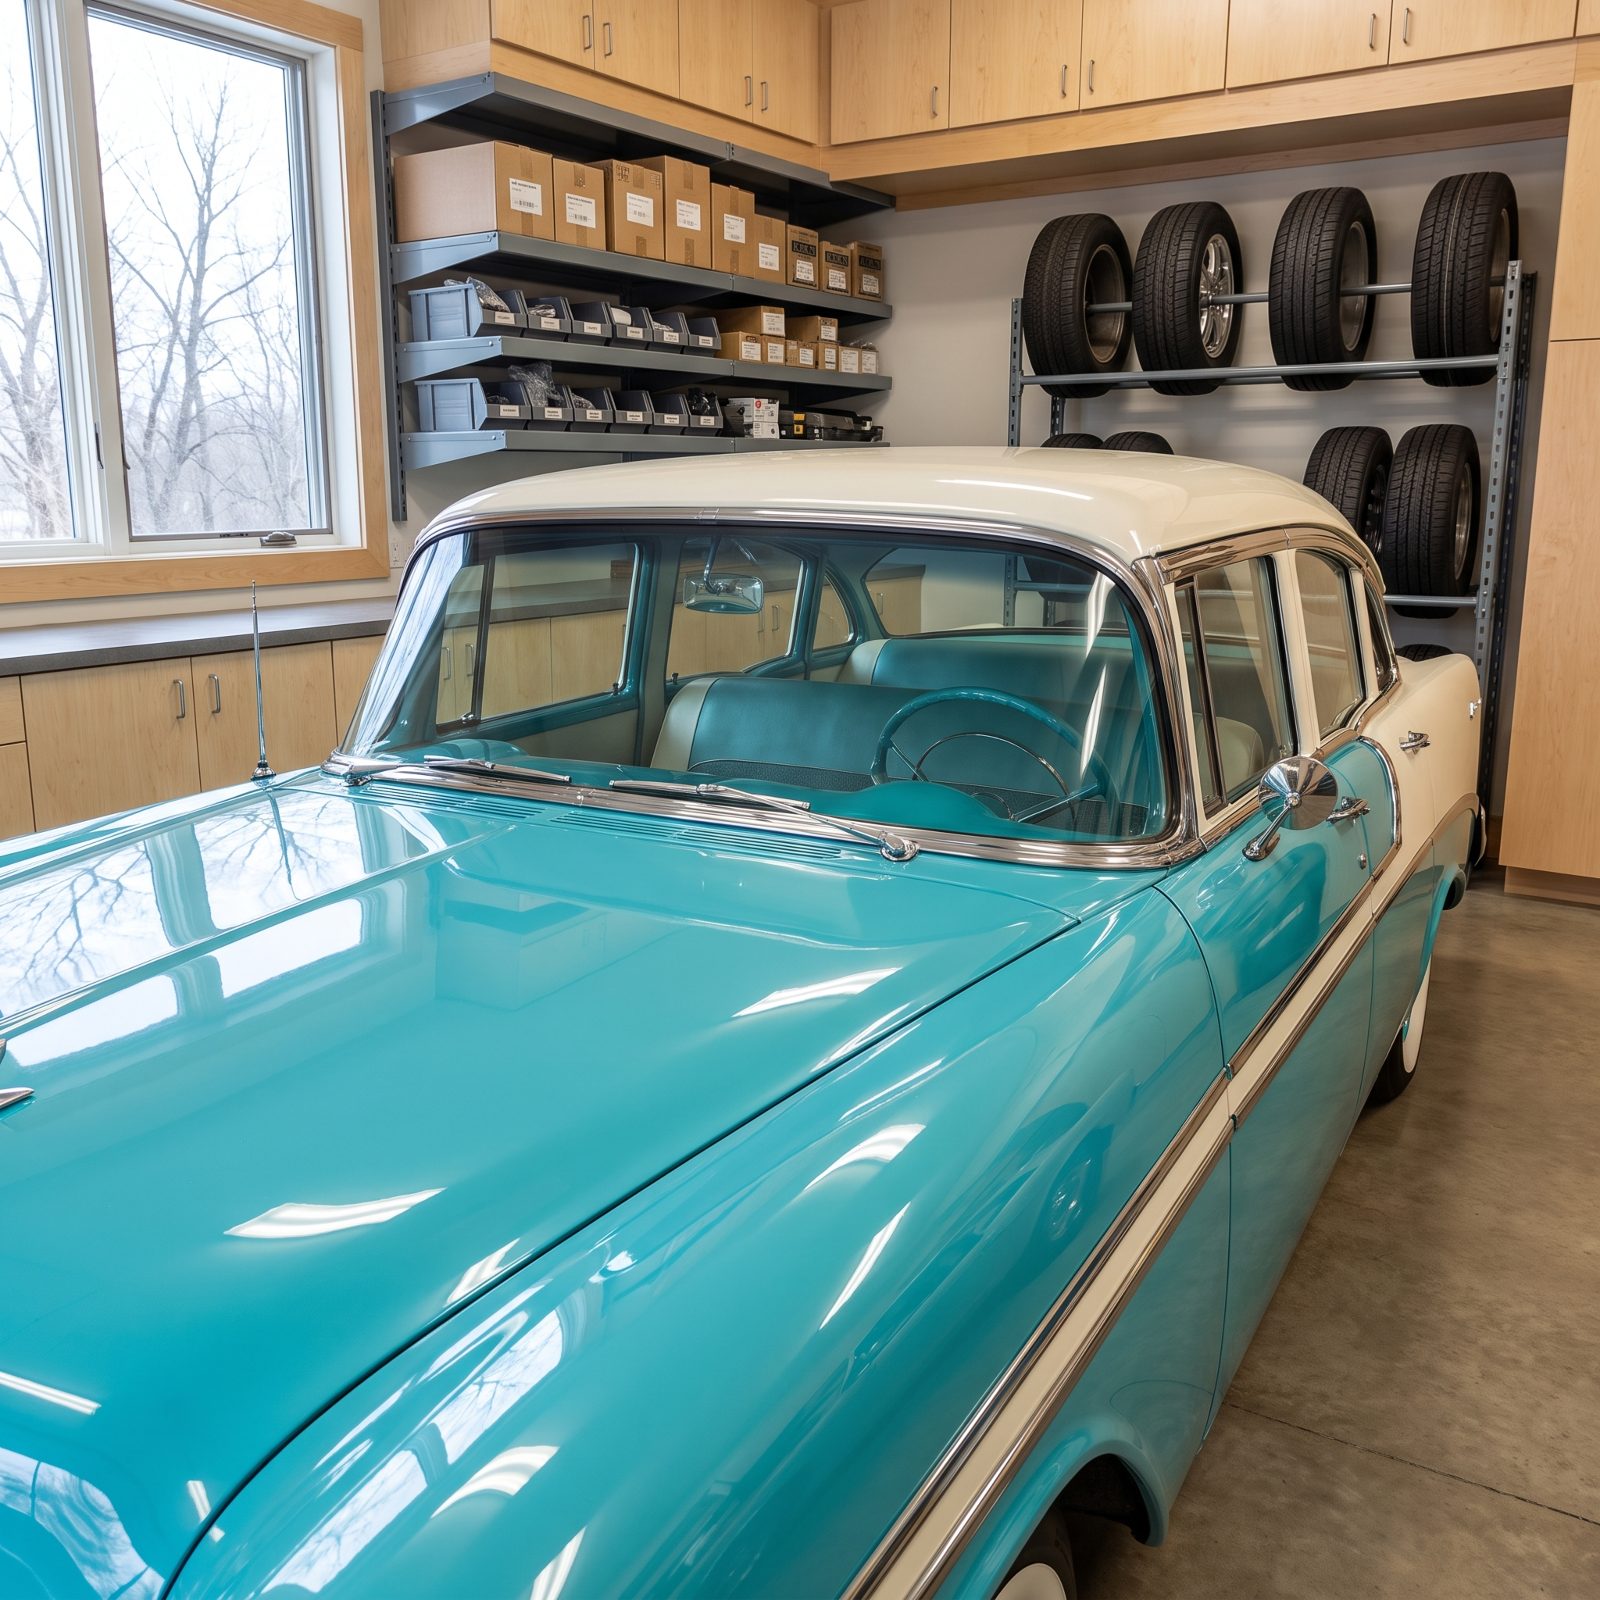
Garage space is tight. The flat roof, hood, and trunk of a stored car start looking like free shelf space somewhere around the second box of Christmas decorations. Don’t do it.
A box of books on a hood leaves a permanent dent you won’t spot until spring sun rakes across the panel. Stacked tires scuff and dent. Anything sliding off puts a scratch down a fender that costs real money to fix. And weight on the roof over months can distort thin vintage sheet metal.
Store parts on wall shelving, tires on a proper rack off the floor, everything off the car. The car gets the clear space. Your junk gets the walls. It’s not negotiable.
2. Inspect the Car and Storage Space at Regular Intervals
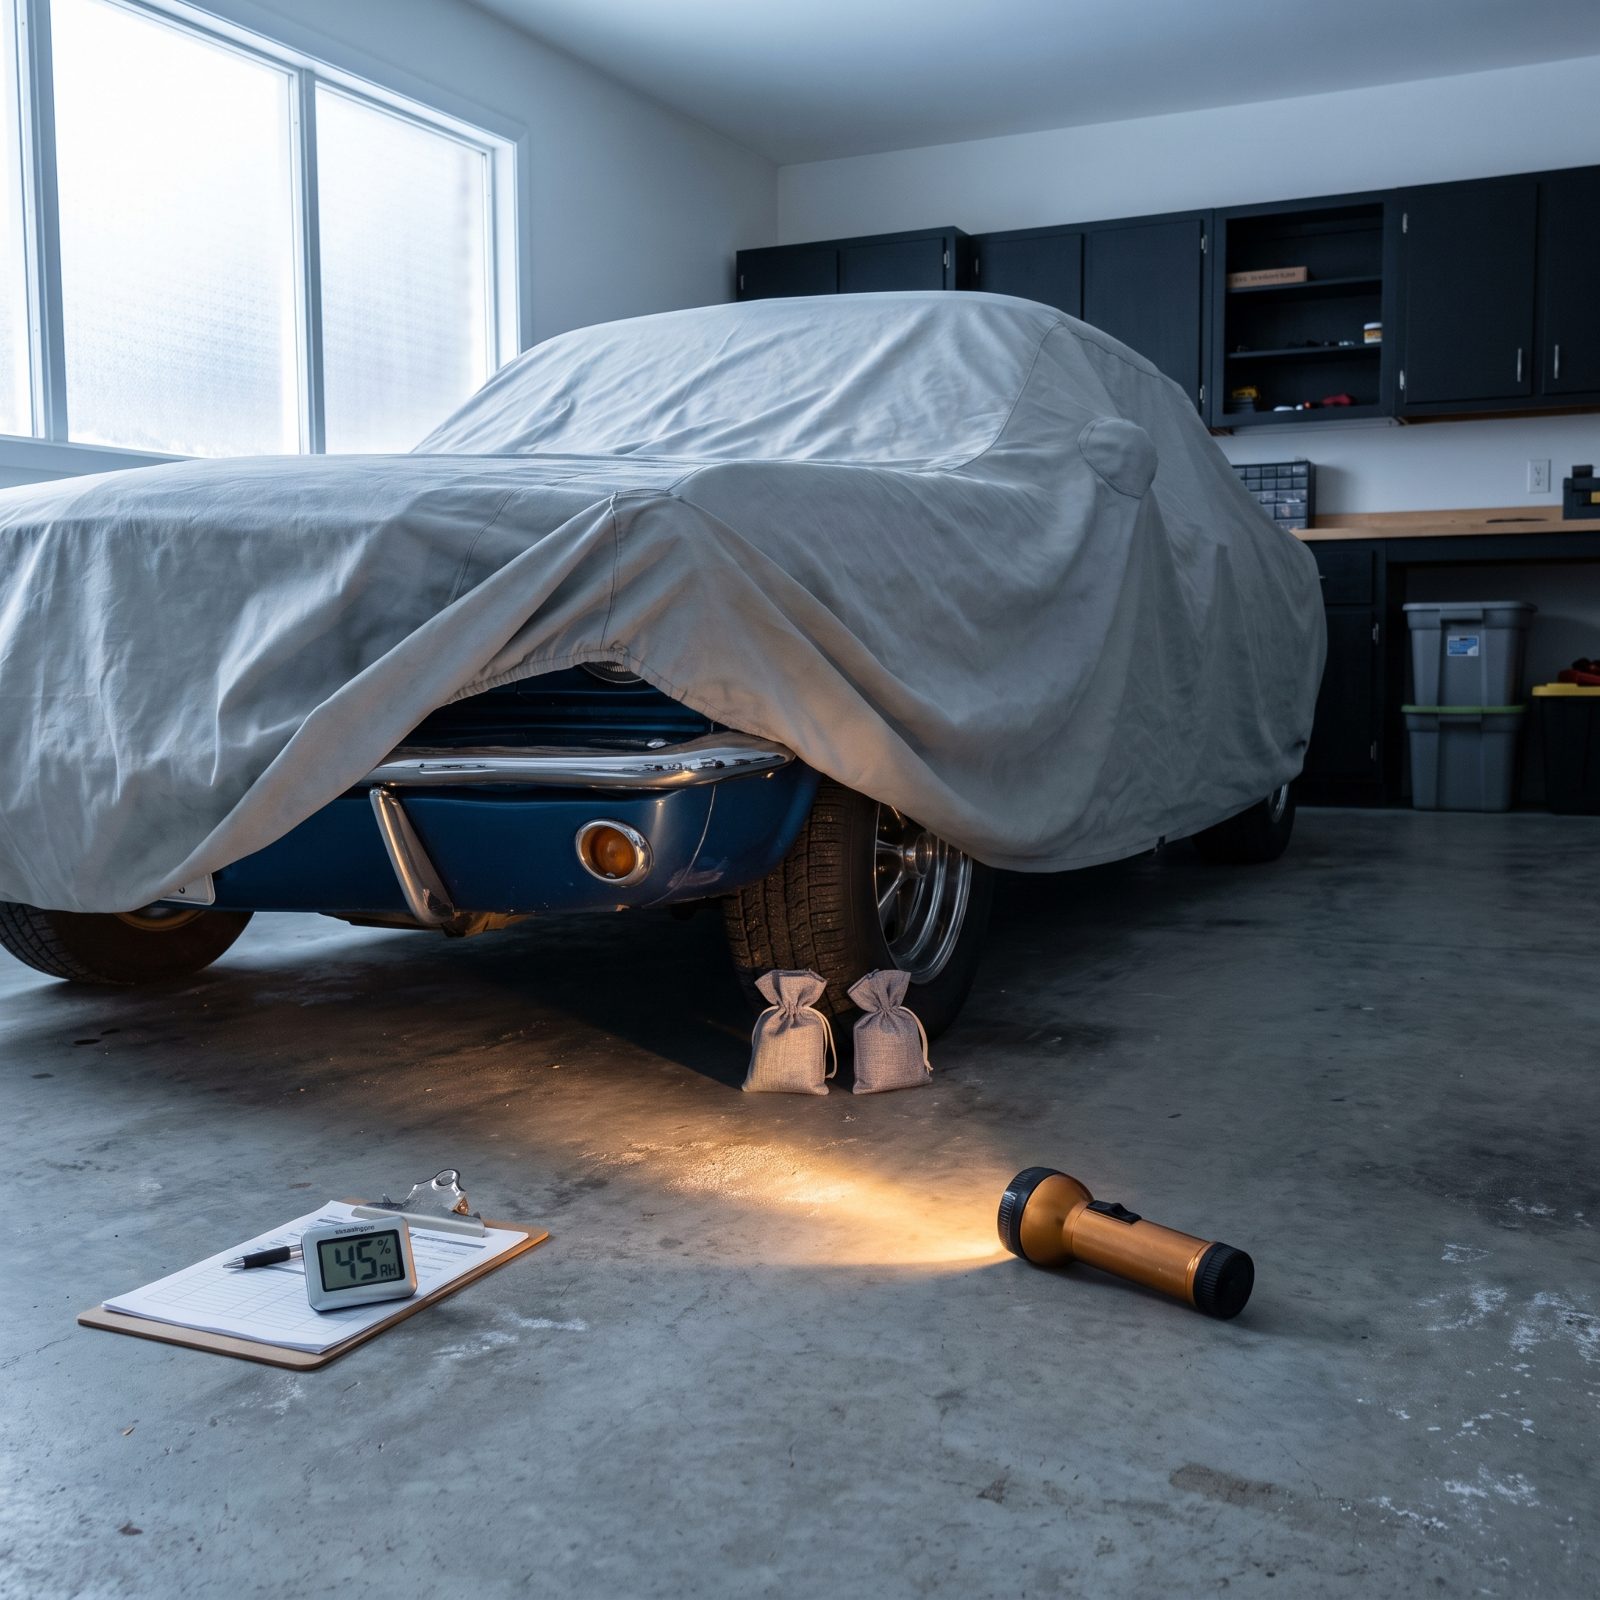
Tucking the car away in November and not looking at it again until April is exactly how winter surprises happen. Mice move in. A damp spot forms. A tire quietly loses pressure. A maintainer trips off and nobody noticed.
Get out there once a month, even for ten minutes. Pull the cover corner, shine a light around and under the car, and look for droppings, chewed insulation, or nesting material in the air cleaner and exhaust tip. Rodents love a warm engine bay, and they’ll eat wiring insulation and foam seats for the sheer fun of it.
Confirm the maintainer light is still green. Note the tire pressures. Keep a cheap humidity gauge in the space, and crack a window or run a small dehumidifier if it starts climbing.
1. Skip Brief Winter Start-Ups That Never Reach Full Operating Temperature
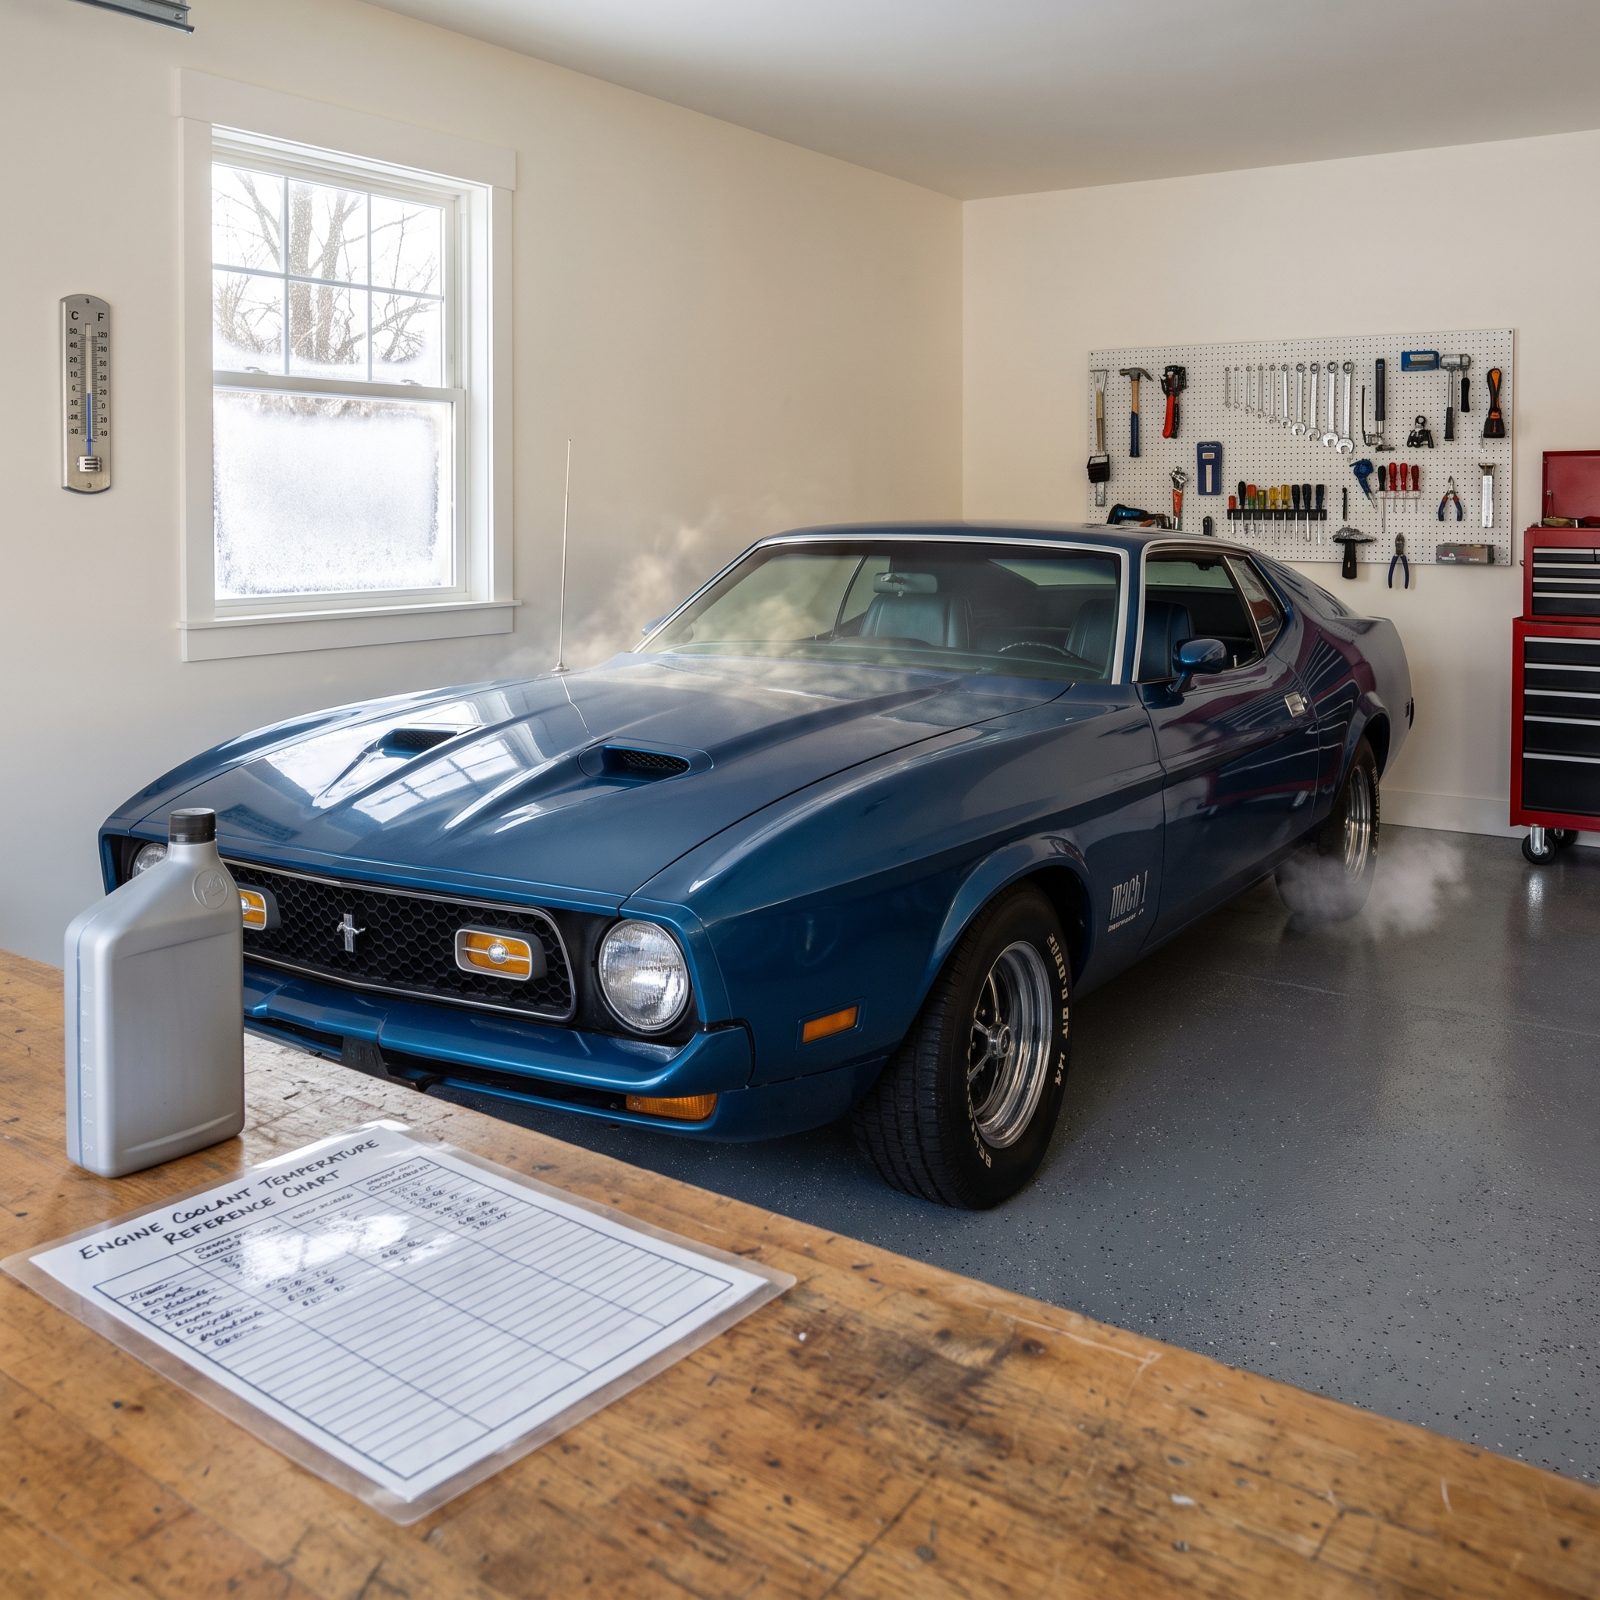
You walk out to the garage on a cold Saturday, fire the car up for five minutes, listen to it settle into idle, then shut it down feeling like you did the old girl a favor. You didn’t.
Here’s what actually happens under that hood. A short idle never gets the engine hot enough to boil off the water and fuel that collect down in the crankcase, so that moisture mixes with combustion acids and turns your oil into a mild corrosive — one that sits on bearings, cam lobes, and cylinder walls for months. Meanwhile condensation builds in the exhaust and chews the muffler apart from the inside out. And the battery? It barely claws back what the starter yanked out of it.
So if you’re going to run it, drive it. Get the oil temperature well past 180 and keep it there a good while, which means real miles down the road, not a lazy lap around the block. No safe roads in January? Then leave the key in your pocket. Put it on a battery tender, change to fresh oil before storage, and walk away until spring. A sleeping engine with clean oil beats a cold-started one, no contest.
I lost a good set of mufflers this way years ago. Starting it felt responsible. All I was really doing was rusting the pipes from the inside, one cold Saturday at a time.