
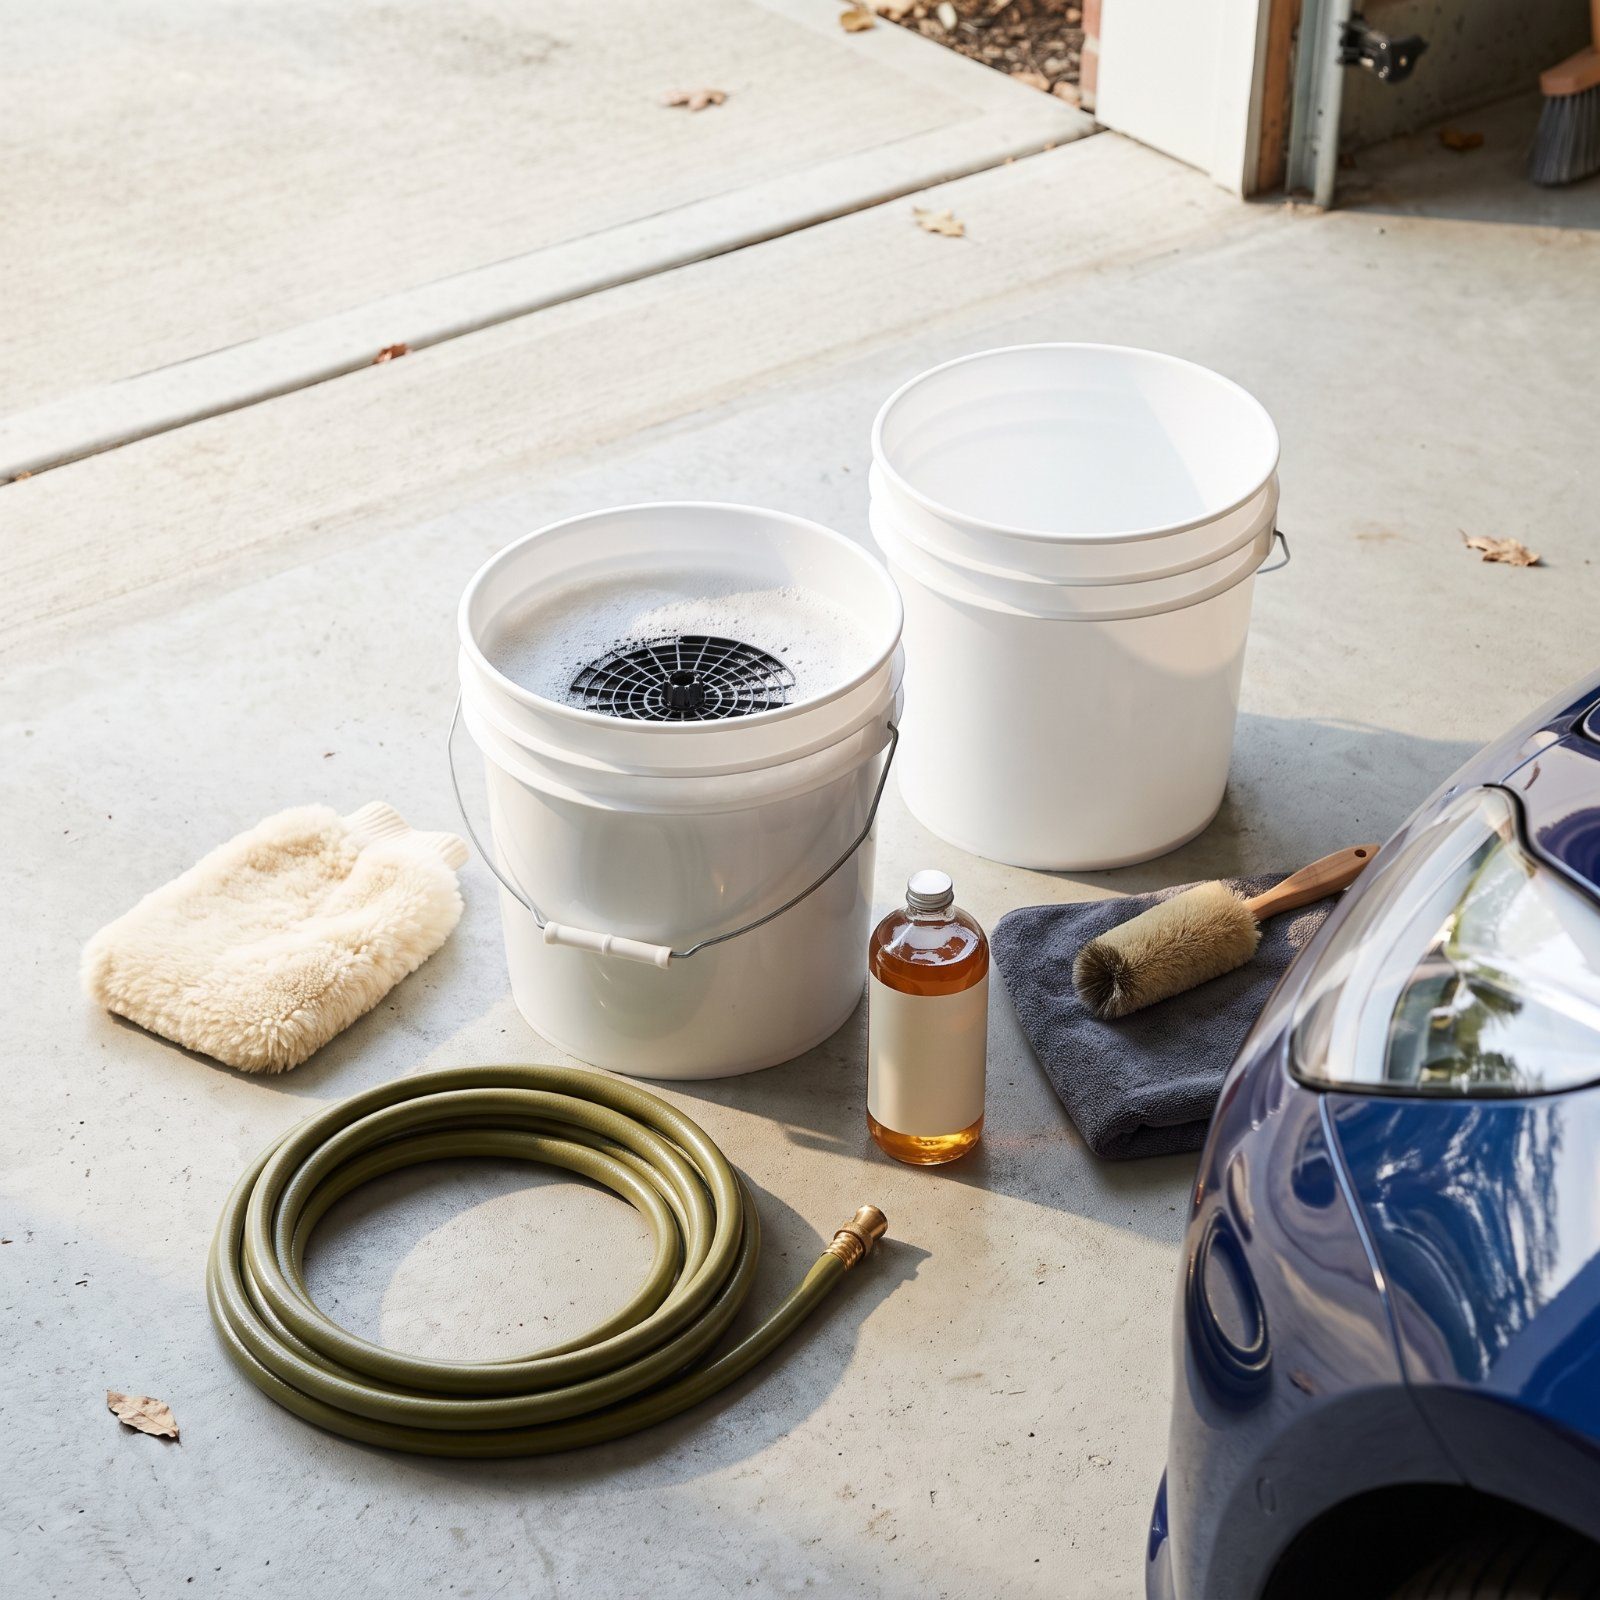
Would you like to save this?
The swirl marks on your hood didn’t come from the road. They came from Saturday morning, a bucket, and good intentions. Here’s the uncomfortable truth: most paint damage happens during the wash, not the drive. A dropped mitt, a hot panel, a nozzle held an inch too close — these are the quiet killers of a good finish, and almost nobody blames the wash. Fixing them costs next to nothing and adds no time once you know the moves. What follows are the habits worth breaking before you fill that bucket again.
37. Driving Through an Automatic Wash With Spinning Brushes
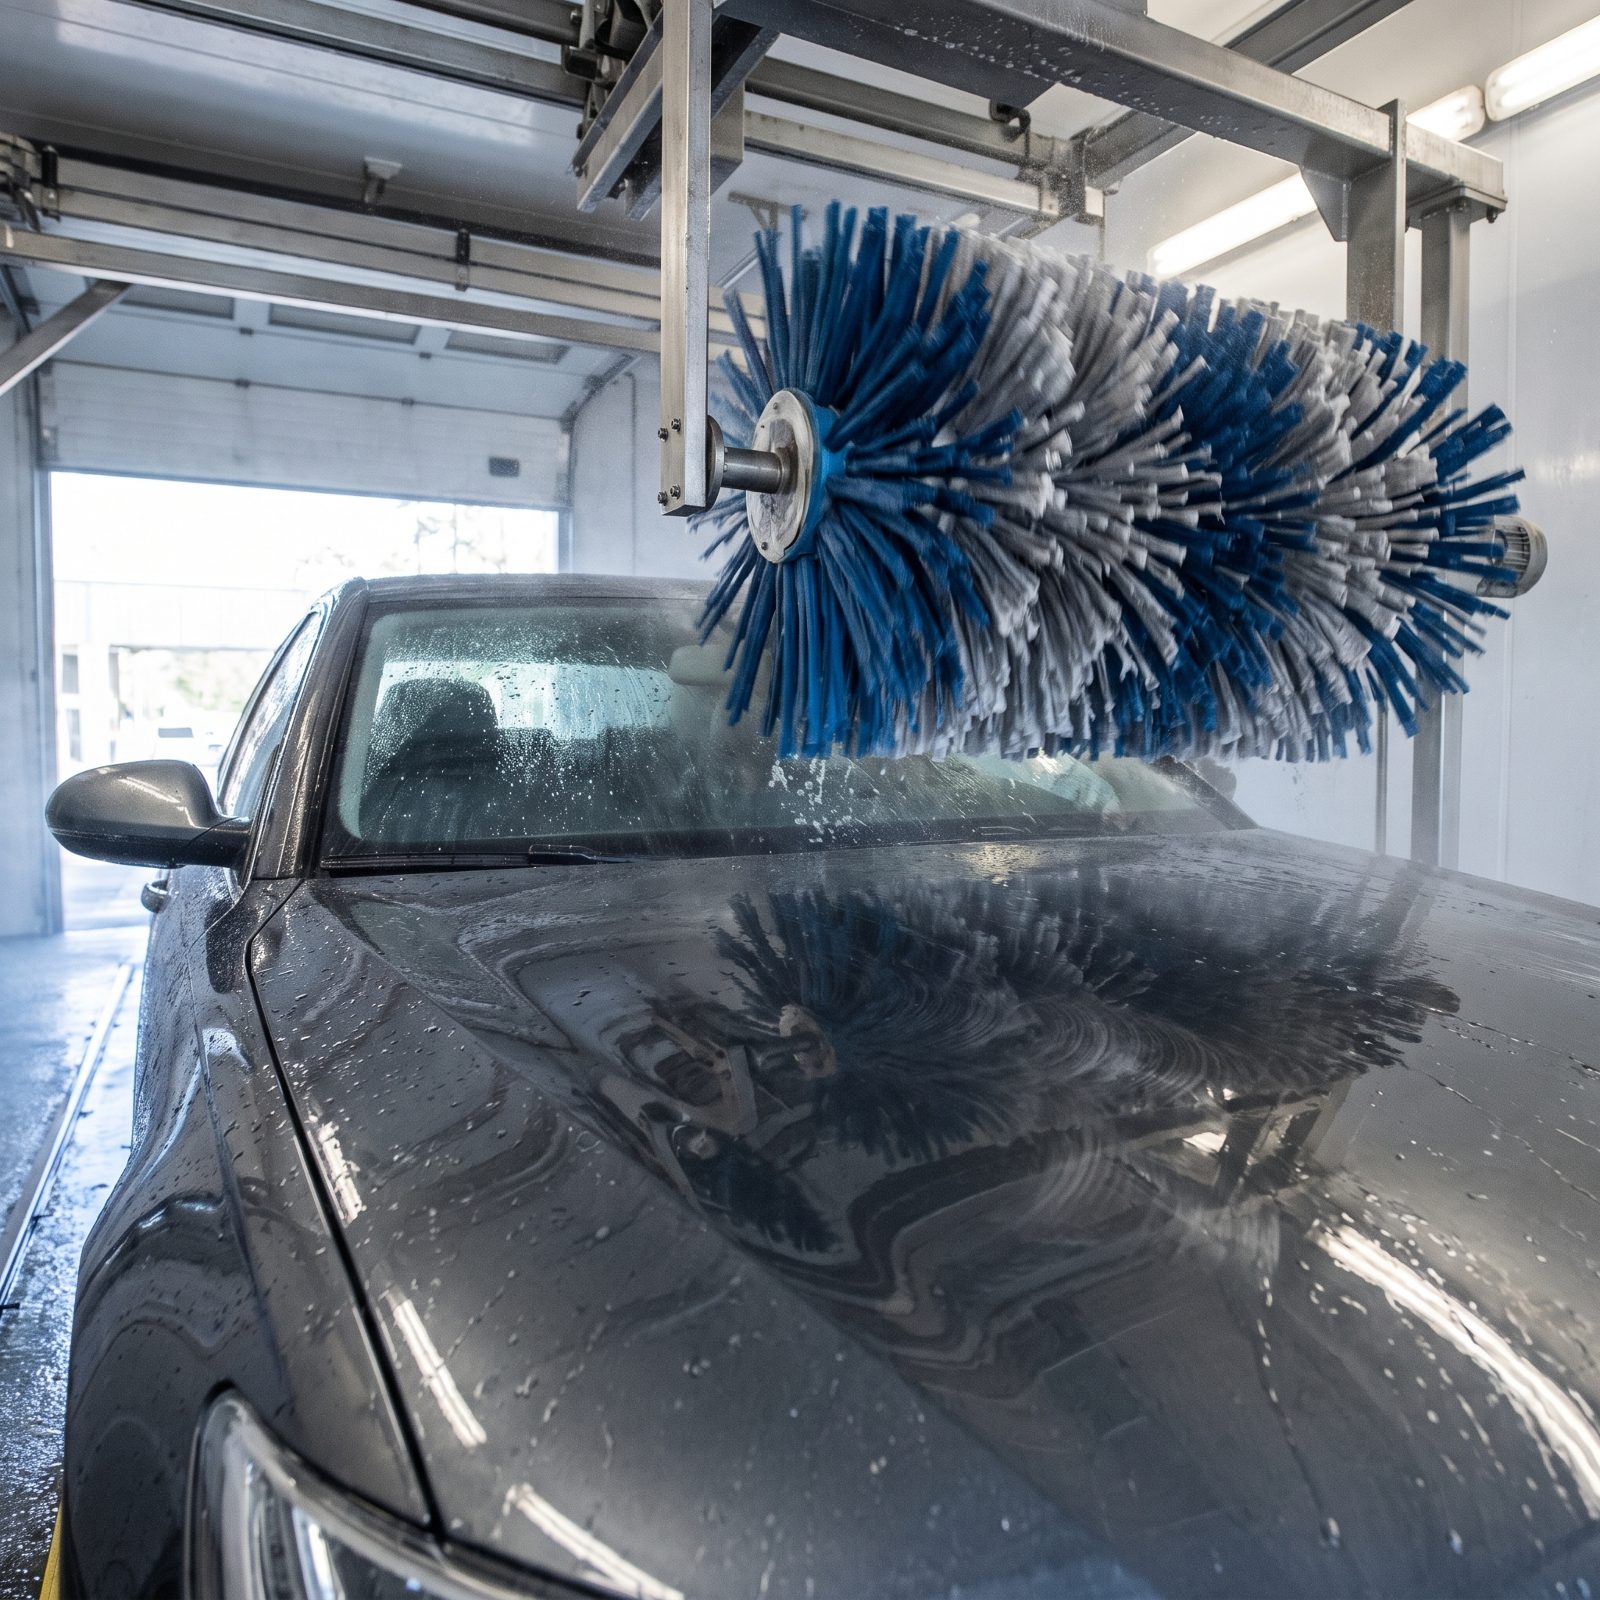
Those big spinning brushes look soft and harmless. They aren’t. They scrub a hundred cars a day and carry the grit from every single one of them, dragging road sand across your clearcoat in tight little circles. You get swirl marks — that hazy spider-web pattern you only notice in direct sun — and over the years it dulls a deep color into something flat and tired.
Skip the brush tunnels. A touchless laser wash will do in a pinch, and a proper two-bucket hand wash does it best. If convenience is non-negotiable, find a touchless automatic that relies on high-pressure water and foam, with nothing physical ever touching the paint.
36. Washing the Car With Dish Soap
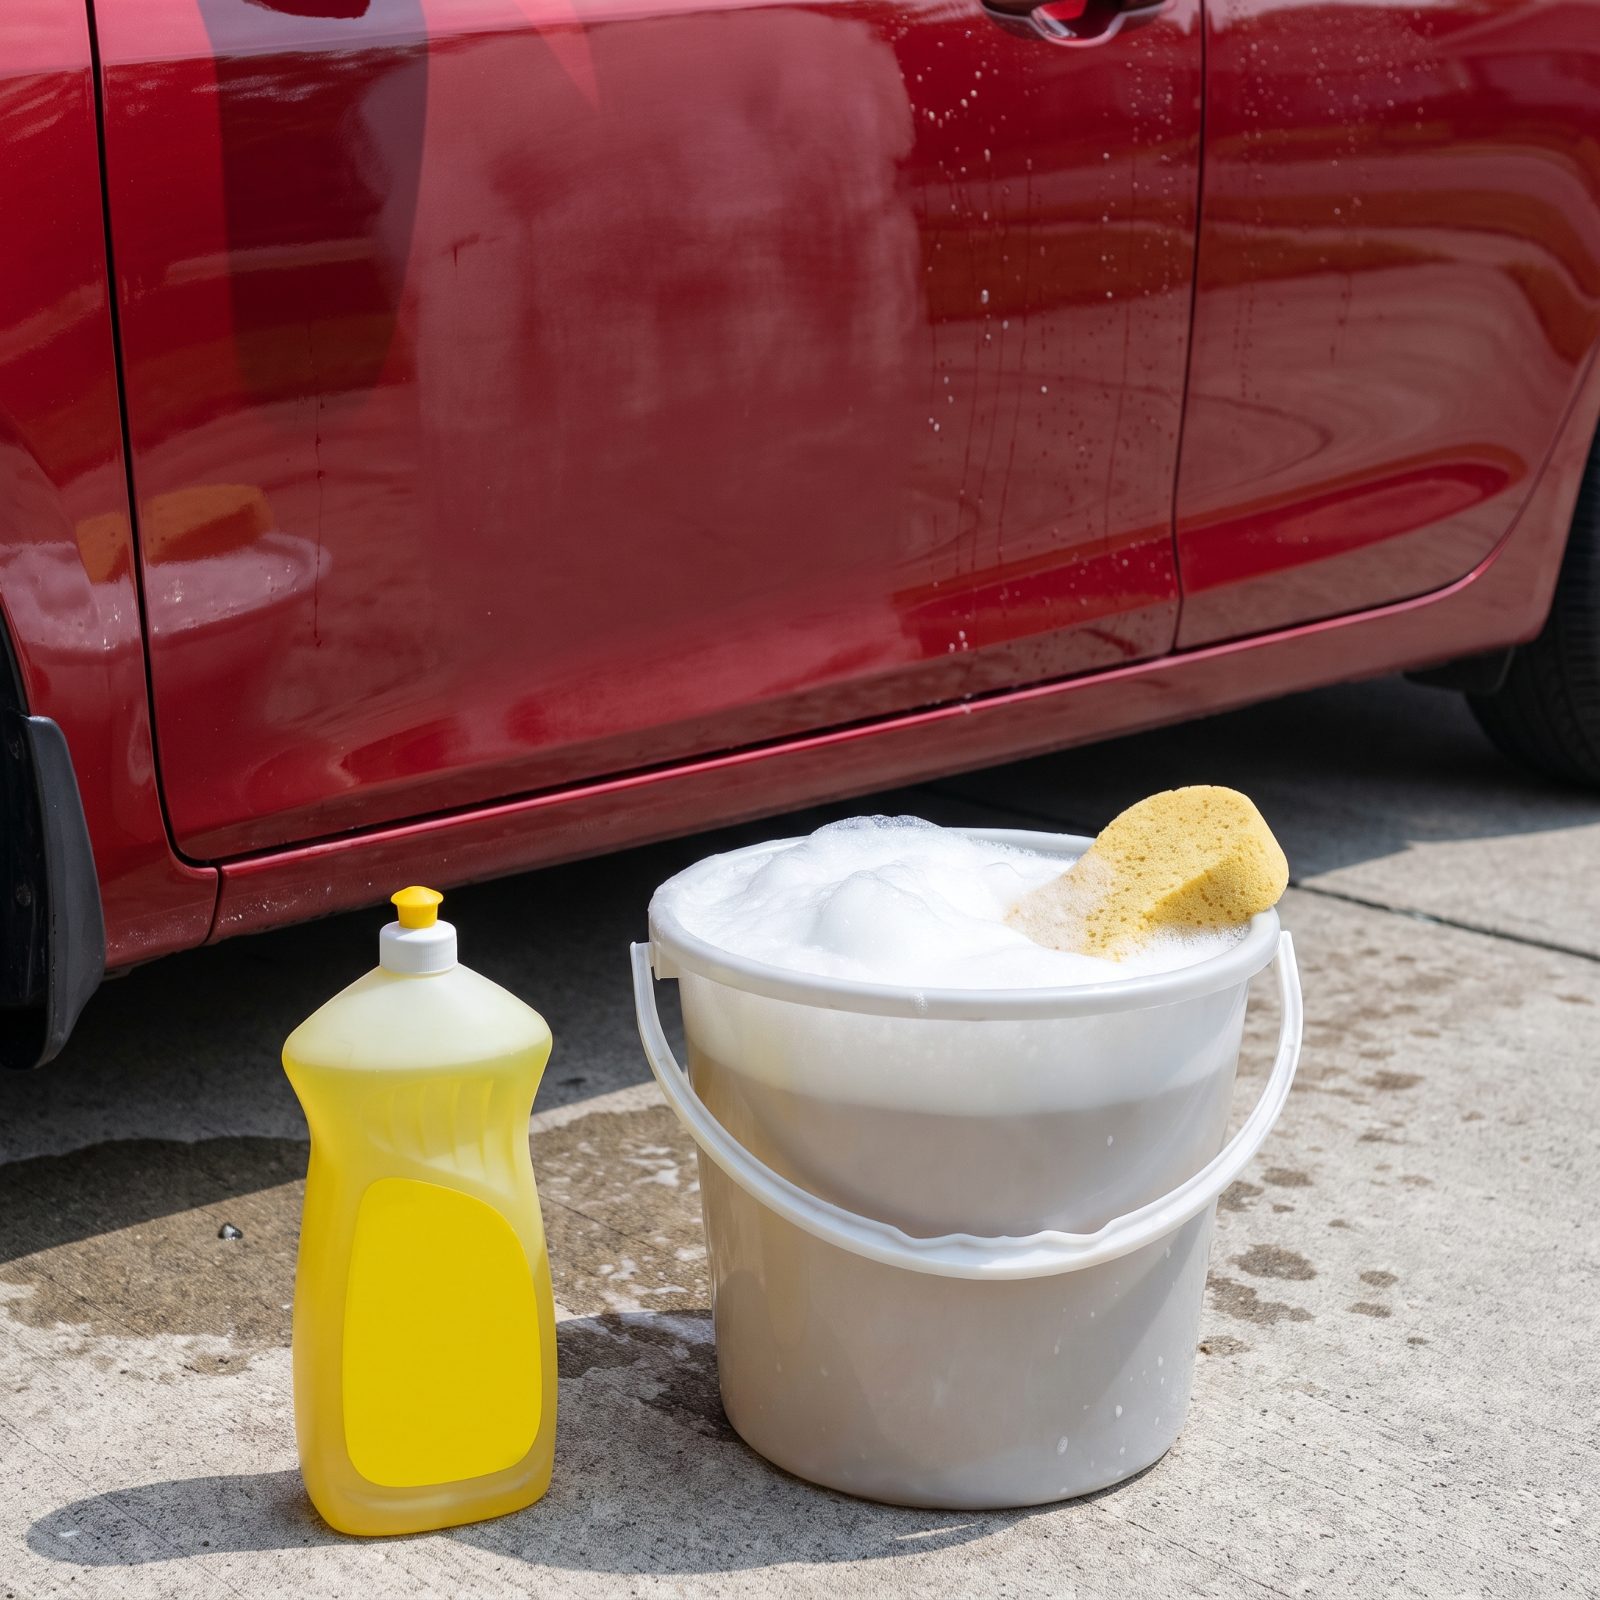
Dish soap is built to strip grease off dinner plates, and it does the exact same thing to the wax and sealant protecting your paint. One wash and the beading’s gone, the surface goes thirsty, and the clearcoat sits there naked against UV and acid rain until you reseal it.
Plenty of people use dish soap because their parents did, figuring extra suds meant extra clean. Wrong on both counts. Grab a pH-neutral car shampoo instead. A gallon jug lasts most of a season, protects the wax you already laid down, and rinses clean without leaving film in the door jambs.
35. Spraying Undiluted All-Purpose Cleaner on the Body
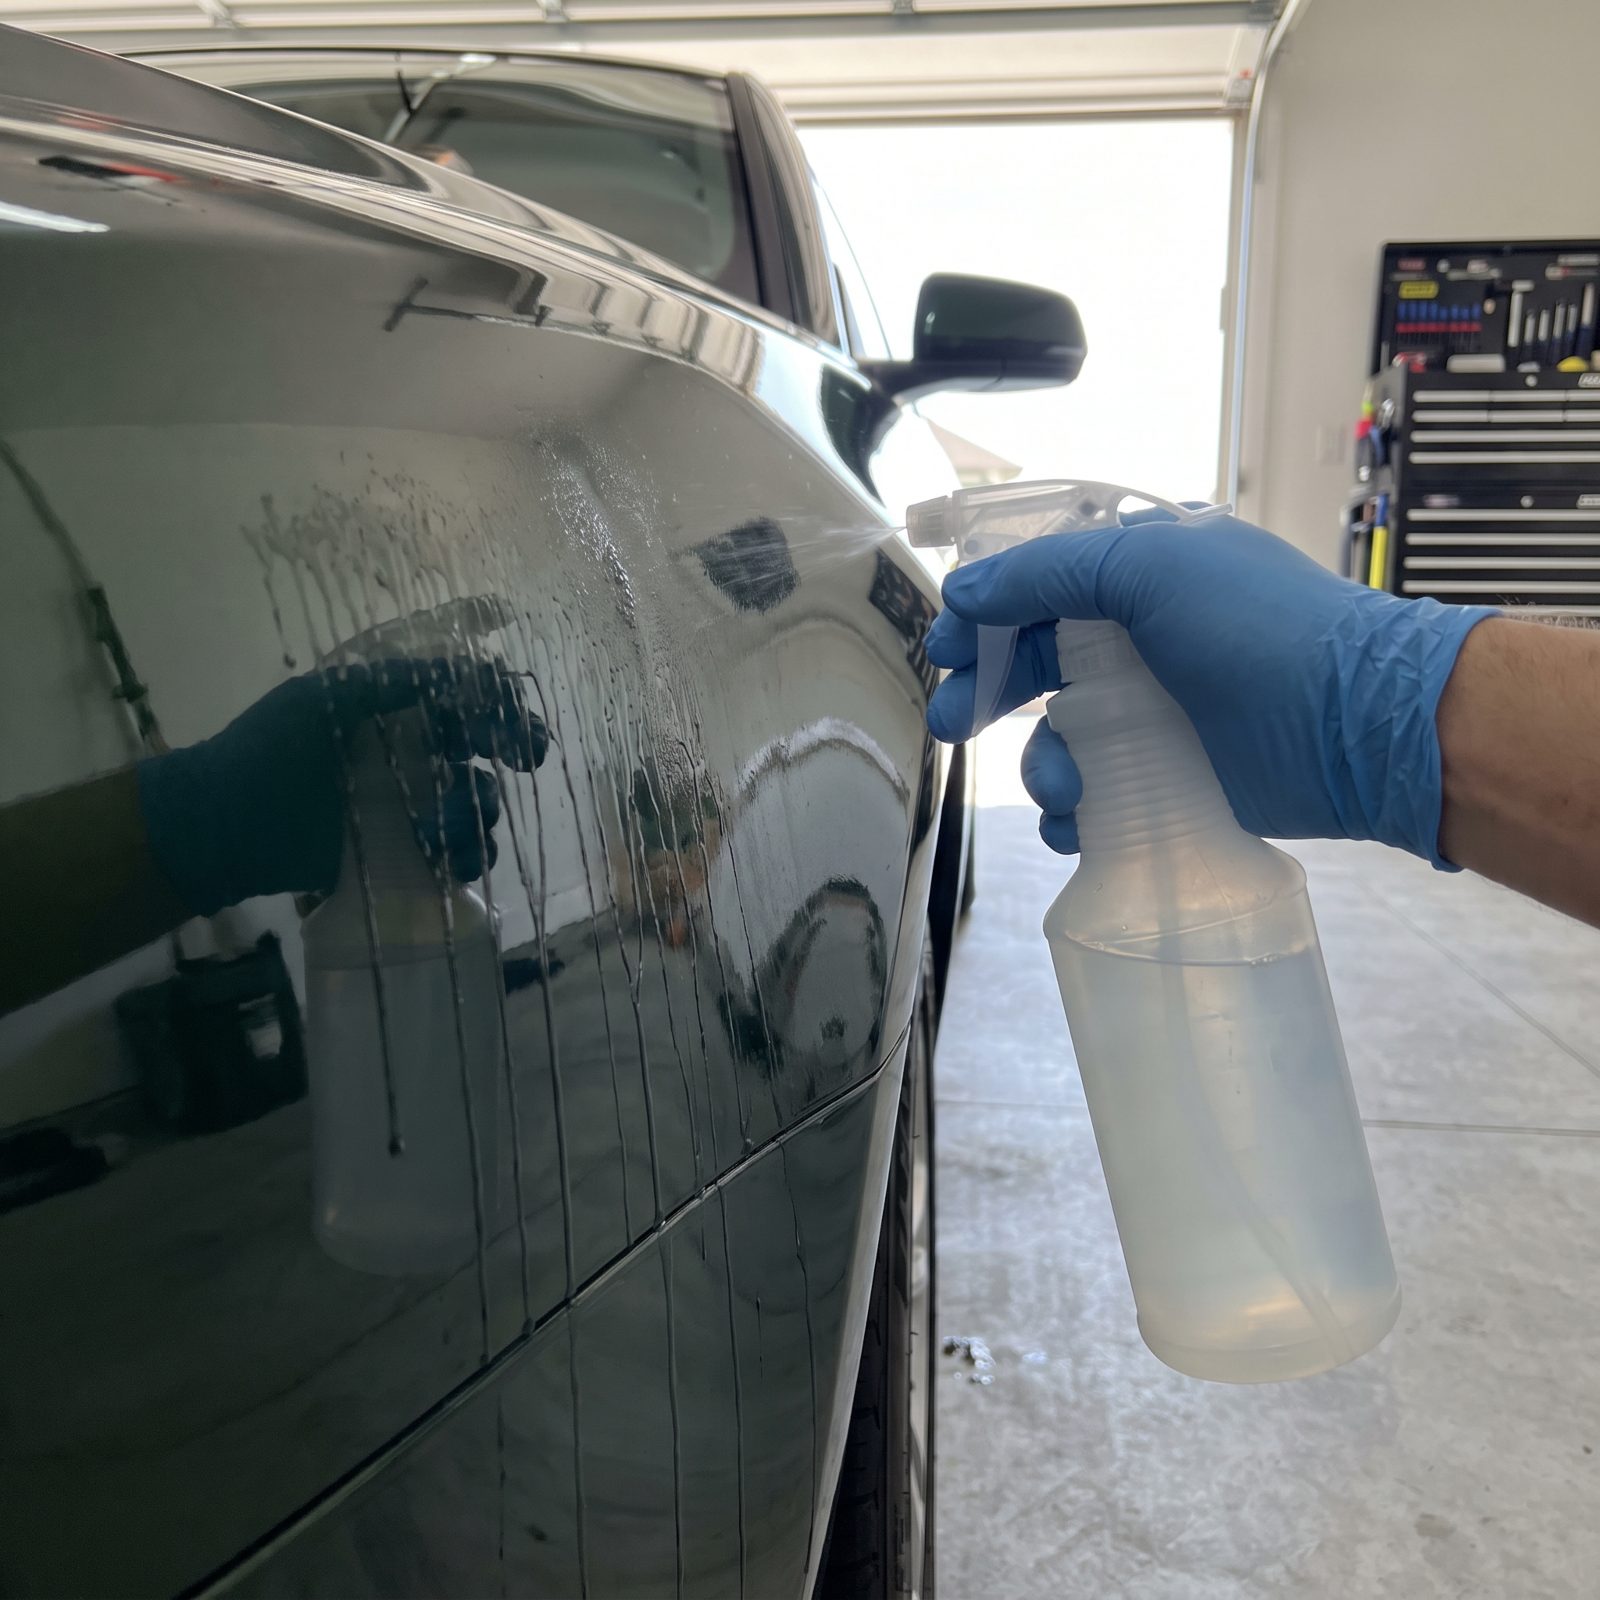
All-purpose cleaner earns its keep on engine bays, tires, and filthy floor mats. Hit your painted panels with it full strength, though, and it’s a different story. Most APCs run alkaline, and at full concentration they’ll strip wax, haze the clearcoat, and leave etched streaks wherever the stuff dried before you got to the rinse.
Keep APC where it belongs. For bug splatter or bird droppings on paint, dilute it way down or reach for a dedicated bug-and-tar remover rated safe for clearcoat. And never — I mean never — let any cleaner dry on a hot panel in the sun.
34. Cleaning Paint With Bleach or Ammonia
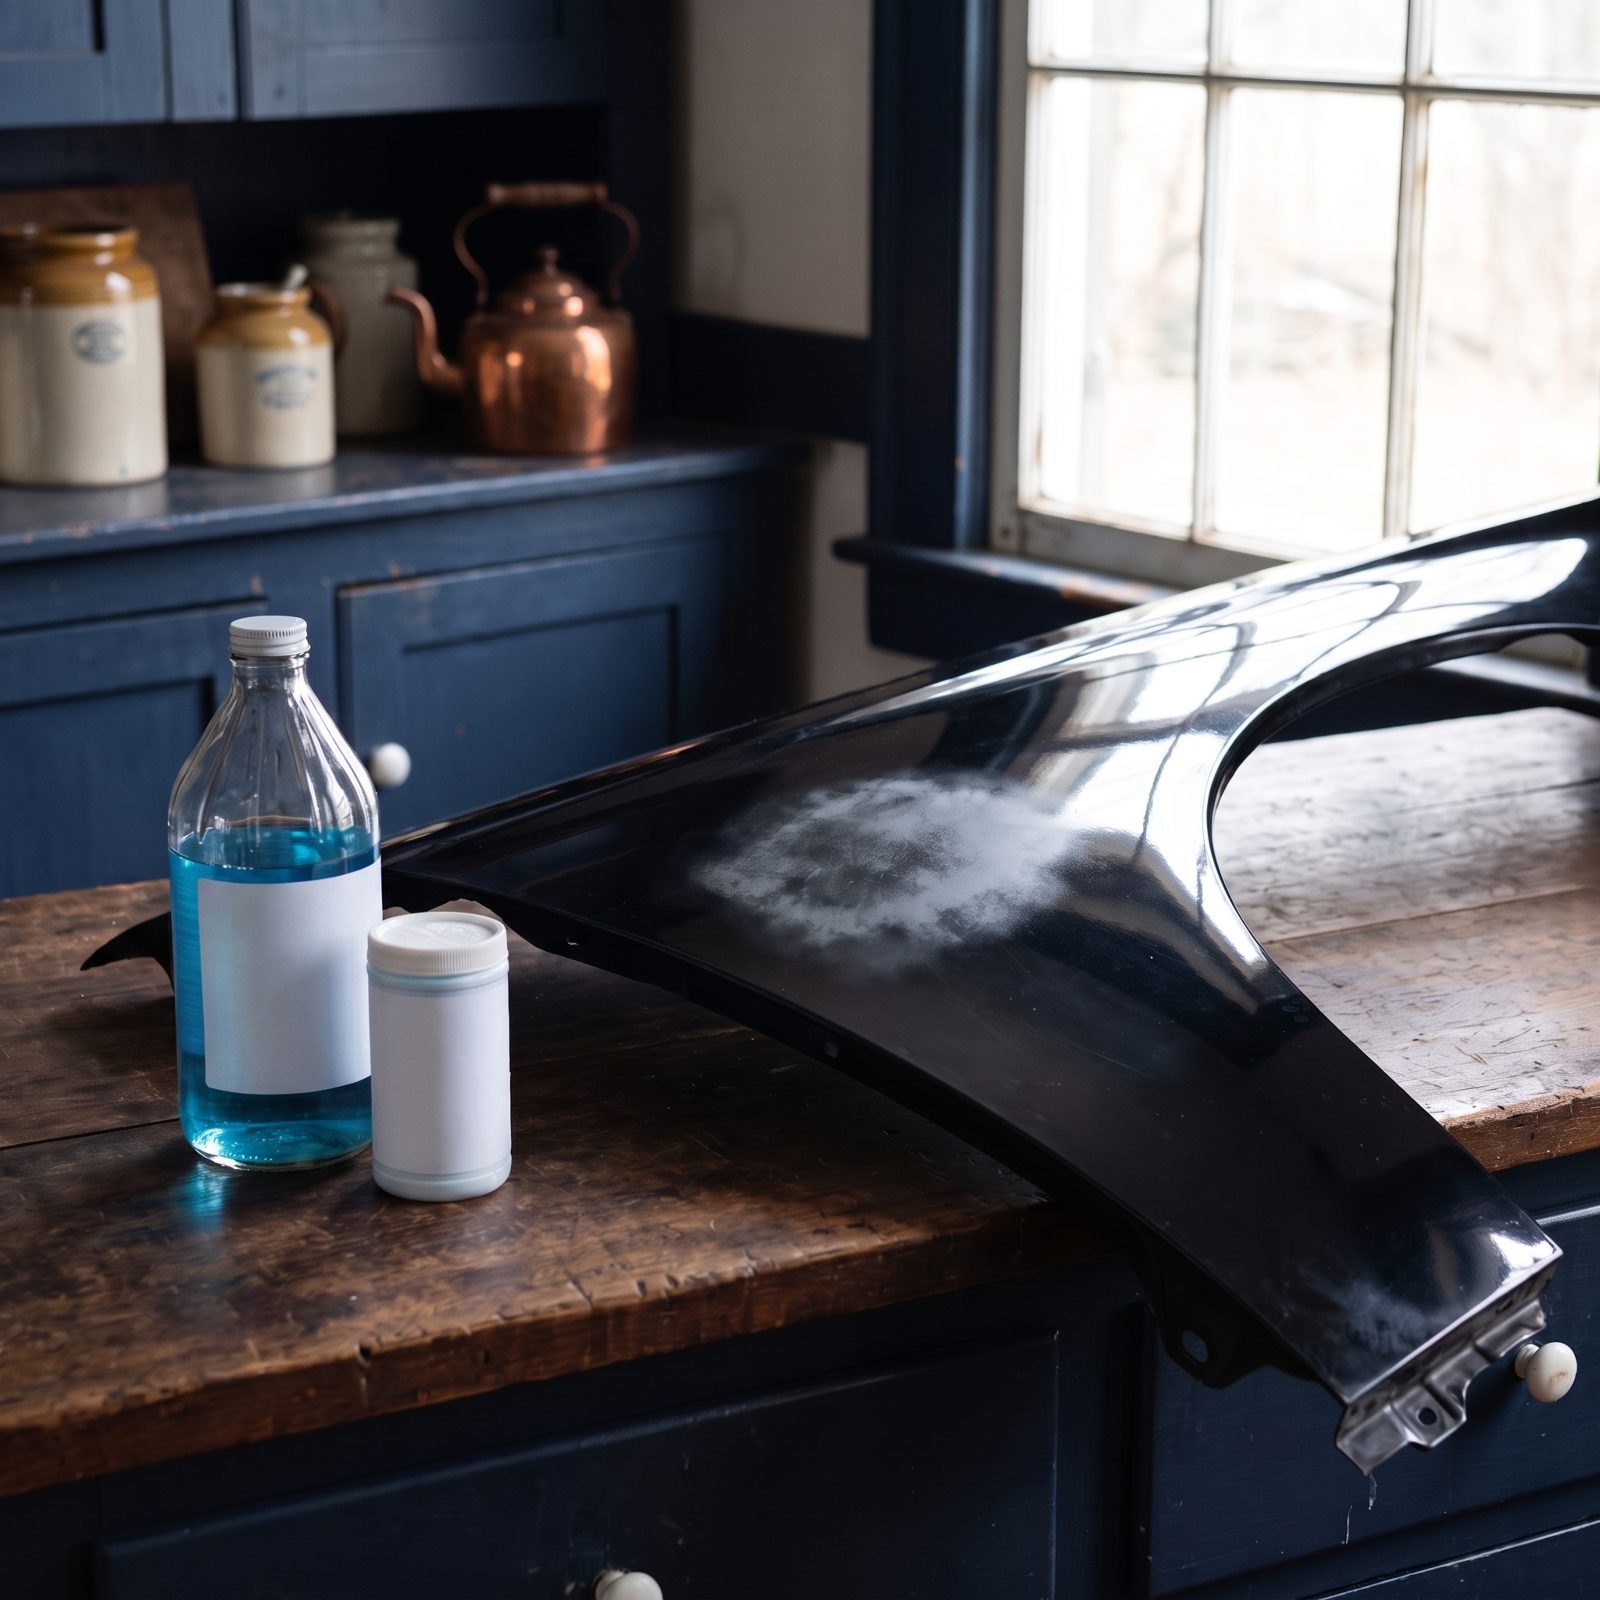
Someone always pipes up with bleach for stubborn stains and water spots, plus ammonia glass cleaner for “shine.” Both are harsh enough to go straight after the clearcoat. Bleach discolors paint and corrodes trim and bare metal underneath it. Ammonia dries fast and etches, leaving cloudy patches that no amount of buffing ever fully brings back.
If it’s too aggressive for your bare hands, it’s too aggressive for your clearcoat.
For water spots, use a mild vinegar solution or a dedicated water-spot remover, work a small area, and rinse the second you’re done. For glass, reach for an ammonia-free automotive glass cleaner so overspray never threatens the paint beside it.
33. Washing in Direct Sunlight or While the Panels Are Still Hot
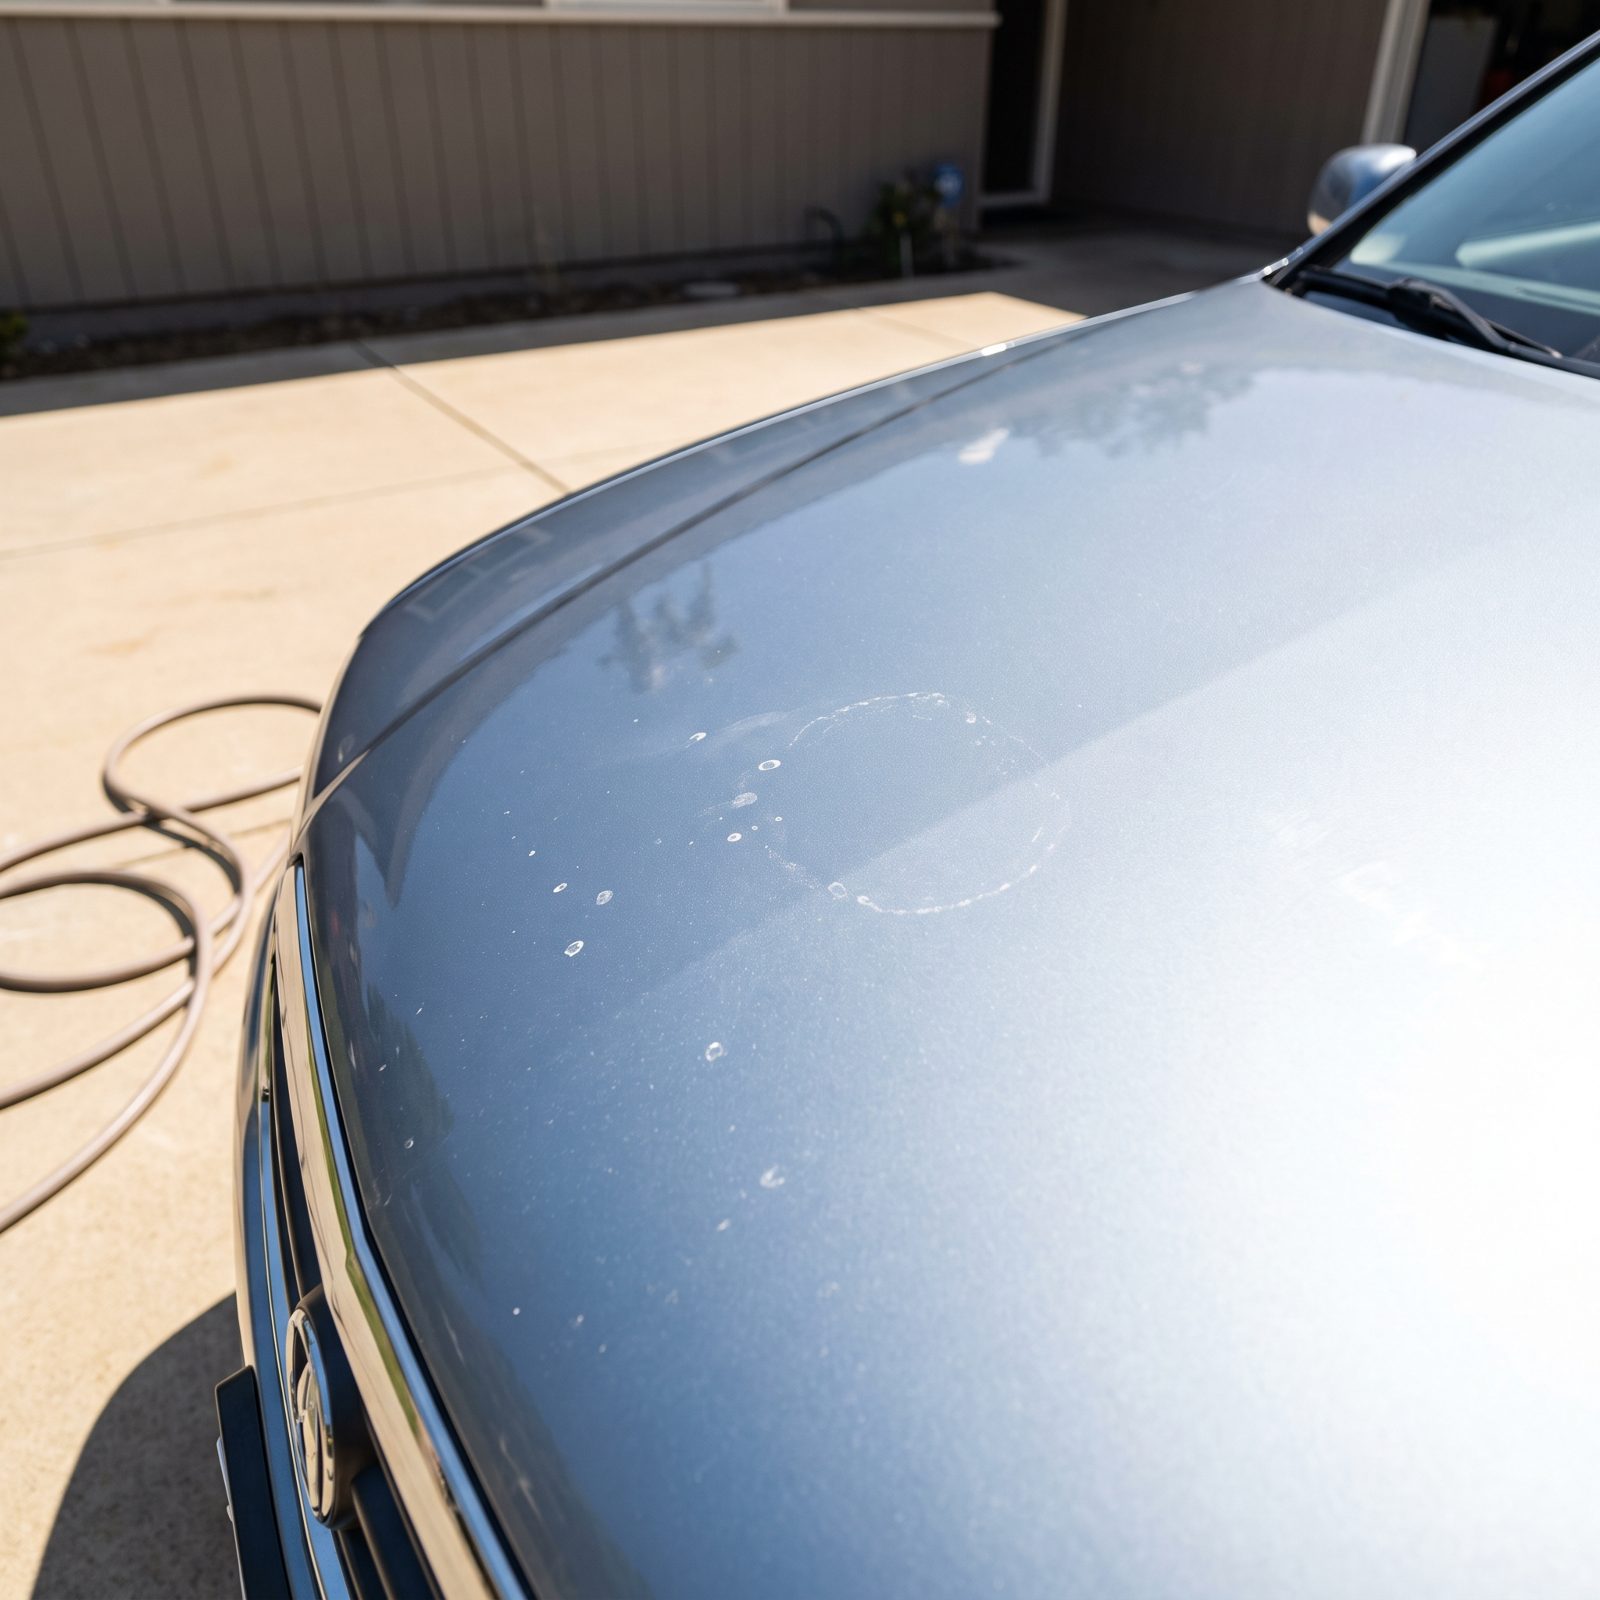
Washing in the sun feels efficient. It isn’t. Hot paint flashes the water and soap dry before you can rinse, baking mineral deposits into hard-water spots and leaving a soap film that dulls everything. On a dark car in July, the hood dries faster than your arm can move.
Wash in shade — early morning or late afternoon, when the panels are cool to the touch. Just drove the car? Let it cool first. Work one panel at a time, rinse before anything dries, and dry with a plush microfiber towel while the surface is still cool.
32. Scrubbing Before Rinsing Away Loose Grit
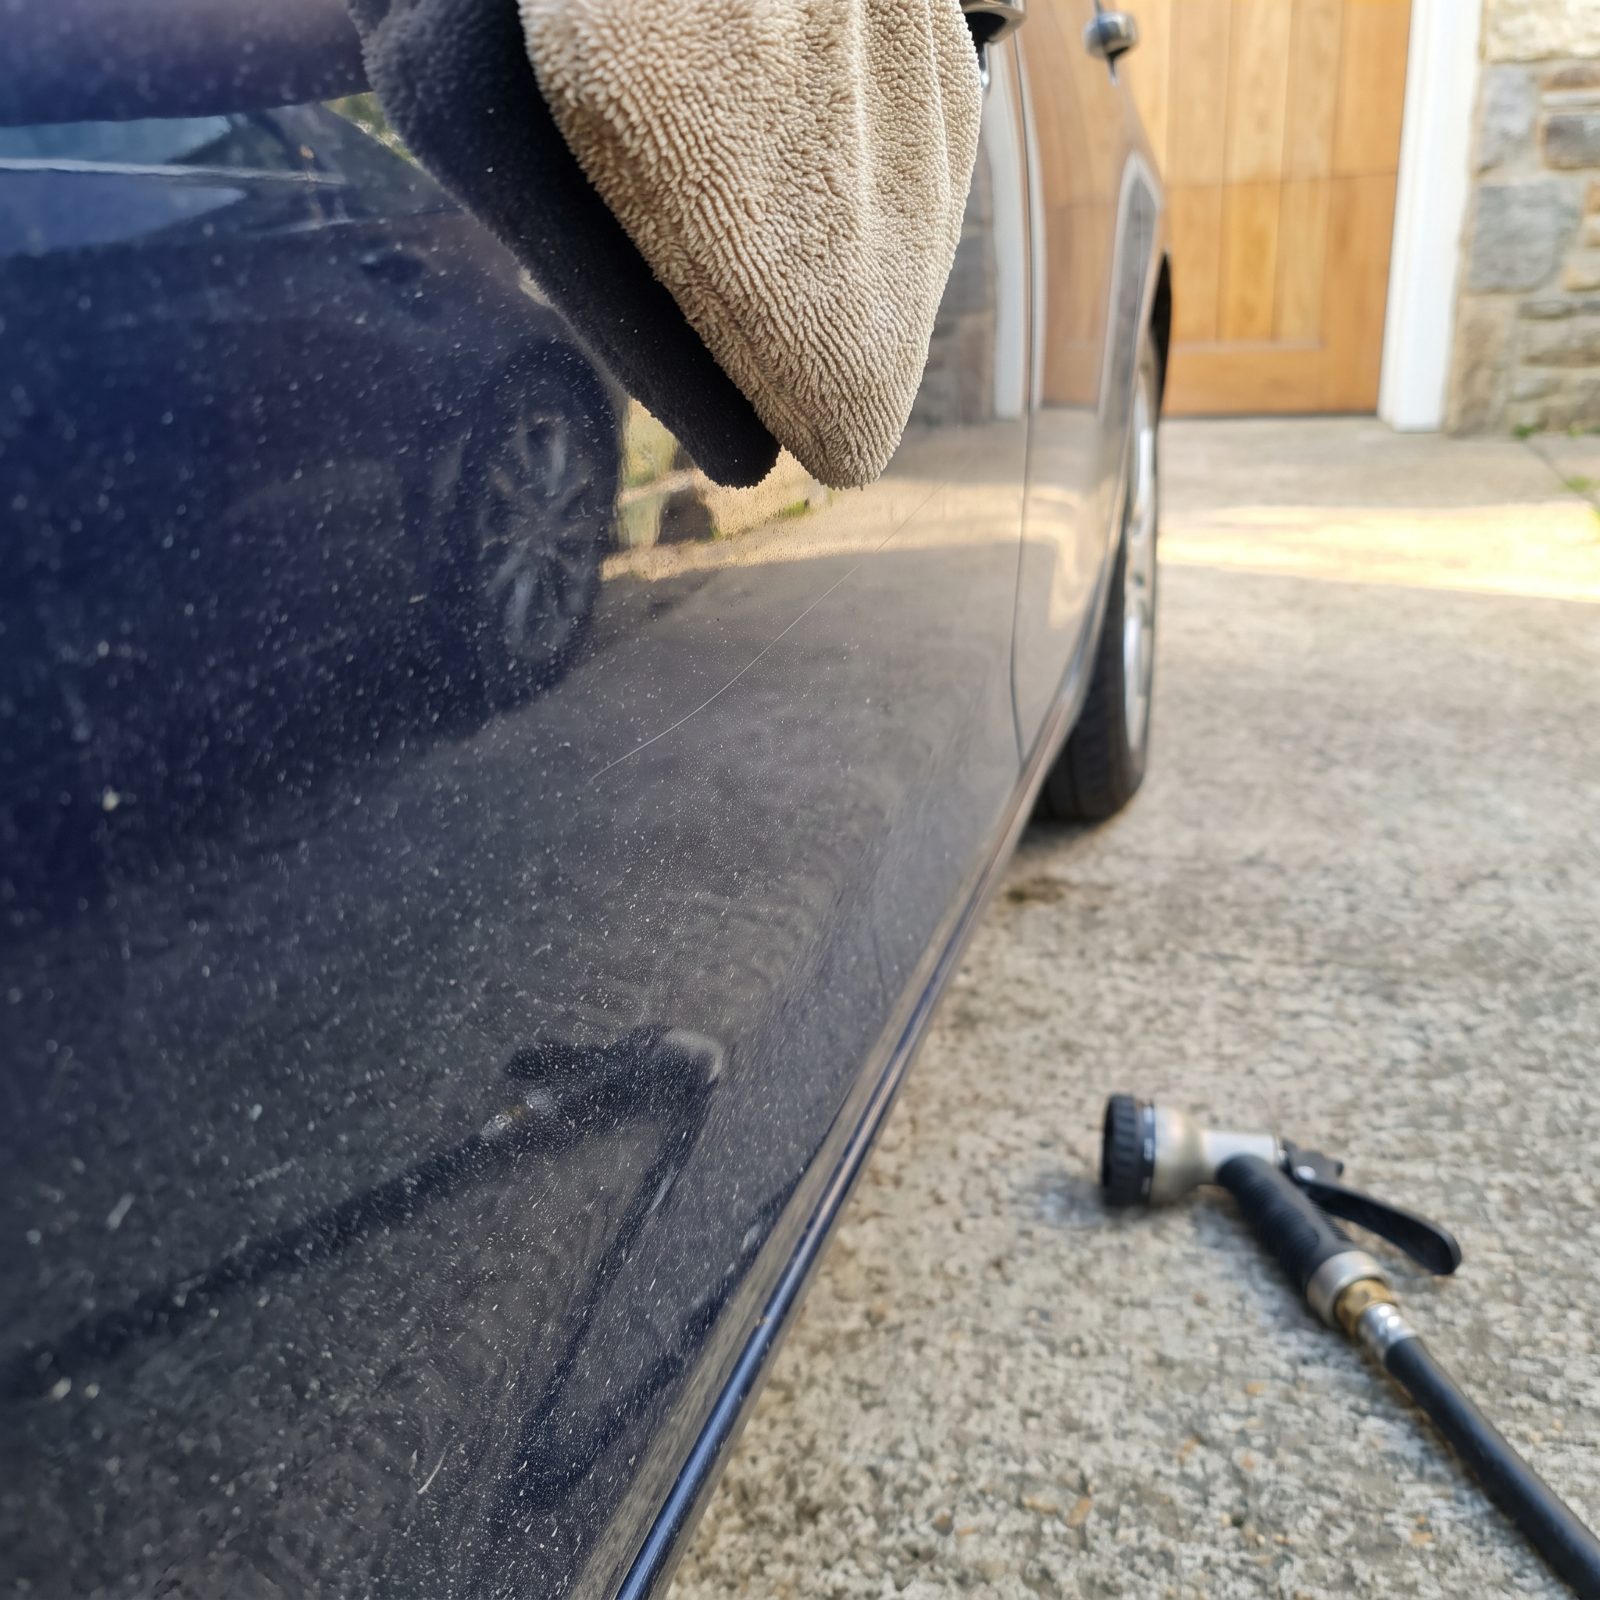
This is the one that got me for years. You wet the mitt, go straight at the dirty panel, and drag a week of highway grit across the clearcoat like sandpaper. Every grain of road sand and speck of brake dust turns abrasive, and you’re the one pressing it in.
Rinse first. A thorough blast with the hose knocks loose the grit that does the real damage before any mitt touches paint. Really filthy car? Pre-soak with a foam cannon or a quick snow-foam and let it dwell a few minutes. Then wash. Your mitt should be lifting dirt, not grinding it.
31. Holding a Pressure-Washer Nozzle Too Close, Especially Over Paint Chips
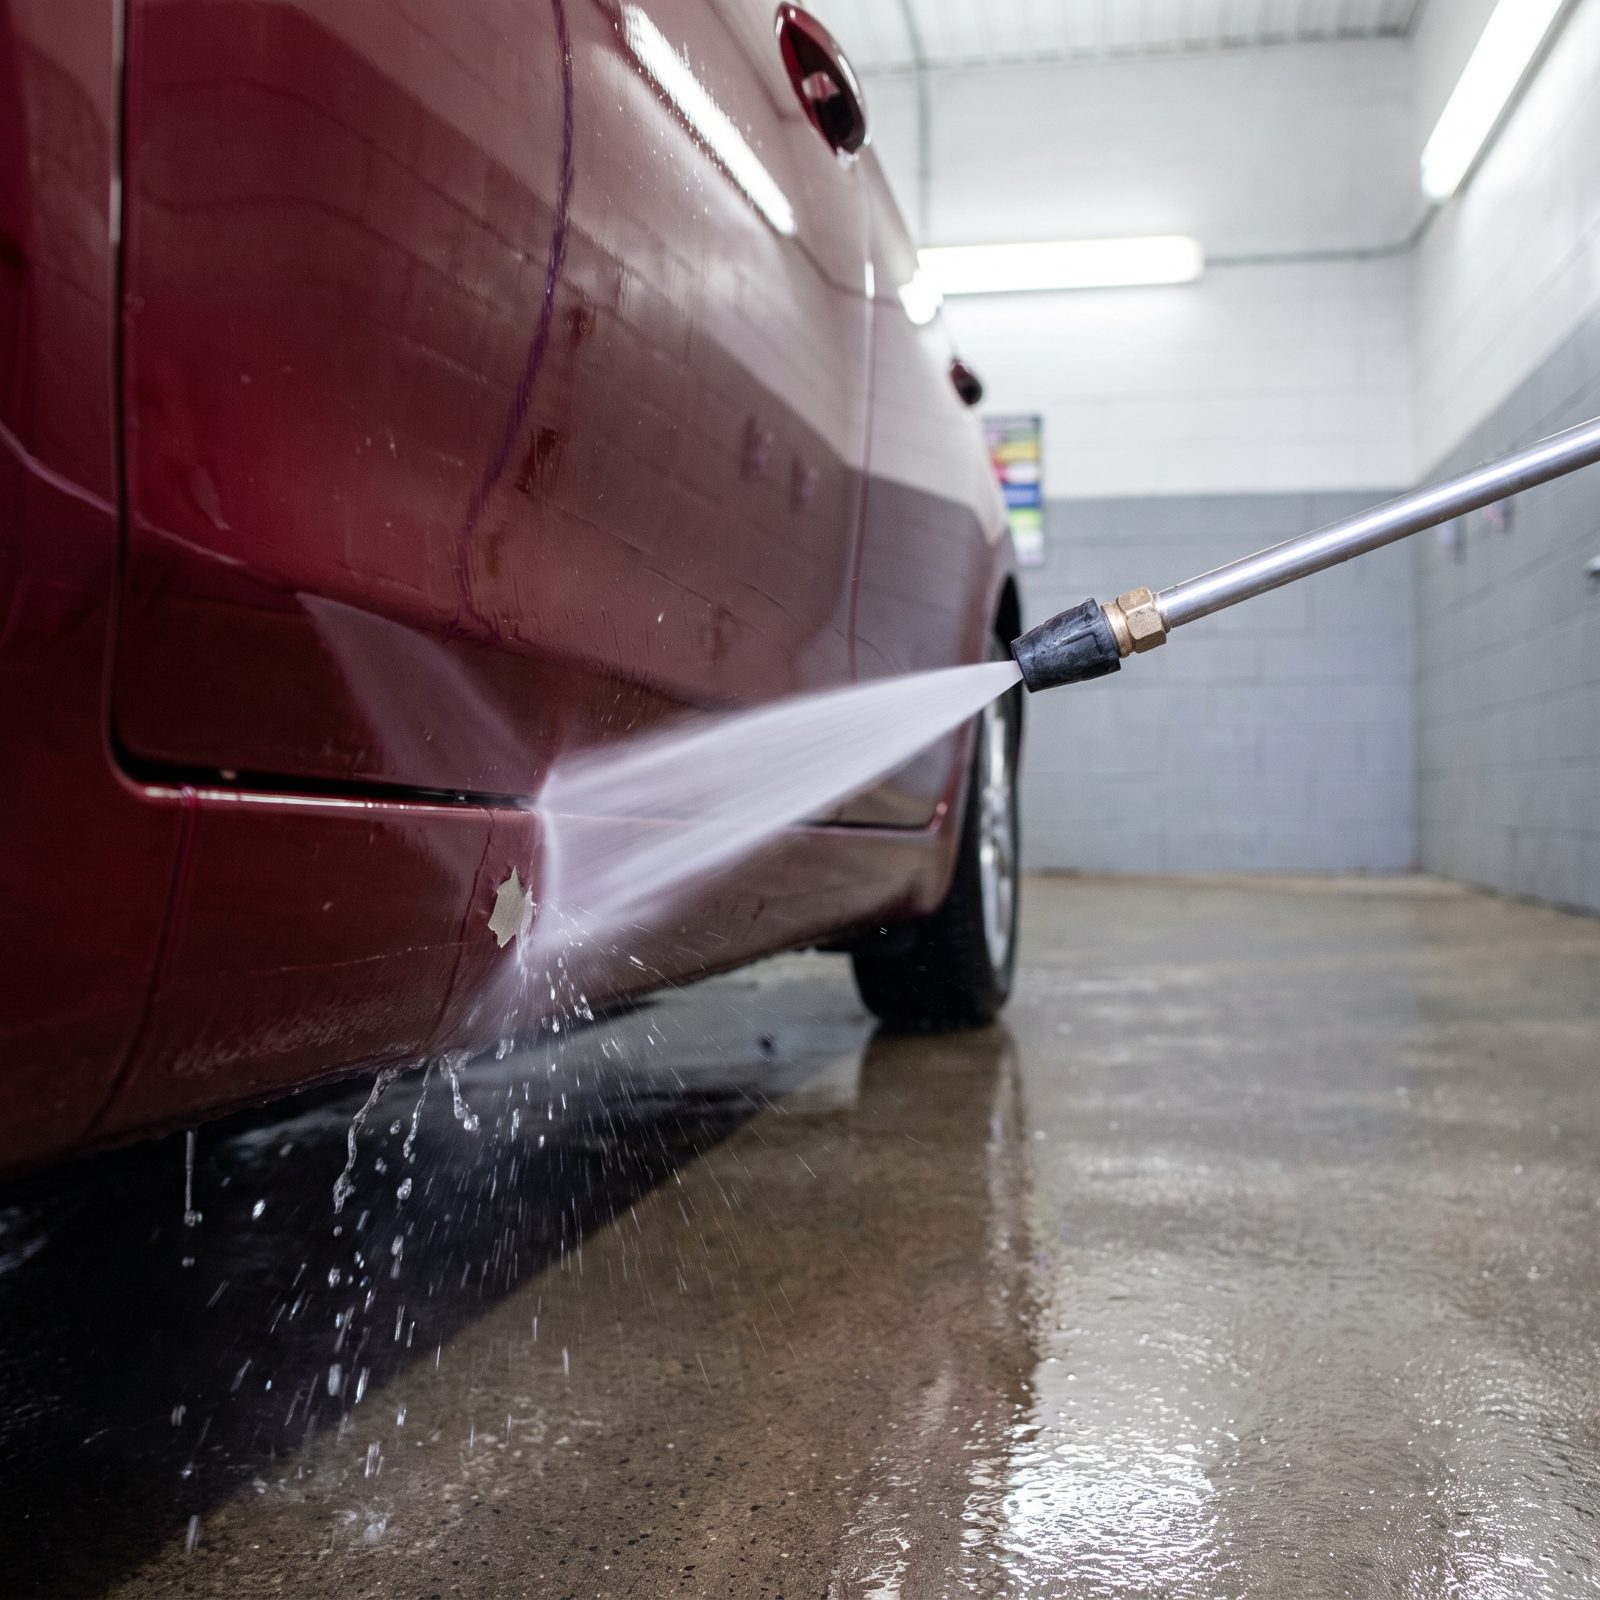
A pressure washer is a fine tool held at a respectful distance. Jam that narrow tip right up against the paint and you’ve turned a wash into a sandblaster. The real trouble starts at chips, cracked clearcoat, and peeling edges, where a tight stream slips under the paint and lifts it clean off the metal.
Keep the nozzle a good foot or more off the surface and use a wider fan tip rather than the zero-degree pencil jet. Ease off around emblems, trim edges, and any chip you already know about. Got chips? Touch them up before they graduate into a peeled panel.
30. Using One Bucket Without a Grit Guard
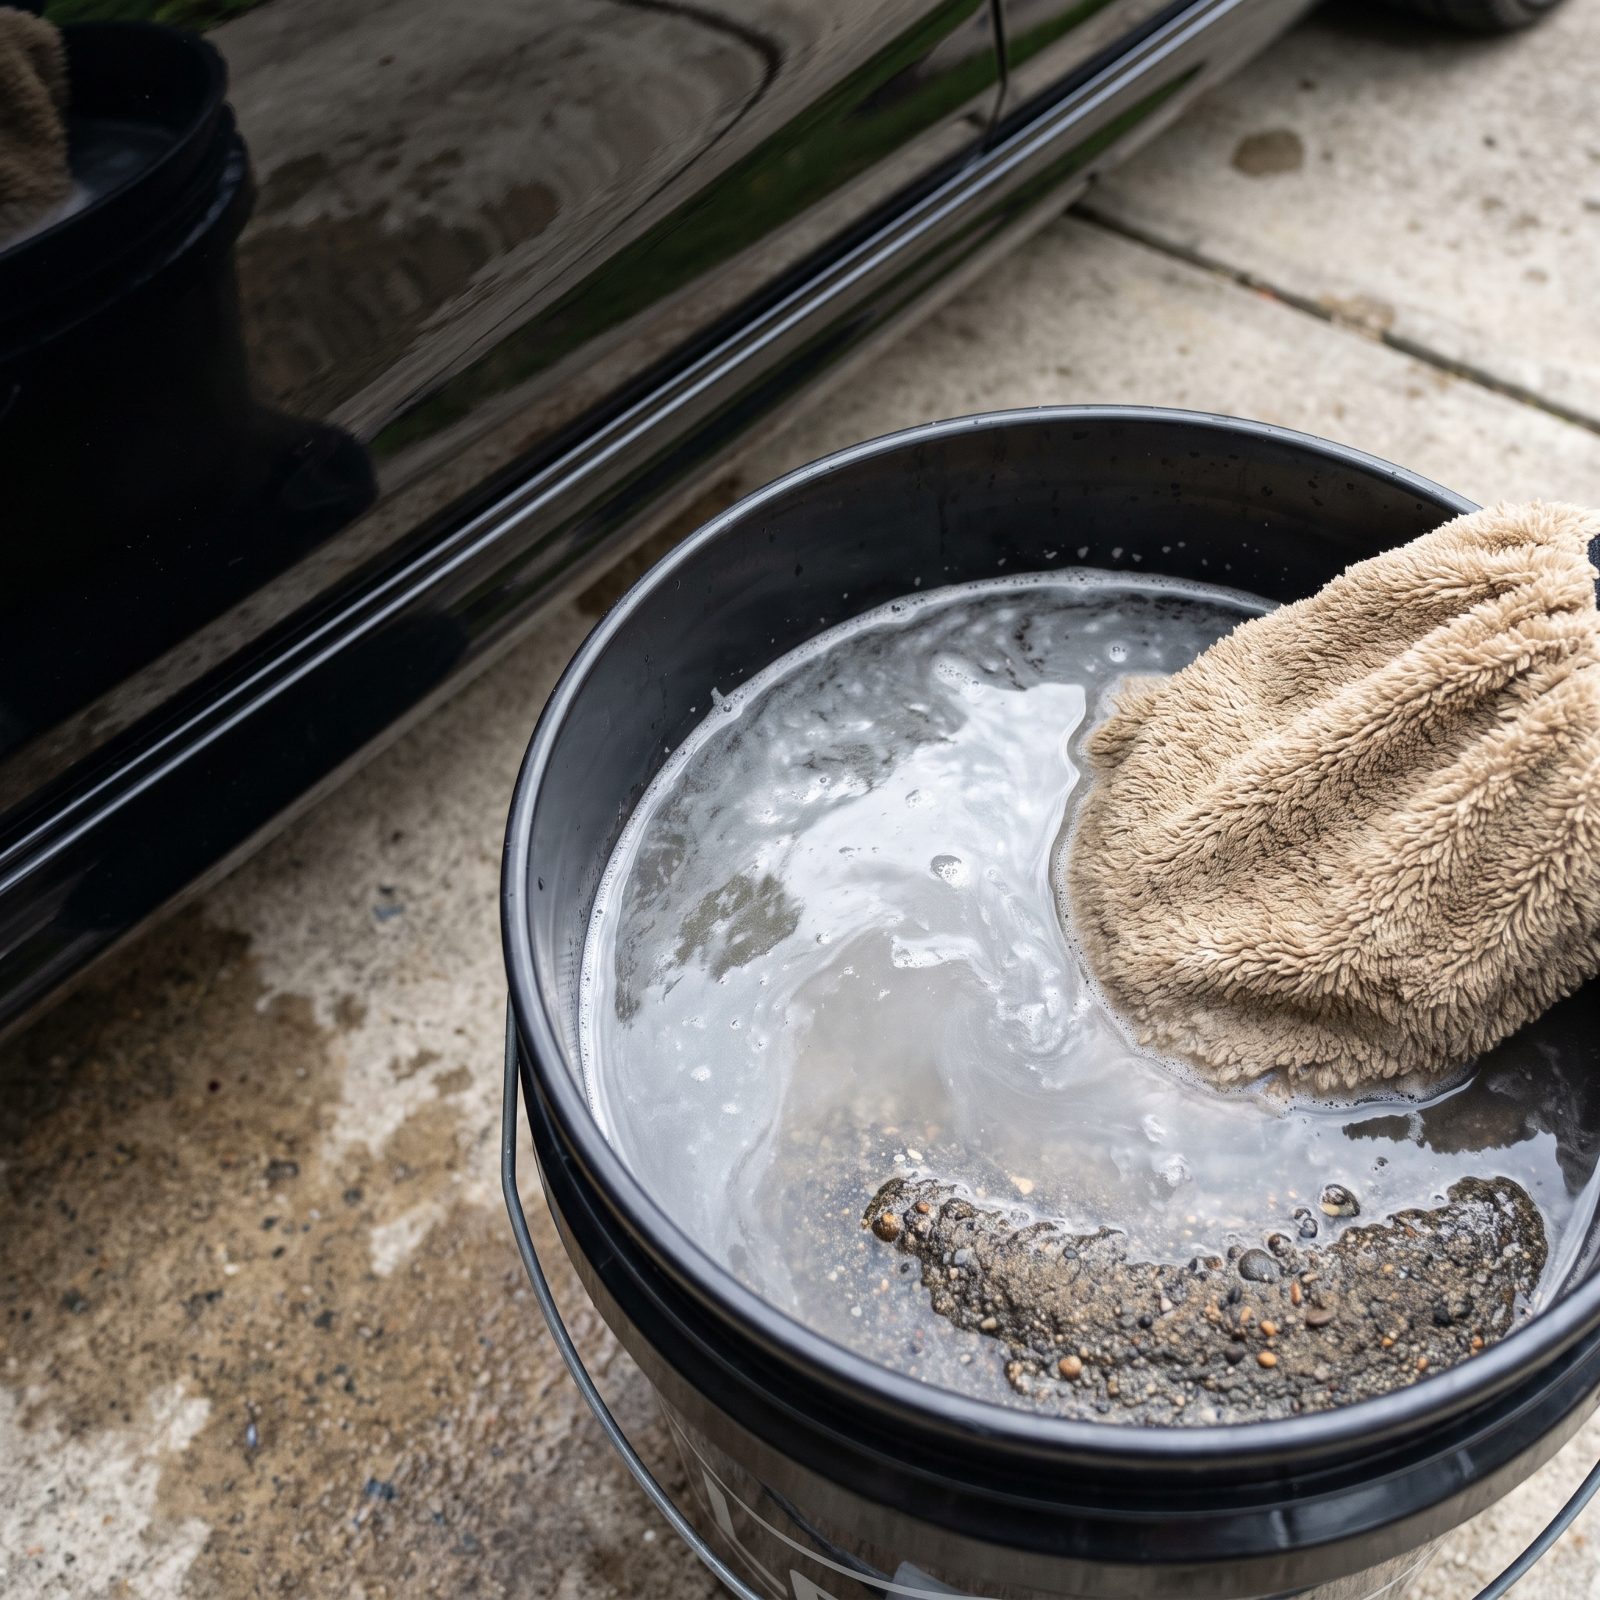
One bucket, and every dunk reloads the mitt with the same grit you just pulled off the car. With no guard at the bottom, all that sediment swirls right back up into your wash water. You’re rubbing the car’s own dirt back into the paint, pass after pass after pass.
Go two-bucket. One holds shampoo, one holds clean rinse water, and a grit guard sits in the bottom of each. Rinse the mitt in the clean bucket between every panel, scrubbing it against the guard so the grit falls away and stays trapped at the bottom. Cheap insurance against a whole season of swirls.
29. Dipping the Body Mitt Into Dirty Wheel-Wash Water
Would you like to save this?
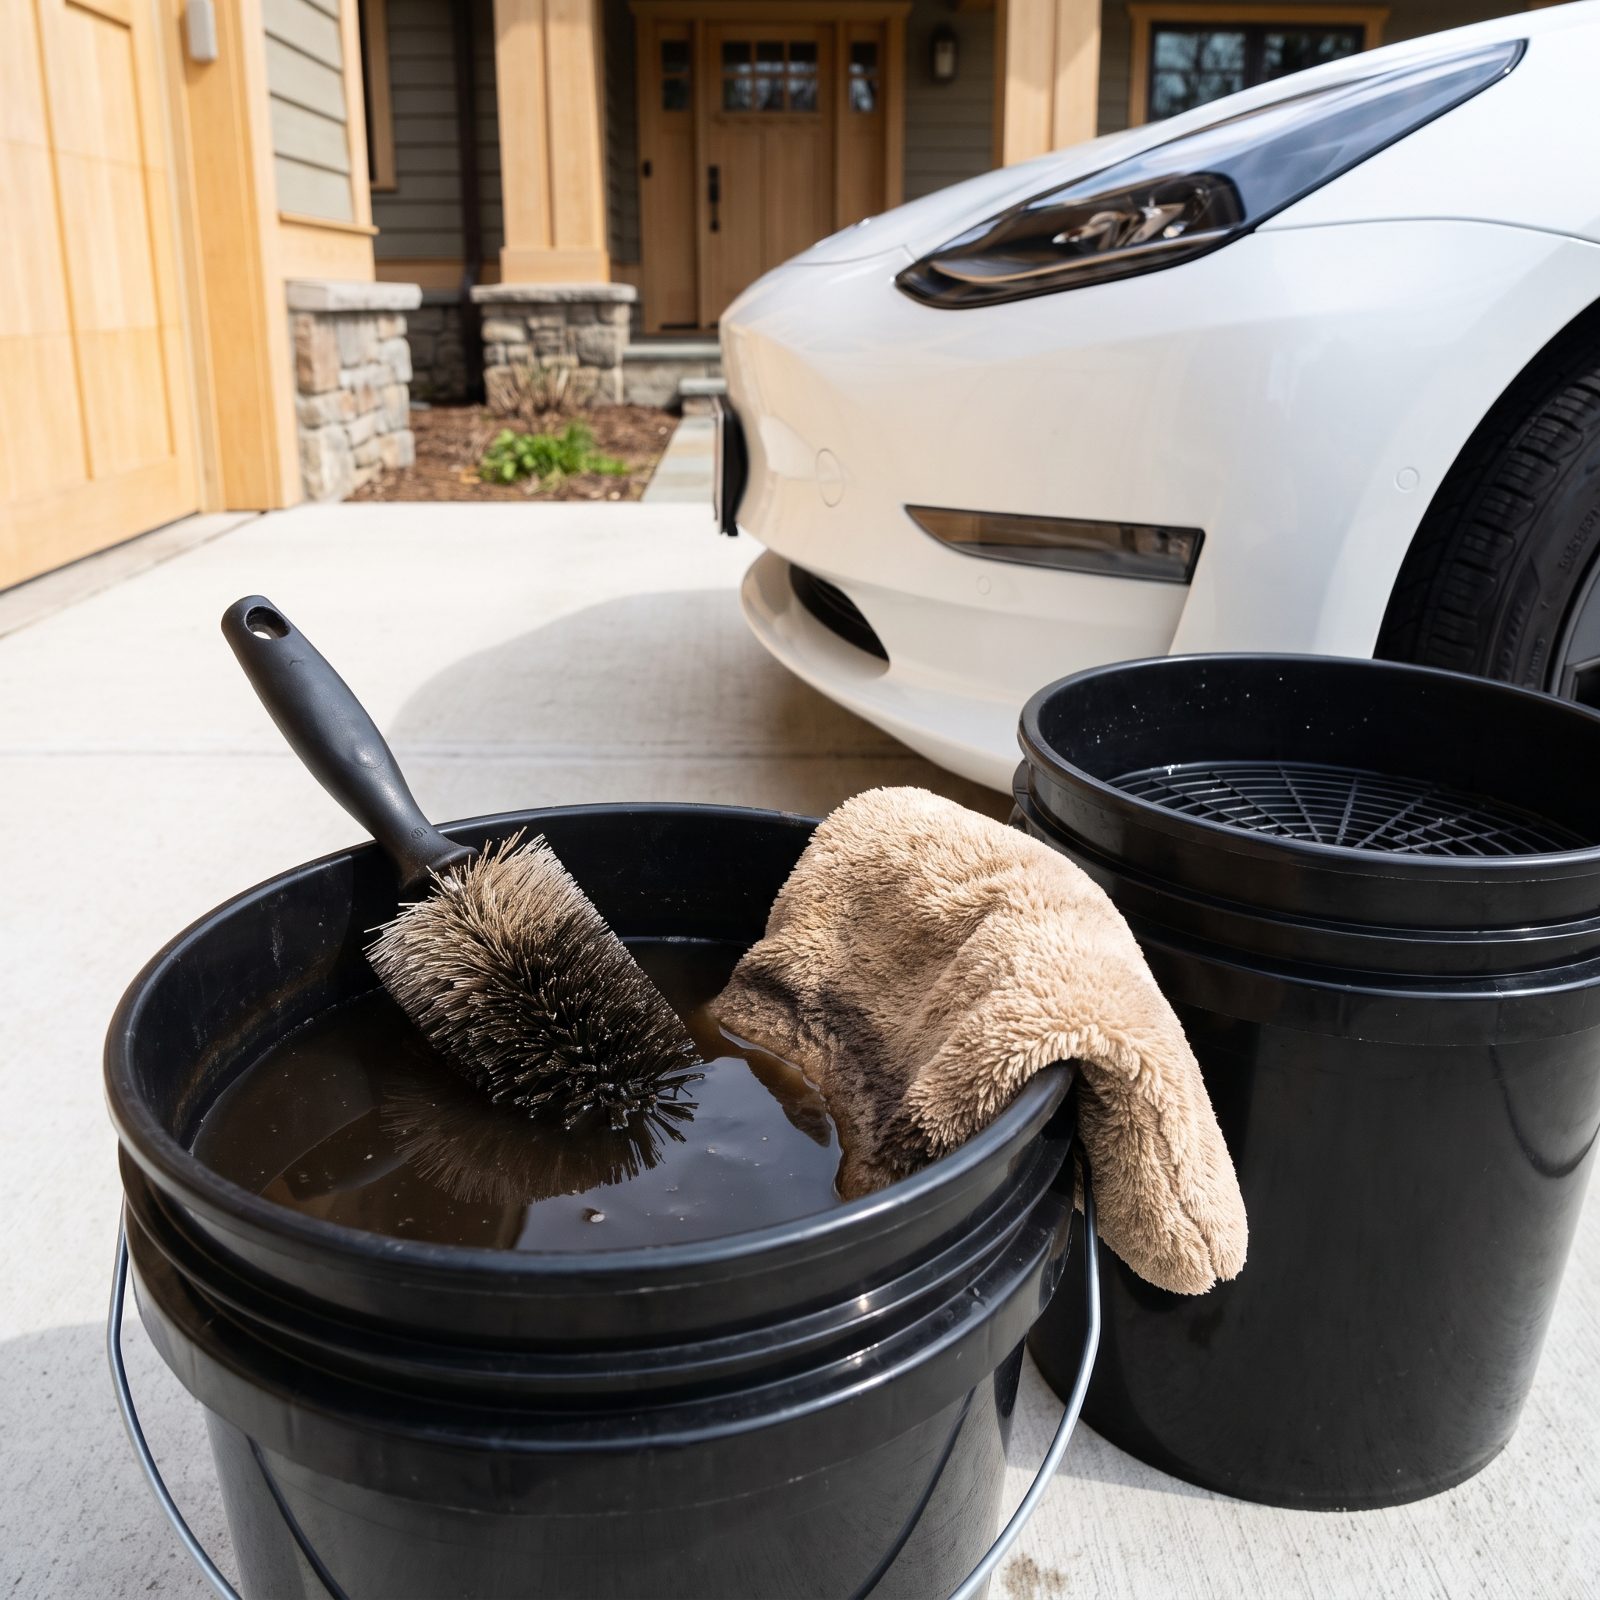
Wheels are the filthiest part of the car, caked in brake dust that’s basically metal filings mixed with road grime. The water you clean them with turns black and gritty fast. Dip your body mitt in that and you’ve just armed yourself with the harshest abrasive on the whole vehicle, then smeared it across your paint.
Keep wheel tools and wheel water completely separate. Do the wheels first with their own brushes and their own bucket, then dump that water the moment you’re done. Only then move to the body with fresh shampoo water and a dedicated body mitt that never goes anywhere near a wheel.
28. Putting a Dropped Wash Mitt Back on the Car
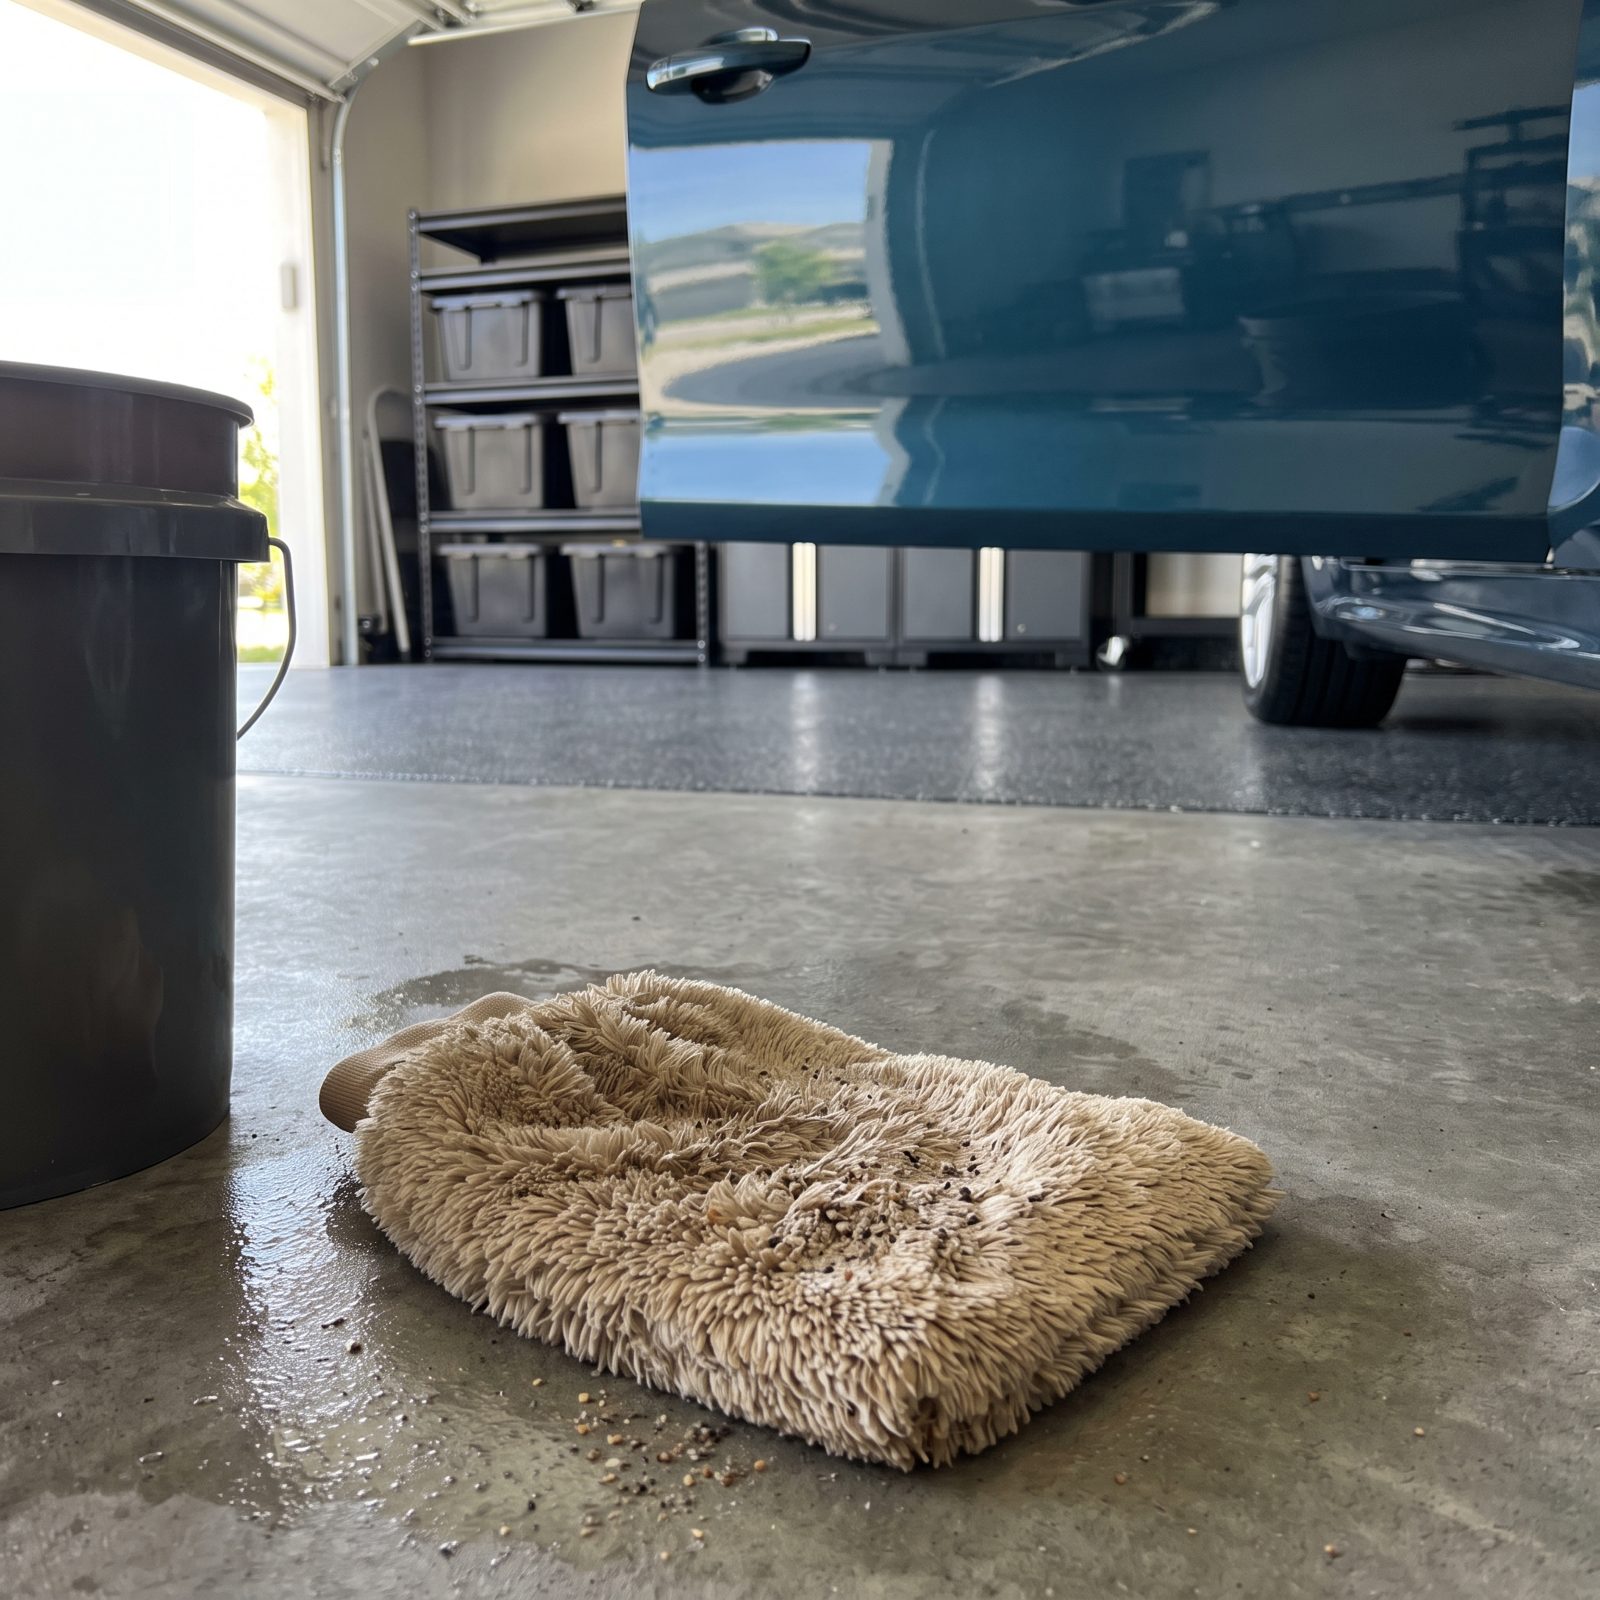
It slips out of your hand, hits the driveway, and you pick it up and keep right on going. Trouble is, that mitt just rolled through every pebble and grain of sand on the ground, and they’re now wedged deep in the fibers where you’ll never spot them. Your next pass across the door is a fistful of grit at full pressure.
A dropped mitt is done for the day. Set it aside, grab a clean spare, finish the job. I keep two or three mitts in rotation every wash for exactly this reason. Toss the dropped one in the laundry, wash it clean, and it lives to fight another day. But straight back onto the paint? Never.
27. Washing With an Old Cellulose Kitchen Sponge
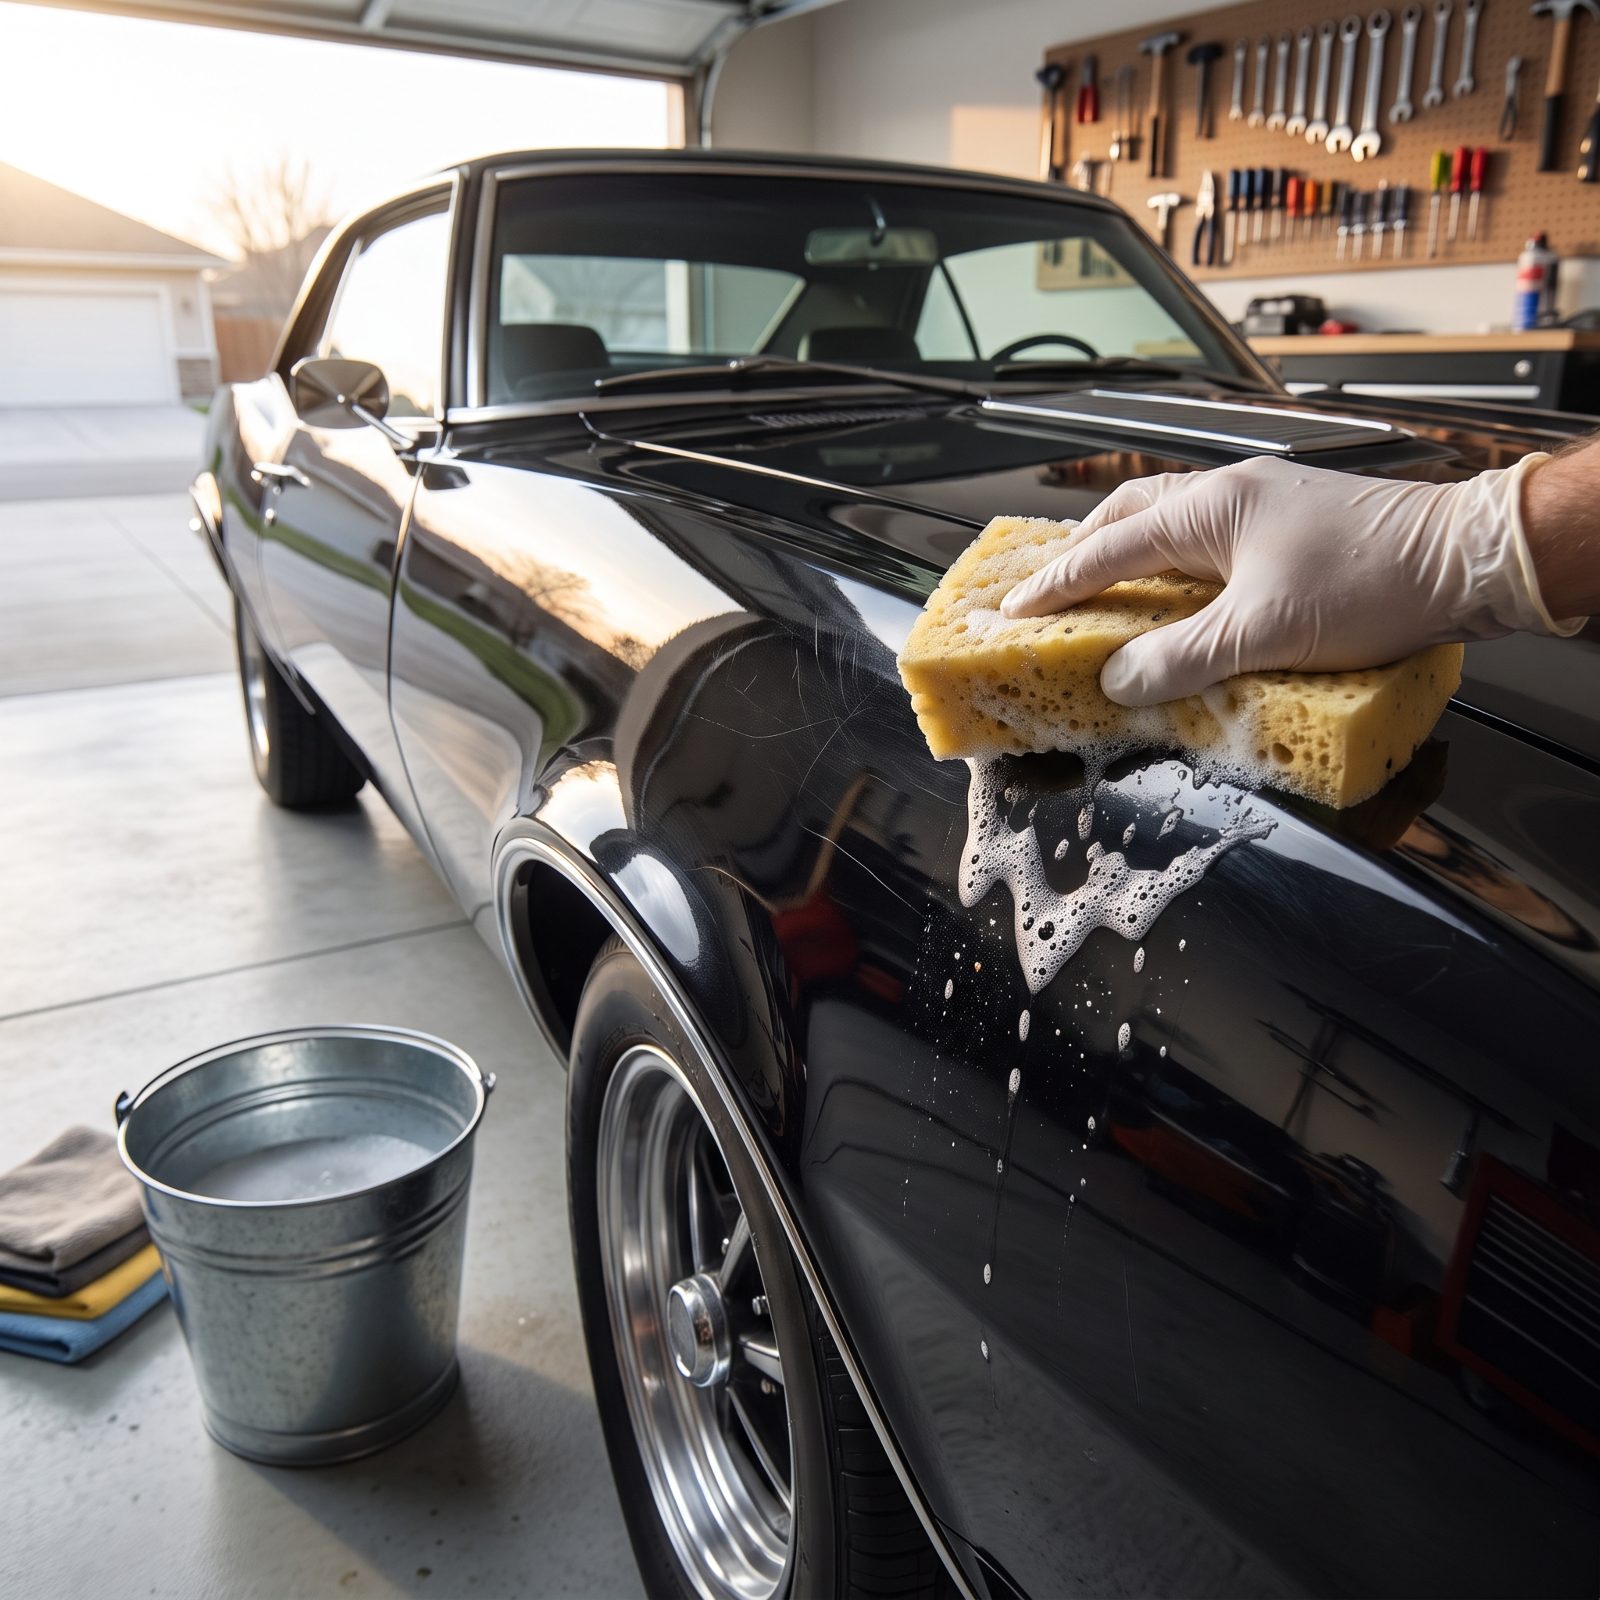
That crusty yellow sponge from under the kitchen sink feels harmless. It isn’t. Cellulose holds onto every speck of road grit it touches, and those open pores turn into a sanding block the second you start moving it across a panel. The sponge glides, the dirt stays locked inside, and you drag abrasive particles over soft clearcoat in long straight passes.
You only notice the result when the sun hits the hood just right: a web of fine swirls that, on dark paint, looks like someone dusted the car with cobwebs.
Switch to a plush microfiber wash mitt and the two-bucket method. One bucket of soapy water, one of clean rinse with a grit guard sitting in the bottom. Dunk, wash a section, rinse the mitt in the clean bucket before reloading. The grit drops to the bottom instead of riding back onto your paint.
26. Scrubbing Paint With a Stiff-Bristled Brush
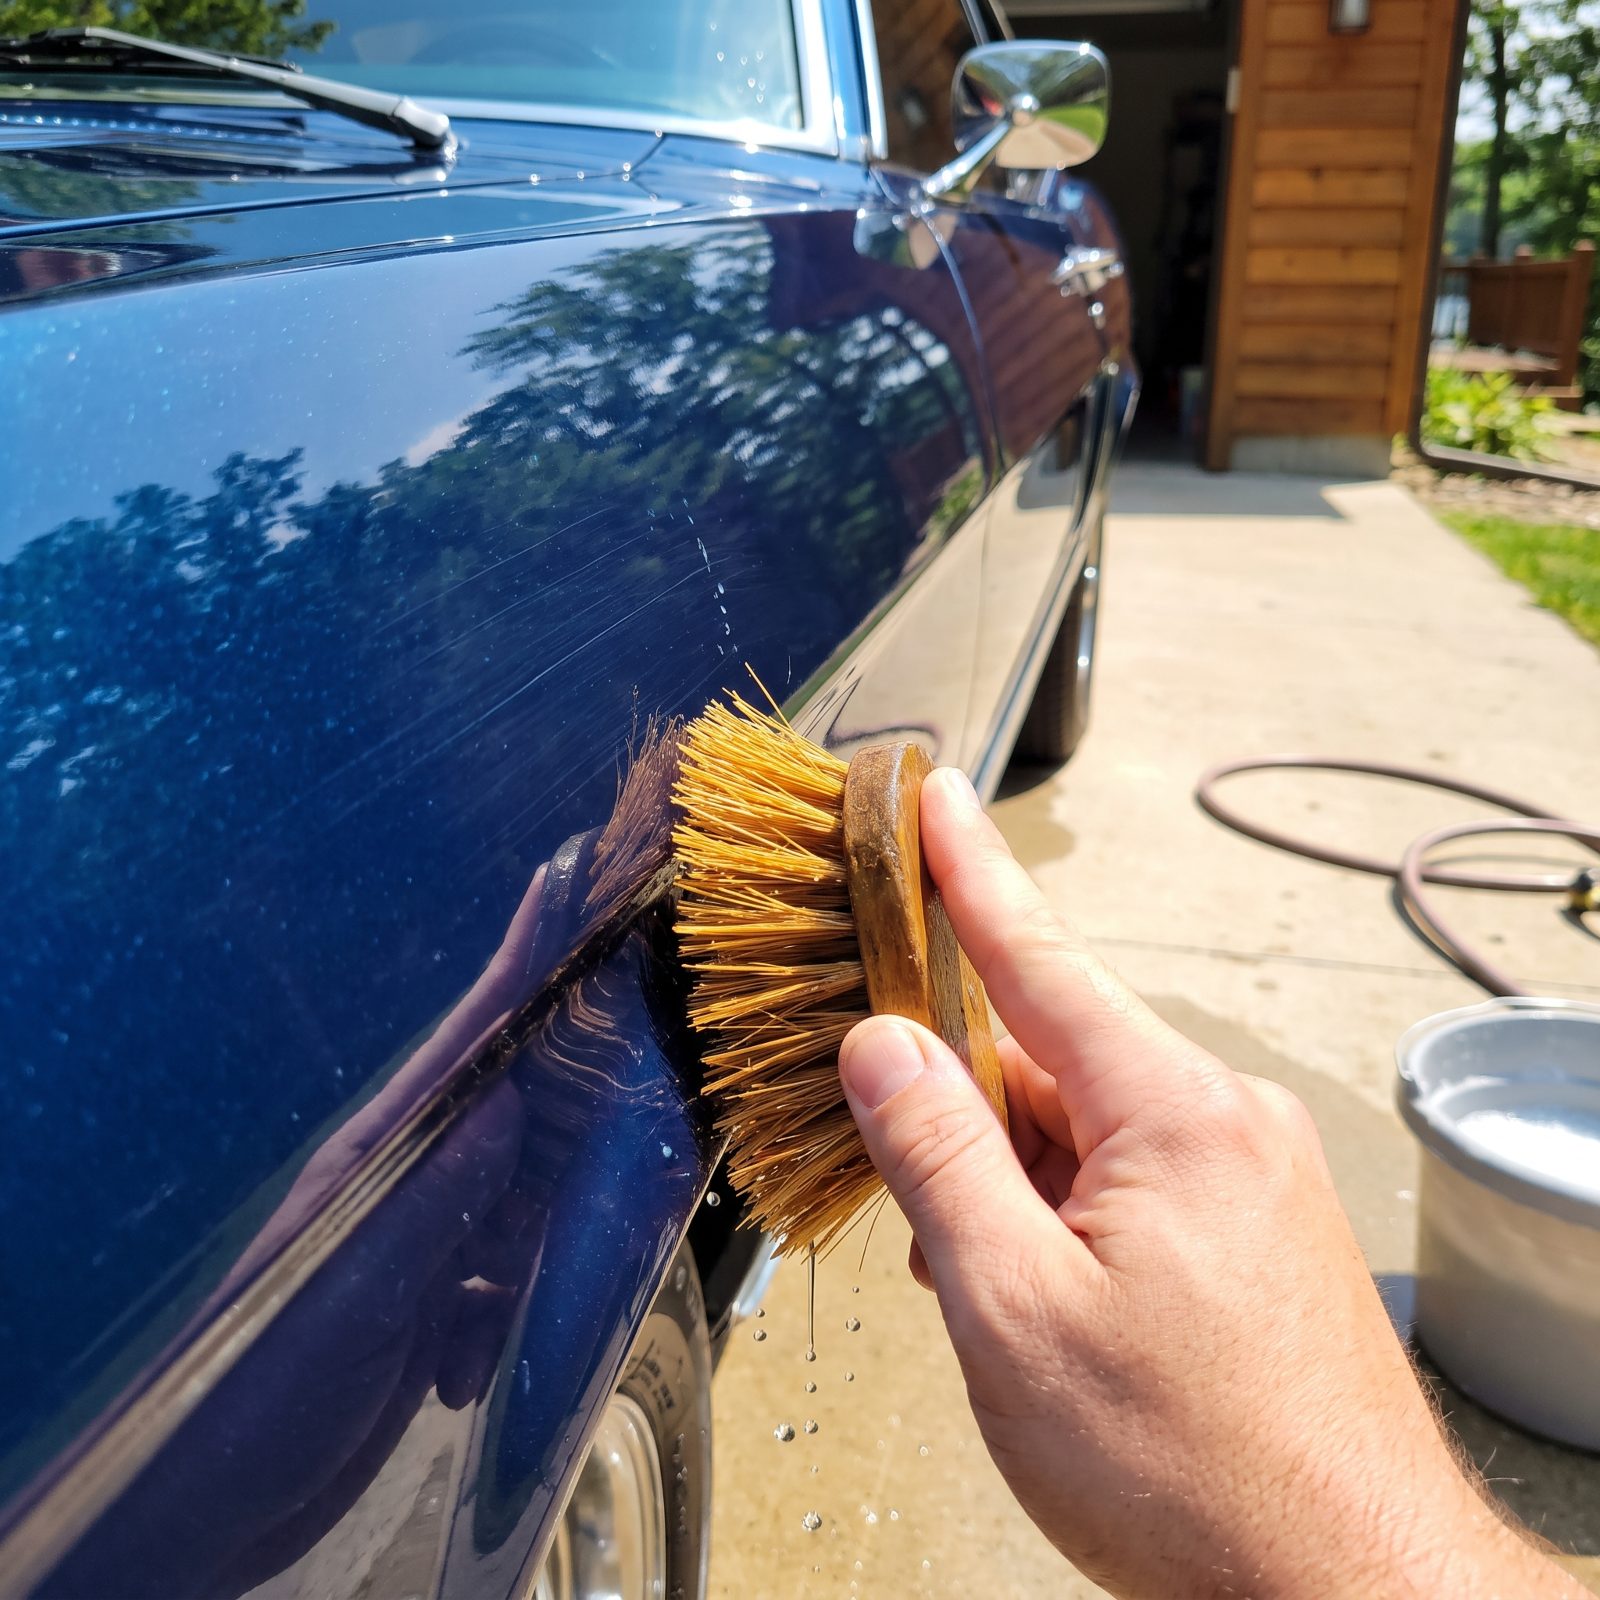
A stiff brush is built for grout, not for clearcoat. Those rigid bristles won’t flex around a dust particle the way a soft fiber does. They pin the grit and drag it, and every bristle tip becomes its own little chisel point tracing across your finish.
Do this a few weekends running and you’ll etch a dull, scuffed haze into the paint that no amount of waxing hides. Wax fills scratches for a while. It never removes them.
Save the brush for tires and wheel wells, where a little aggression earns its keep. On the body, reach for a boar’s-hair or ultra-soft detailing brush only on tight badge crevices and grille slats, and let a flooding rinse plus a soft mitt do the real work everywhere else. Once dirt’s floated loose in suds, it lifts off far easier than you’d think.
25. Using a Gas-Station Windshield Squeegee on the Body
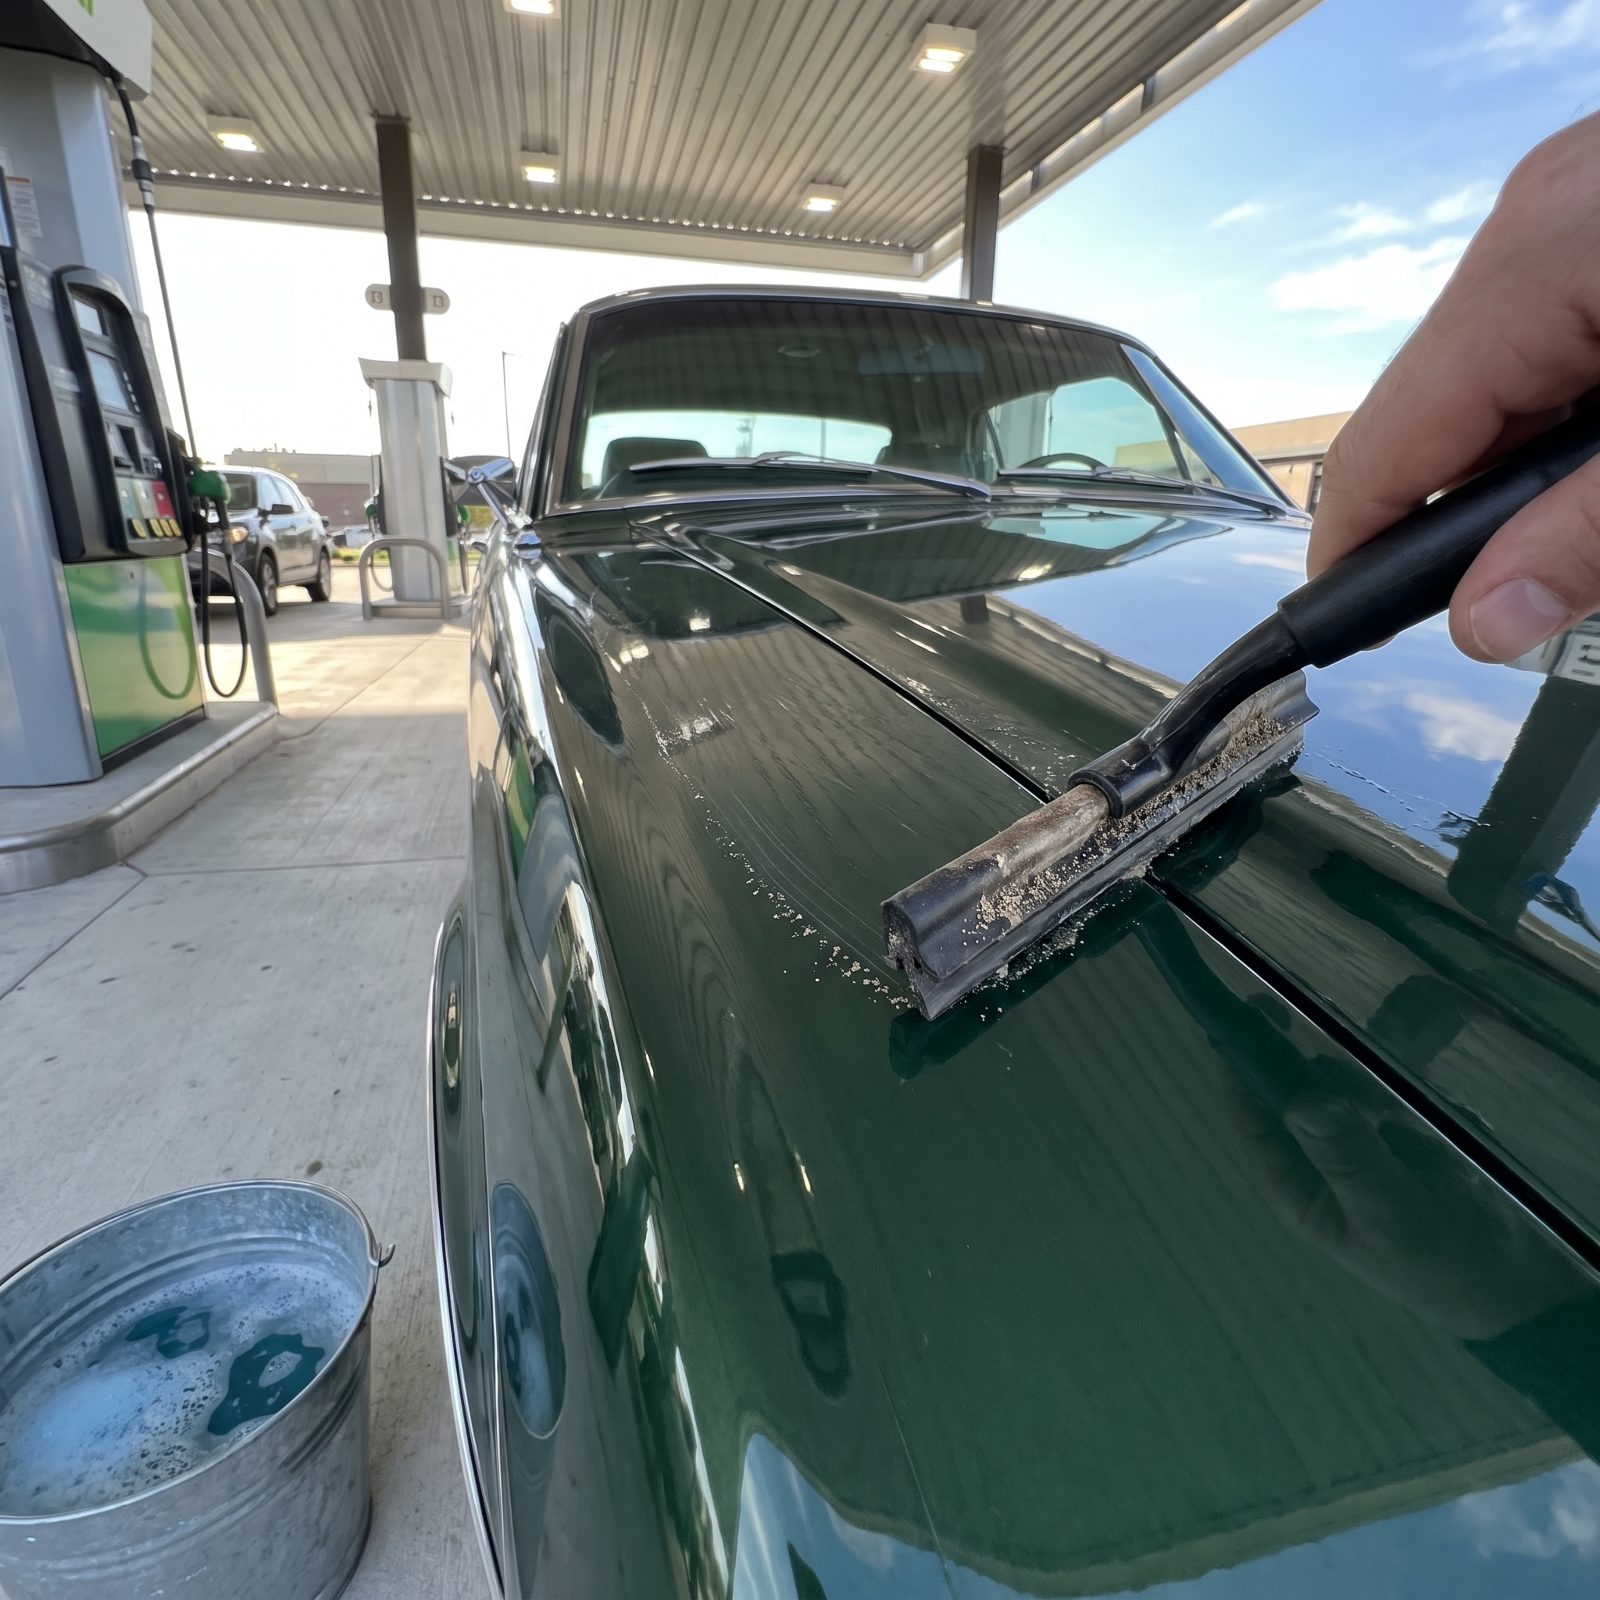
You’ve stood at the pump, finished the windshield, and figured you’d knock the bugs off the hood while you’re at it. Don’t. That communal squeegee has been dragged across a hundred filthy windshields, and its rubber blade is loaded with embedded sand, bug casings, and grit from every car before yours.
Pull it across your hood and you grind all of that straight into the clearcoat. The result? Long, straight scratch marks running exactly the direction you swiped, worst of all on flat horizontal panels in full sun.
The squeegee is for glass only, and honestly even then it’s a gamble. Want bugs off the hood at a stop? Carry a damp microfiber in the glovebox and a little quick-detailer spray. Mist, let it soak a second, wipe gently. Glass can take a scuff you’d never want on paint.
24. Wiping Paint With Paper Towels
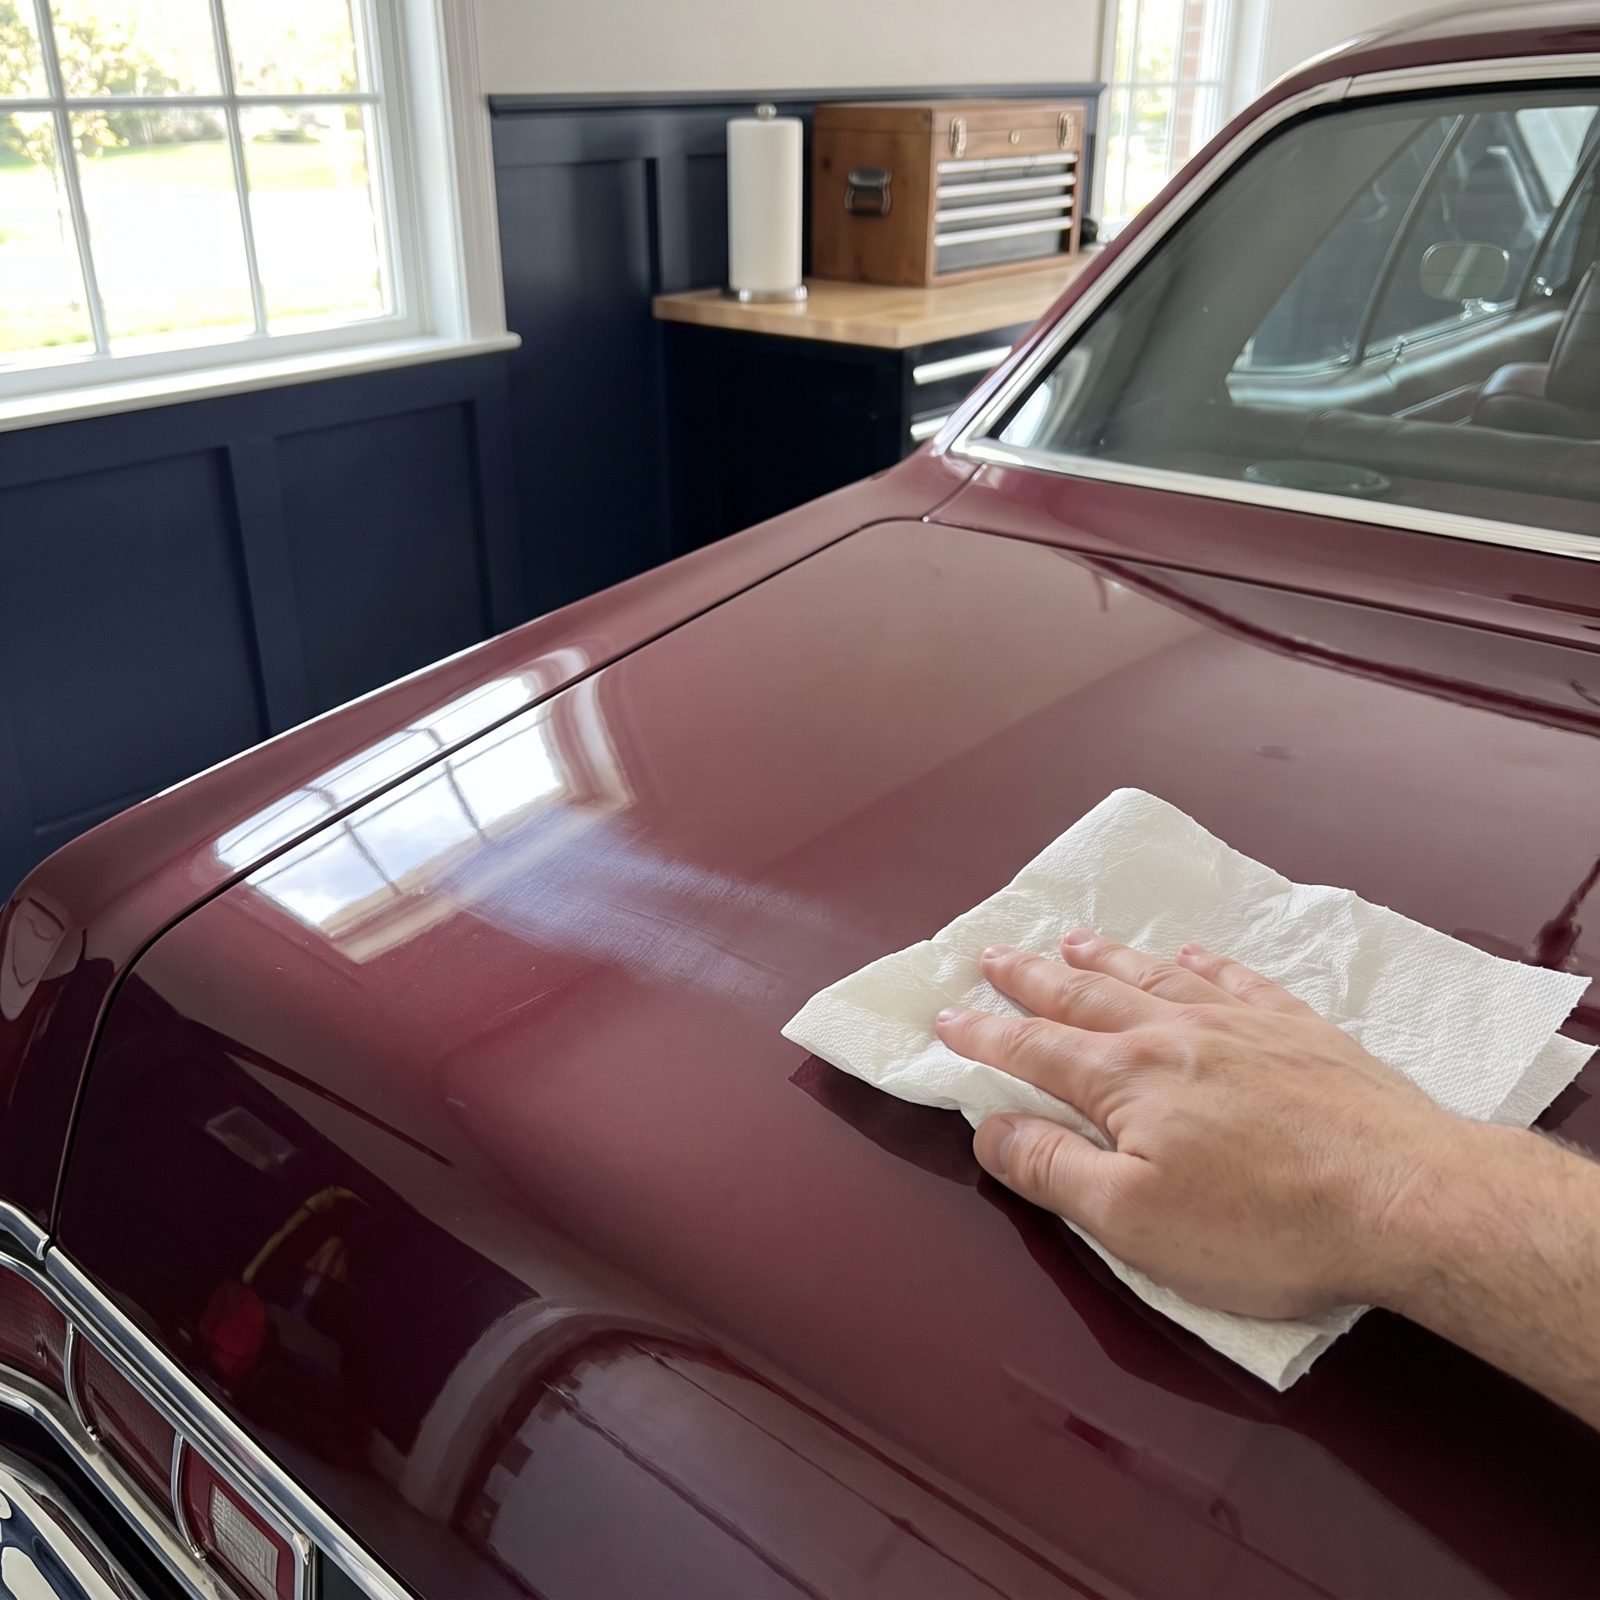
Paper towels look soft. Under a microscope they’re a mat of wood fibers pressed flat, and wood is harder than your clearcoat. Wipe a dusty panel with one and you’re essentially sanding it, lightly but surely, every pass.
Over time you build a dull haze across the high spots on a car: the top of the fender, the center of the hood, the trunk. Burgundy and black show it first. It’s the sheen going from mirror to matte in all the wrong places.
Keep a stack of quality microfiber towels in the garage and treat them like shop rags you actually respect. Wash them separate from everything else, skip the fabric softener because it clogs the fibers, and toss any that hit the floor until they’re laundered. A good 70/30 blend microfiber lifts grime instead of grinding it.
23. Dragging a Silicone Water Blade Across the Paint
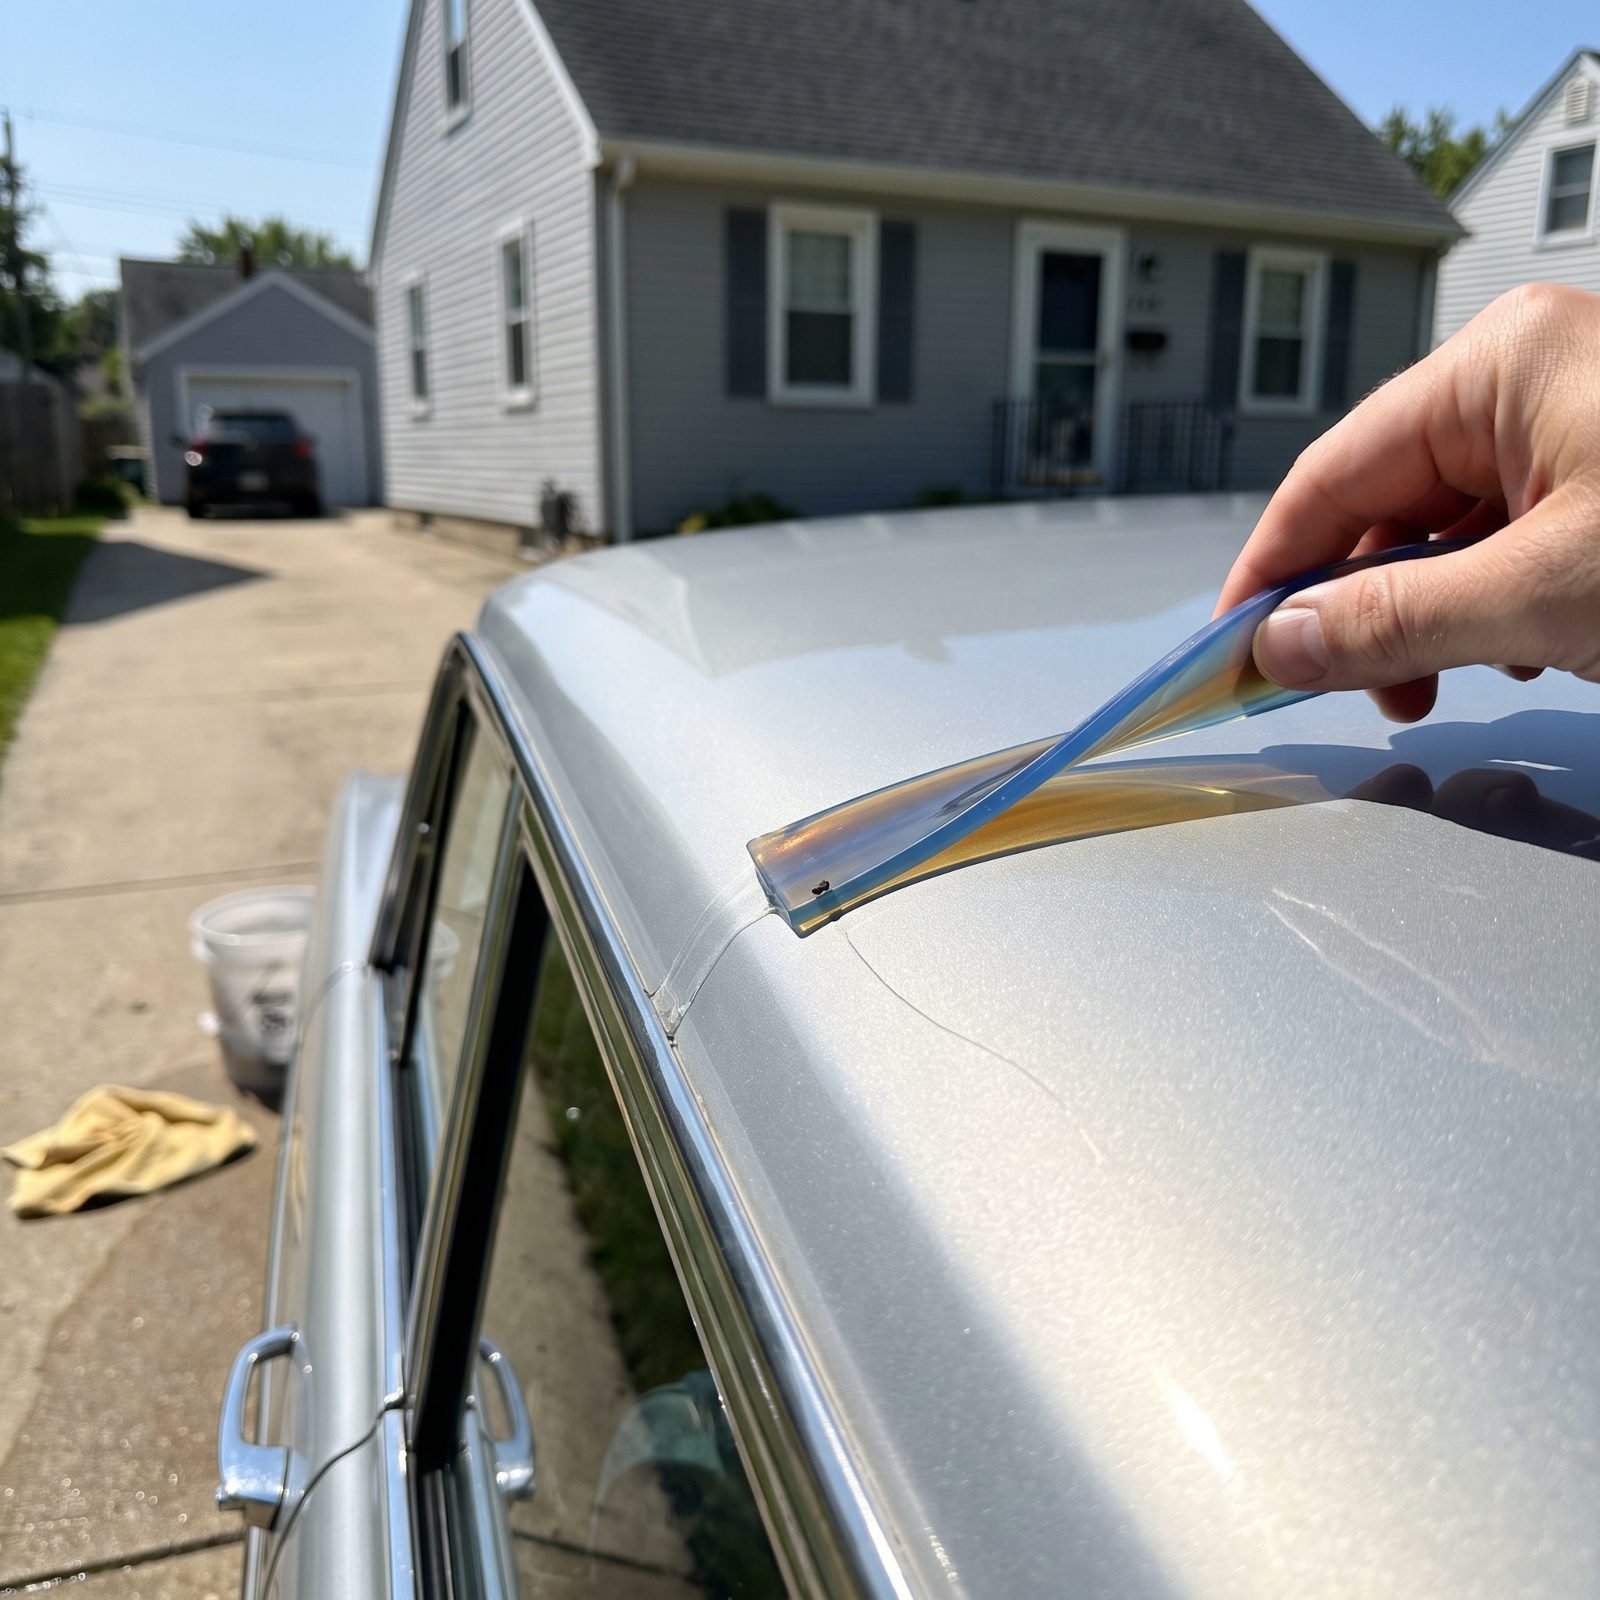
The silicone blade promises a dry car in half the time, and most days it delivers. The trouble is the one day it doesn’t. If even a single speck of grit survived your rinse and lands under that blade, you’ve got a hard squeegee pressing it across the paint in one long unbroken stroke. One grain, one visible curved scratch, usually right across the roof or the hood where everyone sees it.
If you love the blade, use it only on a truly flooded, spotless surface and keep the edge immaculately clean between cars. Safer still: do a proper final rinse that sheets the water off. Pull the nozzle and let it flood, then dry with a plush drying towel or a microfiber drying towel blotted, not dragged. Pat and lift. Your paint never argues with a blot.
22. Dusting a Dry Car With a Towel or California Duster
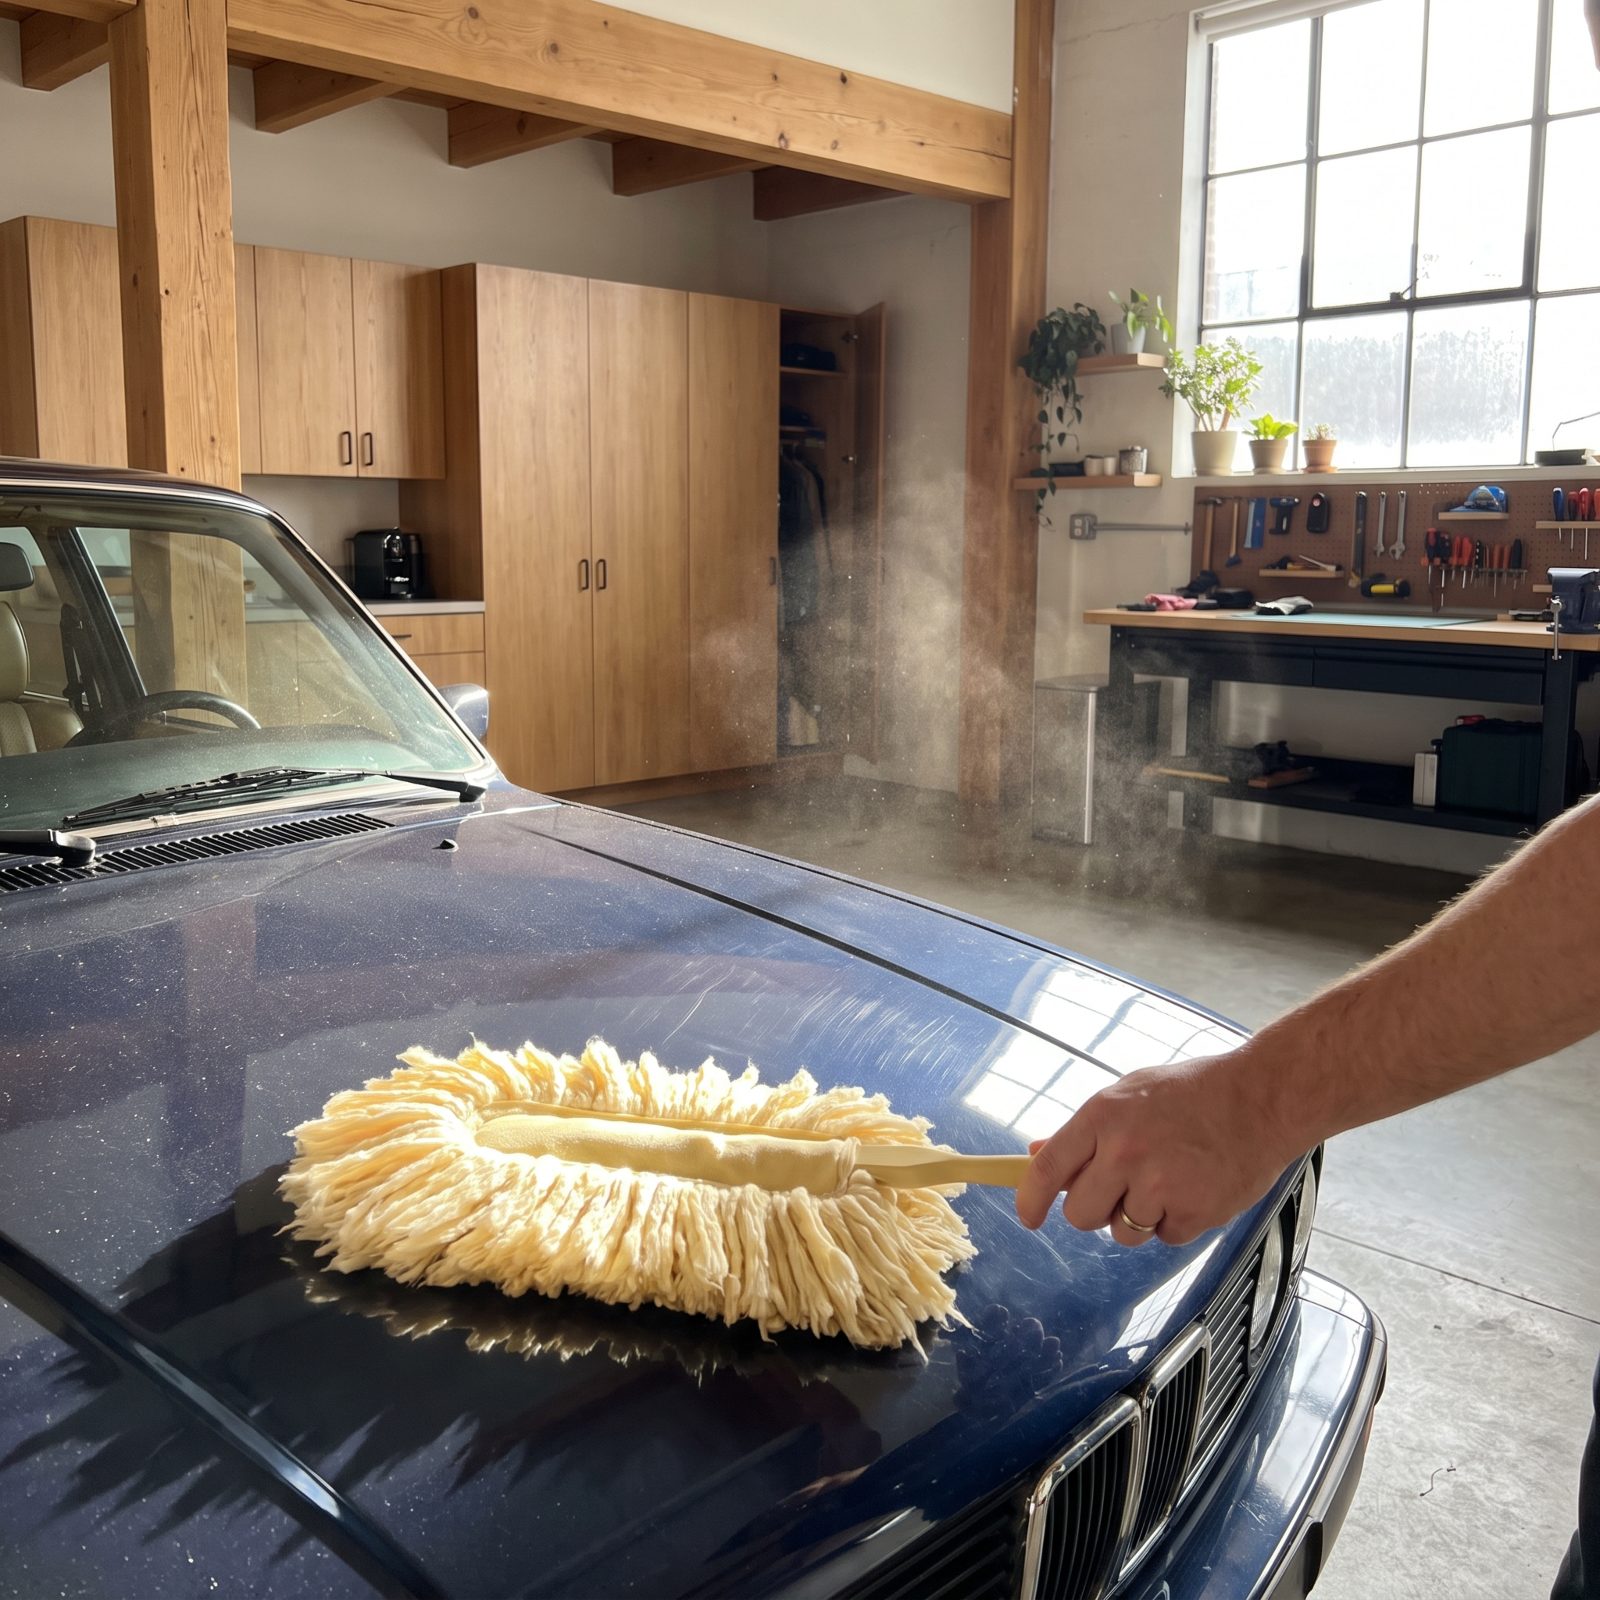
A light dusting feels like the gentle option. It isn’t, because the thing you’re dusting off is grit, and dry grit against dry paint has zero lubrication. Every stroke of that duster or towel rolls the dust across the surface and leaves behind that cobweb swirl. Black cars pull swirls like a magnet, which is why the show-car crowd almost never touches a dry panel.
If the car’s genuinely clean and just has settled dust, a quick-detailer spray is your friend. Mist a section, let it float the dust loose, then wipe with a clean microfiber in straight lines. The spray gives you the lubrication the duster never had.
Any real road film under the dust? Don’t chase it dry. It wants a hose.
21. Pressing Down Hard to Remove Stubborn Dirt
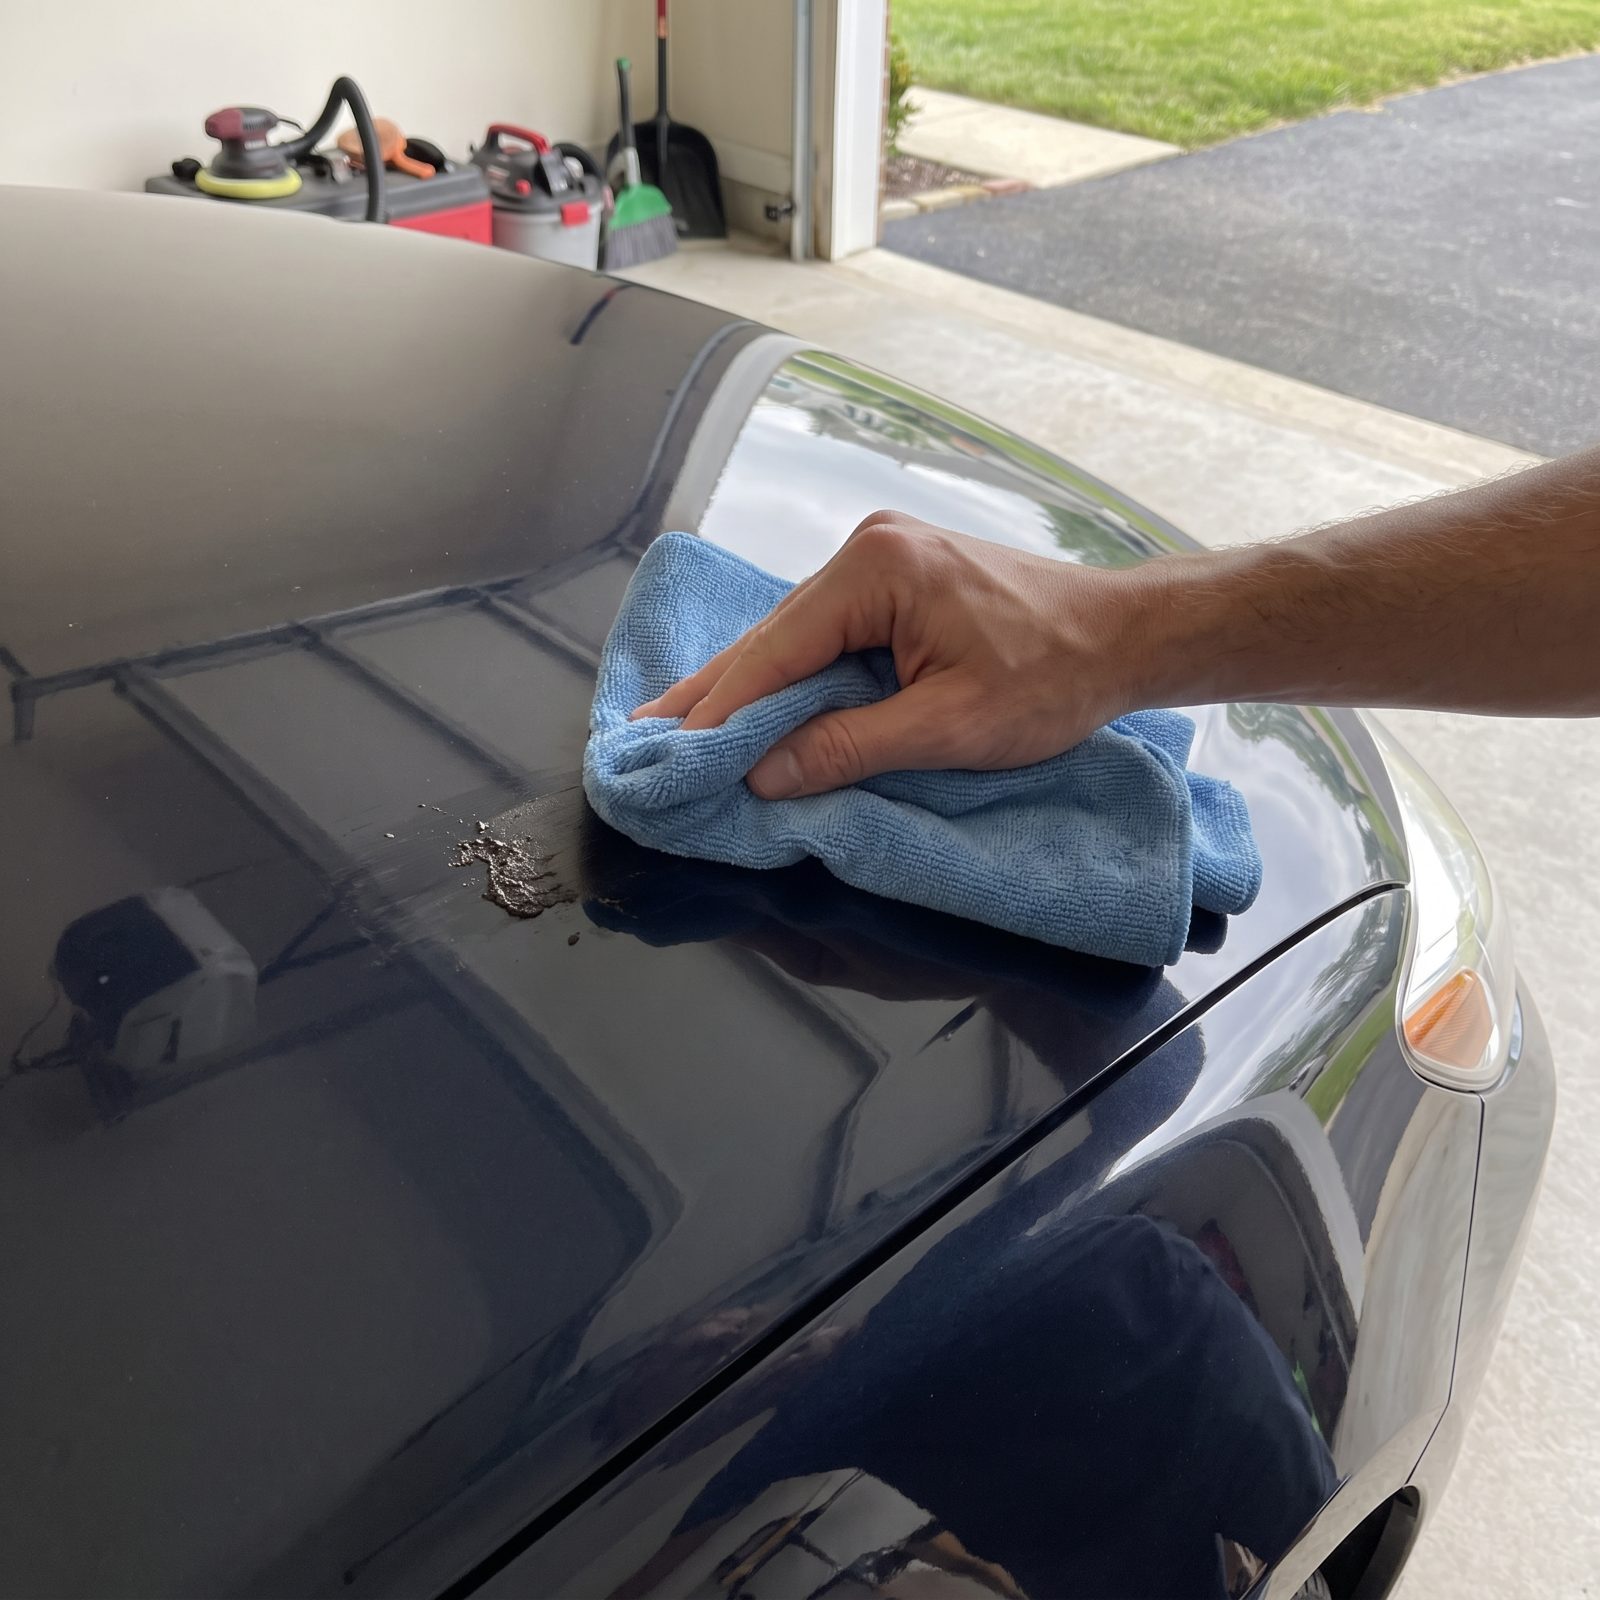
There’s always one. A dried bug, a splash of tar, a bird bomb that baked on in the sun. The instinct is to lean into it with the towel and grind it off. That pressure is exactly the problem, because whatever’s stuck is now being forced across the clearcoat with real force behind it, and the contaminant itself becomes the abrasive.
Bear down enough and you’ll leave a ring of swirls around the spot, or worse, lift a chip where tar had bonded.
Let chemistry do the pushing. Soak stubborn spots with a dedicated bug-and-tar remover or a clay-lube spray, give it a few minutes, and the bond releases on its own. For bonded fallout and overspray, a clay bar with plenty of lube glides the junk off without pressure. Patience beats elbow grease every single time on paint.
20. Starting at the Dirty Rocker Panels and Then Moving Upward
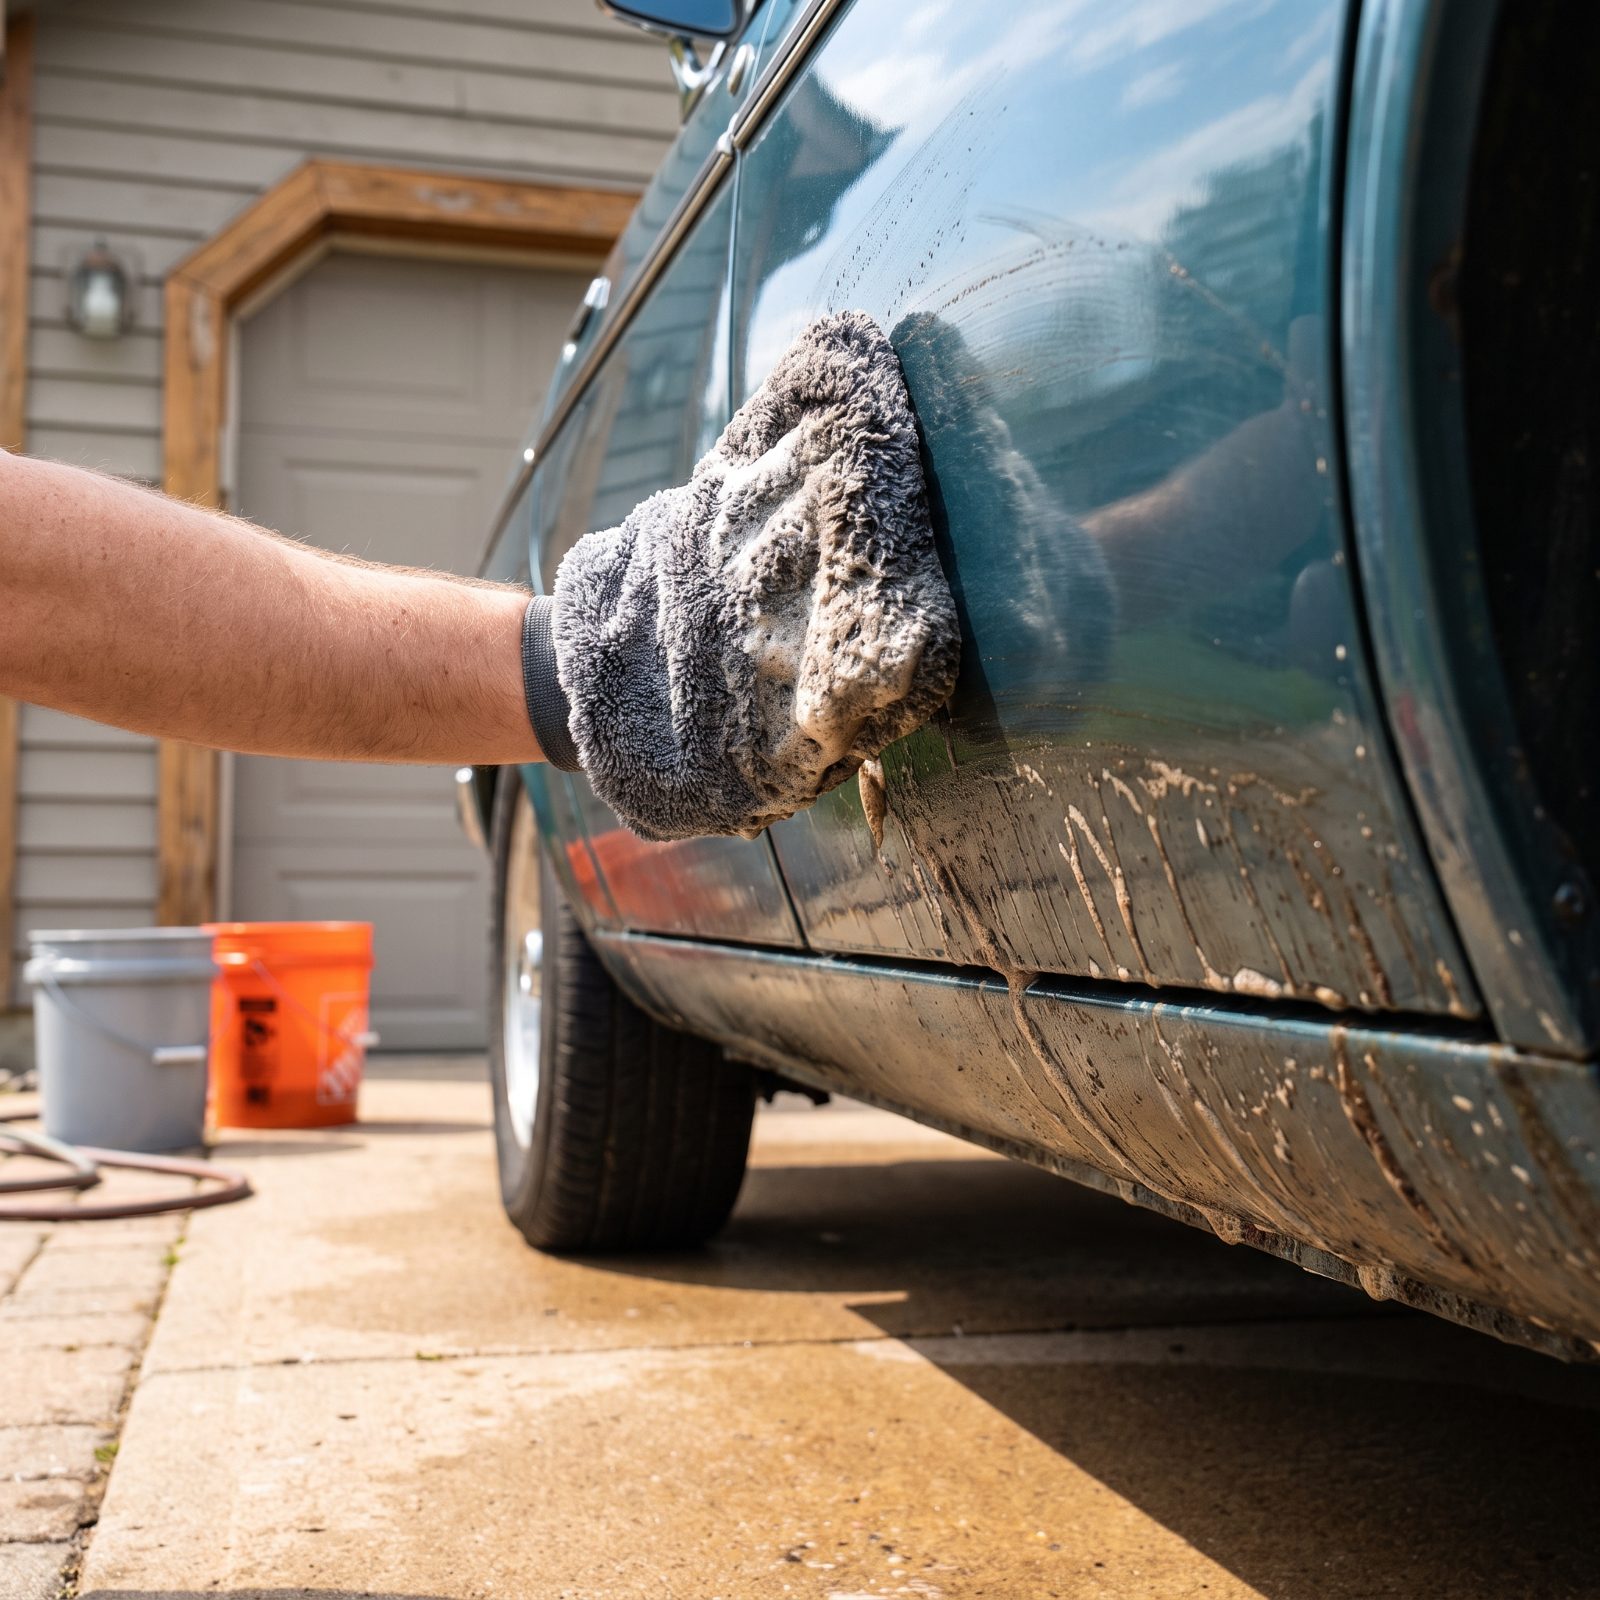
Washing from the bottom up sounds efficient. It’s backwards. Rocker panels, lower doors, and the area behind the wheels carry the nastiest load on the whole car: road grit, brake dust, tar flecks. Load your mitt with all of that first, then work it up onto clean glossy paint, and you’ve just turned your wash mitt into sandpaper for the parts of the car people actually look at.
Always wash top down. Roof first, then glass, then upper panels, working lower as you go, saving the filthy rockers and lower valances for last. Dirt flows downhill with the rinse water anyway.
Better yet, keep a second mitt reserved strictly for the bottom few inches and the wheel wells. Once that mitt touches the rockers, it never goes near the hood again.
19. Letting Car Shampoo Dry Before Rinsing
Would you like to save this?
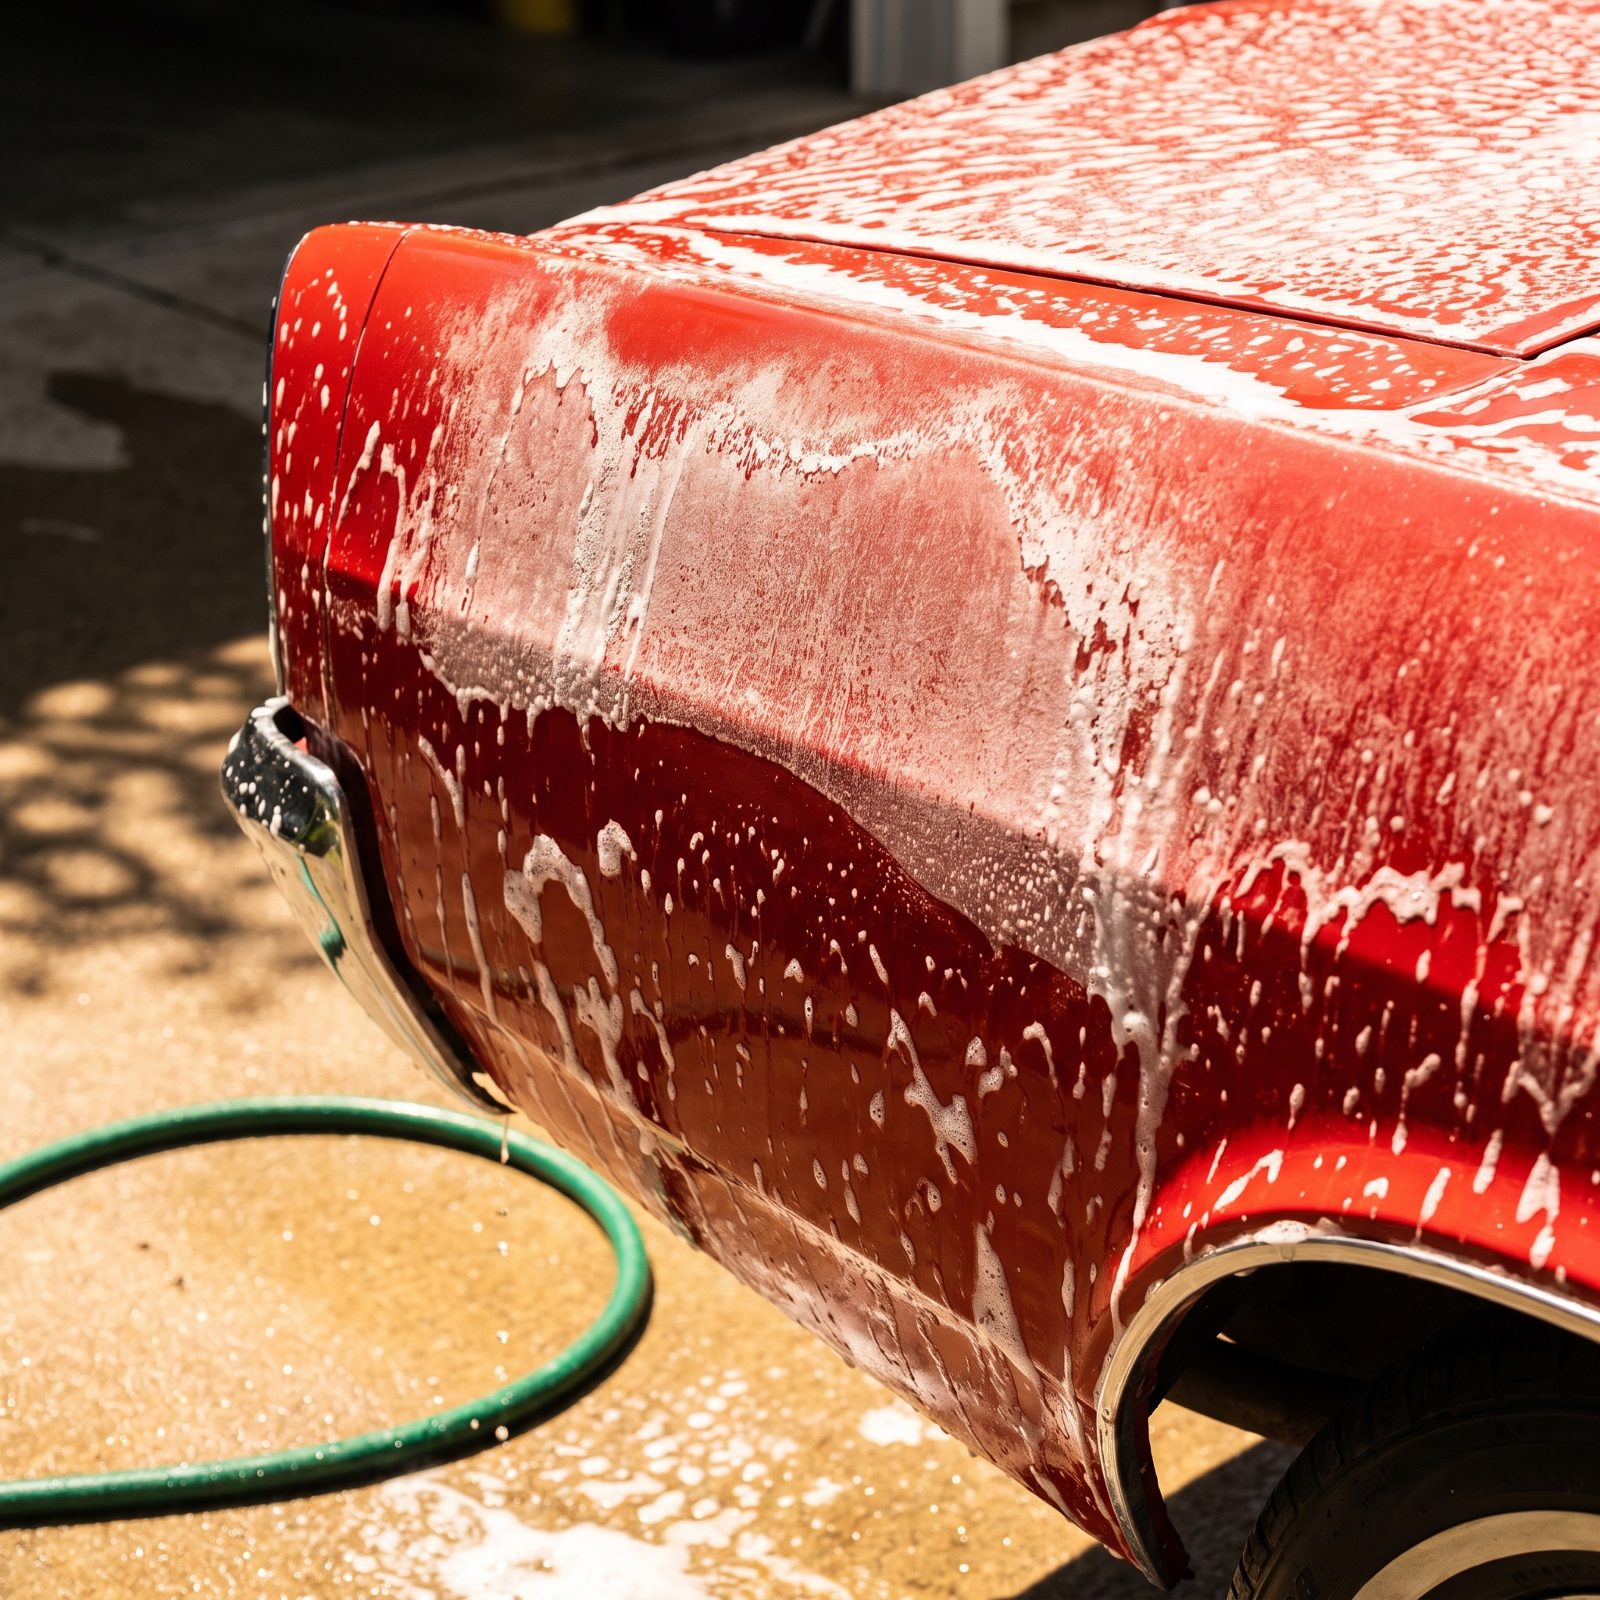
Sunshine is the enemy of a good wash. Shampoo left to dry on a hot panel leaves a chalky film and, if your water’s hard, a crust of mineral residue bonded right to the clearcoat. Now you’re scrubbing harder to remove the dried soap than you ever would have to remove the original dirt, and that scrubbing brings its own swirls.
Wash in the shade, or early morning, or late afternoon when the panels are cool to the touch. Work one section at a time and rinse it before it can flash-dry. If a panel starts drying on you mid-wash, re-wet it right away rather than powering through.
A cool panel and a quick rinse keep the whole process honest. Hot metal and patience don’t mix.
18. Allowing Hard Water to Evaporate on the Paint
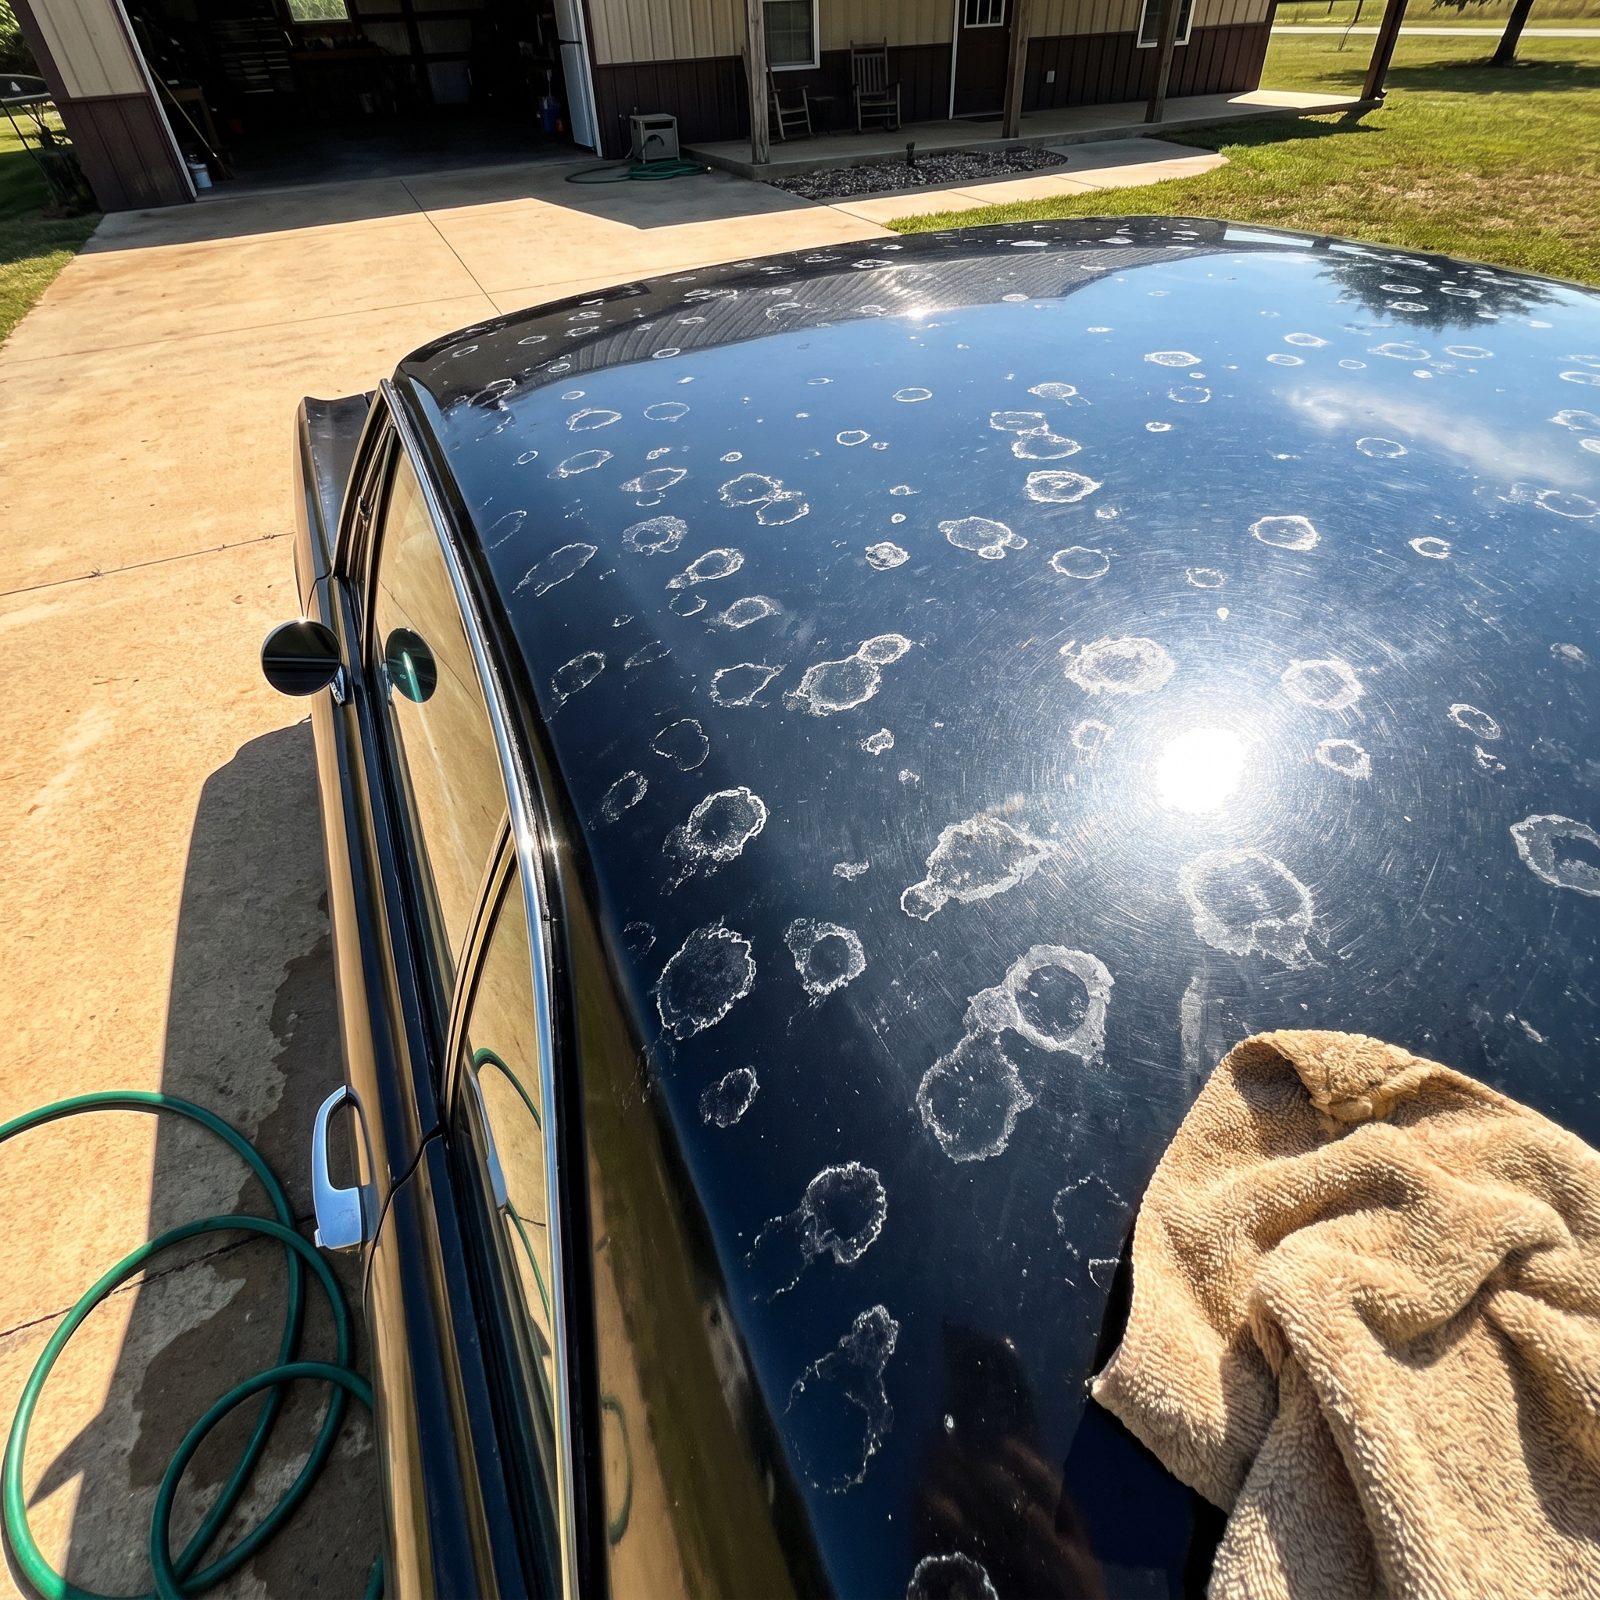
Hose the car, walk away, let it air-dry. The water goes, but the minerals it carried stay. Those white rings are calcium and magnesium deposits, and on a hot panel they don’t just sit on top. They etch slightly into the clearcoat and leave a permanent crater ring if you ignore them long enough.
Black and dark metallics show them worst, like someone sneezed chalk across the roof.
Dry the car yourself every time, right after the final rinse, before the sun gets to it. A big plush microfiber drying towel or a clean waffle-weave towel blots the water off fast. For fresh spots that already dried, a 50/50 distilled white vinegar and distilled water mix dissolves the minerals without harming cured paint. Spray, let it dwell a minute, wipe, then rinse and dry.
Got brutally hard tap water? A cheap inline resin filter on the hose for the final rinse pays for itself the first summer.
17. Dragging a Clay Bar Across Dry Paint With Too Little Lubricant
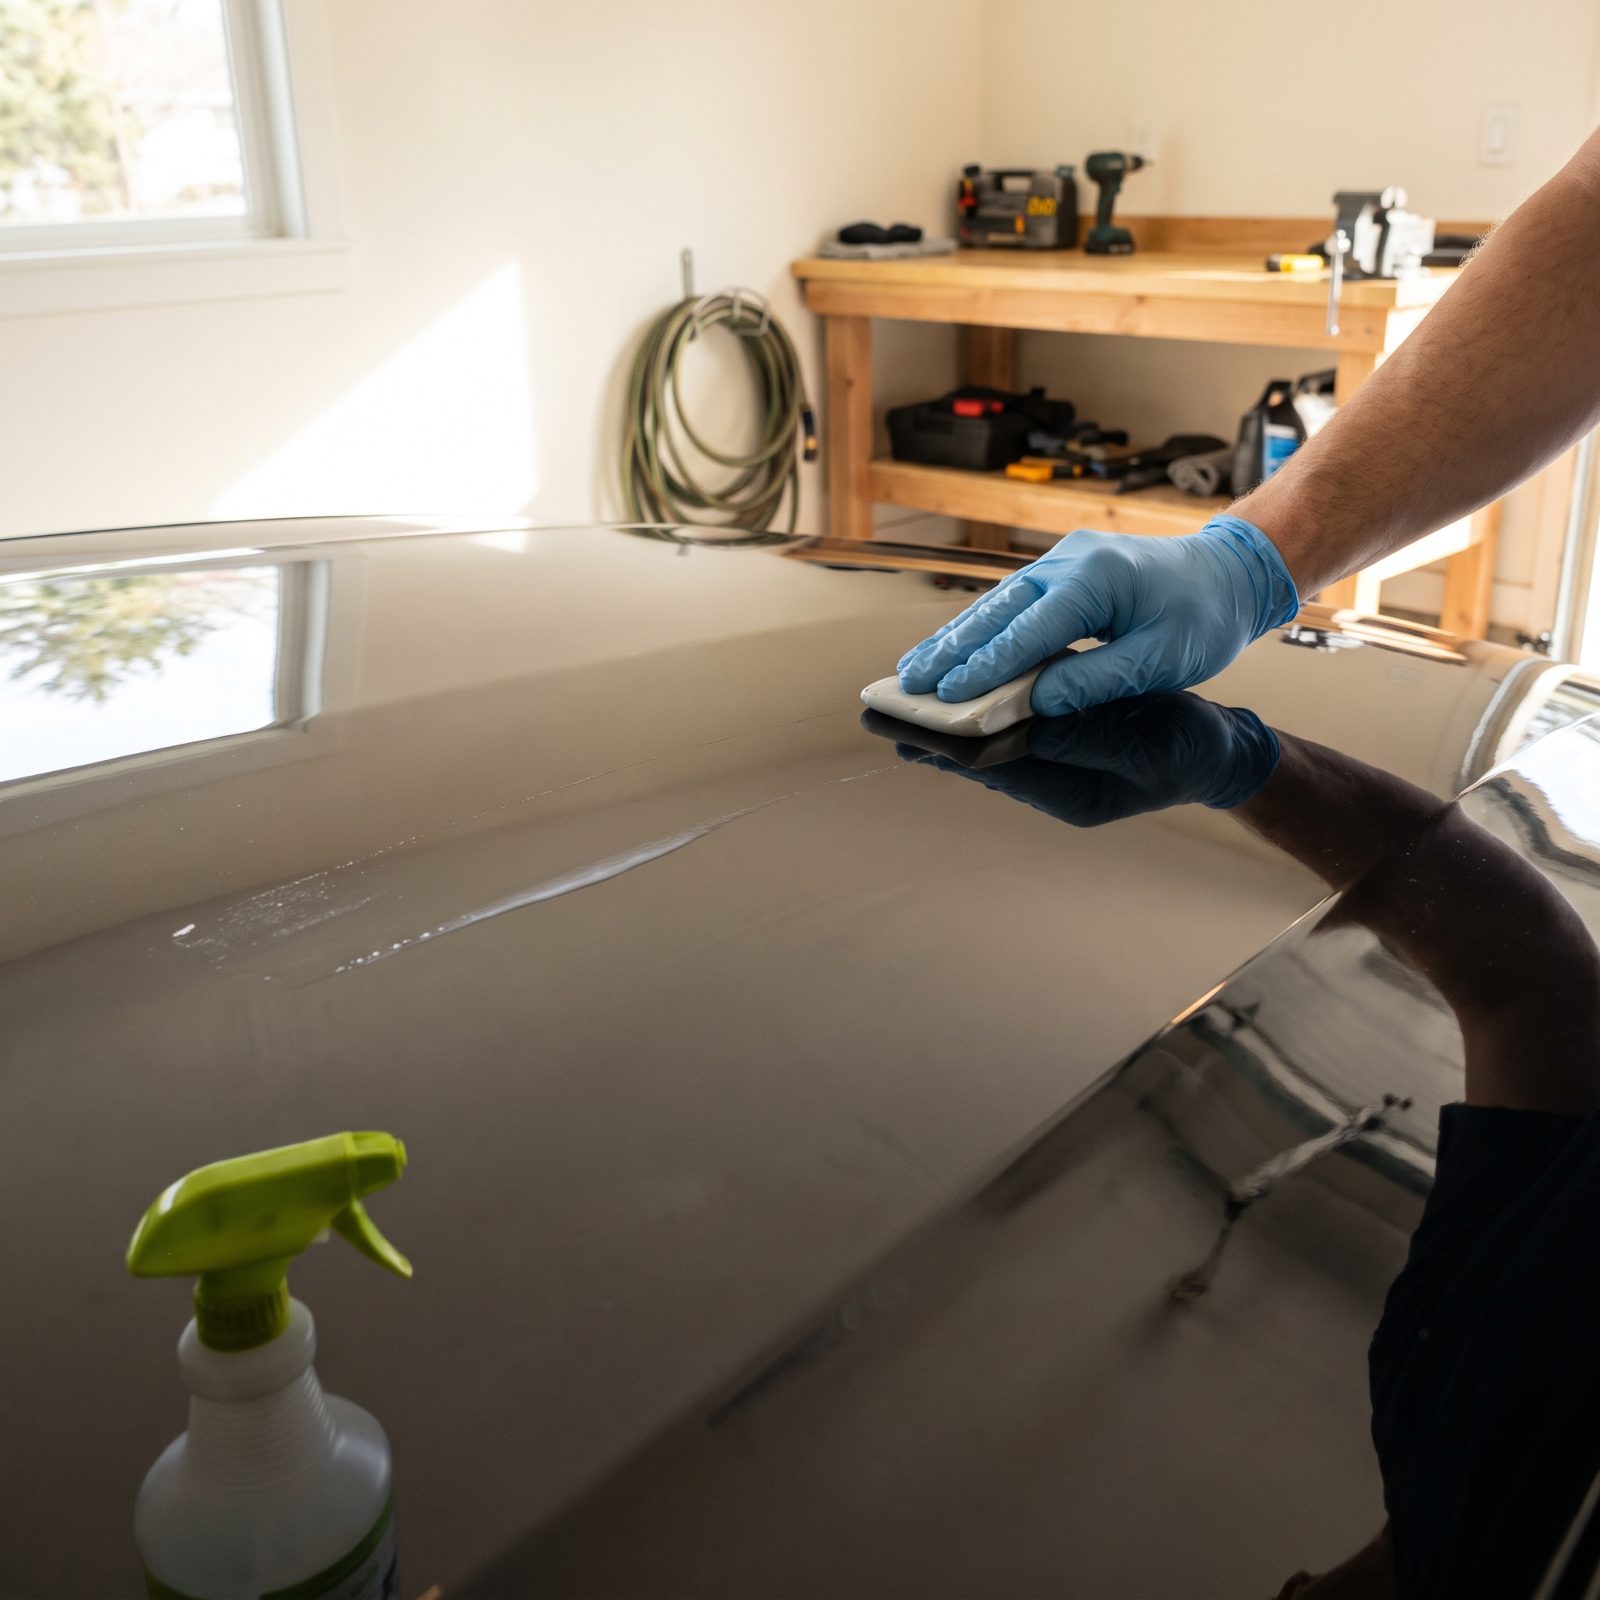
Clay bar on bare, barely-damp paint sounds thorough, and it feels like real work. It also feels like sandpaper dragging across your clear coat, which is exactly what it’s doing.
Clay grabs embedded contaminants, but without a slick layer of lube underneath it the bar skates and bites. You end up with a field of fine marring on dark paint that only shows when the sun hits it sideways. By then it’s too late to argue with physics.
So soak the panel. Then soak it again. A dedicated clay lubricant or a strong quick-detailer mix should leave the surface visibly wet and slippery before the clay ever touches it. The bar ought to glide with almost no resistance. Work in straight lines, fold the clay often, keep re-wetting — and the second it starts to grab, stop and spray more.
16. Picking Up a Dropped Clay Bar and Putting It Right Back on the Car
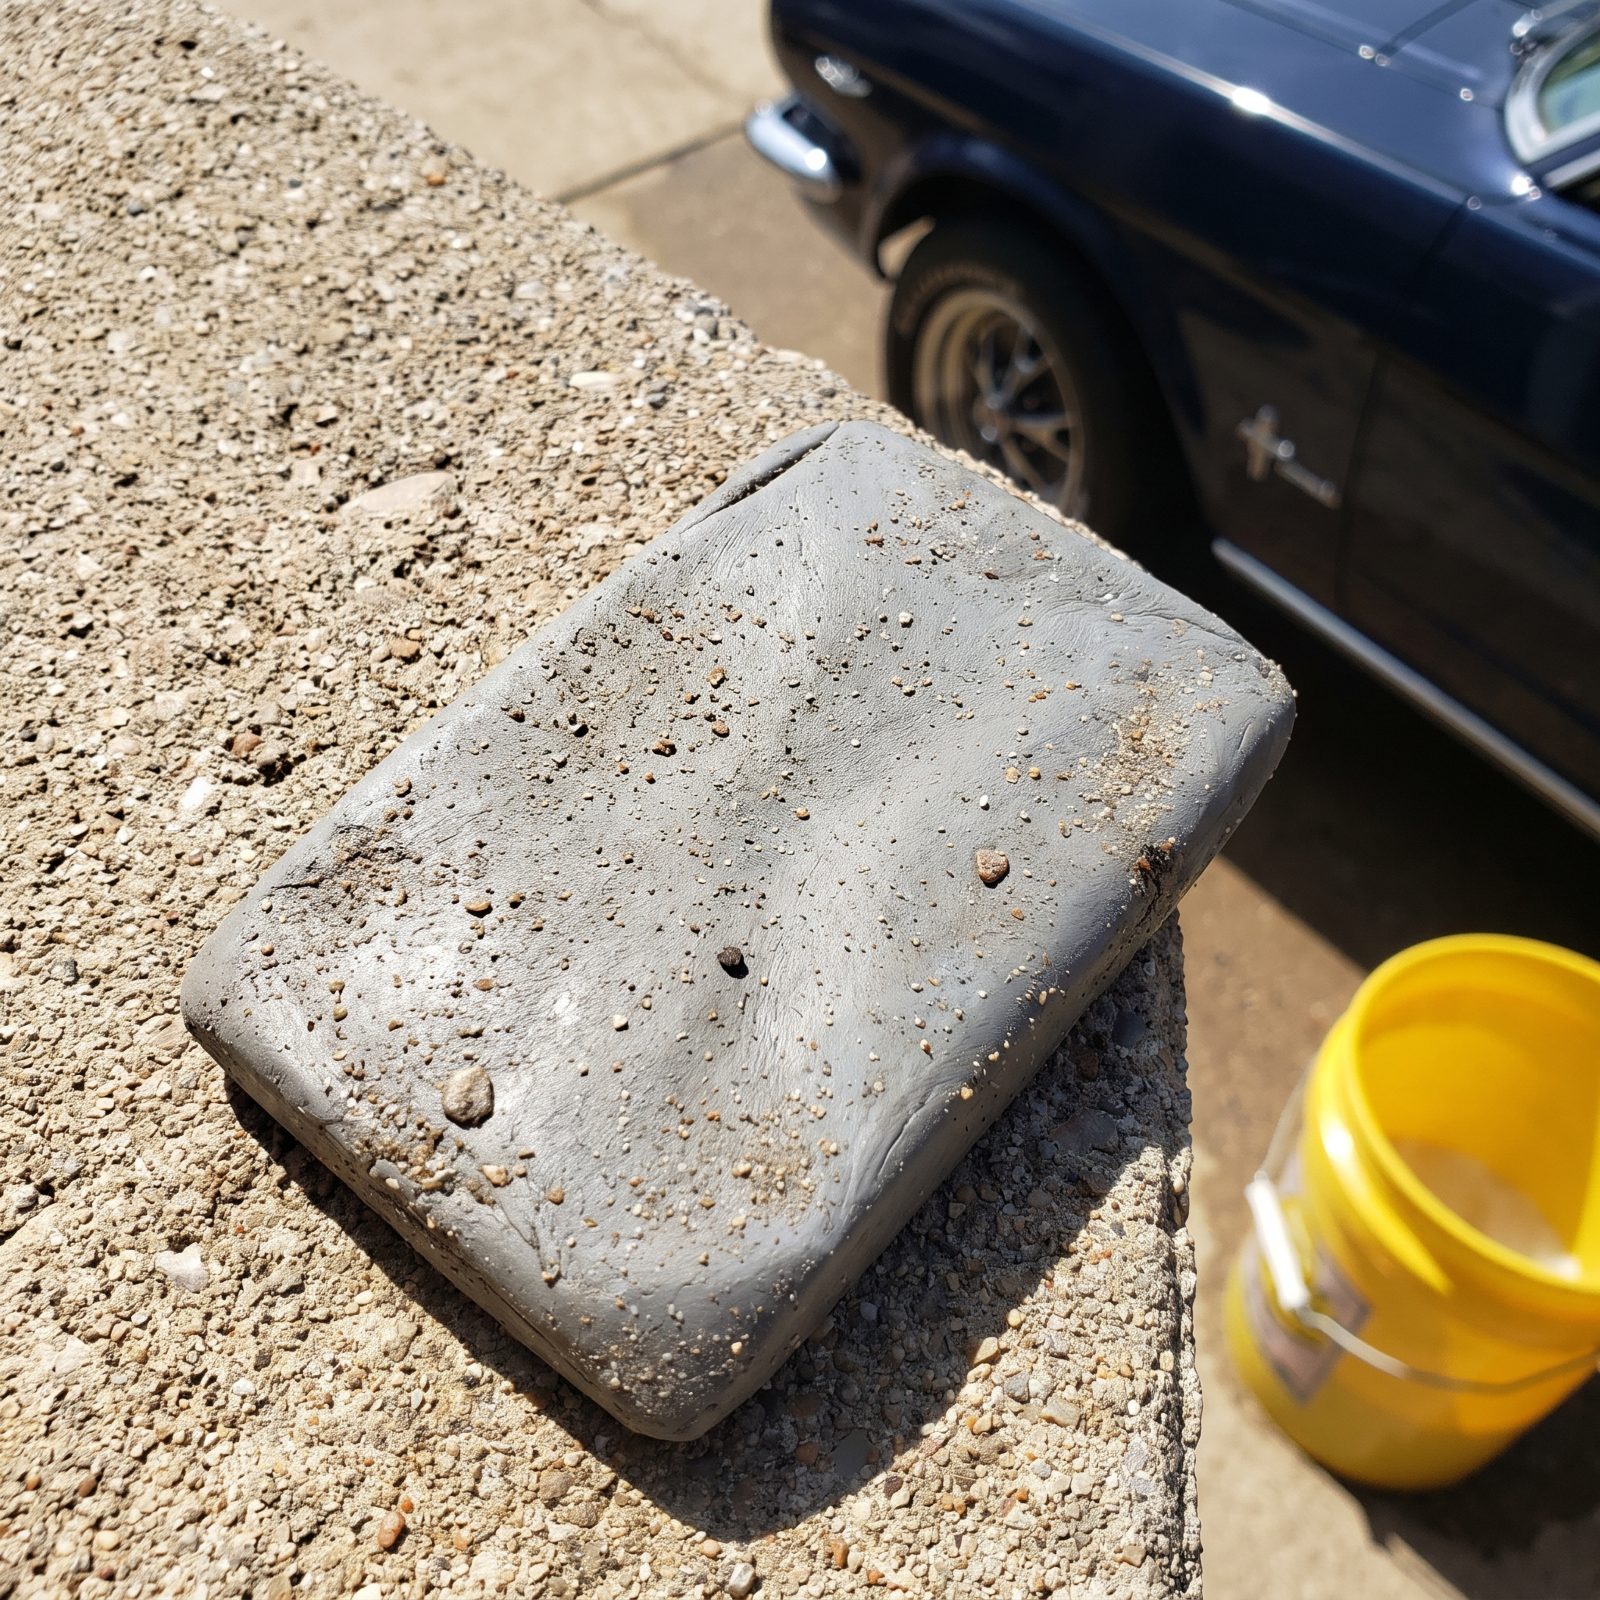
The clay slips out of your fingers and smacks the driveway. You pick it up, squish it a little, carry on. Totally normal reaction, and the fastest way there is to turn a detailing tool into a scouring pad.
Concrete and asphalt are coated in sharp silica grit. The second that clay hits the ground it picks up particles you’ll never fully squeeze back out, and pressing it onto your paint means rubbing rocks across the clear coat in nice even rows.
Throw it out. I know — it still looks fine. It isn’t. A fresh bar of detailing clay costs a few dollars, while a machine polish to chase out the swirls you just added costs an afternoon and a pad set. Keep a couple of spares on the shelf and treat a dropped bar as instantly dead.
15. Going After Marks With a Melamine Magic Eraser
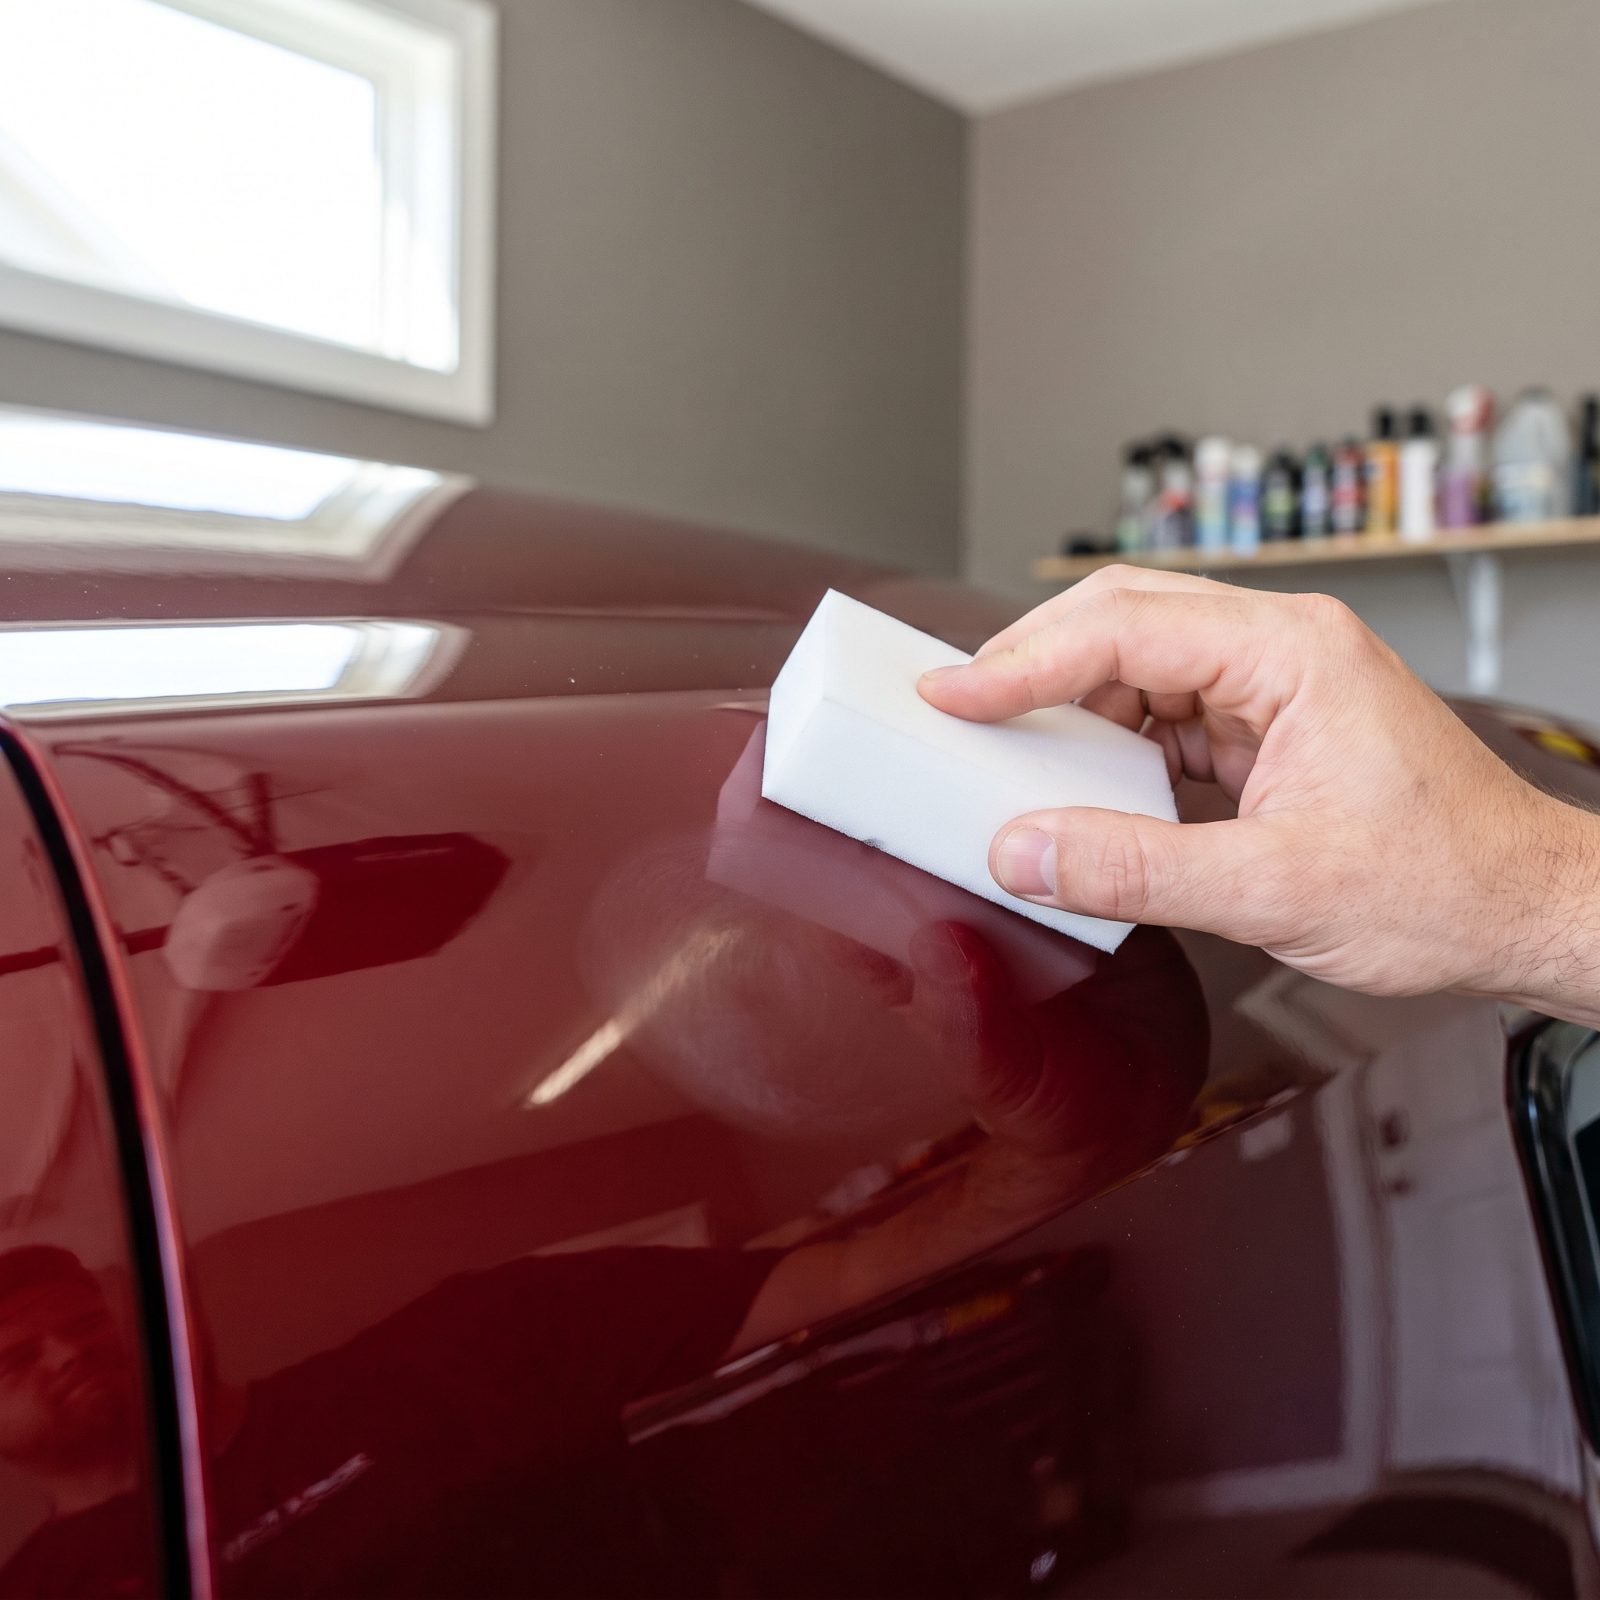
Melamine foam is an abrasive. Full stop. It feels soft and squishy, which is the whole trap. On a coffee mug stain it’s magic. On automotive clear coat it’s a fine-grit sanding block that leaves a dull, scoured halo wherever you rub.
The damage shows worst on dark paint under direct light. One minute you’re spot-cleaning a scuff, the next you’ve got a matte patch no wax will fix, because the gloss itself is gone.
Reach instead for a proper solvent-based mark remover, or a dab of all-purpose cleaner on a plush microfiber towel, and let the chemistry do the lifting. If a mark truly won’t budge, a light machine polish is the answer. Not foam. Save the eraser for the kitchen where it belongs.
14. Scrubbing Baked-On Bugs With an Abrasive Mesh Sponge
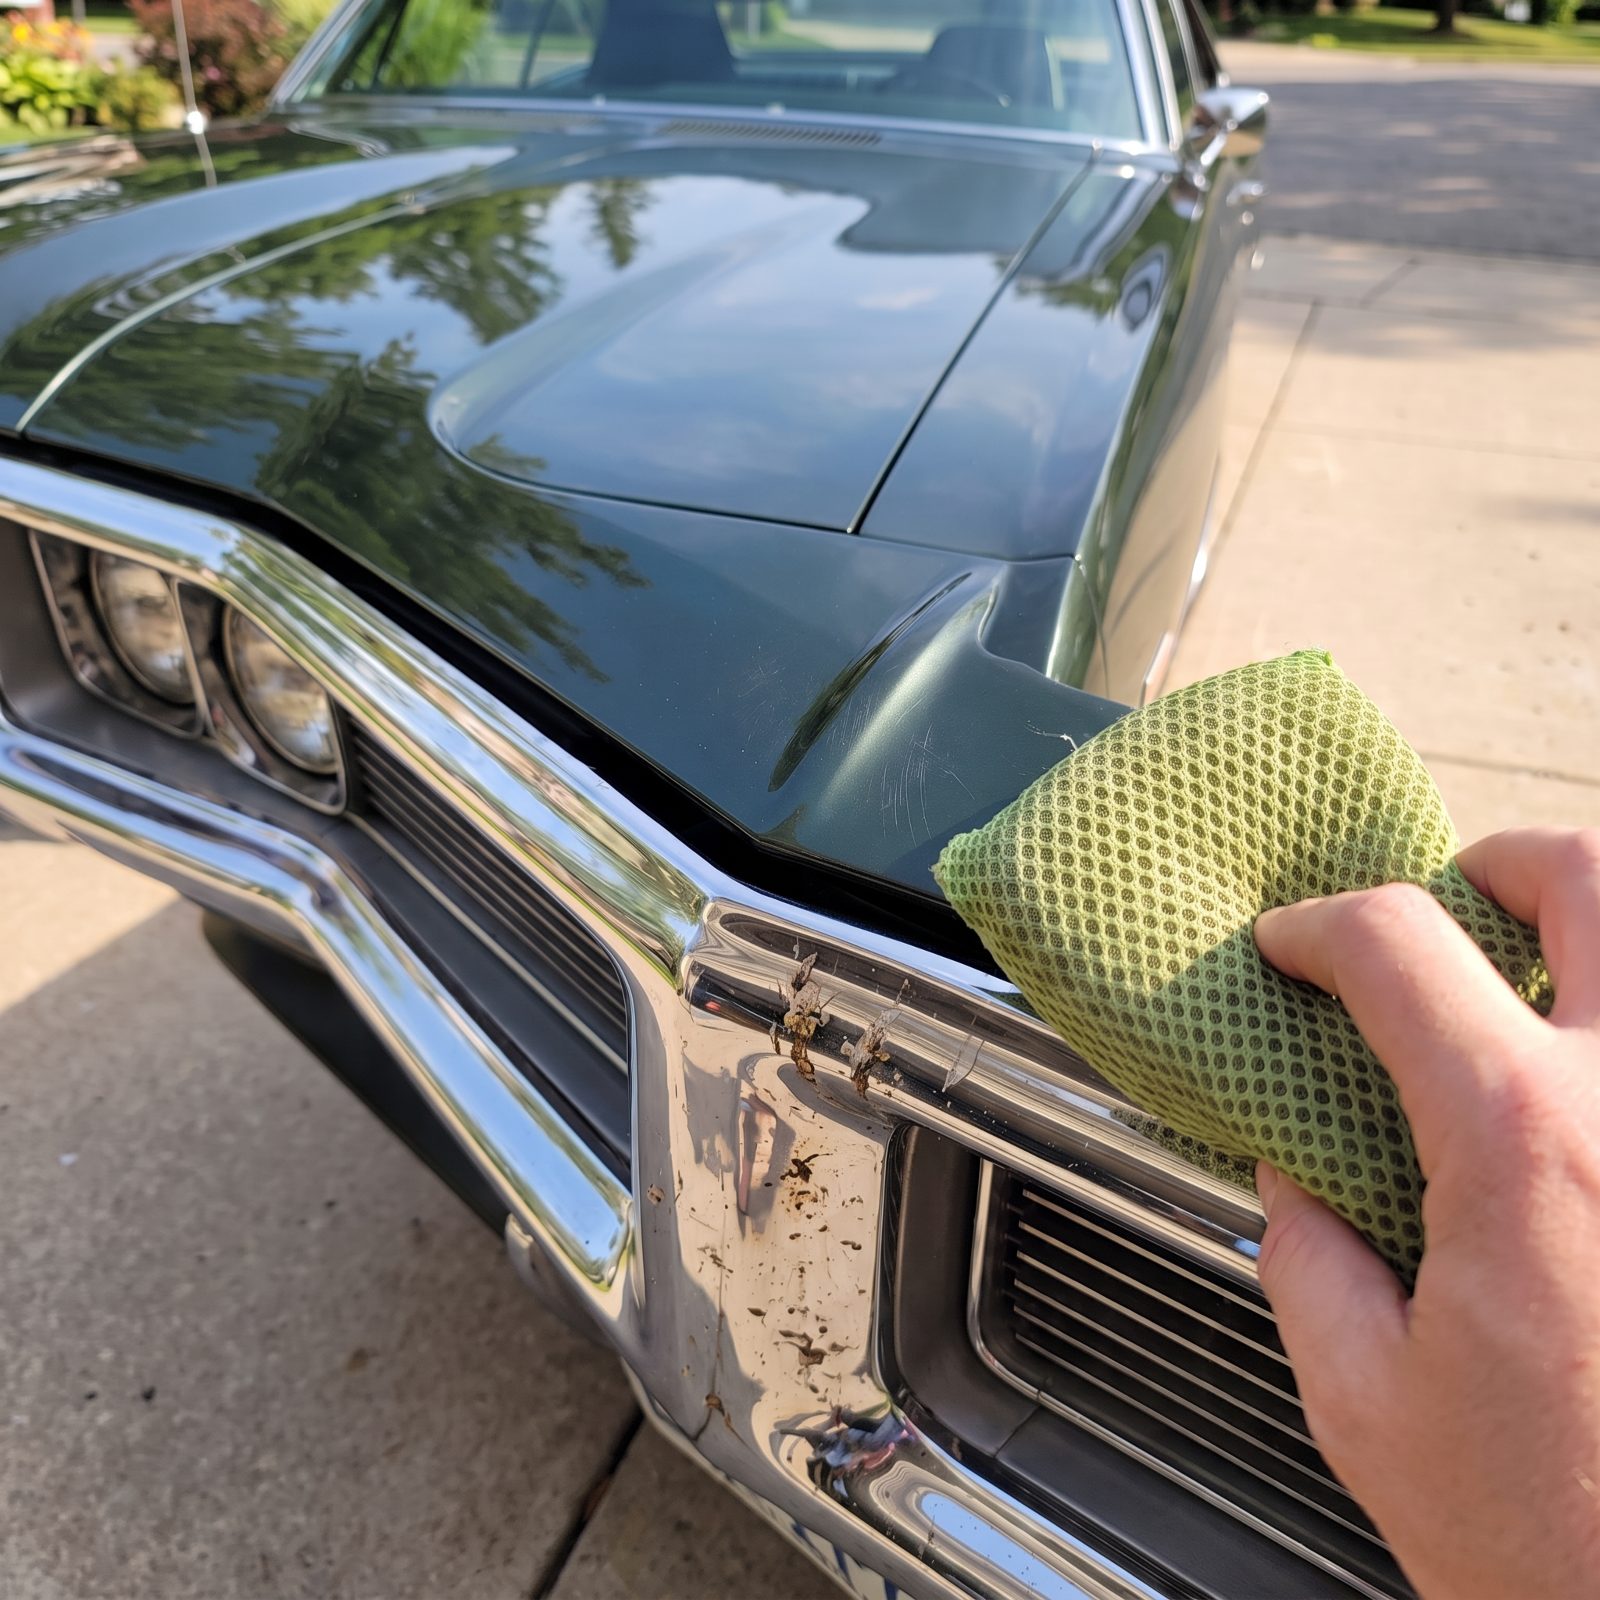
Dead bugs cement themselves to the nose of your car by July, and that crunchy mesh sponge under the sink feels like just the tool to blast them off. It will. It’ll also file a web of scratches into the exact spot everybody looks at first.
Those stiff plastic netting sponges were built for cookware, not clear coat. On the header panel and painted bumper covers they leave spider-webbing that catches every headlight behind you.
Soften the bugs first. Lay a soaked microfiber towel or a shot of bug remover spray over them and give it five minutes. The protein bonds let go on their own, and then a plush soft bug sponge and plenty of suds wipe them away with zero pressure. Patience beats elbow grease here, every single time.
13. Taking a Razor Blade to a Blob of Tree Sap
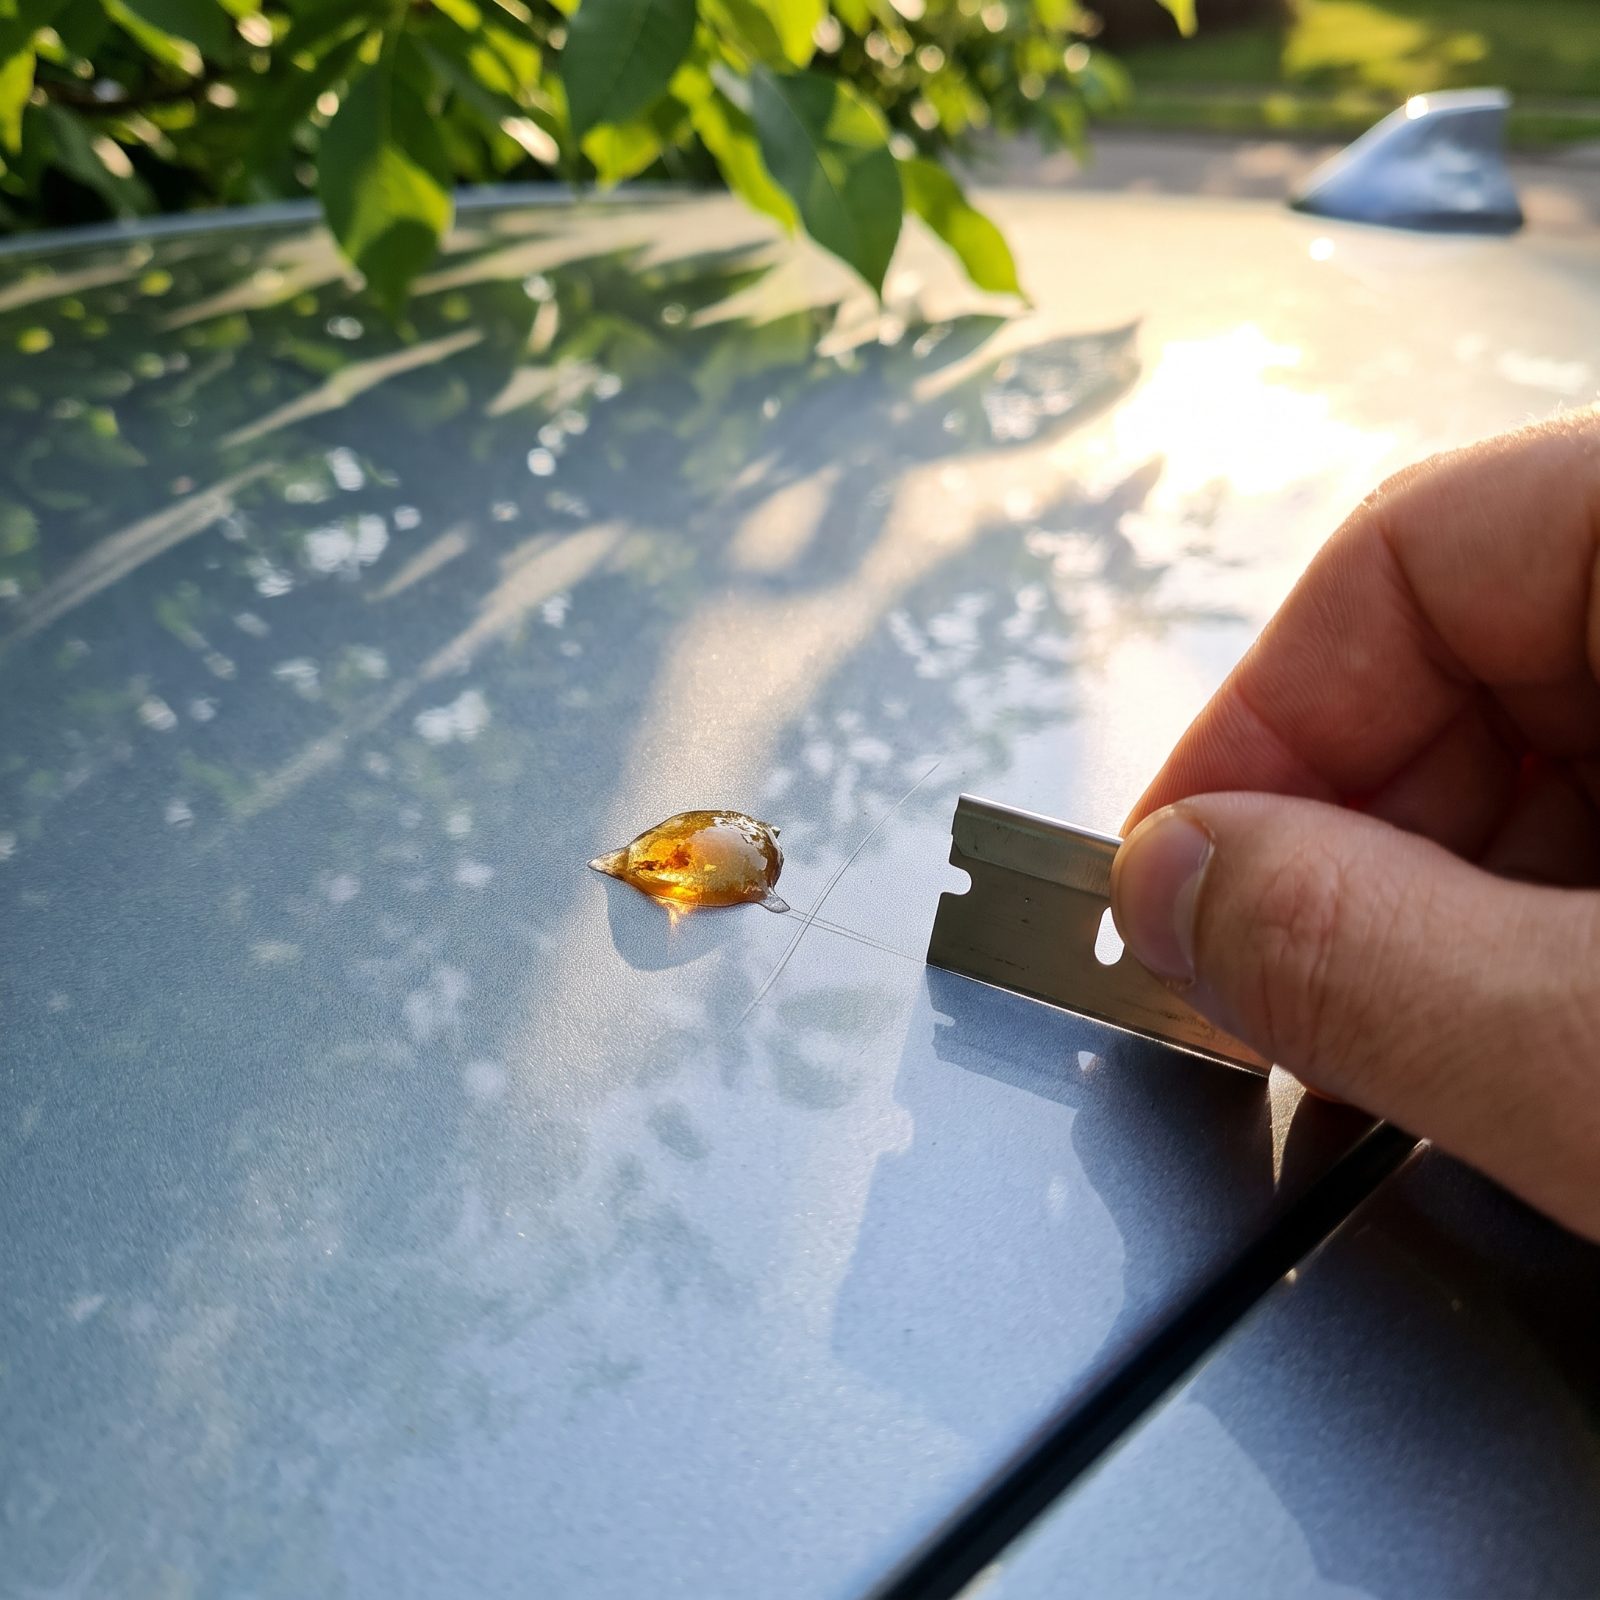
Sap dries to the hardness of amber. A razor blade seems logical, right up until it skates sideways and leaves a clean, surgical gouge straight through your clear coat. Steel against clear coat only ever ends one way.
Even held dead flat, a blade follows the contour of the panel for a second and then digs in. On curved body lines there’s no safe angle to be had.
Dissolve it instead. Soak a cotton pad in isopropyl alcohol or a citrus-based tar and sap remover, hold it on the sap for half a minute, and the blob softens enough to wipe. Stubborn spots just want a second soak. Follow with soap and water, then re-wax the area — solvents strip protection right along with the sap.
12. Wiping Off Dry Bird Droppings Instead of Soaking Them First
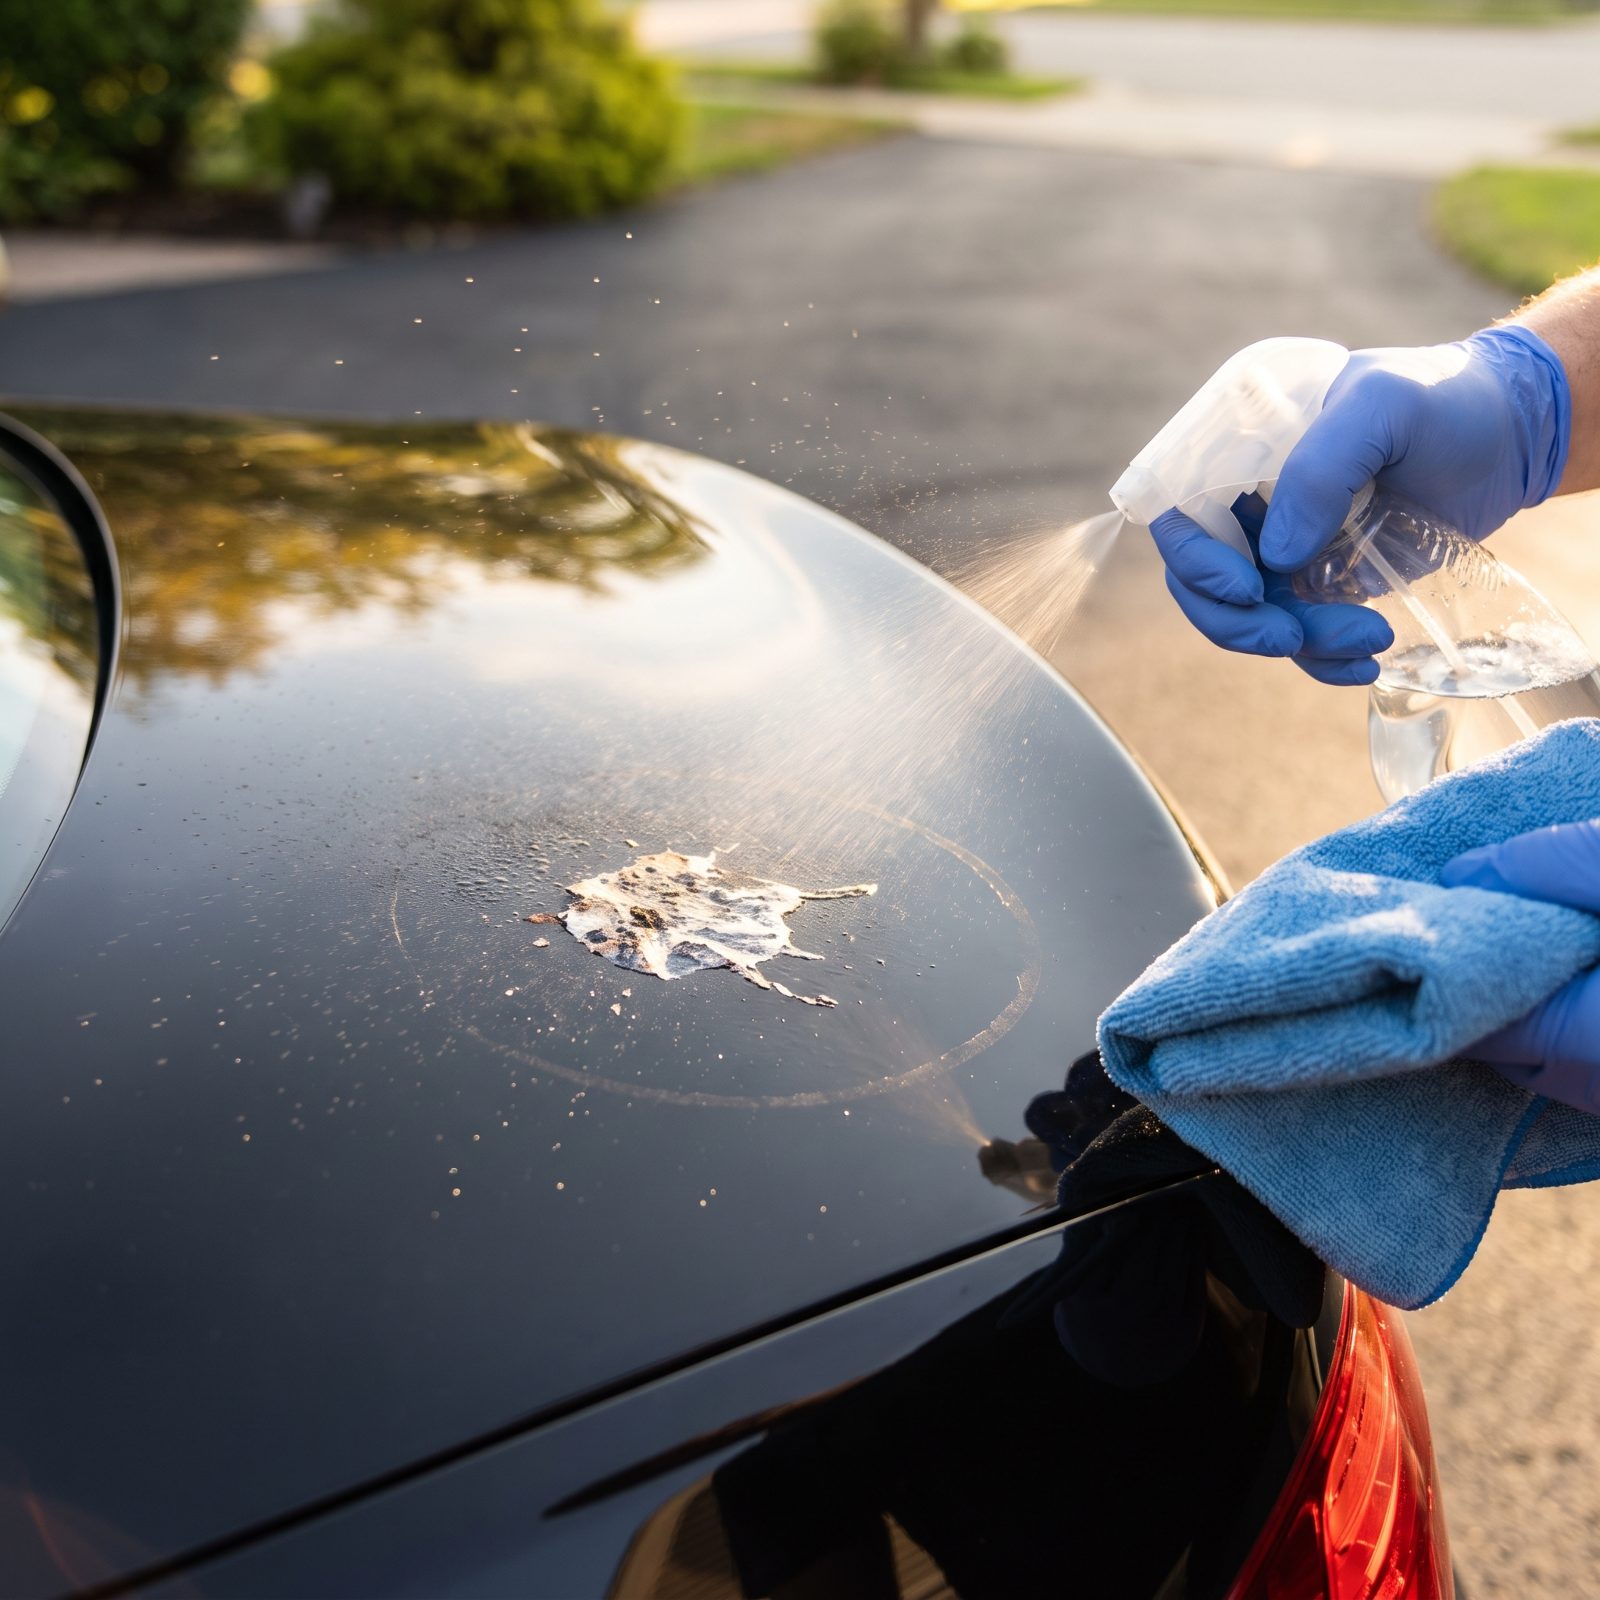
A dried bird dropping comes with two problems. It’s crusty and sharp, so wiping it dry drags grit across the paint, and it’s acidic, so the longer it bakes in the sun the deeper it bites into the finish.
Wipe it dry and you pull off both kinds of damage at once: a scratch from the grit, plus an etched ring from the acid that no towel on earth will ever buff away.
Flood it first. Mist it heavily with water or a quick-detailer, drape a soaked microfiber over the top, and walk away for a few minutes. Once it’s fully softened it lifts with one gentle wipe. Deal with droppings the same day you spot them — overnight is often all it takes to brand a mark into the clear.
11. Grabbing the Gas Can, Acetone, or Paint Thinner to Lift Road Tar
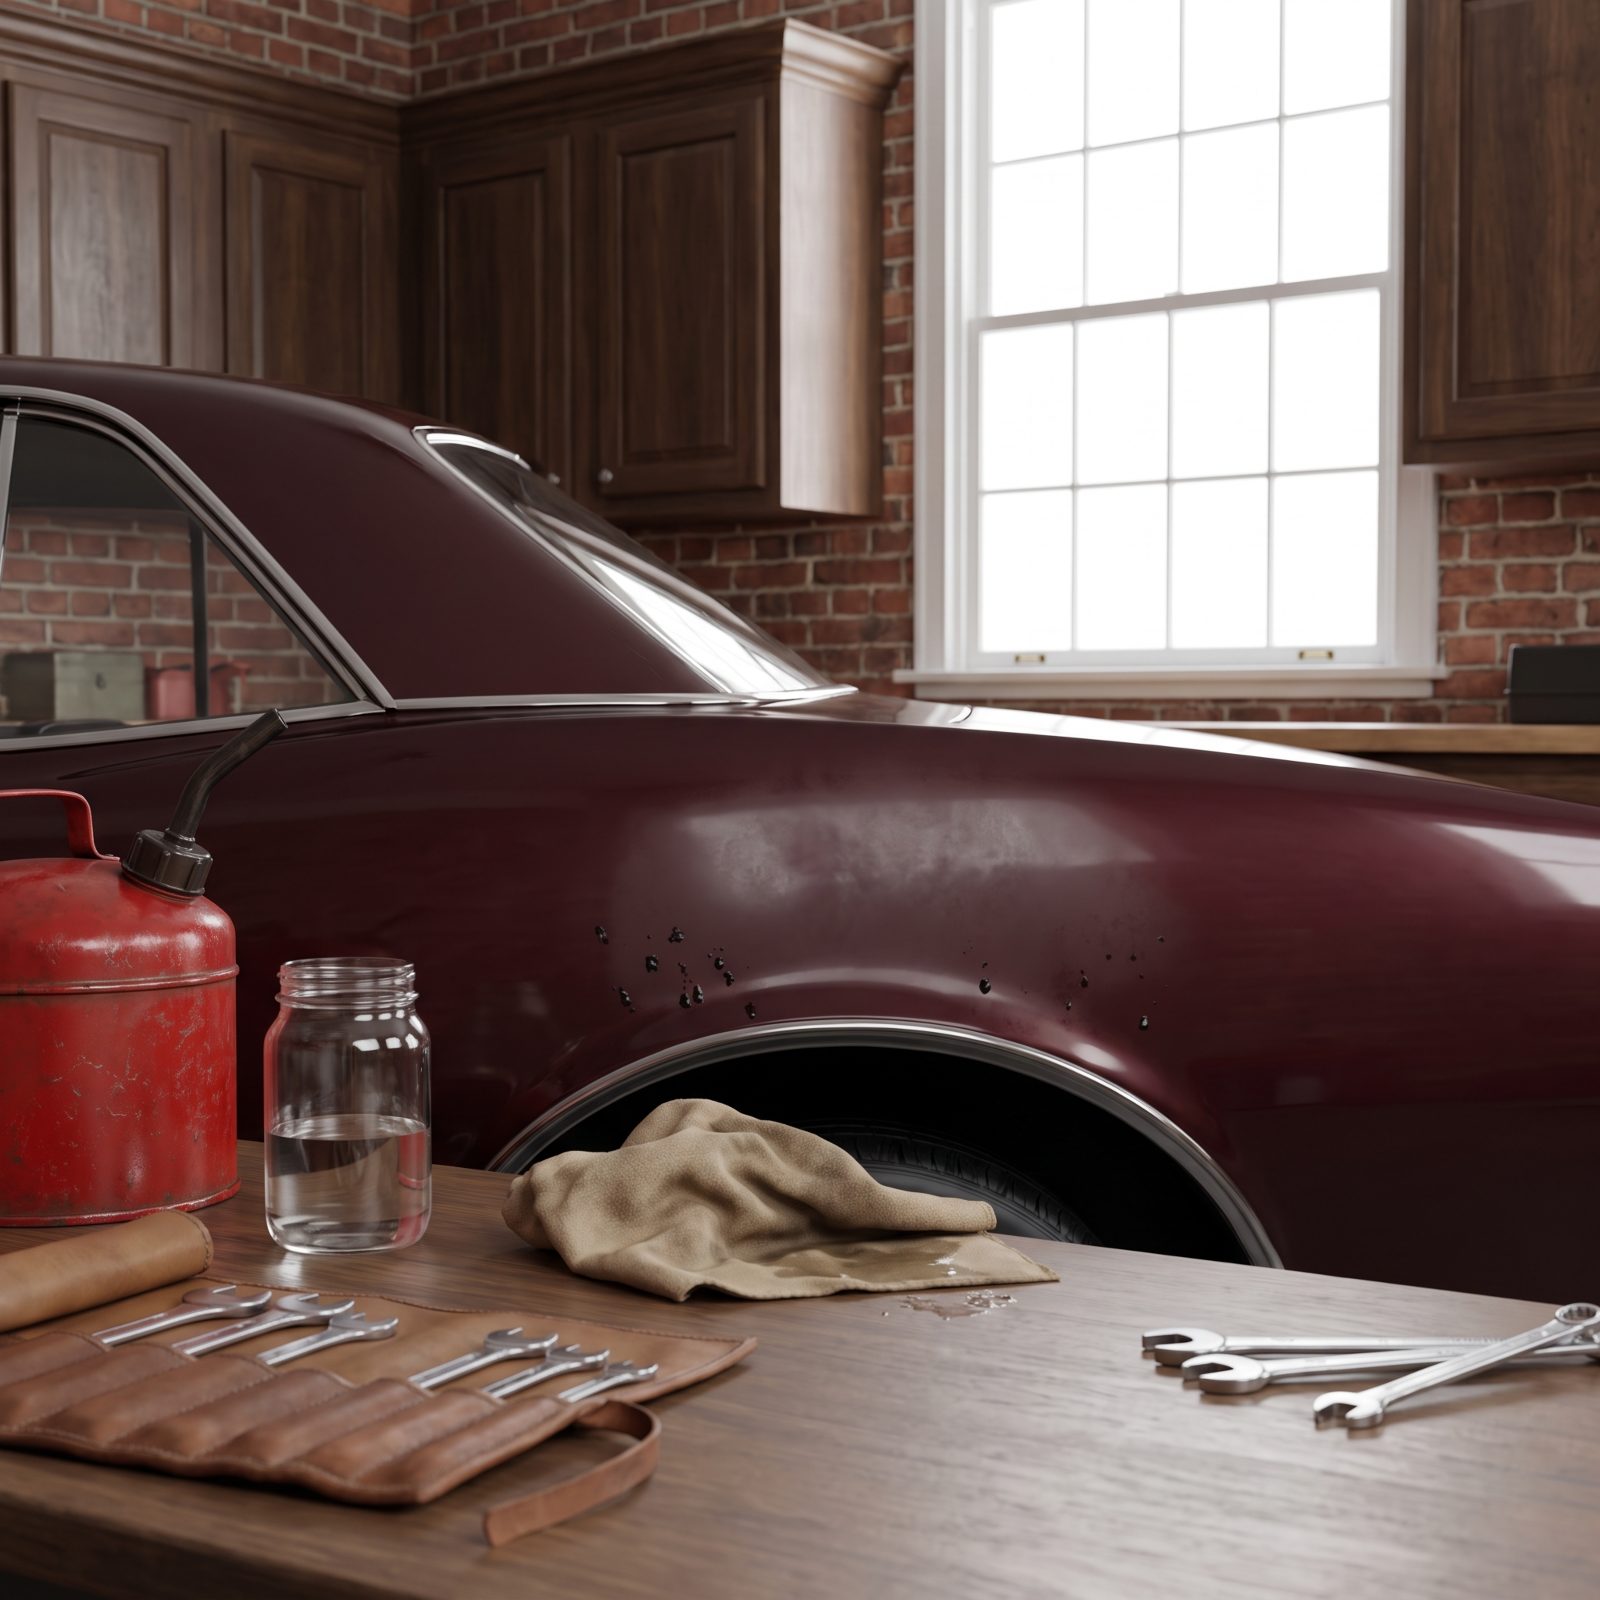
Tar specks peppered along the rockers are stubborn, and gasoline cuts them fast. So does acetone, so does lacquer thinner. They also go after the resins in your clear coat, leaving a soft, cloudy patch that dries dull and never comes back to full gloss.
These harsh solvents can’t tell tar from the finish holding it. They dissolve both. On older single-stage lacquer, they’ll lift color straight off the metal.
Use a product built for the job. A dedicated tar remover or straight kerosene-based tar solvent breaks down asphalt without laying a finger on the clear coat. Spray it on, give it a minute, wipe with a soft microfiber, rinse, re-wax. Gentle, boring, and your paint stays intact. Keep the gas in the mower.
10. Pouring Boiling Water Over Sap, Ice, or a Stubborn Stain
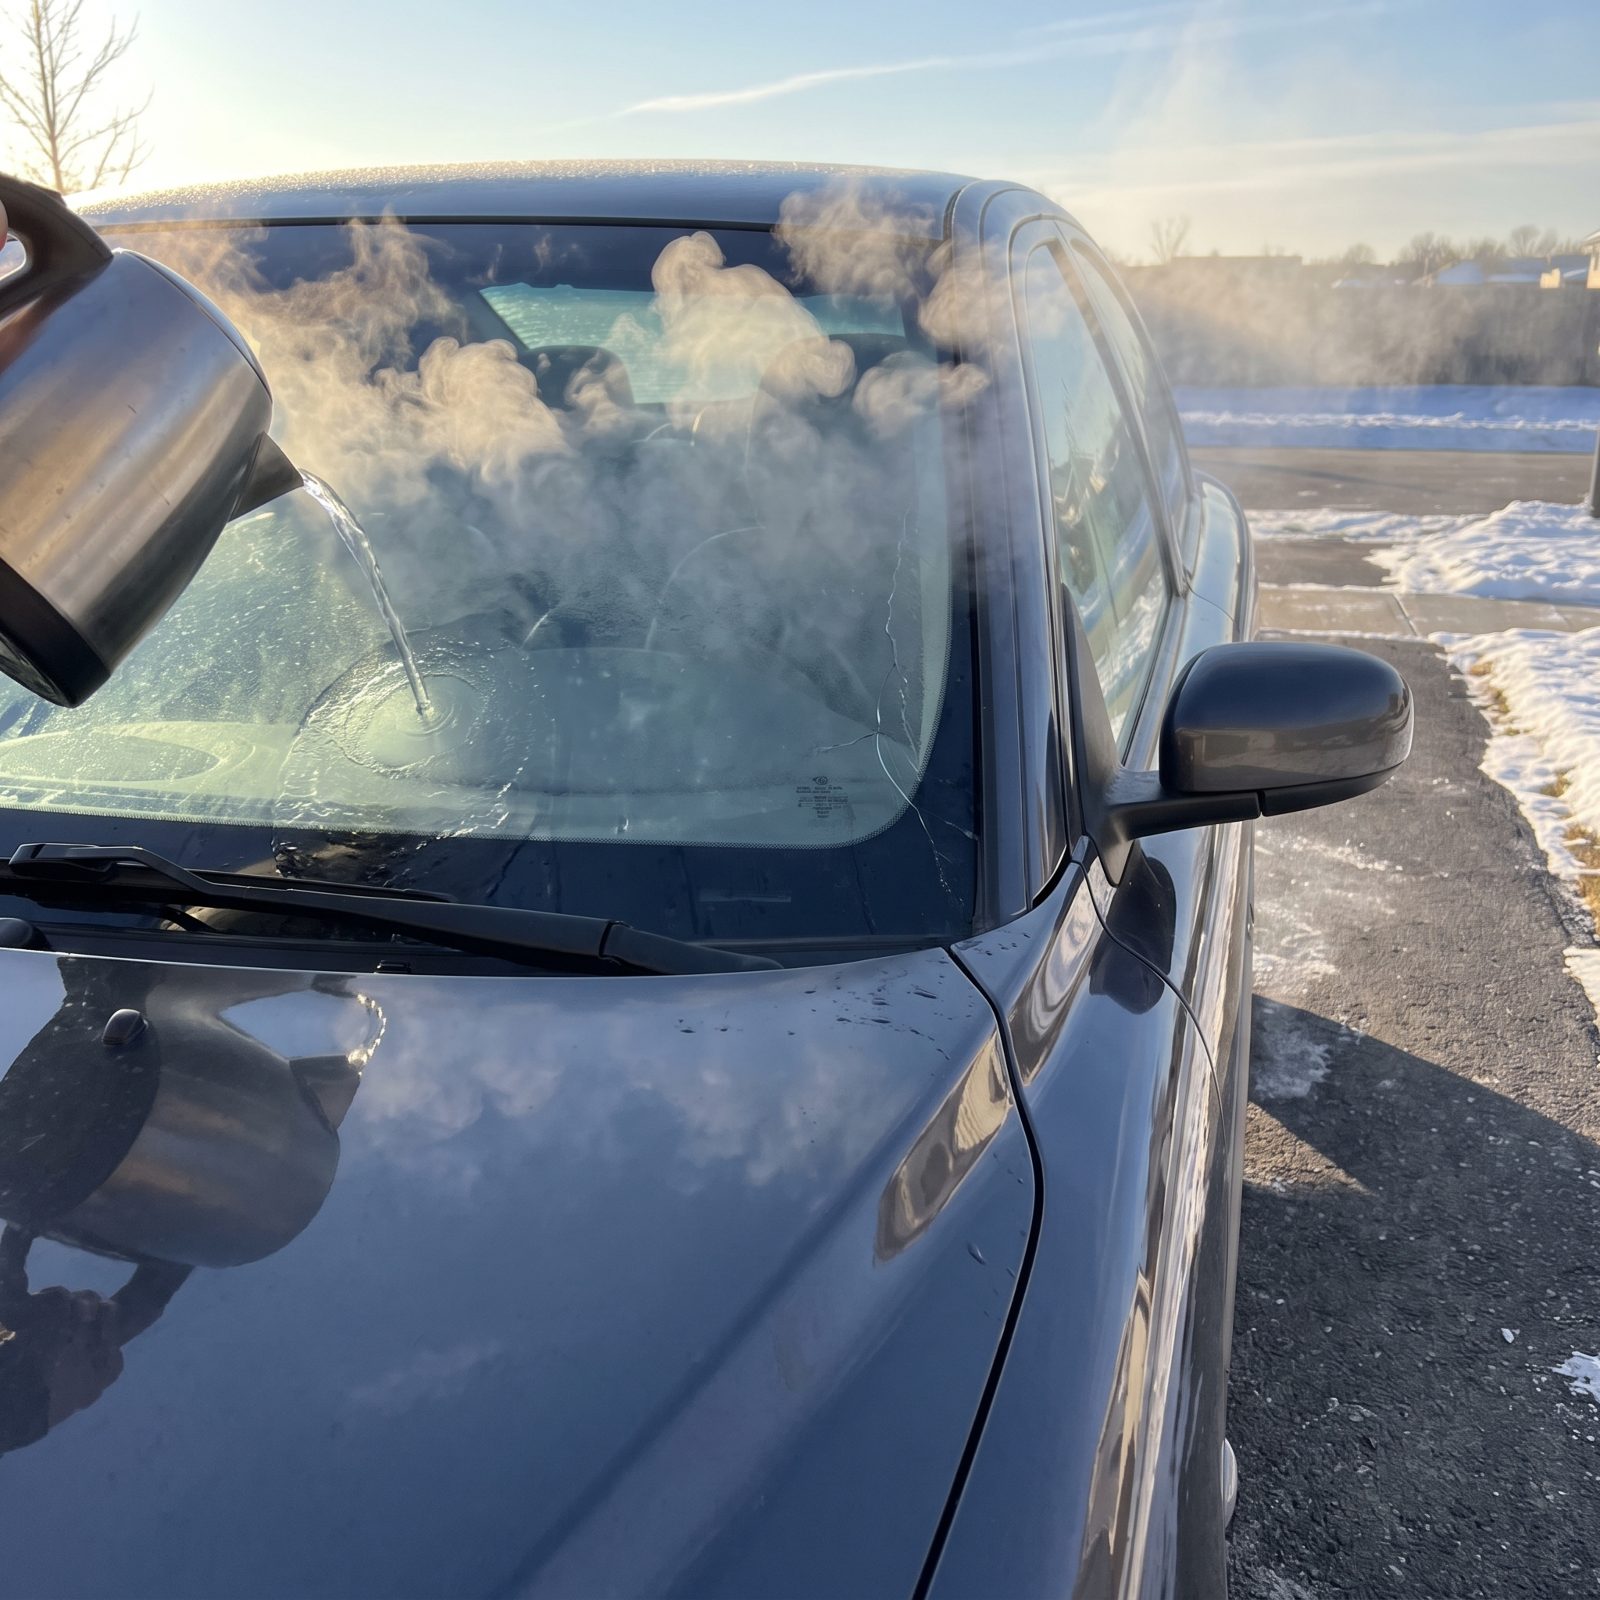
Boiling water on an iced windshield is a winter-morning classic, and a terrible one. That sudden swing from freezing glass to scalding water can crack a windshield outright from thermal shock. On paint, the same jolt lifts wax and can craze an aging clear coat.
Fast heat into cold material is exactly how glass shatters and old finishes spider. Sap and stains don’t care how hot the water is anyway — they want the right solvent, not a temperature spike.
Lukewarm at most, never boiling. For ice, grab a proper ice scraper and run the defrost inside for a few minutes, which sorts it safely. For sap and stains, soak with the correct remover and let chemistry do the work heat shouldn’t.
9. Letting Iron Remover Dry on the Body Panels
Would you like to save this?
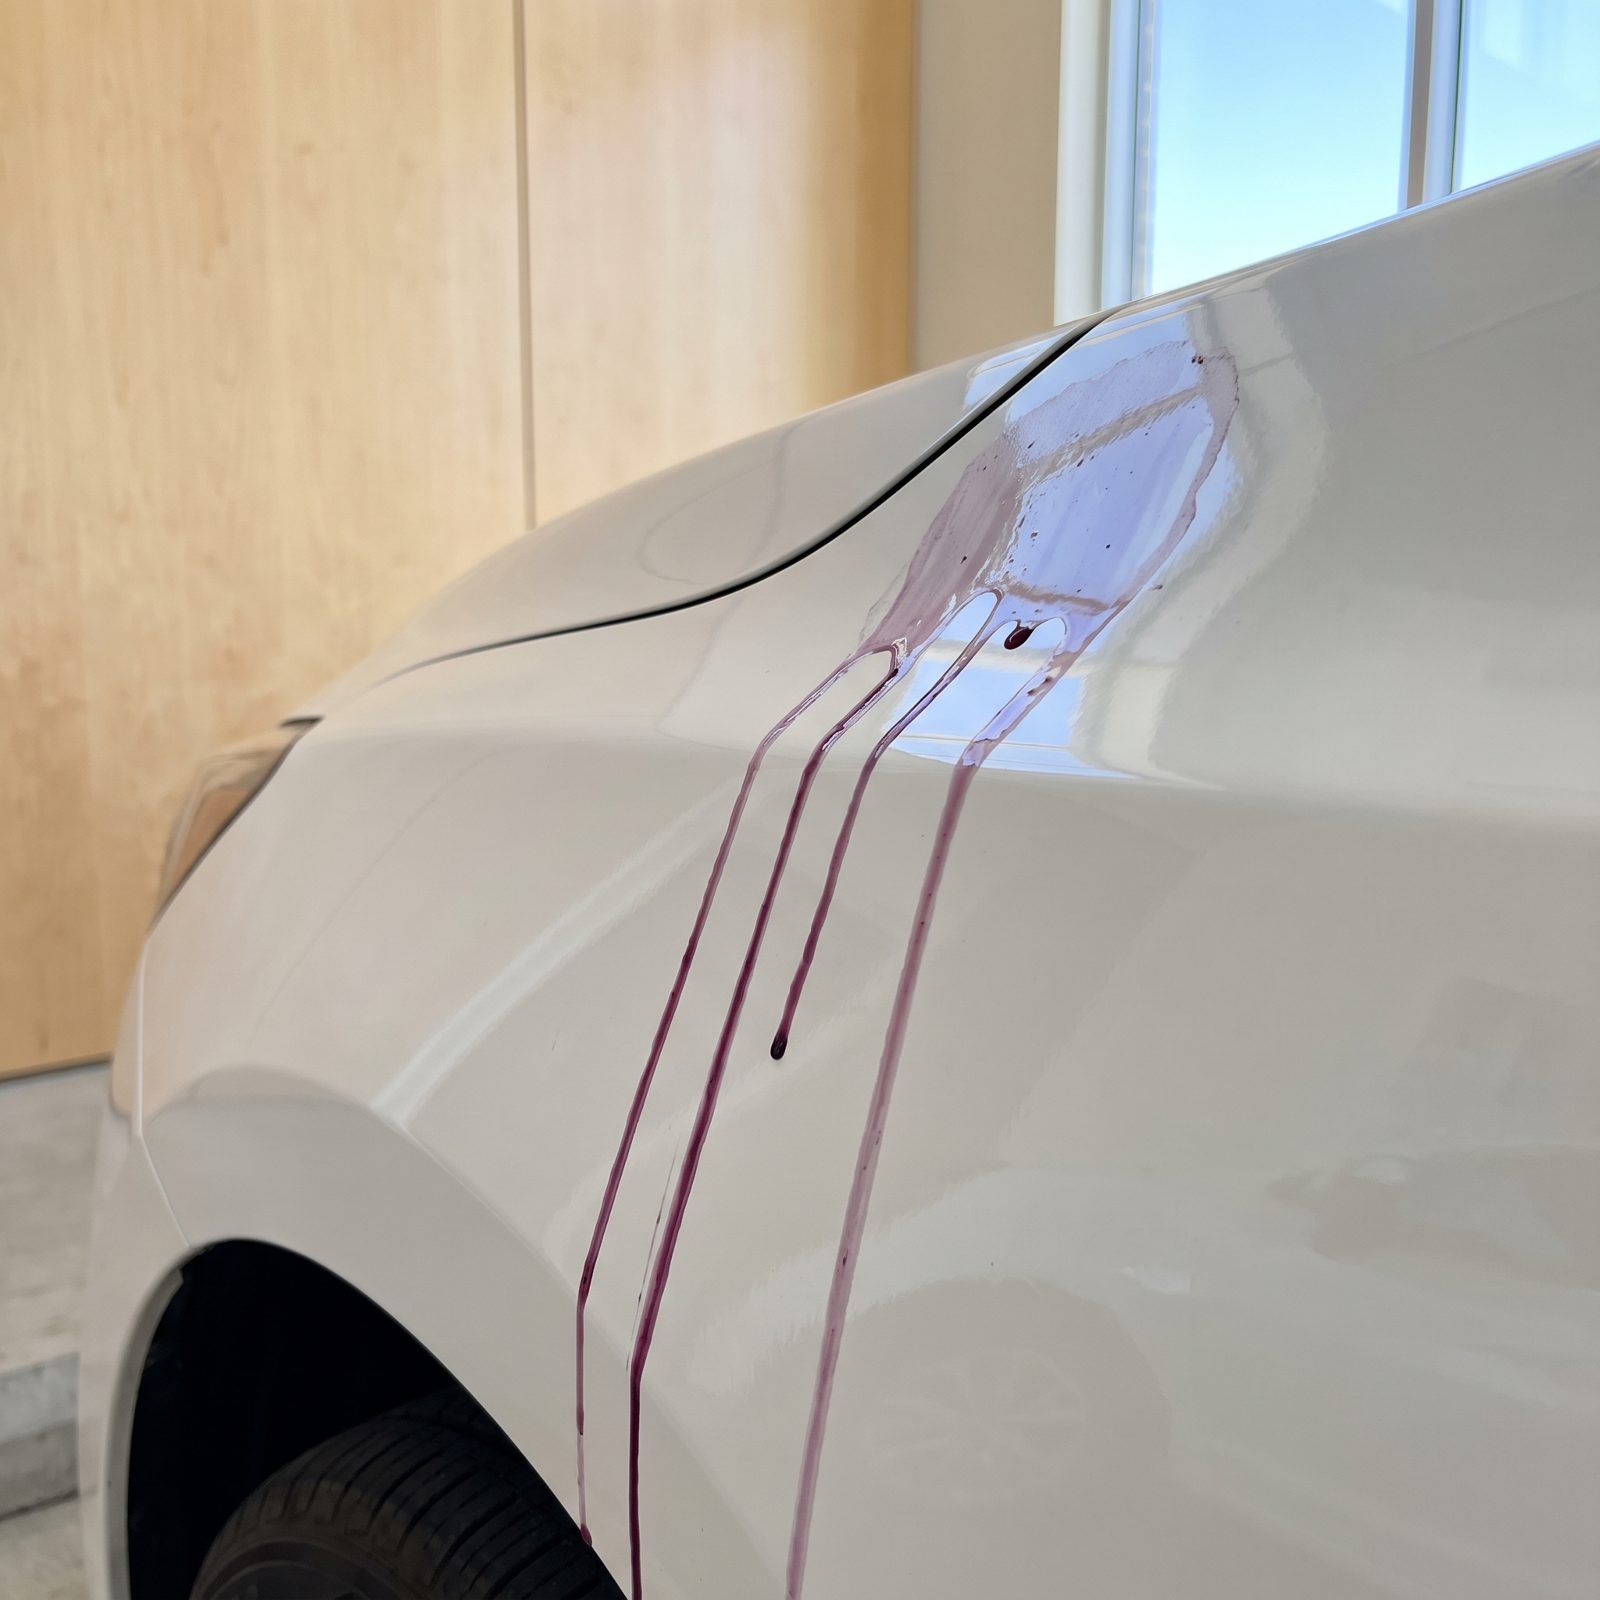
Iron remover is the stuff that bleeds bright purple as it dissolves embedded brake dust and rail fallout. Genuinely useful. Also acidic and reactive, so letting it dry on the paint under the sun is asking for trouble.
Leave it to bake and the chemistry keeps working past the point you wanted it to, staining the surface and potentially etching trim and clear coat alike. Dried-on streaks leave ghost marks that shrug off a regular wash.
Work in the shade on a cool panel, one section at a time. Spray your iron fallout remover, let it dwell for the minutes the label calls for, then rinse thoroughly before it dries. Never attack a whole car at once in direct sun. Keep the chemistry on your side.
8. Letting Acidic Wheel Cleaner Overspray Drift Onto the Paint
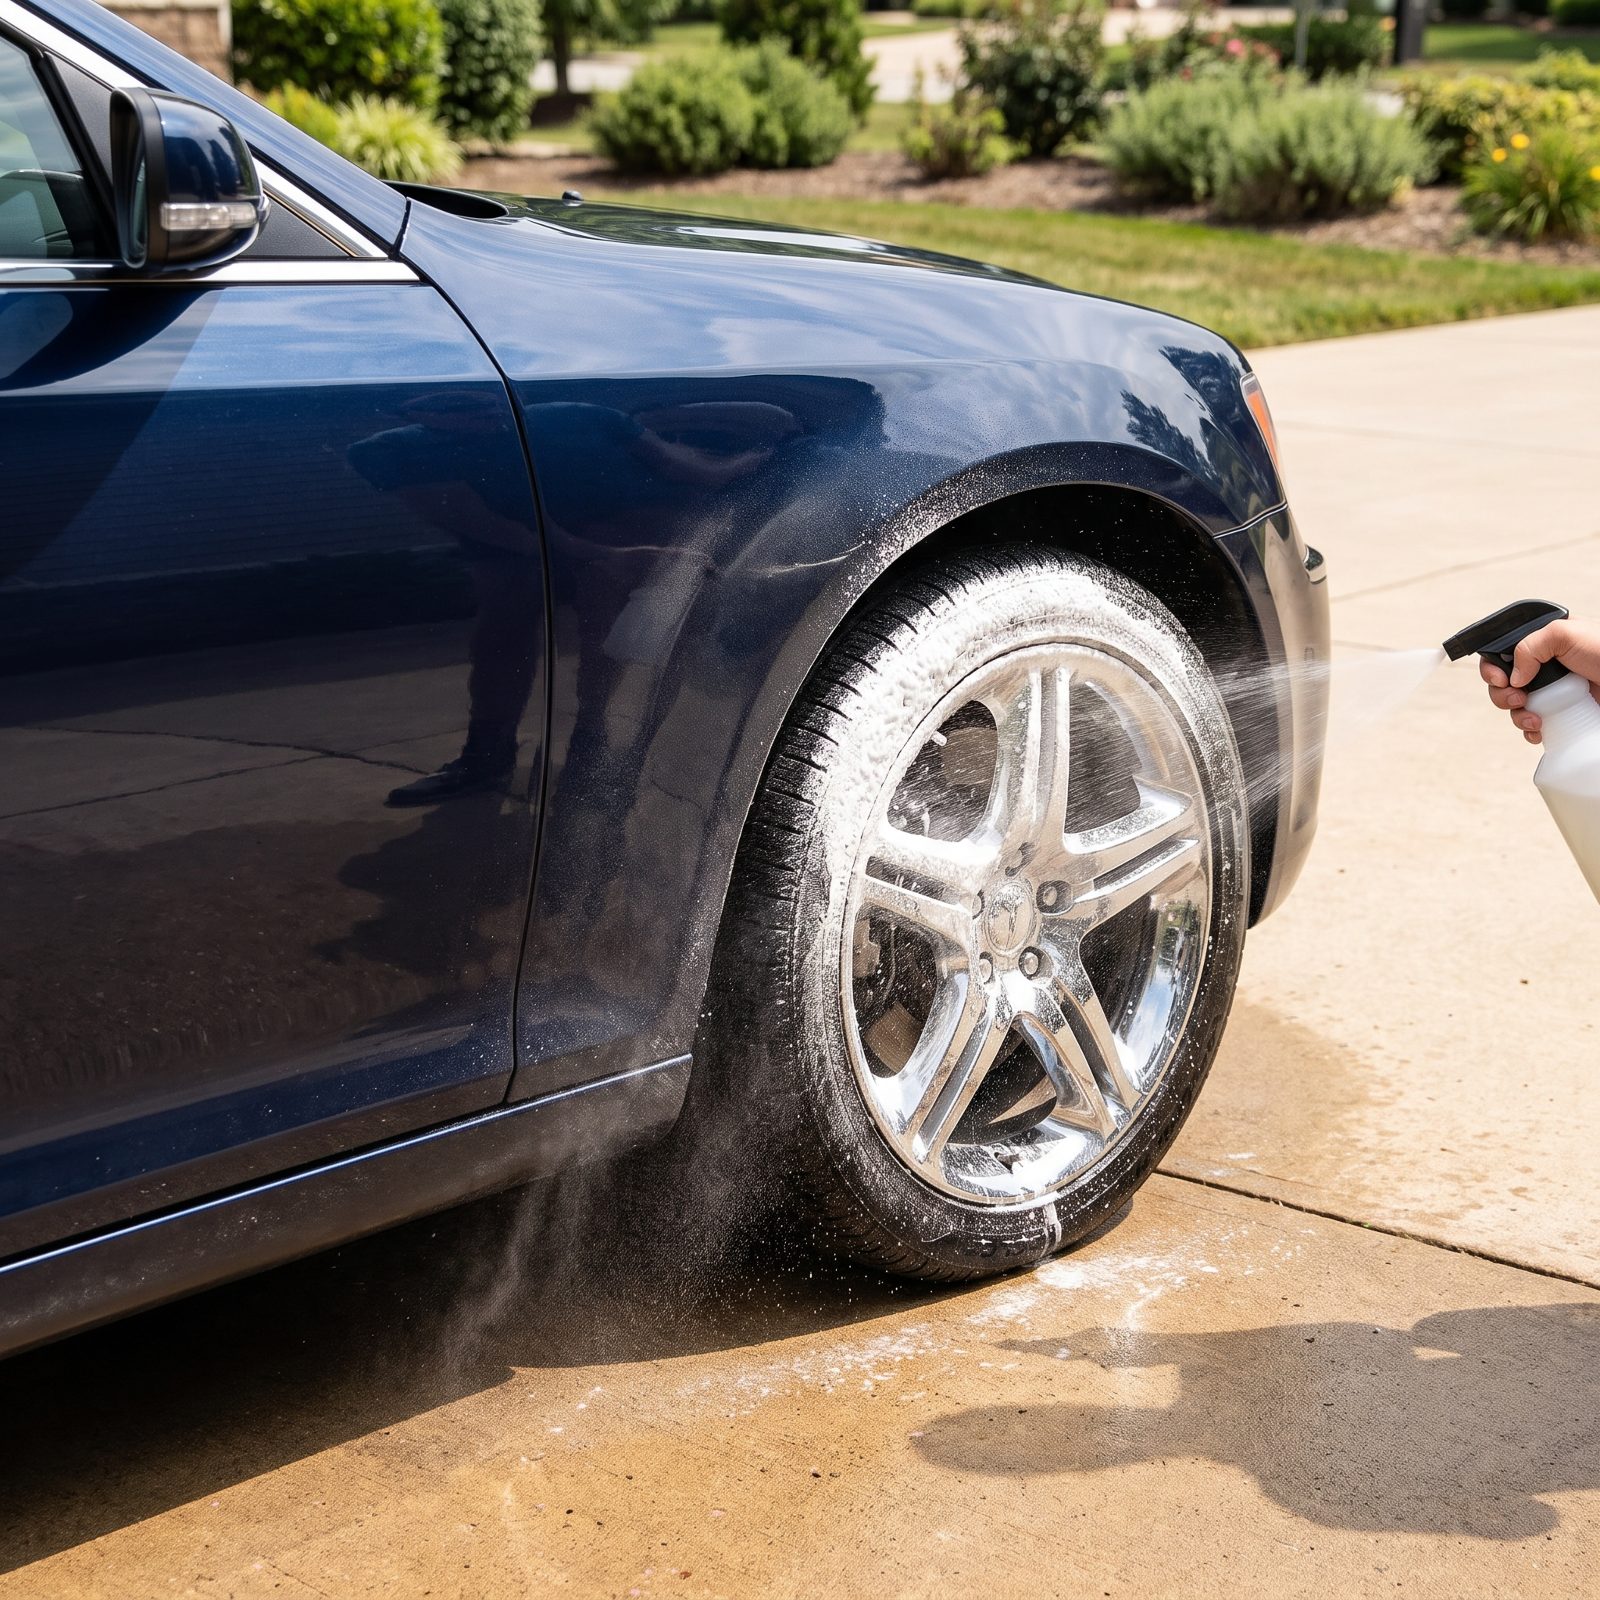
You aim the strong wheel cleaner at the brake dust, pull the trigger, and a fine mist drifts up onto the rocker panel and lower door. Acidic cleaners devour baked-on brake dust beautifully. They’re nowhere near as kind to clear coat, and that drifting overspray lands exactly where you never meant it to.
Left to sit, acid overspray dulls and etches the paint just above the wheel, leaving a hazy band that’s maddening to track down later — because you never saw it happen in the first place.
Two fixes. Rinse the whole lower body before and after you clean the wheels, so any stray product gets flushed off while it’s still wet. Better yet, keep a pH-neutral wheel cleaner for regular upkeep and save the acidic stuff for once-a-year deep cleans. Your paint, your calipers, and your brake lines will all last longer for it.
7. Using a Waterless Wash on a Mud-Caked Daily Driver
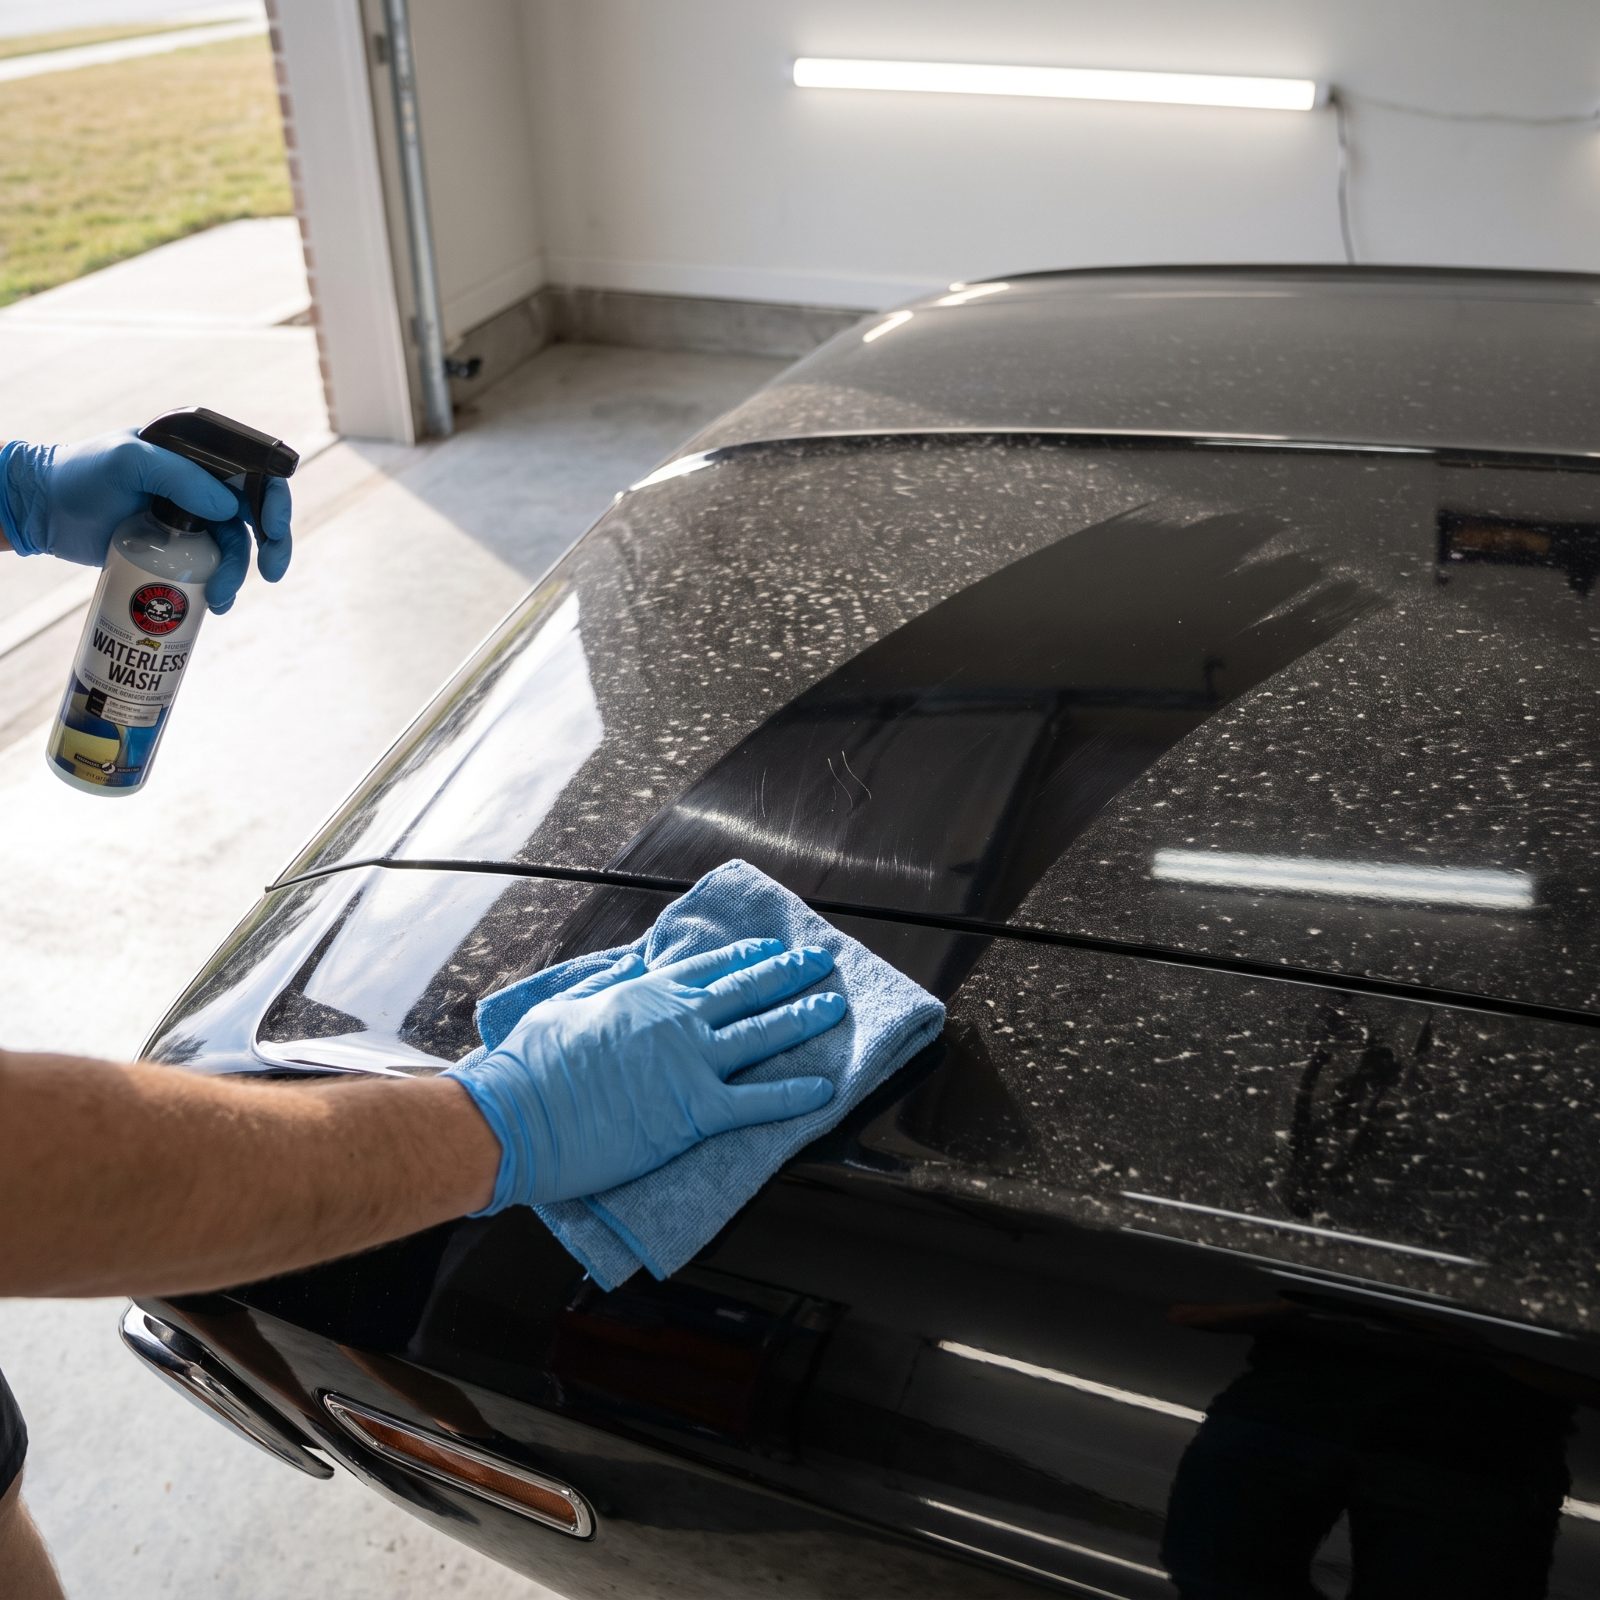
A waterless wash is brilliant on a car that already looks clean, and a disaster on one wearing a week of highway grime, pollen, and clay-colored dust. You spray, you wipe, and every speck of grit you didn’t rinse away turns into sandpaper under that towel.
What you get is swirl marks. Thousands of little curved scratches that hide until the sun hits the paint at just the right angle, and by then the clear coat’s already paying for it.
Save the waterless stuff for light dust and quick touch-ups. On a genuinely filthy car, do a full rinse first, or go rinseless and flood the panel before the towel ever makes contact. Let water carry the heavy load so your towel isn’t grinding dirt into the finish.
6. Polishing Over Contaminated Paint Without Claying First
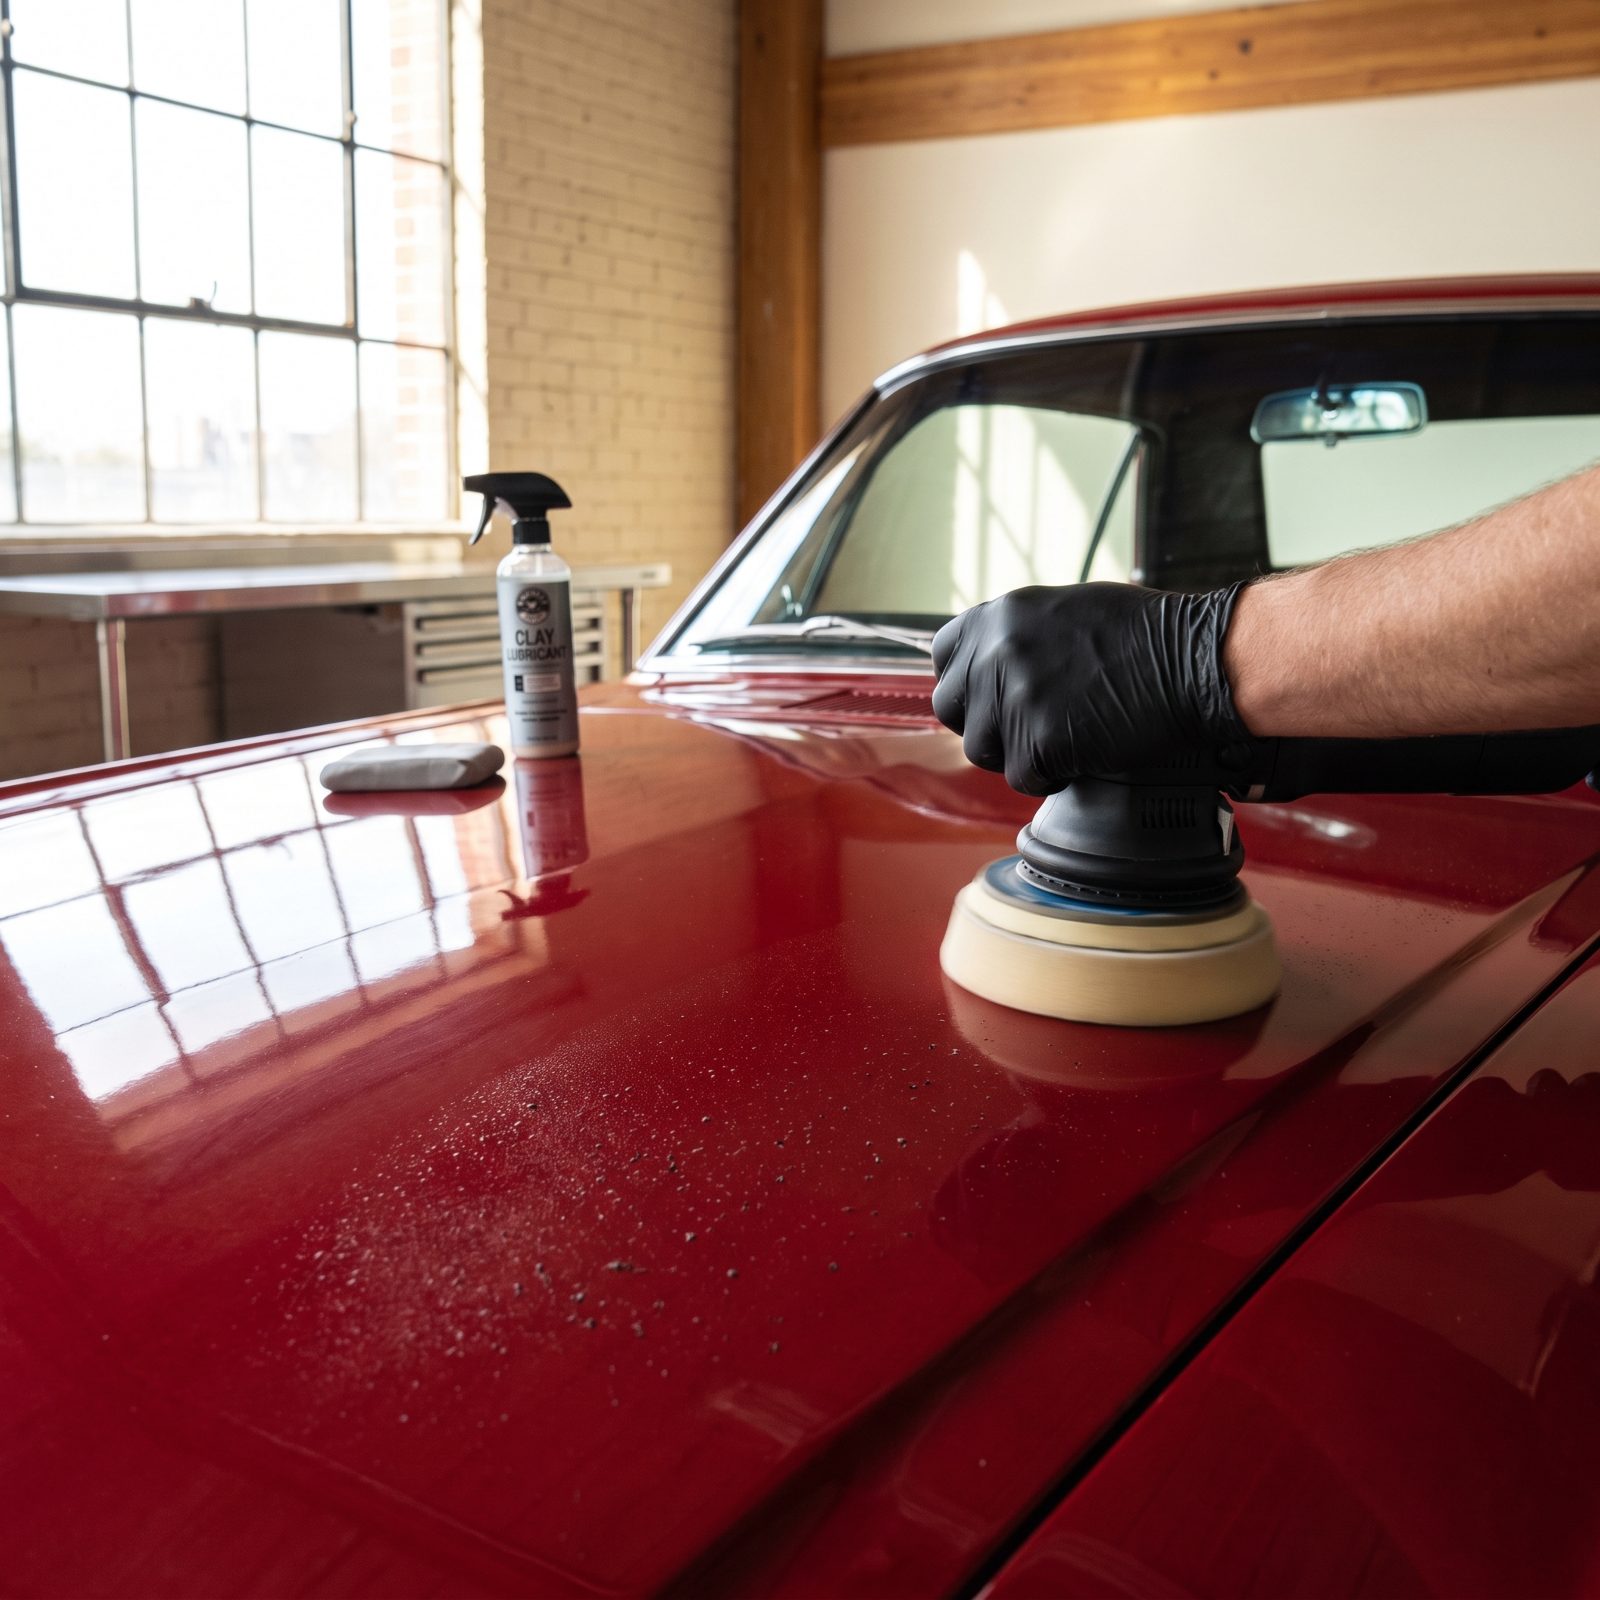
Running a polisher over paint full of embedded contamination is like ironing a shirt with gravel stuck in the weave. Every bonded particle — rail dust, brake fallout, overspray, tree sap — gets dragged across the finish by the pad.
So instead of correcting swirls, you manufacture new ones, grinding hard specks into soft clear coat. The paint feels like fine sandpaper before you even start. That texture is the warning.
Run your hand across a freshly washed panel. Rough? Clay it. A gray medium-grade clay bar with plenty of lubricant pulls the junk out without marring, and then your polish finally works on a surface that’s actually clean. Decontaminate, then correct. Never flip the order.
5. Washing a Fresh Repaint Before the Clear Has Fully Cured
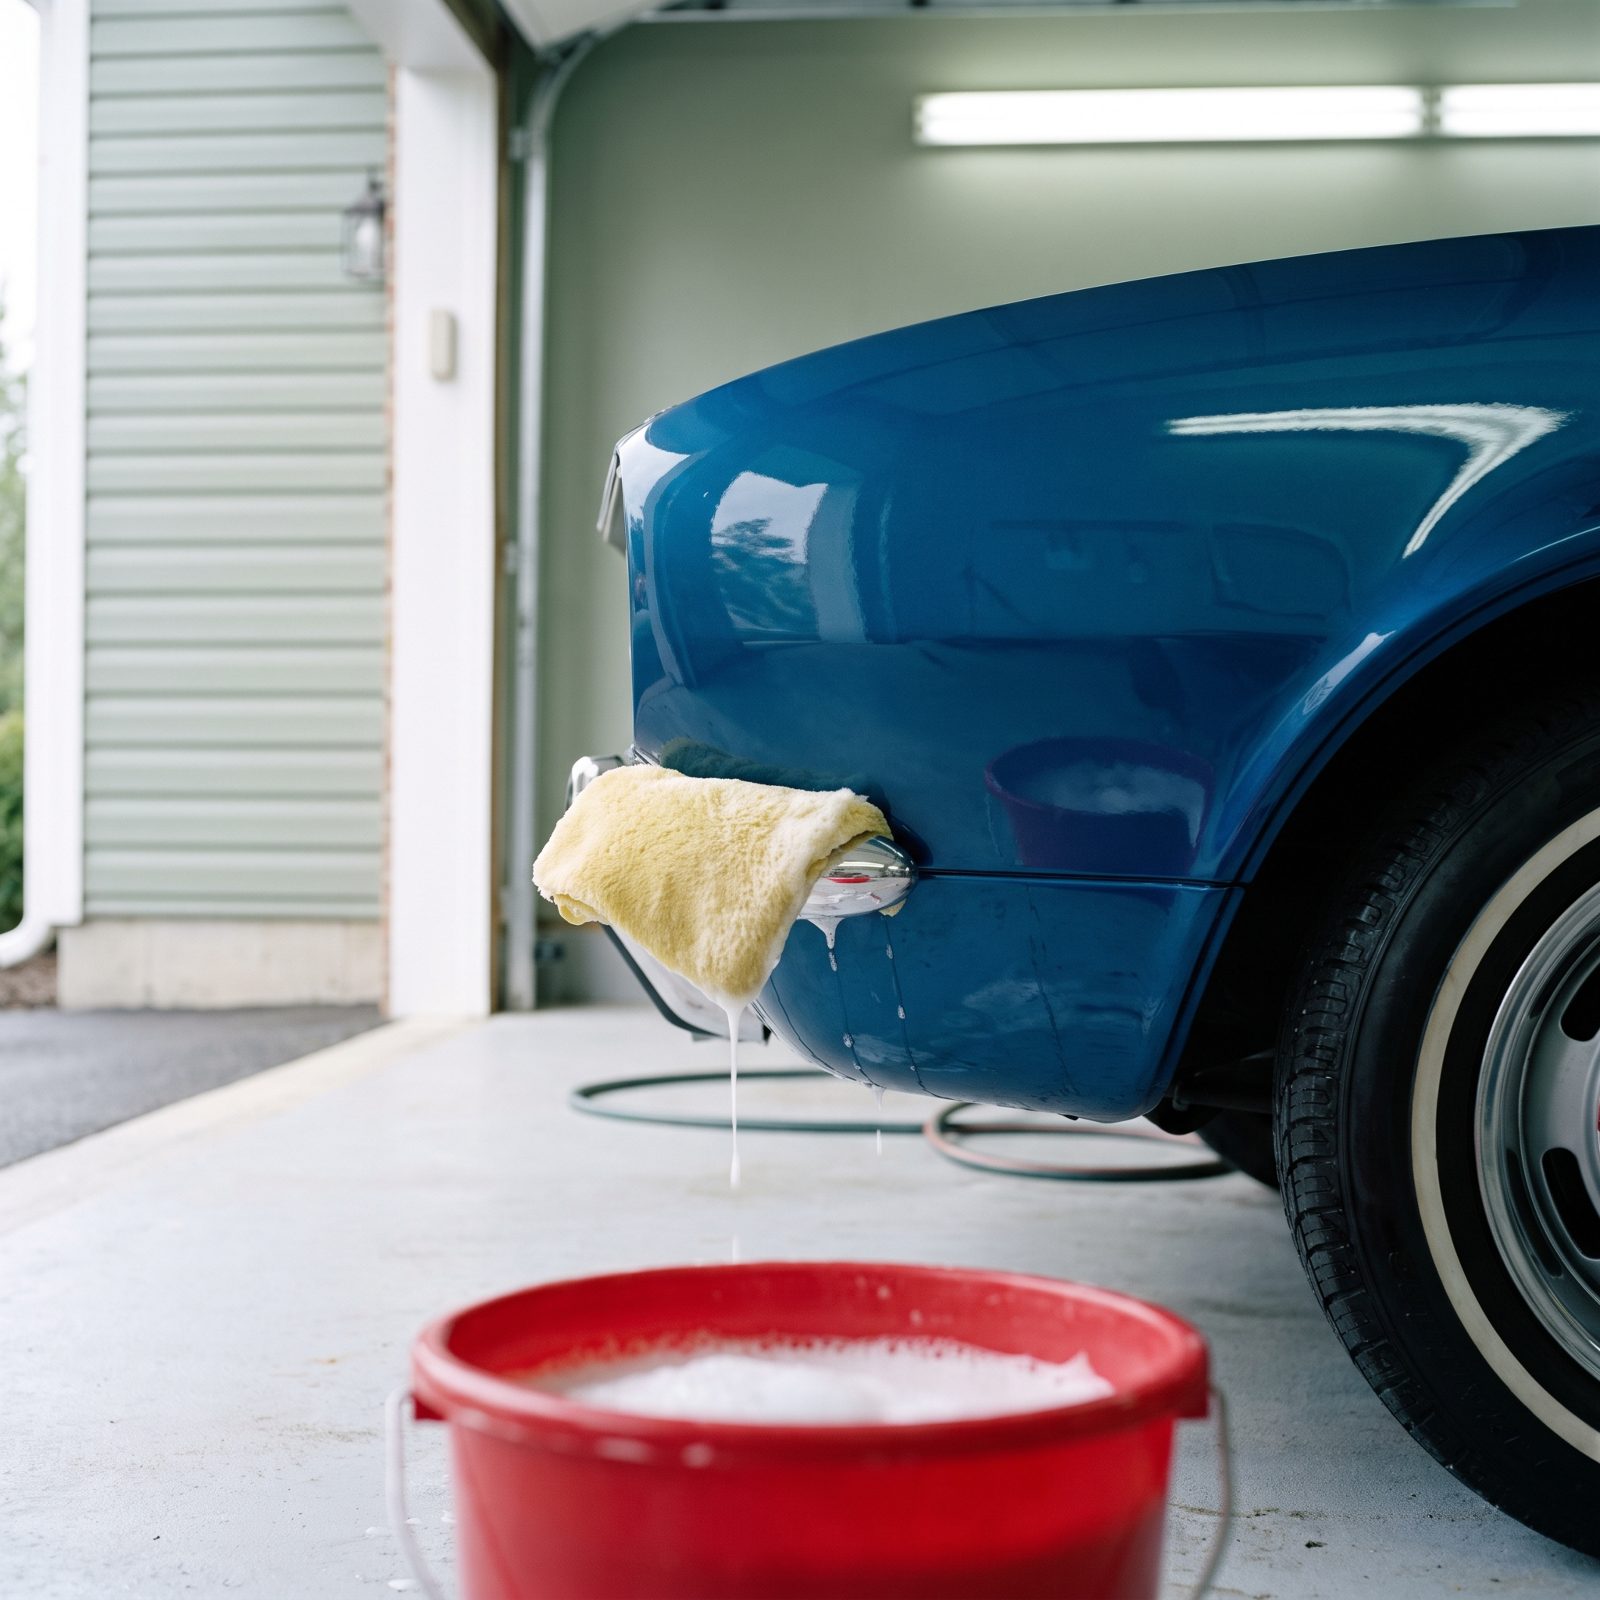
Fresh paint looks done long before it actually is. That mirror shine hides a clear coat still off-gassing solvents and hardening for weeks after it rolls out of the booth.
Wash it too soon with soap and a mitt and you can mar the soft paint, trap moisture, or leave water spots that etch into a finish that hasn’t locked down. Harsh detergents are nastier still, stripping the surface before it can defend itself.
Give it time. For the first month, rinse with plain water only if the car gets dusty, and keep it clear of direct sun and tree sap. No wax, no sealant, no clay, no polish until your painter gives you the all-clear — usually somewhere around 60 to 90 days. Let the clear coat finish the job you paid good money for.
4. Dragging the Garden Hose Across the Hood and Fenders
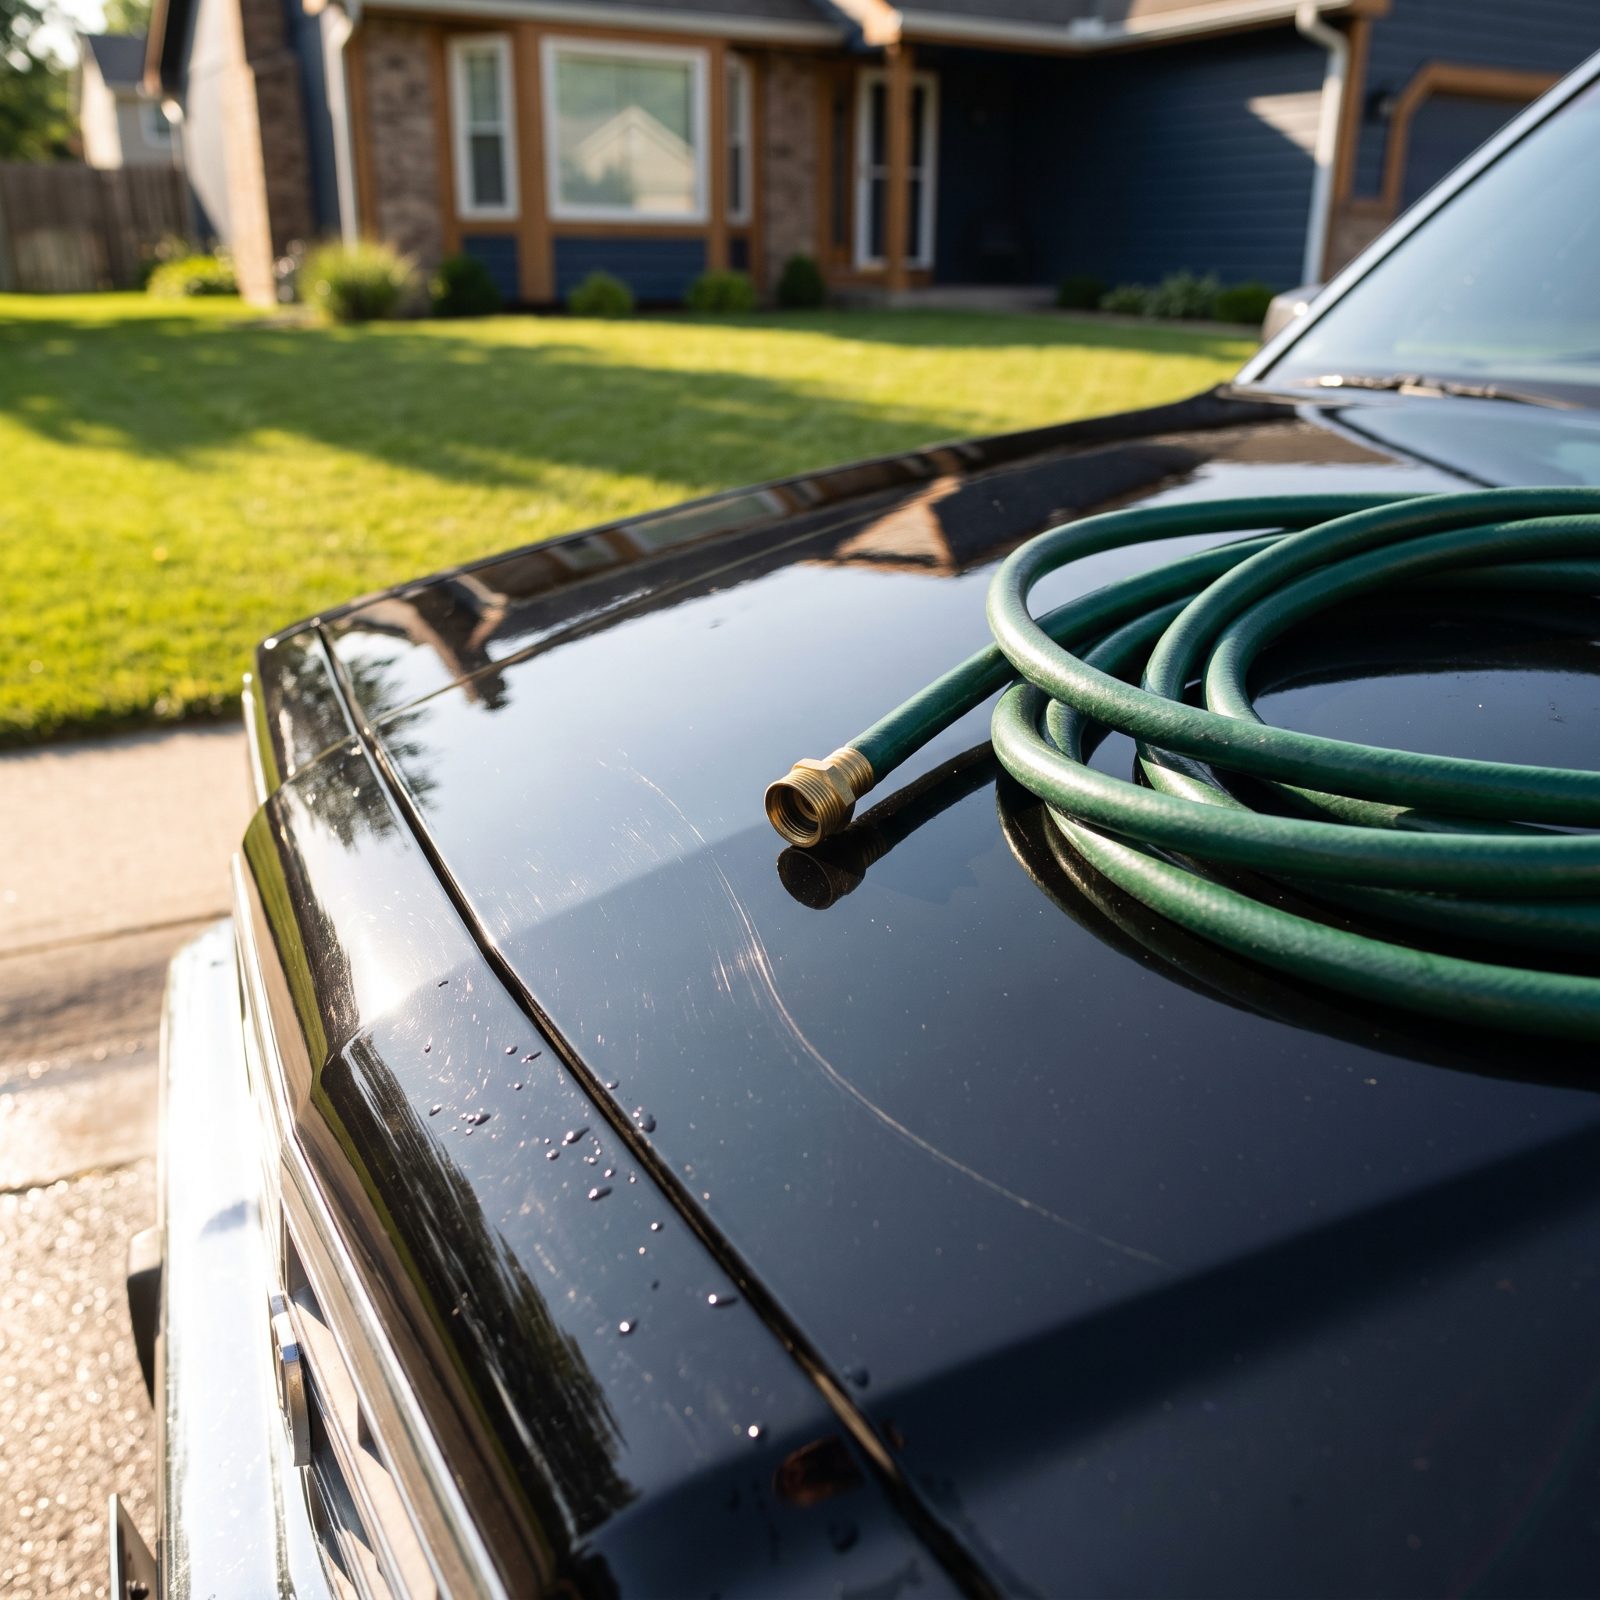
You’ve done this a hundred times without a second thought. You tug the hose closer, it snakes over the hood, and that brass fitting drags across the paint like the tip of a ballpoint pen.
Metal couplers and grit-caked hose bodies carve thin straight scratches right into the clear coat. On dark paint they glow like scars the moment the afternoon sun slants in.
Keep the hose on the ground, always. Lay it along the driveway and bring the nozzle to the car instead of hauling the hose across it. Got a metal fitting? Slip a rubber boot or a short length of foam pipe insulation over it so the hard parts never kiss glass or paint again.
3. Leaning Against the Panel With a Belt Buckle or Metal Zipper
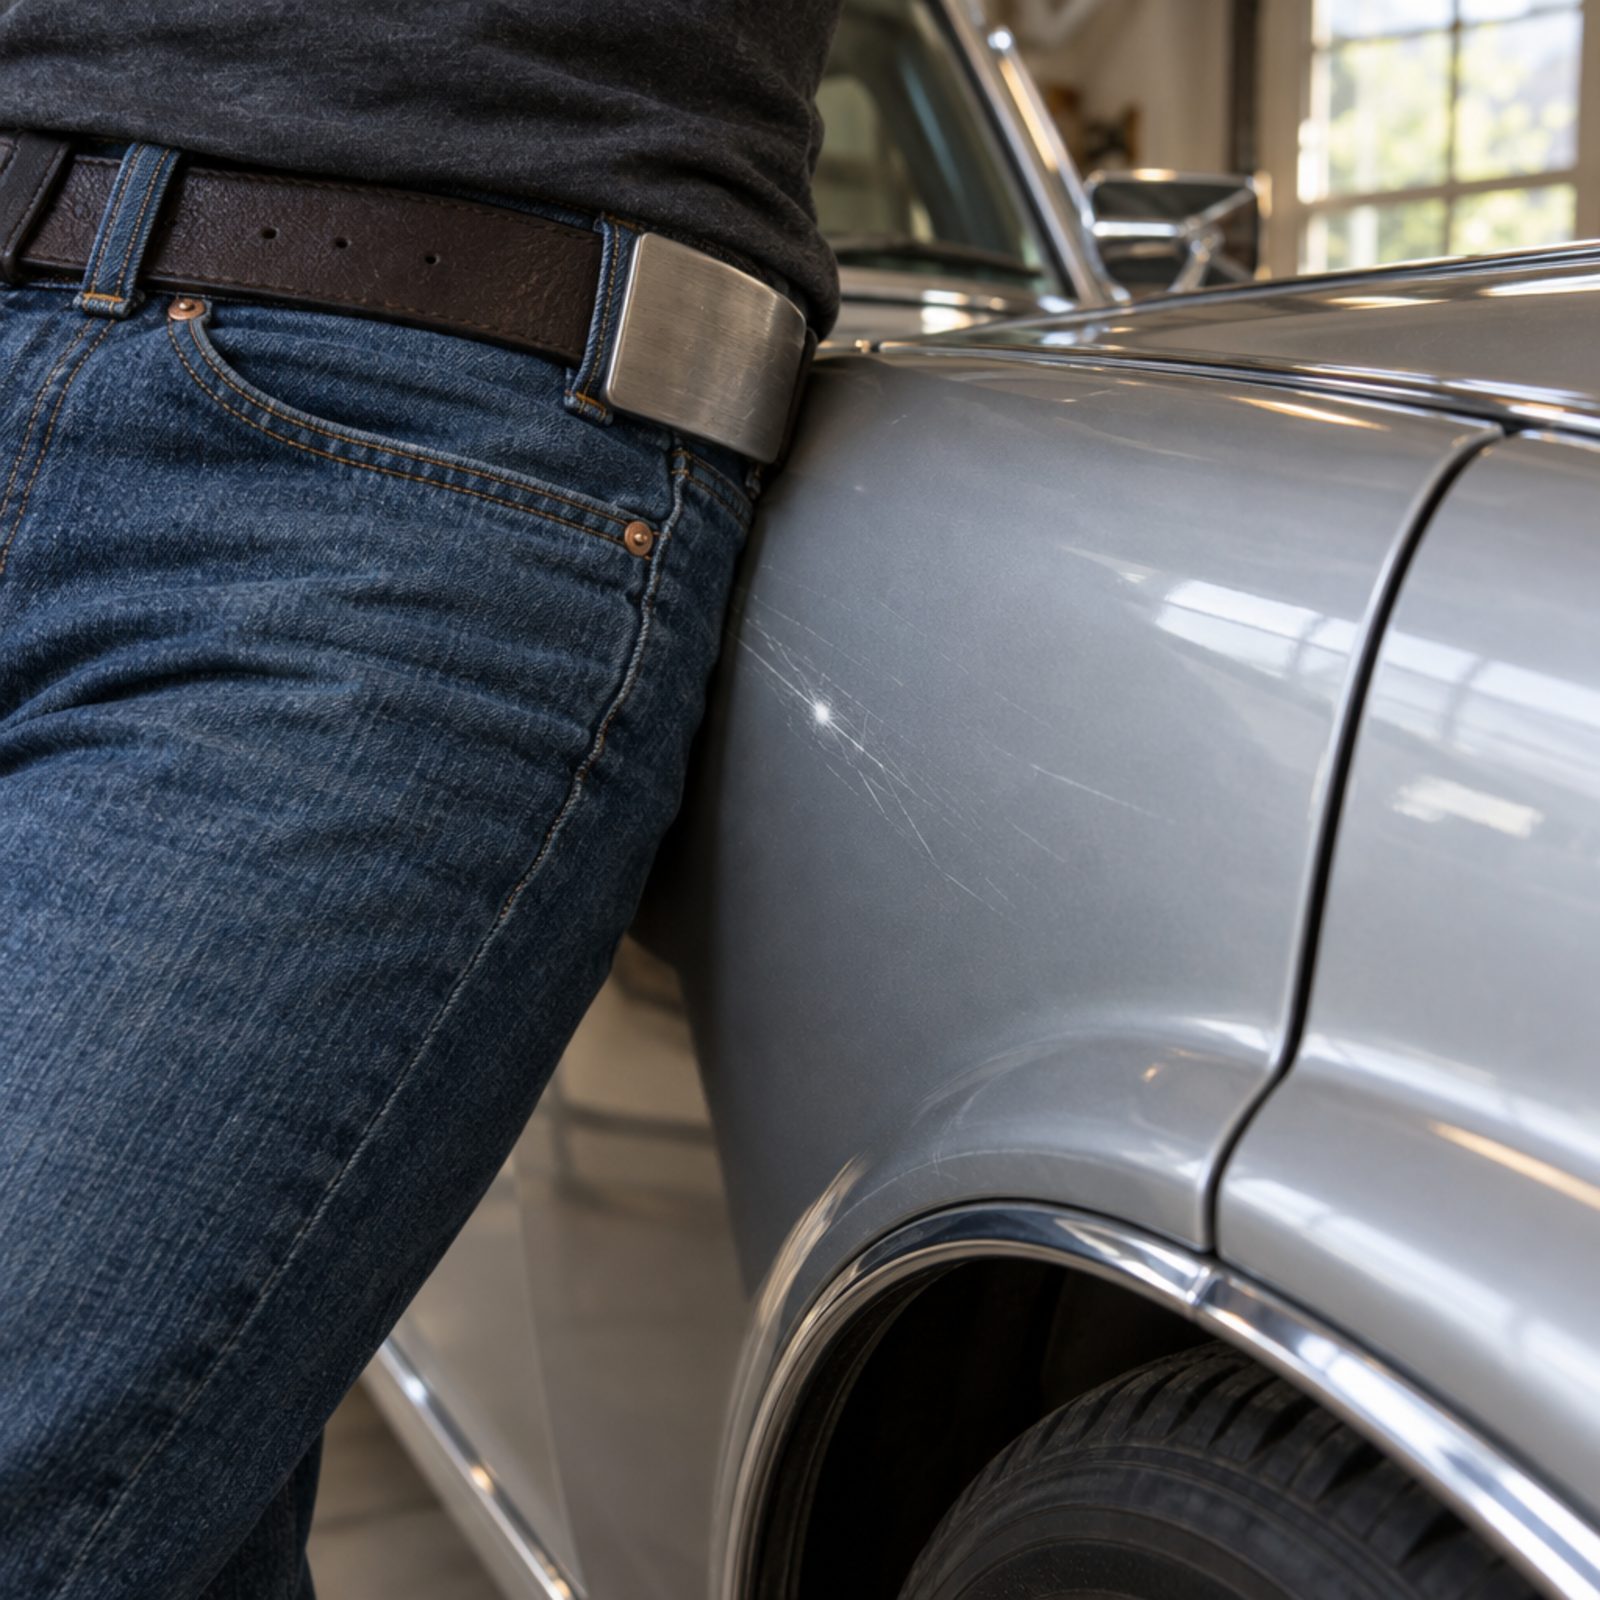
The casual lean might be the most innocent-looking scratch there is. You’re chatting, admiring the engine bay, and your belt buckle, jeans rivets, or jacket zipper is sitting flat against the paint the whole time.
Shift your weight an inch and that hard metal grinds a little cluster of arcs into the clear coat. It’s about the most common source of door and fender scratches on show cars, and nobody ever catches themselves doing it.
Break the habit. Don’t lean on the car, period. If you’re doing engine work and need to get in close, drape a clean fender cover or a folded moving blanket over the edge first. Cheap insurance against a mark you’ll be squinting at every sunny Saturday for the next ten years.
2. Setting Bottles, Brushes, and Buckets Down on the Paint
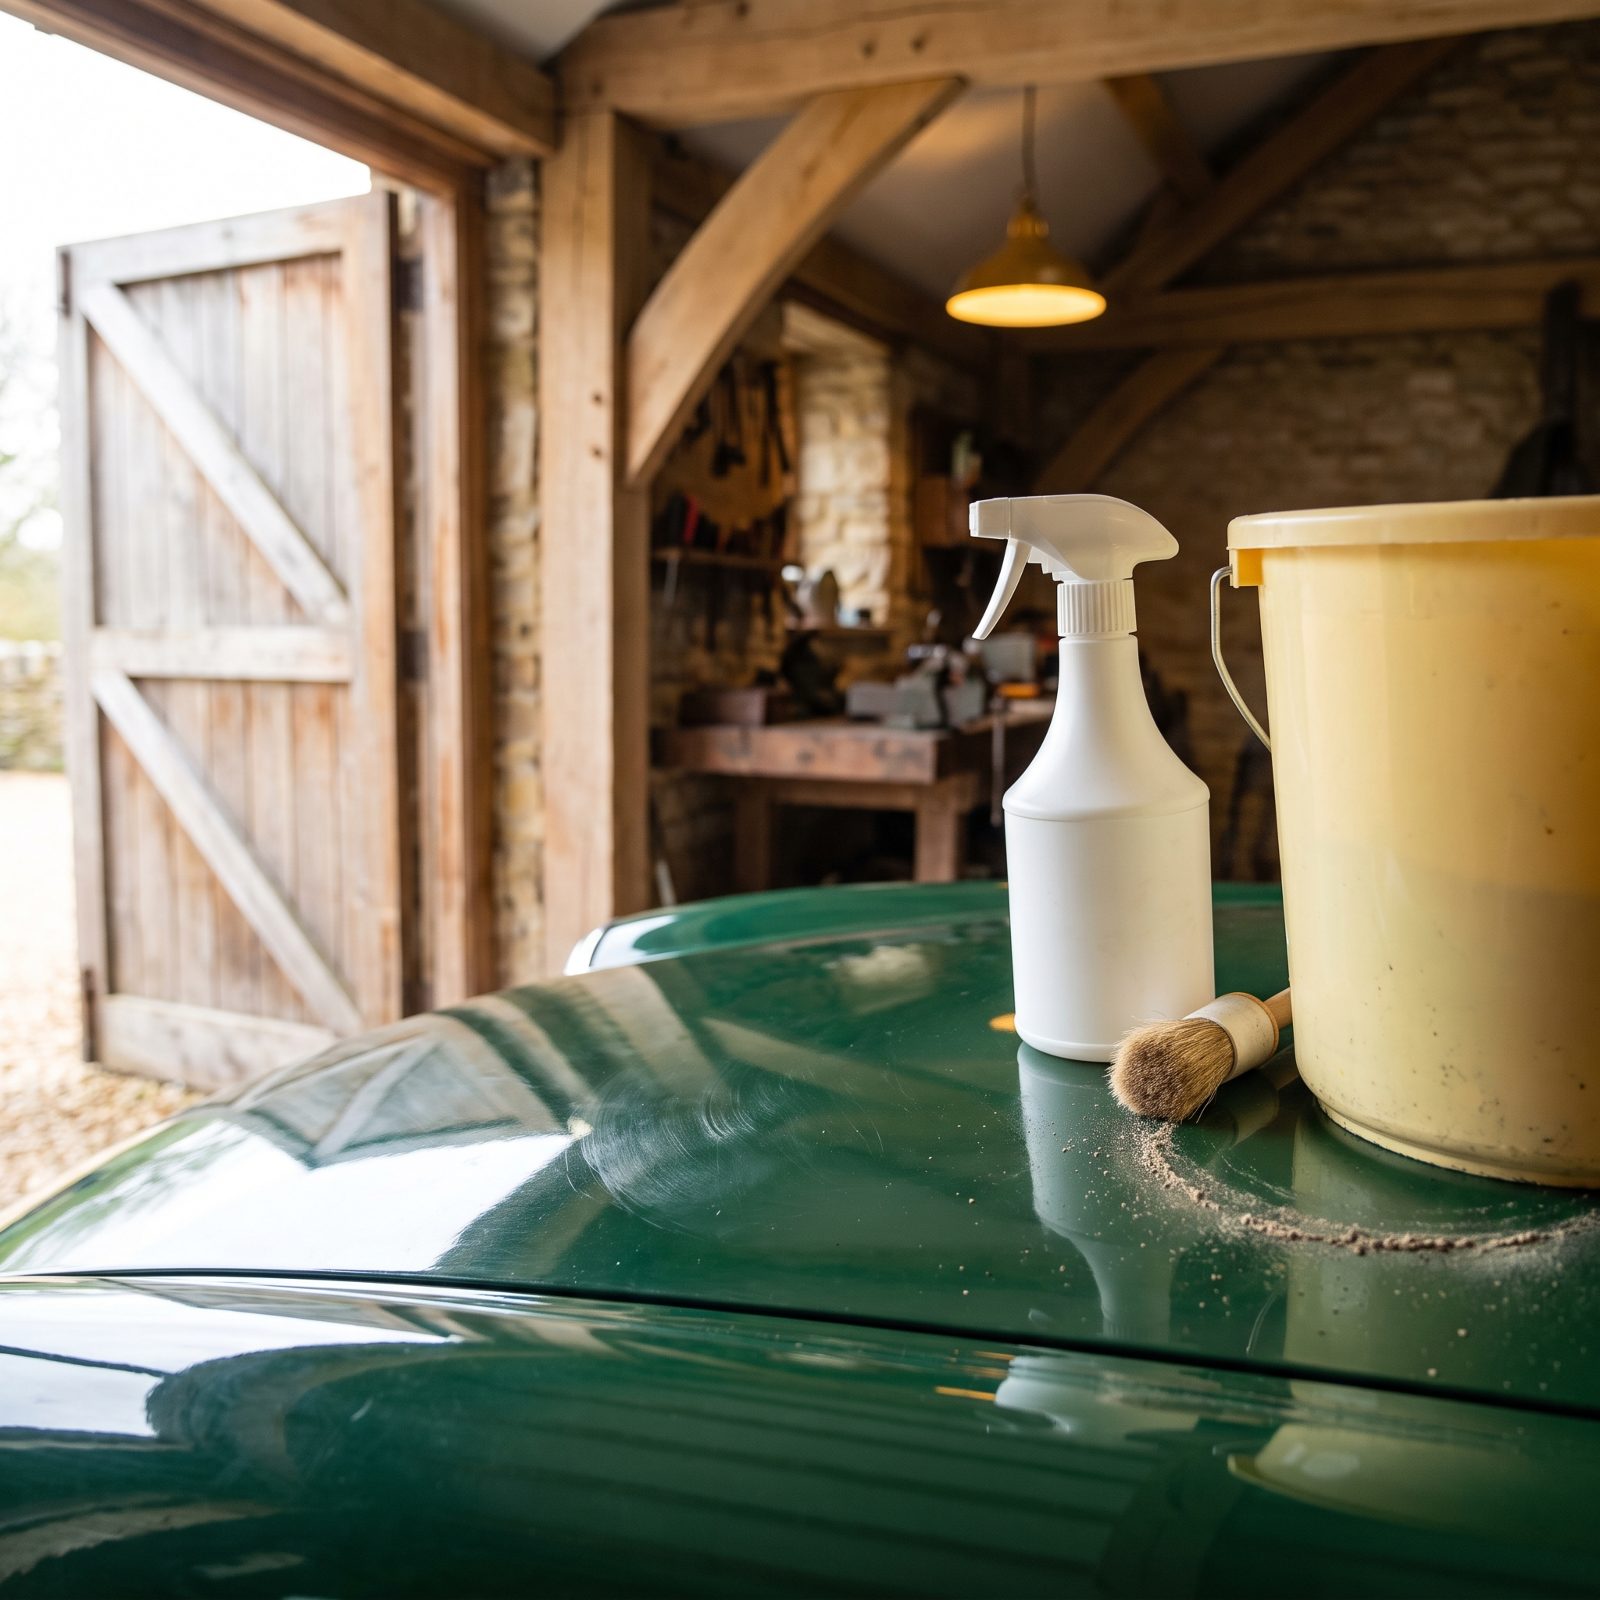
The hood becomes a workbench. You set the detail spray there, park the brush next to it, rest the bucket on the fender while you dig around for a towel. Feels efficient.
But every one of those items has grit trapped on its base, and the weight plus the little slide adds up to a ring of fine scratches and swirl marks right where the sun loves to put them on display.
Give your gear a home that isn’t the car. A rolling detail cart, a folding table, even a milk crate on the ground keeps bottles and buckets off the paint. The bucket especially — drag that across a fender and you’ve got a gouge, not a swirl. Nothing lands on a painted panel except a clean towel.
1. Drying With a Microfiber Towel Loaded With Brake Dust
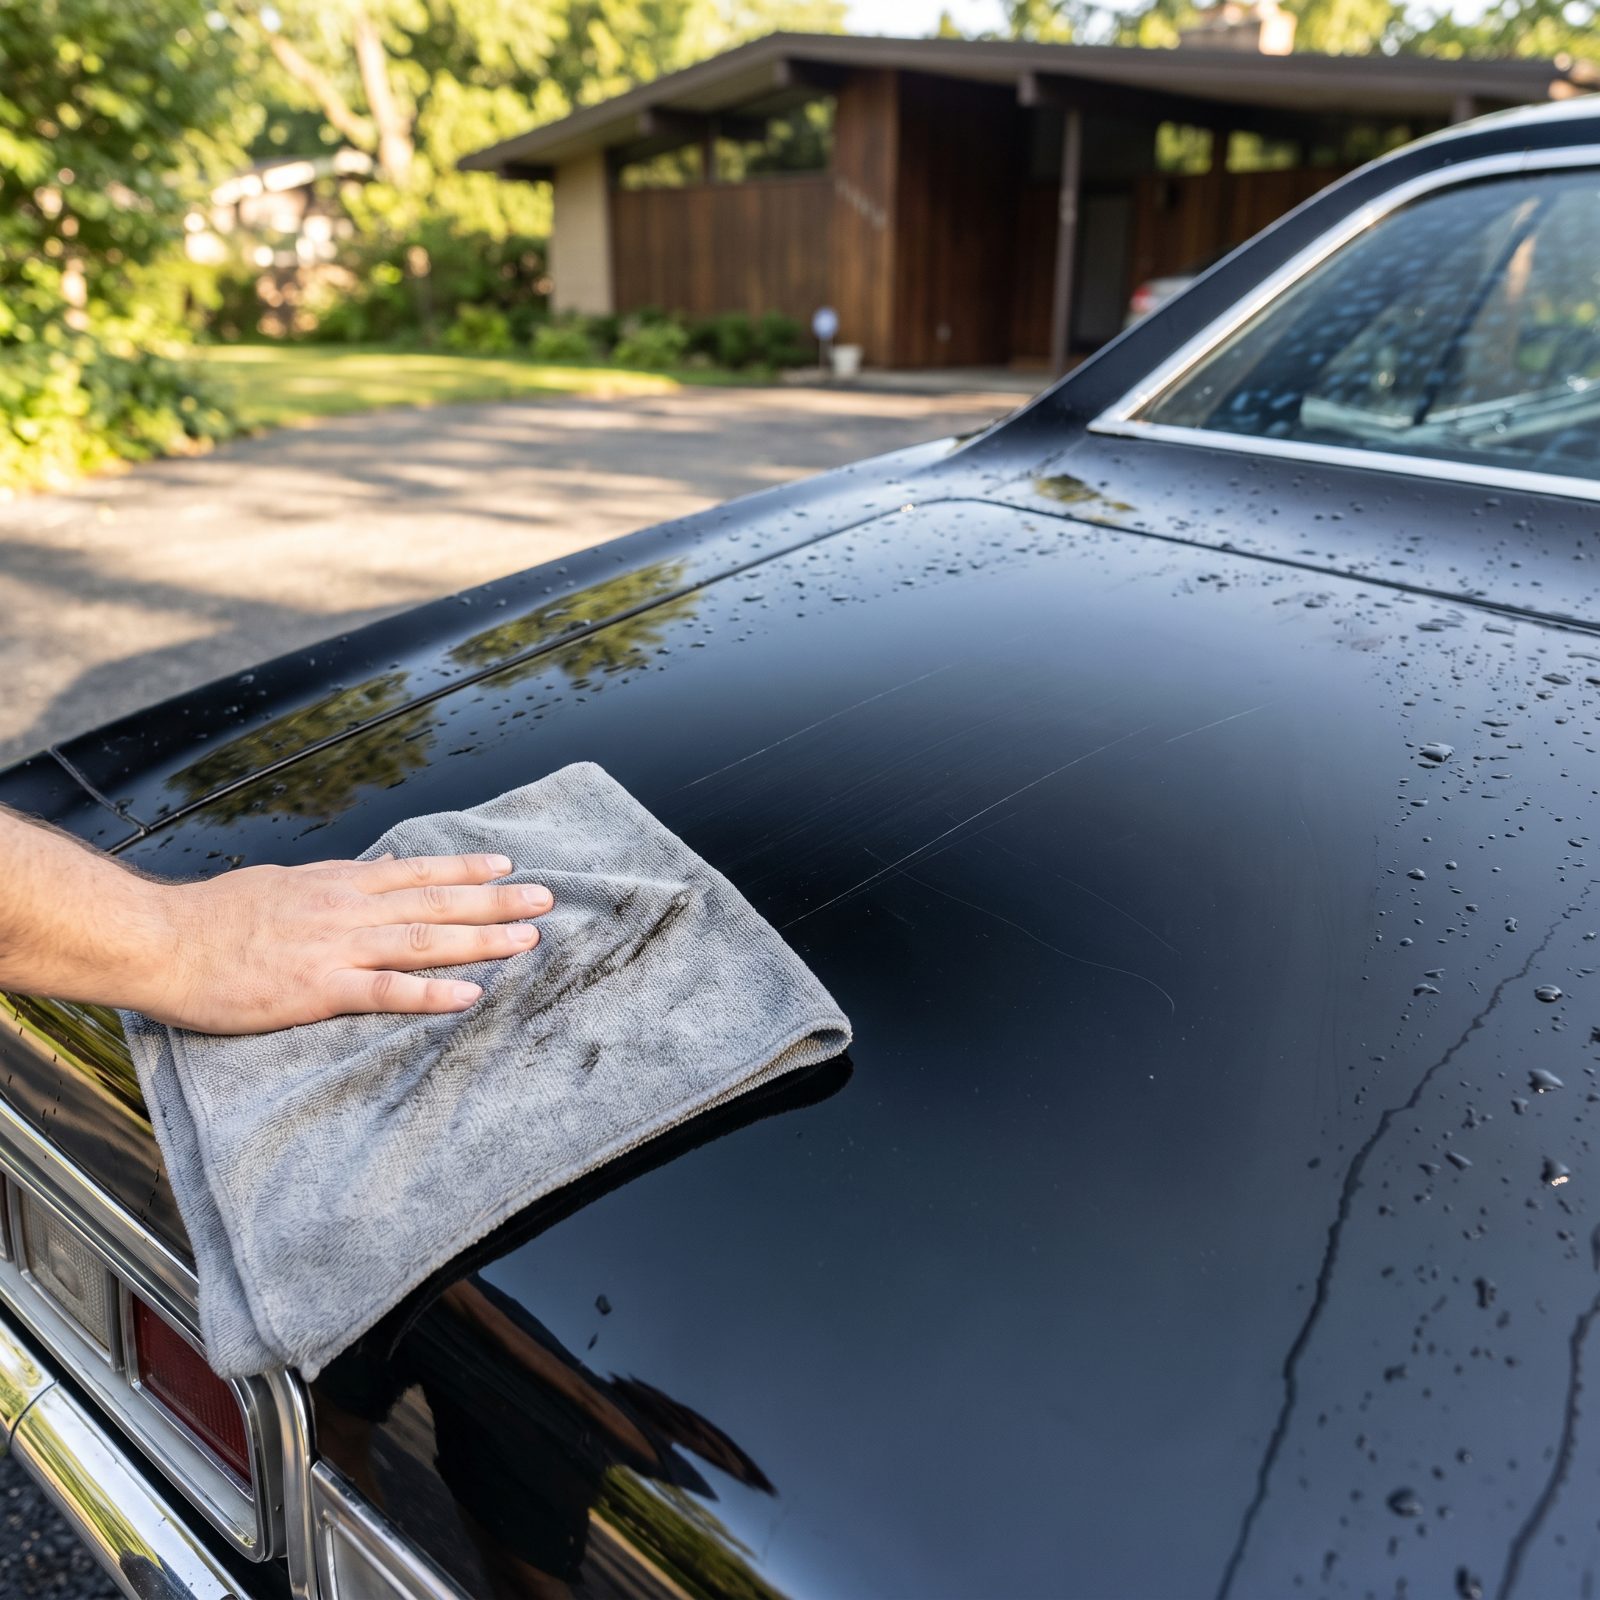
That favorite drying towel has done a hundred jobs. It wiped down the wheels once, caught some overspray, lived on the garage floor for a week. By now it’s loaded with brake dust and tiny metal filings you can’t feel but the paint absolutely can.
Drag it across a wet panel and you’re buffing with grit. Worse still, those metal particles can rust right into the finish and leave orange specks that nothing short of a clay bar will lift back out.
Keep one dedicated drying towel that never touches wheels, tires, or the ground. Wash it on its own in a liquid-only detergent — skip the fabric softener, which clogs the fibers and kills absorbency — then air dry it clean. And color-code the whole lot: one color for paint, another for wheels and grime. Your eyes will keep you honest.